In front of you is a guide for using Dodgeand Burn, an essential technique for enhancing images. You will learn how to highlight the beauty of your portraitsby painting with light and effortlessly remove minor imperfections from the face. This method is often used in photography and image editing and is particularly effective for optimizing brightness and contrast in an image.
Main insights
- Dodge and Burn helps gently retouch skin imperfections and add depth to the image.
- It's important to work with different layers to achieve the best possible results.
- By working with black-and-white settings, you can more easily identify the areas to be edited.
Step-by-Step Guide
Step 1: Create a foundation
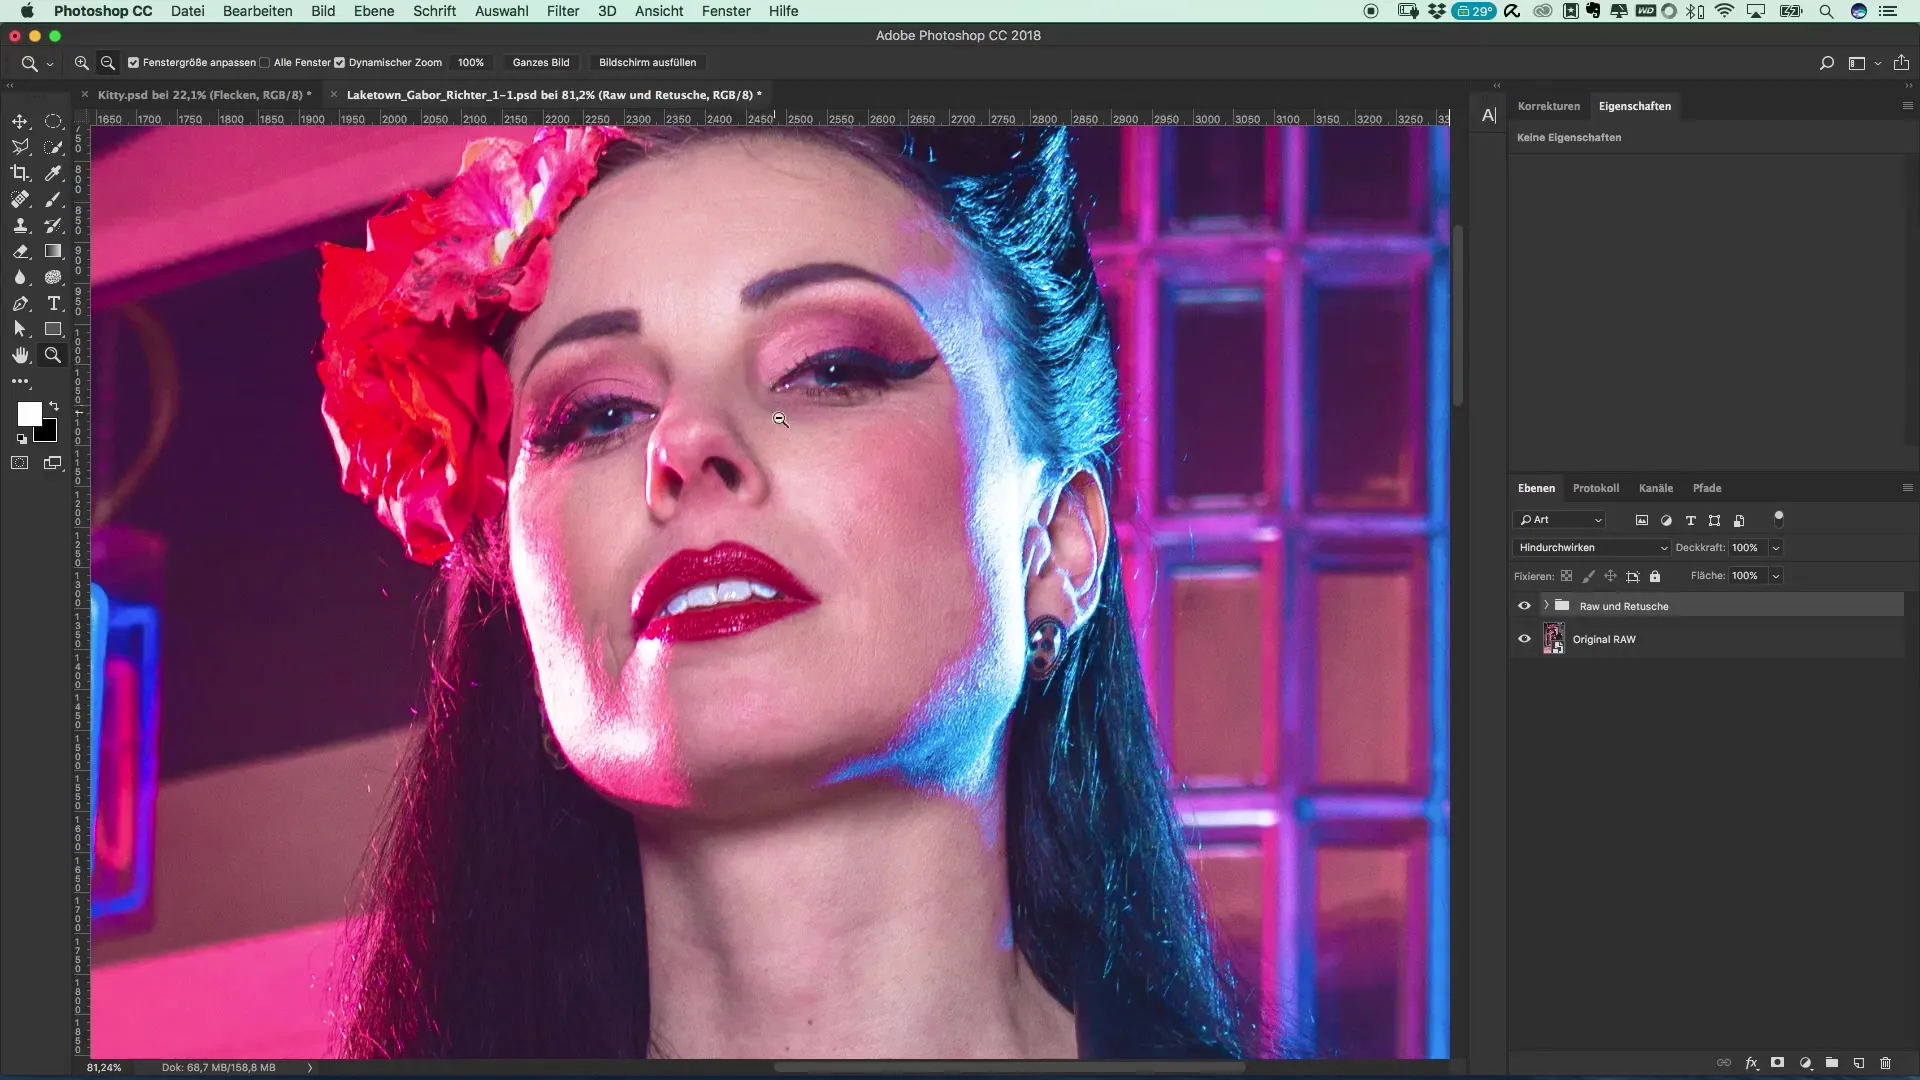
First, open the image you want to edit. Make sure you have a copy or a backup of the original. If you want to work with a new layer, create a new group and name it "DNB" for Dodge and Burn. To create a new layer, hold down the Alt key and click on "Create New Layer".
Step 2: Set up Dodge and Burn layer
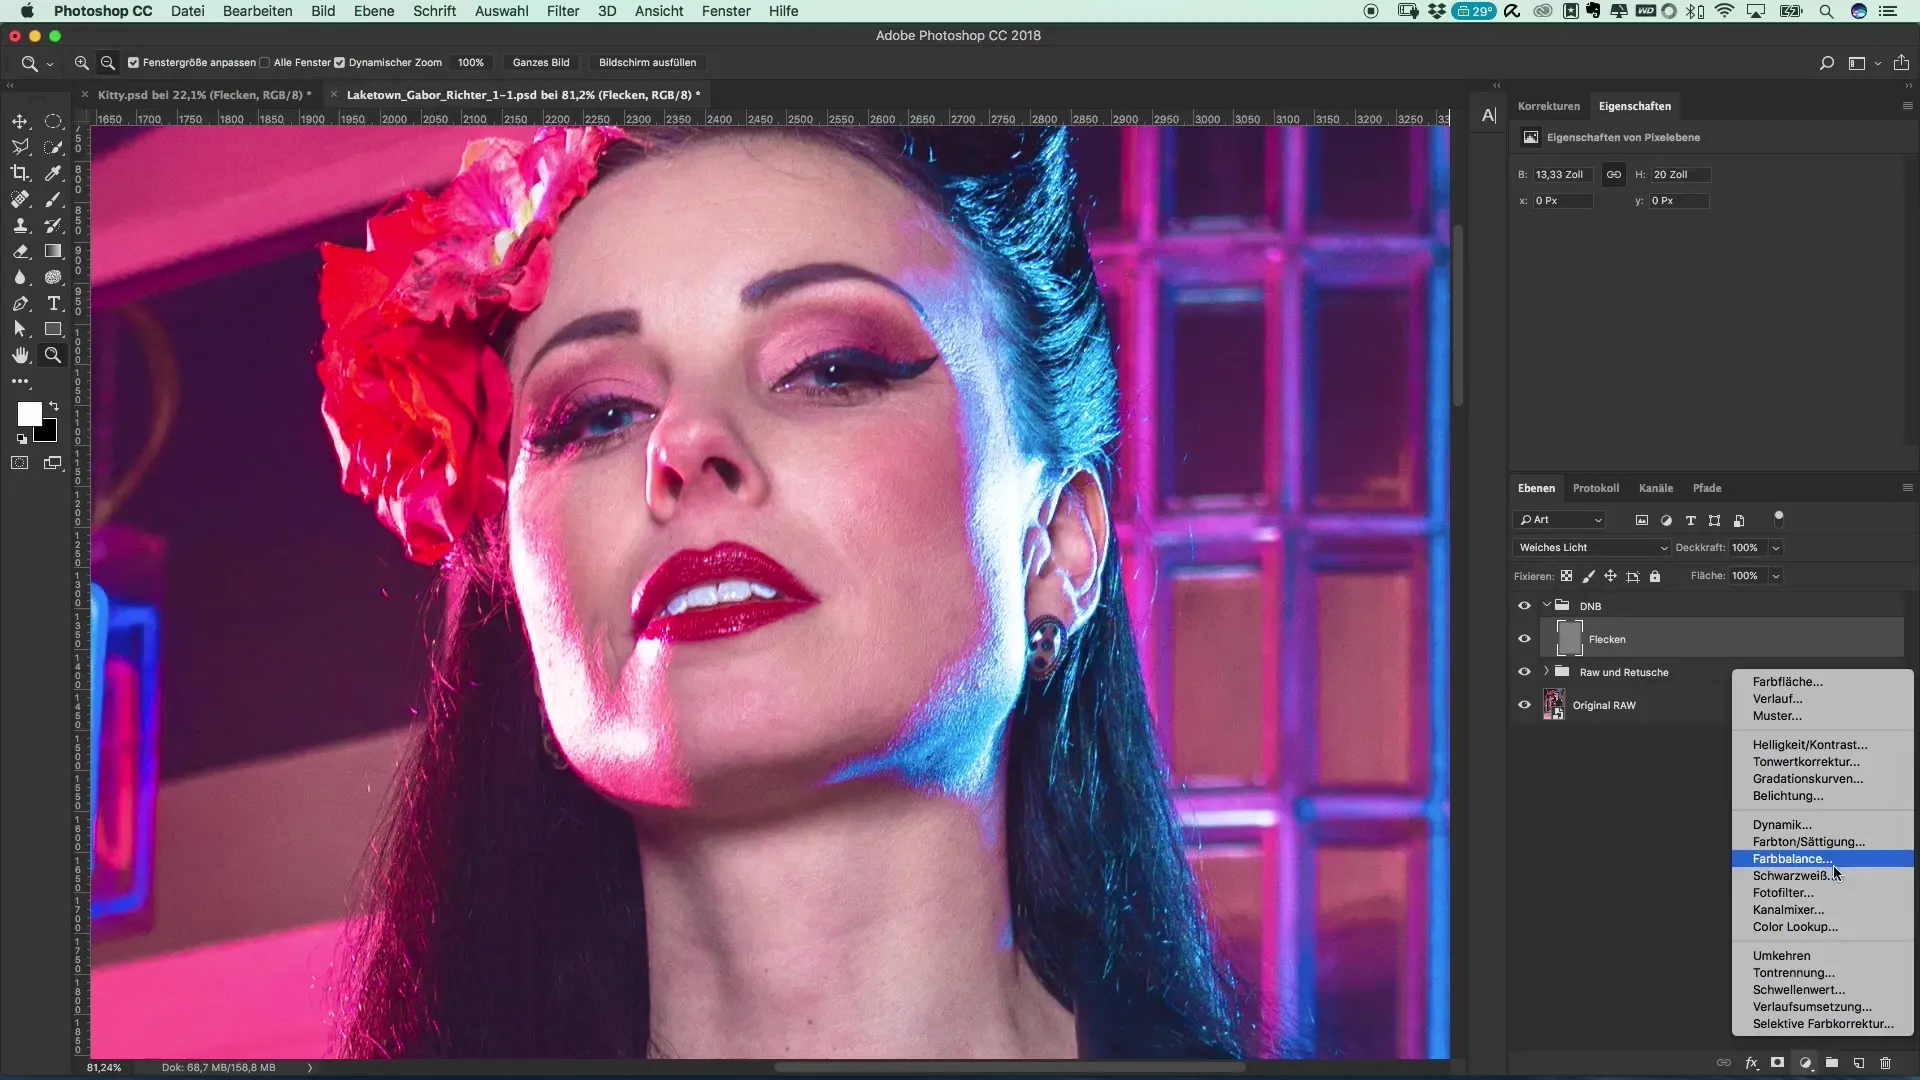
Name this layer "Spots," as you want to initially focus on the spots on the face. Set the blending mode to “Soft Light” and select a gray color in the middle. This layer will help you better identify the brightness and shadows in the image in the future.
Step 3: Color blending using an adjustment layer
To ensure that you focus on brightness and are not distracted by colors, create a black-and-white adjustment layer. This will help you much better recognize the spots and irregularities on the face.
Step 4: Properly set the brush tool
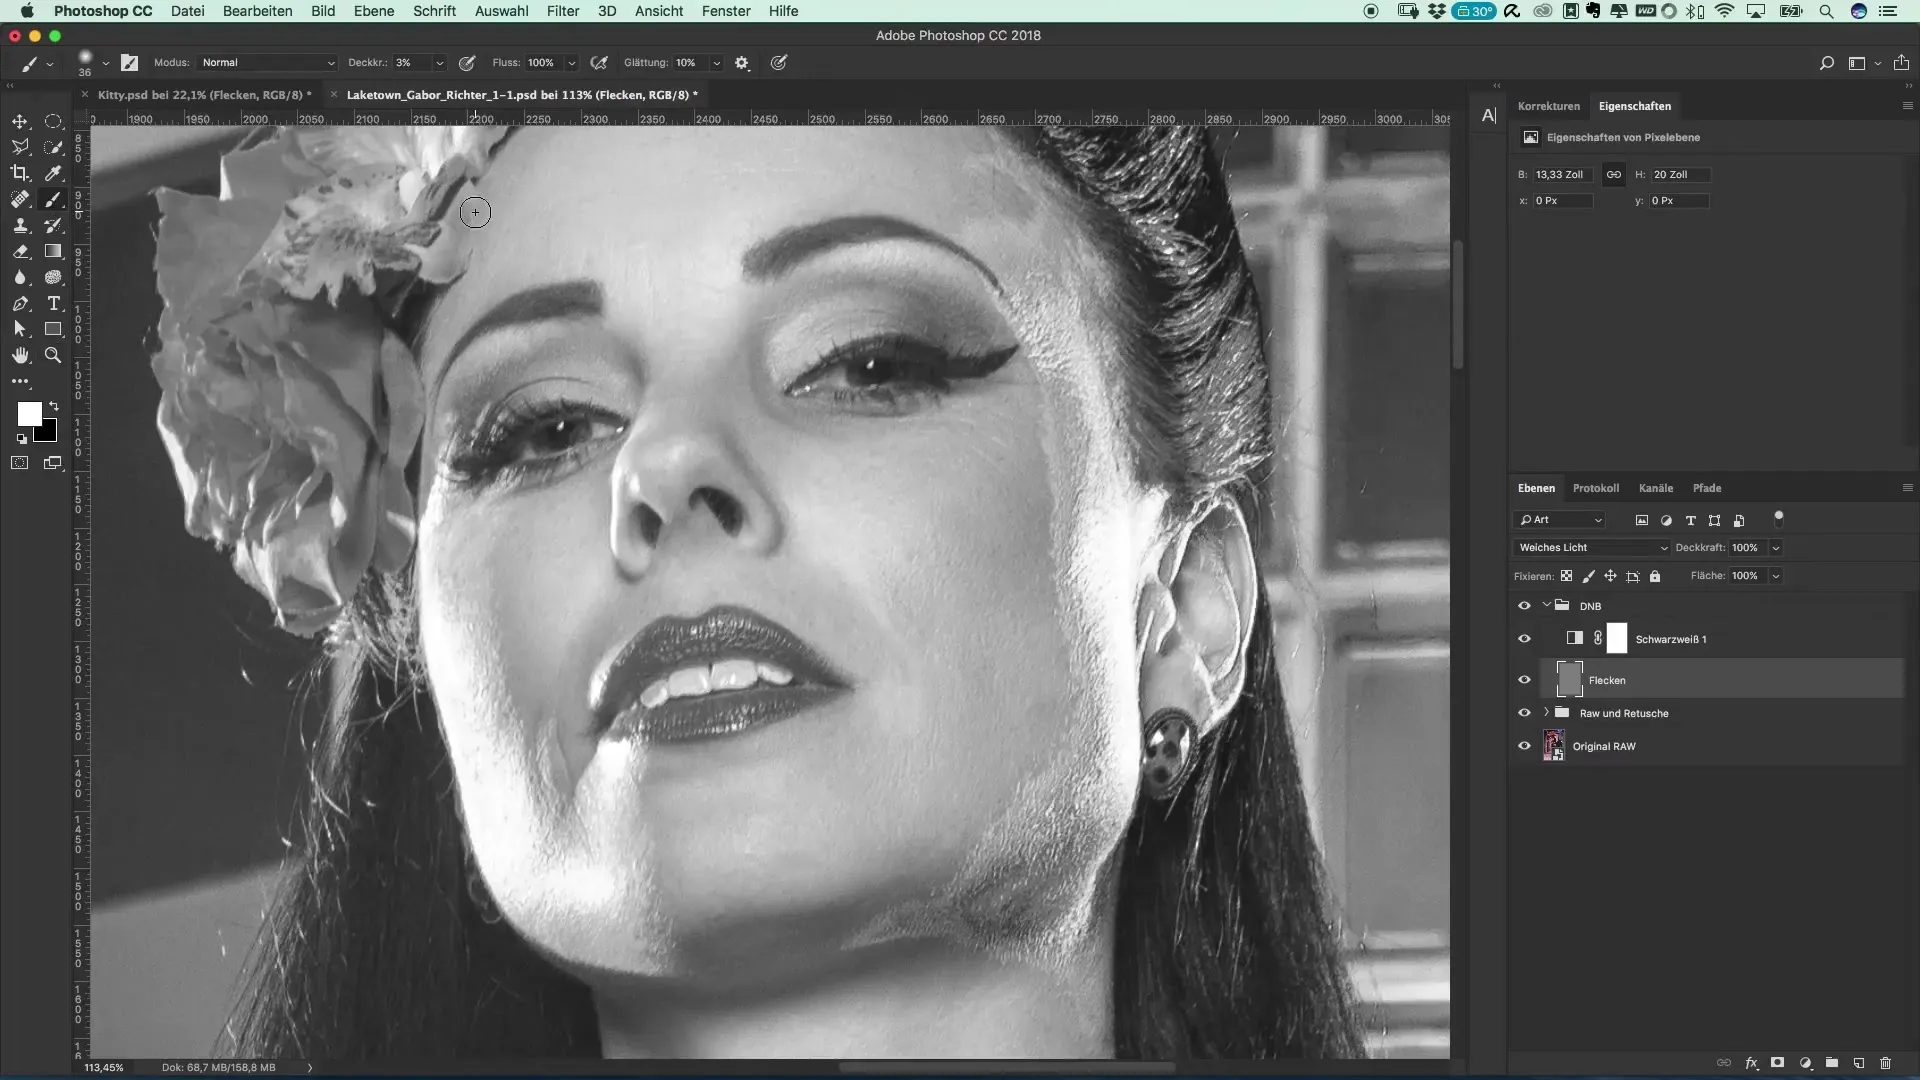
Now it's important that you work on the “Spots” layer. Select a brush with a strength of about 3% to get a feel for the technique. Make sure black and white are in the foreground, as you will use these colors for painting.
Step 5: Painting with light
Use a brush with a size of about 7 for editing. Go over the areas that you want to lighten or darken. If you find that it’s not working right away, don’t worry, practice makes perfect!
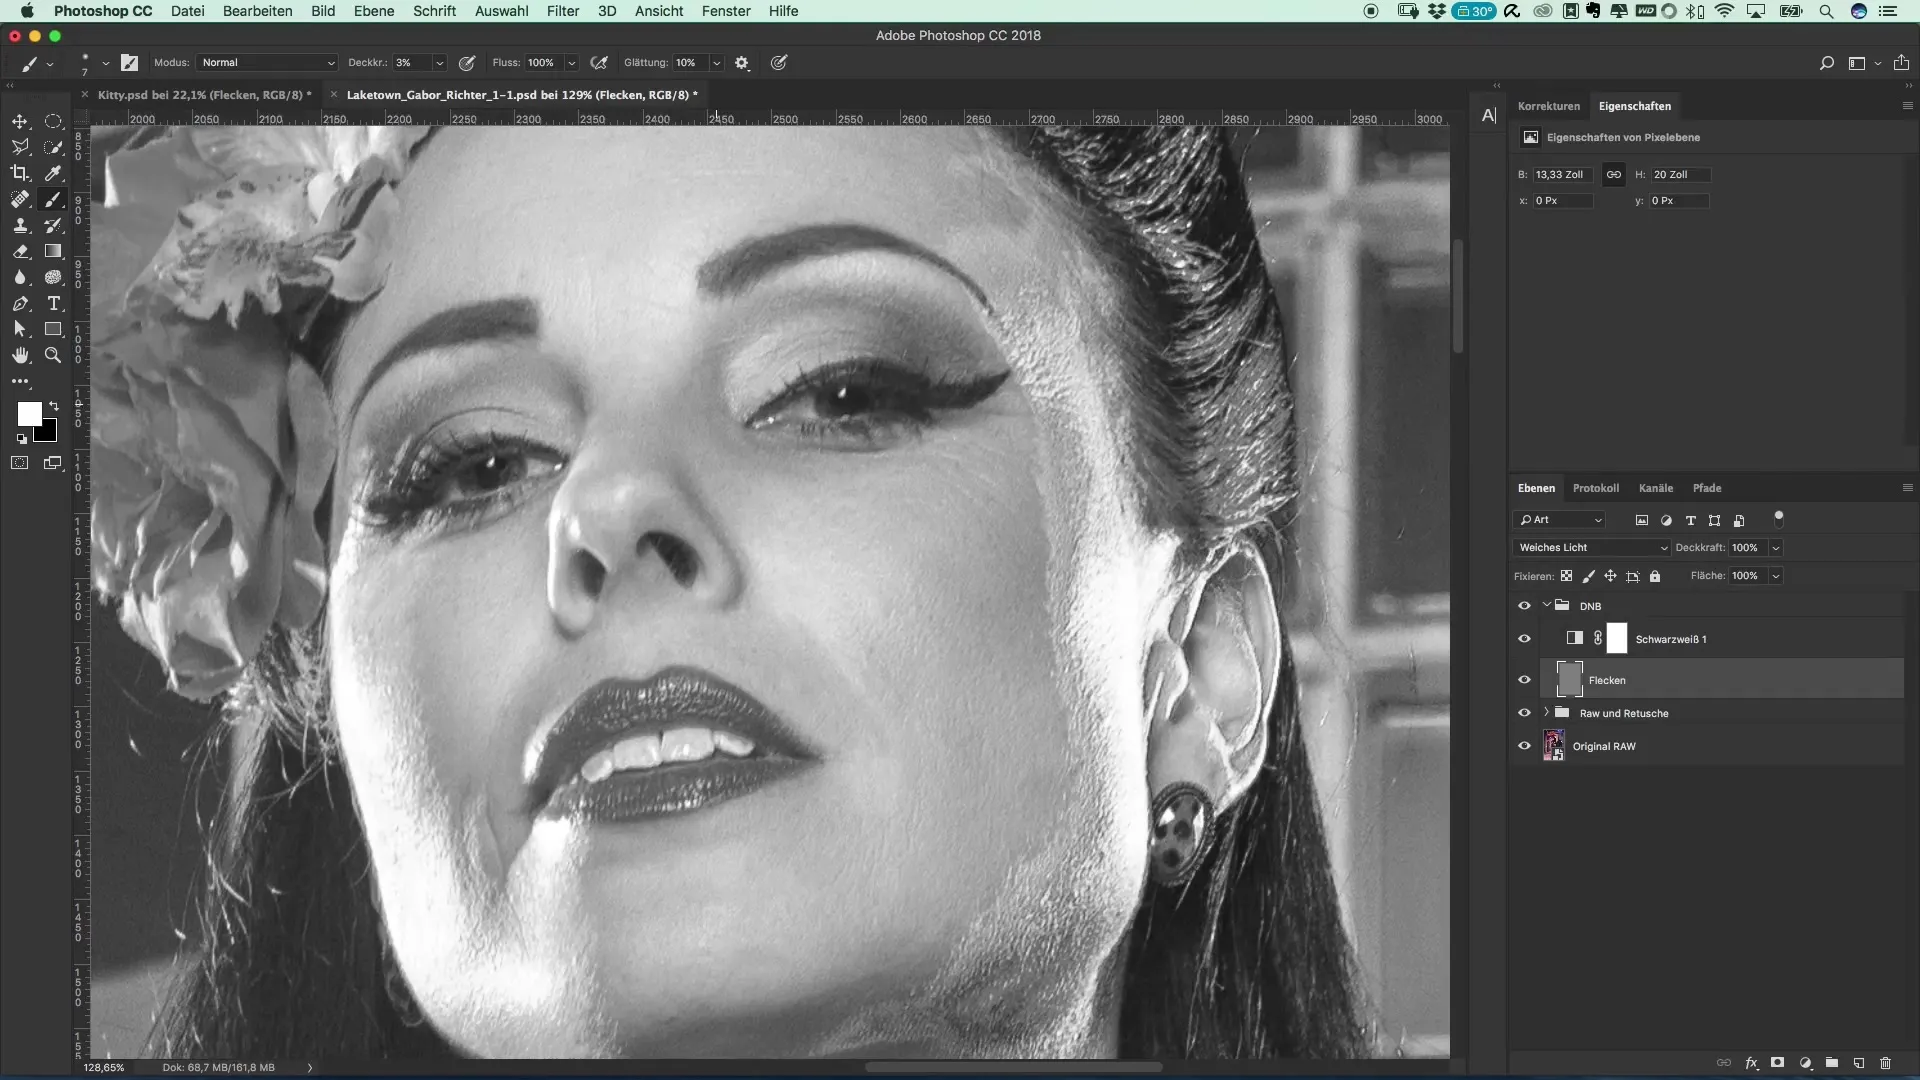
Step 6: Check the results
Toggle the layer on and off to see how the image has changed. Pay special attention to the dark areas you edited previously. These will now likely appear much smoother and more harmonious in the overall image.
Step 7: Make further corrections
Now that you are satisfied with the initial adjustments, go ahead and edit the nose by lightening or darkening it as well. You can now specifically adjust smaller dark areas to achieve an even skin tone.
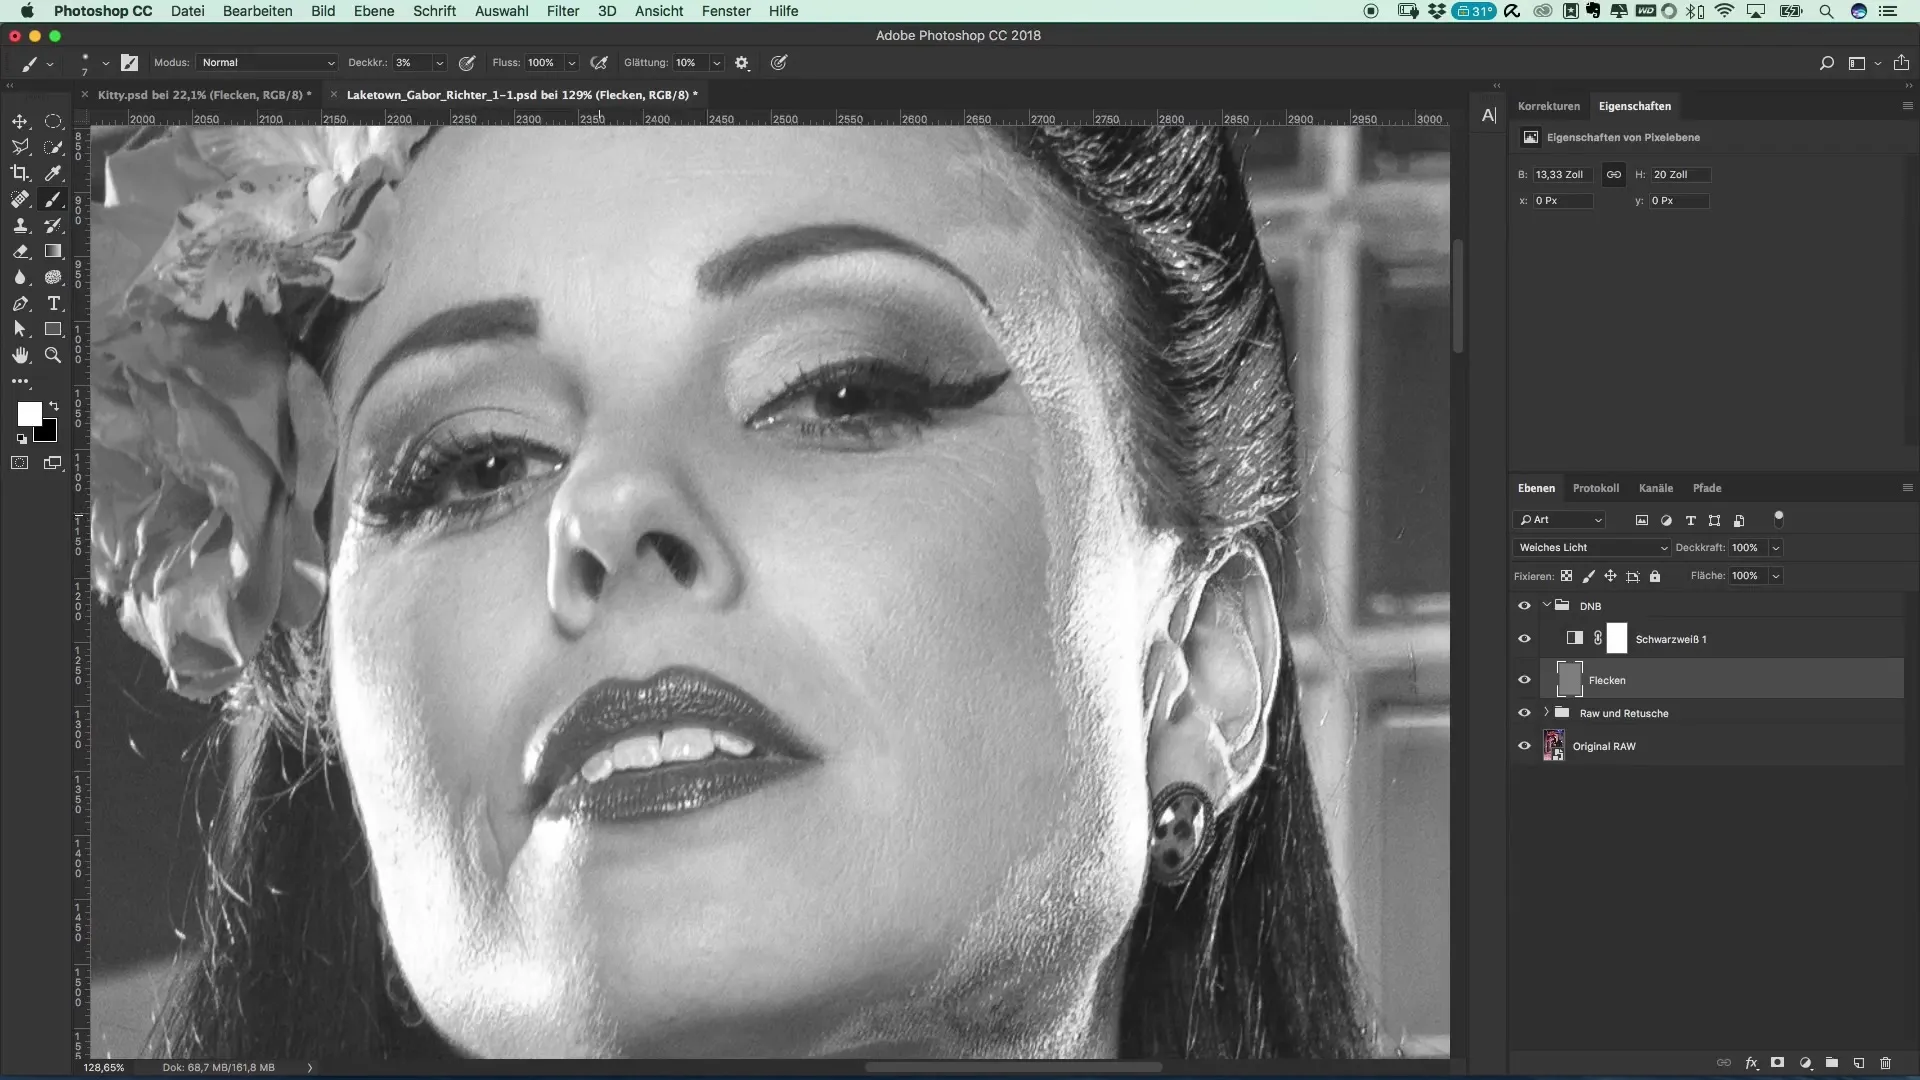
Step 8: Finishing touches and completing the editing
After you have spent a few minutes working with Dodge and Burn, review the entire image. Hide all adjustments to see how the image looks as a whole. You can be sure that using this technique significantly enhances the overall image.

Summary – Guide to Removing Spots with Dodge and Burn in Riverdale Style
This technique provides you with a gentle and effectivemethod for correcting skin imperfections and achieving a professional look. Your images will be significantly enhanced through the application of Dodge and Burn. Rest assured that practice makes perfect: the more often you use this technique, the better you will become at it.
FAQ
How does the Dodge and Burn technique work?The Dodge and Burn technique uses light and shadow to brighten or darken areas in an image, resulting in a more three-dimensional representation.
Which software can I use for this?Dodge and Burn can be applied in many image editing programs, such as Adobe Photoshop, GIMP, or Affinity Photo.
How long does editing typically take?Depending on the effort, editing one half of an image can take between 10 and 30 minutes.
Is the technique difficult to learn?It takes some practice, but over time you will master the use of the brush tools.
Why should I work with a black-and-white adjustment layer?A black-and-white adjustment layer helps you recognize brightness differences and spots better without being distracted by color.


