The process of compositing in Photoshop offers an excellent way to connect creativity with technical know-how. In this tutorial, I will show you how to sketch and effectively visualize the spider legs of a black widow. You will learn how to explore different shapes and styles to create your own unique interpretation.
Key insights
- Before you start with the details, it is important to create different sketch variants.
- Consider what style and effect you want to achieve with the spider legs.
- Experimenting with different brush strokes and graphic styles can lead to surprising and engaging results.
Step-by-Step Guide
To sketch the spider legs, follow these steps:
1. Decision-making regarding the design
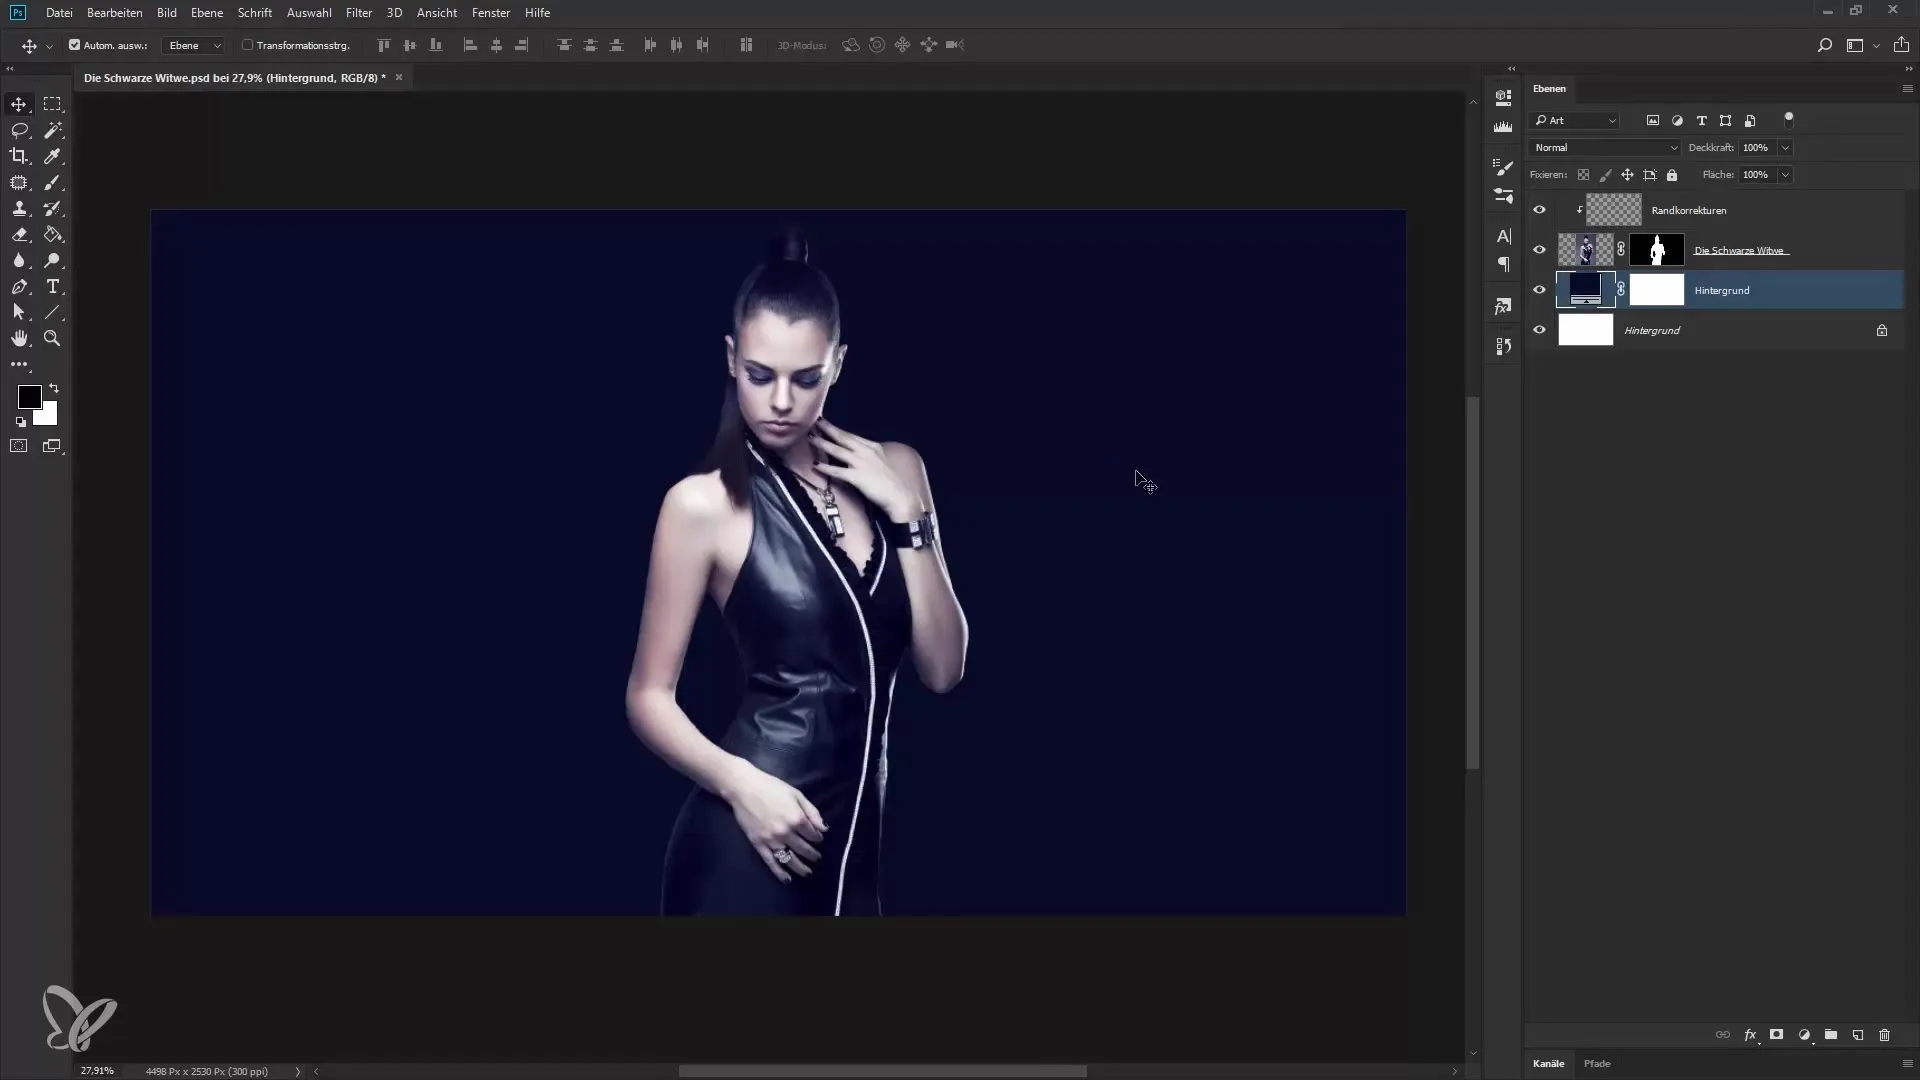
Before you start sketching, it’s important to think about how the spider legs should look. Should they appear more natural and realistic or eerie and monstrous?
2. Setting up a new workspace
Create a new layer to make your sketch. You can name the layer, for example, “Legs SK.” This will help you keep track of things.
3. Selecting the brush tool
Switch to the brush tool and set the foreground color to white. If needed, you can also adjust the hardness and size of the brush to achieve a natural look.
4. First sketching of the legs
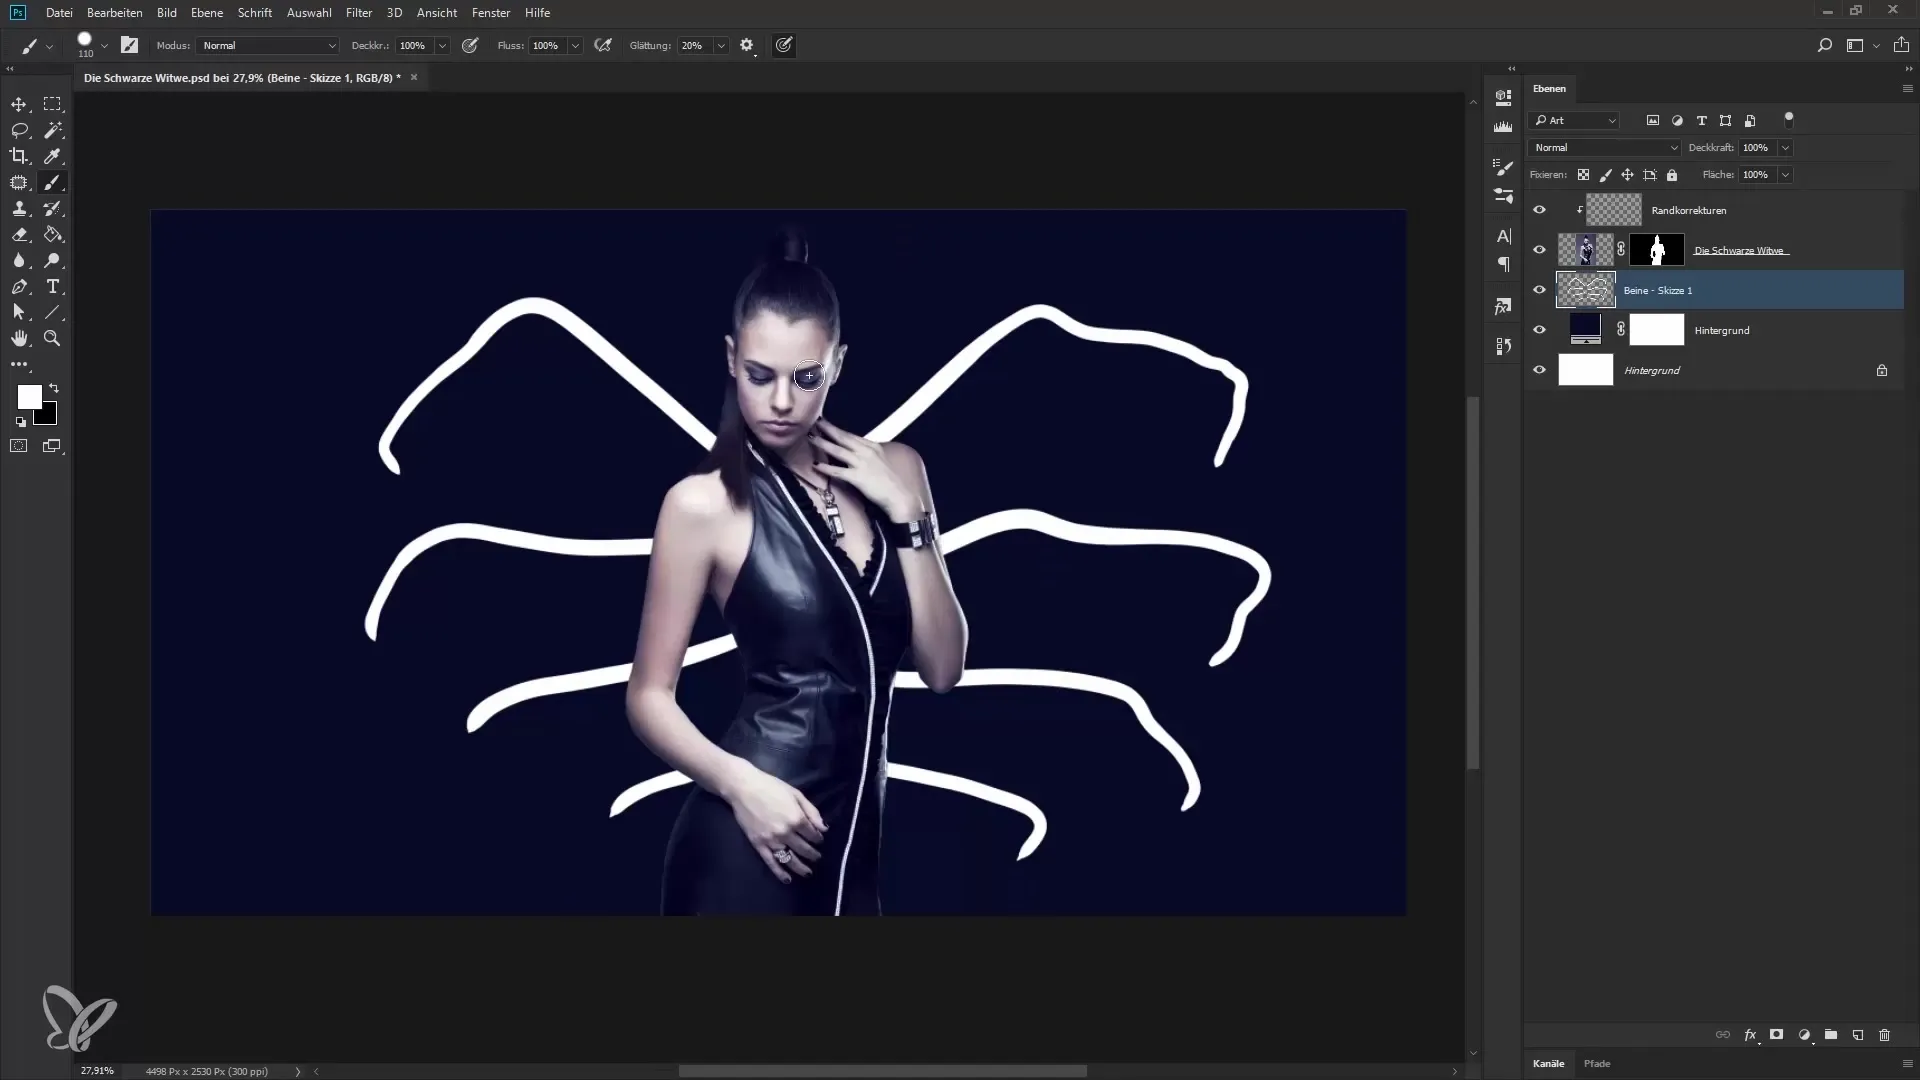
Start sketching spider legs over the background, adapting to the silhouette of the model. You can create eight legs and design them to look abstract or realistic.
5. Making adjustments
Check if the overall image appears harmonious. Ensure the weight distribution of the legs is balanced. Draw the legs so that they look organic and appealing rather than just straight lines.
6. Adding details
To make the legs look more realistic, add simple strands that form into a leg. This will give your design more depth and dimension.
7. Creating variations
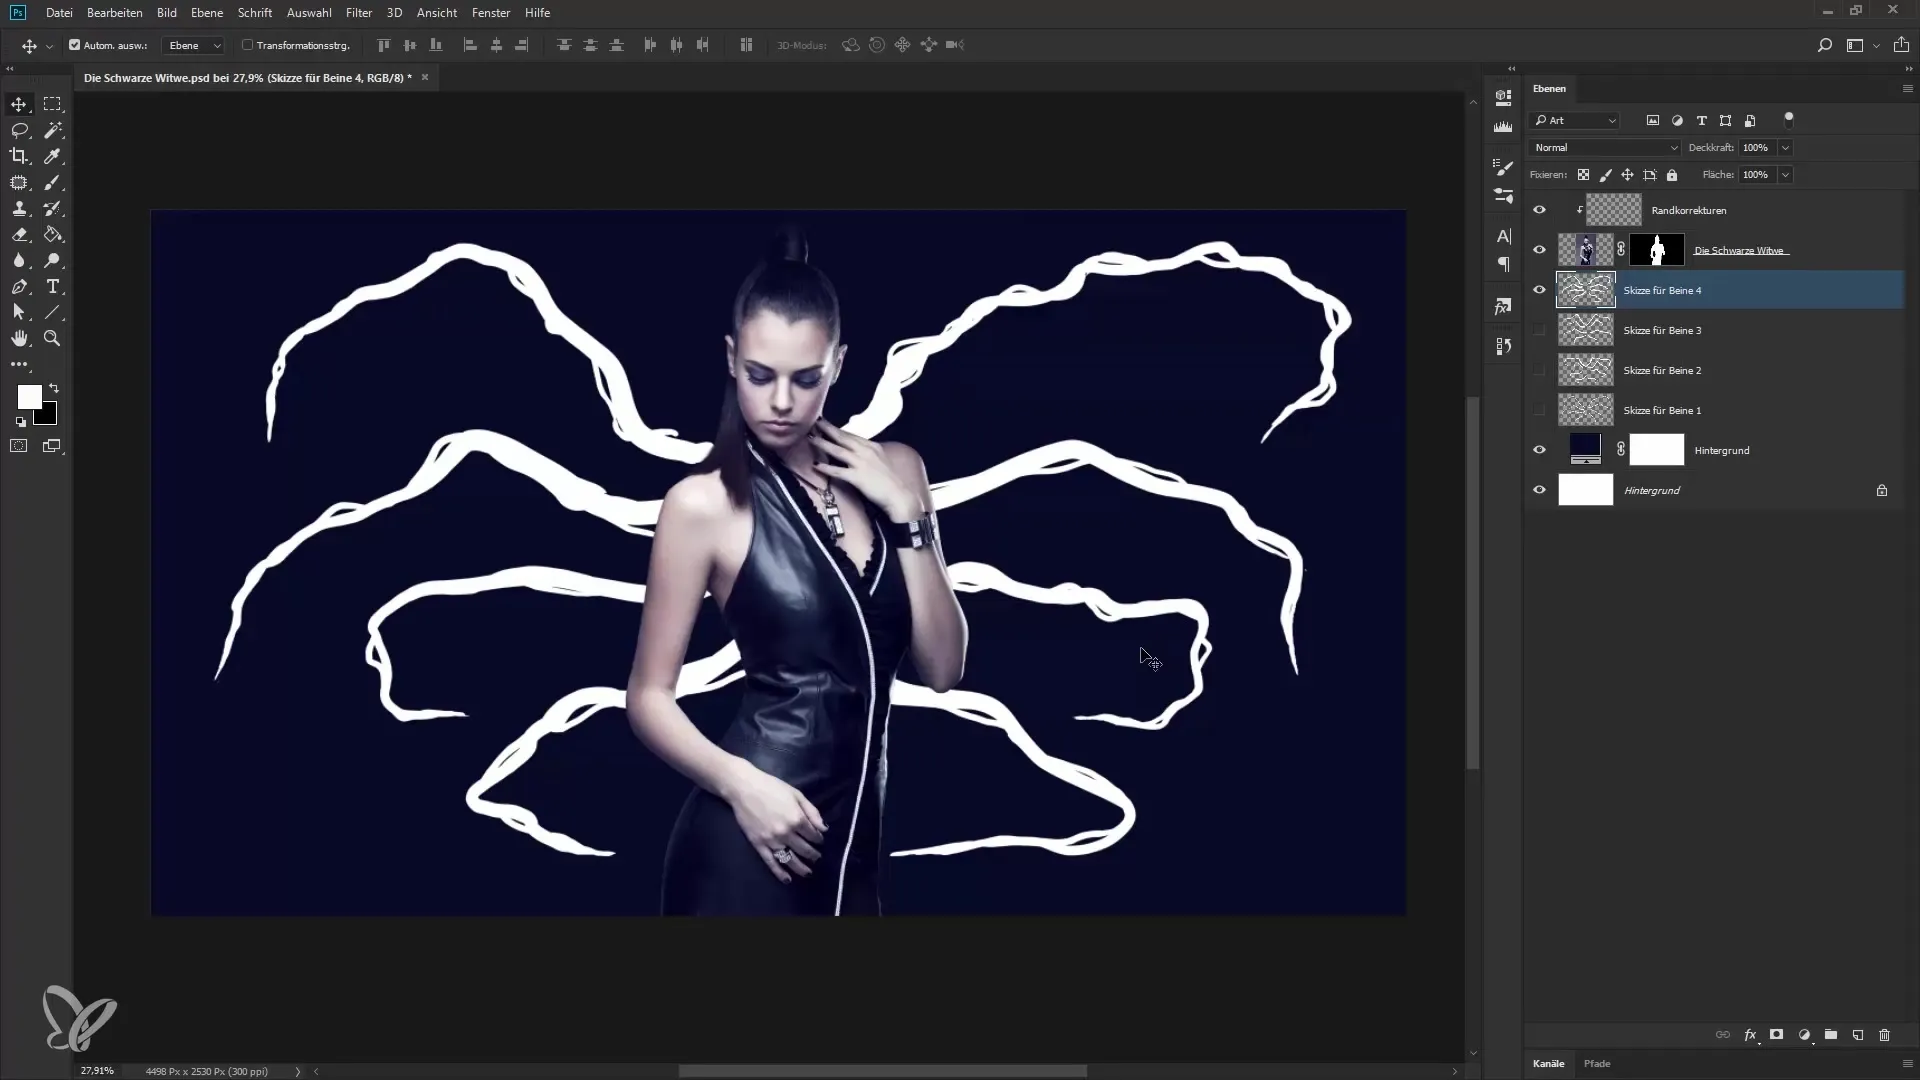
Create several sketches to develop different variations of the legs. You can create them on different layers and compare them later to choose the best version.
8. Selecting the final sketch
Finally, choose the sketch that you like best. Make sure it looks organic and doesn't just contain mirrored versions of the other legs to make the overall image more interesting.
9. Applying graphic style
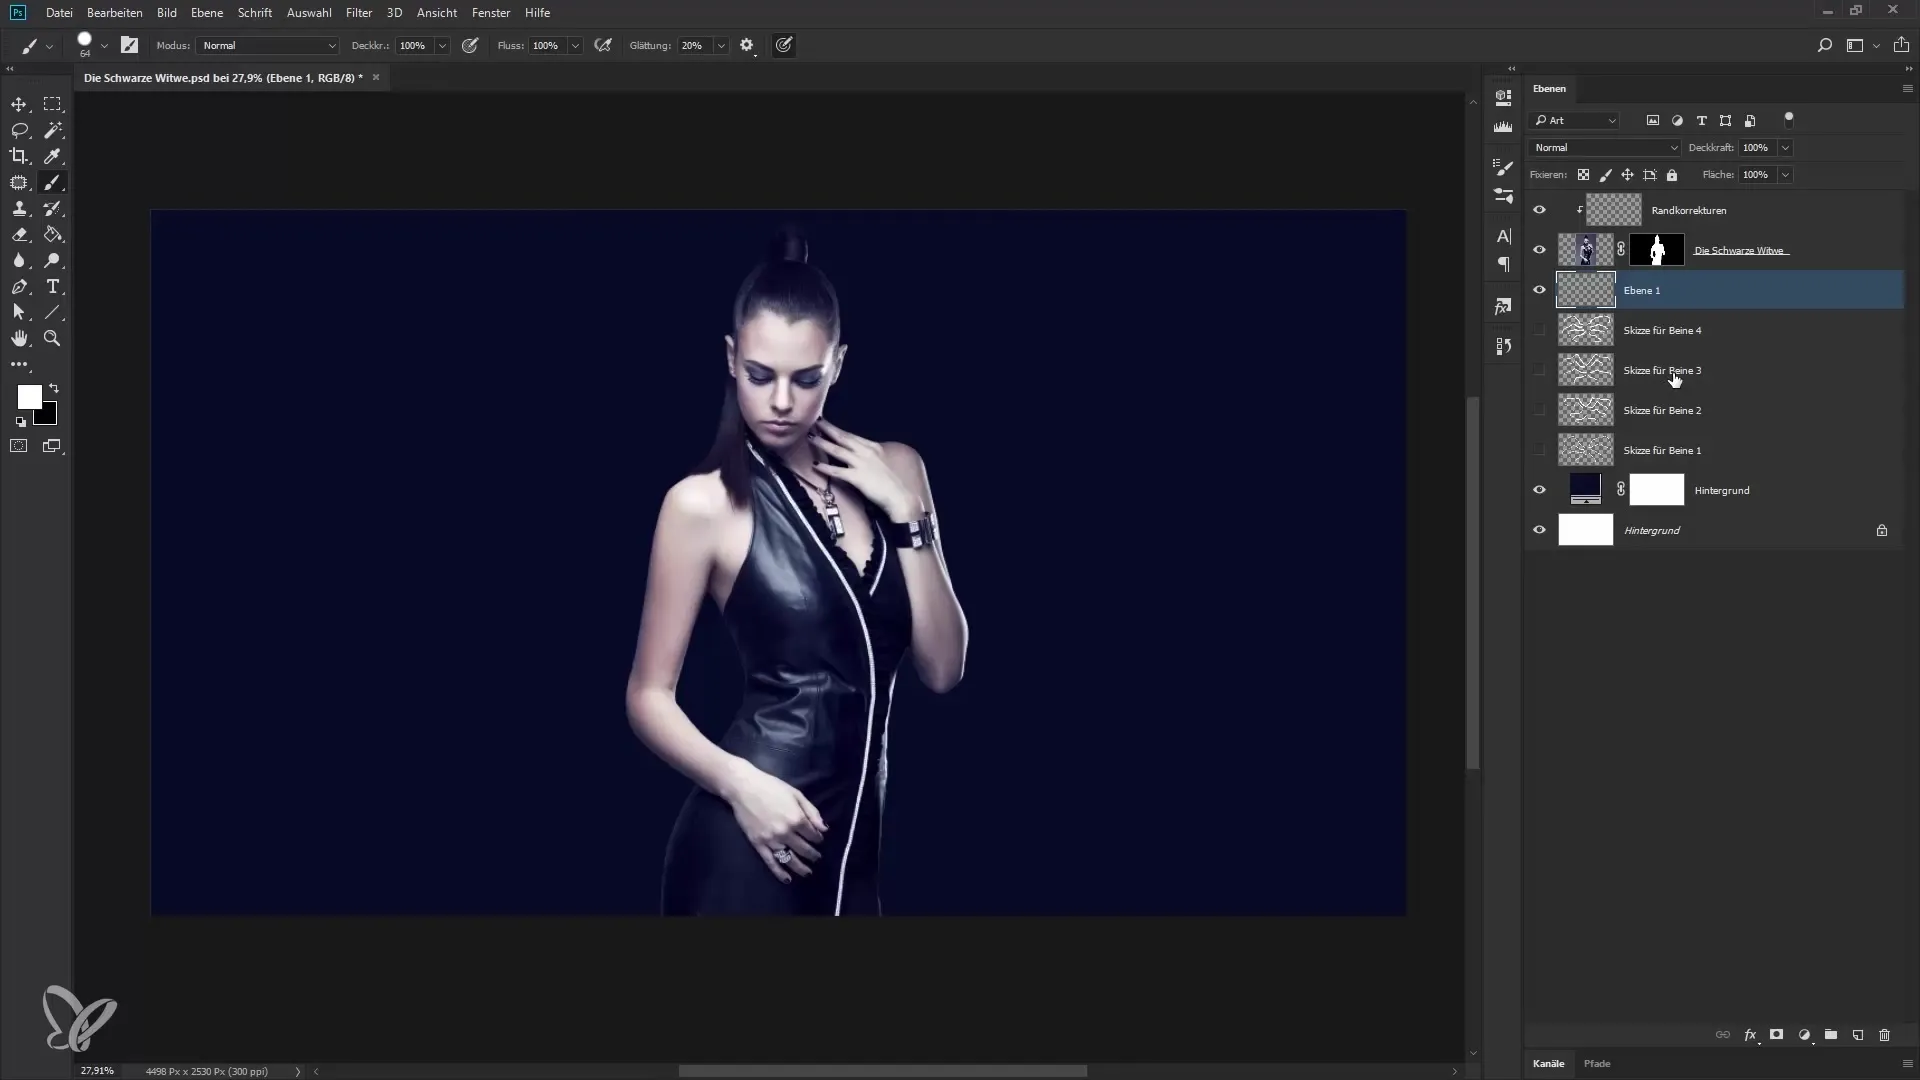
Now it’s time to create a graphic style in Photoshop. Switch to a new empty layer and draw some strokes with the brush tool. Don’t forget to name the graphic style to keep track of it.
10. Adding graphic style
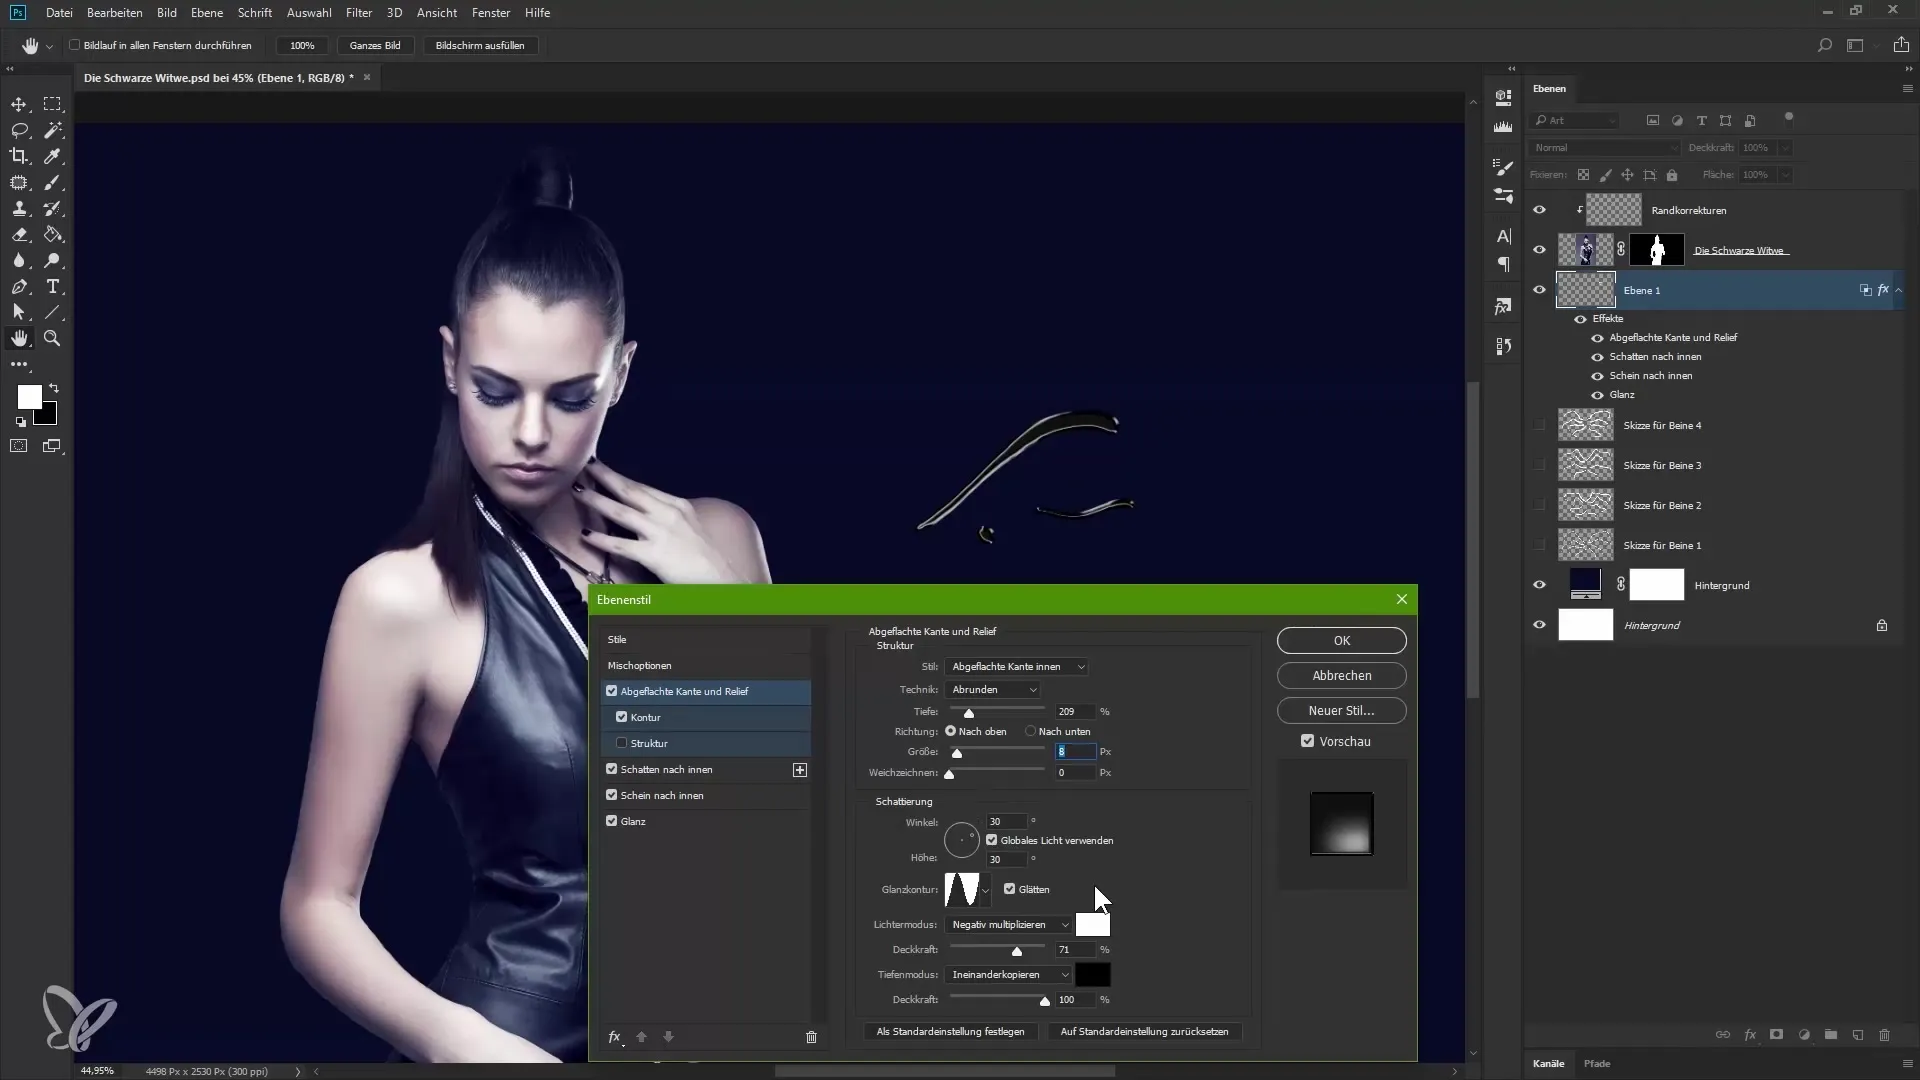
Apply the graphic style to the drawing layer. The lights and shadows you set beforehand will now come to life and give your design a 3D impression.
11. Adjusting light sources
Experiment with the light sources to achieve the desired look. Move the small dot to the center or to the sides to see how light falls on your sketch.
12. Fine-tuning
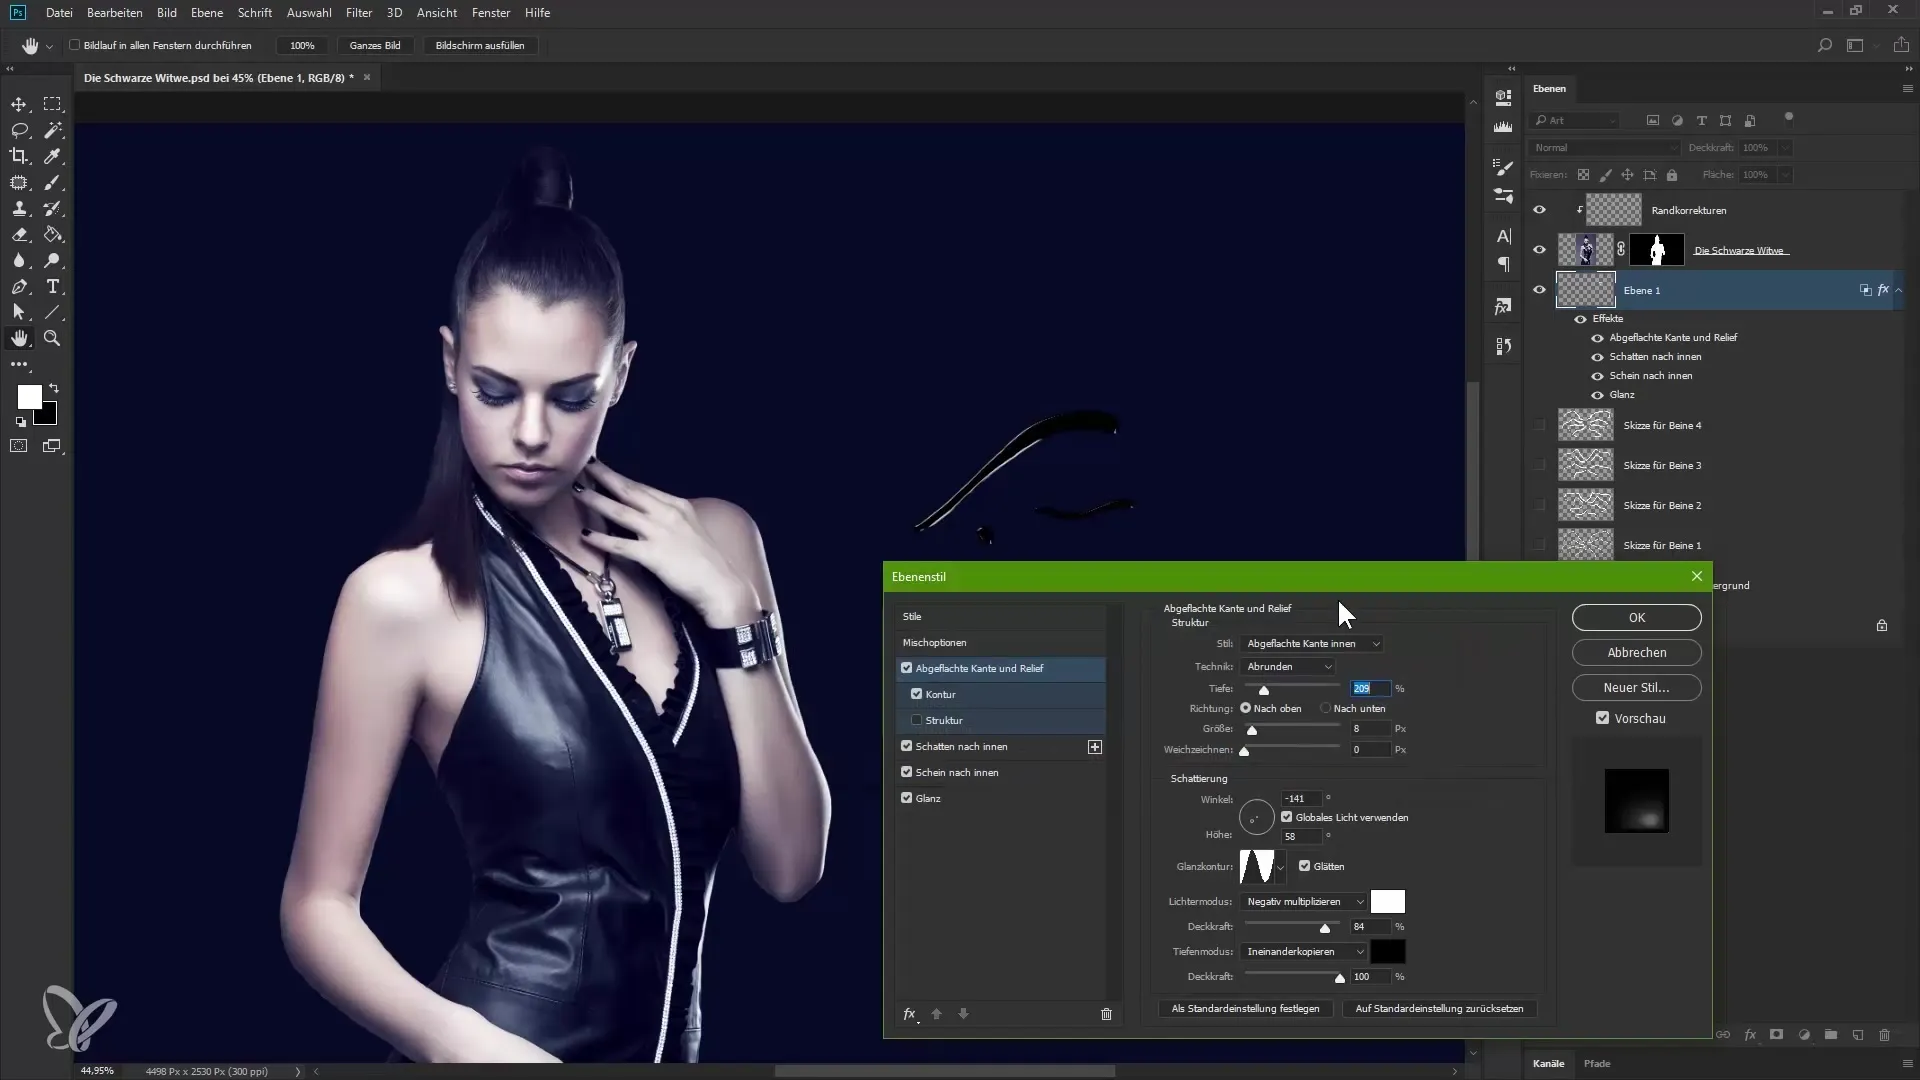
You can further refine the details by tweaking the settings of the Bevel and Emboss. Here you can experiment with which viewing angles best suit your design.
13. Saving style
If you are satisfied with your graphic style, save it for future projects. This way, you can easily apply it to other layers without having to redo all the work.
Summary – Guide to Sketching Spider Legs for Composing in Photoshop
You have learned how important it is to sketch before the actual design process. By trying out different sketches and styles, you can create a unique and impactful look for your spider legs. Besides that, the fundamentals of graphic styles in Photoshop are a valuable tool to make your designs faster and more efficiently.
Frequently Asked Questions
What are the main steps when sketching spider legs?You should first think about the design, then set up a new workspace and create sketches with the brush tool.
How important is the choice of graphic style?The graphic style can give your design depth and dimension. Therefore, it is essential to experiment with different options.
Can I adjust my sketches later?Yes, you can create your sketches on different layers and adjust or expand them anytime to achieve the best result.

