You want to get the best out of your image and use colors strategically to create impressive effects? This guide shows you how to adjust the last details in your image with Photoshop to achieve a harmonious and professional look. We will work with light spots, color fields, and a noise layer to round off your artwork.
Main insights
- Use color fields to create harmonious light accents.
- Use masks to control the visibility of effects strategically.
- Noise helps the image appear softer and more harmonious.
Create a color spot behind the model
Let's start by adding a colorful light spot behind your model to give the image more depth.
First, select your background layer to ensure that the light spot appears over the chosen area. Click on the new layer icon and select color field. Now you can choose a color that matches well with the rest of the image. You may want to choose a purple hue.
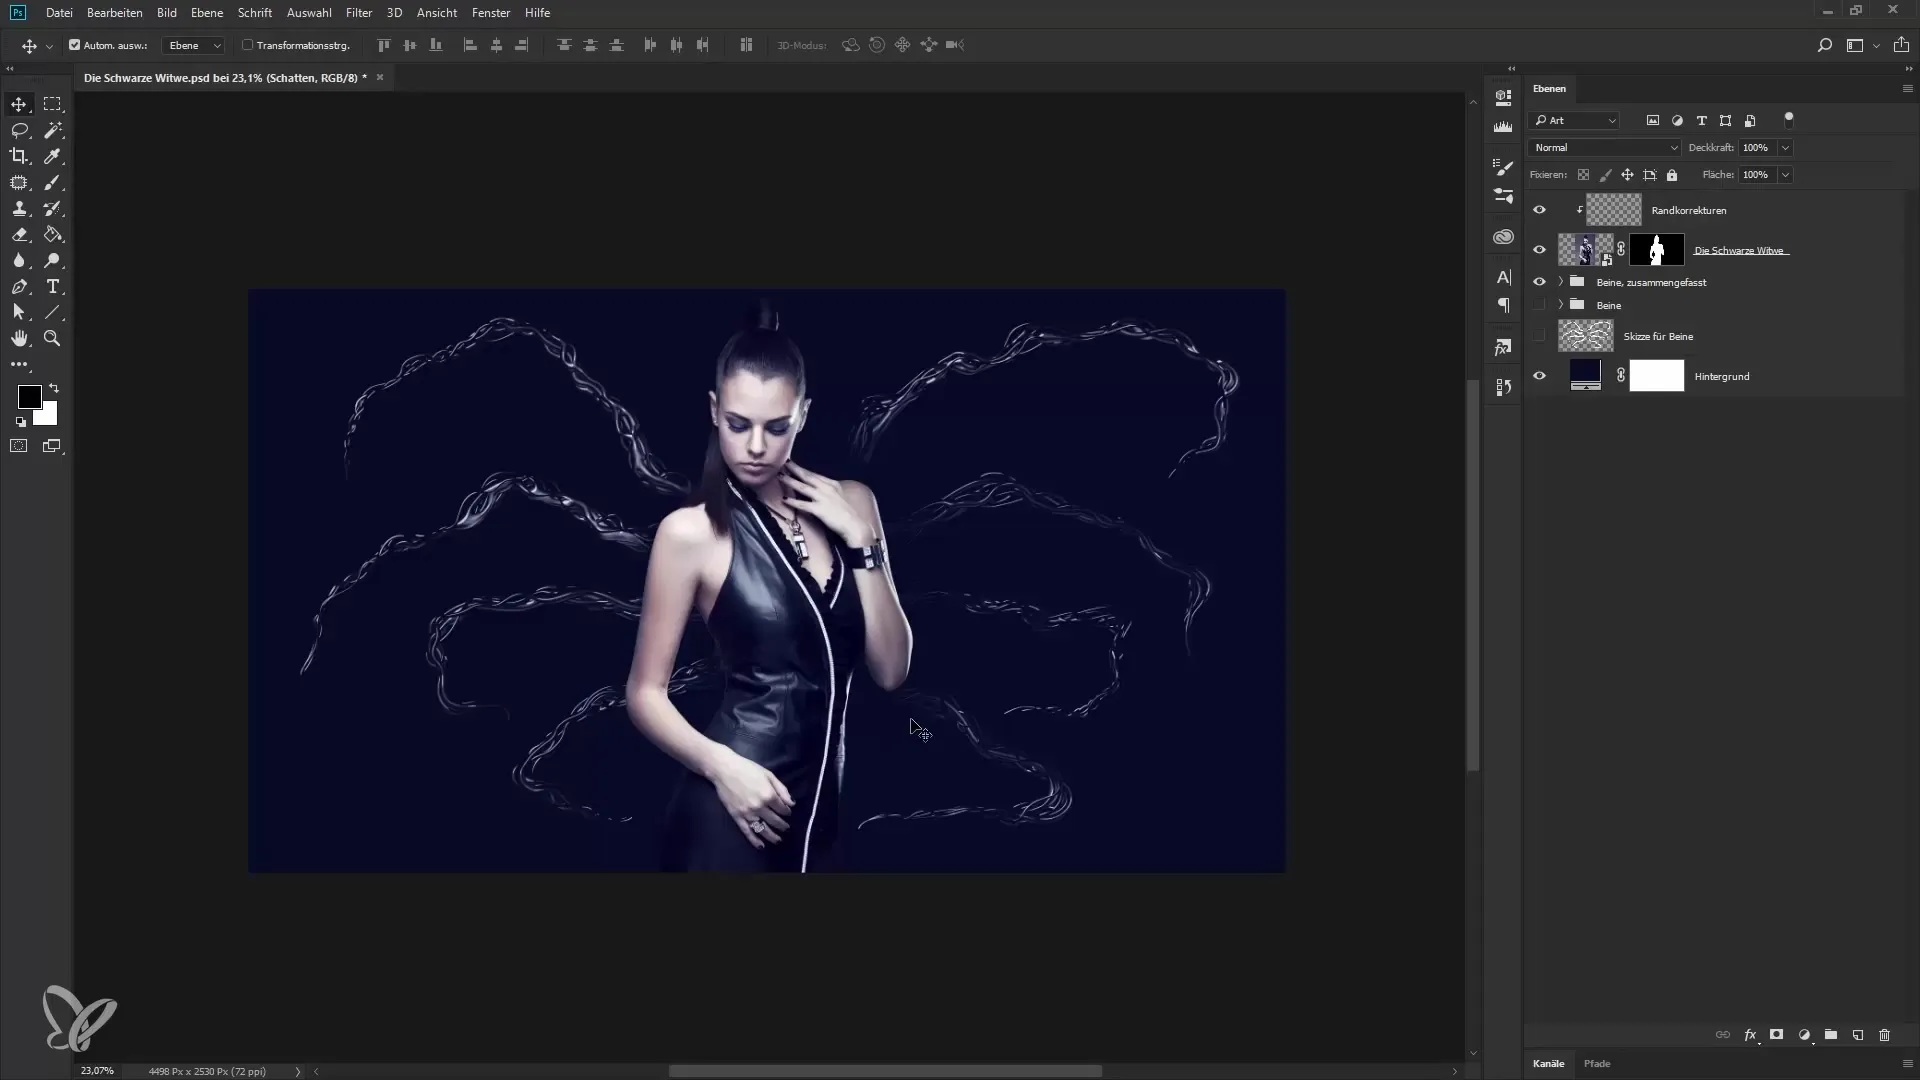
To use the color of your model's lips, move your mouse outside the dialog box until the eyedropper appears. Select the lip color and click “OK.” Rename the new layer to “Light Spot.” Darken the mask by selecting it and pressing the keyboard shortcut Ctrl + I. This will make the light spot initially invisible.
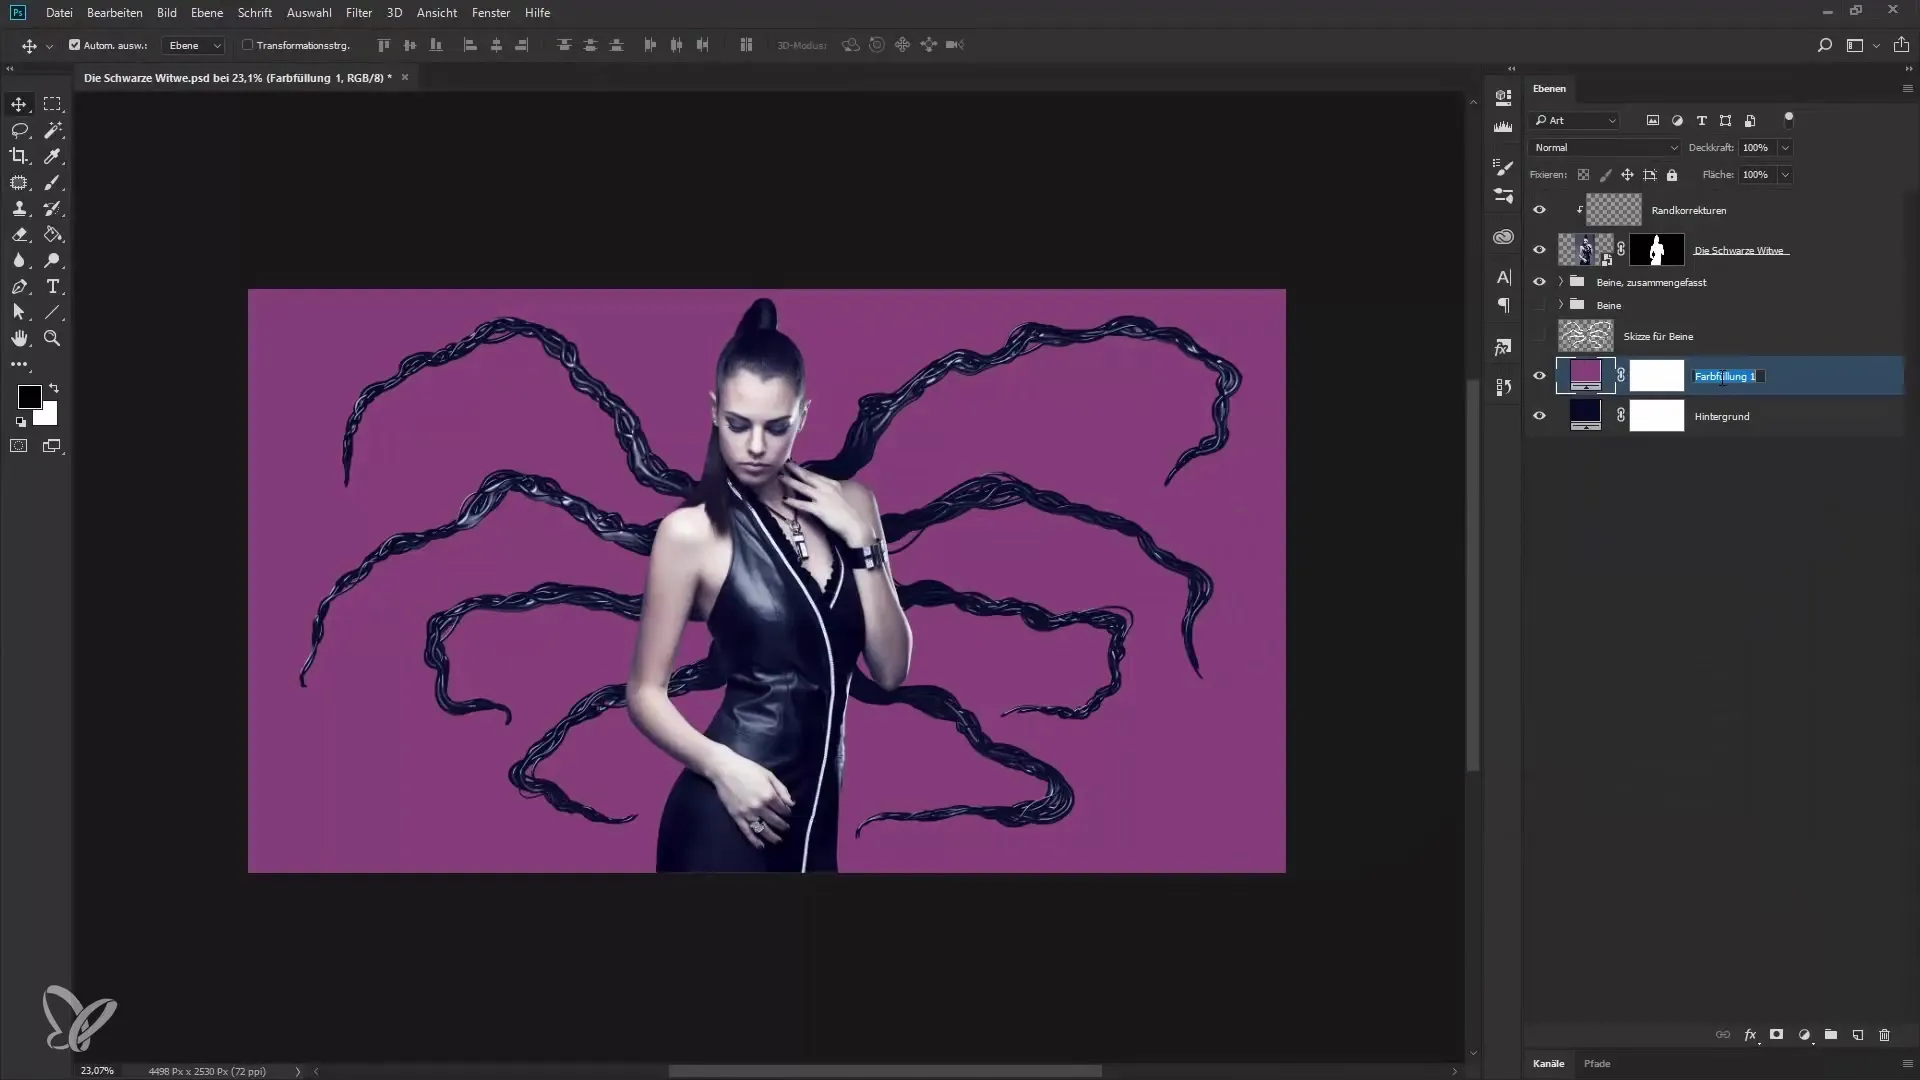
Now select the brush tool. Make sure the foreground color is set to white. Set the brush size to a pleasant diameter and the opacity to 100%. Start painting behind your model to make the light spot visible. You can adjust the size of the brush as needed.
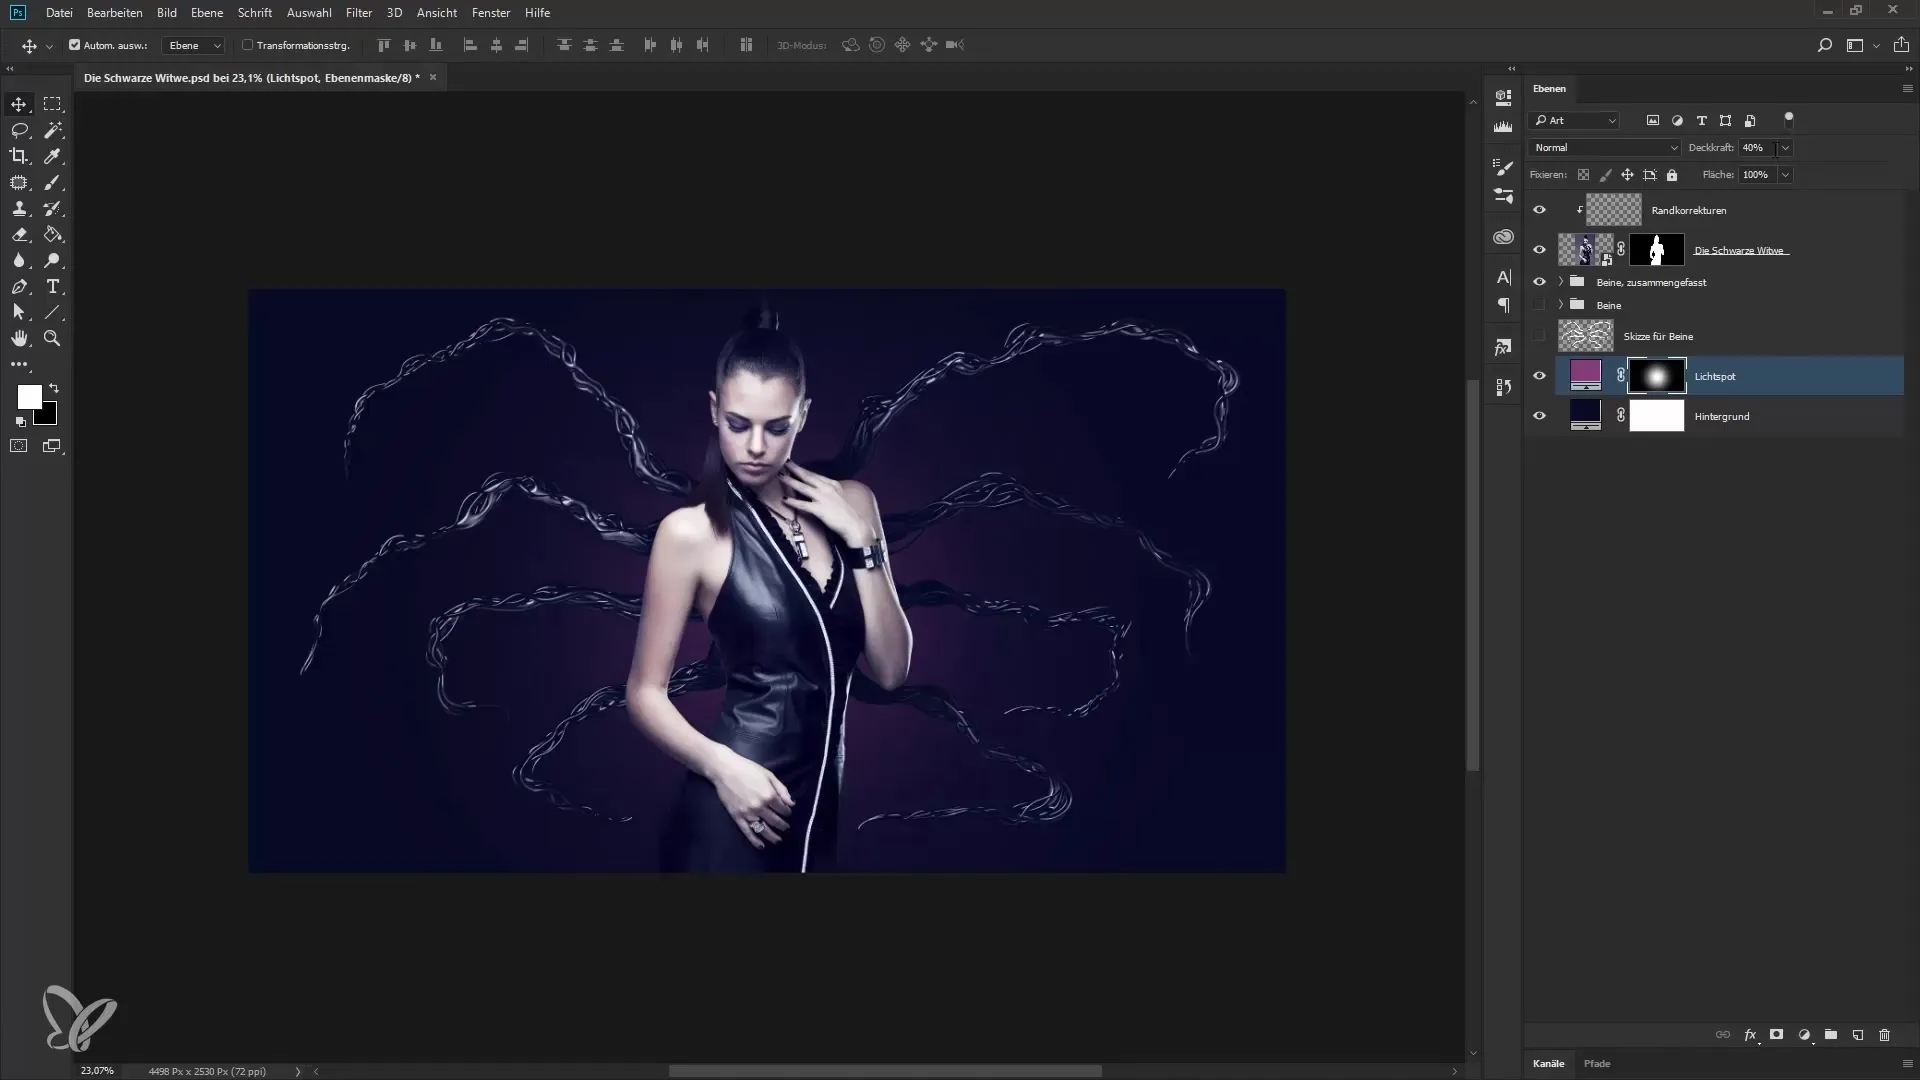
Consider how strong the light spot should appear. Reduce the opacity of the layer to achieve the desired effect, for example to 40%. Move the light spot slightly down and to the left to place it more dynamically.
Set color look across the entire image
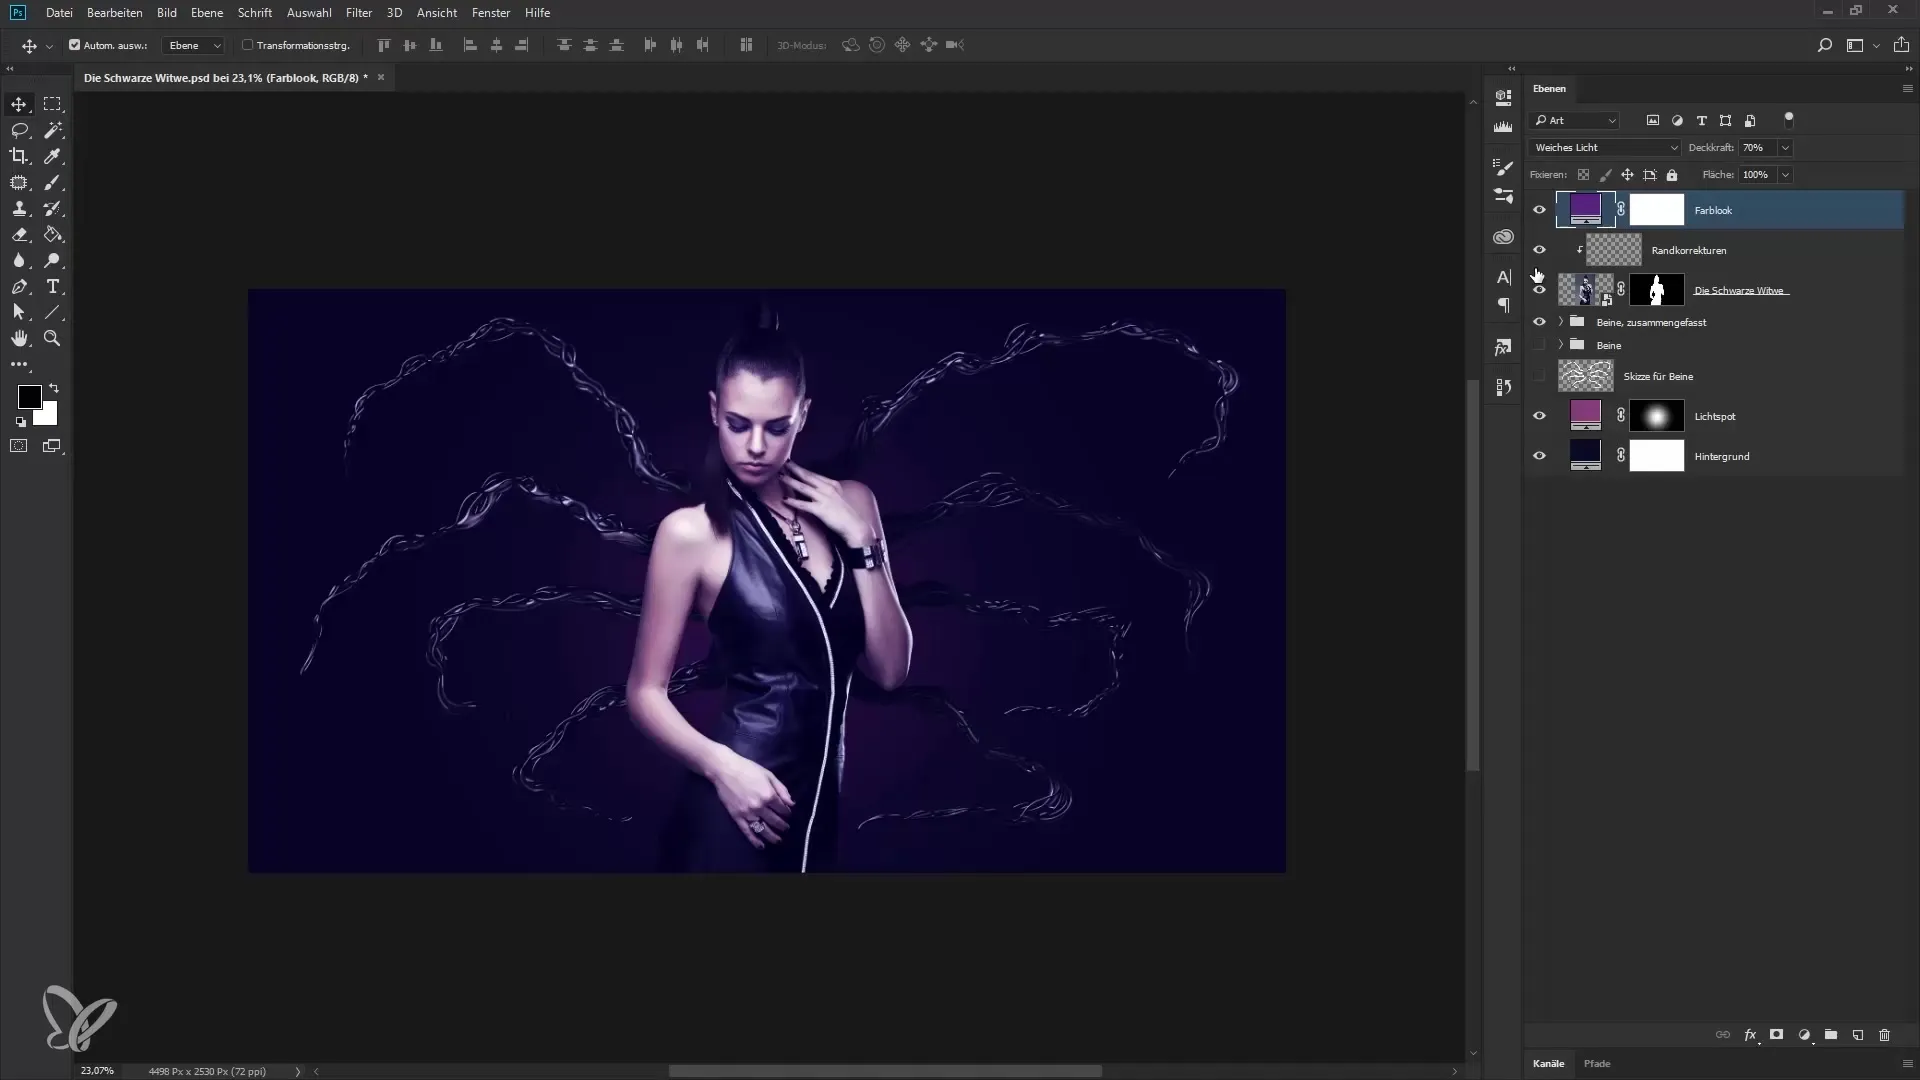
To further harmonize the image, add a color field over all the other layers. Again, click the new color field icon and choose a mild purple tone. Rename this layer to “Color Look” and set the mode to “soft light.”
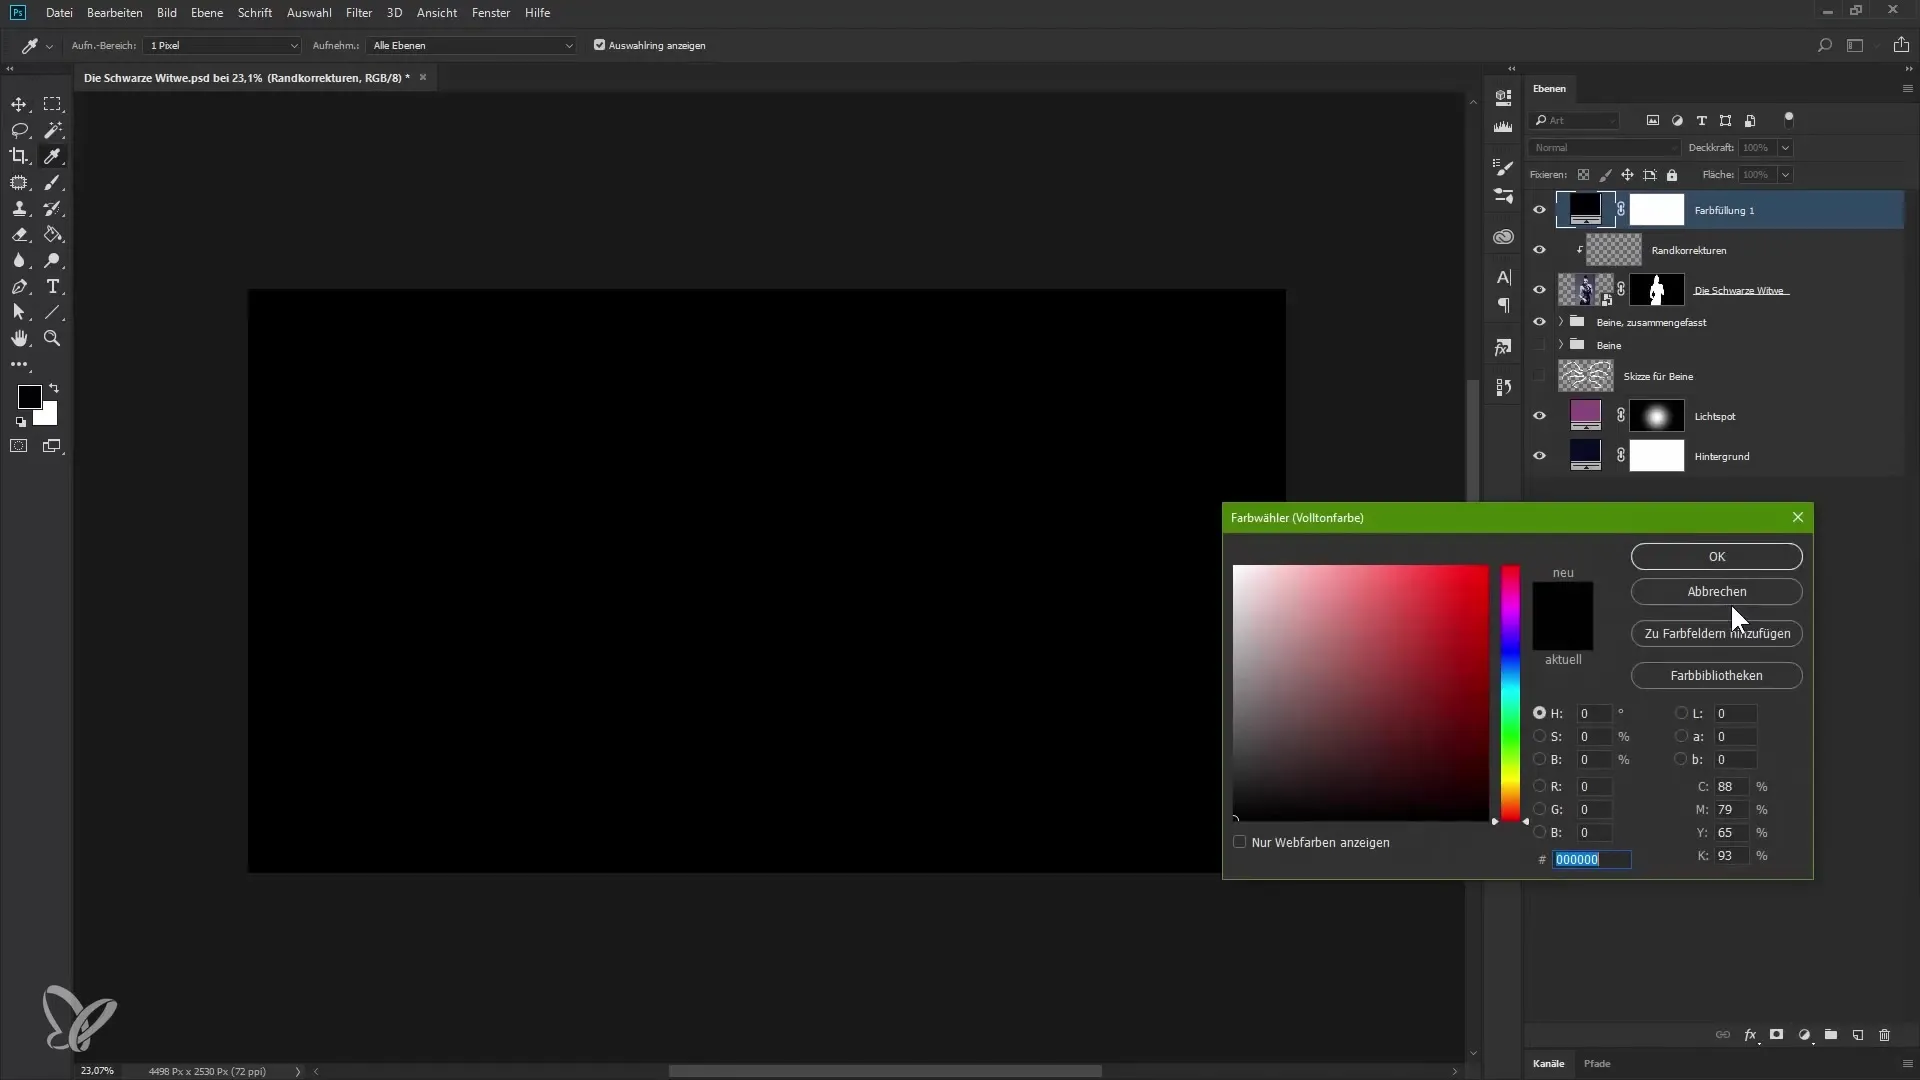
Also, reduce the opacity to about 75% to gently work the effect into the image. This provides a soft transition and lends a pleasant harmony to the image.
Noise for a harmonious image surface
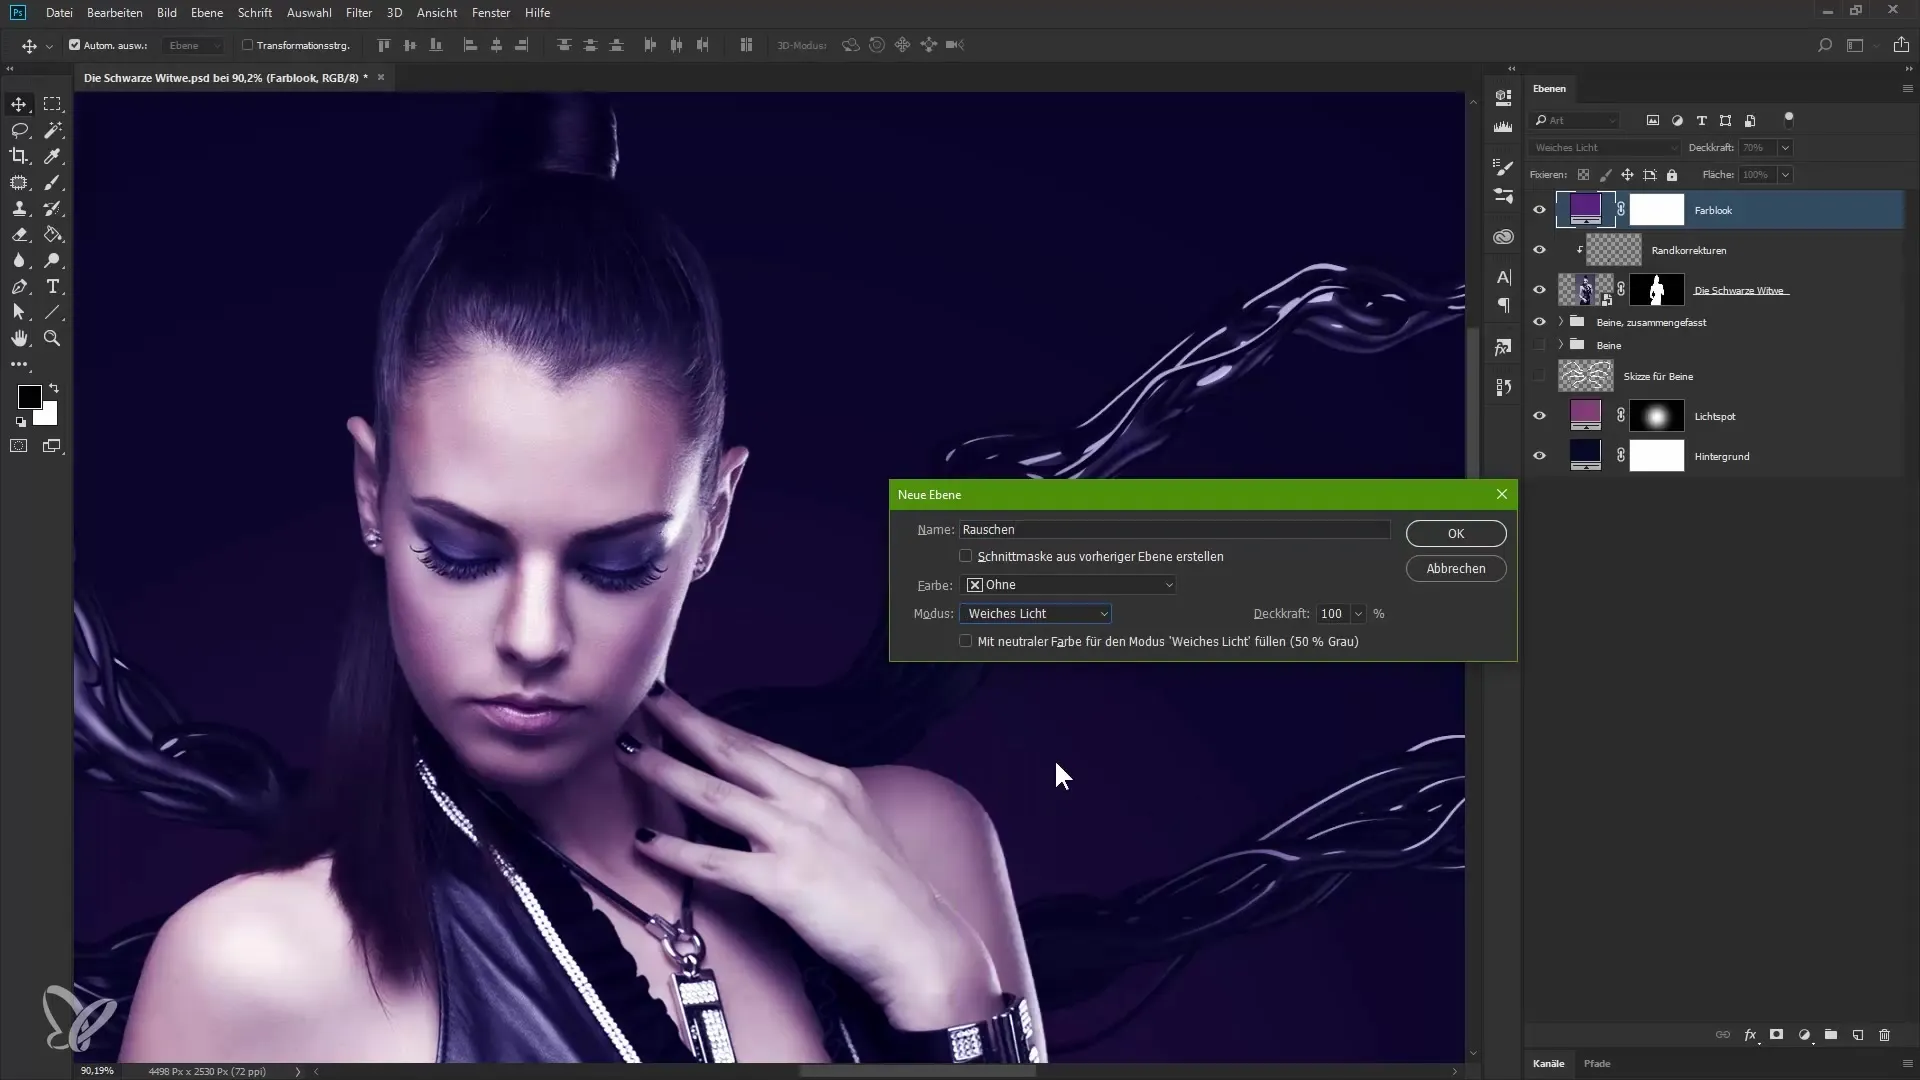
To round off the overall image and enhance the characteristic, we add a noise layer. Make sure the top layer is selected and create a new layer. Rename it to “Noise” and set the mode to “soft light.” Enable the option for medium gray so that the new layer is initially invisible.
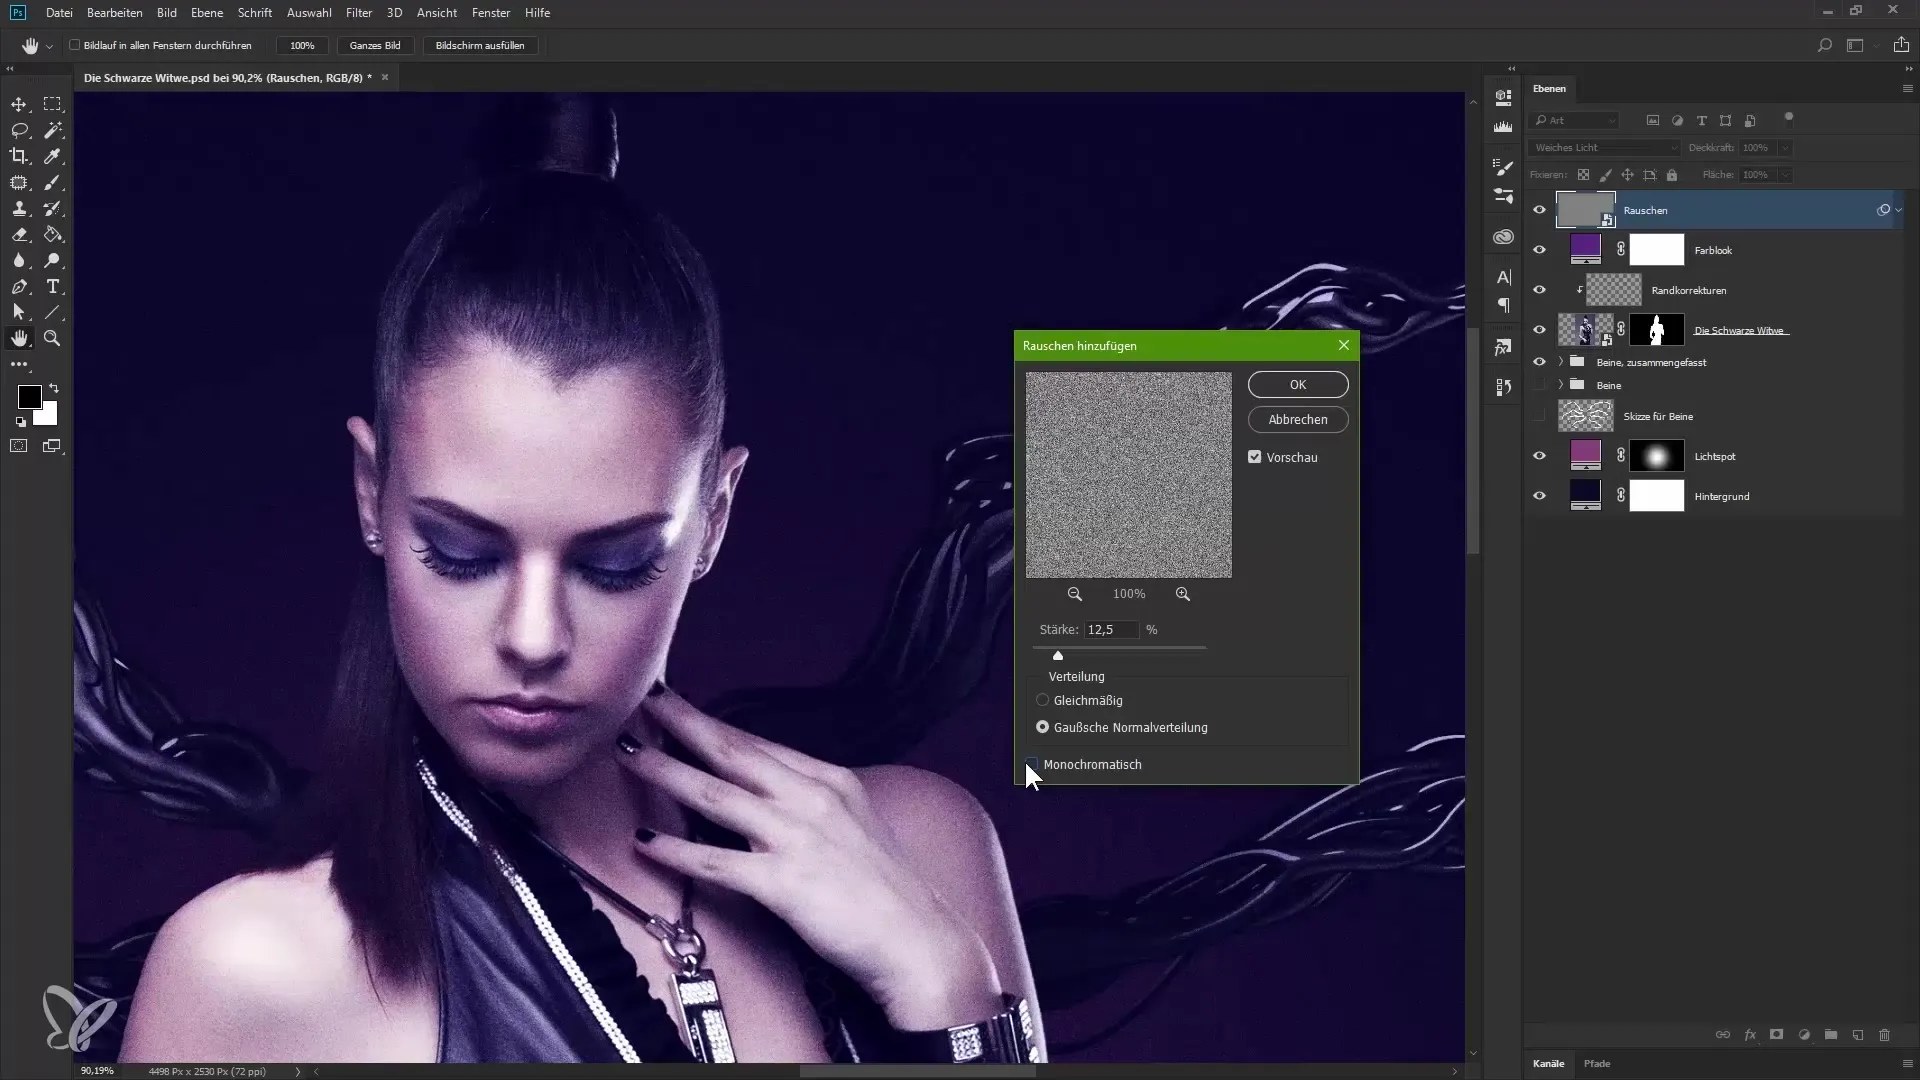
Now convert this layer into a smart object to adjust the noise values later. Select the filter “Noise” from the menu and click on “Add Noise.” Make sure the monochromatic option is checked so that the noise appears in black and white.
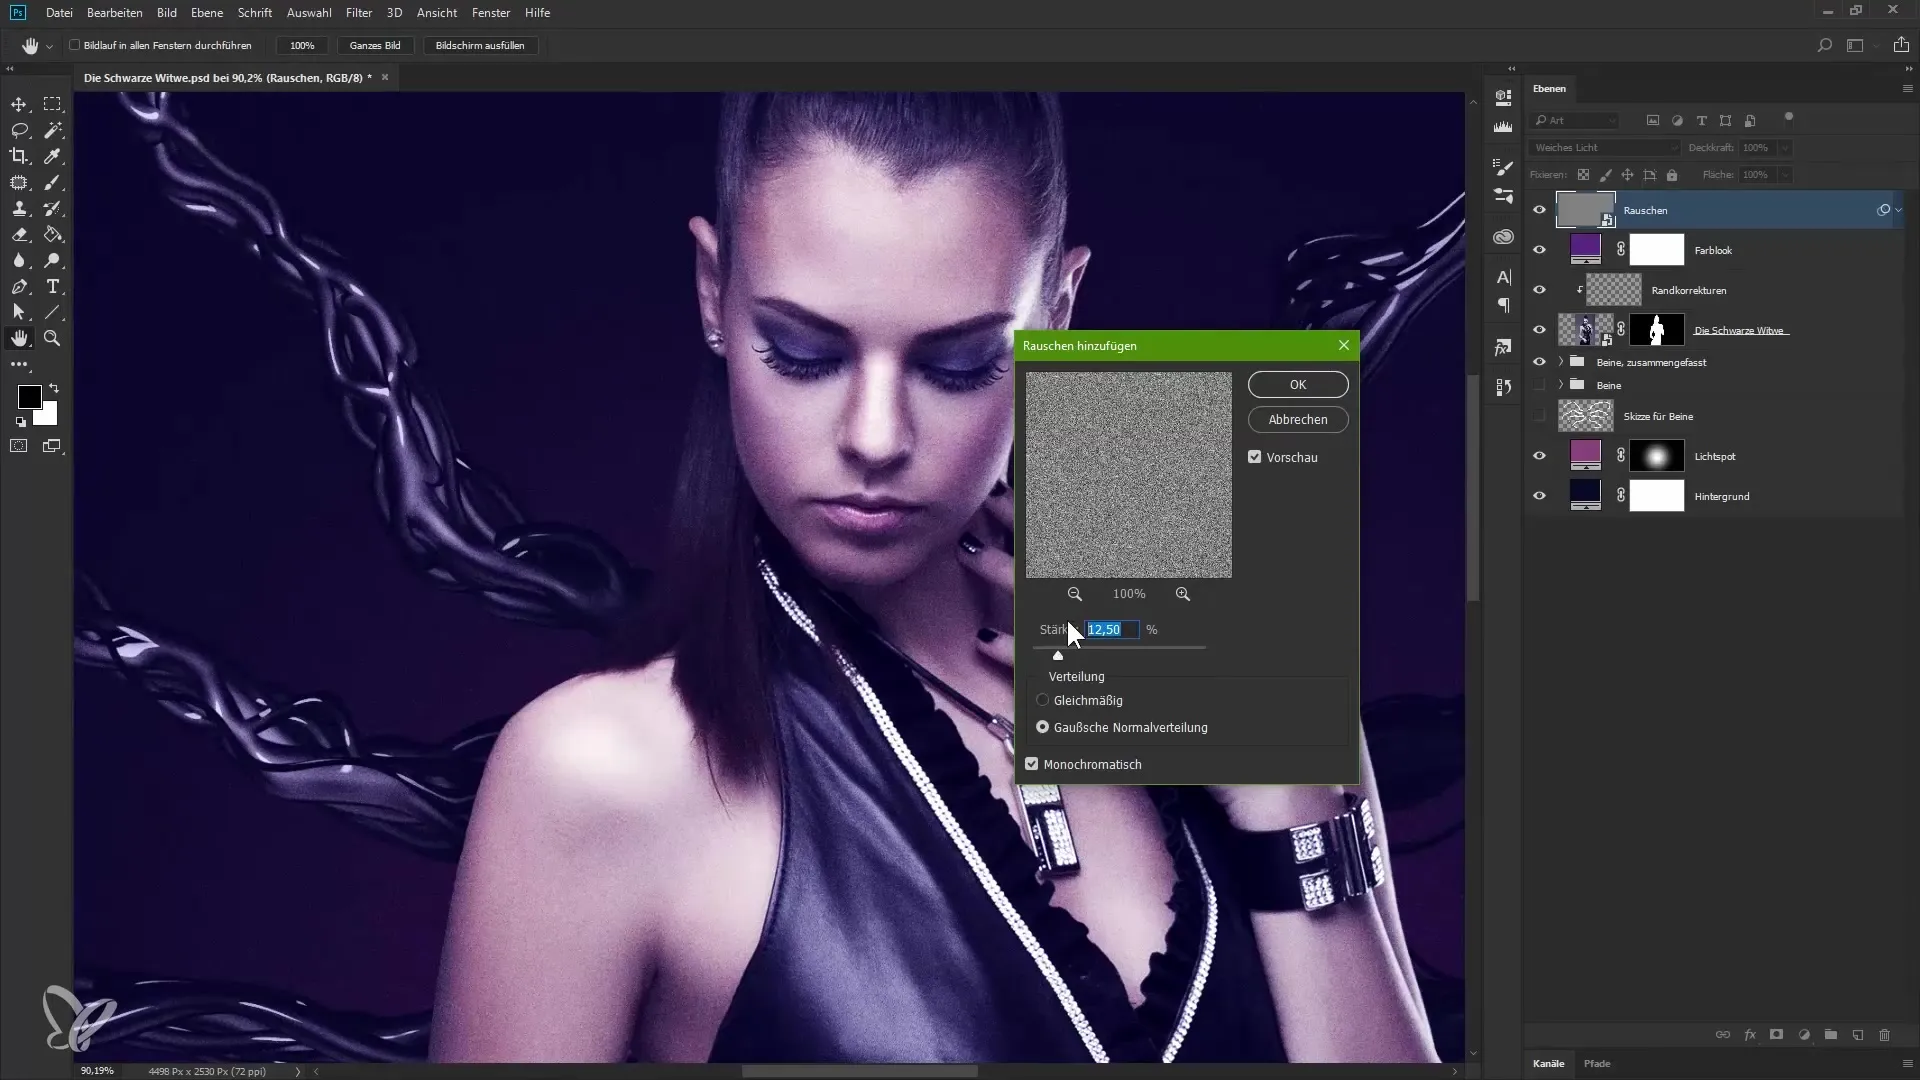
Adjust the noise value until you are satisfied with the look – in this case, maybe around 11%. This will give you the desired effect, making the image overall softer and less sharp-edged.
Summary - Guide to Compositing in Photoshop: Black Widow – 4 Color Look and Final Steps
You have now learned how to impressively enhance your image with various techniques in Photoshop. With color look, light spots, and the noise layer, you bring both drama and harmony into your composition.
Frequently Asked Questions
How do I create a color field in Photoshop?Click on the new layer icon and select "Color Field."
What can I do if the light spot is too intense?Reduce the opacity of the corresponding layer to diminish the effect.
How can I add noise to my image?Create a new layer, rename it, and select “Noise” in the filter and then “Add Noise.”
Why should I use a mask?With a mask, you can strategically control the visibility of effects and make parts of the layer invisible.
What does the “soft light” mode do?The “soft light” mode provides soft transitions and a harmonious connection between the individual layers.


