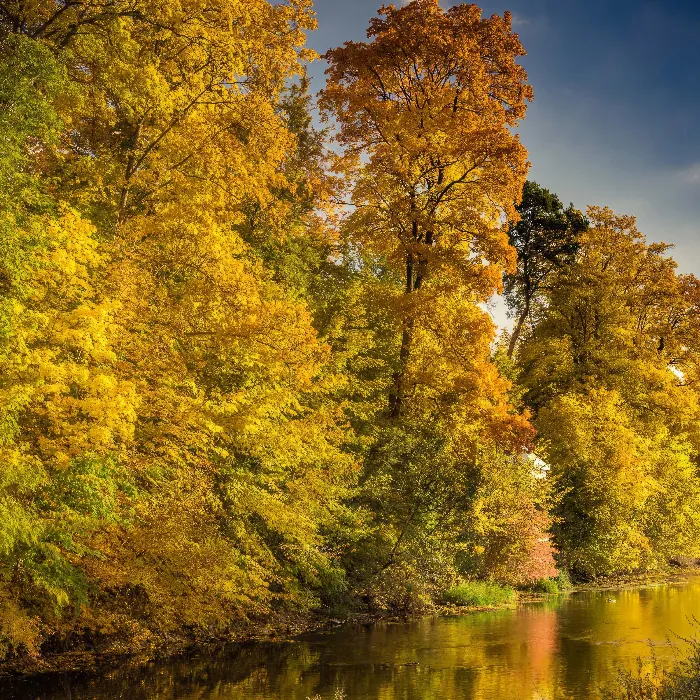
When you stand in nature in the morning and the first rays of sun glide over the landscape, you experience a special mood. Fog and light rays create an almost magical atmosphere that can be captured beautifully in photography. Especially the combination of landscape elements and varying lighting conditions allows you to create impressive images. In this guide, you will learn how to effectively use a graduated neutral density filter to balance the tonal contrasts between the sky and the landscape.
Key Insights
- Use of a graduated neutral density filter to harmonize contrasts.
- Selection of optimal camera settings for landscape photography in changing light conditions.
- Importance of light gradients and their effects on the emotions in an image.
Step-by-Step Guide
1. Preparation and Equipment
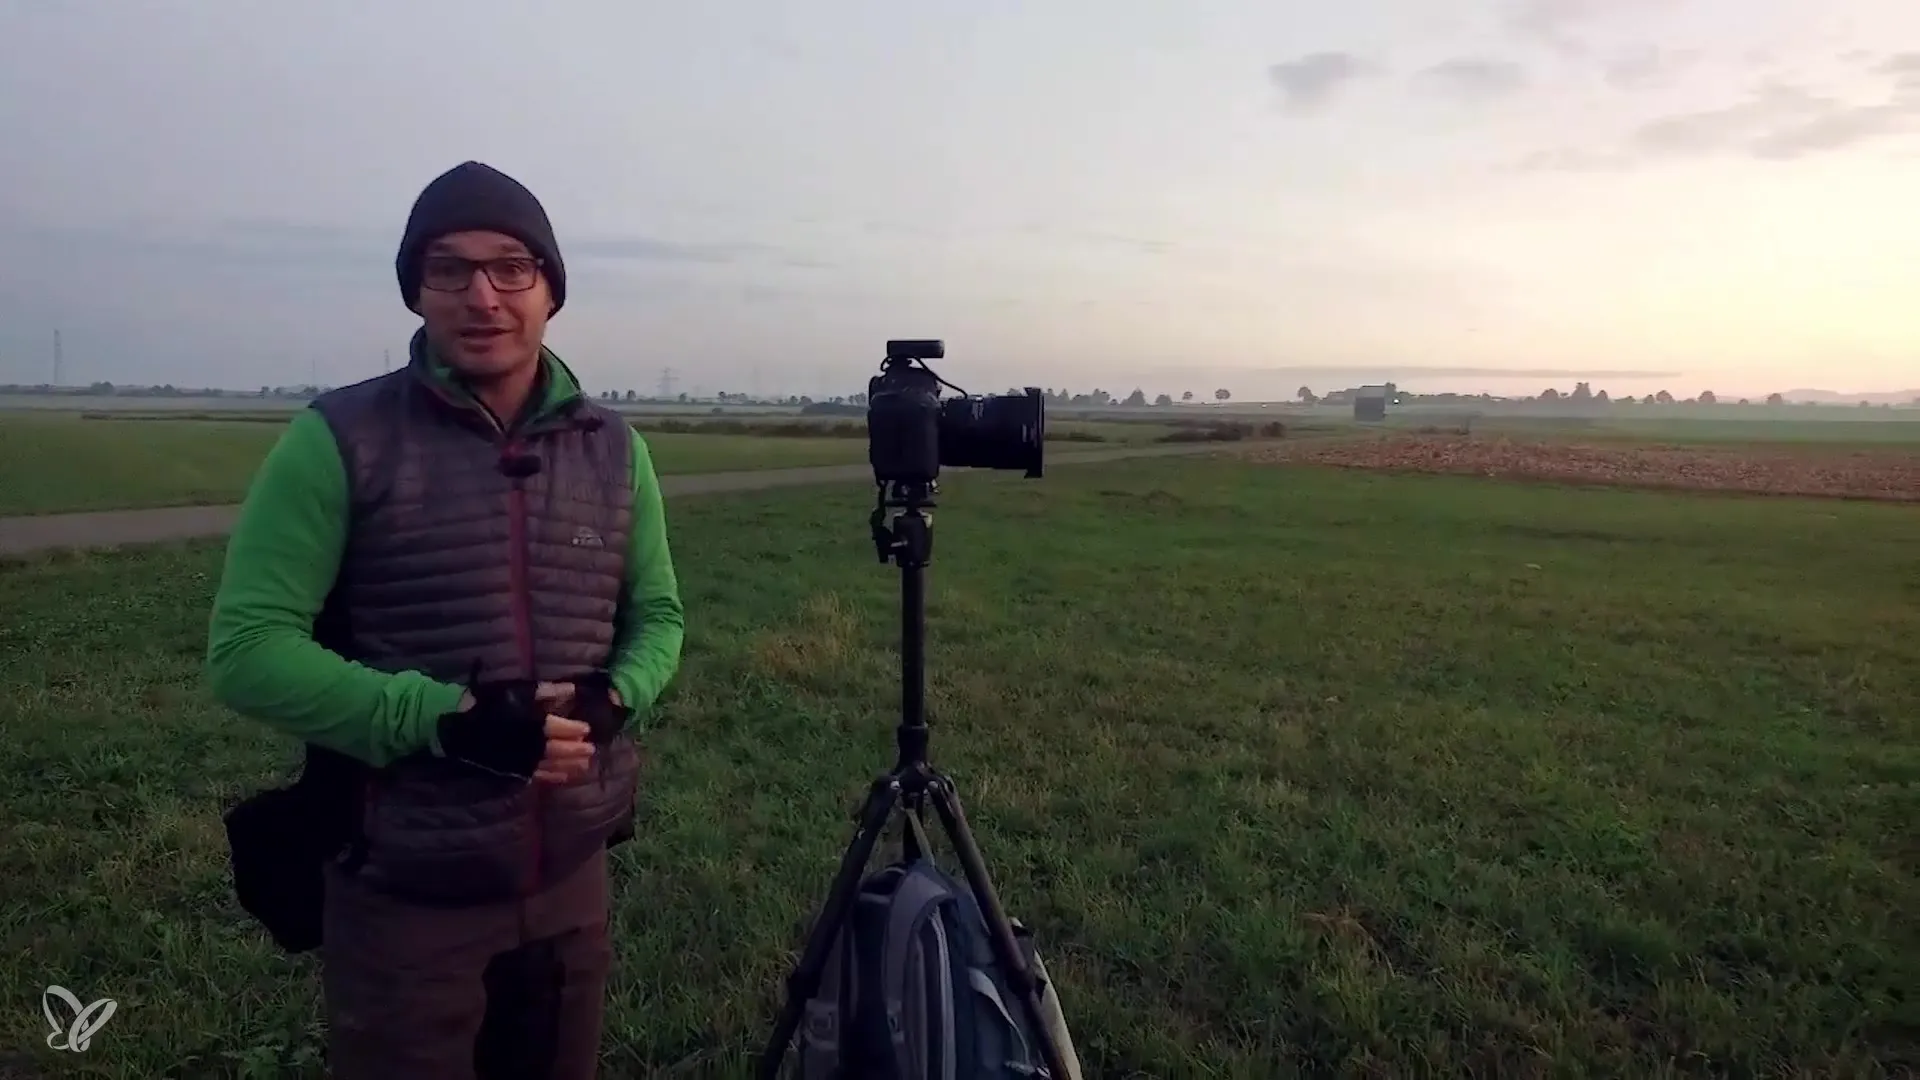
At the beginning, you should set your camera to the upcoming lighting mood. The morning often brings different lighting, so it's sensible to set the camera to automatic exposure. This alleviates your worries about the exposure time while you can concentrate on the composition of the image. You want to achieve a sharp image from front to back, so an aperture of f/8 is a good choice.
2. Location and Composition
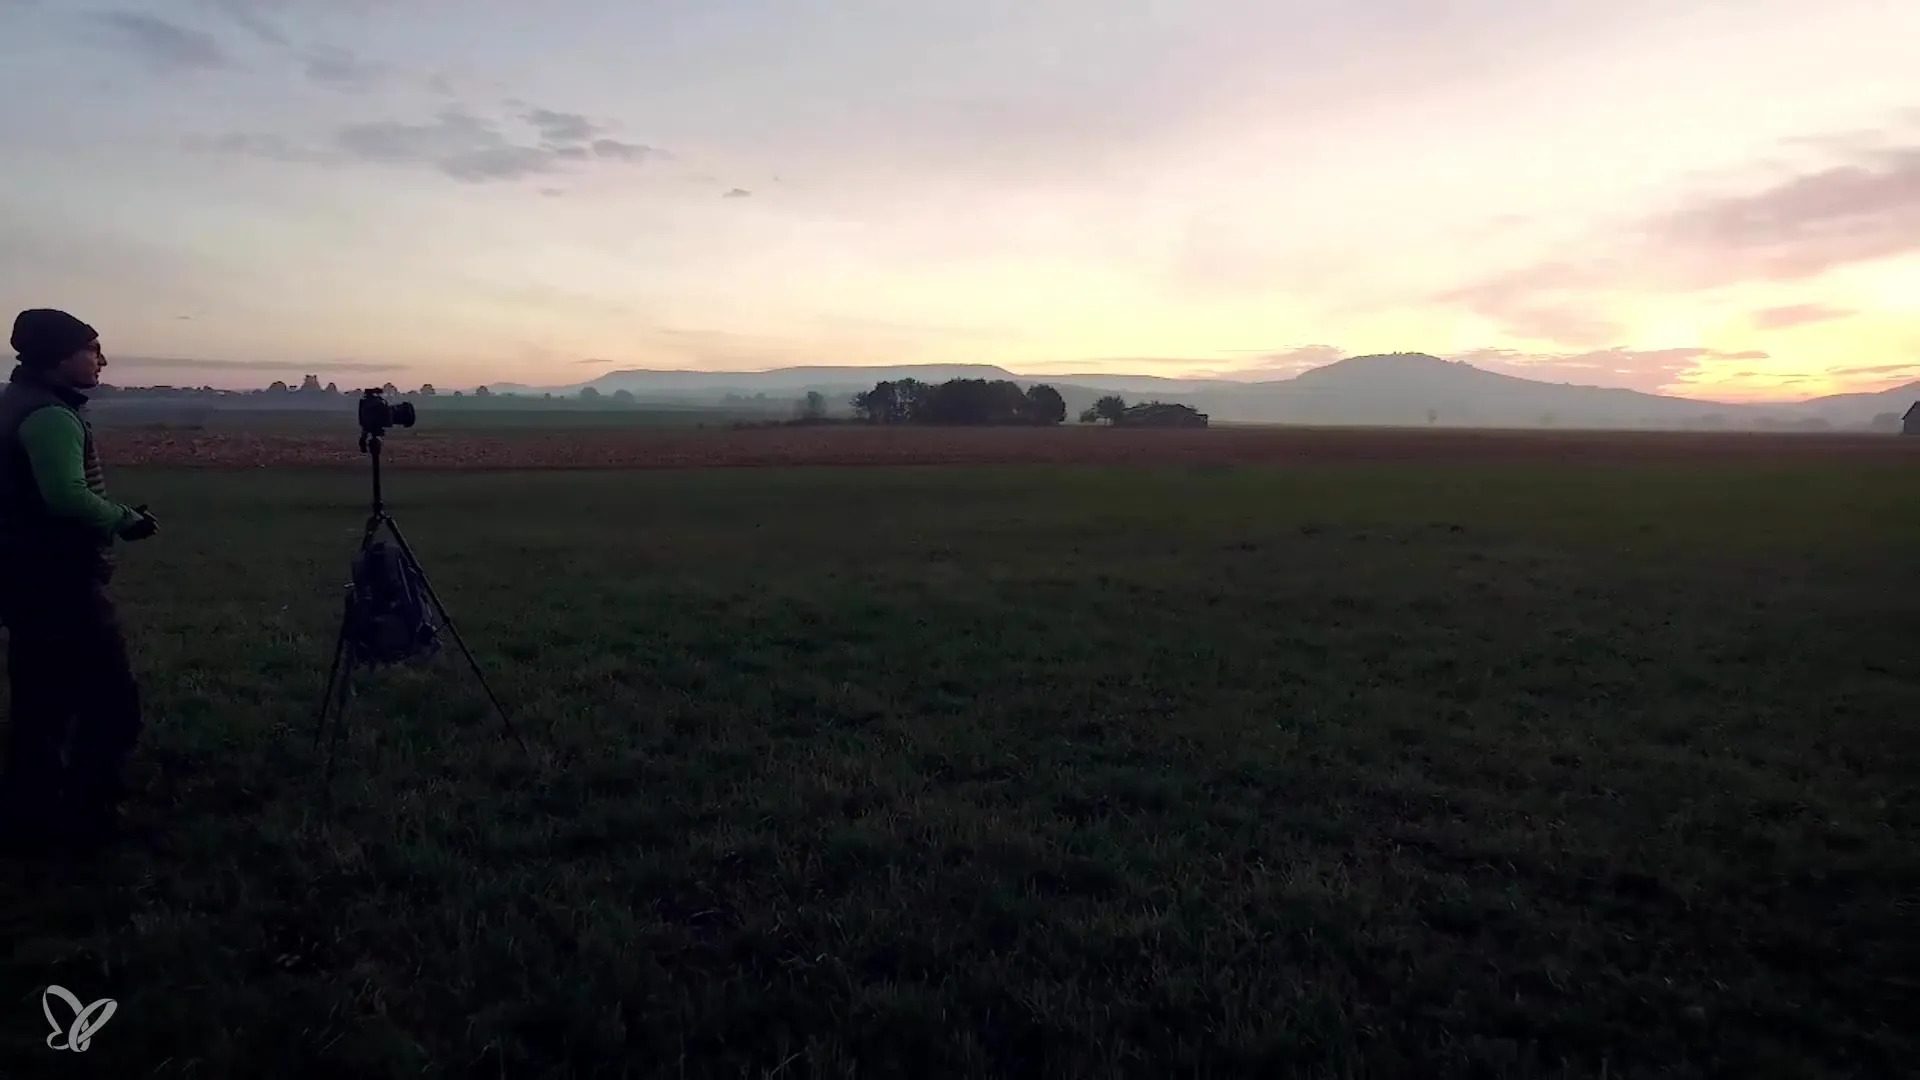
Choose a location that shows the landscape interesting to you. Keep the rule of thirds in mind: divide the image into three horizontal sections and place the landscape in the lower third and the sky in the upper third. Make sure interesting elements like cloud structures or fog are visible in the picture, as they add depth to the image.
3. Balancing Contrasts
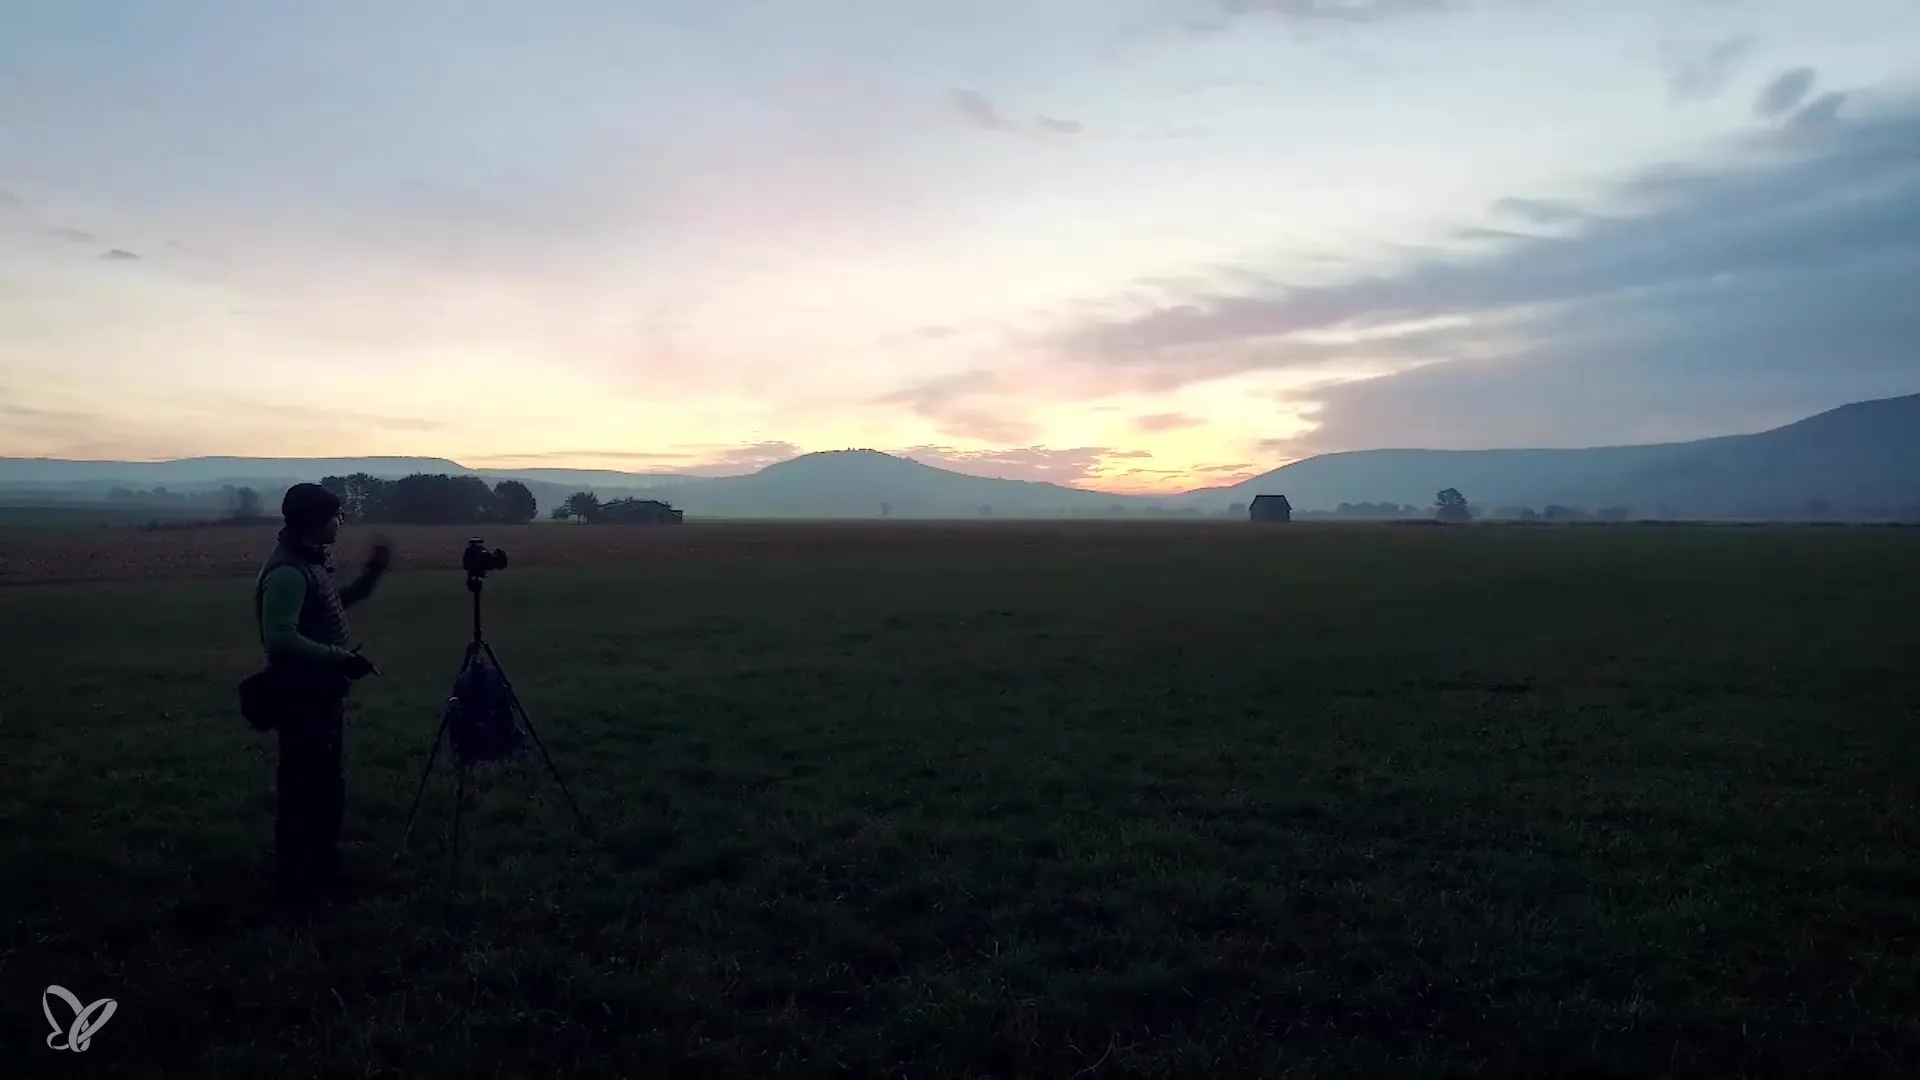
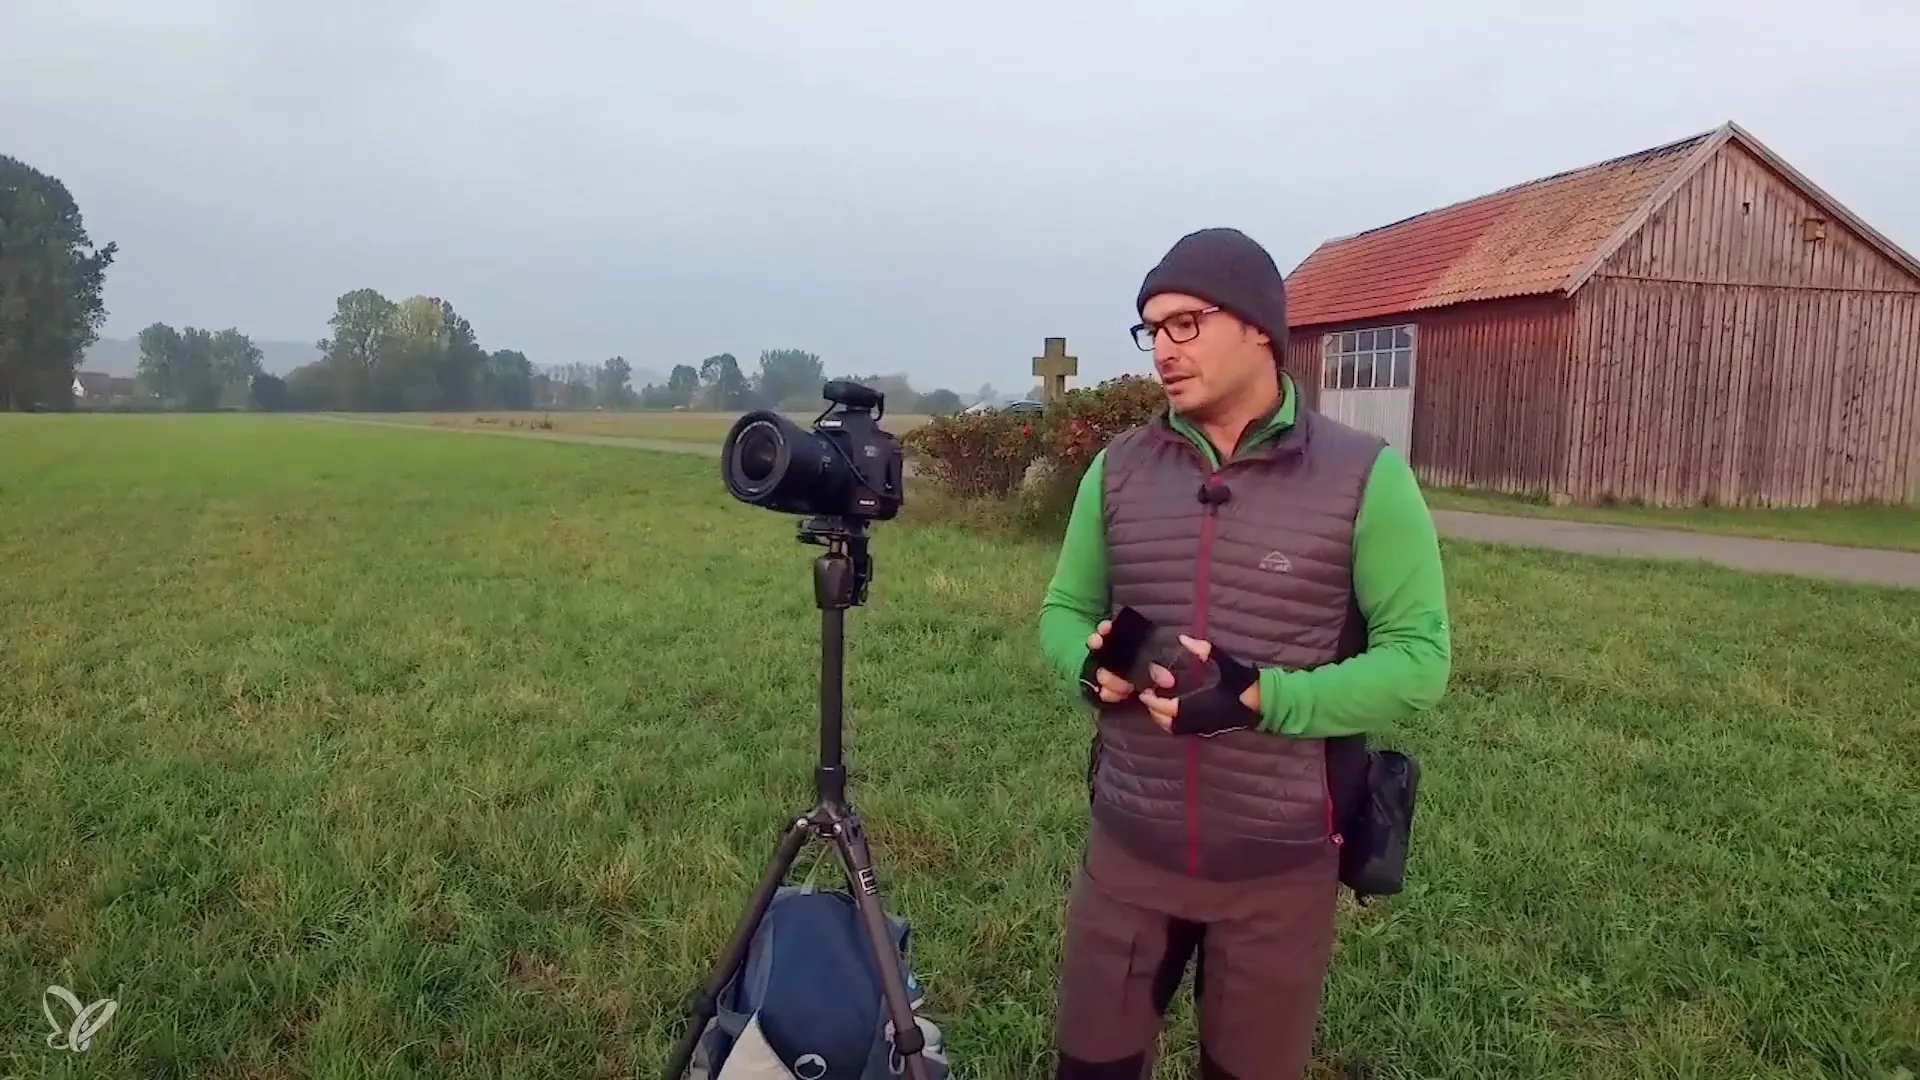
When shooting in the morning, you will notice that the sky is often brighter than the darker landscape. To balance this contrast, you will need aids. A graduated neutral density filter will help you tremendously, as it can reduce the brightness difference between the sky and the ground. Simply hold the filter in front of the lens to check the effect.
4. Adjust Exposure Compensation
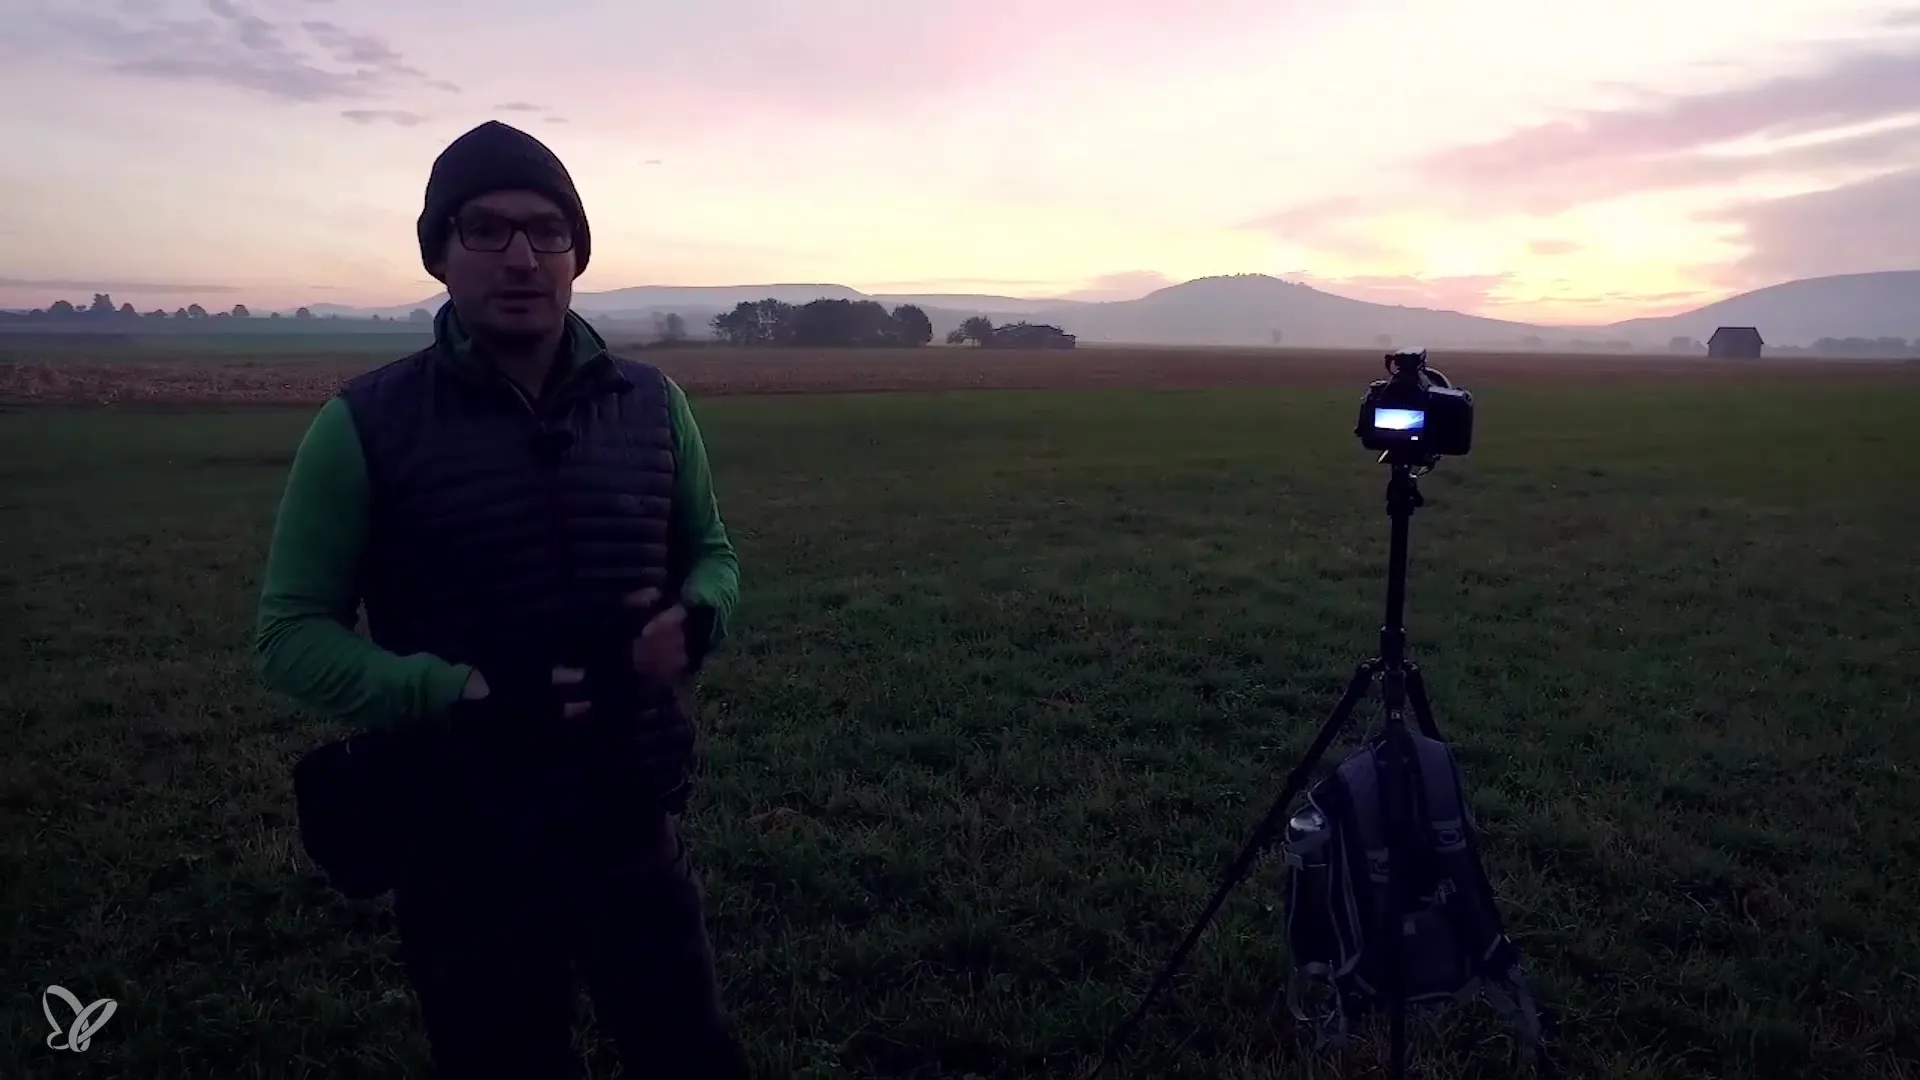
Once you've taken your shot, you might see that the lower part is too dark. You can compensate for this with exposure correction. Increase the exposure by one stop to brighten the landscape without making the sky overexposed.
5. Set the Focus Point
Make sure to set the focus point on the horizon line. A light meter can help you with this by showing whether you captured the scene well. A sharp image is crucial, especially in landscape photography, where the details need to stand out.
6. Varying Focal Lengths
To capture different perspectives and moods, start with a short focal length of 16 mm for a panorama and then switch to 35 mm to capture additional details in the composition. Finally, you can dive into the plant world by switching to a focal length of 100 mm while wanting to capture the sunrise in the background.
7. Light Gradients and Emotions
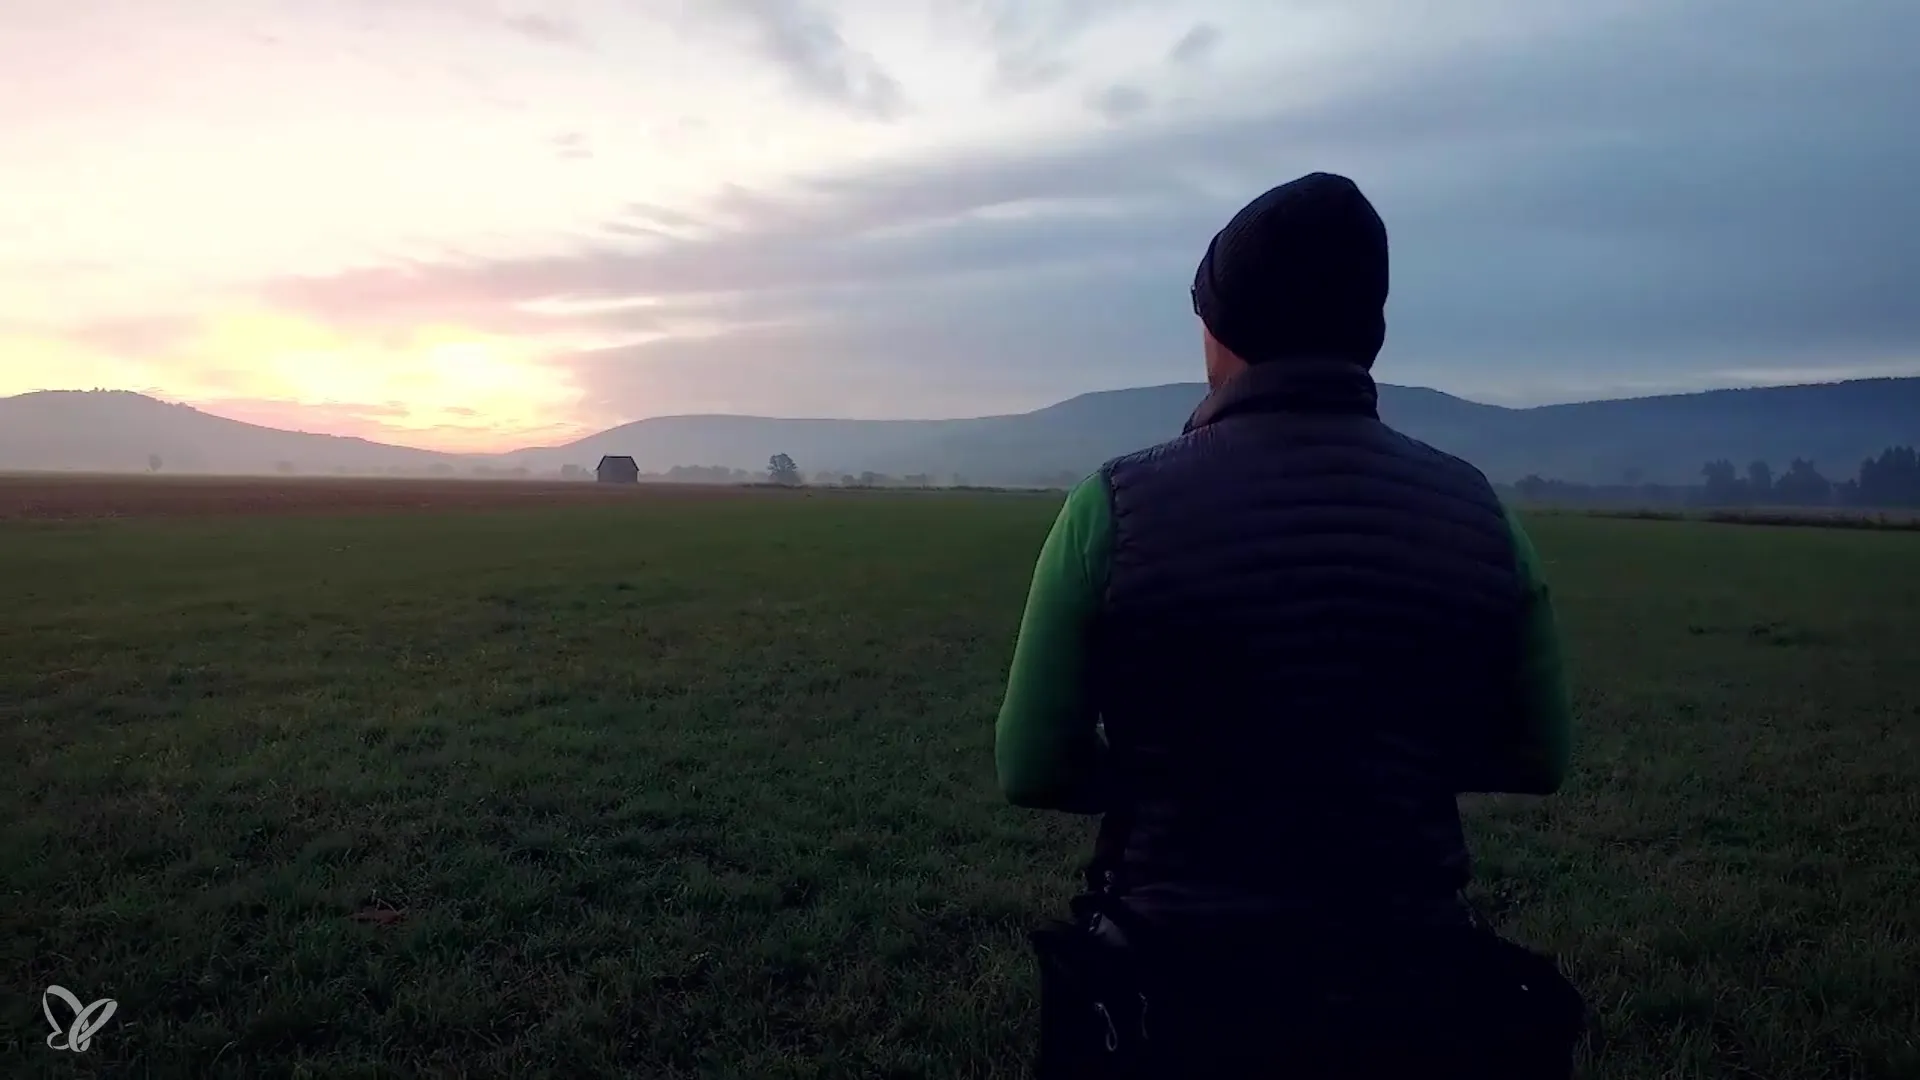
The most important element in such shots is the light gradients. They give your images an emotional depth that cannot be achieved with other techniques. Make sure to recognize the light gradients and incorporate them into your composition. Test shots will help you determine the best light conditions for your final shot.
8. Post-Processing
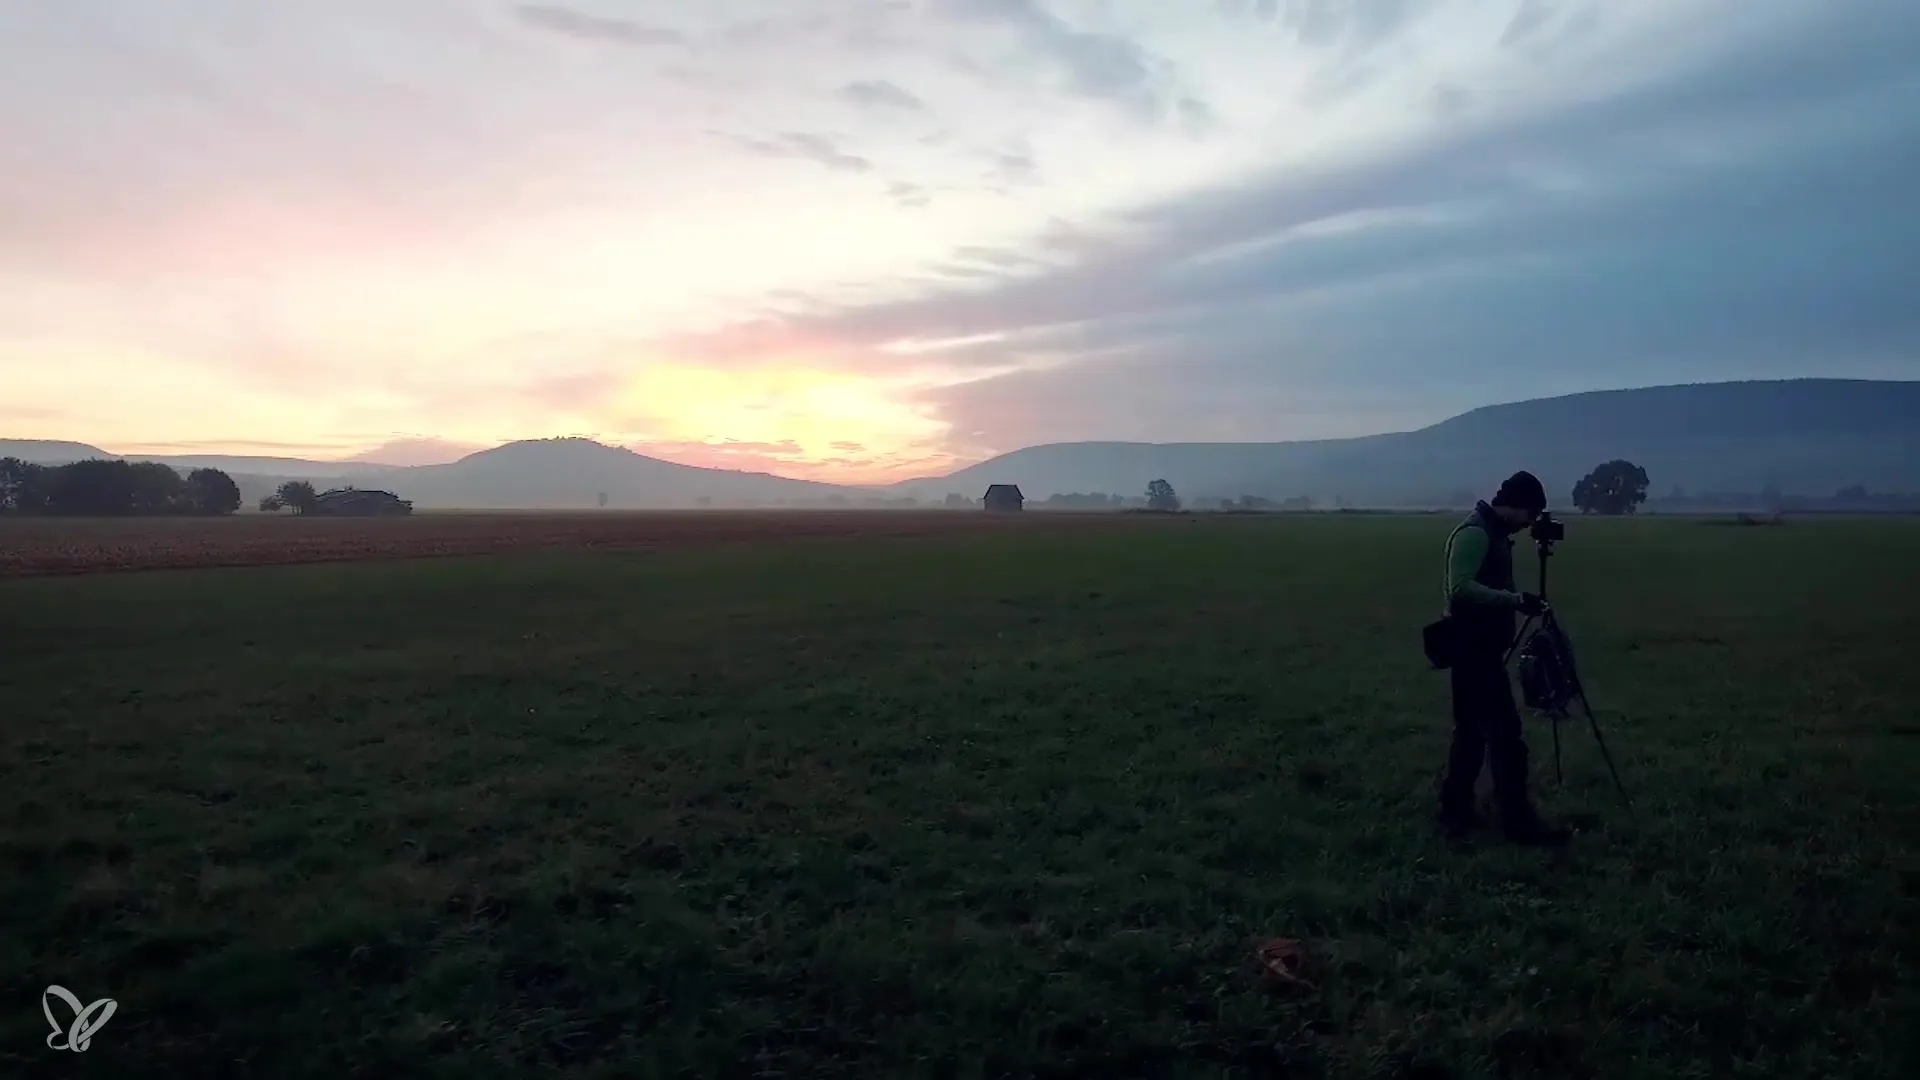
After taking the shot, you can post-process your images in editing software like Lightroom to further optimize individual areas. Here you can adjust both the landscape and the sky separately to achieve the best results. Adding light gradients in post-processing is also possible if you did not use a graduated neutral density filter.
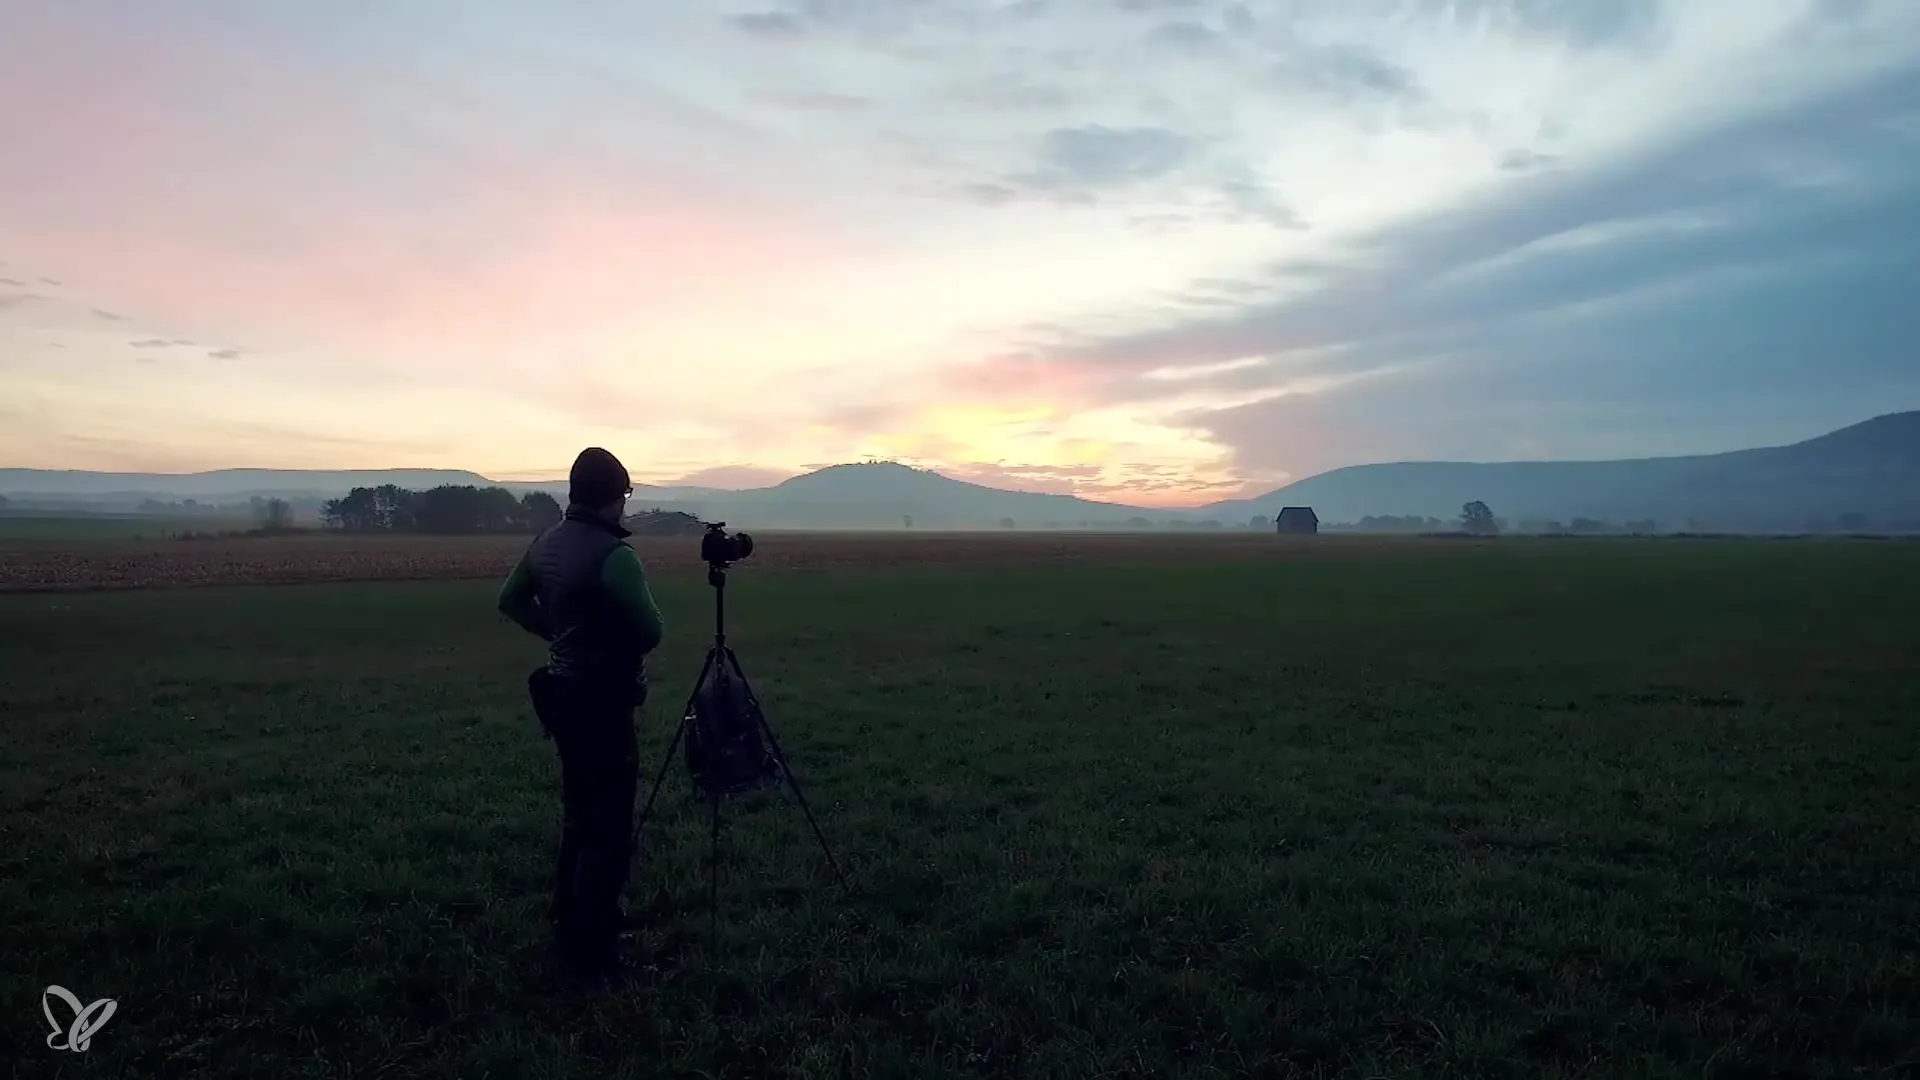
Summary - Capturing Autumn Landscape Photos: Effectively Capturing Fog Scenes
With the right preparations, camera settings, and application of graduated neutral density filters, you can capture the breathtaking plays of light in autumn landscapes. It requires some practice and sensitivity to the lighting conditions, but with these steps, you will be able to preserve the beauty of nature in impressive images.
Frequently Asked Questions
What are the benefits of a graduated neutral density filter?A graduated neutral density filter helps to balance the brightness differences between the sky and the landscape, leading to more balanced shots.
How should I best set the camera for landscape photography?Use automatic exposure and set the aperture to f/8 for sharp rendering in the shot.
When is the best time for landscape photography?Early morning and late afternoon offer the best lighting conditions with soft, natural light gradients.
How do light gradients affect emotions in images?Light gradients give the image depth and mood, which creates emotional resonance and makes the image more vibrant.
Can I create light gradients in post-processing as well?Yes, in programs like Lightroom you can add or adjust light gradients to optimize the image.
