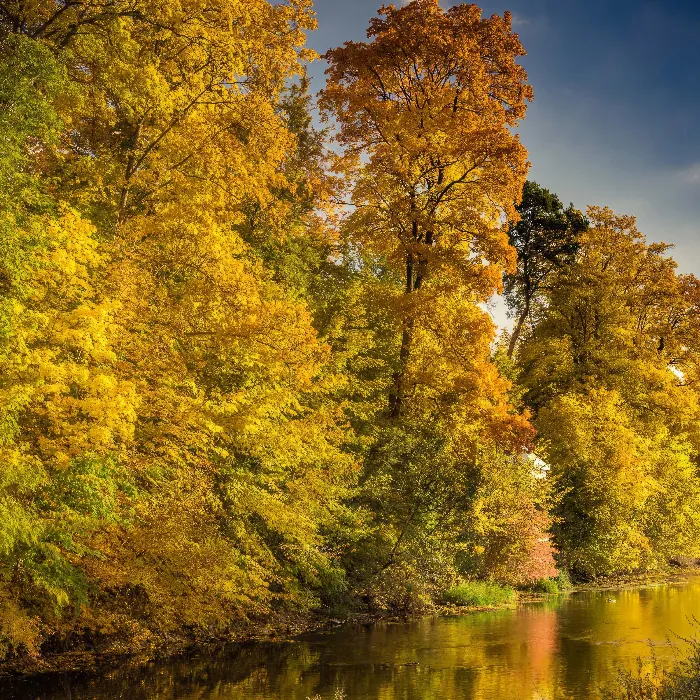
How do you capture the unique atmosphere of an autumn river between dark forest edges? In this tutorial, you will learn how to use various exposure techniques to bring out the color palette of such a mysterious location. Let's be inspired by nature and skillfully stage it with the camera.
Key Insights
- Use multiple exposures to create HDR images.
- Experiment with long exposures for a soft, smooth water surface.
- Consider different exposure variants to achieve the best contrasts.
- Pay attention to the composition between water, trees, and fog.
Step-by-Step Guide
Step 1: Positioning and Composition
At the beginning, change your position to optimize the image composition. The overhanging trees, one in yellow and the other in green, create a natural frame for the river. The bridge at the end of the scene adds an interesting point. Your goal is to place these elements harmoniously in the center of the image.
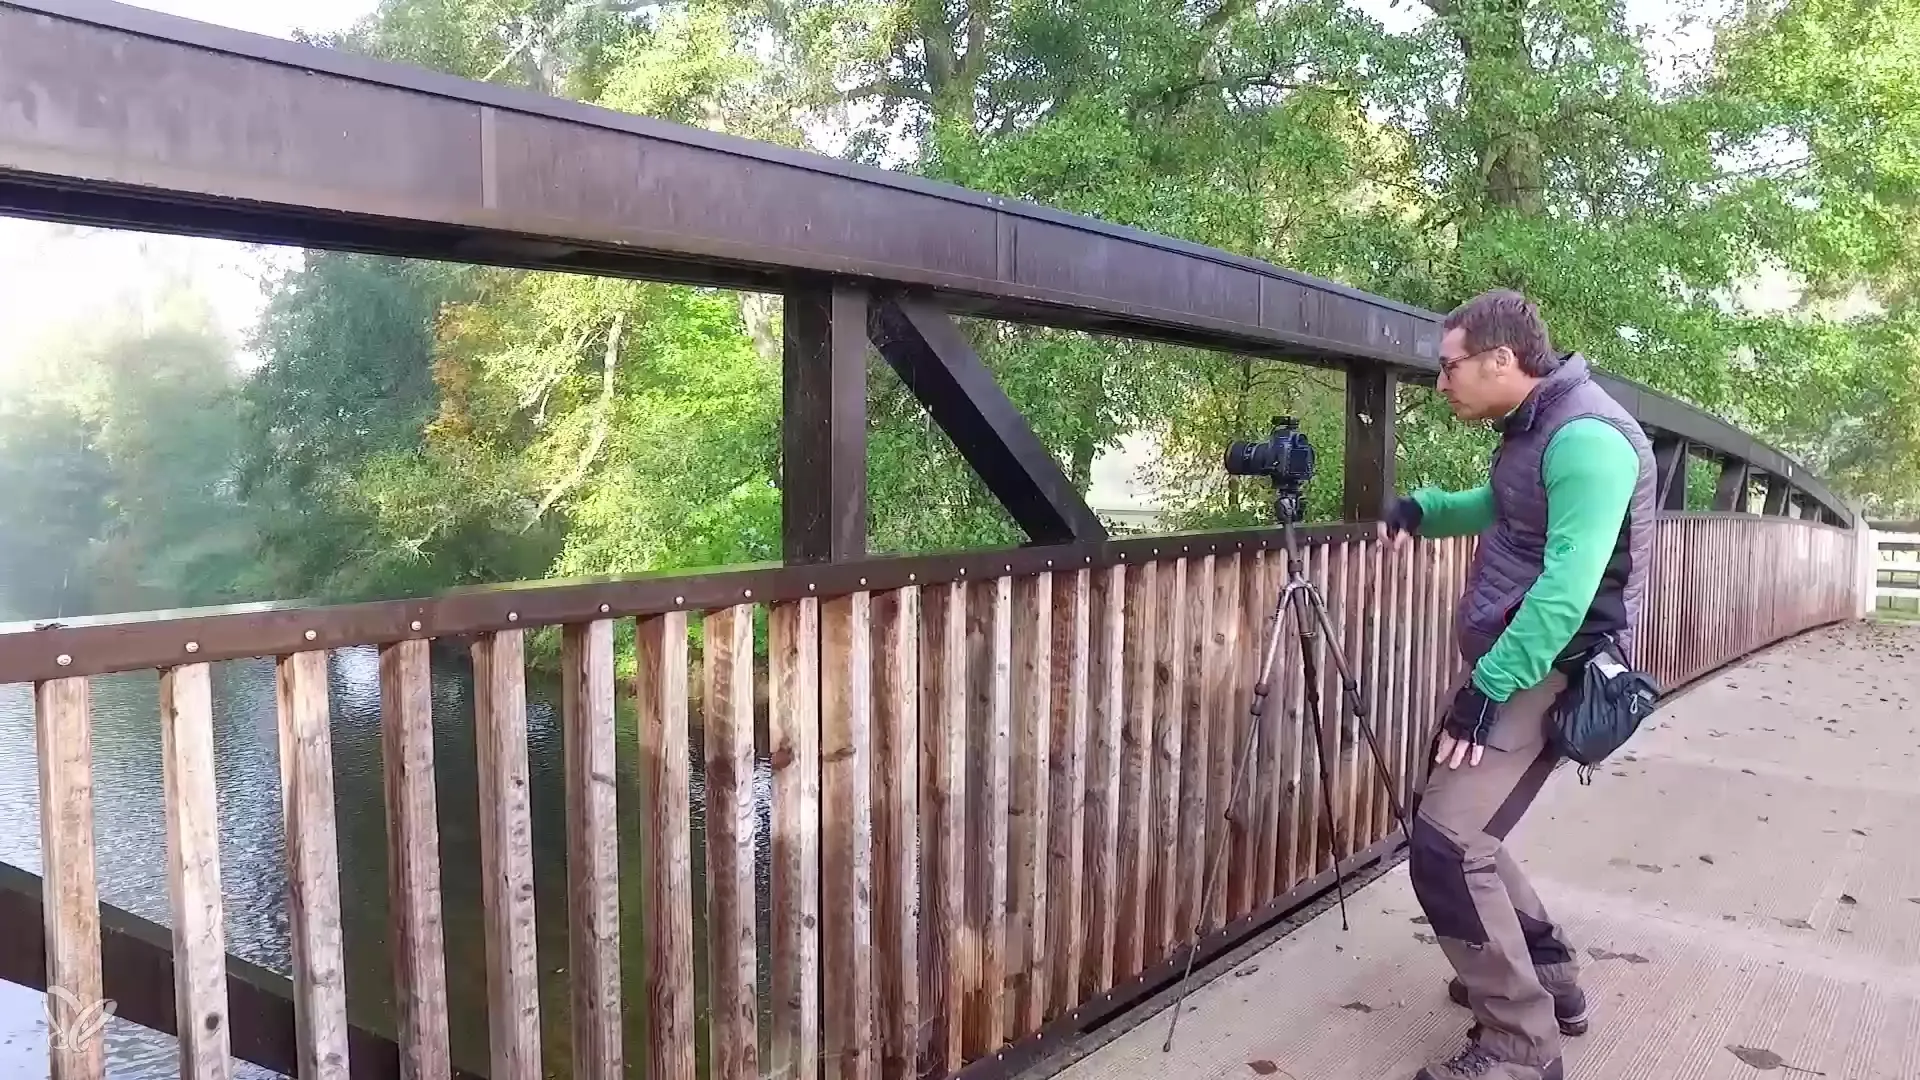
Step 2: Camera Settings
Set your camera to AV (Aperture Priority) to automatically control the exposure time. Choose an aperture of 8 to ensure everything in your image is sharply depicted. Now take your first picture to capture the initial impression of the scene.
Step 3: Analyze the First Shot
Check the first image to find that the water may look even to the human eye, but is extremely dark for the camera. At the same time, the sky is bright due to the fog. Therefore, you decide to take an underexposed and an overexposed shot to compare different lighting conditions.
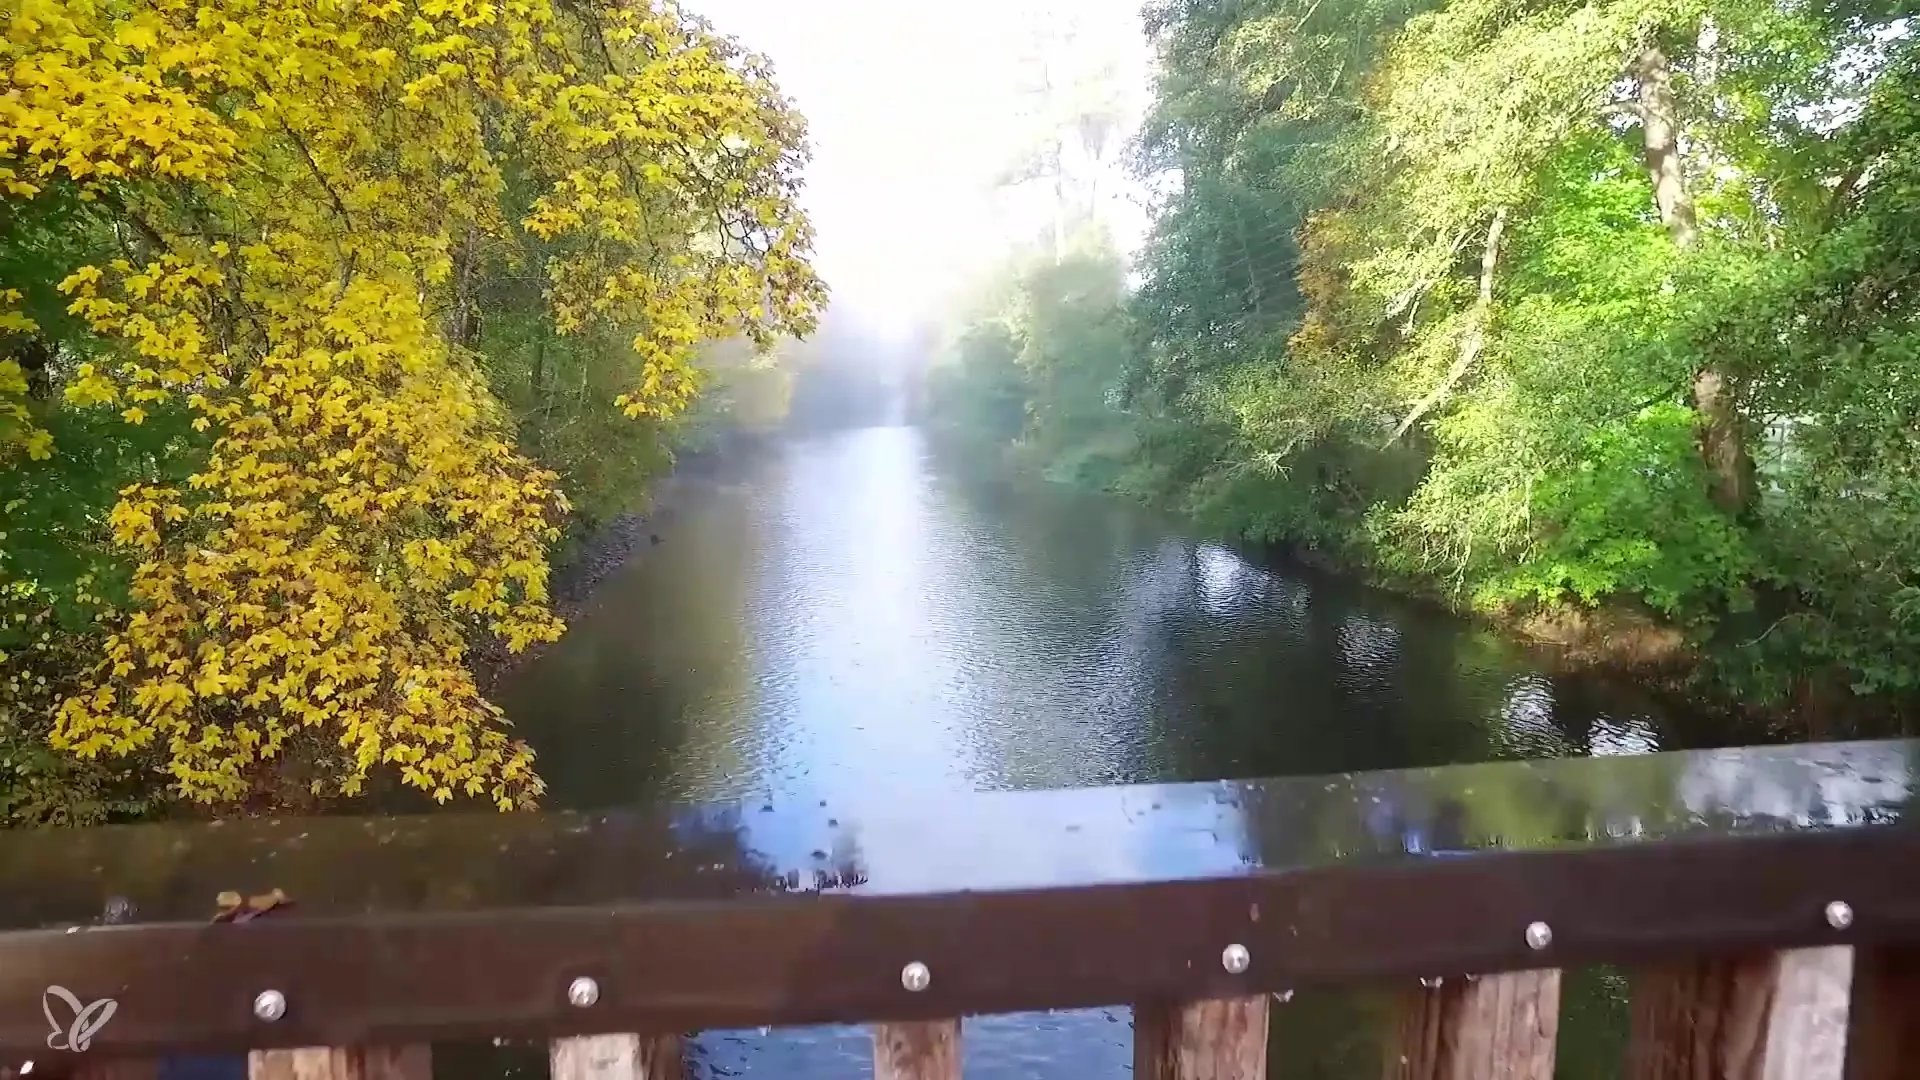
Step 4: Create Multiple Exposures
Now take the underexposed shot and also analyze the overexposed one. Use the auto-correction feature in your editing software to adjust the exposures accordingly. This will give you a good basis for the three images you will later combine in Lightroom.
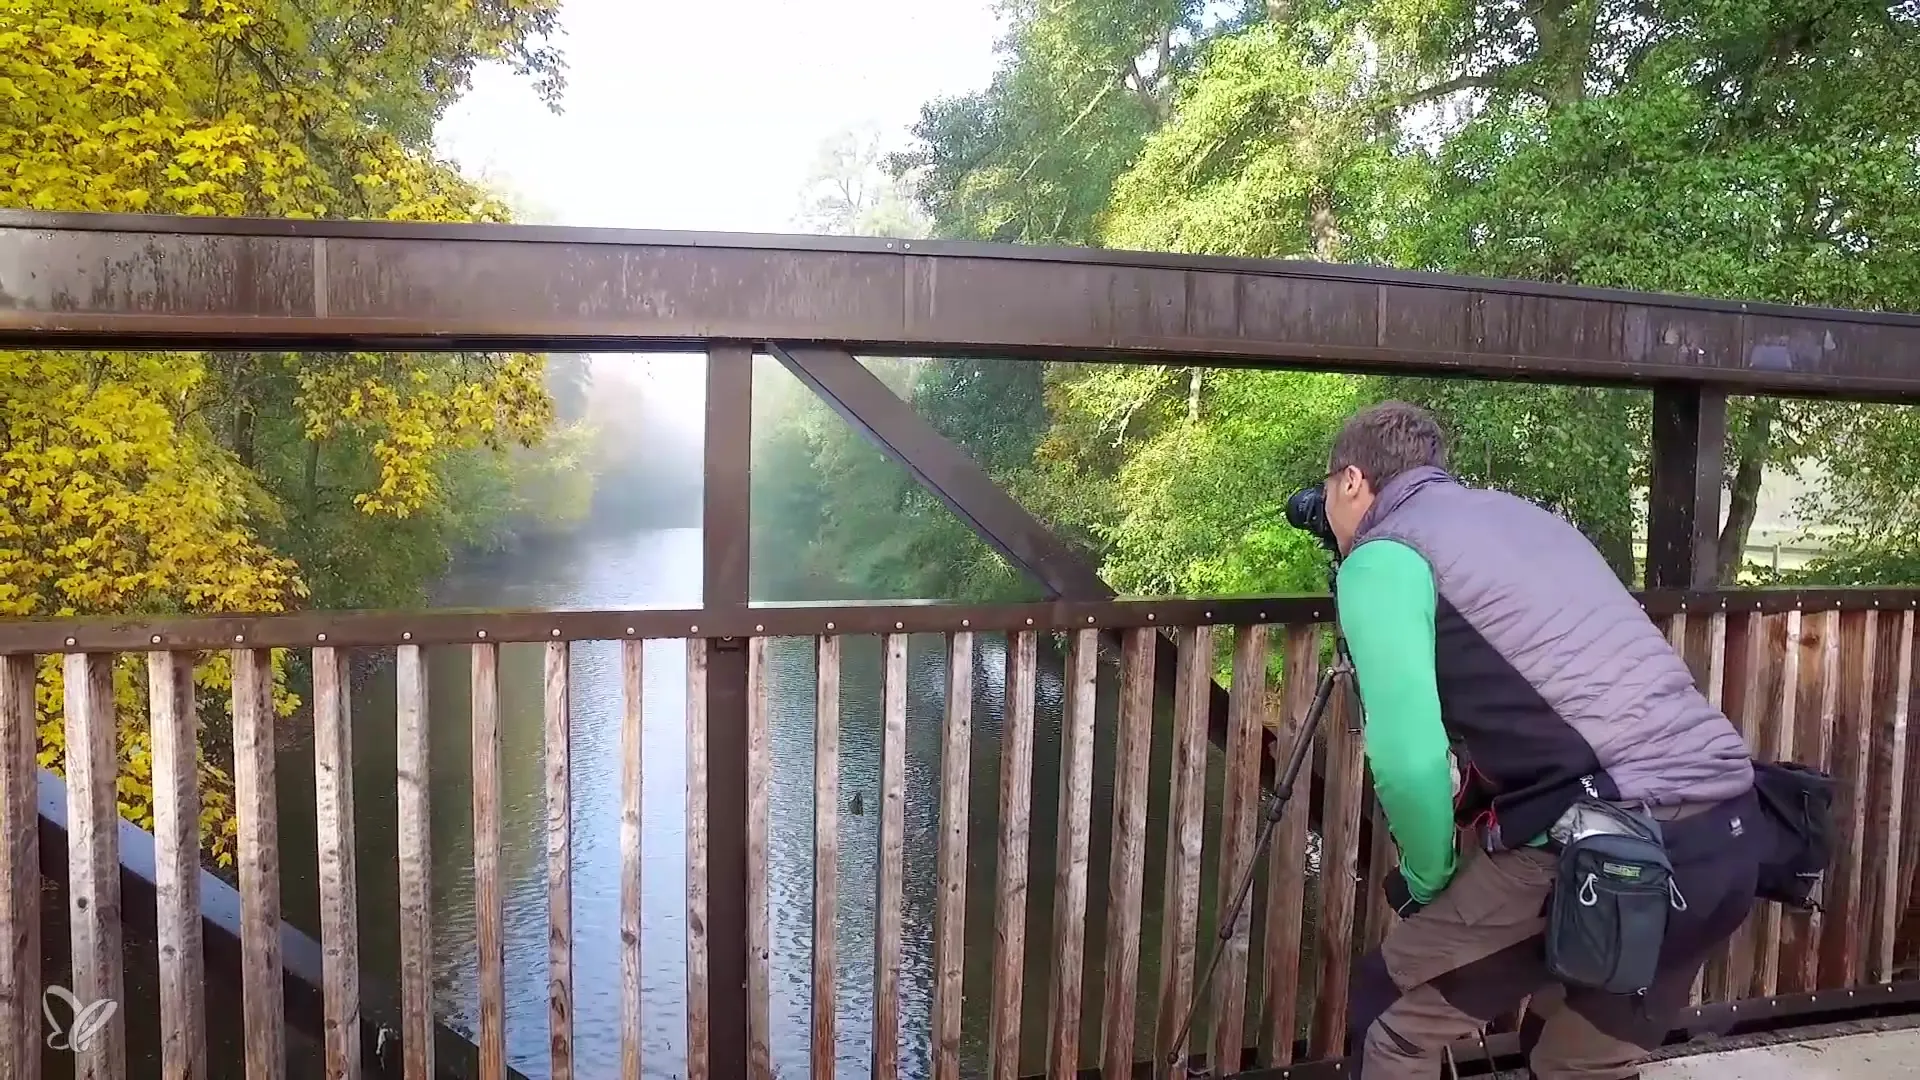
Step 5: Prepare Long Exposure
Now you want to try the long exposure. Make sure that autofocus is turned off before you switch lenses. You want to avoid the camera searching for focus again after the focus has been set for the image.
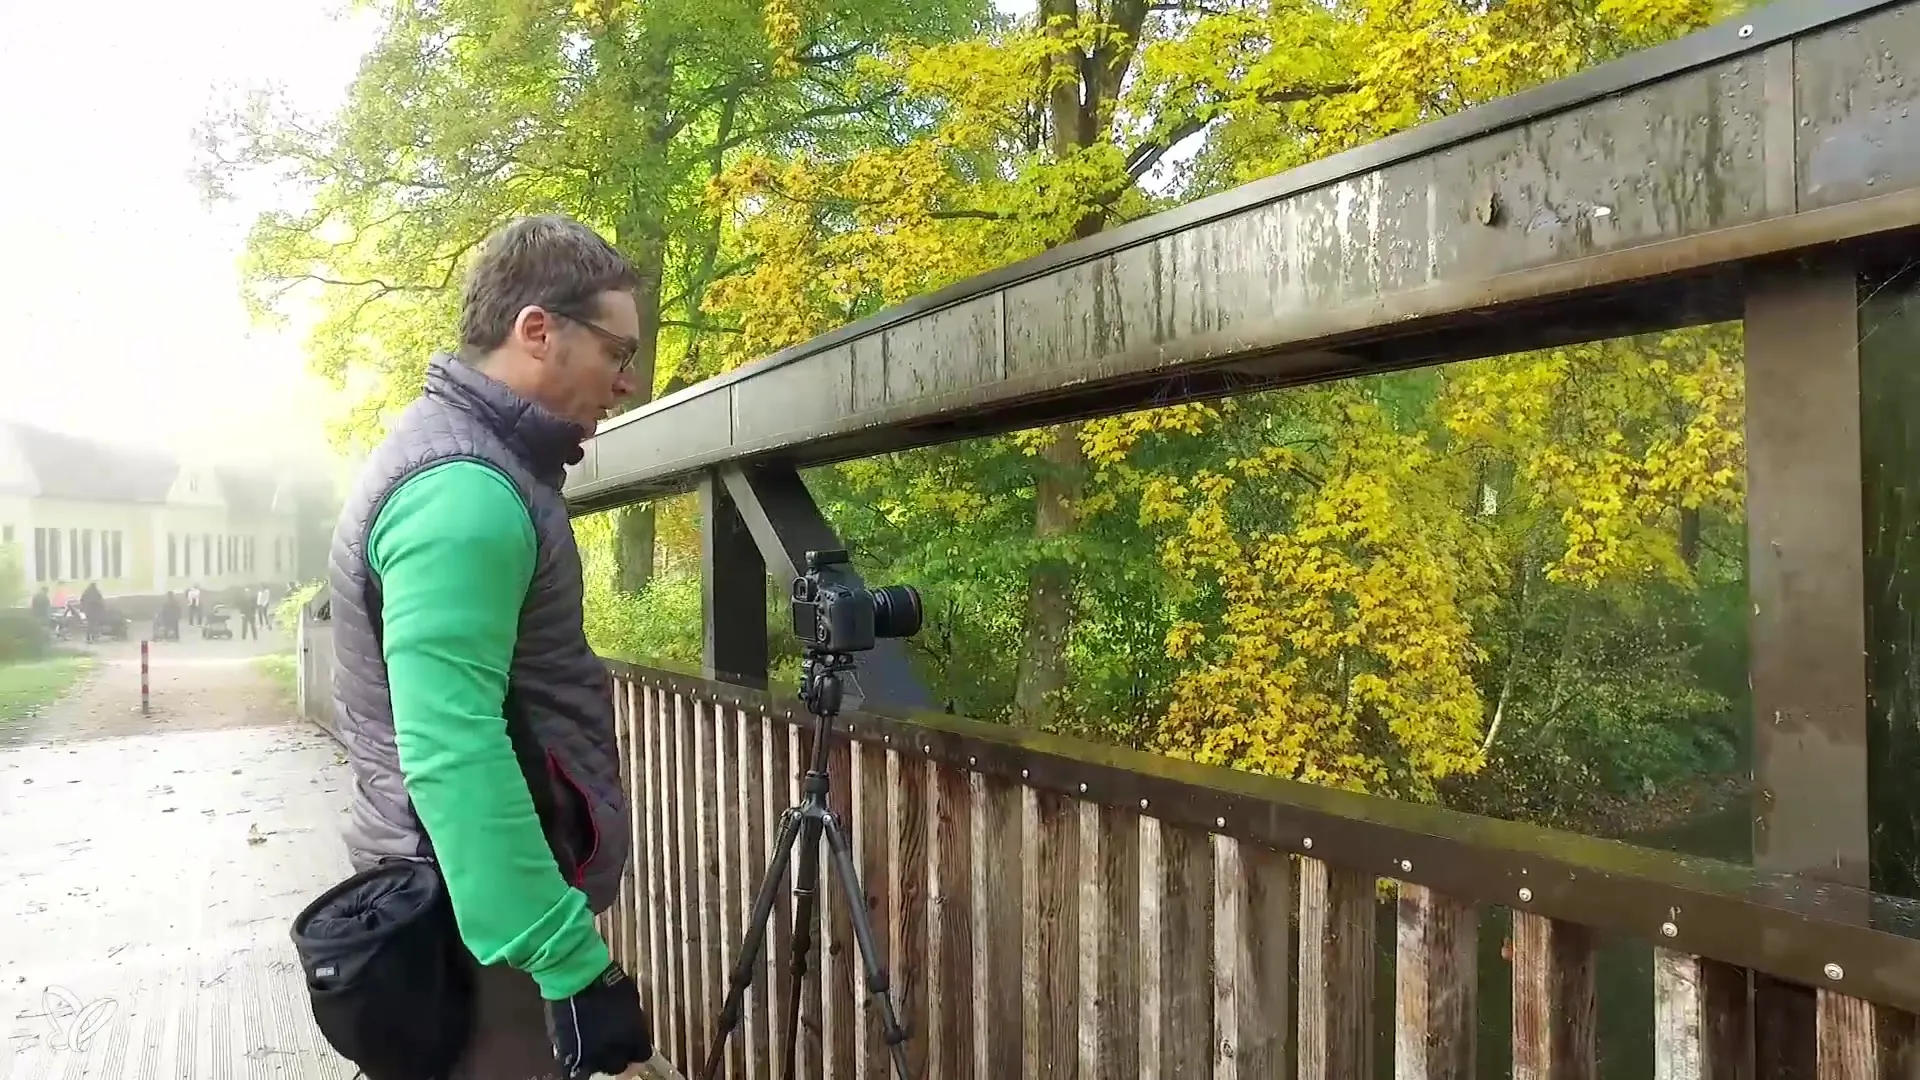
Step 6: Take the Long Exposure
Set the exposure time to about 30 seconds. At this long exposure time, you will see how the water appears soft and smooth. The details of the trees and the fog in the background are particularly highlighted. This creates an excellent high-contrast representation.
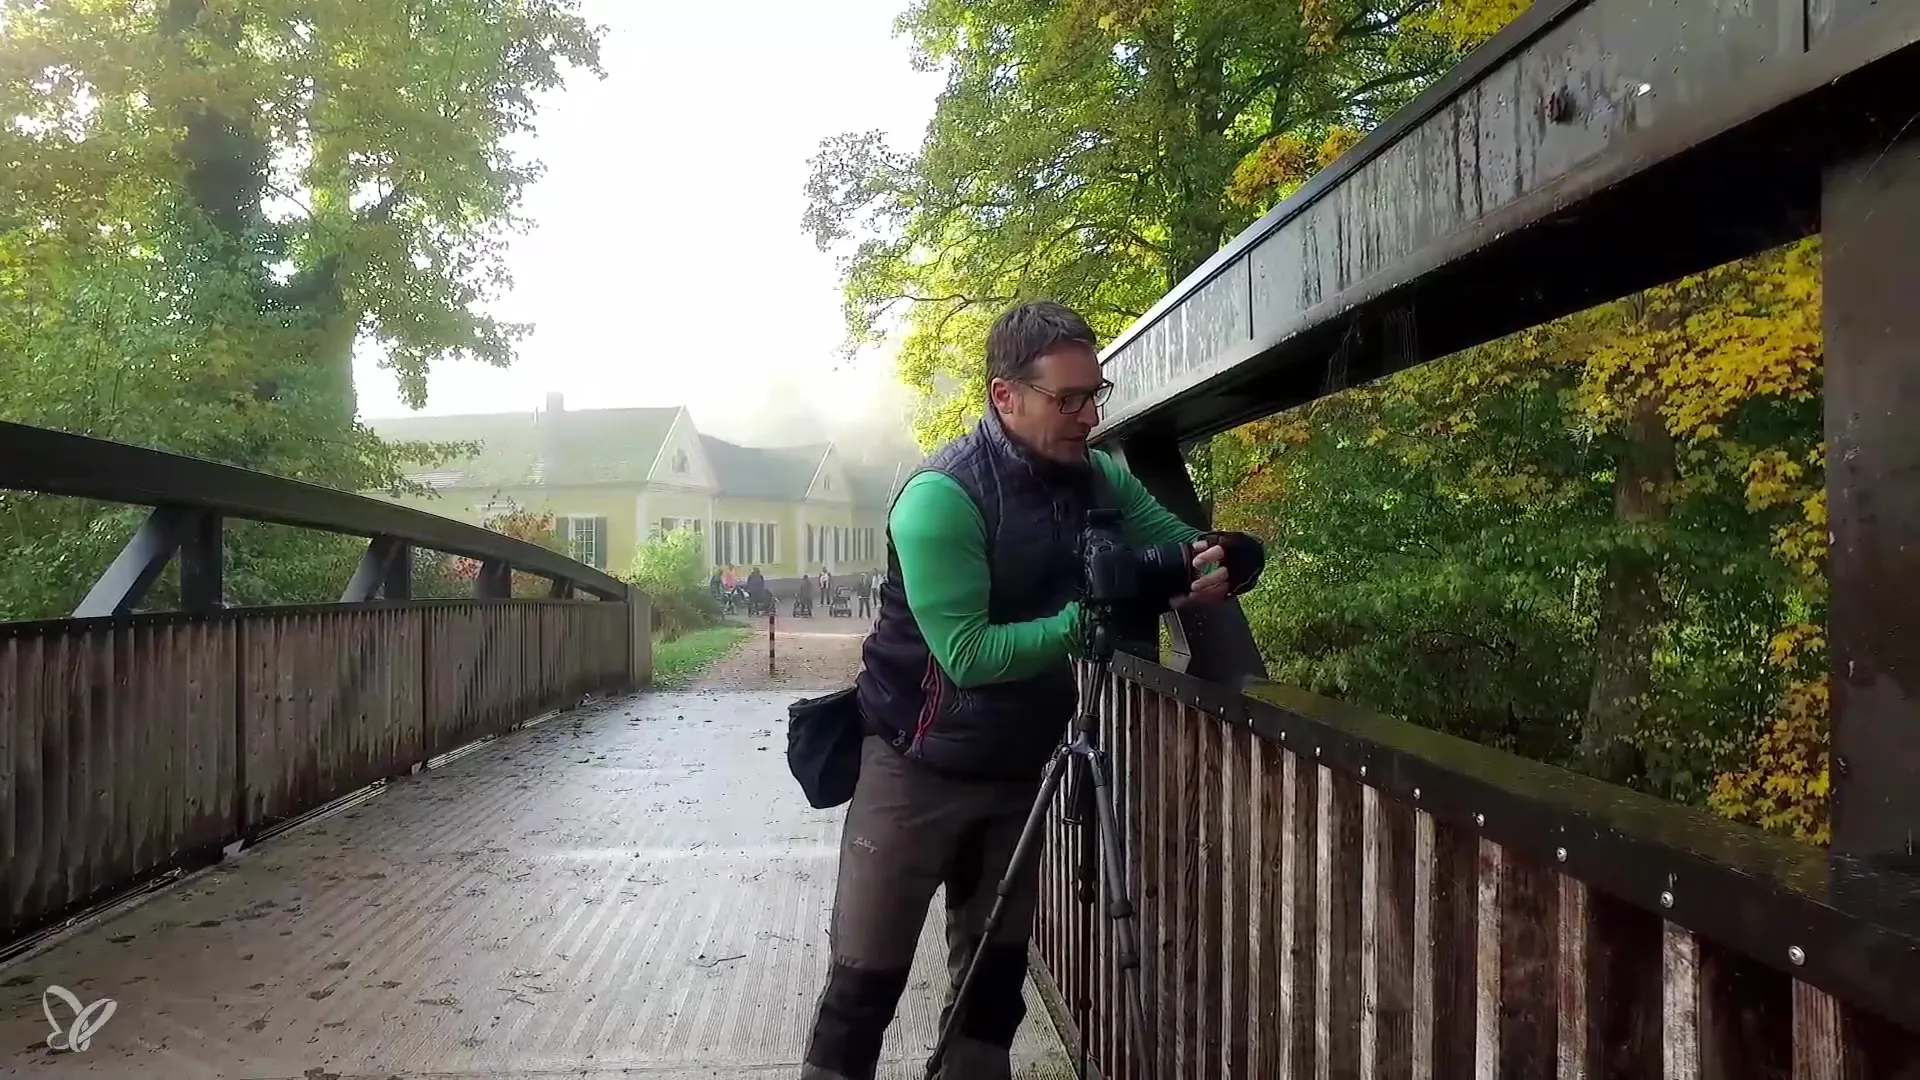
Step 7: Explore Variations
After the long exposure, you can consider trying additional variations. Take underexposed and overexposed shots to filter for the best results. However, the current image seems to already be successful for you.
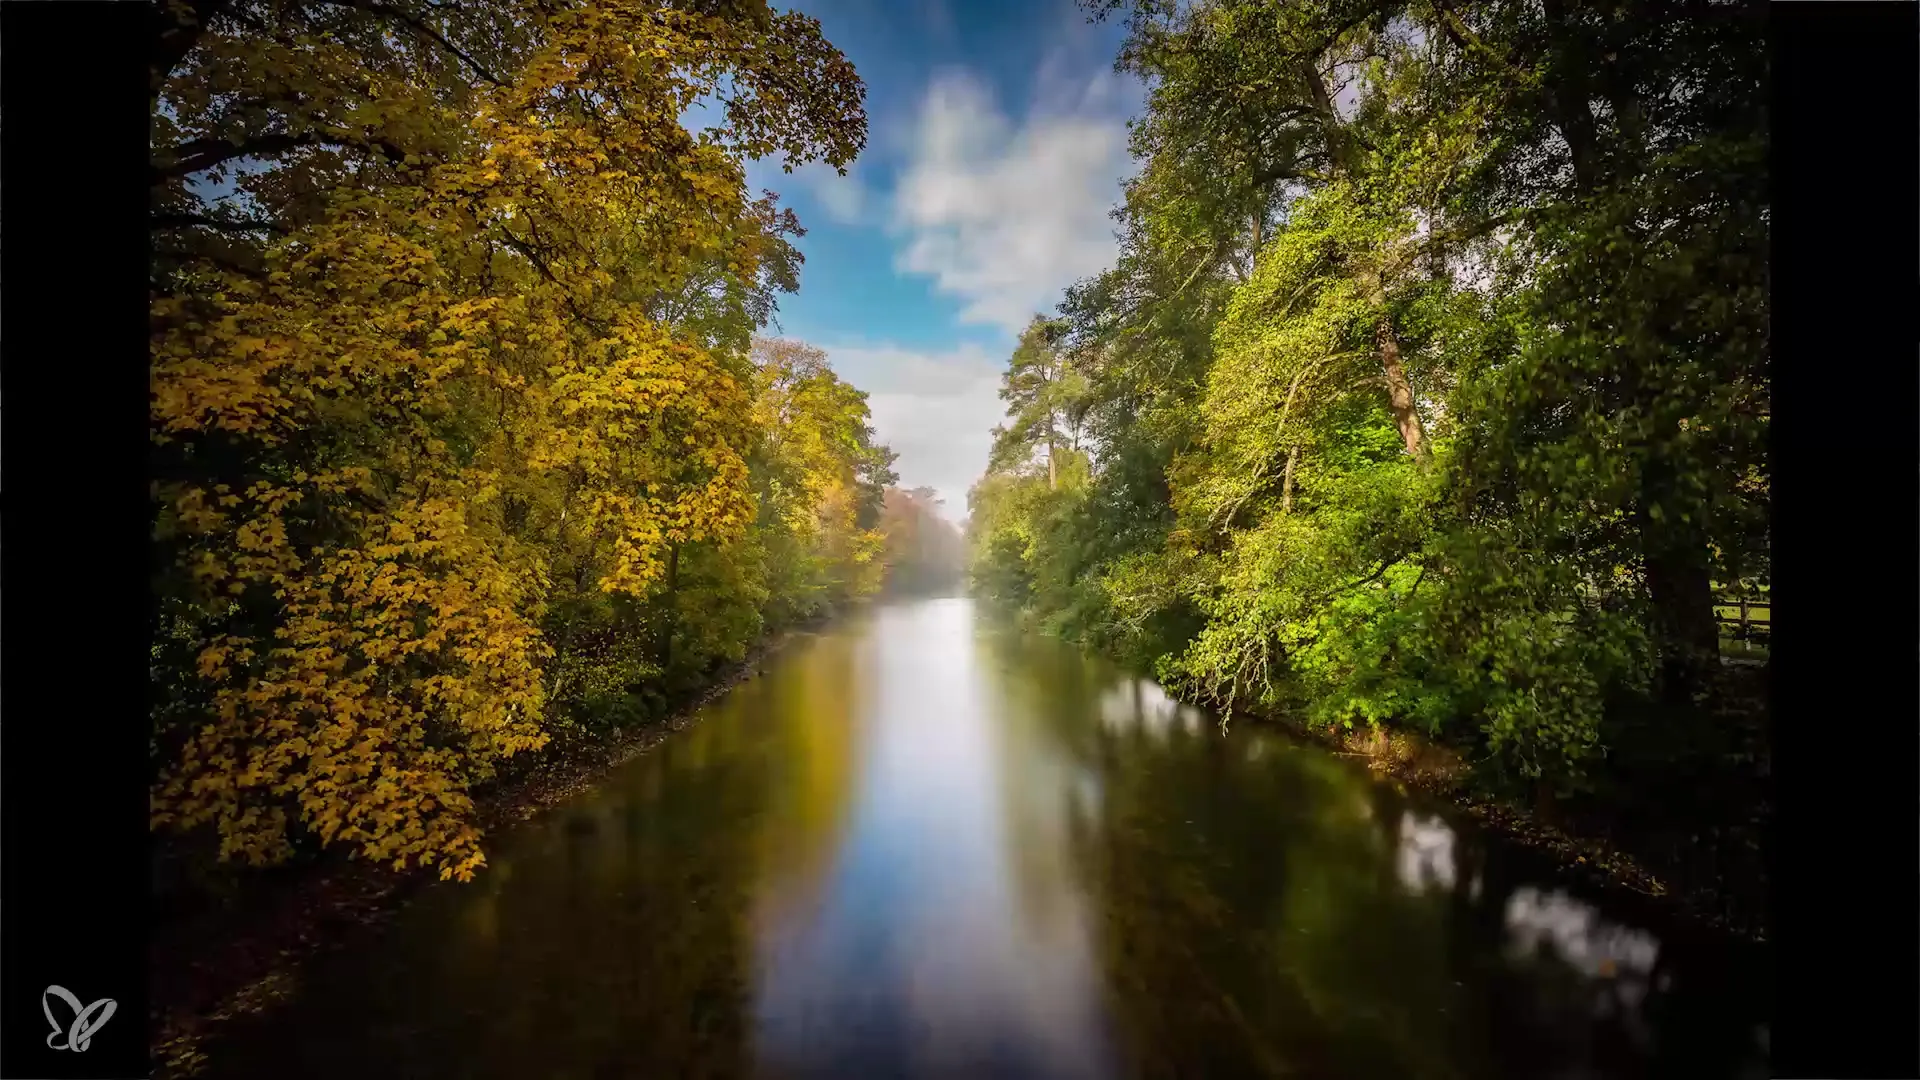
Step 8: Finalizing Shots
After you have completed your exposures, you have all the necessary images for post-processing. After finishing the location, you prepare to combine the shots in Lightroom to create an impressive HDR image.
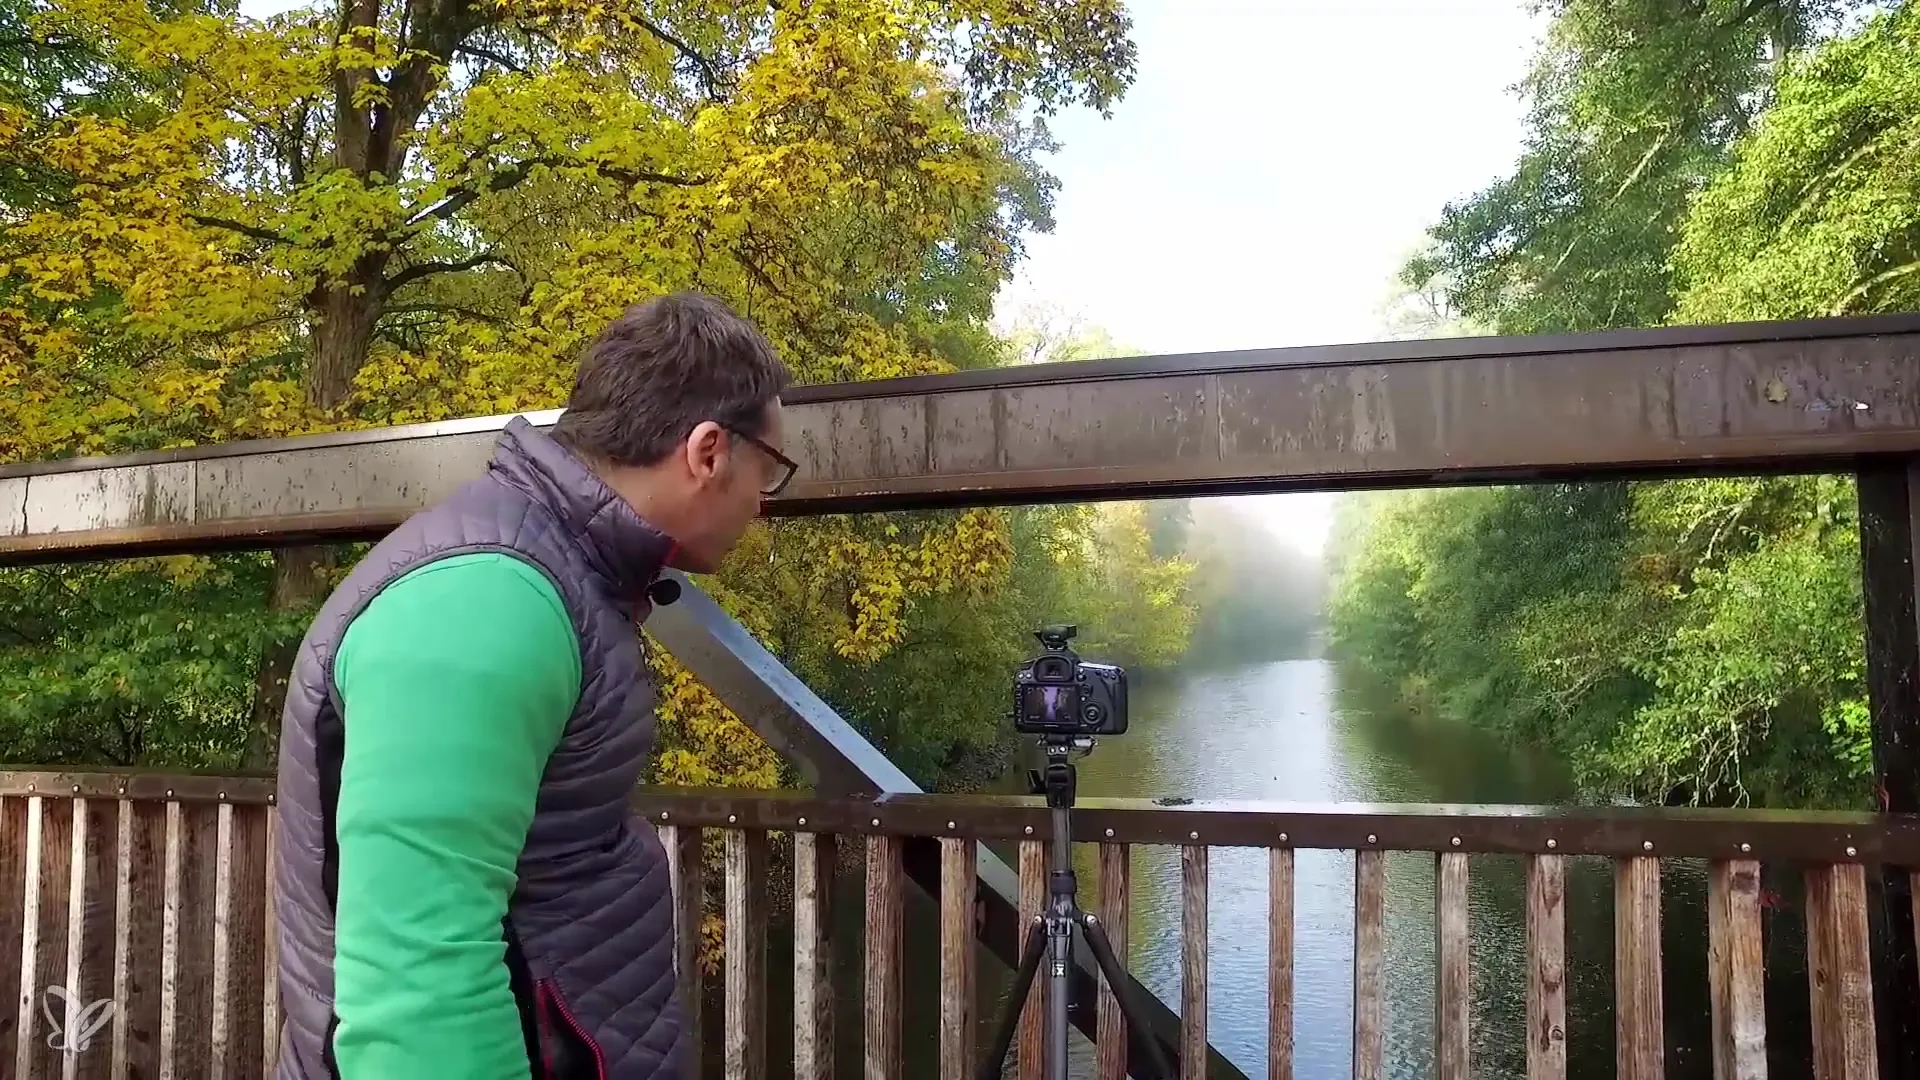
Summary – Creating an Autumn River Scene in Gloom
In this guide, you learned how to photographically capture the atmospheric ambiance of an autumn river. By using multiple exposures and long exposures, you are able to create impressive contrasts and color depths that lead to a stunning final result.
Frequently Asked Questions
When is the best time to take the photos?The best time is early in the morning or late in the afternoon when the light is softer.
What camera settings are important for long exposures?Aperture and ISO should be set to optimally control the exposure time.
How do I combine the different exposures in Lightroom?Import the images, select the appropriate ones, and use the HDR function to combine them.
What should I do if the weather is not ideal?Use it as an opportunity to experiment with different lighting conditions and create atmospheric effects.
Is special equipment necessary for long exposures?A tripod is essential to avoid camera shake during long exposure times.
