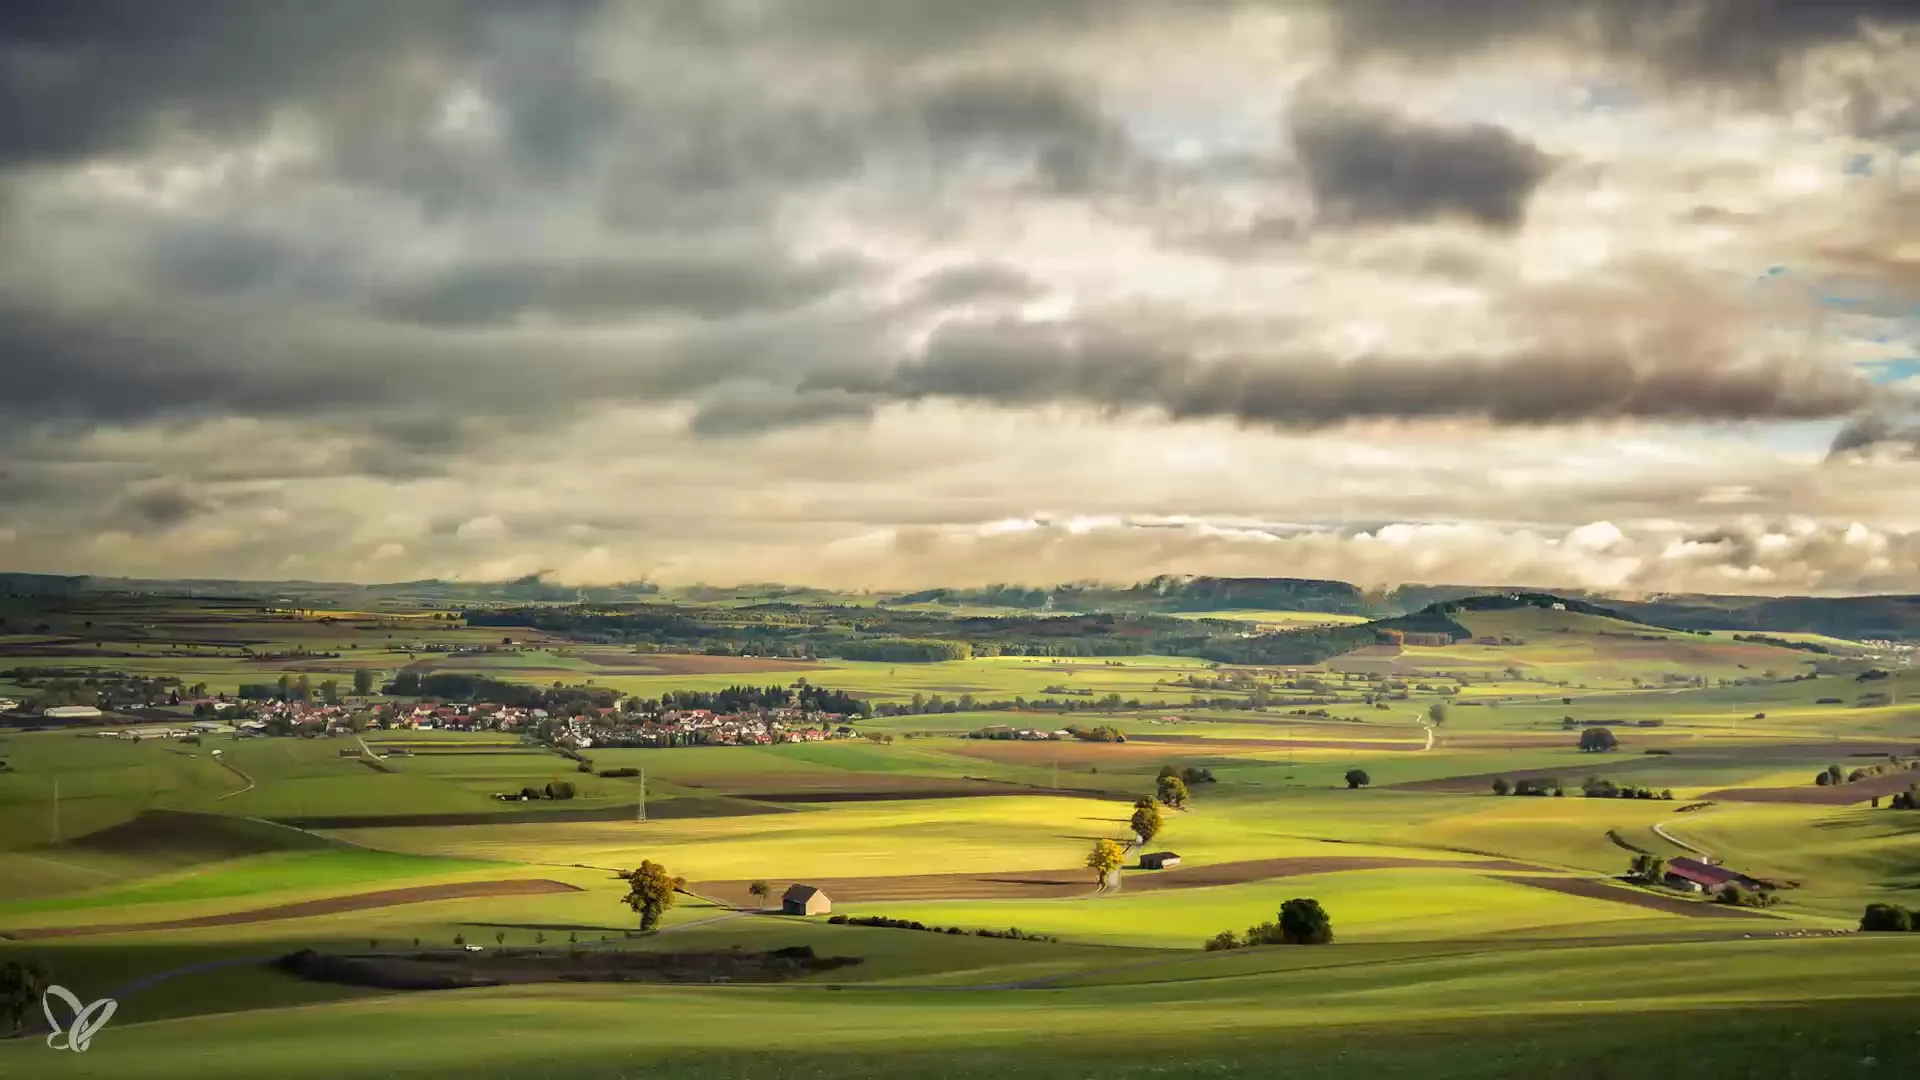
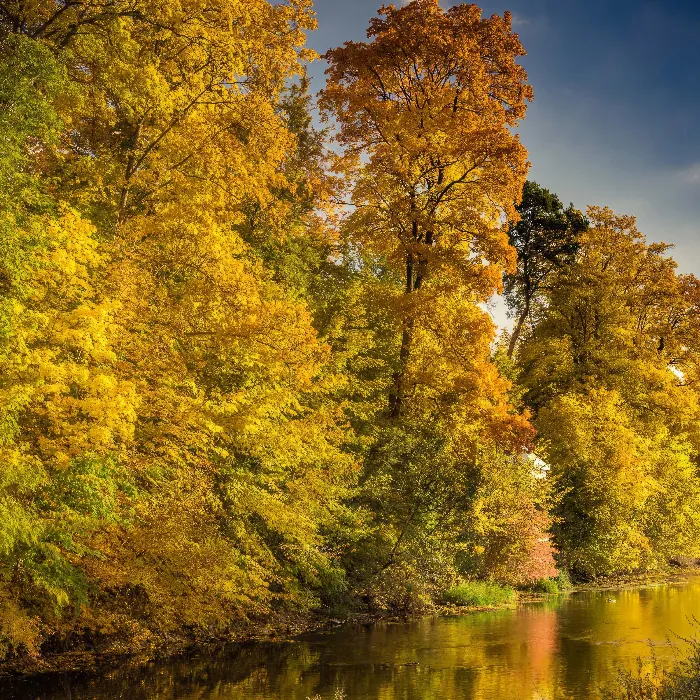
With autumn comes not only a fascinating display of colors but also the opportunity to further develop your photographic skills. In this tutorial, you will be guided through the process of effective image editing with Lightroom. During the video, Tobias presented his favorite autumn images and showed you how you can enhance these images through targeted editing. Let’s go through the steps together to optimally capture the autumn mood and achieve visually impressive results.
Key insights
- Understand the importance of before-and-after comparisons for your image editing skills.
- Learn how to make targeted adjustments in Lightroom.
- Discover tips for artistically presenting your results.
Step-by-step guide
The following section shows you how to edit and ultimately present your autumn images with Lightroom. Follow the instructions and shape your own creative process.
Import and prepare image
At the beginning, it is important to import your images into Lightroom and prepare them for editing. To do this, open Lightroom and click on “Import”. Select the photos you want to edit and add them to your catalog.

Make basic adjustments
After importing, the next step is to make basic adjustments. Pay particular attention to the exposure, contrast, and color temperature of your images. These settings form the foundation for further editing.
Perform color corrections
In the next step, you will want to adjust the colors of your images to highlight the autumn mood. Use the color palette and the sliders for saturation and brightness to emphasize the warm autumn tones.
Fine-tune the details
Now focus on the details. Zoom in on the image and use the sharpening tools to highlight specific areas. Be careful not to overdo it, as this can lead to unnaturally looking images.
Before-and-after comparison
Now the result is taking shape. To see how your image has changed, use the before-and-after feature in Lightroom. This feature allows you to monitor the progress of your editing.
Export the edited images
When you are satisfied with the adjustments, it is time to export your images. Choose the format, resolution, and compression that are best suited for your needs. The right export format is crucial for preserving the quality of your images.

Presentation of your work
At the end of the tutorial, Tobias encourages you to present your edited images. This can be done either by publishing them on social media or by creating a portfolio. The before-and-after comparison is also a great way to show your progress.

Summary – Guide to effective image editing in autumn
You have now learned the steps to edit your autumn images in Lightroom. By understanding the various editing tools and their adjustments, you are capable of achieving impressive results.
Frequently Asked Questions
How do I import images into Lightroom?Click on “Import” and select the desired images.
How do I make basic adjustments?Use the sliders for exposure, contrast, and color temperature.
What is important for color corrections?Focus on warm autumn tones and adjust saturation and brightness.
How do I export my images?Select the desired format, resolution, and compression before exporting.
How can I present my edited images?Publish them on social media or create a portfolio.

