The creation of semi-circles in Adobe Illustrator can be done in various ways, even if you are not very familiar with the software yet. In this guide, you will learn how to effectively create an open semi-circle. We have two methods for you that will help you achieve precise results. Let’s dive right in!
Key insights
- There are several methods to create an open semi-circle.
- Using the direct selection tool is crucial for precise adjustments.
- You can change the stroke of a shape and easily remove parts to achieve your desired design.
Step-by-step guide to creating an open semi-circle
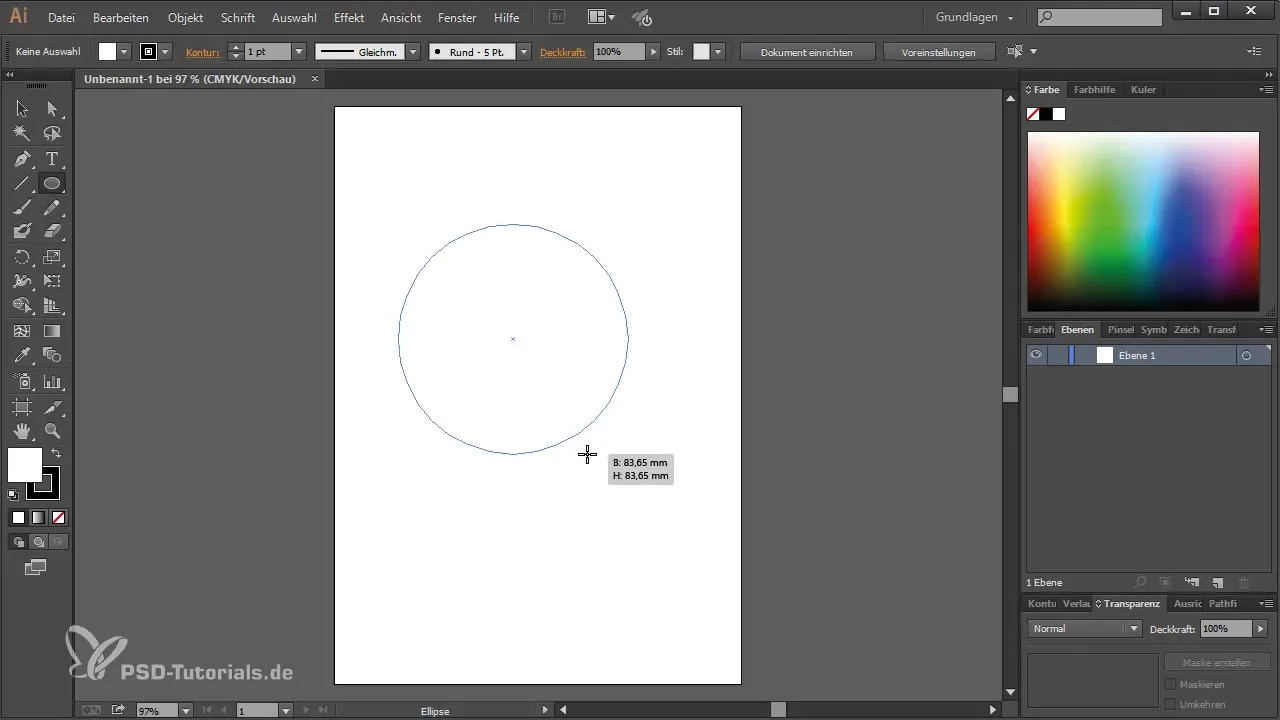
First, start by creating a circle, which will then be transformed into a semi-circle in the next step. If you have already opened a new document in Illustrator, you can proceed with the following steps.

Draw an ellipse while holding down the Shift key. This ensures that you create a perfect circle without accidentally adding an oval shape.
Once you have created your circle, the question arises: How do we turn this circle into a semi-circle? There are several ways to achieve this. Often, users try to remove the upper part of the circle by working with other shapes, which can be somewhat cumbersome.

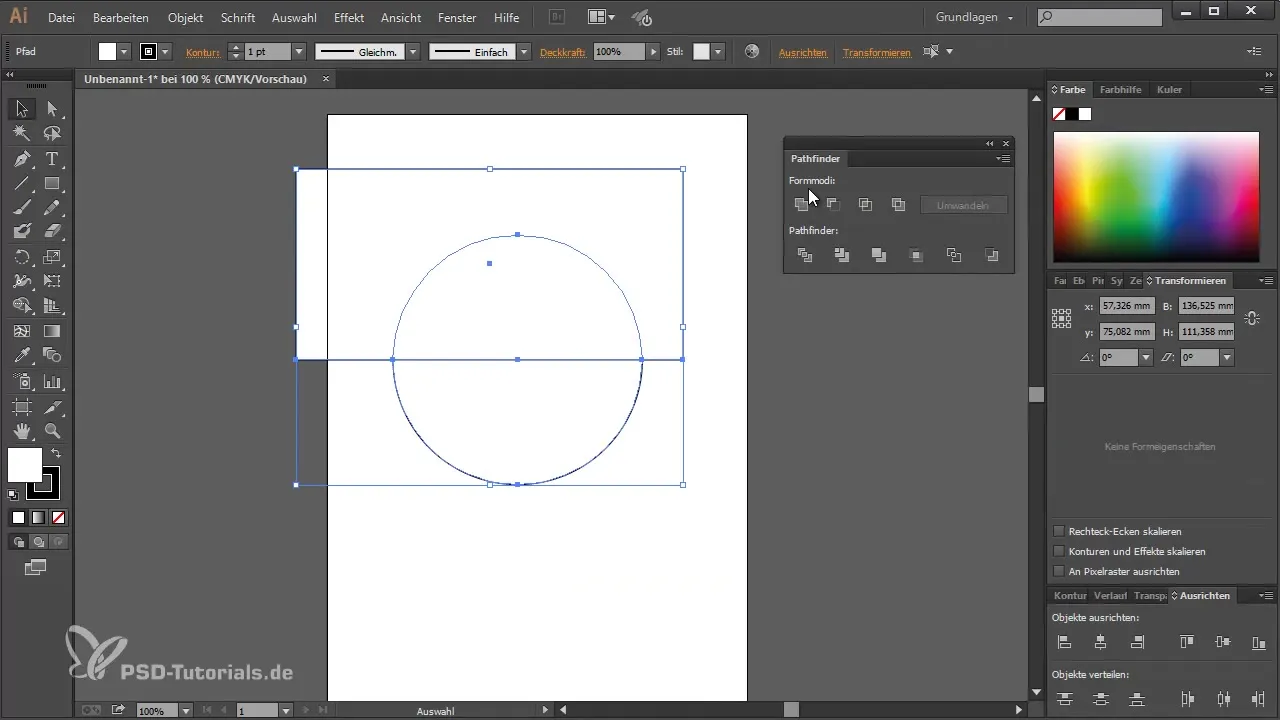
One of the easiest methods to create a closed semi-circle is by using the Pathfinder window. You can open the Pathfinder window through the "Window" menu and then "Pathfinder."

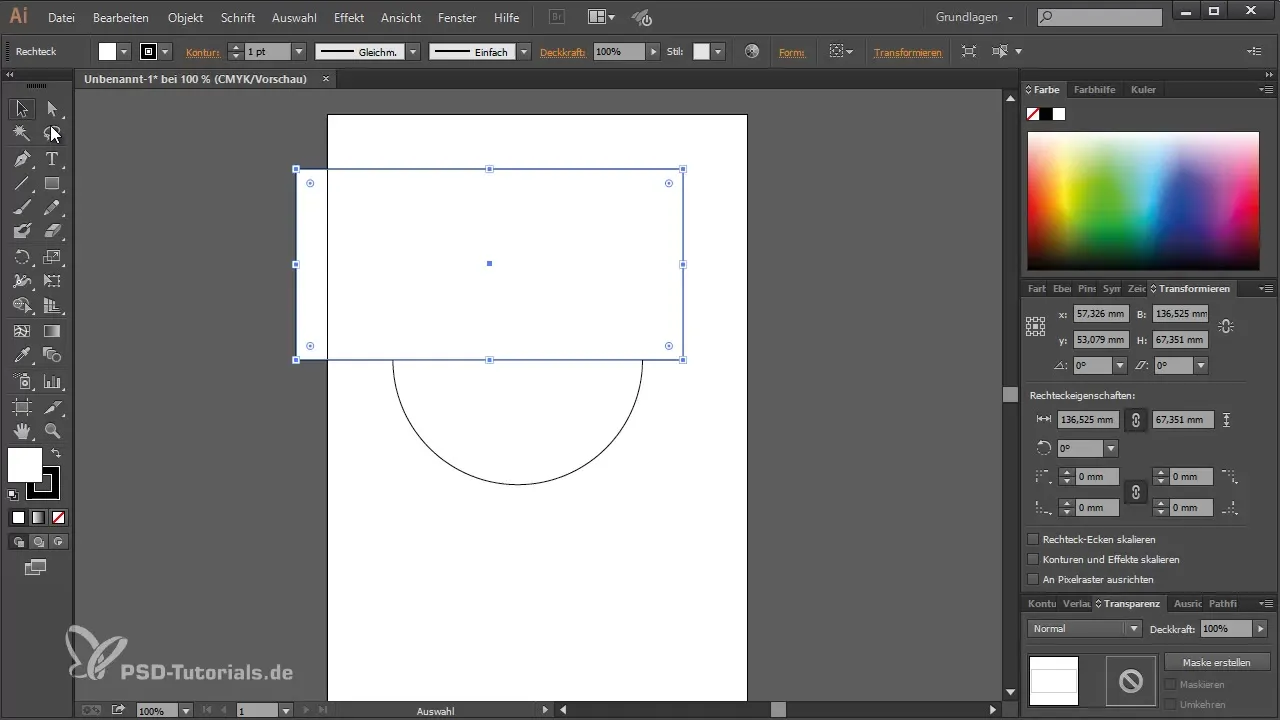
Once you have the Pathfinder open, you can place another shape, such as a rectangle, over the upper part of the circle. Now select both shapes, the circle and the rectangle.
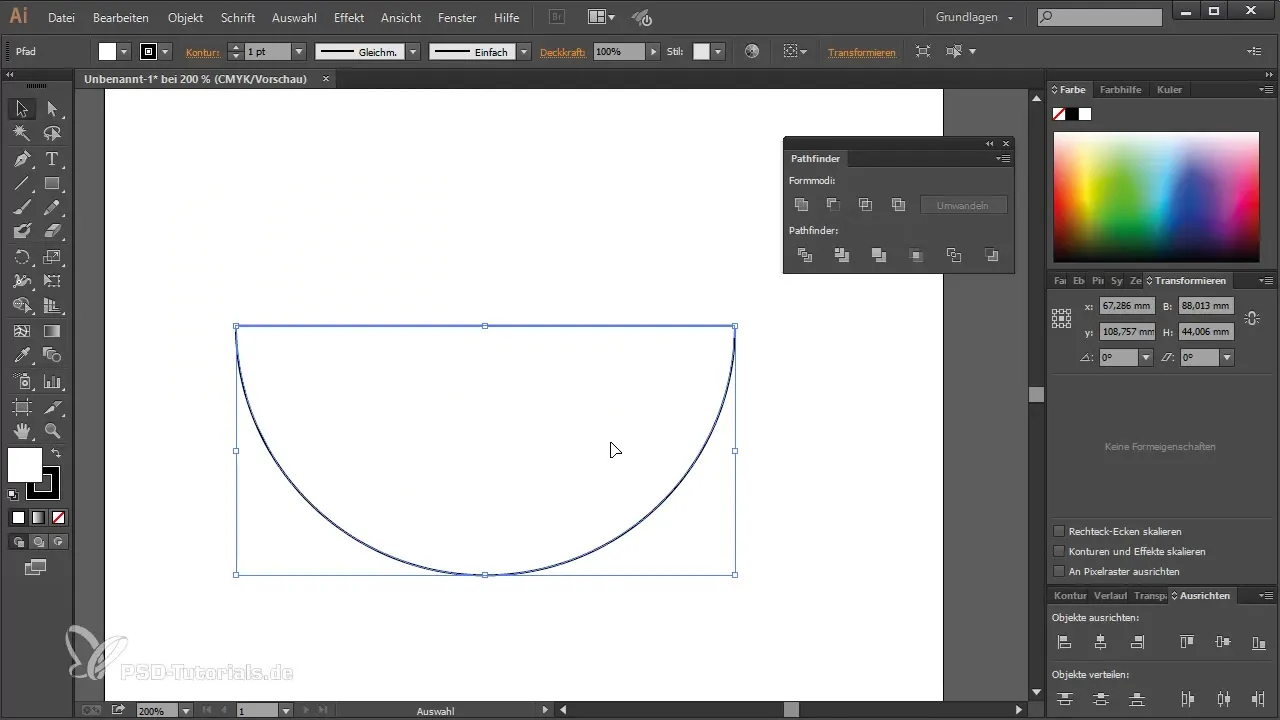
Then use the "Minus Front" option to remove the upper part of the circle. However, this usually occurs in a closed format.

To obtain an open semi-circle, you need to modify the upper part of the shape a bit. You can adjust the stroke of the semi-circle, but I will now show you two methods to actually open the semi-circle.
The first method is to use the direct selection tool (V) and select the upper anchor point of the semi-circle. Then press the delete key to remove this anchor point. This way, you can quickly get an open semi-circle.
If you now want to use the semi-circle elsewhere in your design, you need to repeat these steps. You have to take the lower part of the semi-circle as the base.
To create another semi-circle for your design, select both shapes again and use the Pathfinder function. Remove the rectangle that is placed above and then apply the direct selection tool to delete the upper anchor point again.
This method gives you the option to open the semi-circle again or clarify where it is located. Editing anchor points is a core skill that you should master to enhance your graphic design abilities.
Whether you choose to apply the first method or the second method is entirely up to you. Each has its advantages, and it’s a good idea to be familiar with both so you can work quickly and effectively.
Summary – Guide to Creating an Open Semi-Circle in Adobe Illustrator
In this guide, you learned that there are several ways to create an open semi-circle in Adobe Illustrator. Using the Pathfinder and the direct selection tool are key functions that you can use to create precise designs. No matter which method you choose, keep practicing to perfect your skills in Illustrator.
Frequently Asked Questions
How do I create a closed semi-circle in Illustrator?To create a closed semi-circle, use the Pathfinder tool to remove the upper part of a circle by placing a rectangle over it.
Can I still edit the shape of my semi-circle after creating it?Yes, you can change the anchor points of a semi-circle at any time using the direct selection tool.
Which tool do I need to remove just anchor points?The direct selection tool is the right tool to select and remove anchor points.
Do I need to hold the Shift key to create a perfect semi-circle?Yes, holding the Shift key while drawing an ellipse will create a perfect circle, which you can then convert into a semi-circle.


