The design of creative contours can often seem complicated and time-consuming. However, with the right tools and techniques, you can achieve impressive results in no time. This guide shows you how to easily create creative contours while utilizing various textures and colors.
Key Insights
- You will learn how to work with text boxes and creatively use fonts.
- The conversion of objects into brushes and their customization is explained in detail.
- Techniques for filling shapes through interactive painting are also included.
Step-by-Step Guide
Step 1: Create a New Document
First, open your graphic program and create a new document. This gives you the space to be creative and let your imagination run free.
Step 2: Add a Text Box
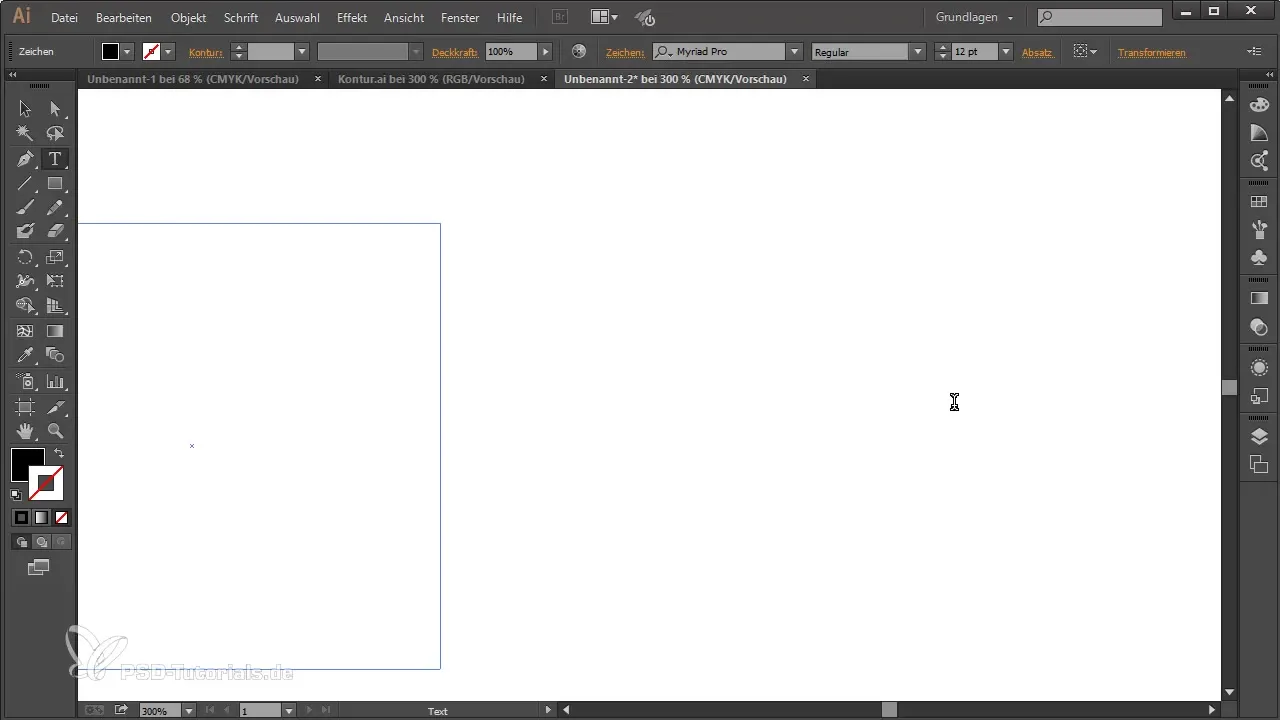
Use the text tool to create a text box. Write a "V" in this text box. The font "Myriad Pro" ensures that your design is bold and clear at first.
Step 3: Choose a Font
To refine the design, you can change the font. For example, try "Futura," which has a nice sharper shape and gives your design a special touch.
Step 4: Convert Text
Once you have chosen the desired font, convert the text into an object. This is an important prerequisite for later transforming the shape into a brush.
Step 5: Create a Brush
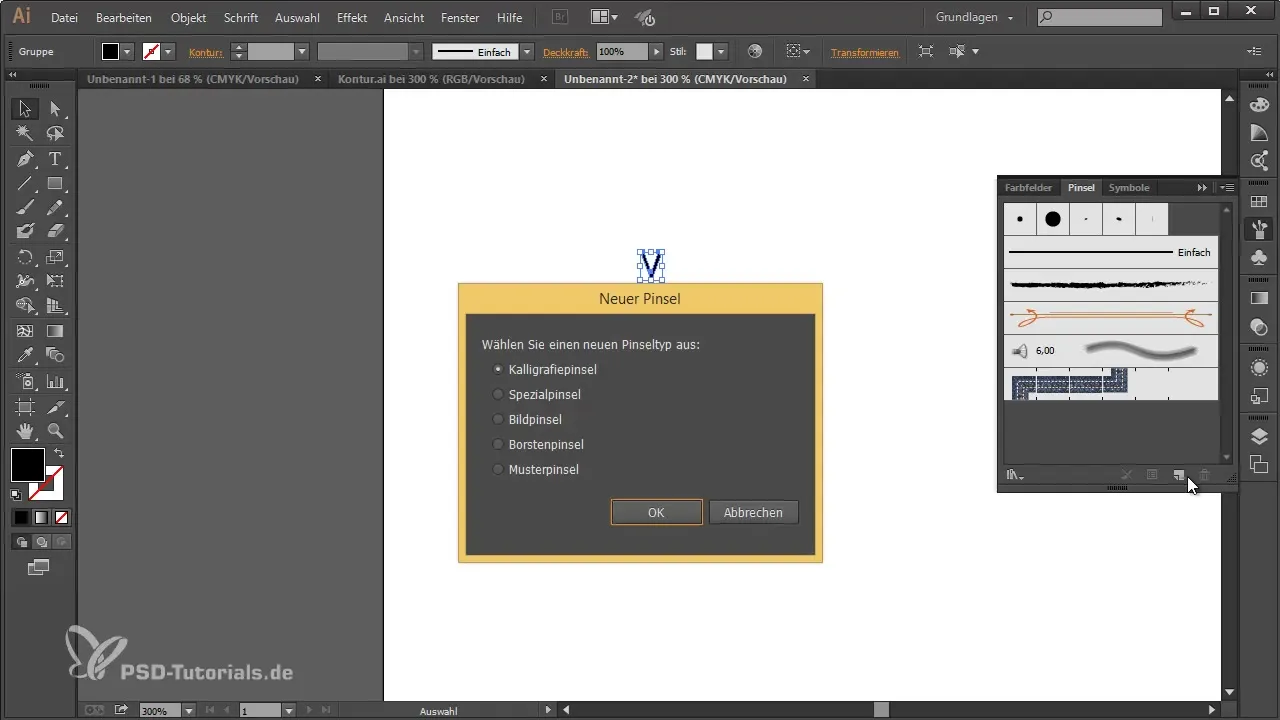
Now go to the brush tool and select the option "save as pattern template." Make sure your text is converted to an object, otherwise it won’t work.
Step 6: Pattern and Border Adjustments
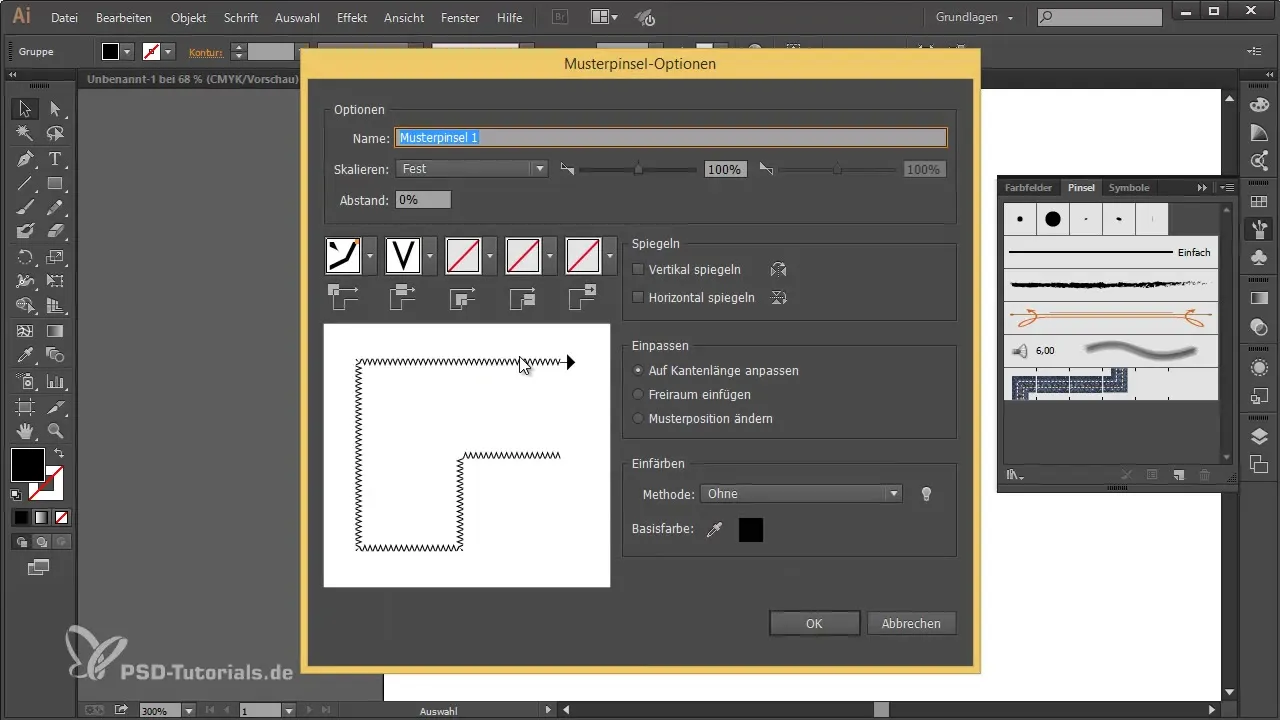
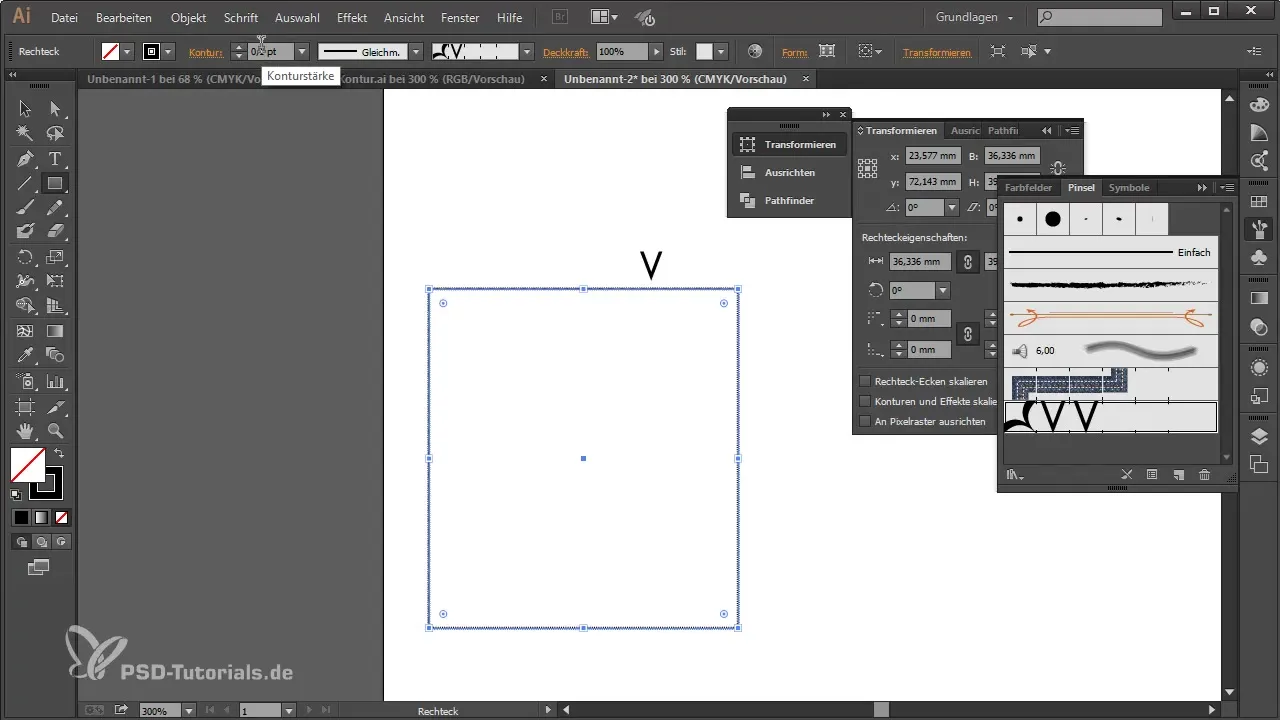
Create a border to represent the pattern. Choose the contour and adjust it, for example to 0.5 or even 0.25, depending on how you want your pattern to appear.
Step 7: Choose Fill
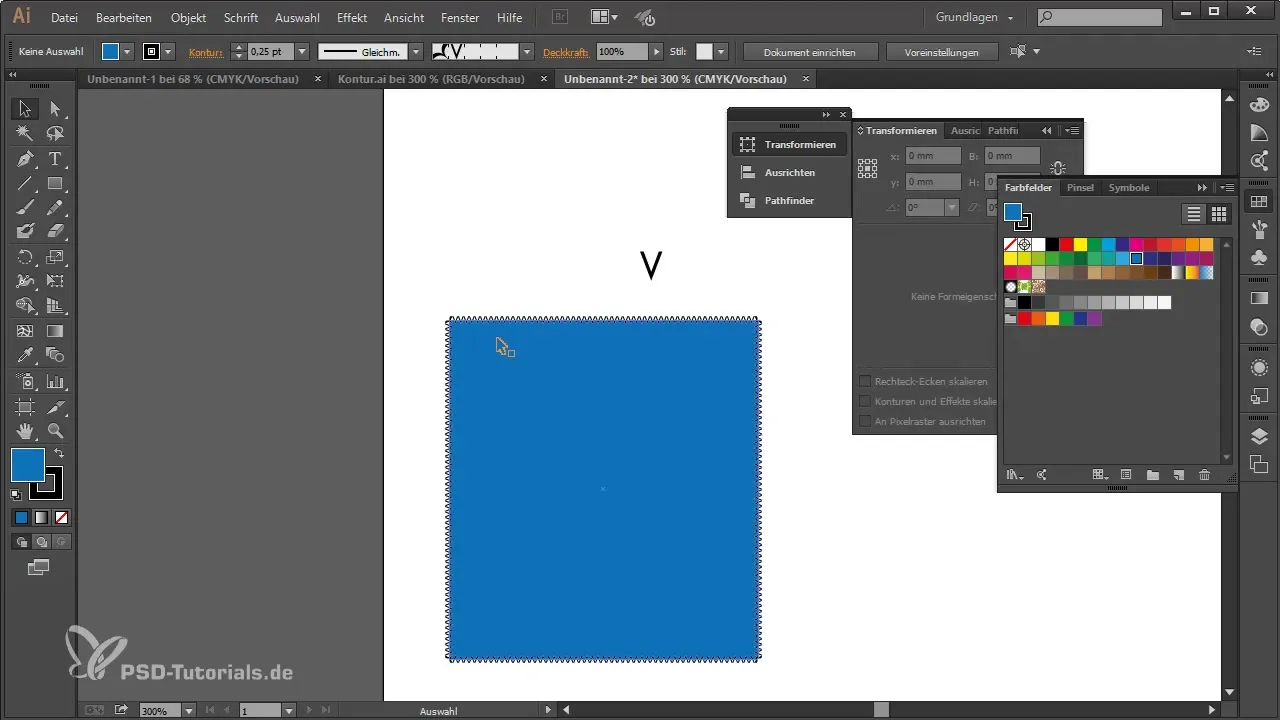
Experiment with colors to make your design more vibrant. If you want to use a nice blue, make sure the fill is set correctly through the color field.
Step 8: Adjust Hue
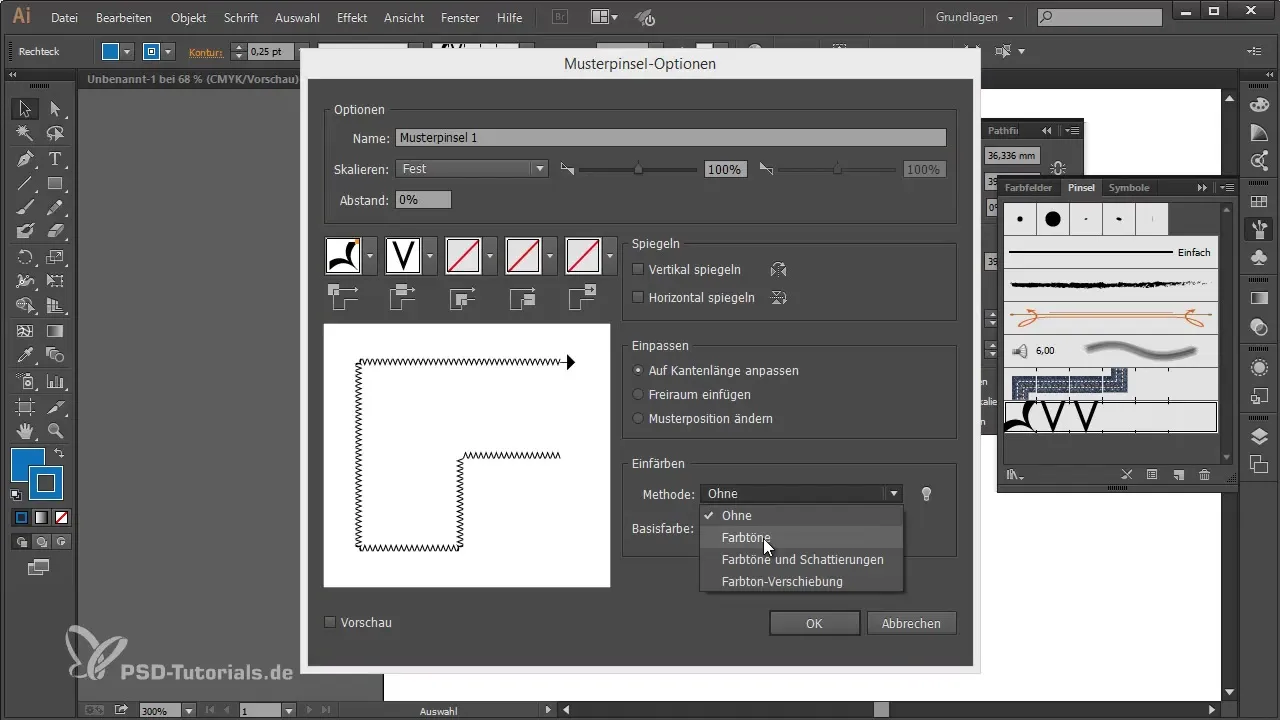
A double-click on your brush enables you to adjust the "coloring method." Set the hues correctly so that the contours and fills appear in harmonious contexts.
Step 9: Conversion and Filling Technique
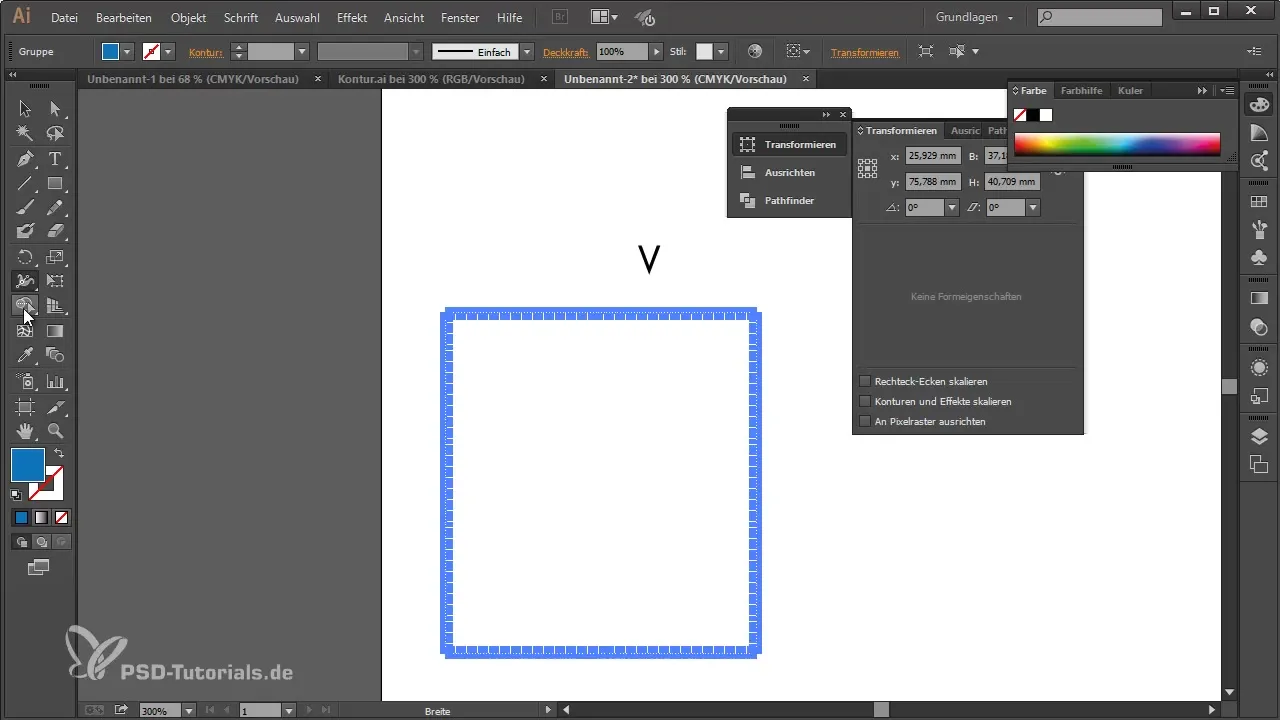
To ensure that the fillings work, you can convert your font again and use the "interactive painting tool." This tool allows you to work creatively with different colors and apply fillings precisely.
Step 10: Apply Text
Write text again and convert it into a shape. When applying the contour, you can make it smaller to round off the final design.
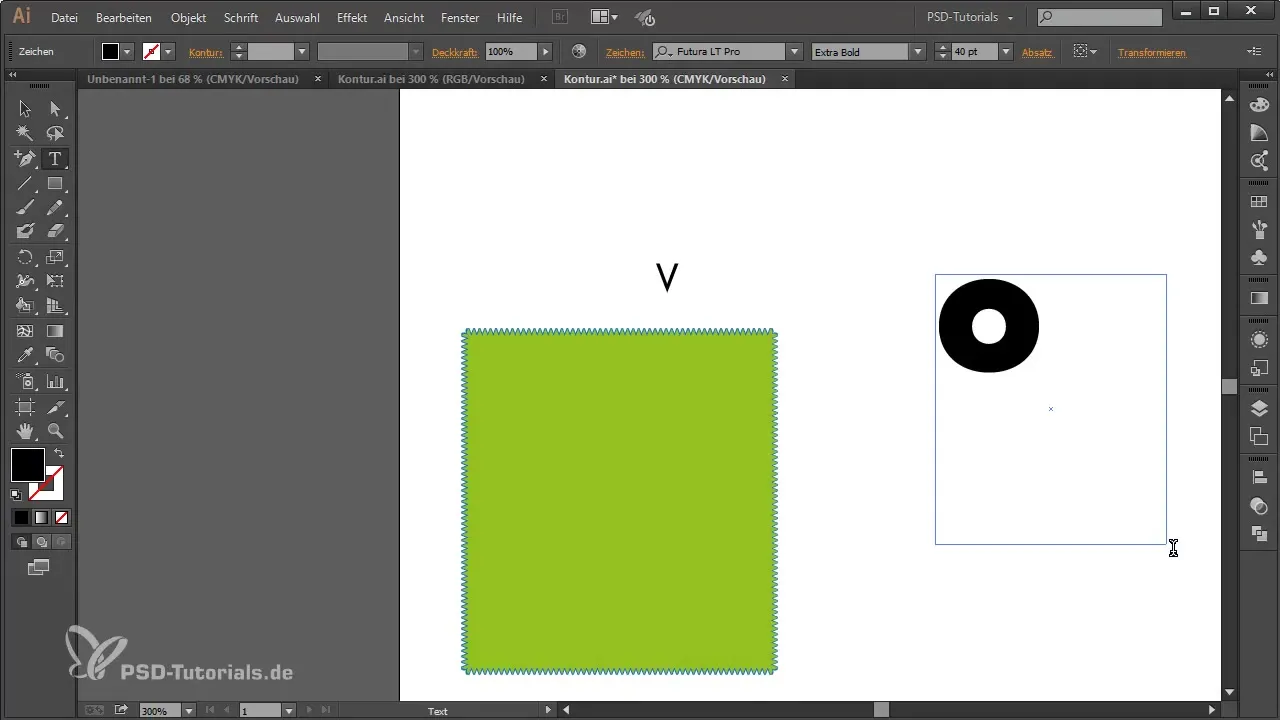
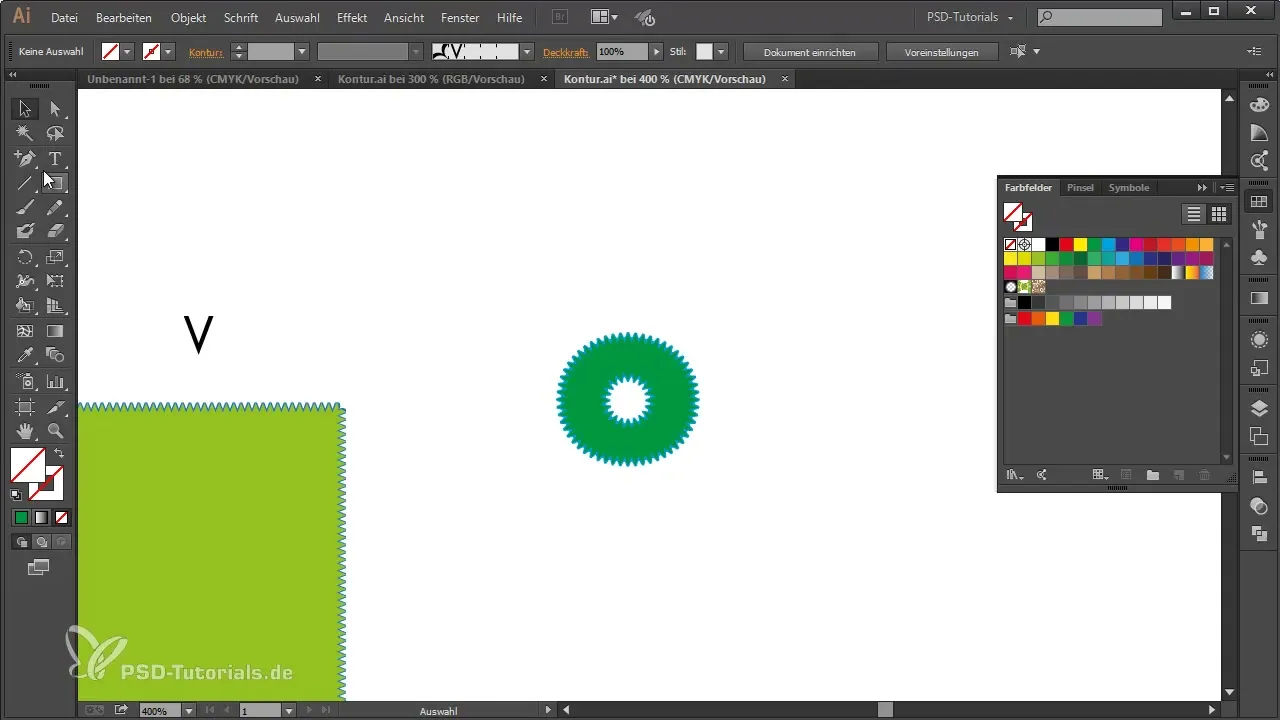
Step 11: Create Gear Design
A creative trick is to design a gear layout. With your brush, you can draw both large and small details to form interesting patterns.
Step 12: Create Image Brush
Another way to express your creativity is to enrich the brush with an image. Save that as an image brush and start expressing your creativity through painting.
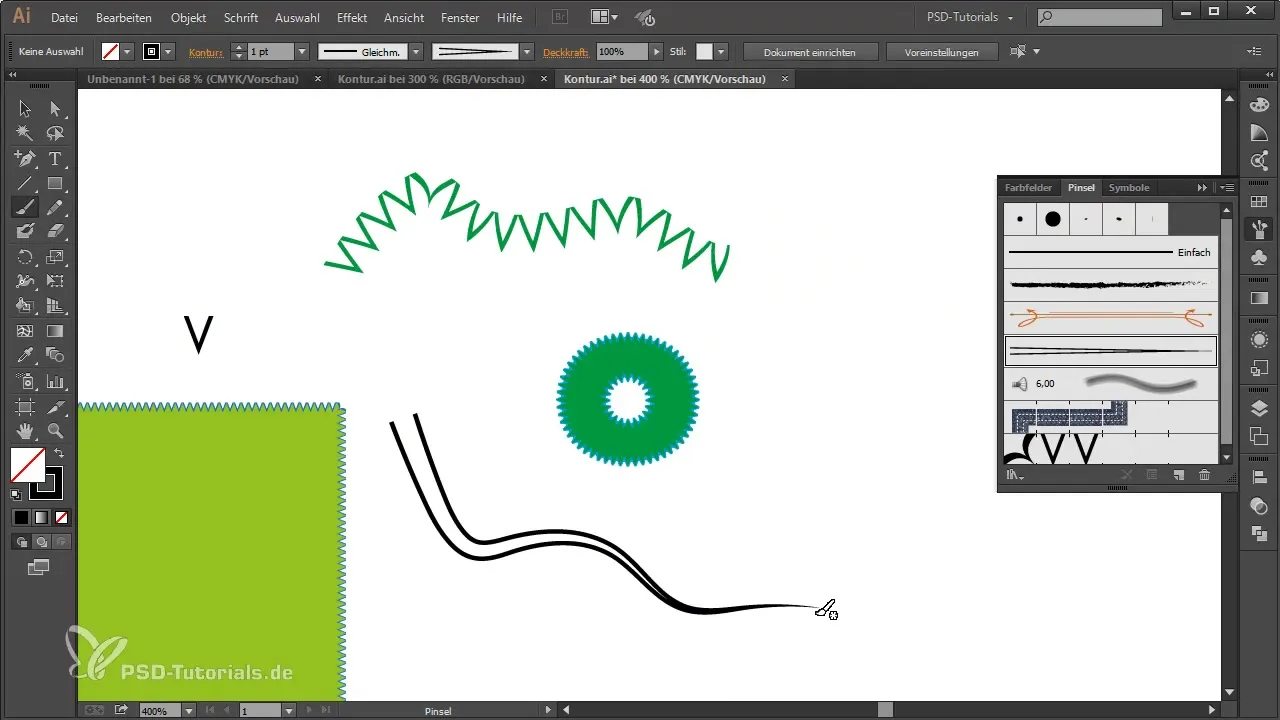
Step 13: Experiment
Paint small chains or other shapes that meet your desires. Be experimental to find out what effects and designs you can create.
Summary
Through this guide, you have learned how to design creative contours step by step. From creating a new document to using brushes and the interactive painting tool – these techniques open the door to impressive designs.
Frequently Asked Questions
What is the first step in creating creative contours?The first step is to create a new document in your graphic program.
Which font can I use for creative designs?You can use a variety of fonts, including “Myriad Pro” and “Futura”.
How can I create a brush from text?Convert the text into an object and save it as a pattern template in the brush tool.
How can I adjust the fill color?You can select the fill color through the color field in your graphic program.
What is the interactive painting tool?The interactive painting tool allows you to precisely apply colors to shapes and text.
