With just a few simple steps, you can create impressive page-turn effects and dynamic banners in Adobe Illustrator. In this tutorial, you will learn how to efficiently implement these effects using the free SubScribe plug-in from Astute Graphics. The goal is to achieve an appealing look that can also be used in your designs. Let's dive right into practice!
Key Insights
- The page-turn effect requires smooth transitions without bends.
- The SubScribe plug-in makes it easier to draw tangents and lines.
- Gradients can be used to create dimensional effects.
Step-by-Step Guide
To create a realistic page-turn effect in Illustrator, start by analyzing and drawing shapes that simulate natural curves and transitions.
Step 1: Analyze Nature
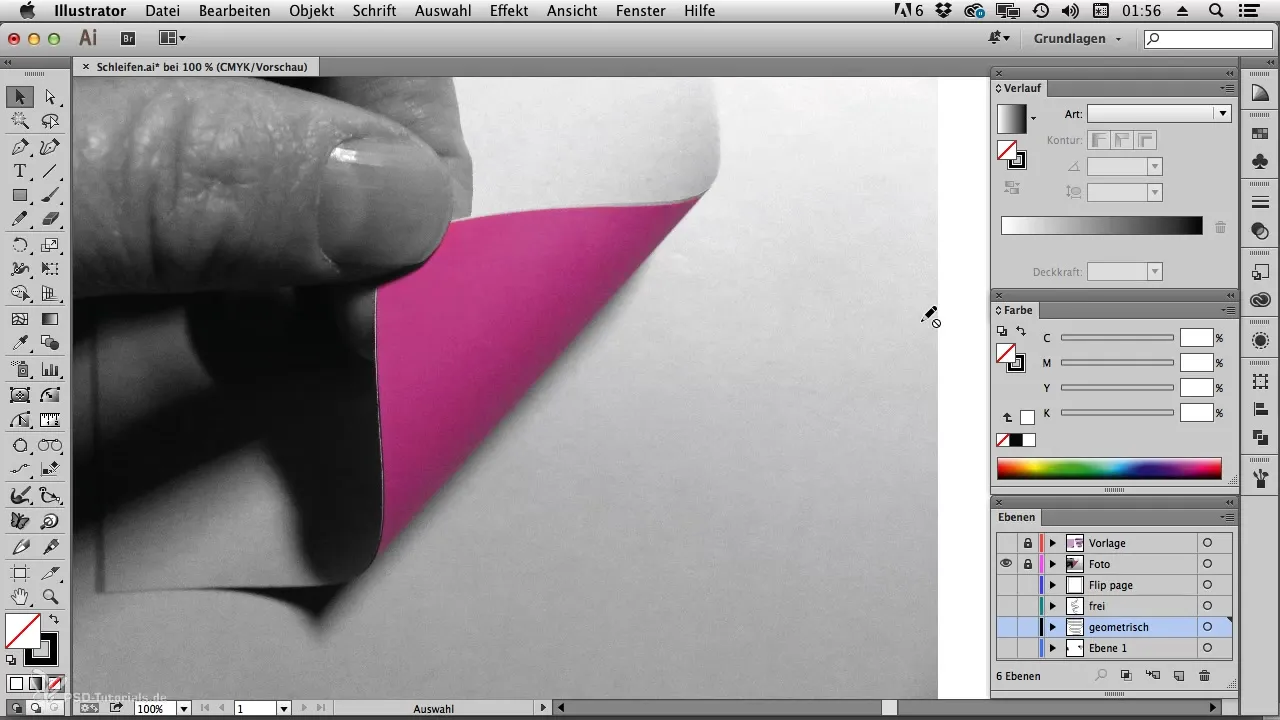
Before you start drawing, it's useful to observe natural shapes. I took a photo of a turned page to show how the transition can look. Make sure that the transition runs in a gentle curve without any visible kinks. This visual cue will help you develop the right feel for the curves in Illustrator.
Step 2: Prepare the First Rectangle
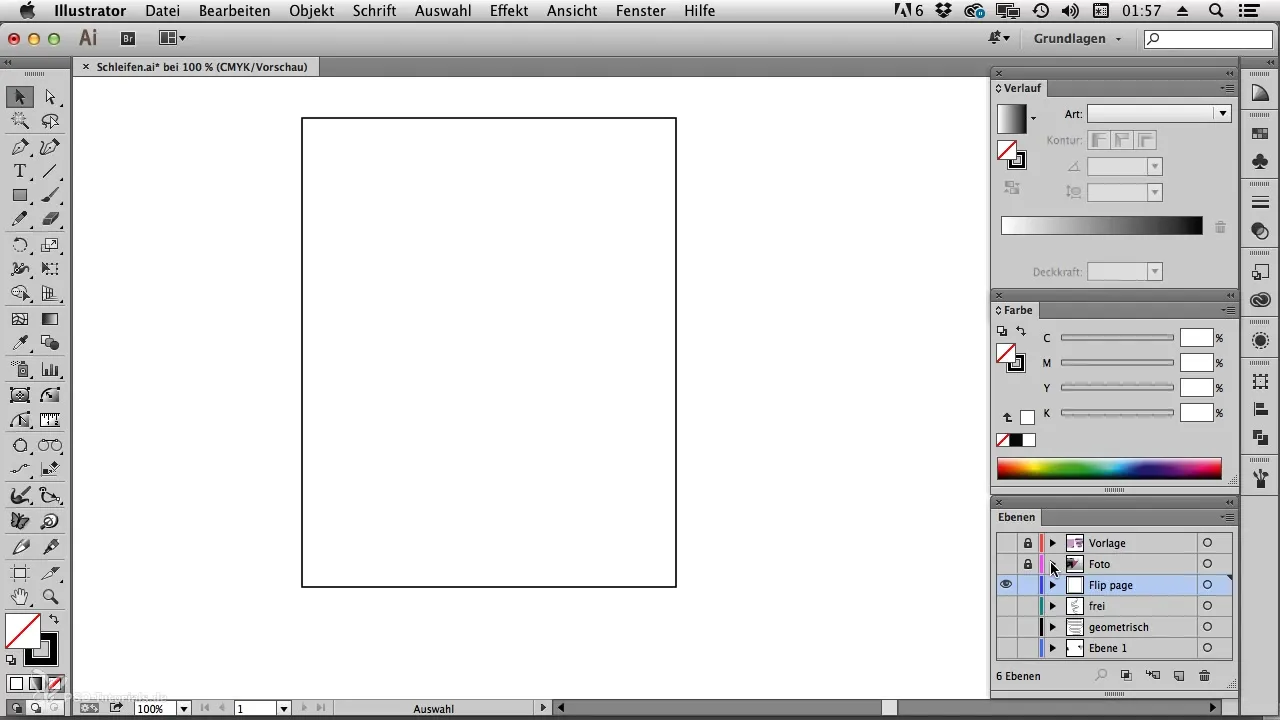
For the page-turn effect, you need a simple rectangle as a base. Draw this rectangle in Illustrator and make sure it's the size you need. It will serve as a starting point for drawing the turning page. Be sure to enable the smart guides to work accurately.
Step 3: Create Curves with the Pen Tool
Now comes the interesting part: Use the Pen tool to shape the turning page. Place the first point on the left side of the rectangle and hold down the Shift key to pull the handles cleanly out from the anchor point. When you place the next point, do not press the Shift key to make the curve natural.
Step 4: Fine-Tuning with the Direct Selection Tool
Once you have placed the first points, switch to the Direct Selection tool. Here, you can precisely adjust the curves and add additional points to keep the transition smooth. Make sure that the transition here is also completely smooth — this is crucial for an appealing flippage effect.
Step 5: Create Tangent with SubScribe
For an exact tangent between the curves, we need the SubScribe plug-in. This free tool helps you draw the necessary lines precisely. Choose the appropriate tool and draw from the curve you just made to the next one. SubScribe will automatically find the tangent points you need.
Step 6: Create Areas
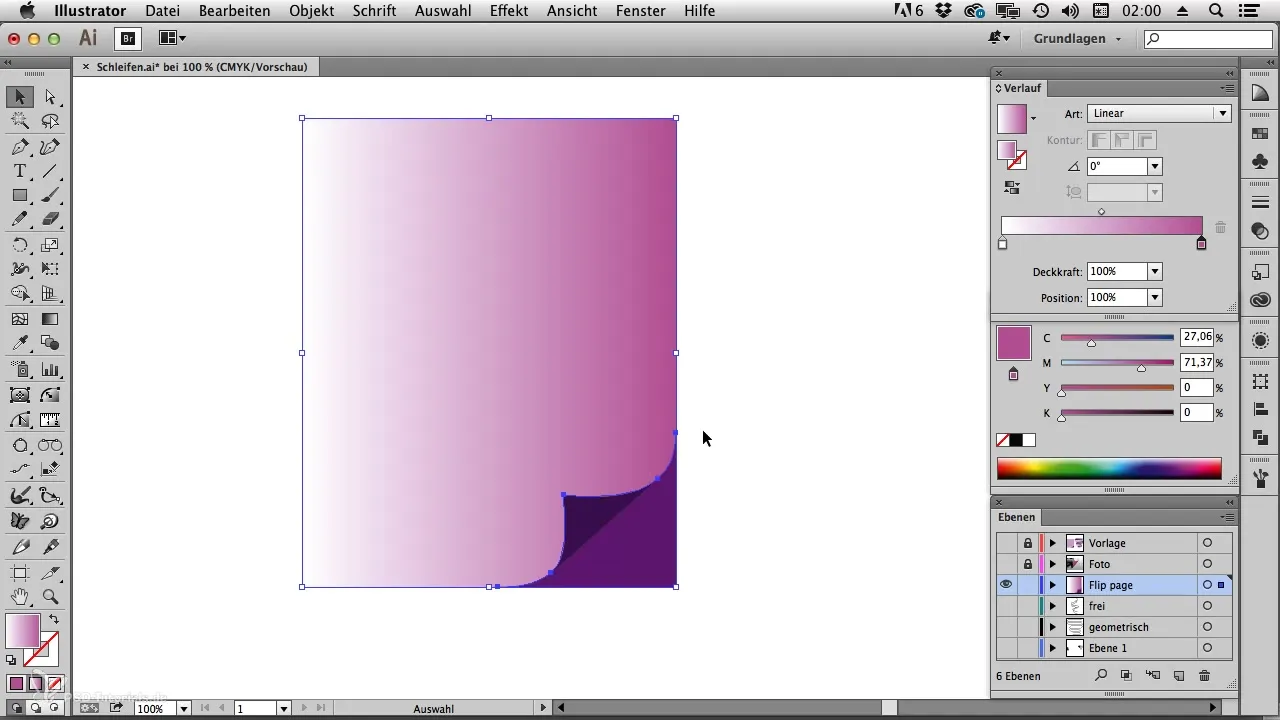
After the tangent is created, select all relevant points and use the Shape Builder tool to form areas. Simply click in the areas from which you want to create fills. Here, you can apply various colors and gradients.
Step 7: Apply Fill Colors and Gradients
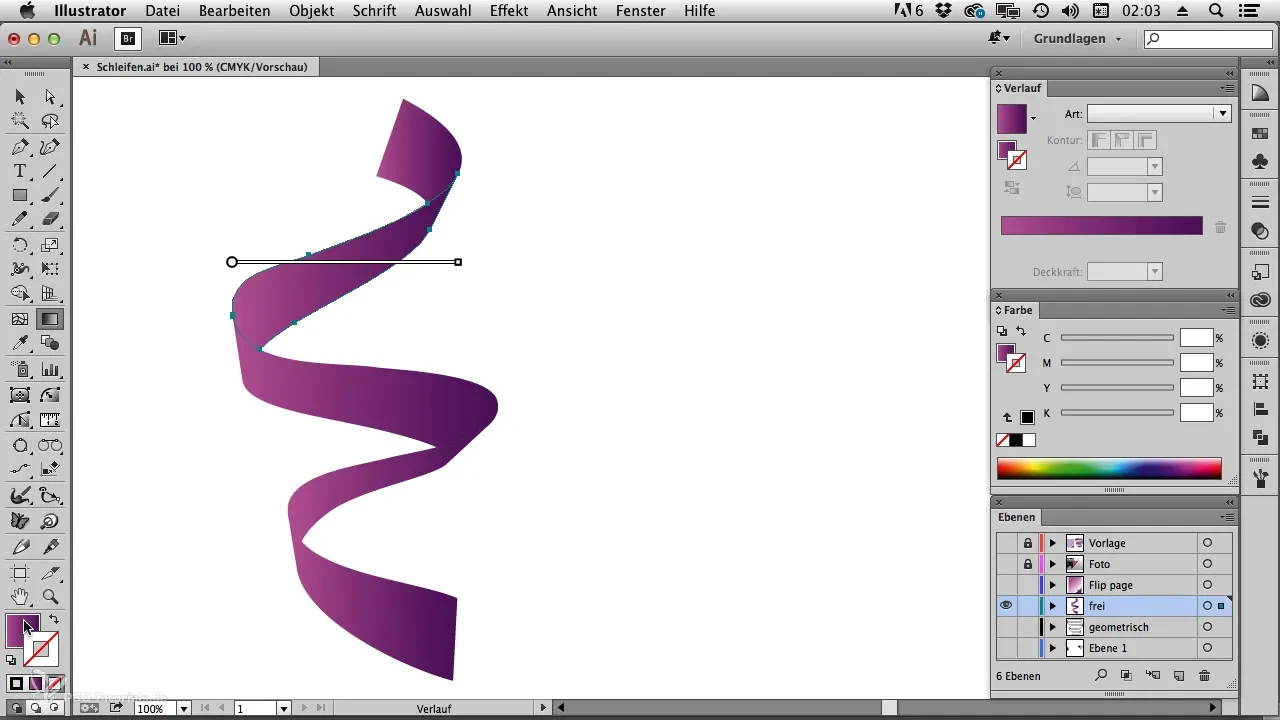
Select a fill color for your areas. To achieve the three-dimensional effect, you can use different shades. Go to the color palette and drag the options for the gradients in. With the gradient tool, you can determine and adjust the direction of the gradient.
Step 8: Adjustments for a Lively Design
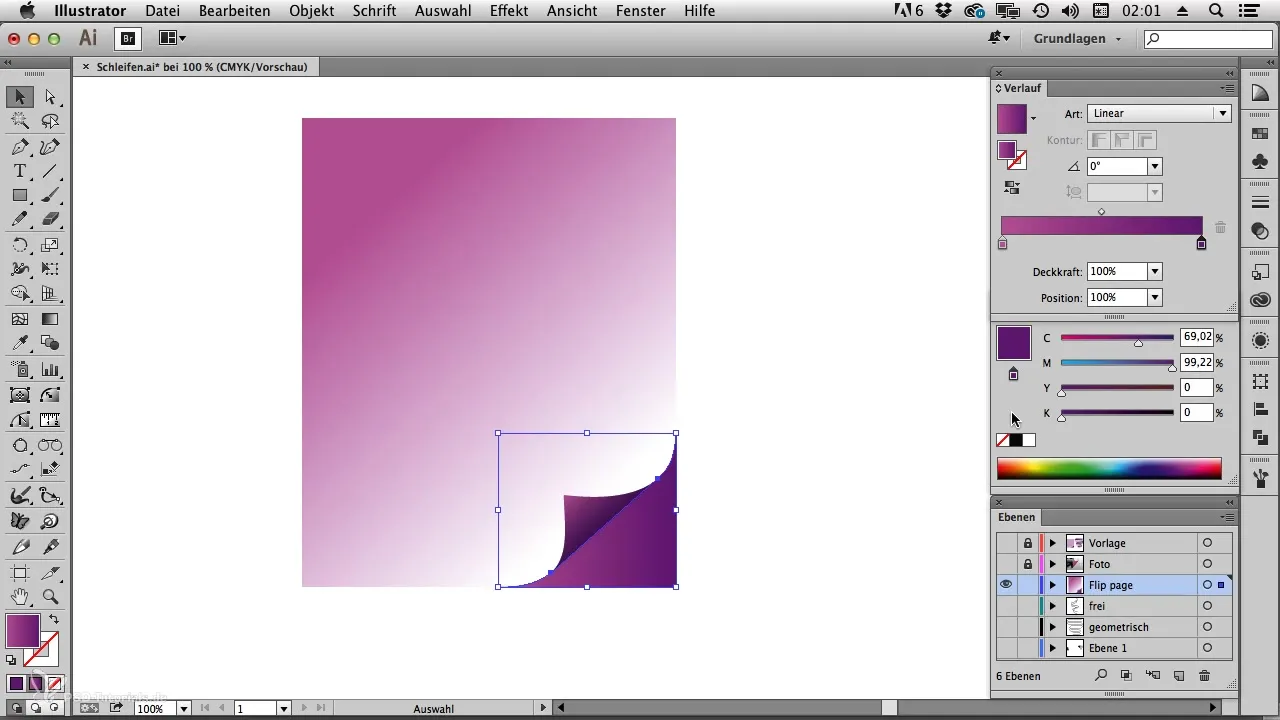
Now you can make further adjustments to make the image livelier. Use the gradient tool to mix colors. You can change the colors to your liking by double-clicking on the color markers. This way, you can highlight some areas with new colors.
Step 9: Completion and the Geometric Shapes
To draw geometric banners, repeat the process with the geometric shapes. Be sure to create the lines again with SubScribe to get correct connections. Use the Line tool to complete the geometric shapes and ensure everything is neat and color-coordinated.
Step 10: Fine-Tuning the Last Details
Once all shapes and gradients are set, check each area again. Using the selection tool, you can make the final adjustments and ensure that all gradients are in the right direction and in the foreground.
Summary – Flippage and Banner Effect in Illustrator
To create an impressive flippage effect in Illustrator, use the steps outlined to generate clearly defined lines and smooth transitions. With the SubScribe plug-in and a targeted approach, the entire process can be significantly eased. Utilize the options for color selection and gradients to create a visual masterpiece.
Frequently Asked Questions
What is SubScribe and where do I get it?SubScribe is a free plug-in from Astute Graphics that helps you draw precise lines and tangents.
How can I change the colors of my areas?Select the area and use the color palette or gradient tool to add the desired colors.
Are the steps in this tutorial also applicable to other effects?Yes, many of the techniques can also be applied to other designs and effects, not just flippage and banners.
Can I use the plug-in for other Illustrator projects?Absolutely! SubScribe is versatile and can help in various projects.
