In this tutorial, I will show you how to effectively use the Camera Raw filter in Photoshop to significantly improve the quality of your images. The second part of our series focuses on various features and options that will help you elevate your photo editing to the next level. You will learn how to minimize issues like haze and noise, optimize colors, and create special effects. Let's dive straight into the key features!
Key Takeaways
- With the Haze Removal slider, you can efficiently remove fog and haze from your images.
- The difference between Saturation and Vibrance is crucial: Saturation affects all colors, while Vibrance makes gentler adjustments, especially with skin tones.
- Sharpening and Noise Reduction are essential for image quality – a balanced handling is necessary here.
- The Color Mixer allows fine adjustments of individual color tones, saturations, and brightness levels to achieve precise effects.
- The Color Grading section opens up opportunities for creative color design in highlights and shadows.
- Vignetting can help guide the viewer's attention.
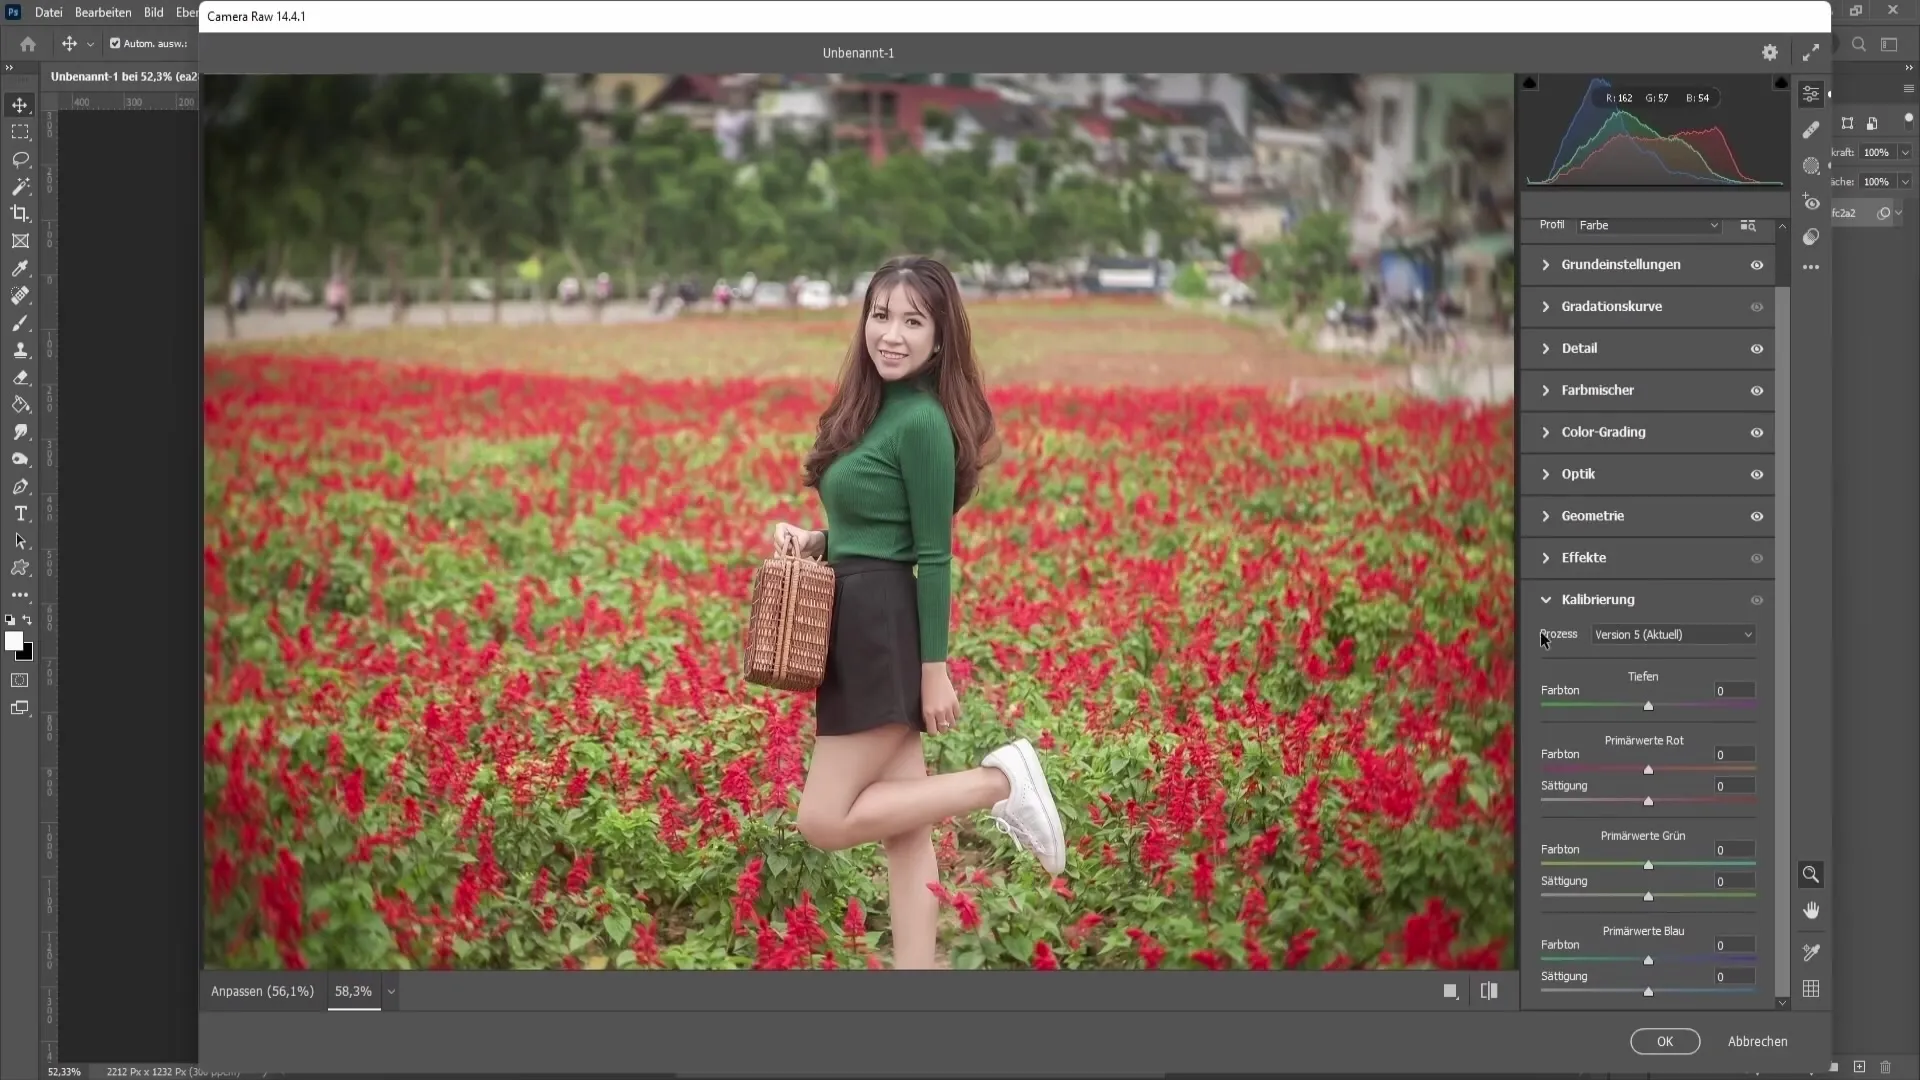
- The Calibration technique allows further editing of specific color tones and their intensity.
Step-by-Step Guide
Remove Haze
To remove haze from your image, go to the Haze Removal slider. Gently slide the slider to the right to visibly reduce the haze. This function is not only meant for haze removal – even if your image looks clear, you can achieve interesting effects with this slider. It's worth experimenting with different settings.
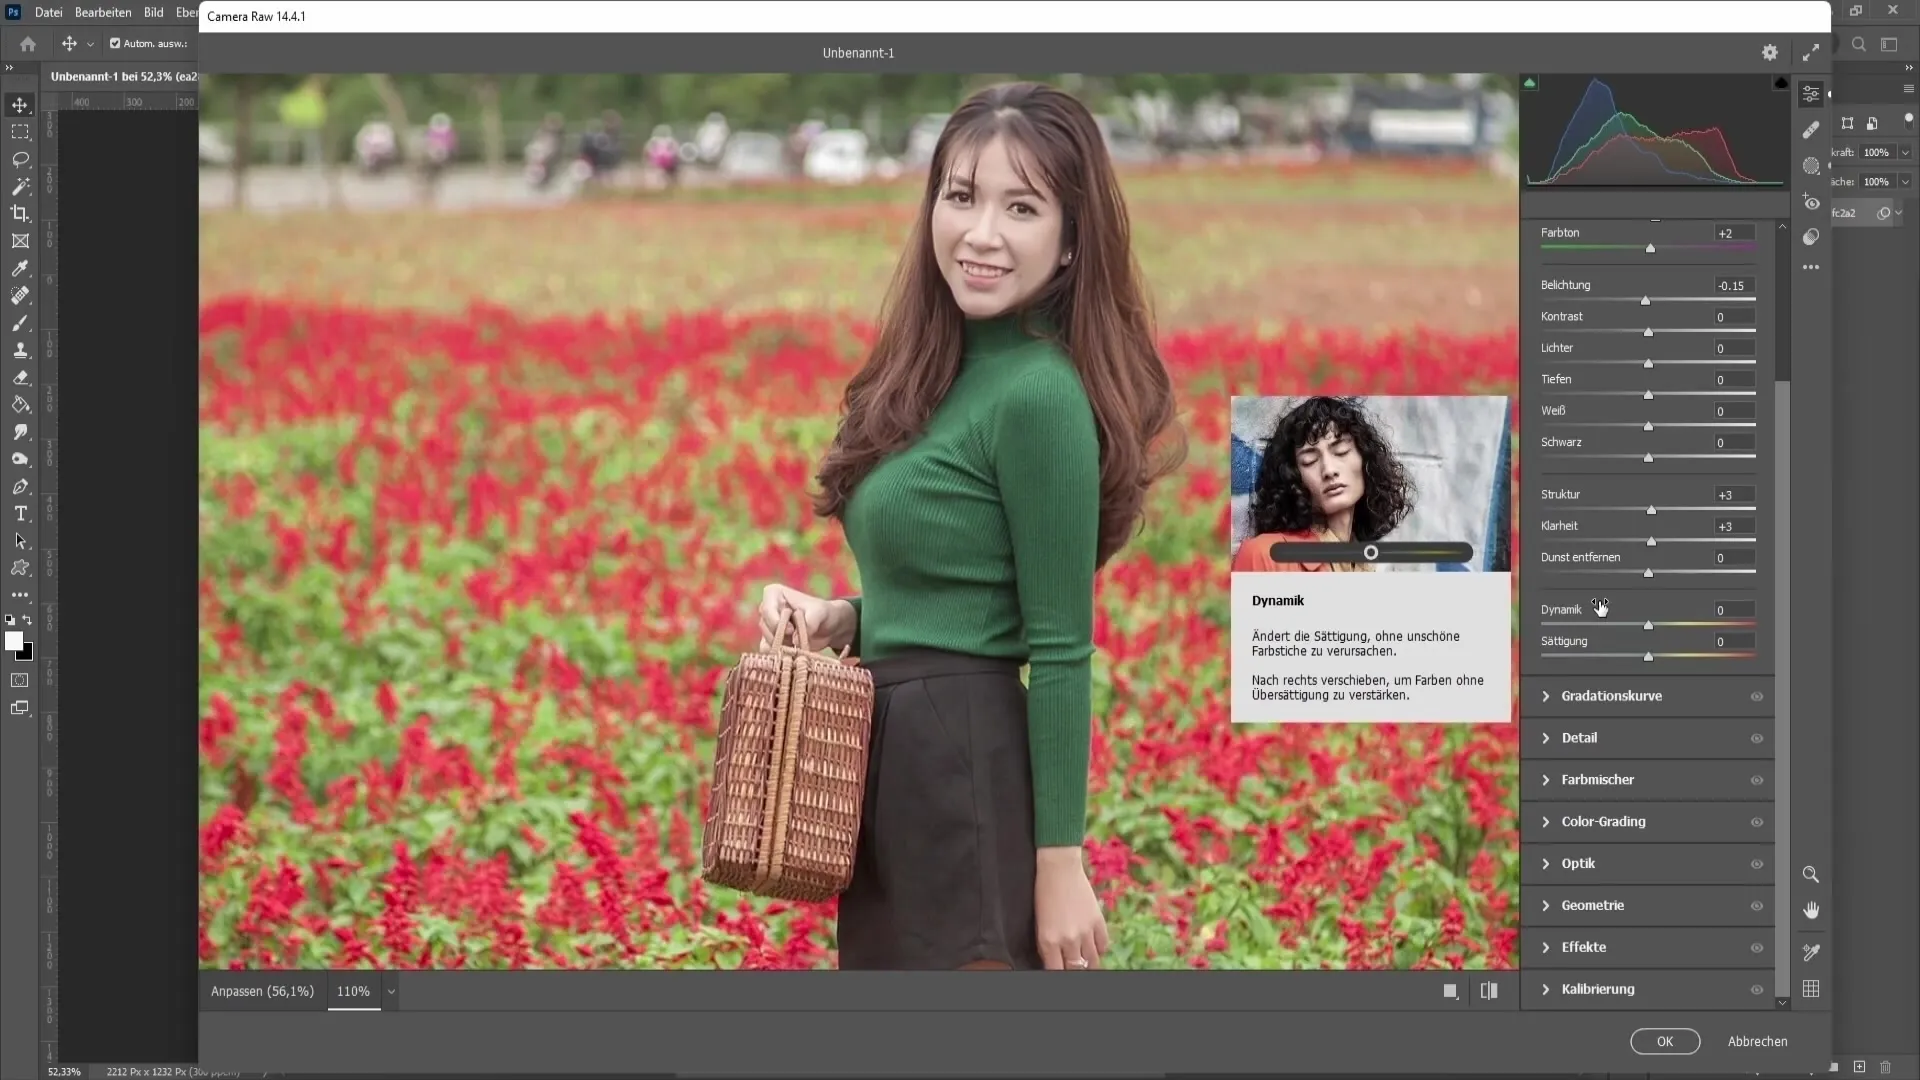
Saturation and Vibrance
You can intensify the colors in the image using the Saturation slider. However, you should also use the Vibrance slider. The key difference is that Saturation uniformly increases all colors, while Vibrance deals more gently with specific colors, especially with skin tones. Use Saturation to strengthen colors in general and Vibrance to keep the image natural.
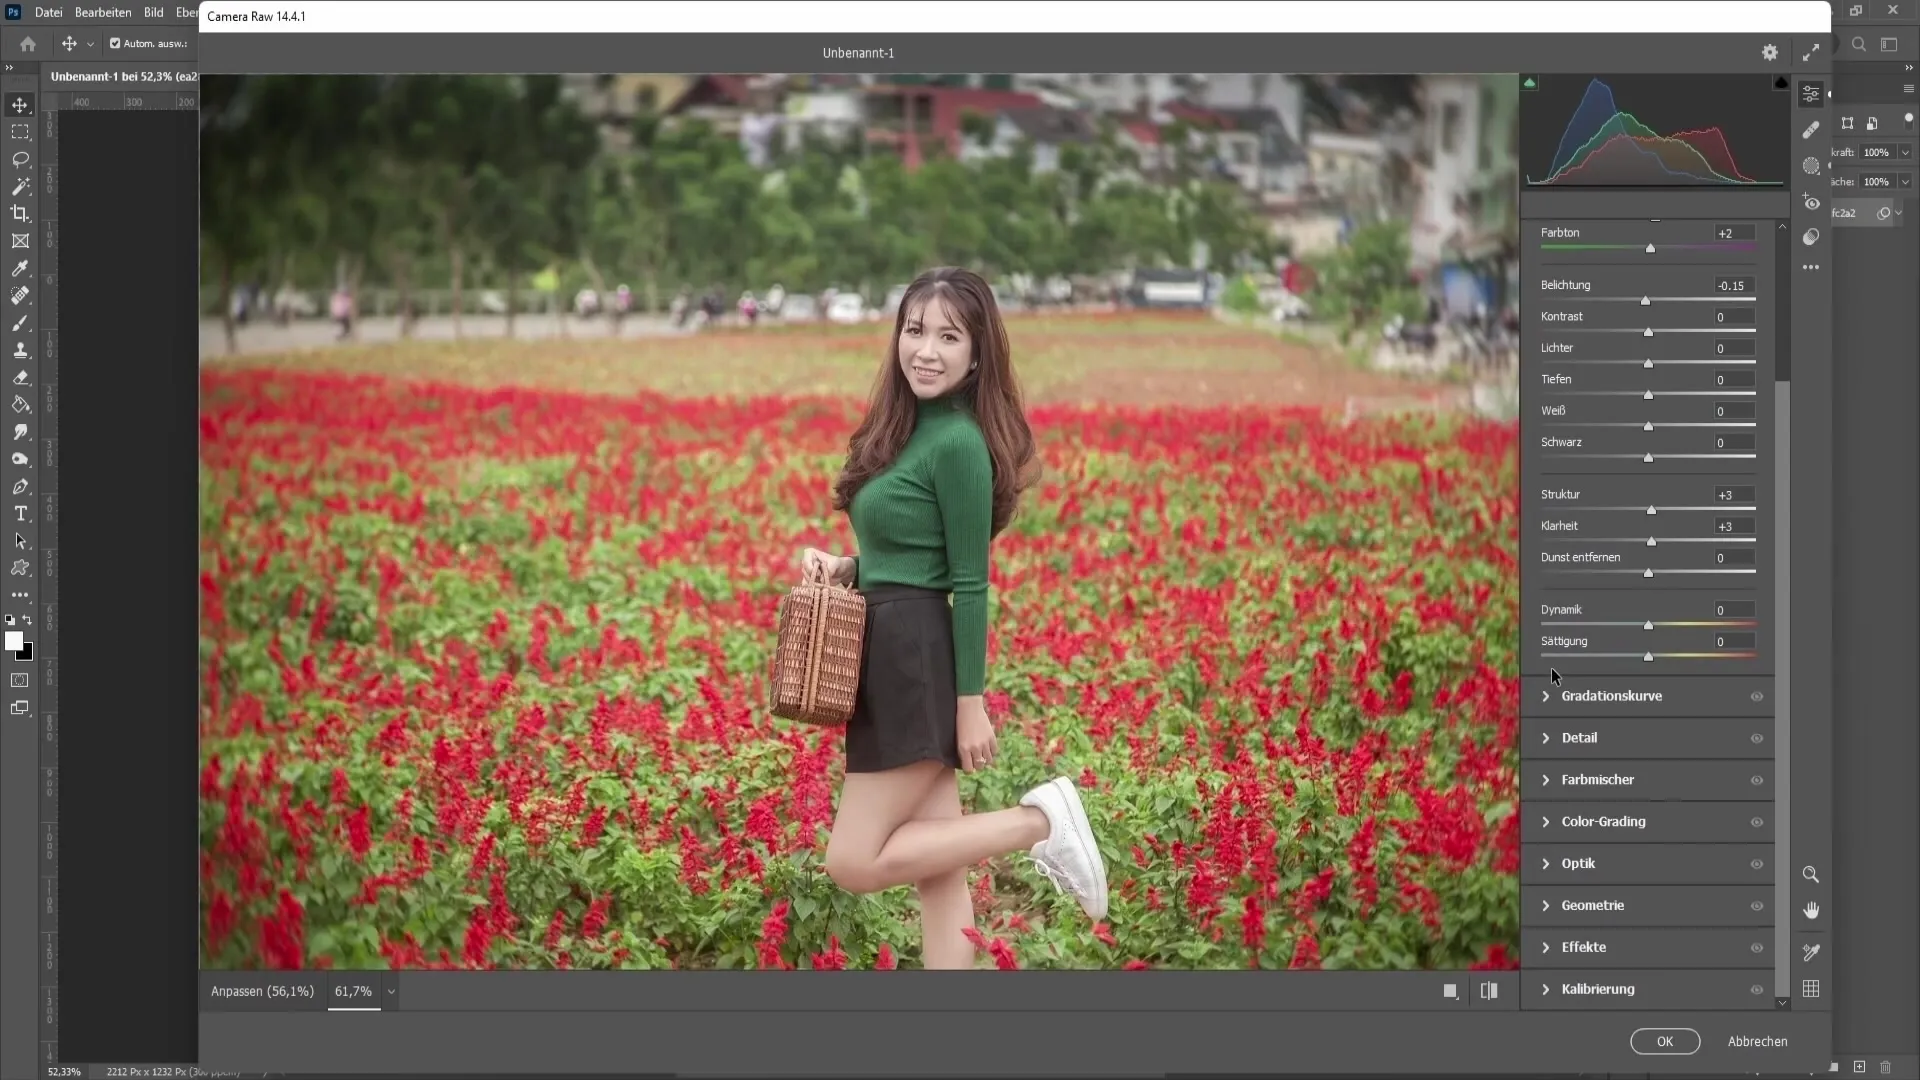
Sharpening and Noise Reduction
In many cases, you will find that your images need sharpening. To do this, use the Sharpening slider and usually set it to around 40. However, be aware that increasing sharpness also increases noise in the image. To counteract this, you need Noise Reduction. Adjust both sliders to achieve the best possible sharpness without strong noise.
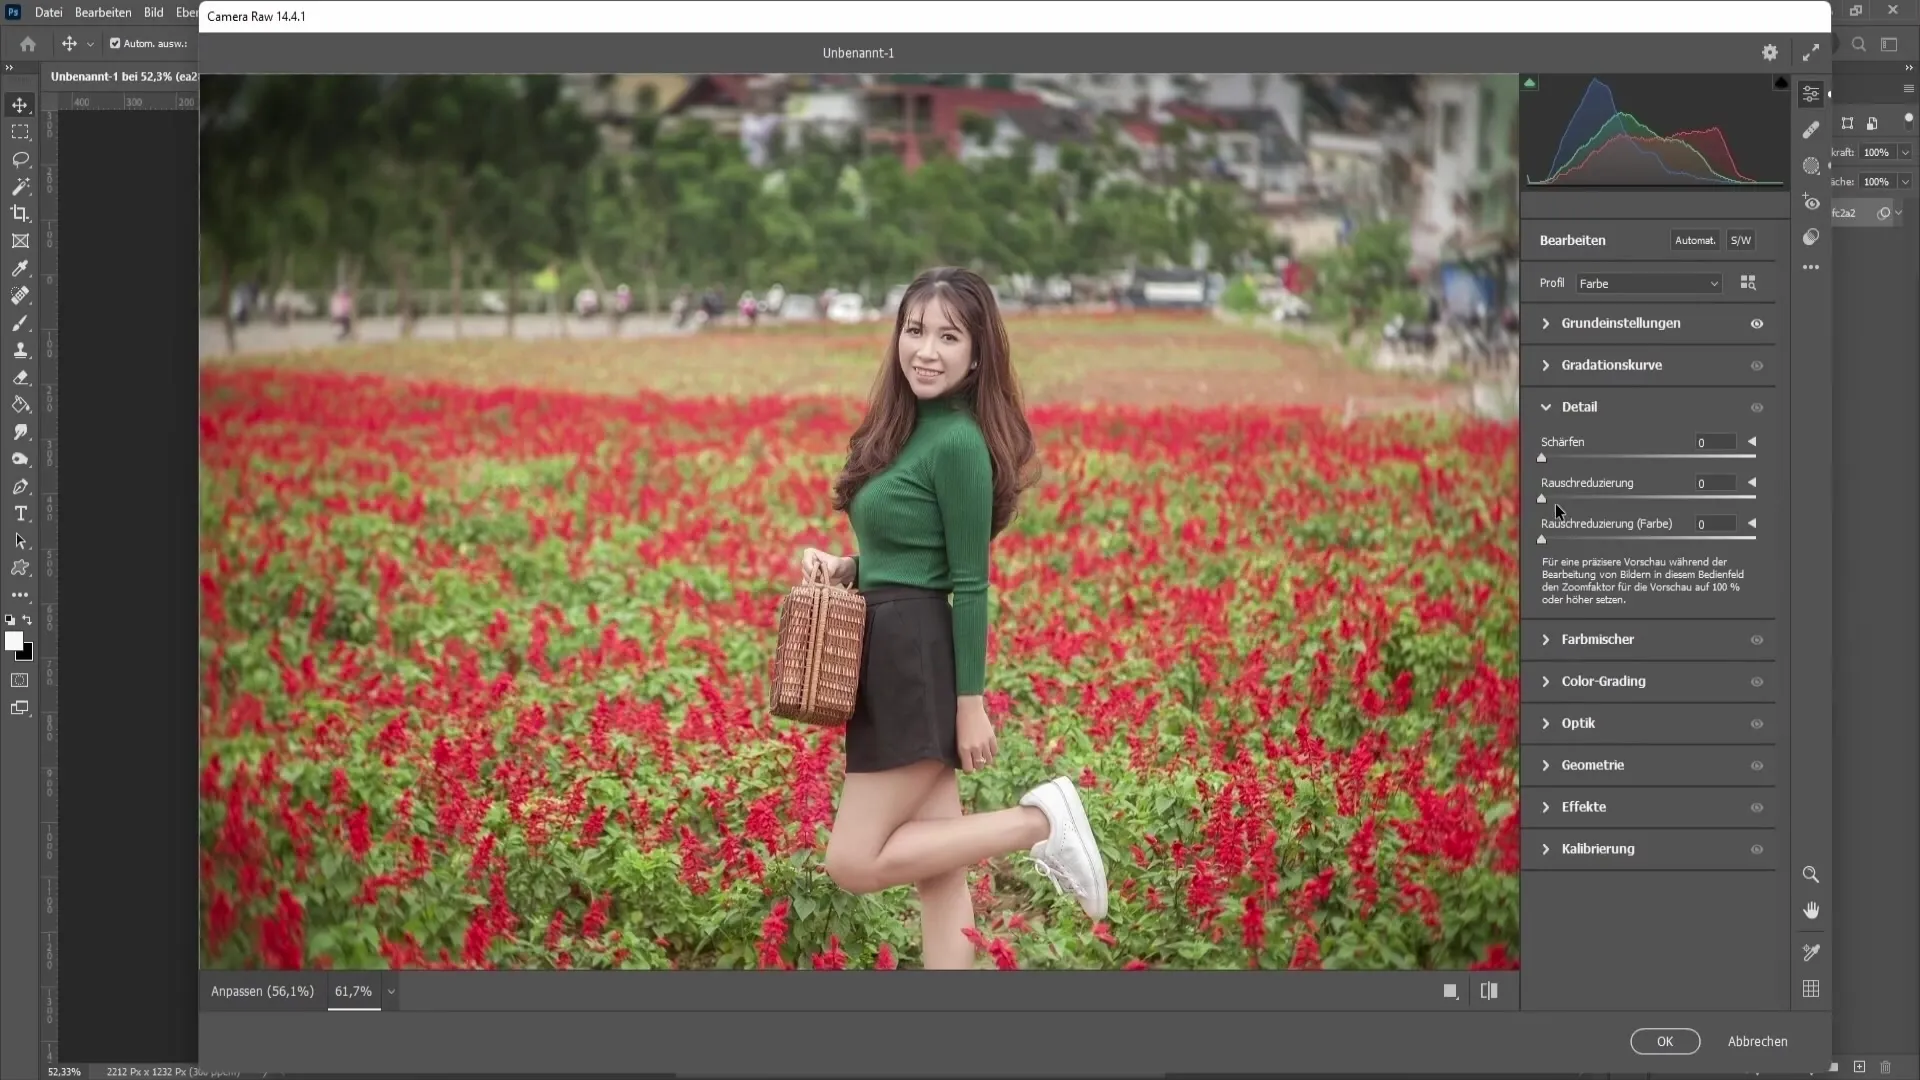
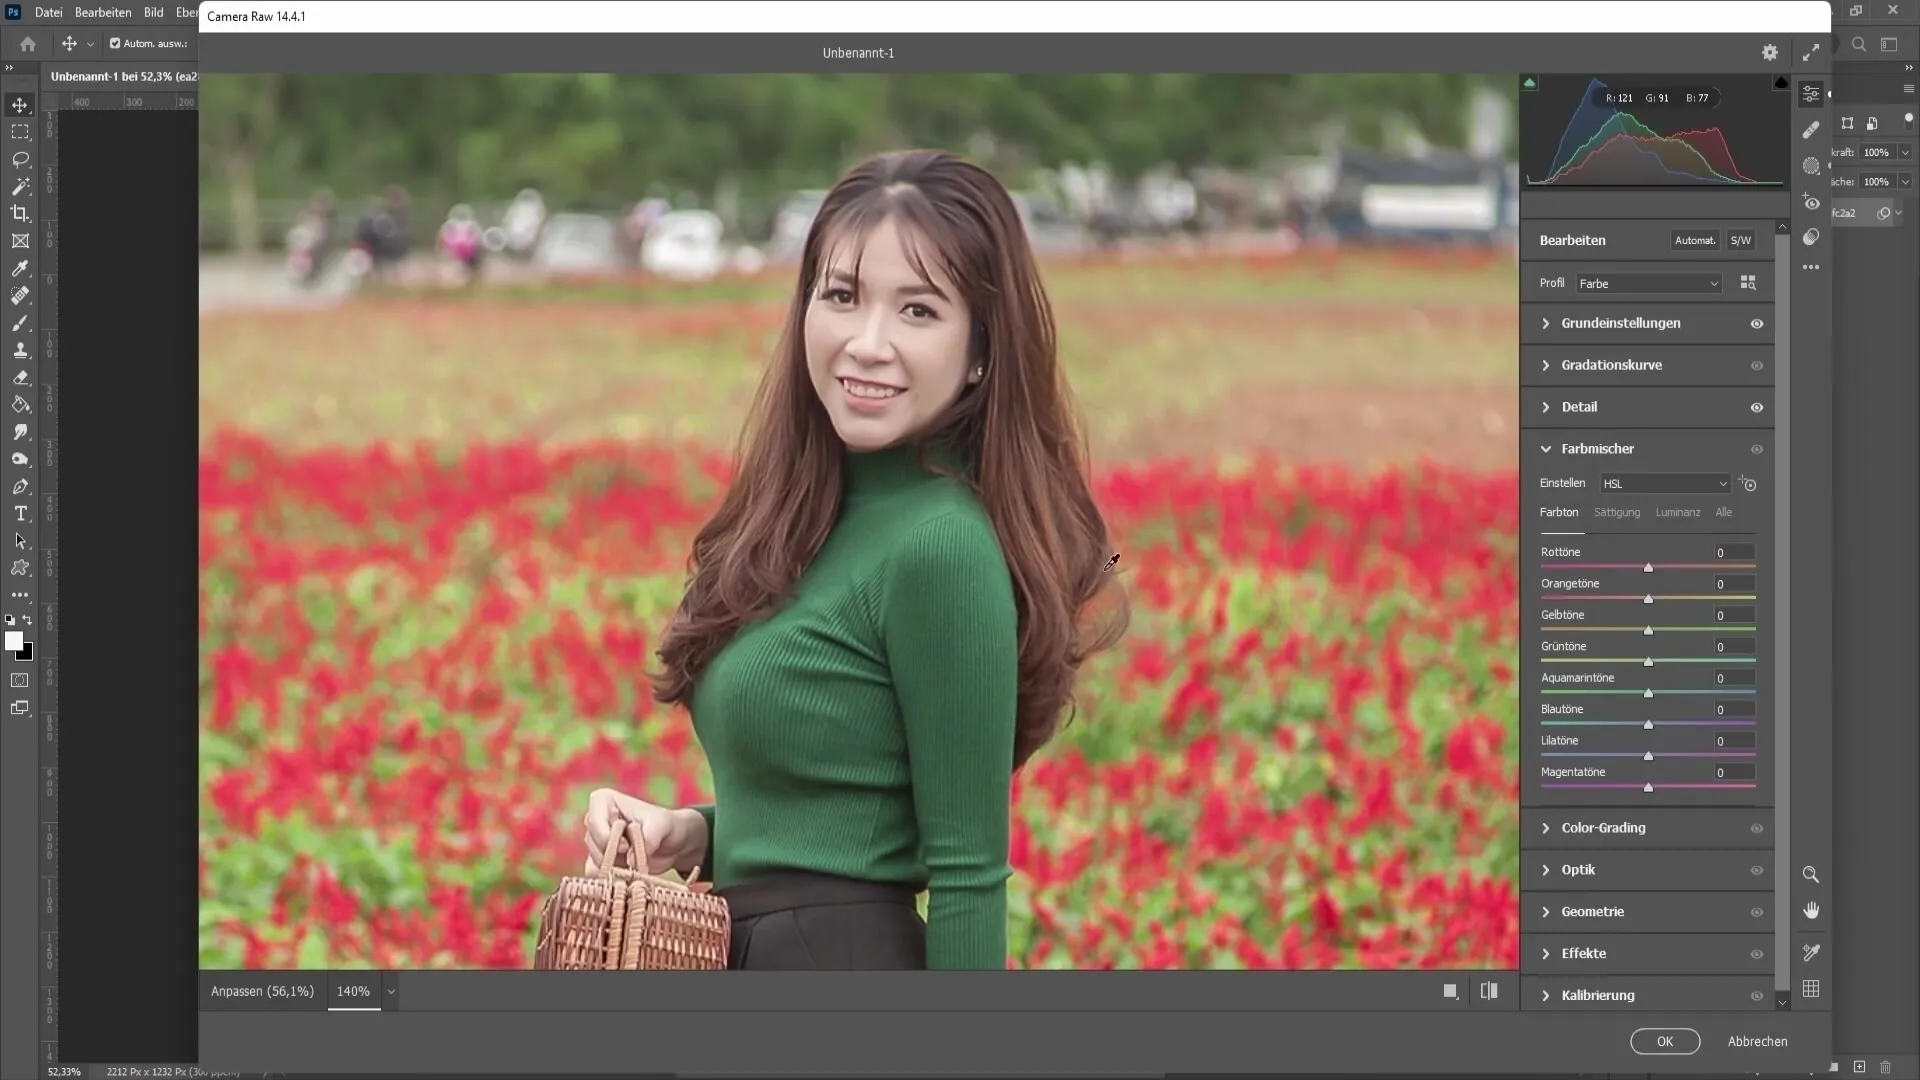
Color Mixer
Utilizing the Color Mixer is a brilliant way to adjust specific colors in your image. For example, if you want to modify the red flowers in your image, you can move the Red tones slider left or right to achieve the desired hue. Similarly, for other colors like Yellow, Green, and Blue, you can make similar adjustments to find the perfect balance.
Color Grading
The Color Grading tool is an excellent way to refine the look of your image. You can adjust the Highlights, Midtones, and Shadows separately to give the images the desired character. For example, if you want to tint the Shadows bluish, move the point to the blue area of the circular slider for the Shadows. The same principle applies to the Highlights as well.
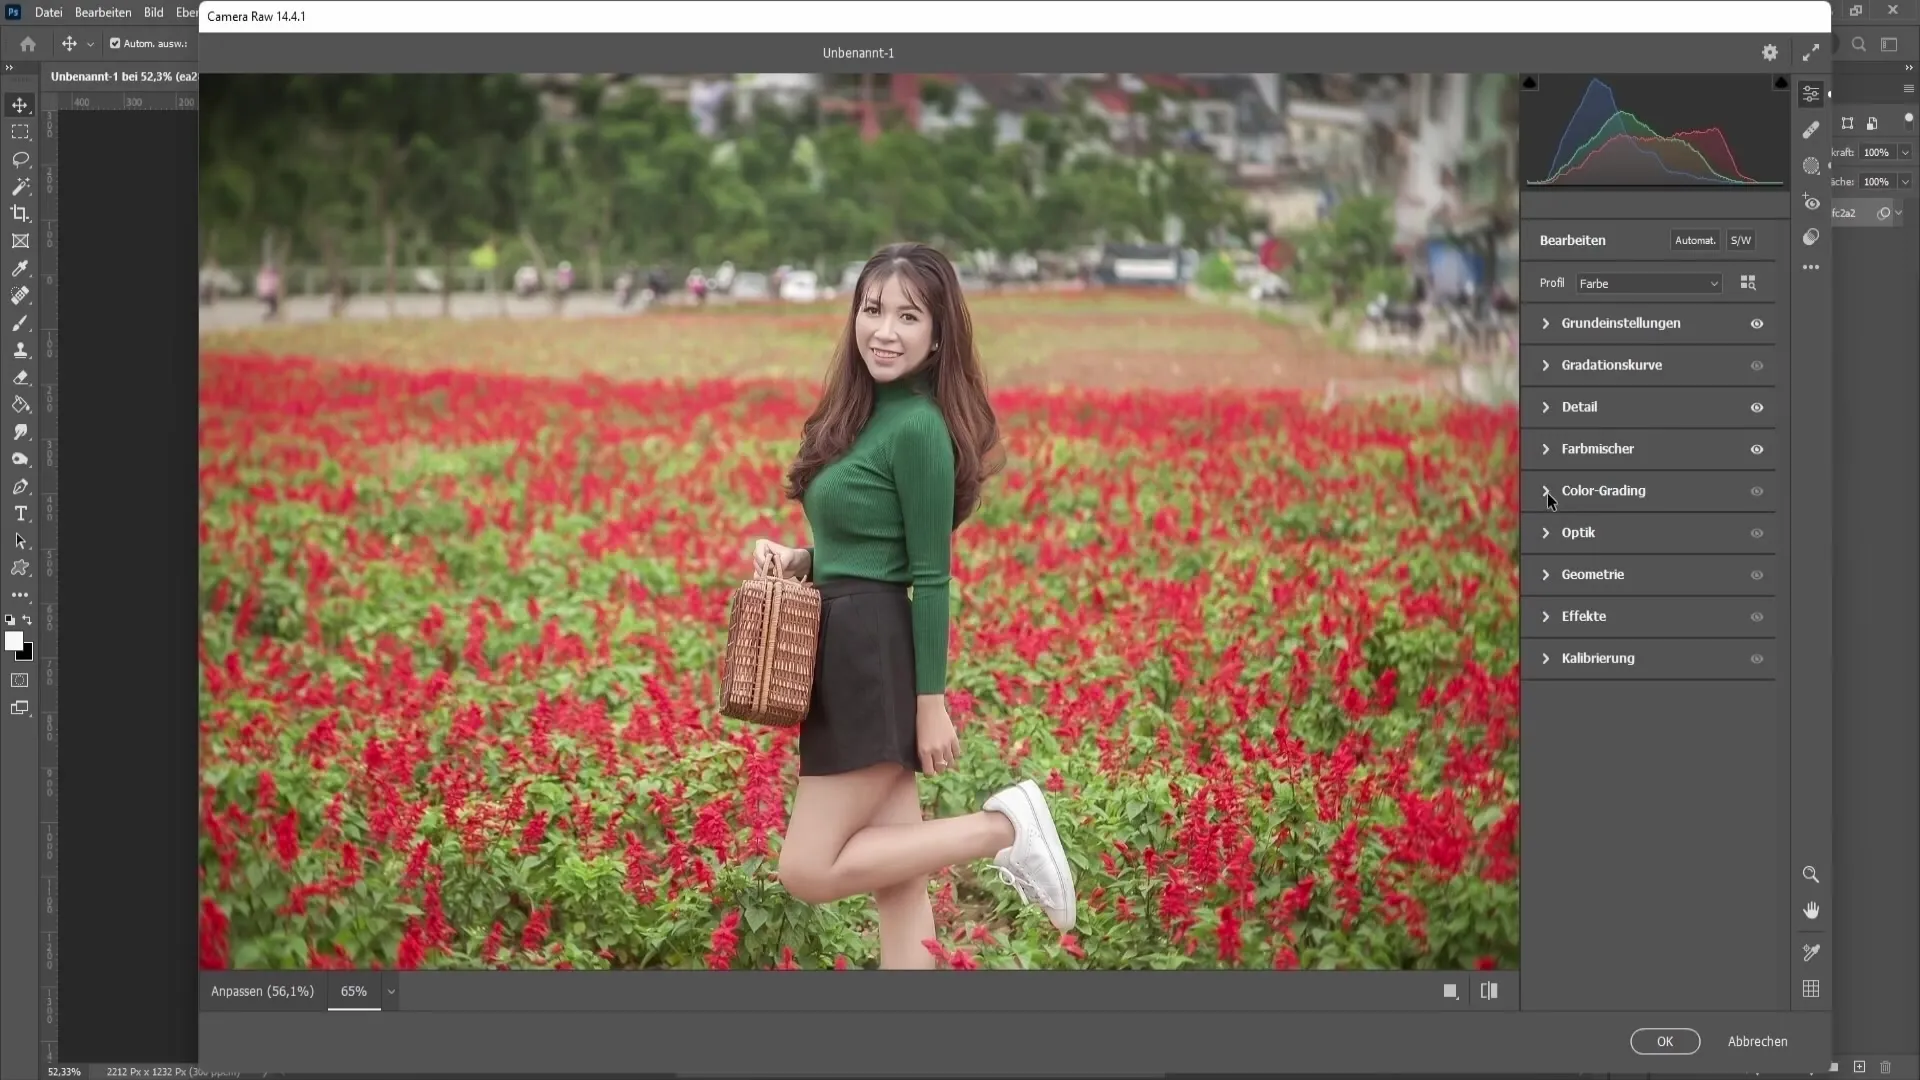
Vignetting
Vignetting helps direct the focus to the main subject of your image. Move the Vignette slider to the left to create dark areas around the edges of the image. This brings the viewer's gaze to the center of the image. Alternatively, you can also use a light vignette effect to create a dreamy look.
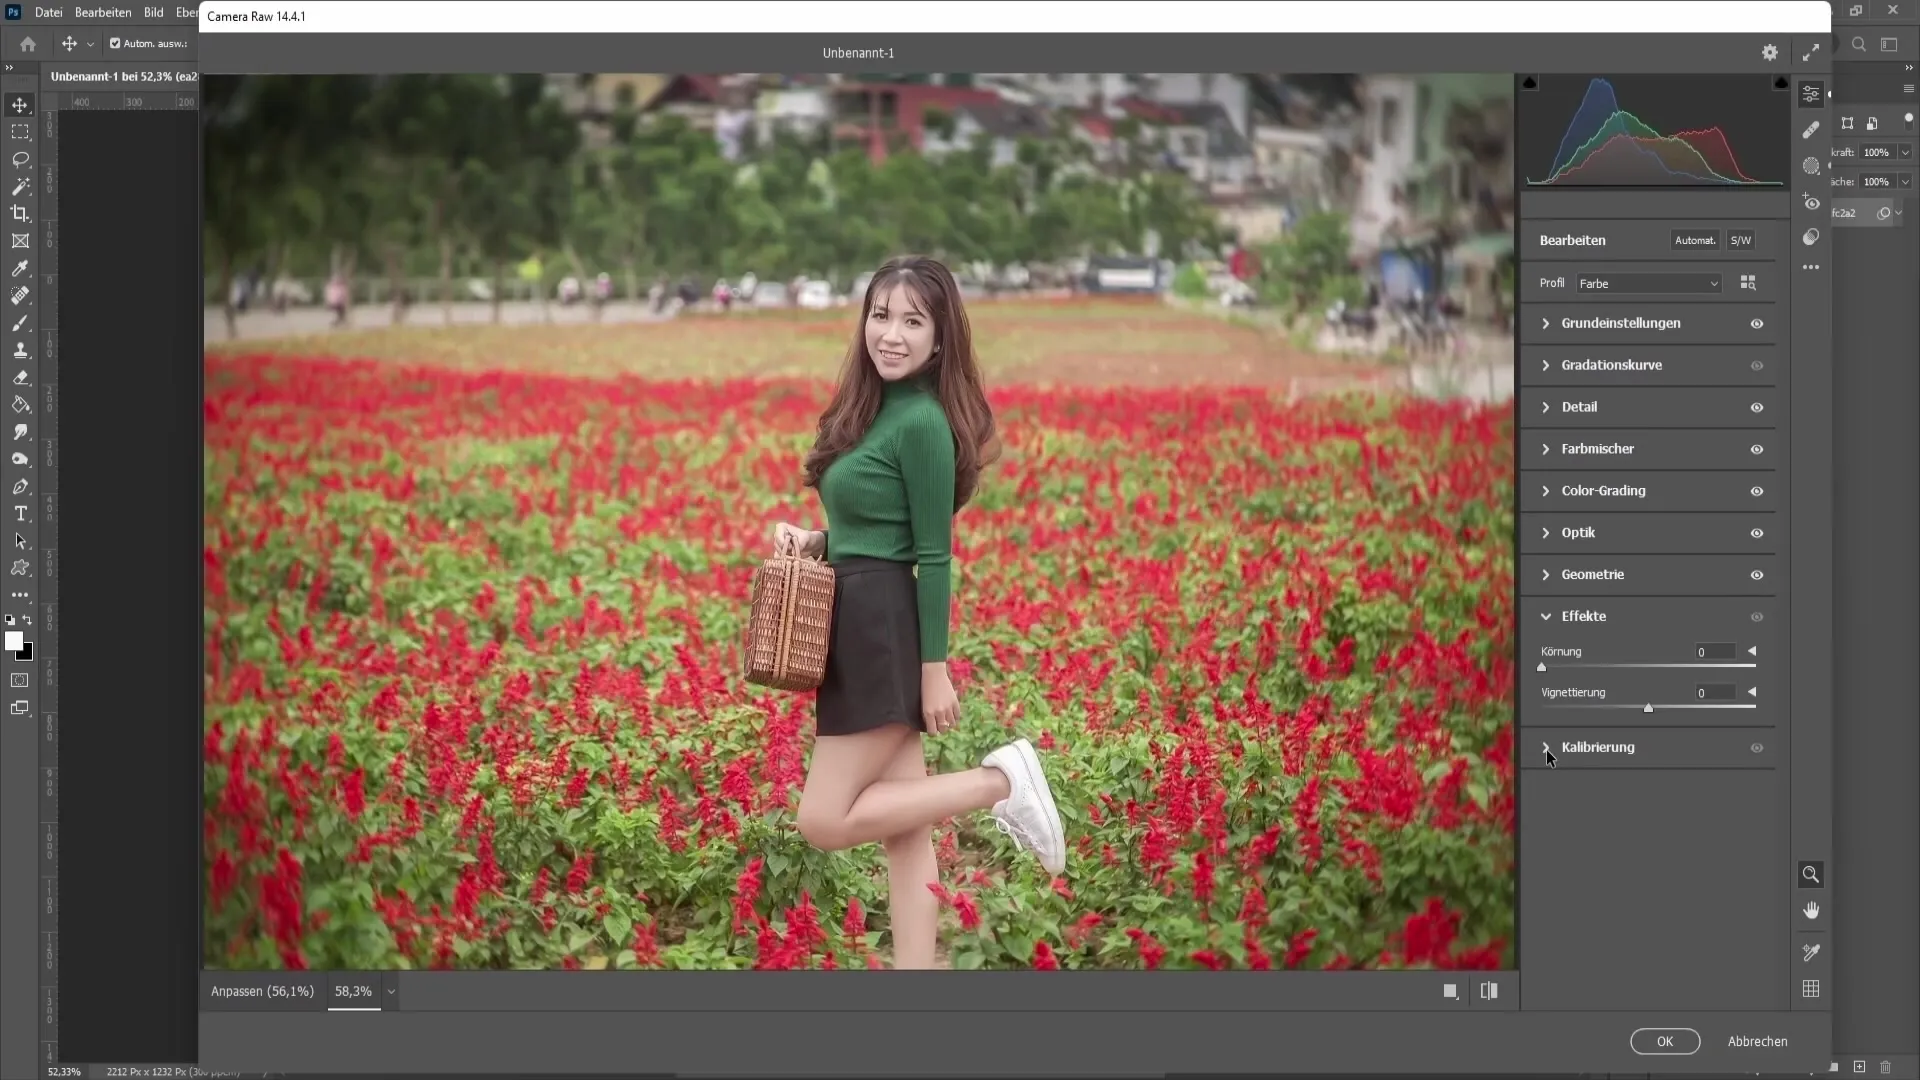
Geometric and Effects
With the geometry tools, you can align your image or make perspective changes. The horizon can be easily straightened. In addition, you can add effects such as a slight grain to achieve a specific look often found in black and white images.
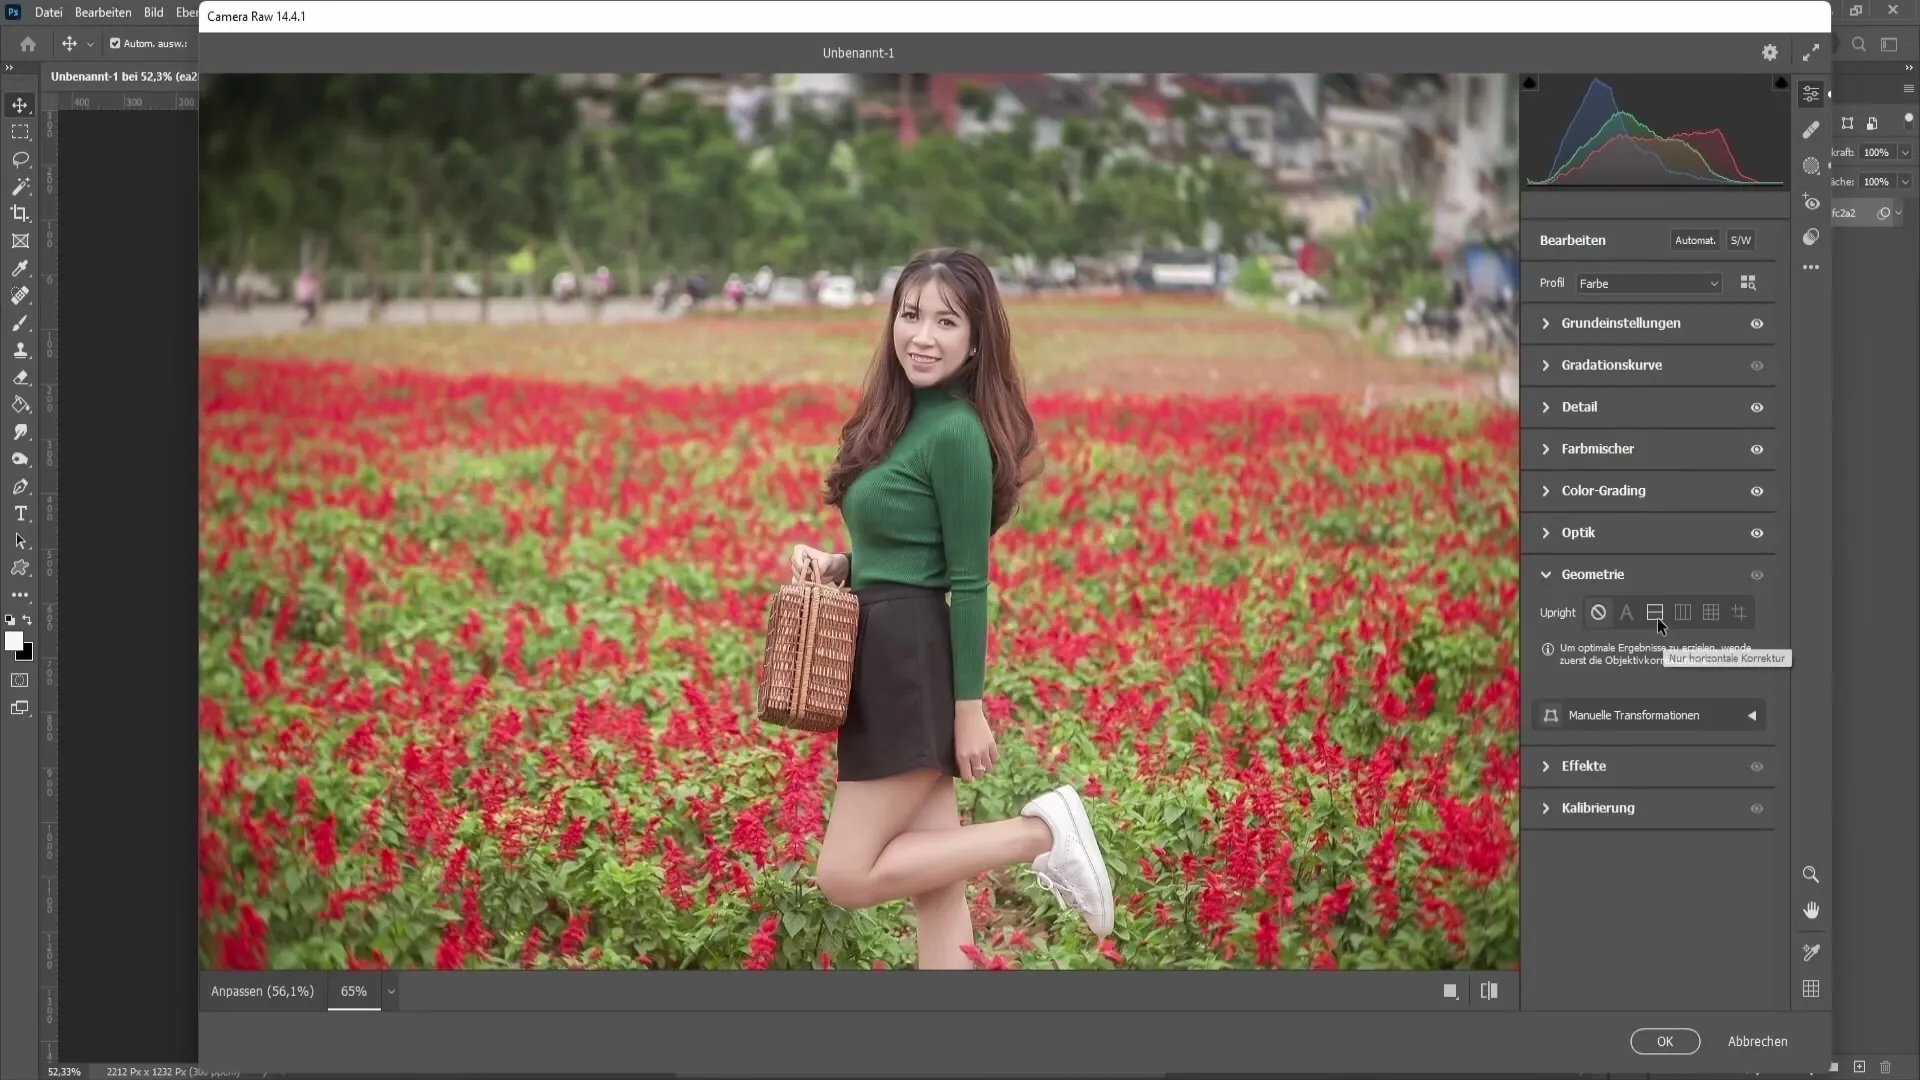
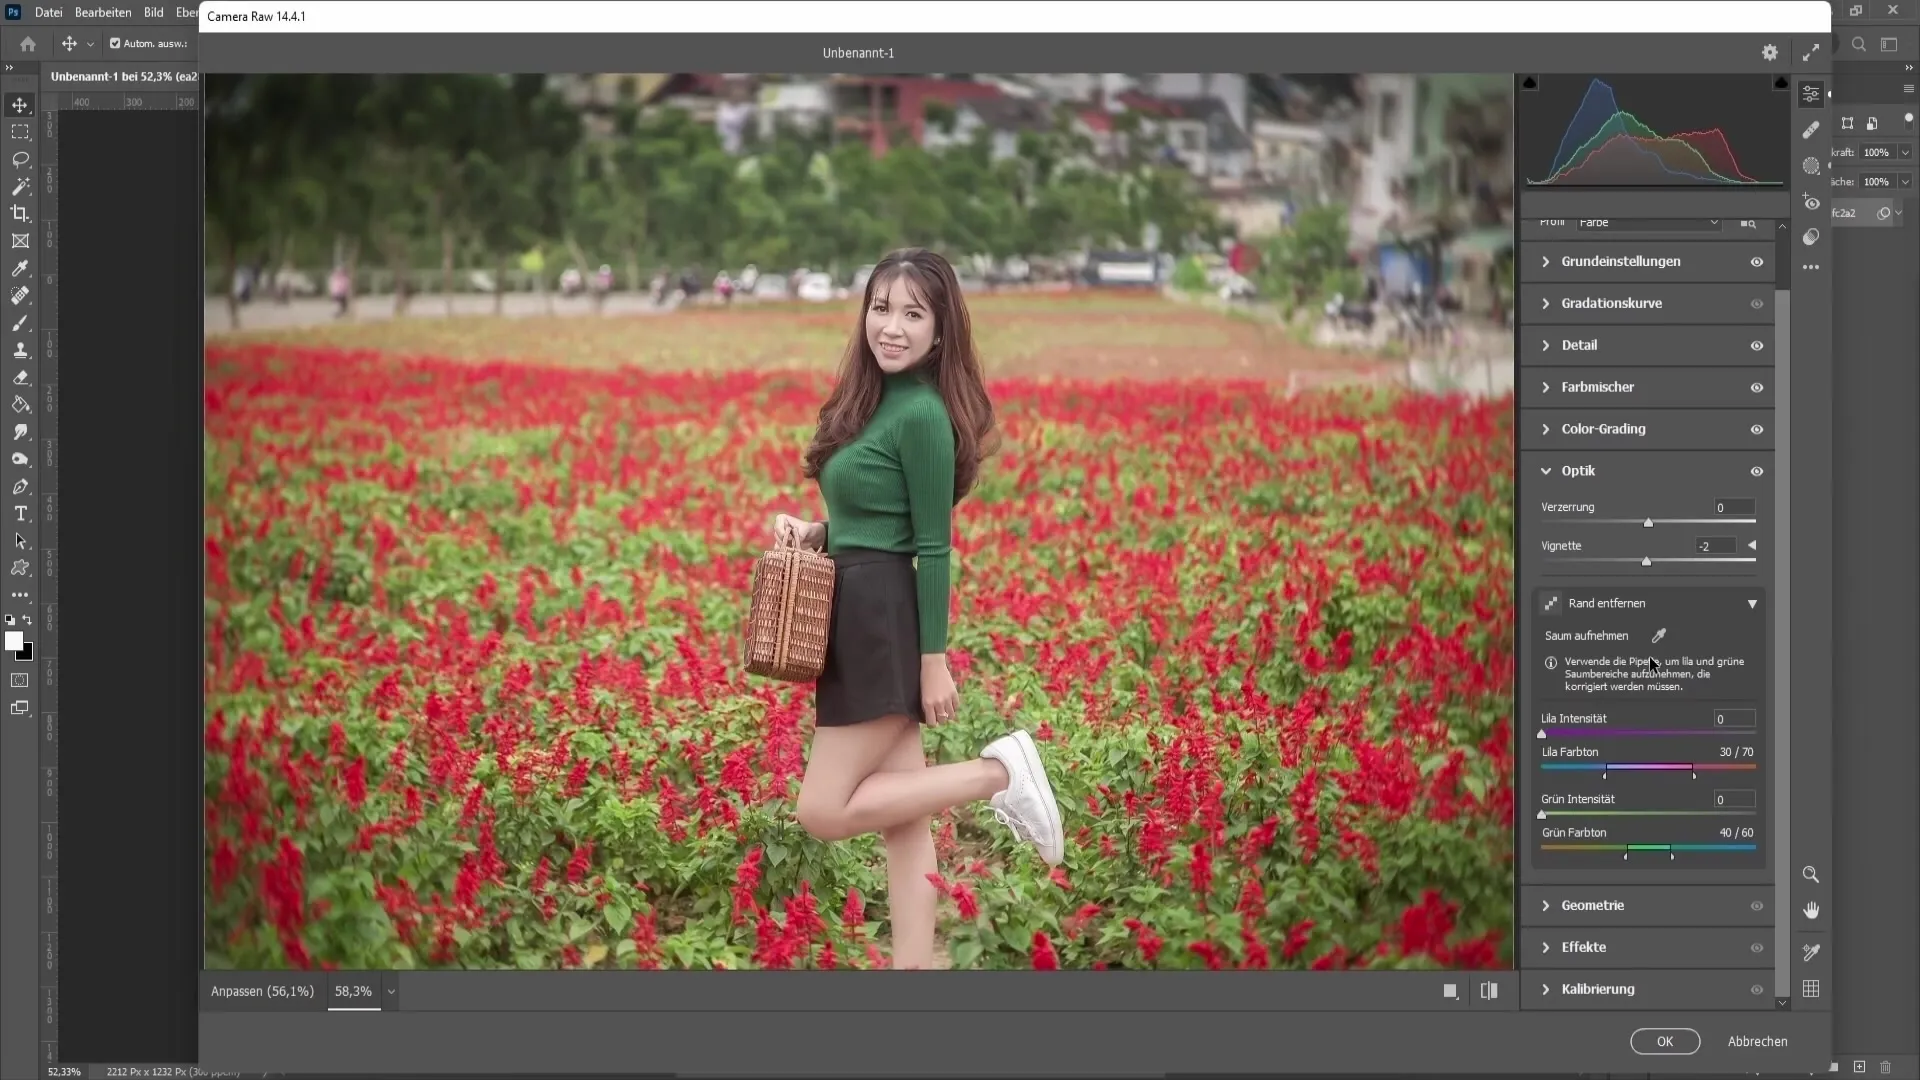
Edge Removal
Sometimes when editing images, distracting colored edges may appear. This is where the pipette comes into play. Use it to select the edge bar and apply the intensity to remove these unwanted edges. This gives your image a cleaner appearance, especially if you have already edited multiple images.
Calibration
The calibration option allows you to adjust the color depth and the saturations of the individual primary colors (red, green, blue). You can increase or decrease the saturation to achieve the desired effect. These adjustments give your image additional depth and vibrancy.
Summary
In this guide, you have learned important features of the Camera Raw filter that help you efficiently edit and enhance your images. From removing haze to precisely adjusting colors and reducing noise - these techniques will help you achieve professional results.
Frequently Asked Questions
How do I remove haze from an image?Use the haze removal slider and slide it to the right.
What is the difference between saturation and vibrance?Saturation affects all colors while vibrance preserves skin tones and only intensifies other colors.
How can I sharpen an image without causing too much noise?Sharpen your image and adjust the noise reduction accordingly to find a balance.
How does the color mixer work?The color mixer allows you to precisely adjust specific hues, saturations, and brightness levels.
What is color grading and how do I use it?Color grading allows adjusting highlights, midtones, and shadows in your image for a creative look.
How can I control focus in my image using vignetting?Move the vignette slider to the left to add dark edges and guide the viewer's eye.
What possibilities do I have with geometry?You can align the image and make perspective adjustments.
How do I remove distracting colored edges?Use the pipette to select and adjust the edges.
What is adjusted in calibration?Color depths and saturations of the primary colors (red, green, blue) can be edited.


