Removing animals from their backgrounds is a challenging yet highly exciting task in image editing. It requires both technical skills and a good eye to separate the objects from the background and achieve an appealing result. In this guide, I will show you steps and techniques to effectively remove various animals from their backgrounds, starting from simple cases to more complex scenarios.
Key Insights
- The quick selection tool is one of the best methods for removing backgrounds.
- The refine edge feature plays a crucial role in optimizing the extraction.
- Fine details, such as hair and fur, can be added or retouched with various tools, including brushes.
- For solid color backgrounds, adjustments to the fill options are helpful.
Step-by-Step Guide
Simple Extraction on a White Background
Start with an image of an animal set against a uniform white background. Here are the steps you can follow to extract the animal:
One of the easiest methods for extraction is using the color range tool. Open your image and navigate to Select > Color Range. Select the white color and adjust the tolerance to ensure the background is selected correctly. Click "OK" and create a layer mask using the "Add Layer Mask" button. This way, you have effectively extracted the animal.
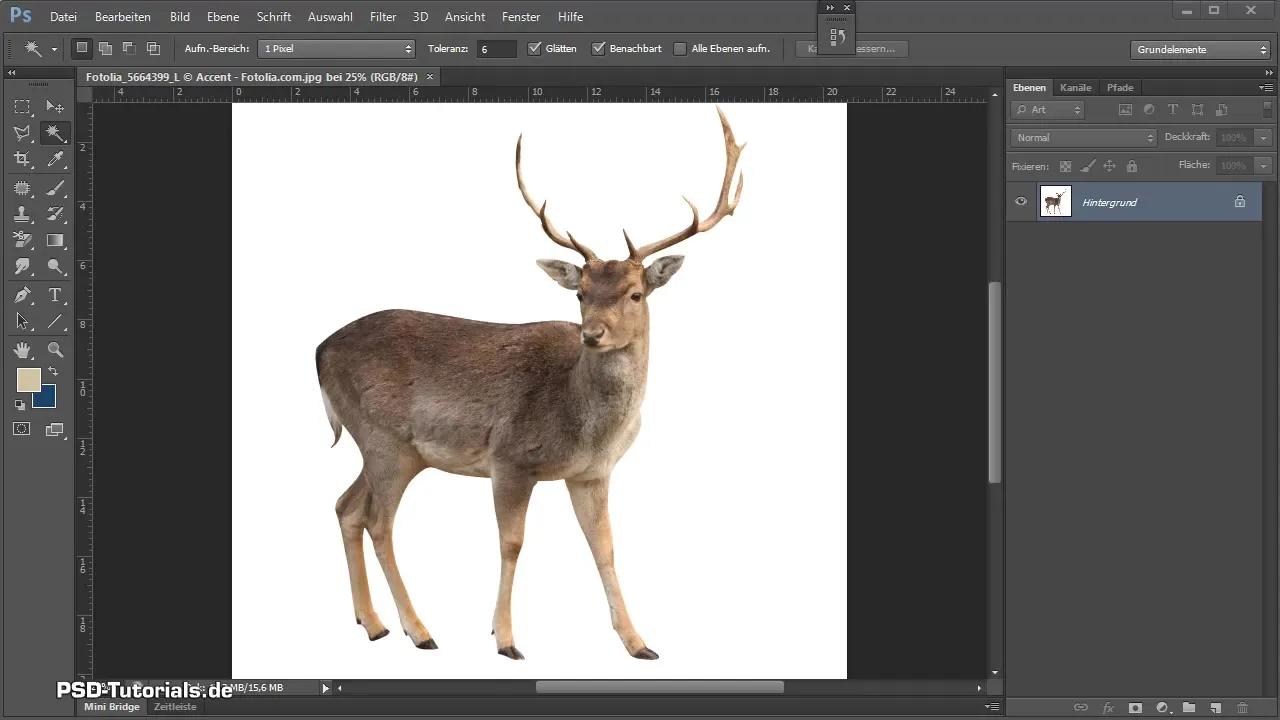
To further enhance the image, you can also adjust the shadows and highlights. Use the mask editing feature to hide any unwanted white edges. Select your brush, set the opacity to 100%, and work on the mask to refine the soft transitions.
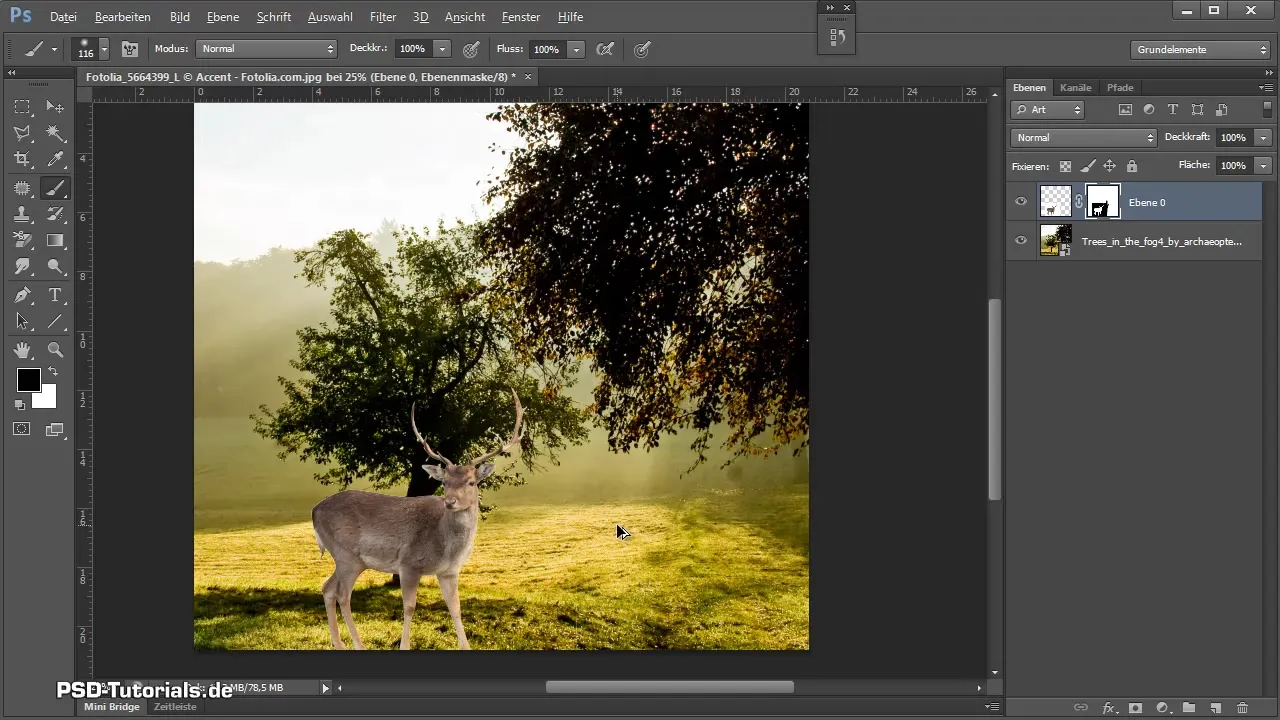
Extraction Using Fill Options
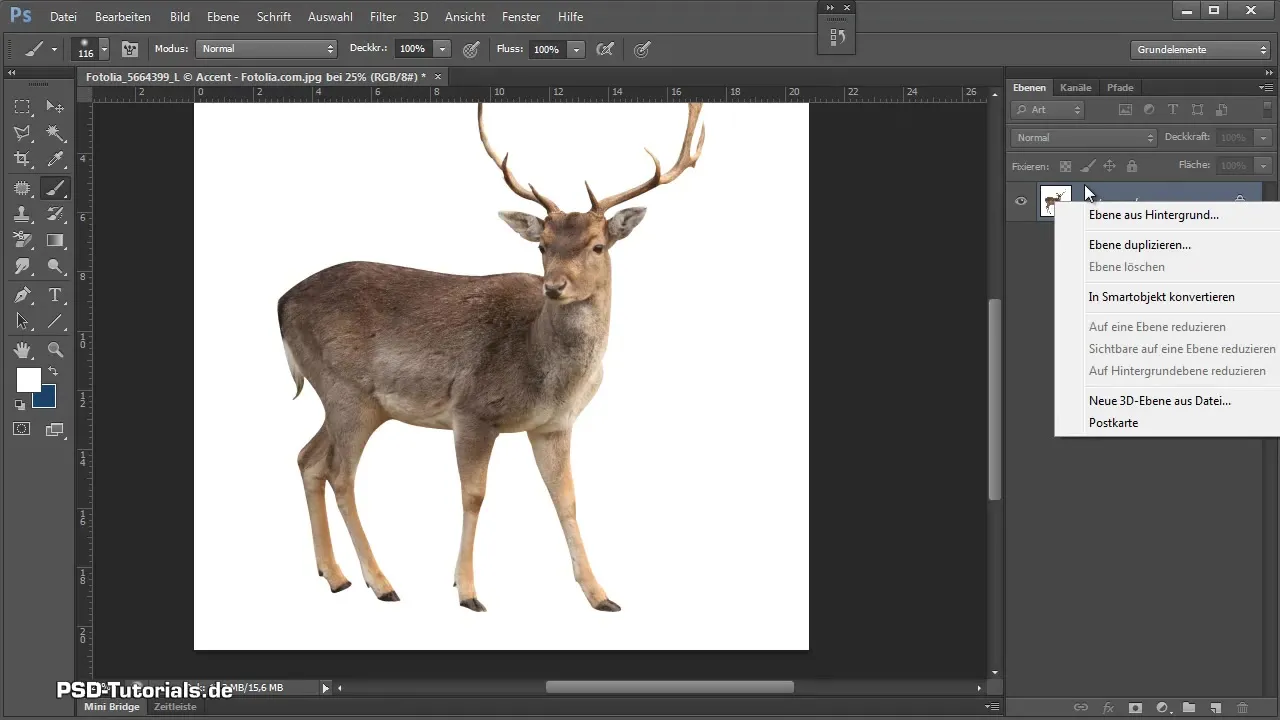
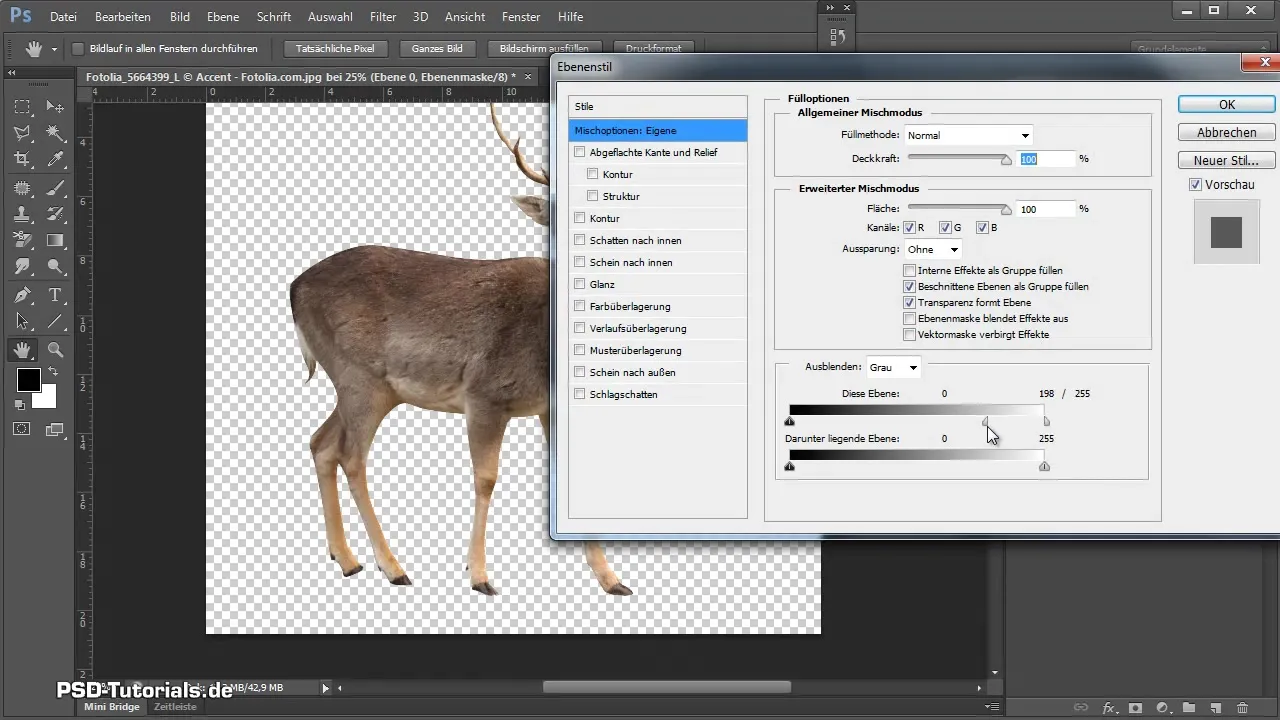
Another way to extract the animal would be to utilize the fill options of a background layer. Convert the background layer into a normal layer by right-clicking it and selecting Convert to Normal Layer. In the dropdown menu of fill options, you can adjust the slider to remove the background color as long as the animal is not affected in color.
If the background is not optimal, you can make post-adjustments using the magic wand tool. Click on the unwanted areas and save the selection as a mask to refine the result.
Extraction of Animals with More Complex Backgrounds
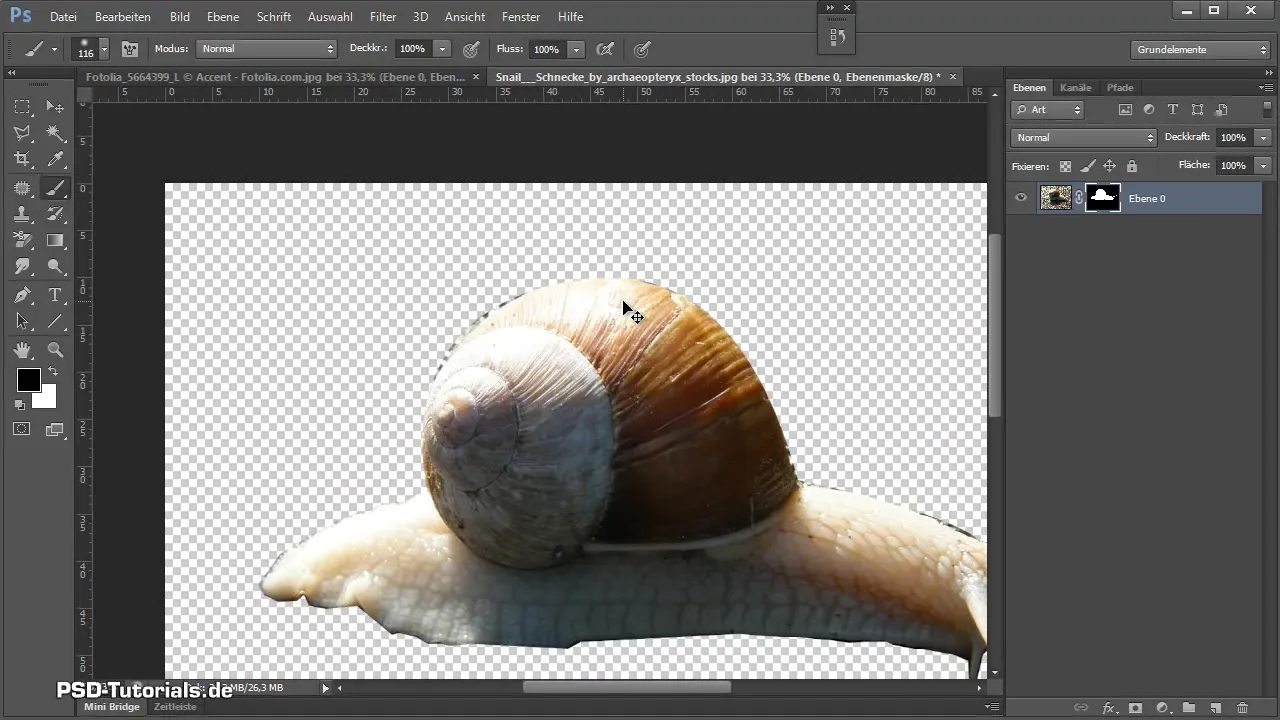
If you are struggling with an image where the background is not uniform, as in the case of a snail, the following techniques can be helpful. This is where the quick selection tool comes into play to make rough selections. Afterwards, you can focus on the refine edge feature to minimize inaccuracies and create smooth transitions.
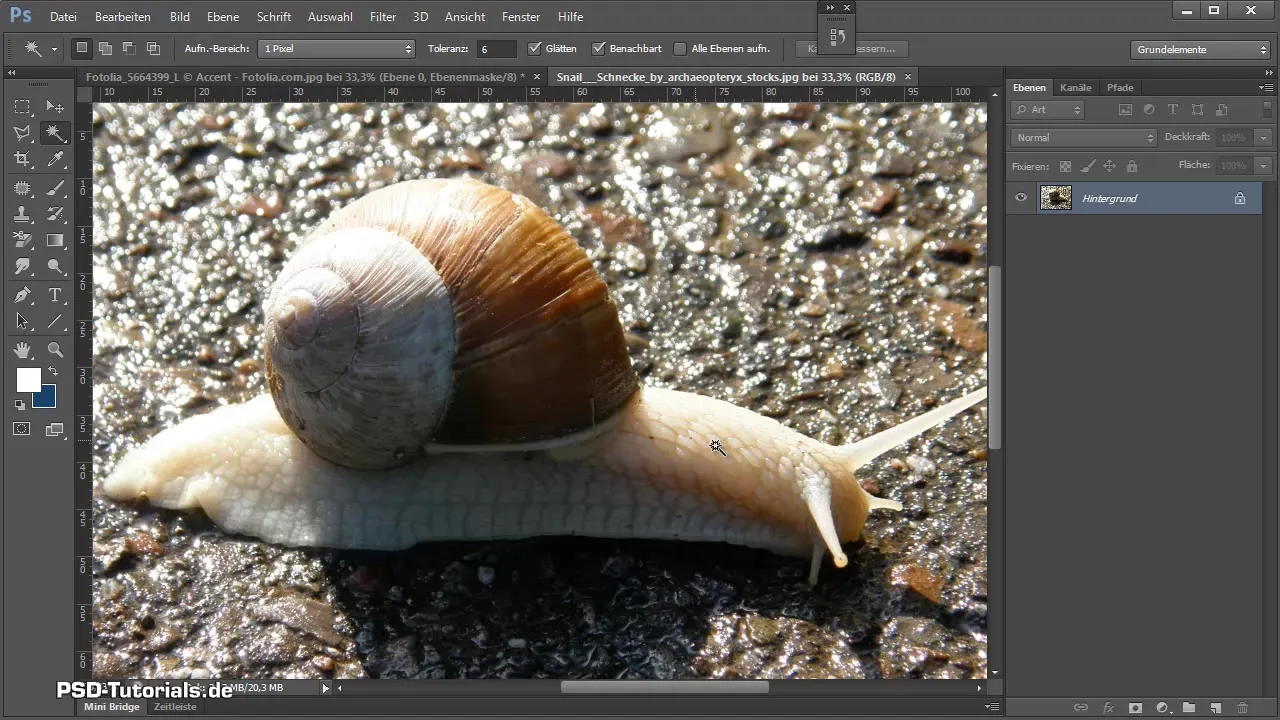
Depending on the level of detail, you should not only improve the edges but also use the brush to retouch any missing details.
Extraction of Challenging Animals like Birds and Fish
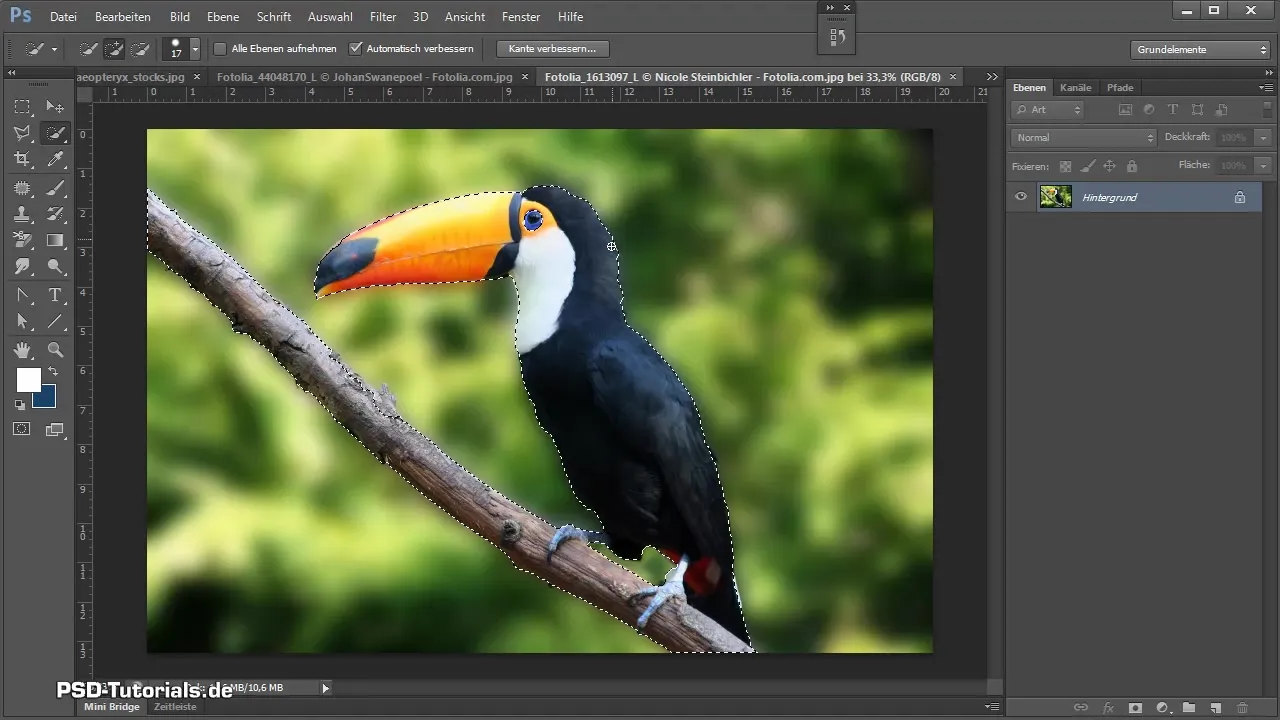
Next, a bird or a fish might be on the agenda. Since both often have irregular backgrounds and fine details like feathers or fish beaks, it is important to skillfully use the quick selection tool. Be sure to hold the Alt key to subtract unwanted areas while confronted with other colors and textures.
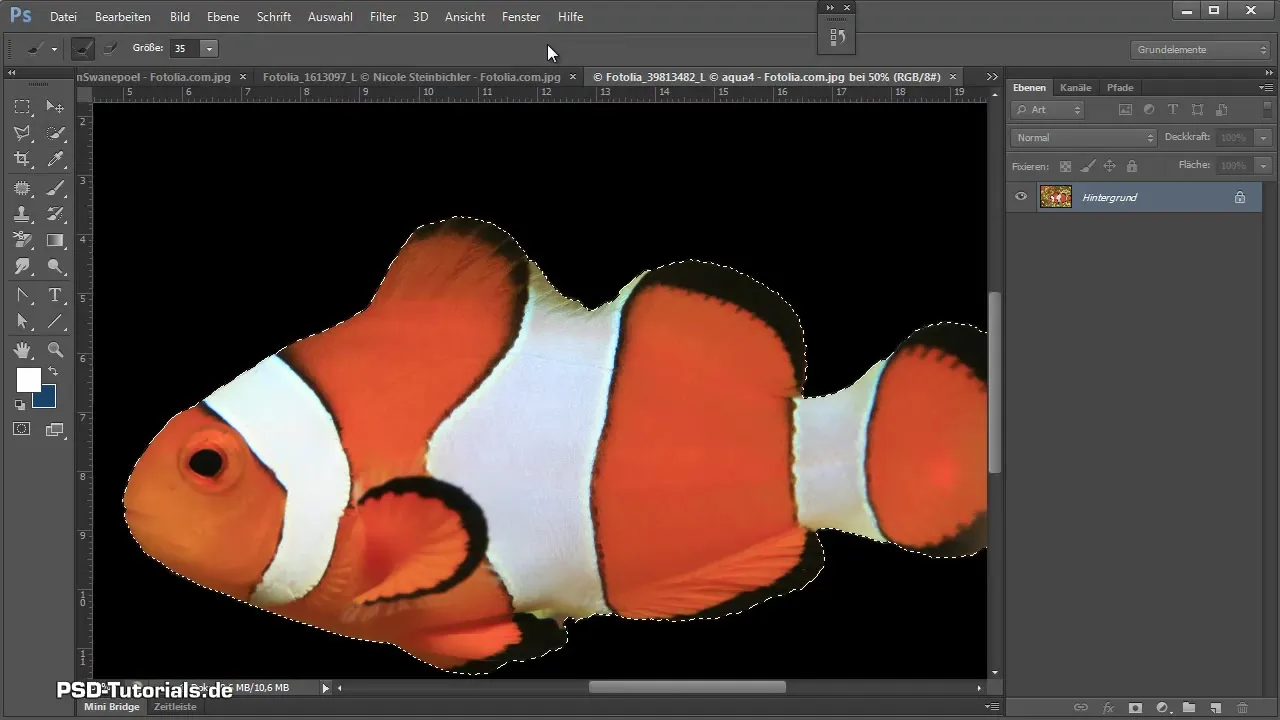
For the fish, take the quick selection tool and apply the refine edge feature. This can help depict the fine hairs of the fish more accurately. Then manually add elements that may have been overlooked.
Techniques for Extracting Dogs and Cats
Dogs and cats can also be tricky as their colors often vary greatly. Start with the quick selection tool. You will likely need to use the refine edge feature as well to properly extract the fur gradient.
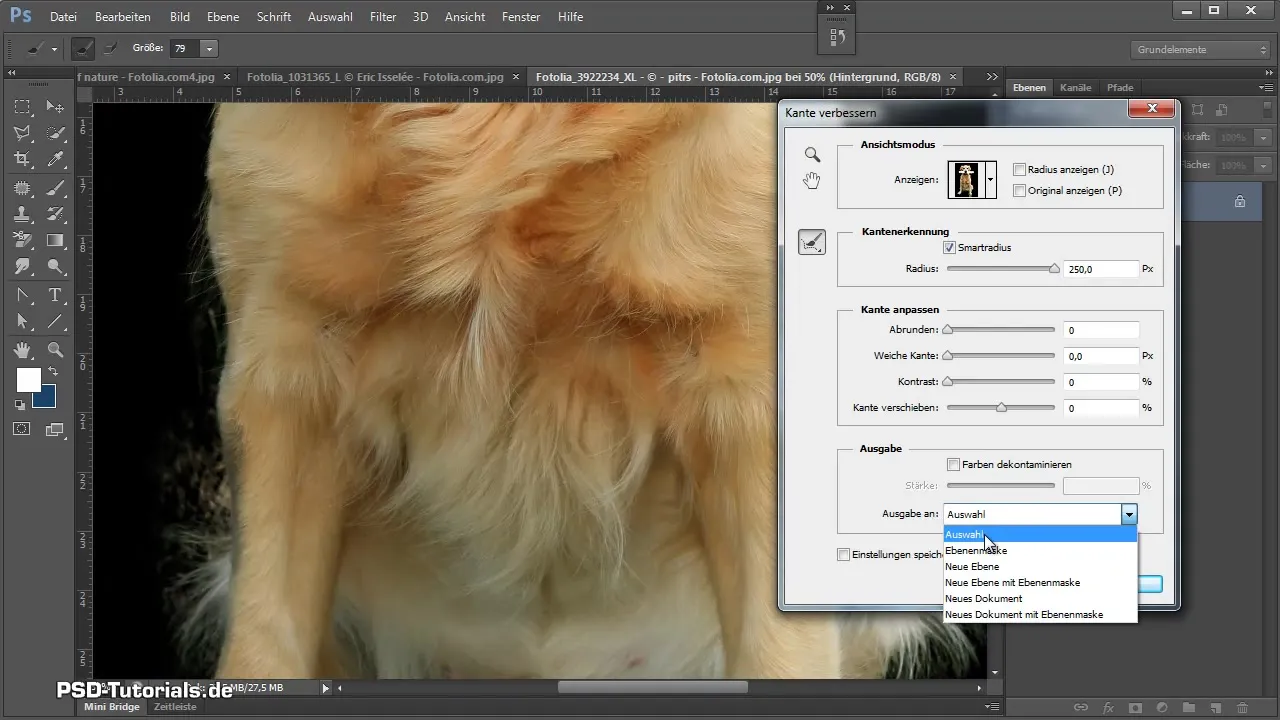
Use edge refinement especially when animals are positioned against a busy background. If needed, a gradient or color correction can be added to optimize the image.
Final Touches
After the main extraction, it is important to check whether the overall image is coherent. Optimize the colors, use adjustment layers such as hue/saturation to enhance the color of the animal's fur, or use the masking function to hide or highlight specific colors.
You can also adjust the background by adding new layers and placing them strategically to realistically frame the extracted animals. Distracting elements in the background should be carefully removed using the brush function.
Summary – Extracting Animals: A Comprehensive Guide
The various methods for extracting animals offer a variety of possibilities to create creative and appealing images. From using the quick selection tool and the refine edge function to manual retouching, there are techniques for every level of difficulty.
Frequently Asked Questions
How can I extract animals from busy backgrounds?Use the quick selection tool and the refine edge function for better results.
What should I do if the edges are blurry?Use the brush in mask view to manually refine the sharp edges.
What tools are the most efficient for extraction?The combination of the quick selection tool and the refine edge function usually works best.
How do I deal with fine hairs?Use the brush to trace the fine hairs with low opacity.
What is the best practice for solid color backgrounds?Use the layer fill options and adjust the blending slider.


