The removal of people or hair is often one of the biggest challenges in image editing. However, with the right technique and the right tools, this process can be significantly simplified. In this tutorial, I will show you how to achieve impressive results with the Quick Selection Tool and the "Refine Edge" feature – without needing to invest much time or effort.
Key Insights
- The Quick Selection Tool is excellent for removing people and hair.
- The "Refine Edge" feature helps to precisely work out finer details, particularly hair.
- The combination of both tools can significantly enhance the efficiency and quality of your cutouts.
Step-by-Step Guide
First, open your image in Photoshop. I will work with a sample image of a person here.
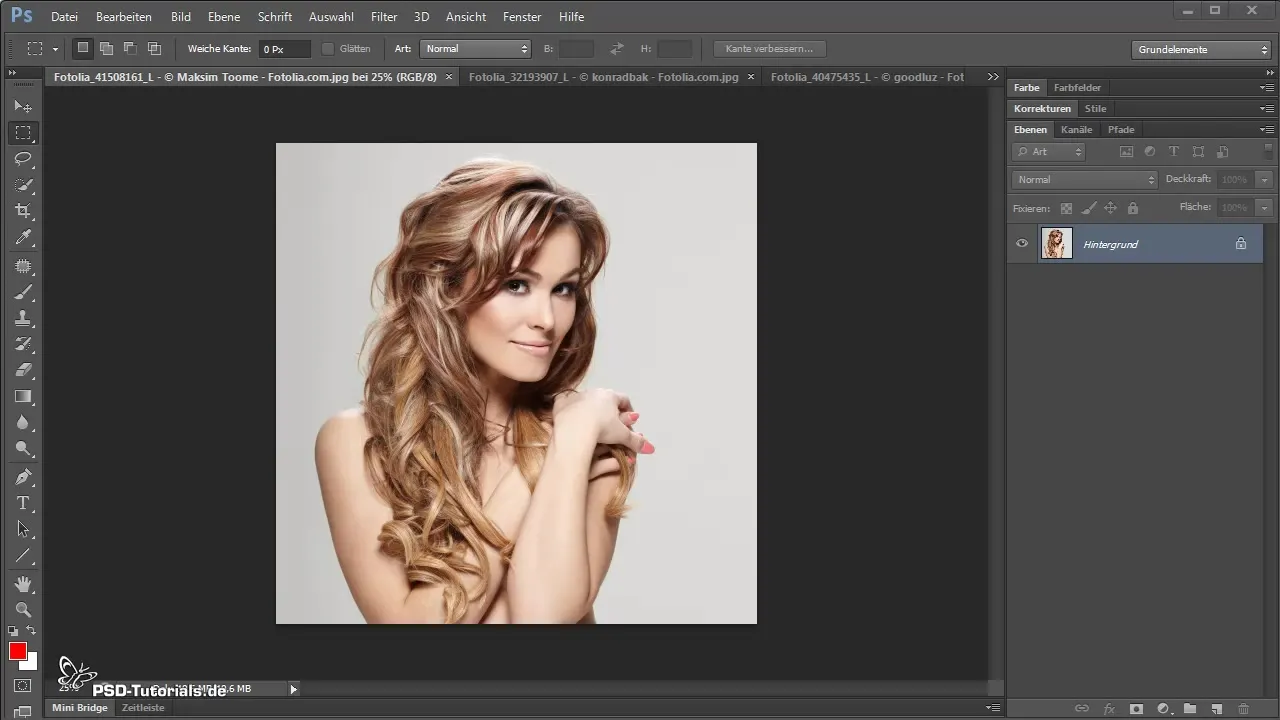
Click on the Quick Selection Tool. In the top options bar, you can adjust the brush size to optimize the selection. Make sure to choose the brush tip according to the image size.
Now you start to select the person in the image. Drag the tool over the areas you want to remove. Focus on selecting only the person and not the background.
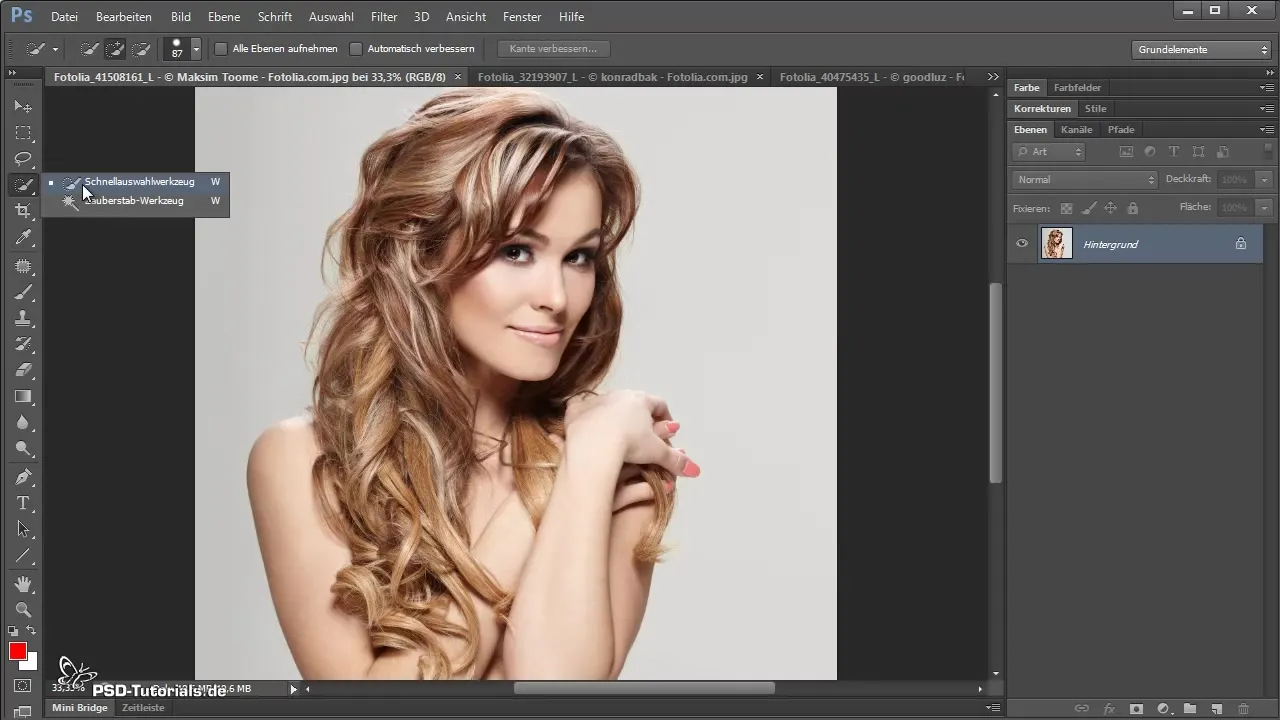
Once the largest selection has been made, check if the hair is completely cut out. If you have overlooked any areas, you can adjust the brush size and refine the selection.
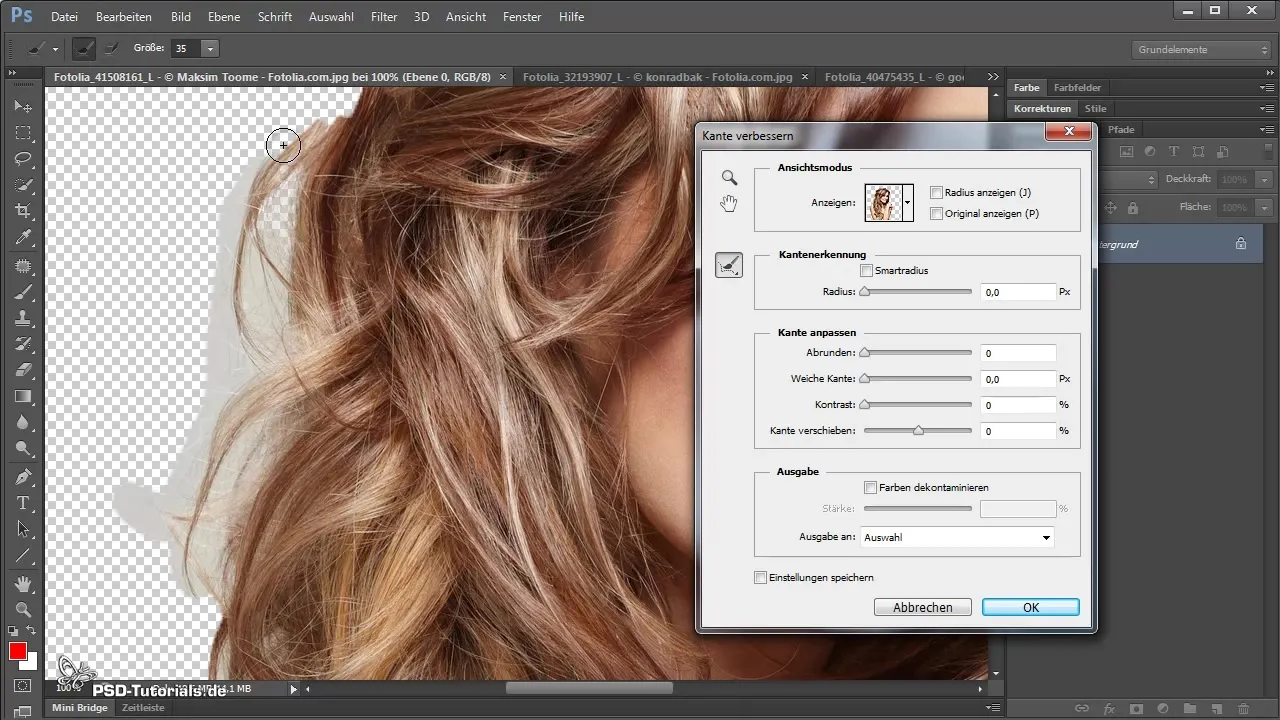
Now comes the important step: Click on "Refine Edge" in the options bar. This will open a new window that shows you an improved view of your selection.
Holding down the space bar allows you to move the image in the Refine Edge window. Start by using the Refine Radius Tool to brush over the edges of the hair to isolate it precisely. Be sure to capture the fine hairs to achieve a detailed result.
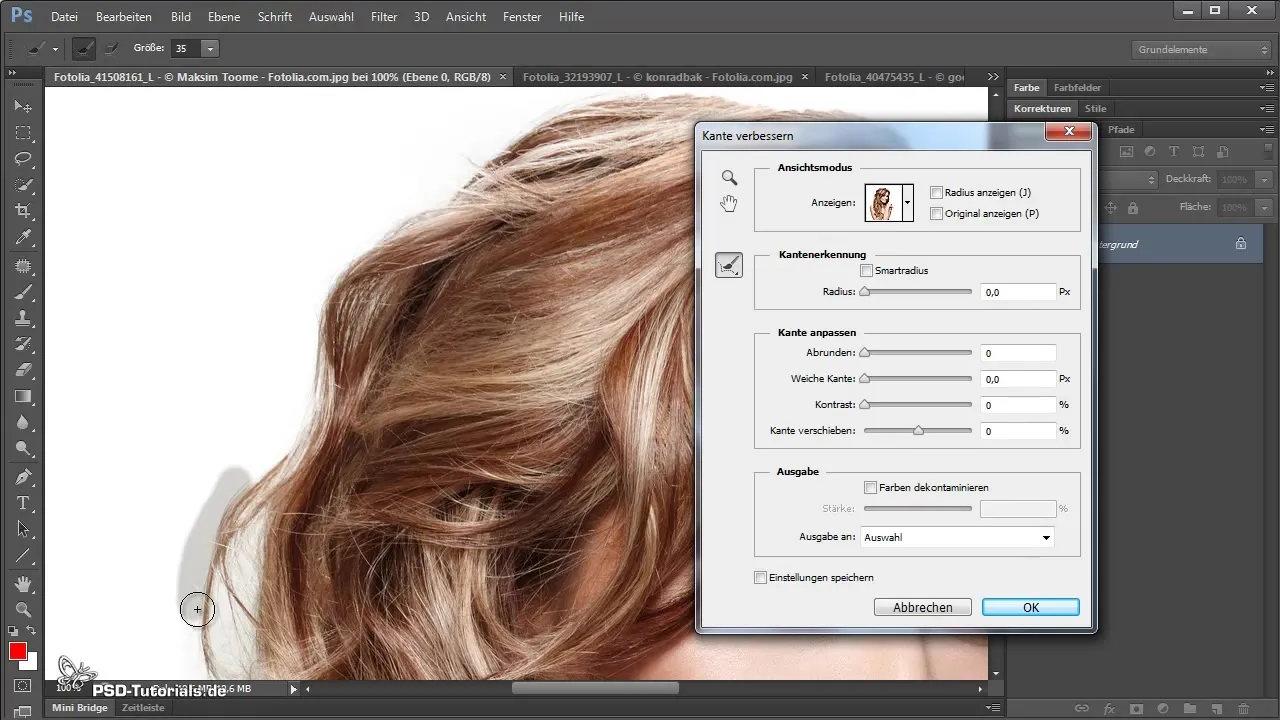
You can also switch the view in the "Refine Edge" window to a white background to better see where further corrections are needed.
Once you are satisfied with the selection, choose the "Layer Mask" option. This allows you to edit the cutout later without changing the original image.
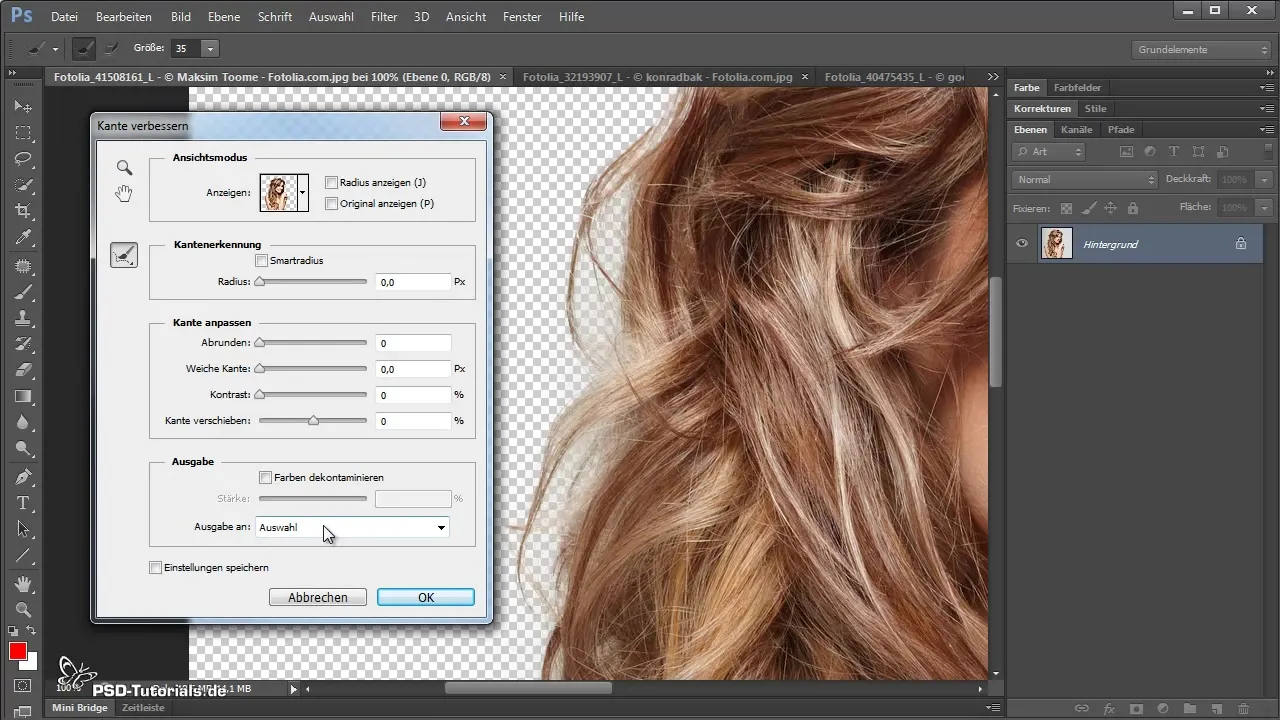
Now insert a new background. You can experiment with different backgrounds based on your preference to achieve the best effect.
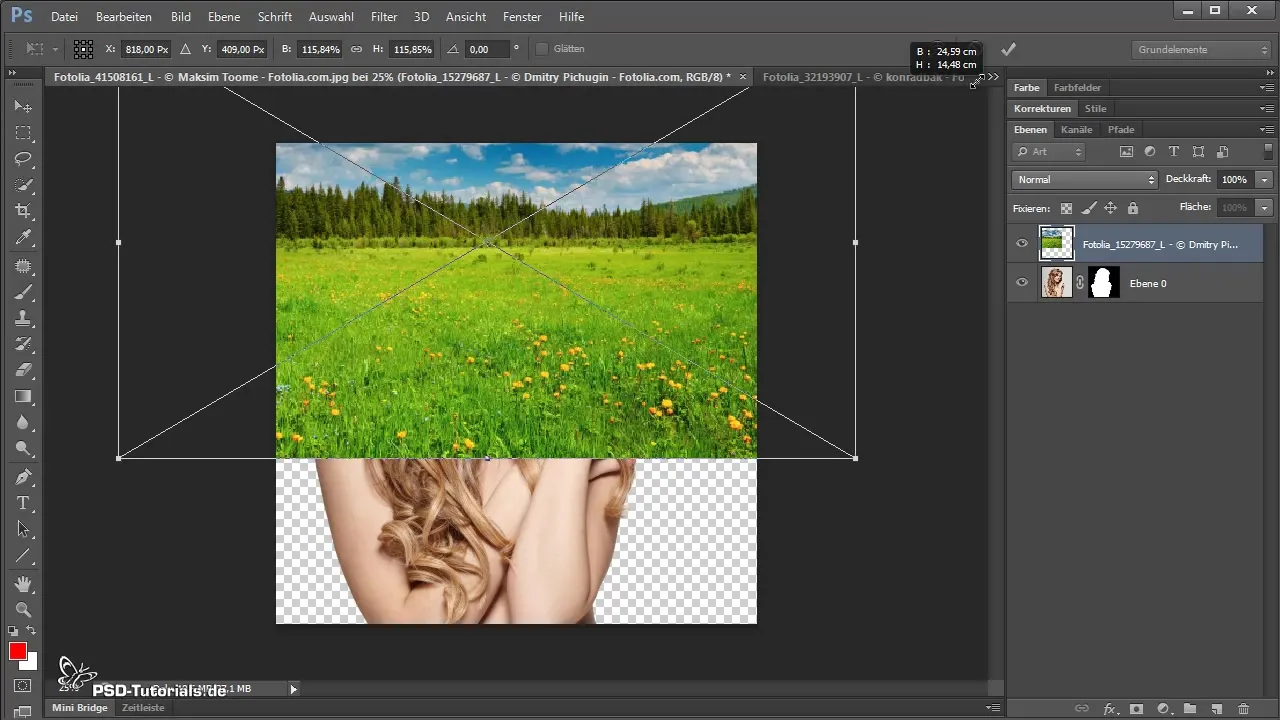
If any remnants of the old background are visible after inserting the new background, simply go back into the "Refine Edge" settings. It is often helpful to insert the background first to see the edges of the cut out person and make any necessary adjustments.
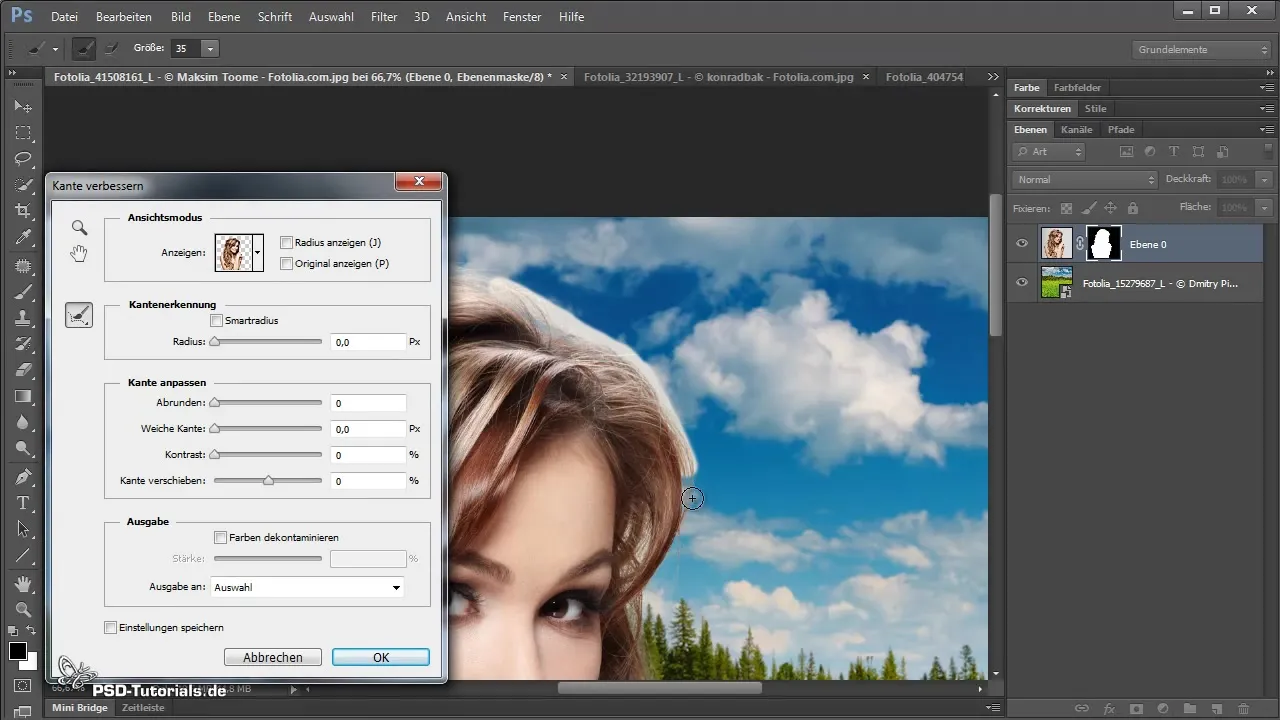
If you are still not satisfied with the result, you can use the brush in the layer mask to further refine the cutout. A low opacity will help you toggle areas in or out as needed.
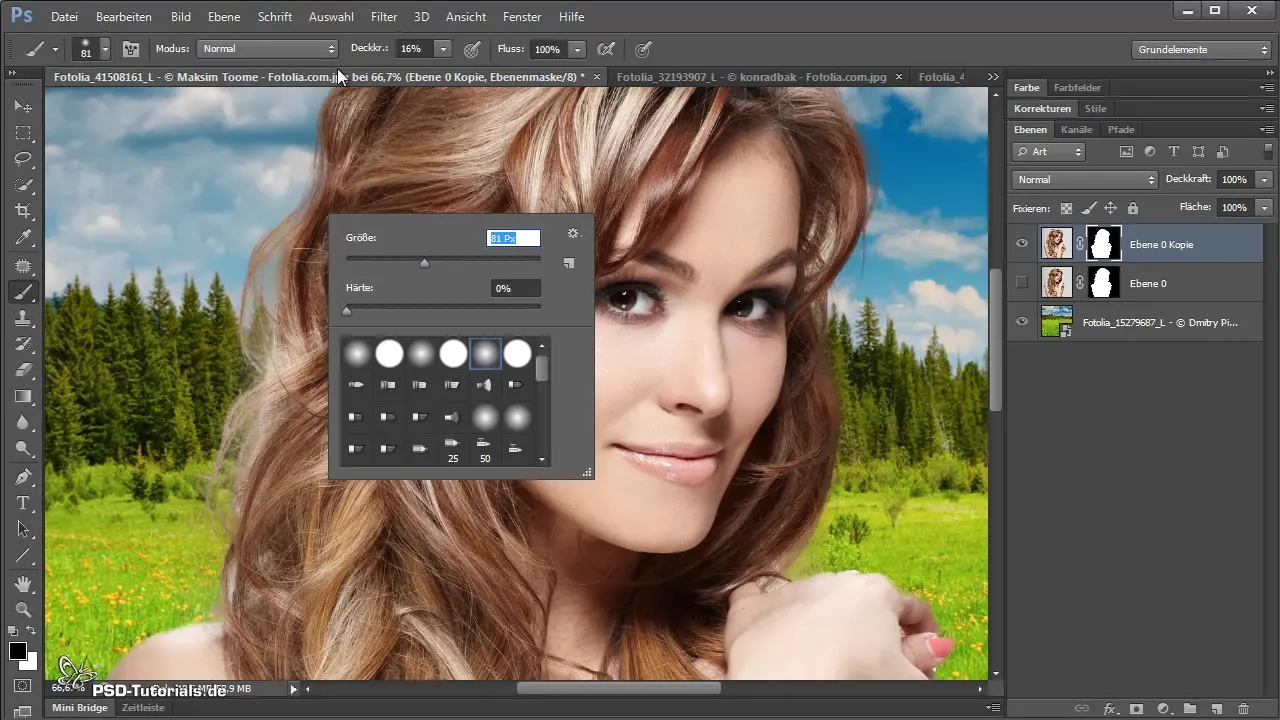
For even more precise post-processing, you can use different types of brushes. A textured brush can help make hair look even more realistic.
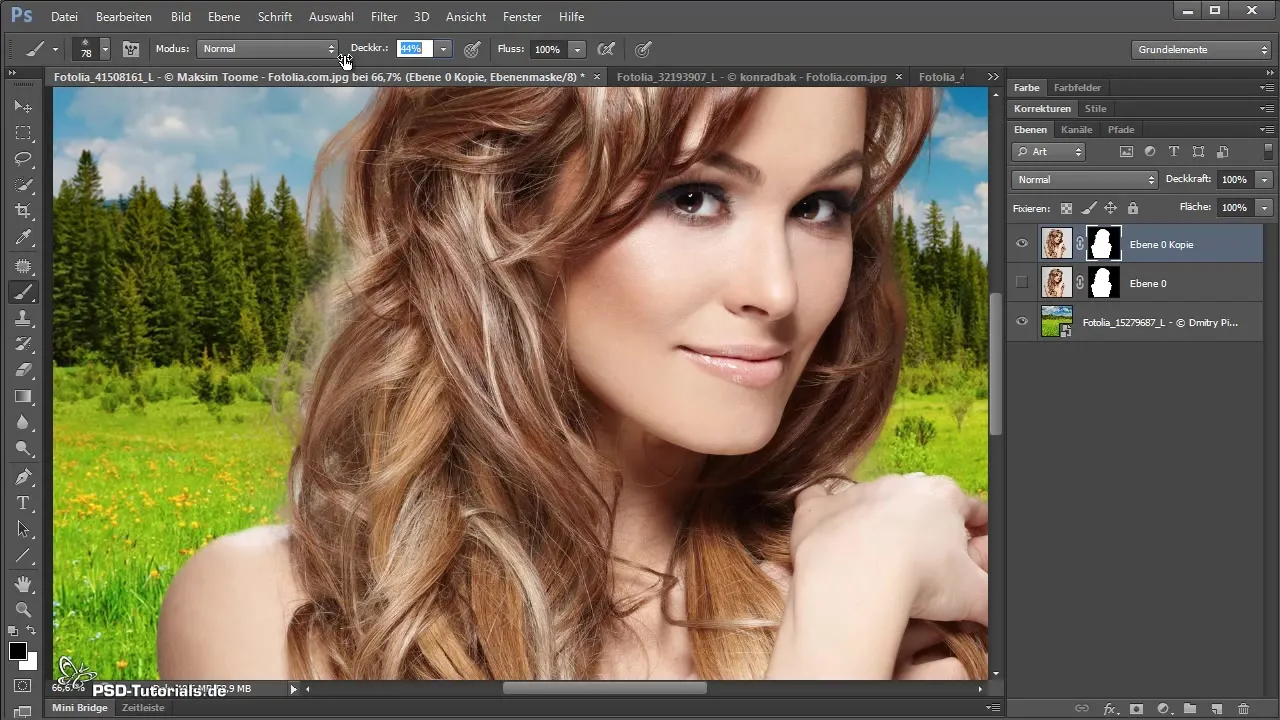
Don't forget that fine-tuning can take a lot of time, but the result will be worth it – especially when it comes to cutting out hair.
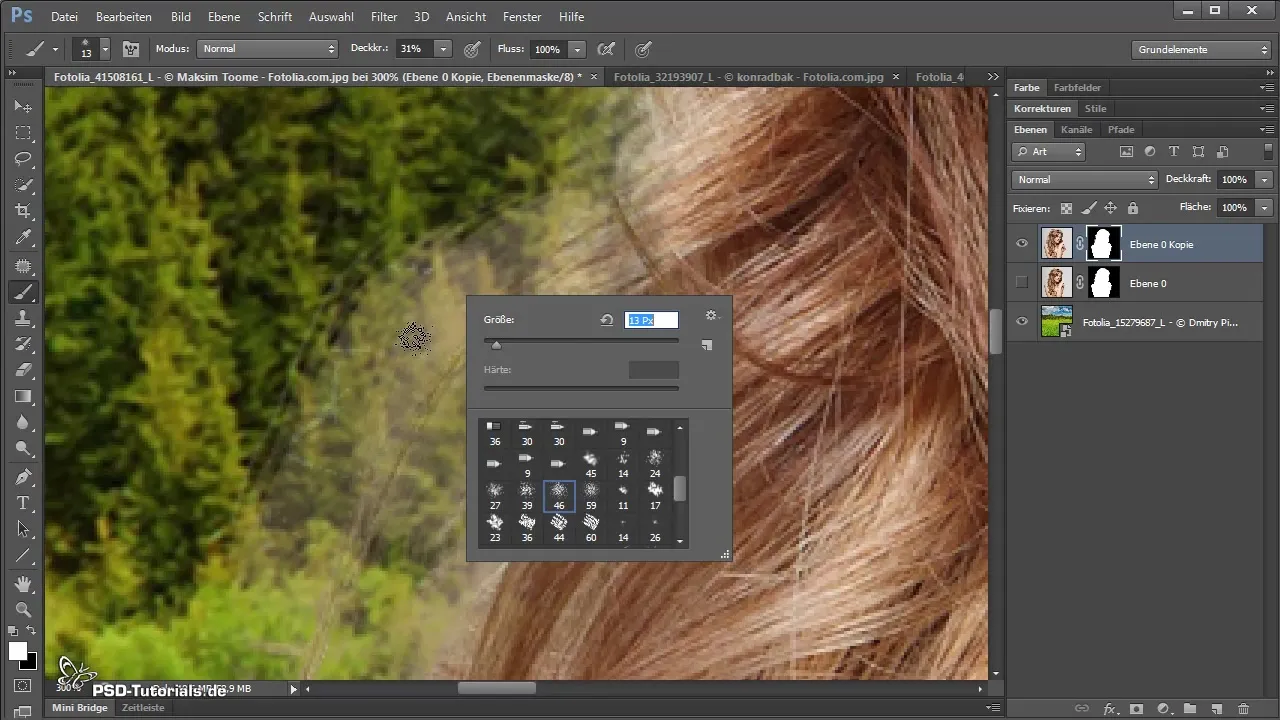
After you have finished post-processing everything, compare the result with the original image. You will be amazed at how much easier it has become with the combination of the Quick Selection Tool and Refine Edge.
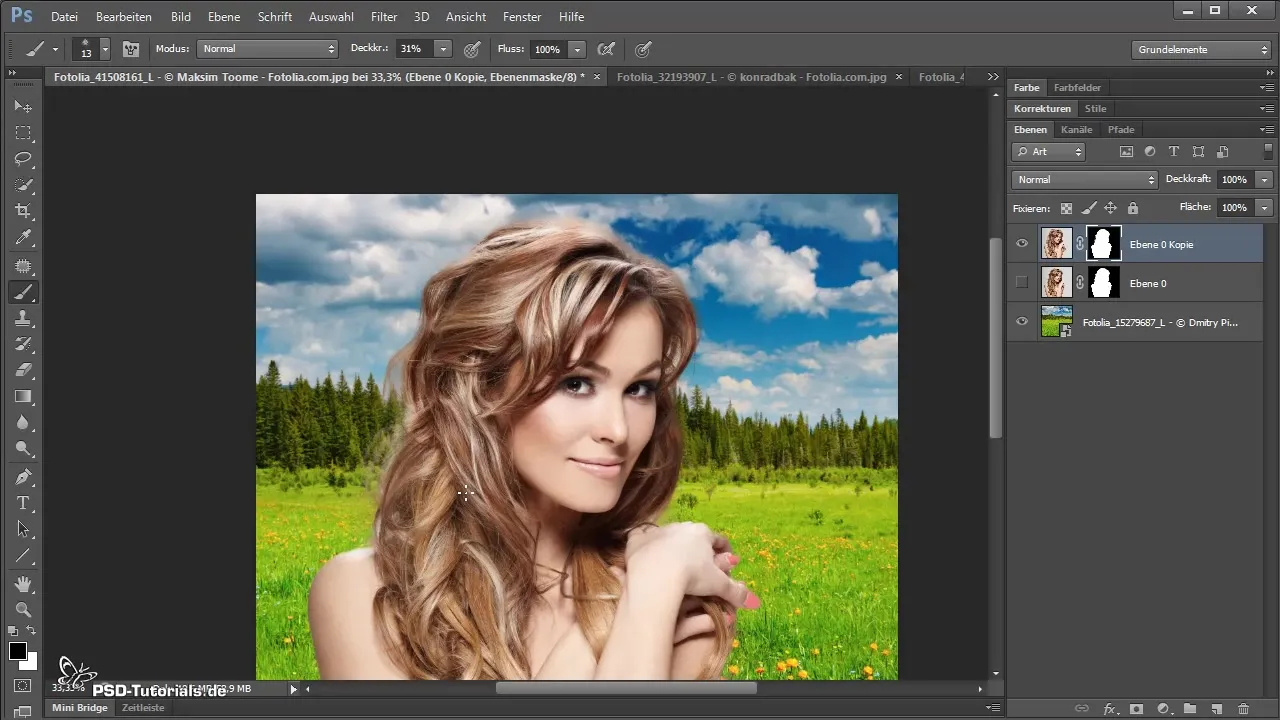
Summary - Easily Remove People or Hair with the Quick Selection Tool & Refine Edge
Removing people, especially hair, can be a tricky task. However, with the proper application of the Quick Selection Tool and the "Refine Edge" feature, you can achieve high-quality results. Experiment with different tools and methods until you find the approach that works best for you.
Frequently Asked Questions
How do I activate the Quick Selection Tool?Simply click on the Quick Selection Tool in the toolbar or press the 'W' key.
What can I do if Refine Edge is grayed out?Make sure you have made a selection. Ctrl-click on the layer thumbnail.
How can I refine the selection?Use the Refine Radius Tool and brush over where more details are needed.
Can I change my selection later?Yes, by editing the layer mask, you can make adjustments at any time.
What can I do if I am not satisfied with the result?Simply go back to Refine Edge and refine the edges.


