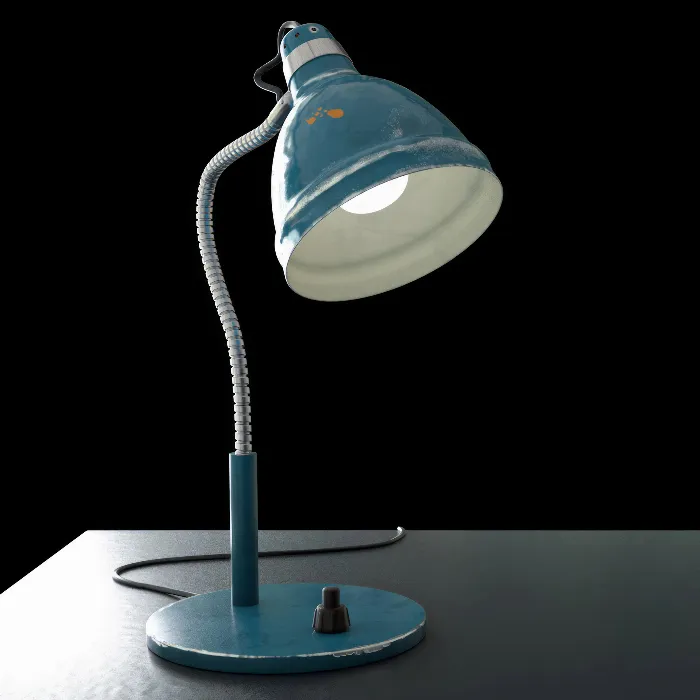
BodyPaint 3D offers great flexibility in creating and editing materials for your 3D models. You will often encounter the need to duplicate materials and adapt them for different parts of the object. But beware! There are pitfalls that you should avoid to prevent frustration and to work more efficiently. In this guide, you will learn step by step how to duplicate and adjust materials in BodyPaint 3D without figuring out why something isn't working.
Key Takeaways
- Duplicating materials in BodyPaint 3D requires an understanding of the structure of the materials.
- Deleting layers in duplicated materials can lead to unintended changes.
- The use of the Color Ropper is an effective method to adopt exact colors.
- When working with UVs, it is important to establish them beforehand to achieve the desired results.
Step-by-Step Guide
Step 1: Select and Duplicate Material
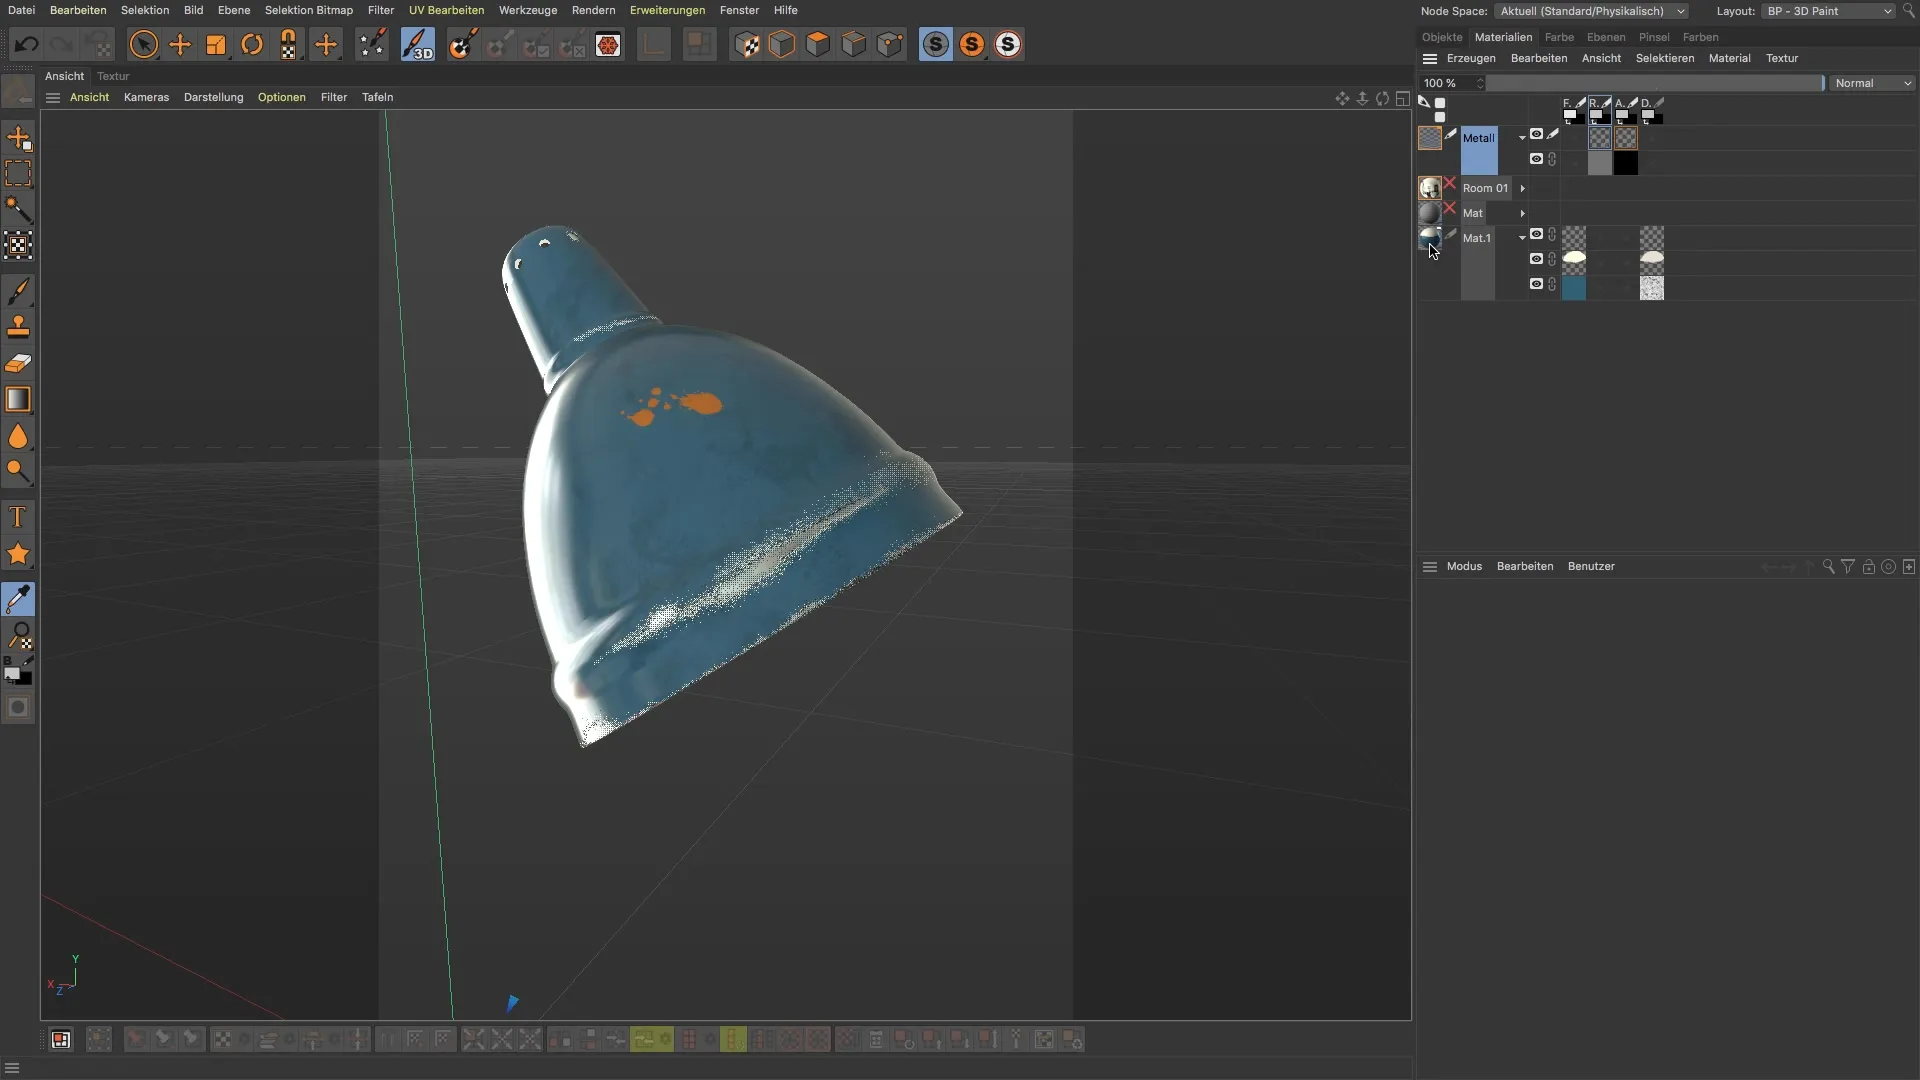
Start by selecting the material you want to adjust in the object view window. A simple duplication process can be done using the keyboard shortcuts Command C and Command V (or Control C and Control V). It is often advisable to work with an existing material to maintain the fundamentals and colors.
Step 2: Edit Material and Delete Layers
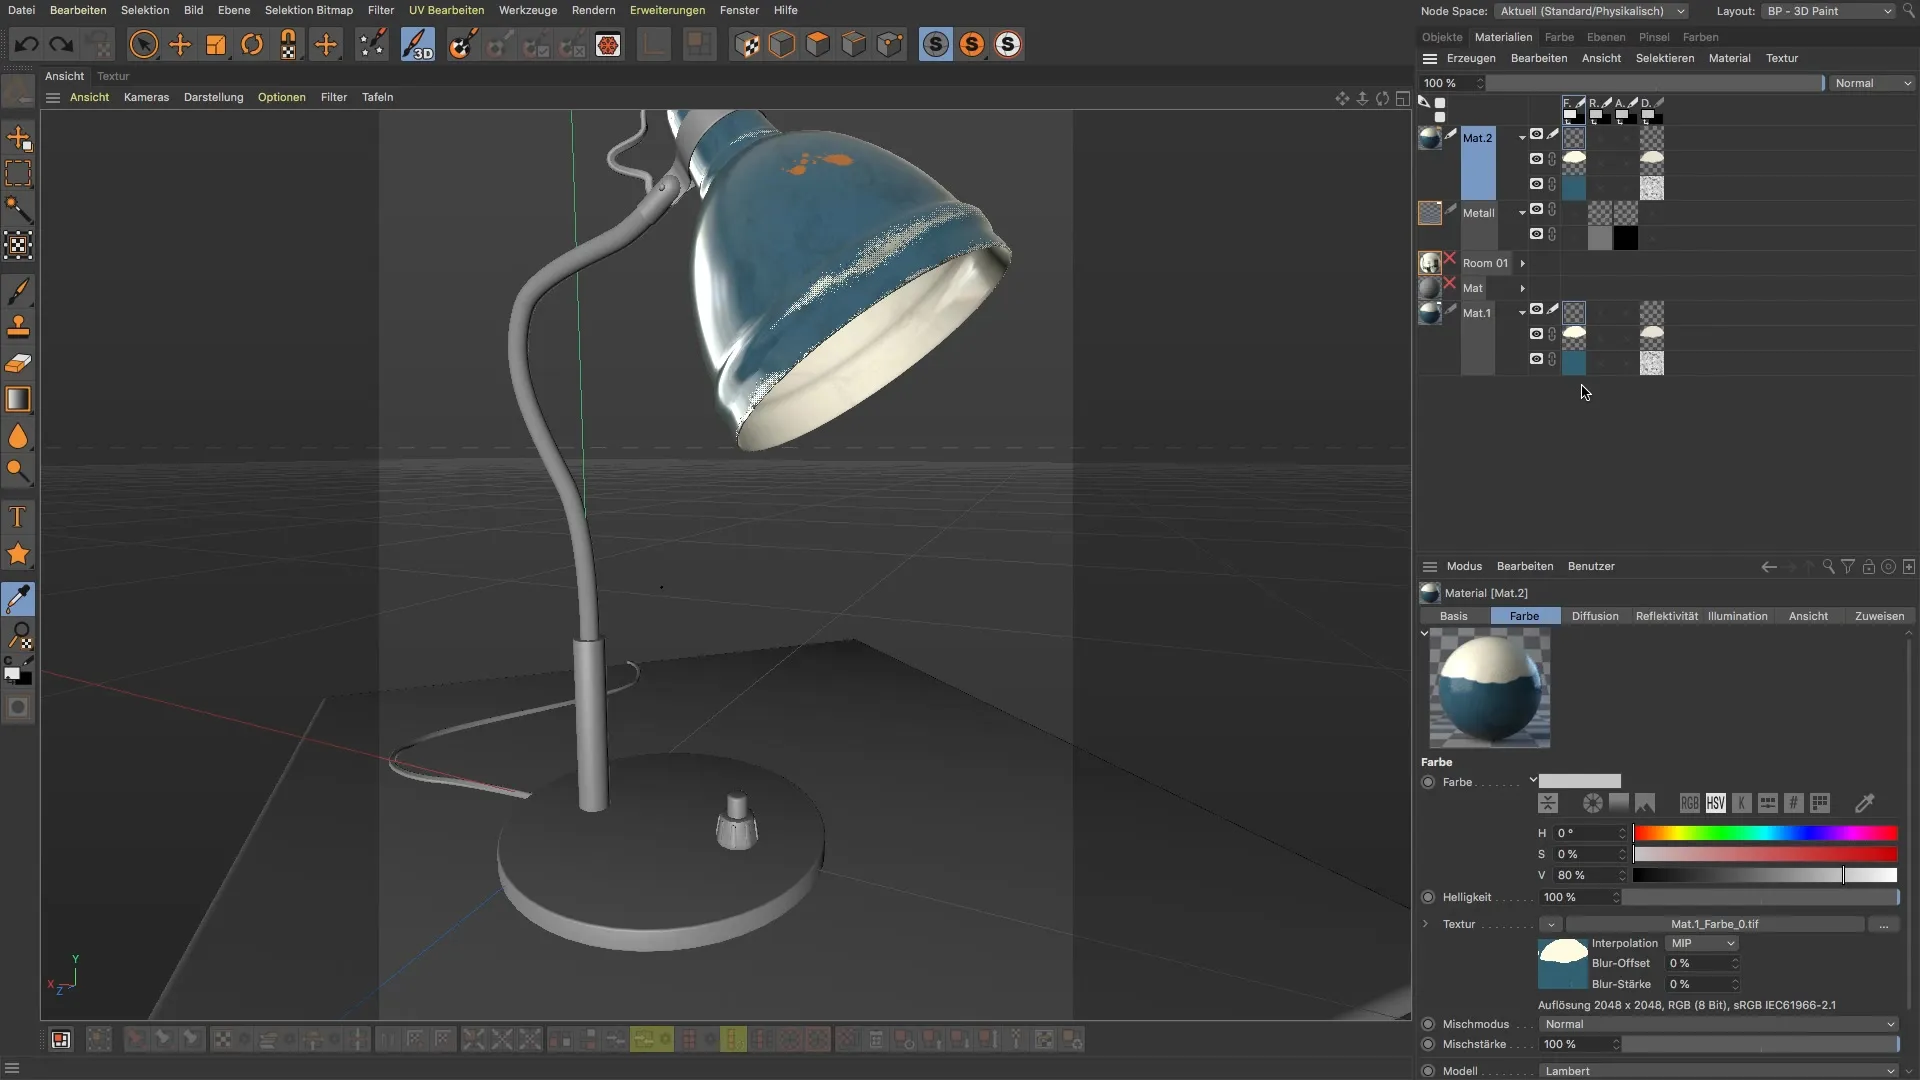
Open the duplicated material and check the layers contained. You will notice that deleting a certain layer also affects the original material. To avoid this, you should first delete the textures in the diffusion layer and the color channel. This step is crucial to ensure that no unwanted elements appear in your new material.
Step 3: Use the Color Ropper
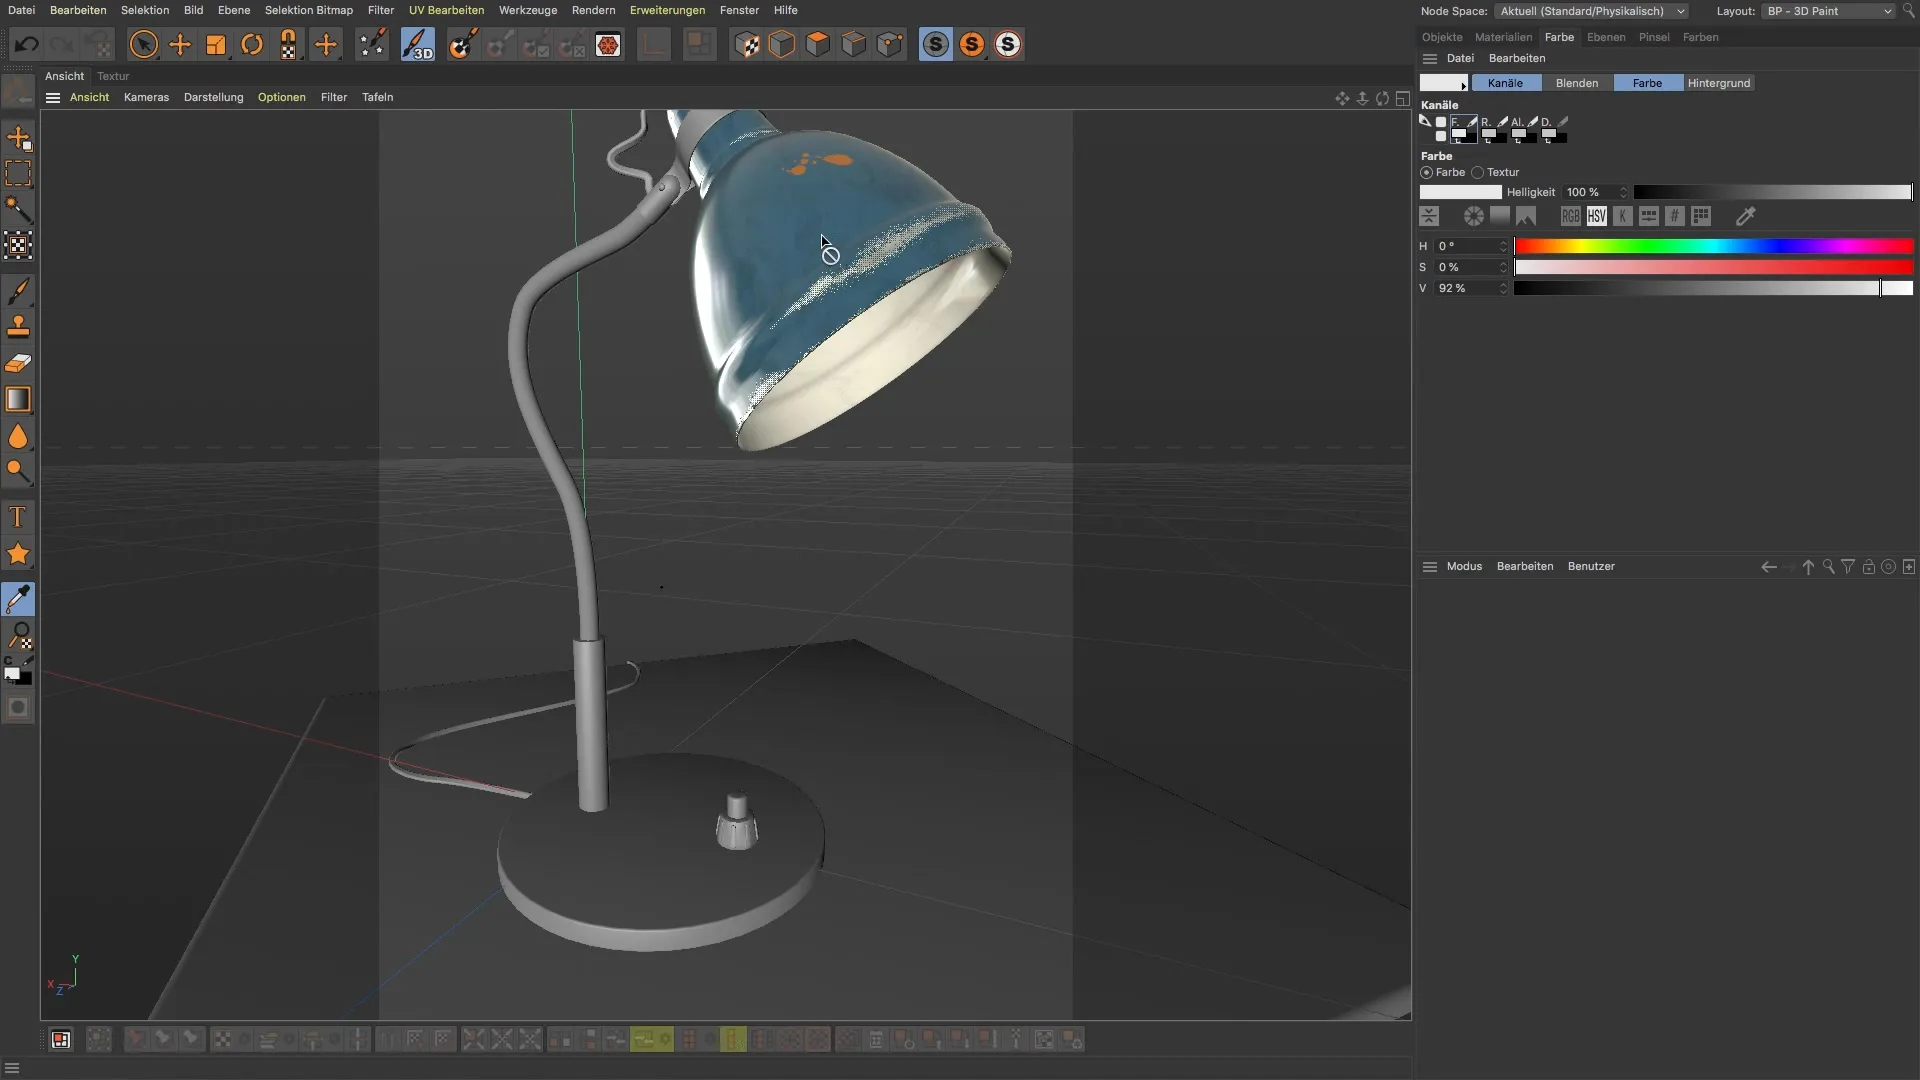
To adopt the exact color of the original material, use the Color Ropper. To do this, go into the BodyPaint 3D Paint mode and make sure you have selected the correct material and color channel. The Color Ropper allows you to precisely adopt the color without having to adjust it manually – a great advantage to avoid mistakes.
Step 4: Create New Textures
After successfully adopting the colors, create a new texture for your duplicate. This is necessary to ensure that the texture does not contain remnants from the deleted layers. Make sure that the foreground color is set correctly – it should contain the previously selected color for a cohesive appearance.
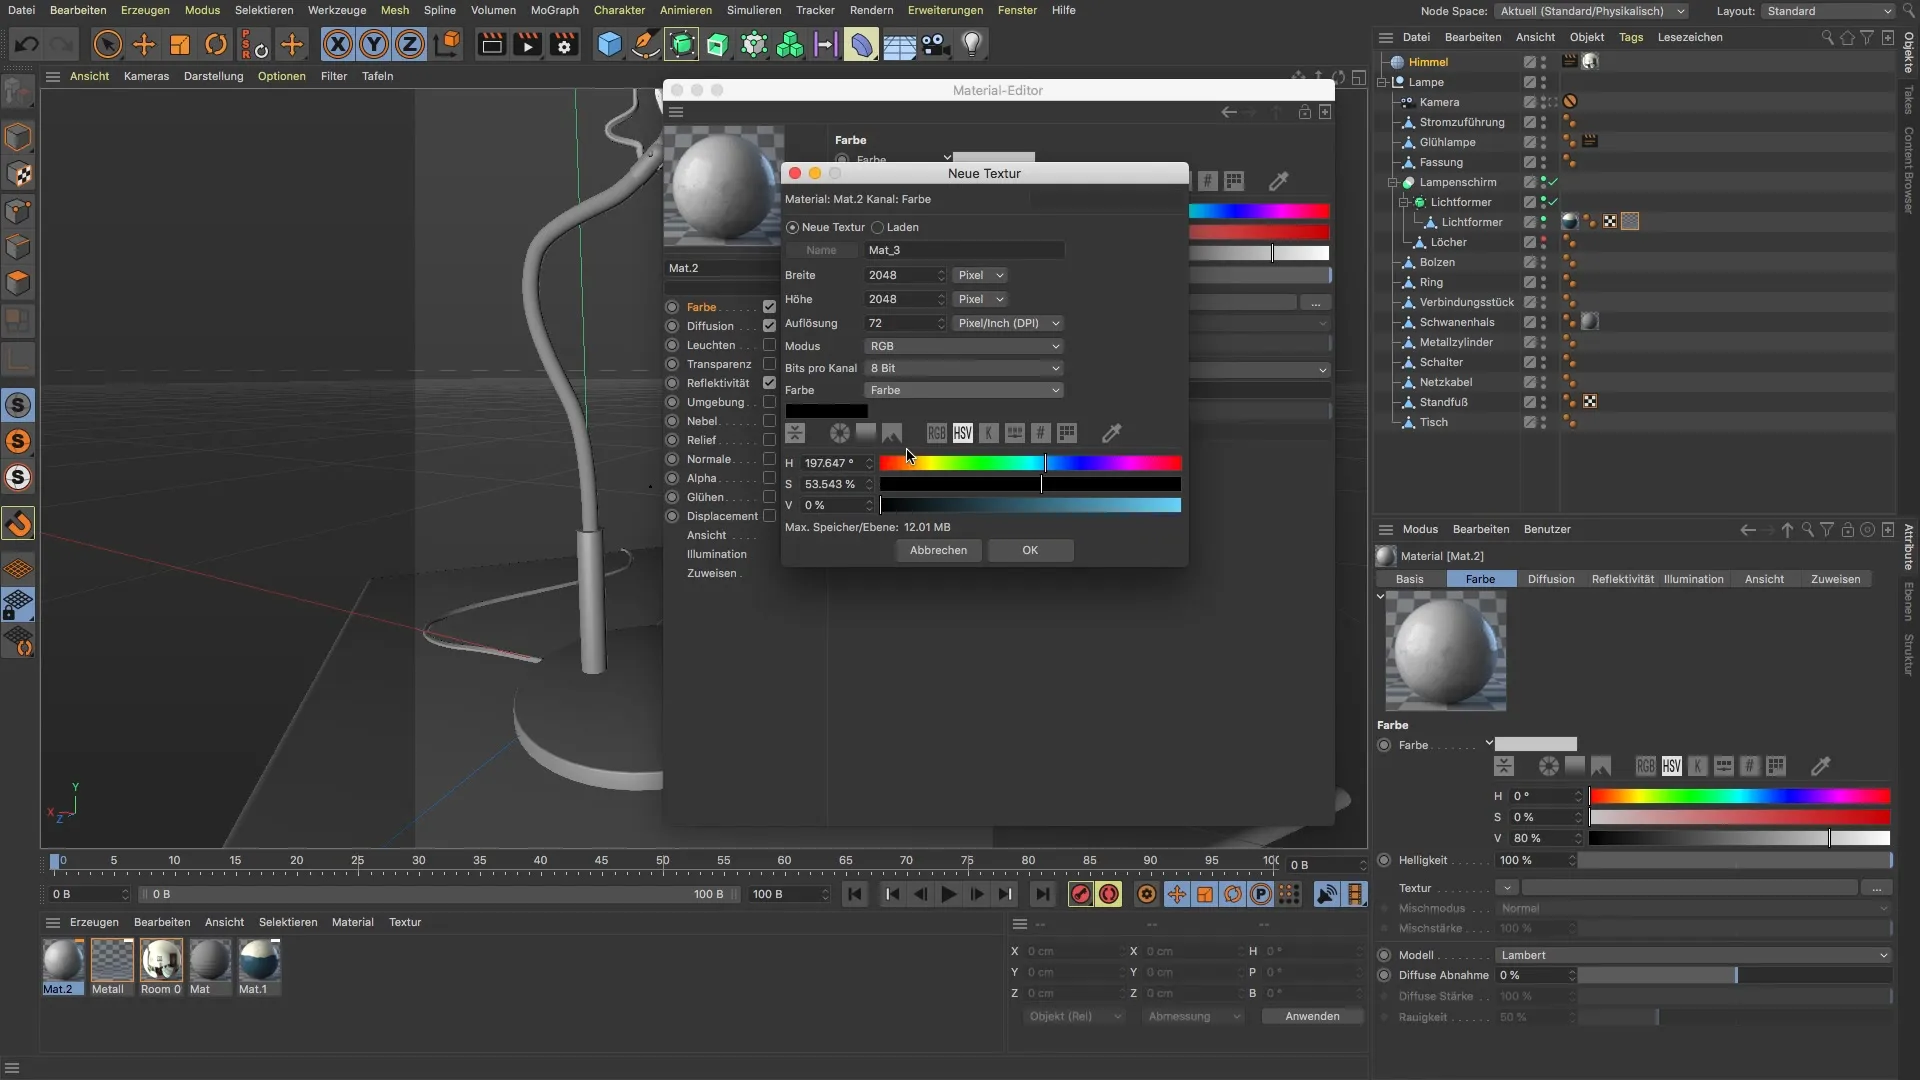
Step 5: Consider Textures in Diffusion Channel and Color Channel
In addition to the new color texture, it is important to also check the textures in the diffusion channel. Remove unnecessary default textures and ensure that only the textures you created are used. This ensures a harmonious appearance and avoids any problems that could arise from initially embedded textures.
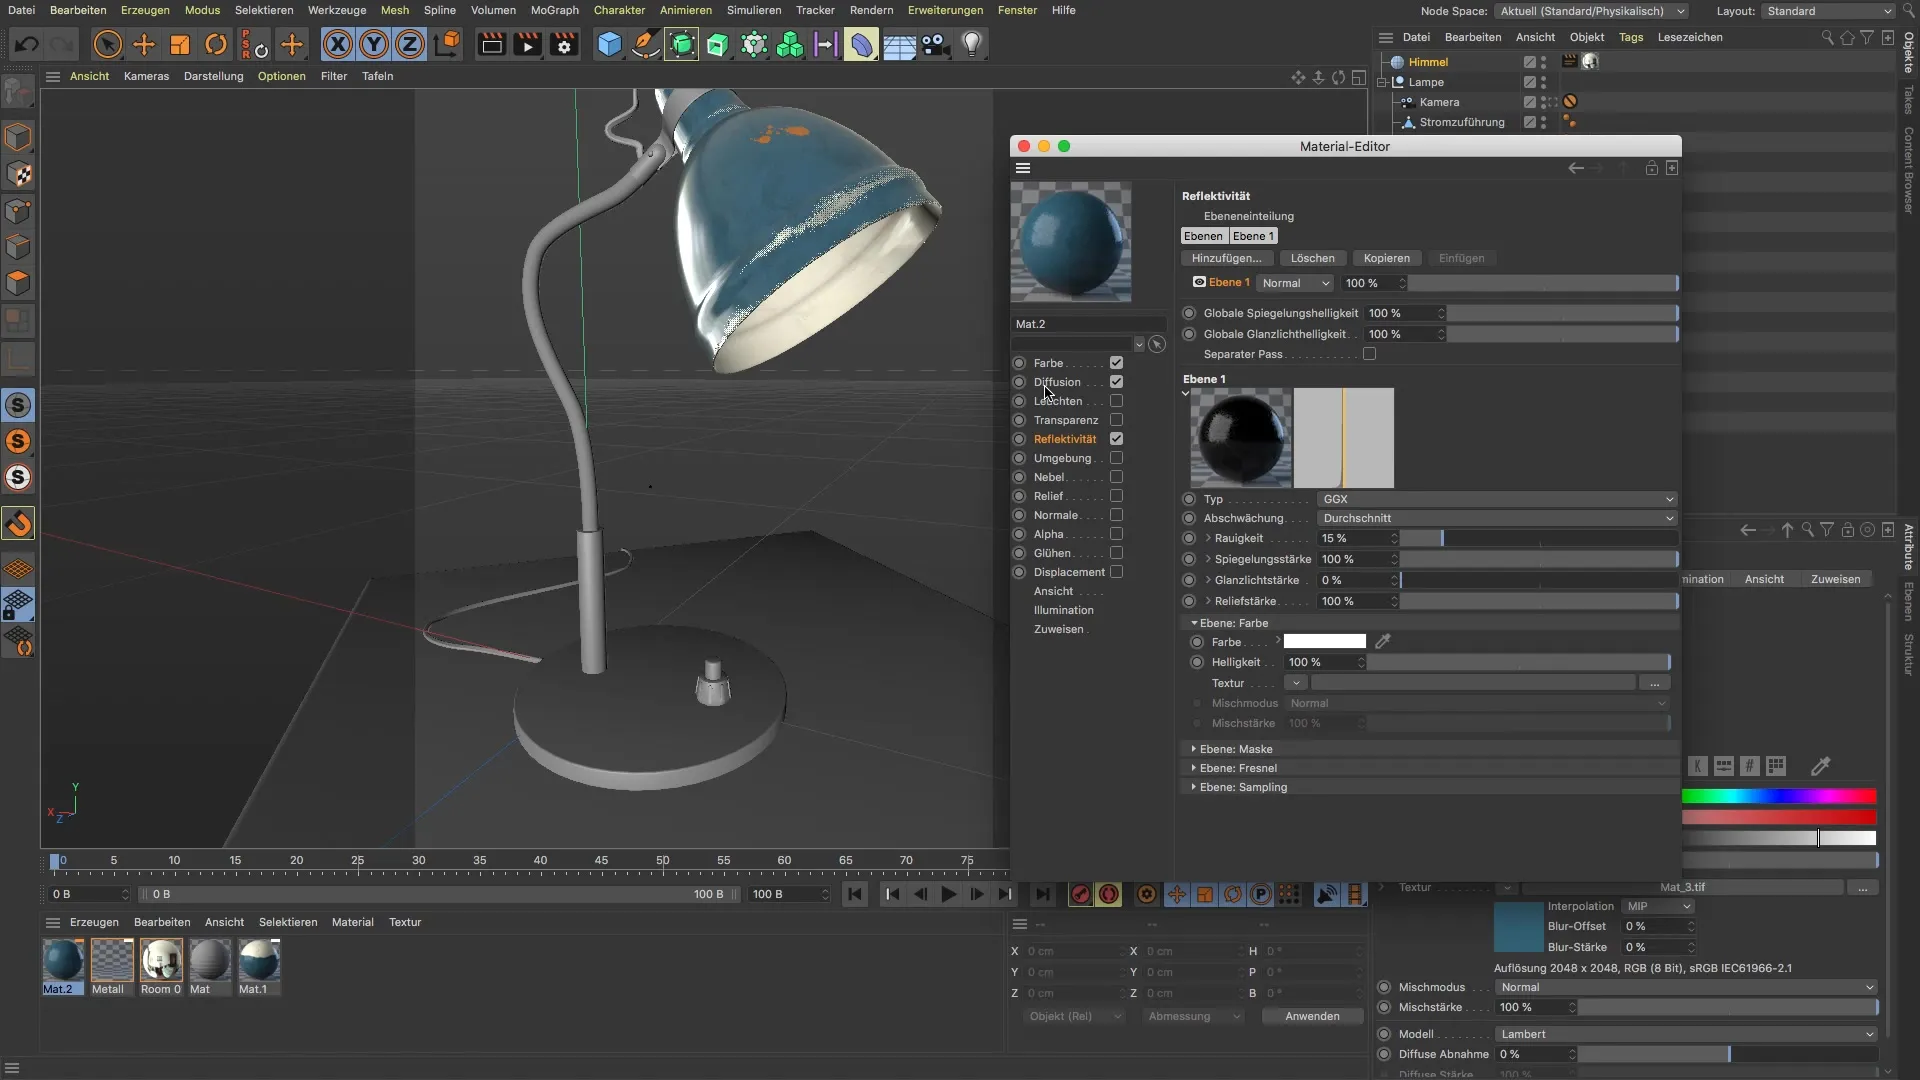
Step 6: Correctly Assign Materials
Now it's time to assign the edited material to your object. Make sure that the UVs of the object have already been properly unwrapped. Incorrect UV mapping can lead to unexpected results, so it’s important to ensure that all UV information is accurate.
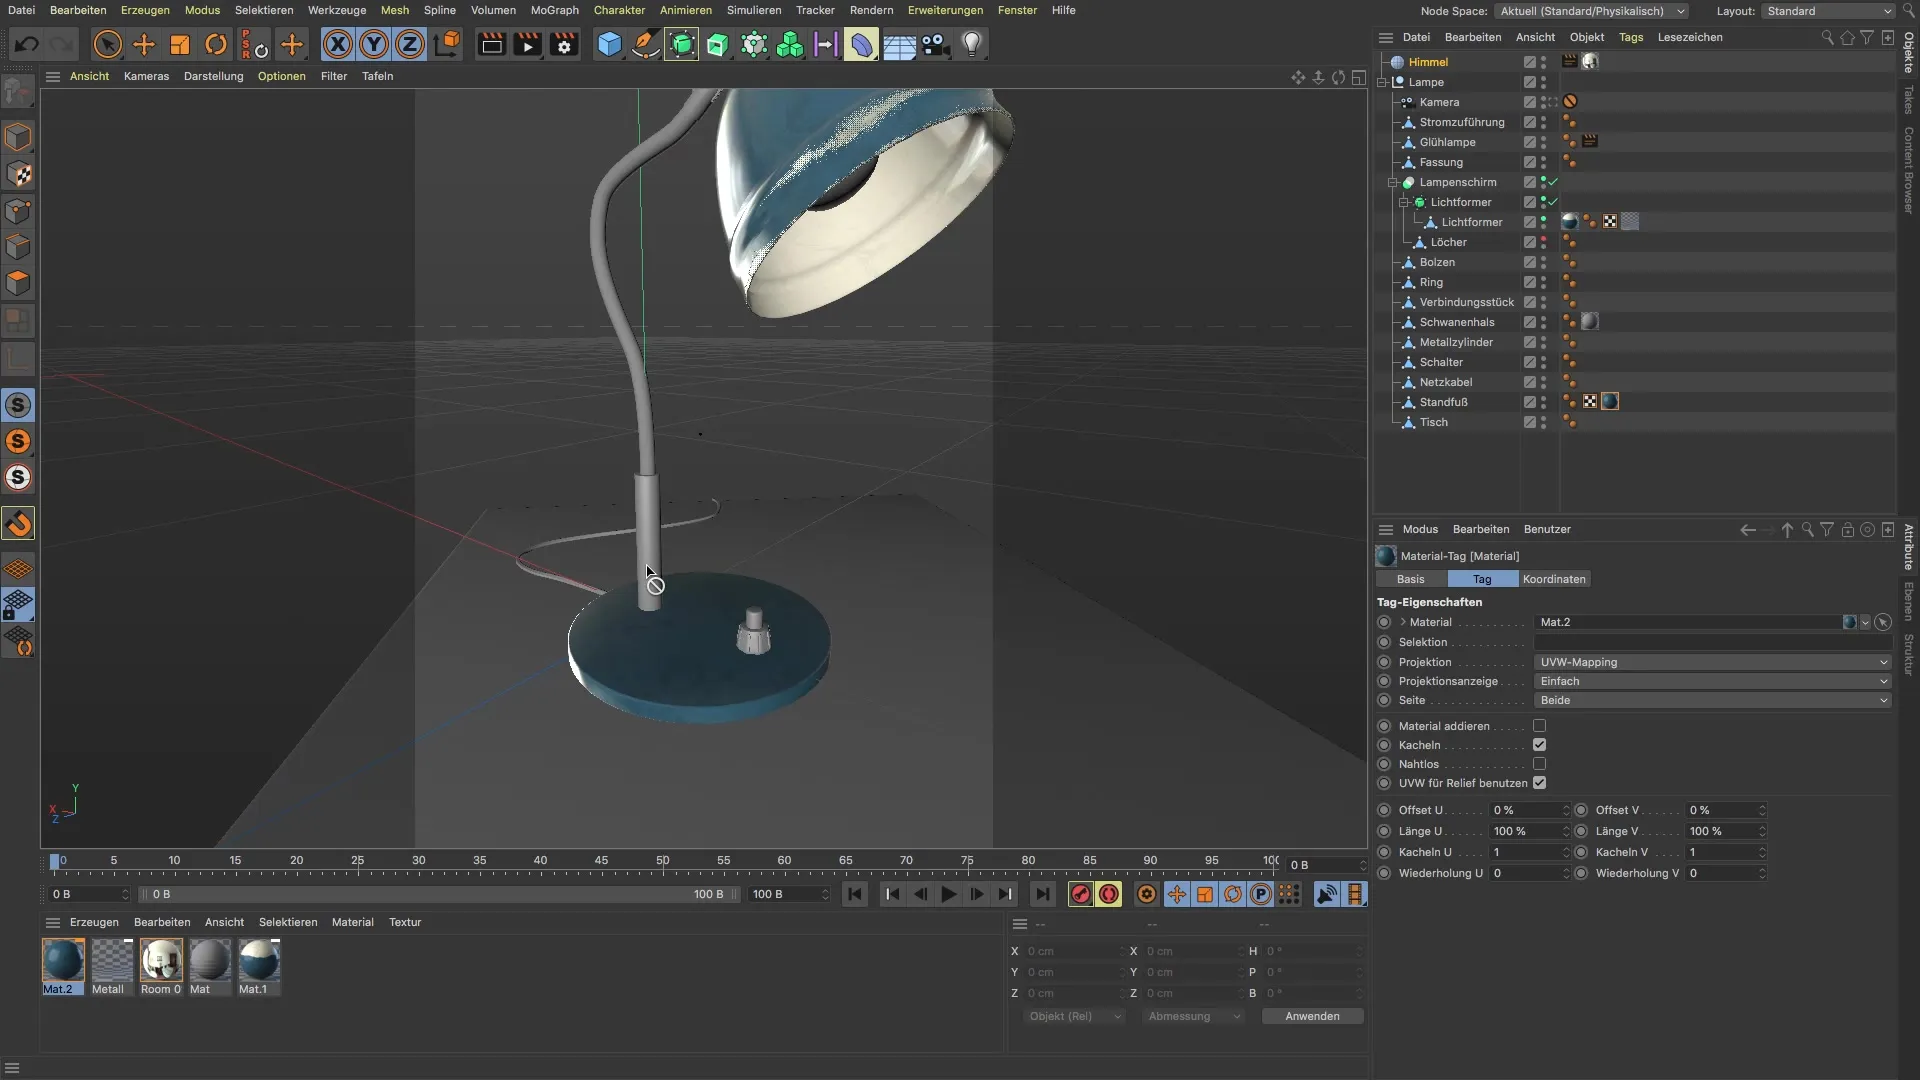
Step 7: Make Detail Adjustments
If you want to create impressive details such as worn edges or various shades, go back to the surface of the model and add those features. Experiment with different shaders and effects to achieve the desired look. In the display menu, you can then choose shaders that will be visible in the final rendering.
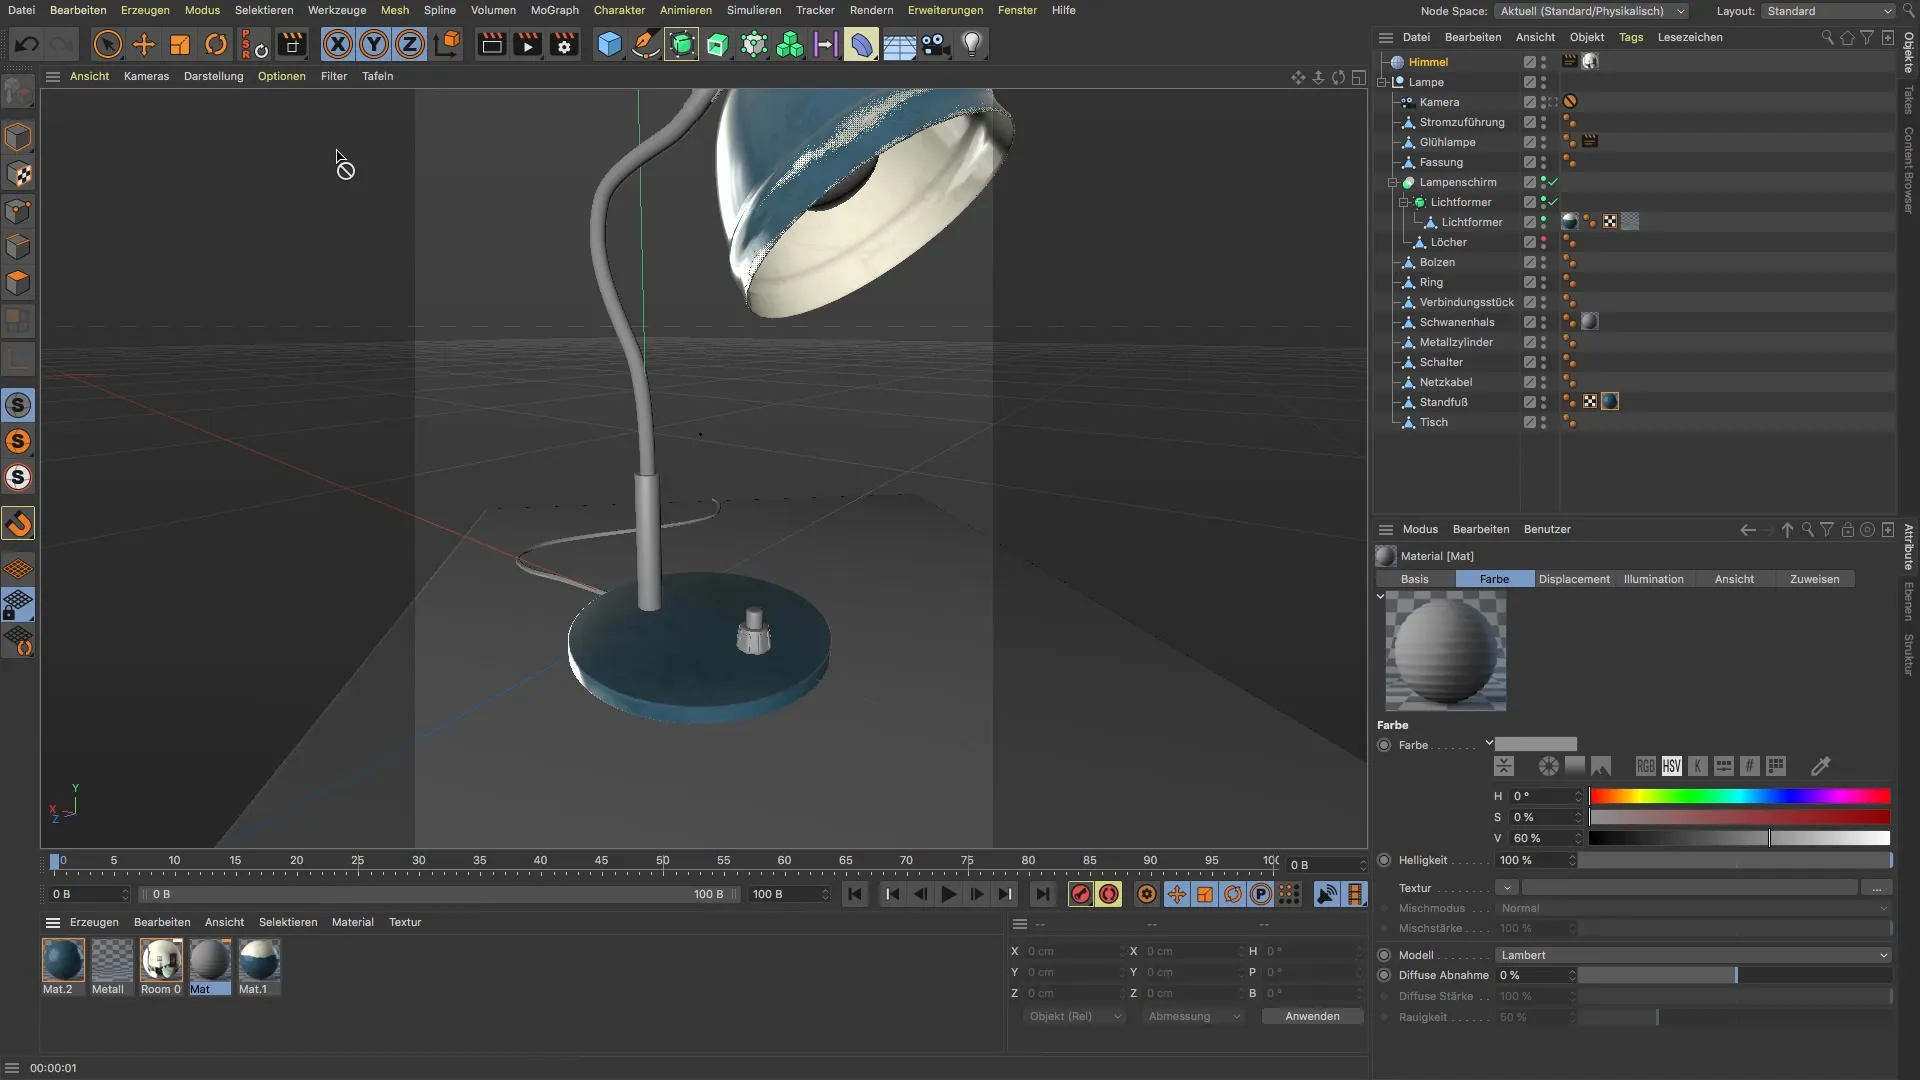
Step 8: Create Template for PBR Material
If you are curious about this, you can also convert the materials you created into actual PBR materials. This technique is particularly exciting and can help you achieve more realistic results.
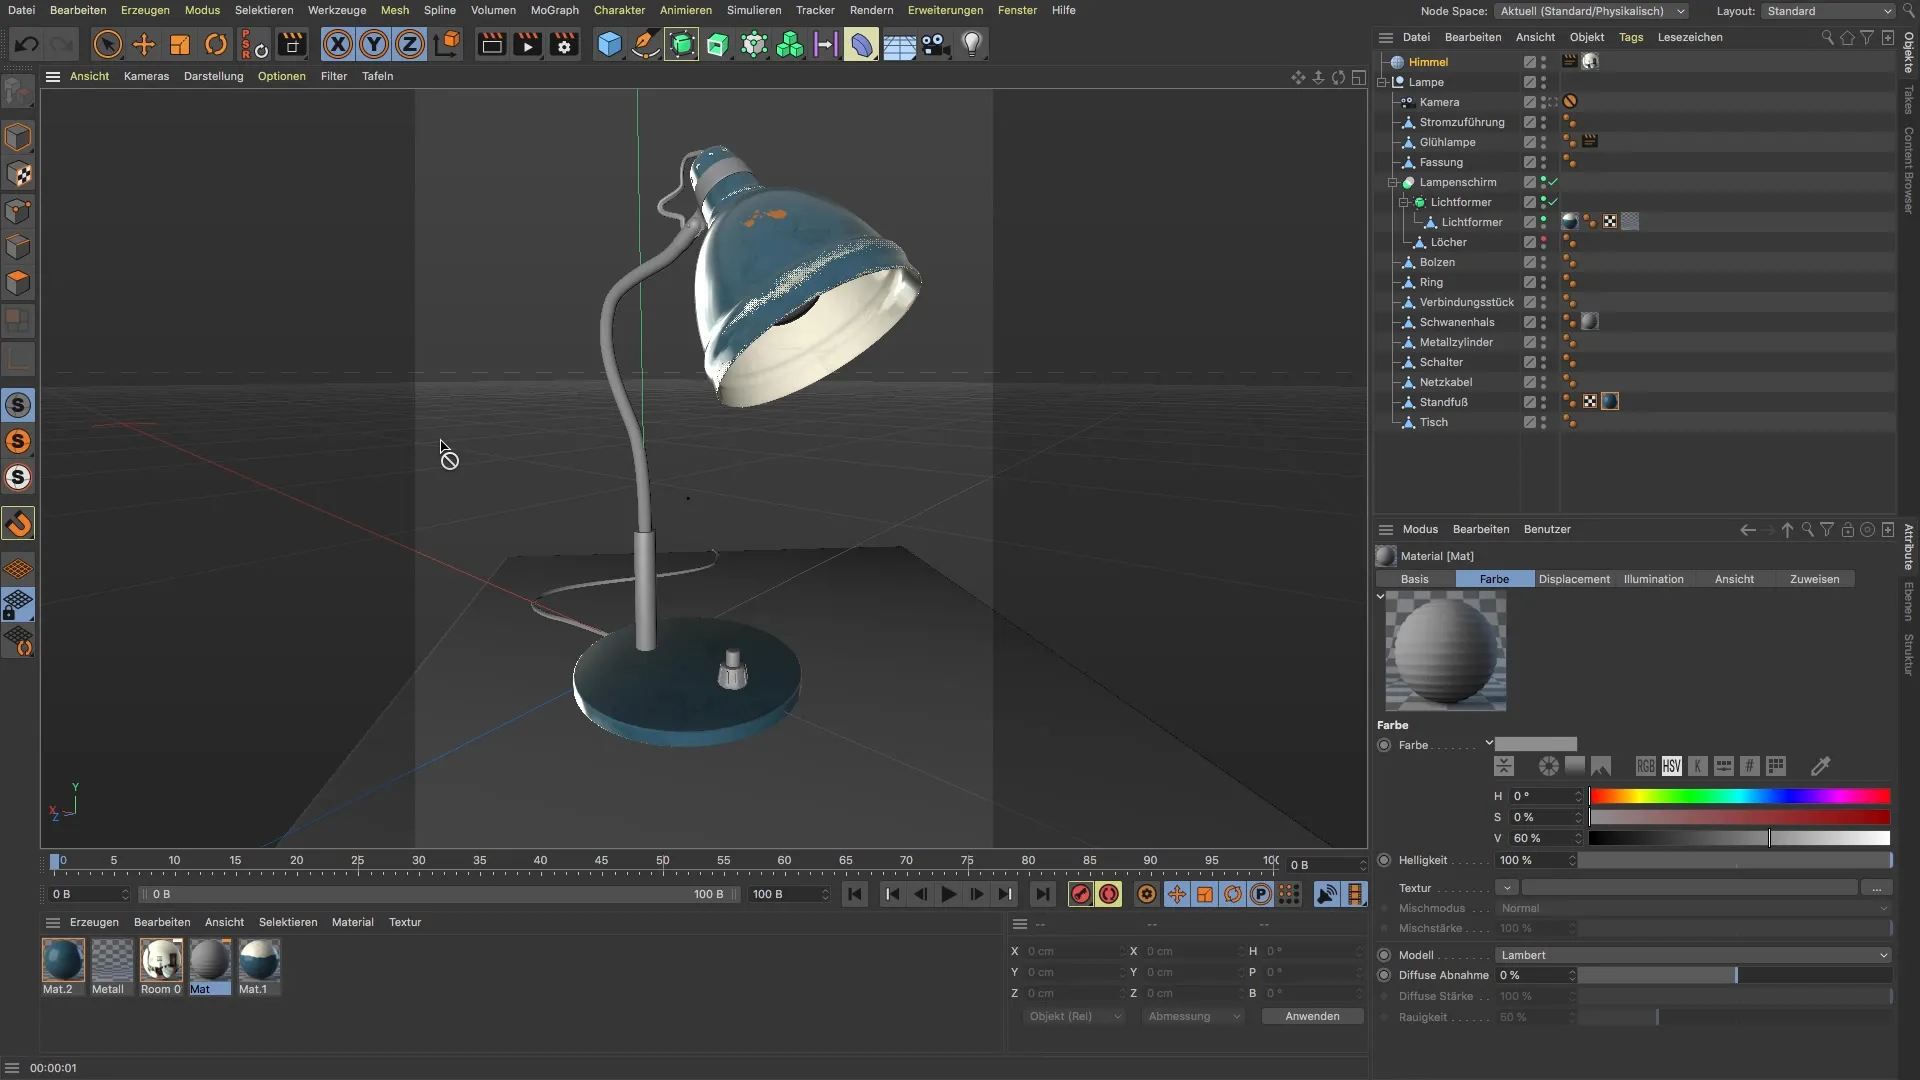
Summary – BodyPaint 3D: Duplicate and Adjust Materials
Editing materials in BodyPaint 3D opens up many possibilities for you. By properly duplicating and adjusting materials, you can work efficiently and prevent unwanted changes from occurring. Follow the steps for deleting, color adoption, and creating new textures and shaders to implement your designs clearly and precisely.
Frequently Asked Questions
What is the Color Ropper and how do I use it?The Color Ropper is a tool in BodyPaint 3D that allows you to adopt exact colors from materials without having to input the values manually.
Could deleting layers in a duplicated material cause problems?Yes, deleting layers can cause changes in the original material as well. Therefore, always delete any unwanted layers to avoid this.
Why are the UVs so important?The UVs are crucial for texturing and correctly mapping materials onto your model. They must be accurately defined before assigning materials.
How can I ensure that the textures in my new material are displayed correctly?Make sure to remove all old textures when creating a new material and only add your desired textures.
