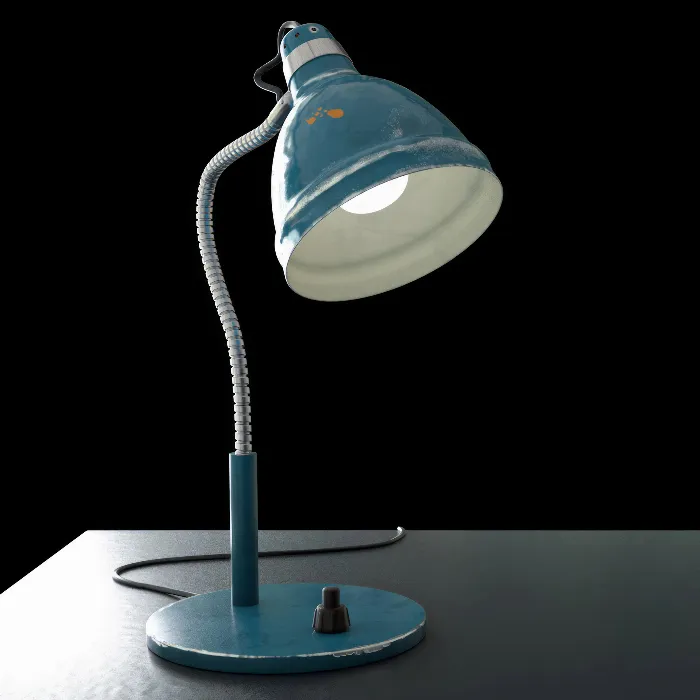
Do you want to learn how to effectively convert materials in BodyPaint 3D into PBR materials? PBR materials (Physically Based Rendering) provide the ability to represent surfaces that have realistic highlights and properties. These materials are particularly important for GLTF export and working with renderers that support physically based materials. In this guide, you will learn step by step how to convert a classically created material into a PBR material and which important aspects you need to pay attention to.
Key Insights
PBR materials combine color information, diffusion channels, relief, and gloss properties for realistic representations. You need them for GLTF exports and render pipelines. The conversion requires the correct assignment of textures to the reflection channels.
Step-by-Step Guide
To make the conversion easier for you, follow these steps consistently. Make sure to assign all textures properly and adjust the geometry accordingly.
Step 1: Material Inspection and Adjustment
Start by opening your material in BodyPaint 3D. You will see that various materials such as plastics, metals, and glowing parts are available. Check the current materials to ensure that they provide the right base for your PBR conversion.
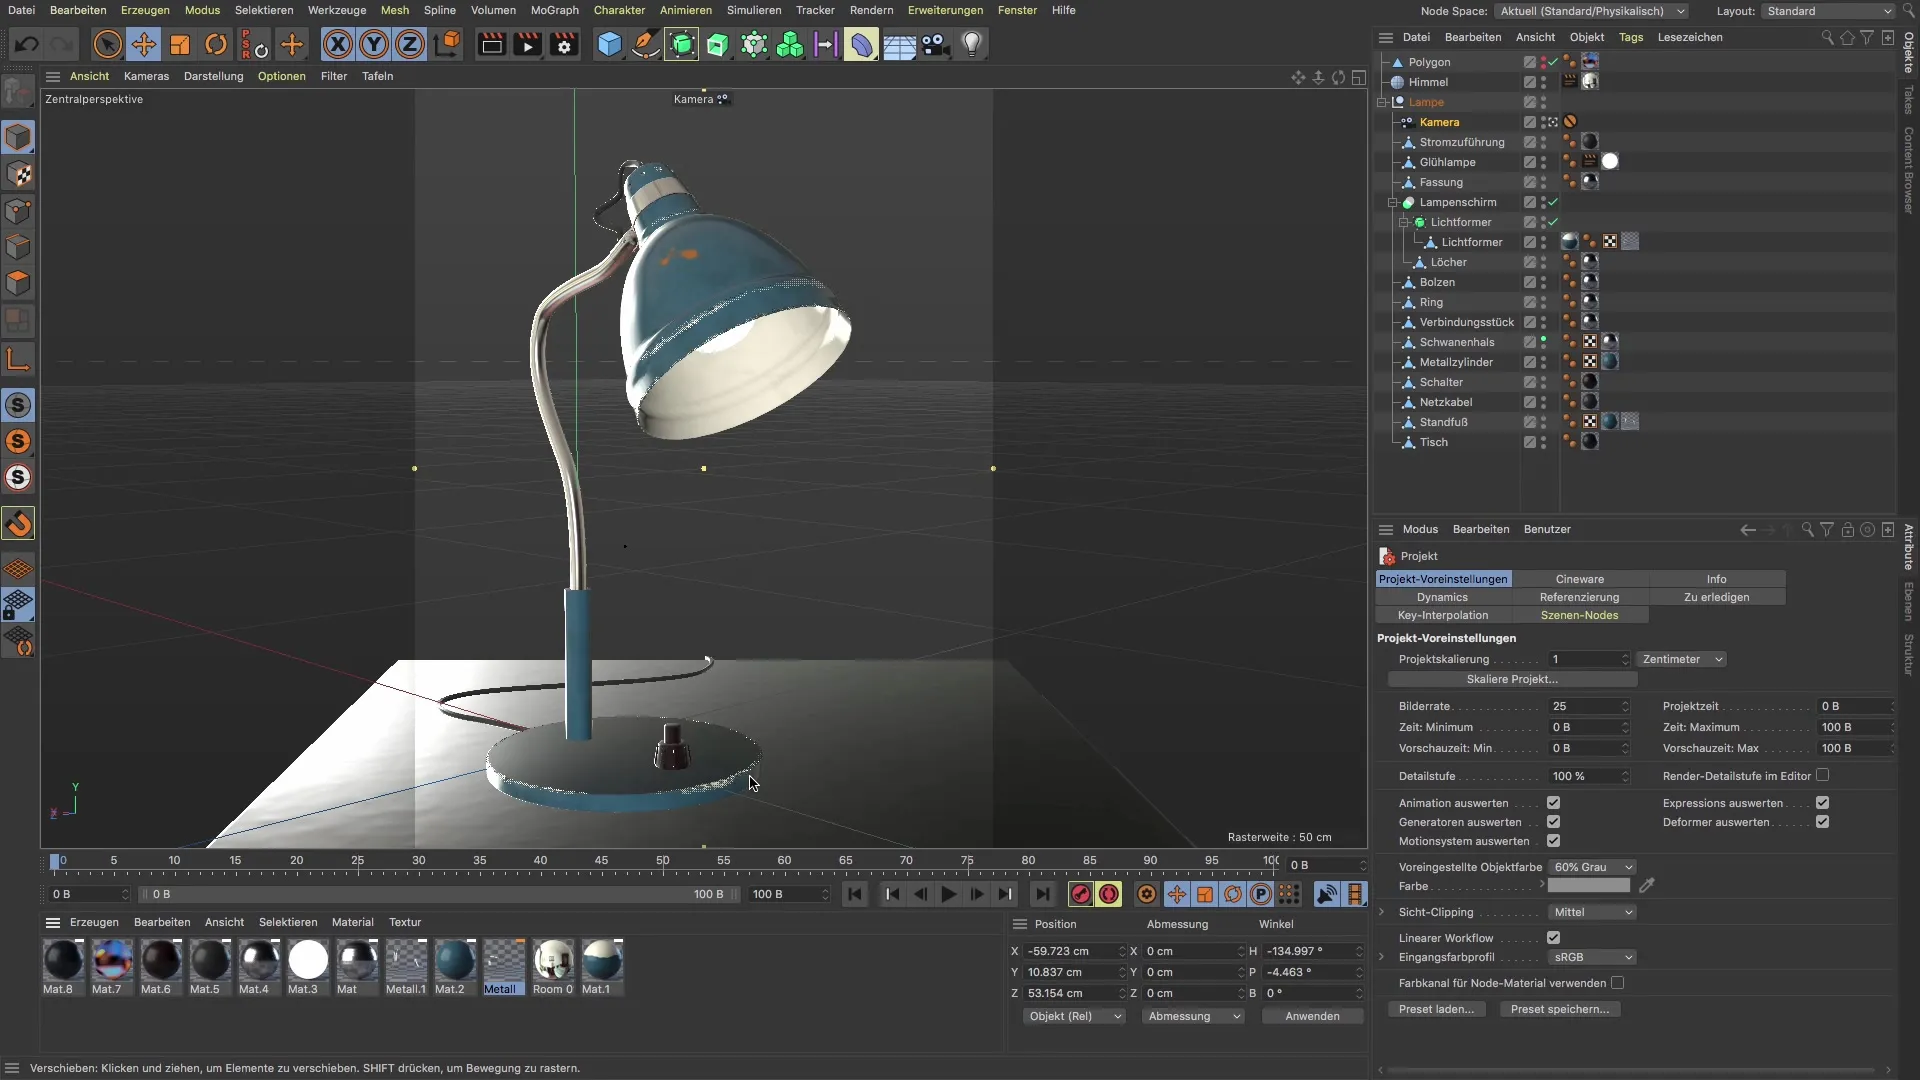
Step 2: Color Adjustment
Next, select the various color channels of your material. Click on the blue and orange fleck and check the view. In the texture preview, you can set the size to 2K to ensure that the details appear sharp even in close-up views.
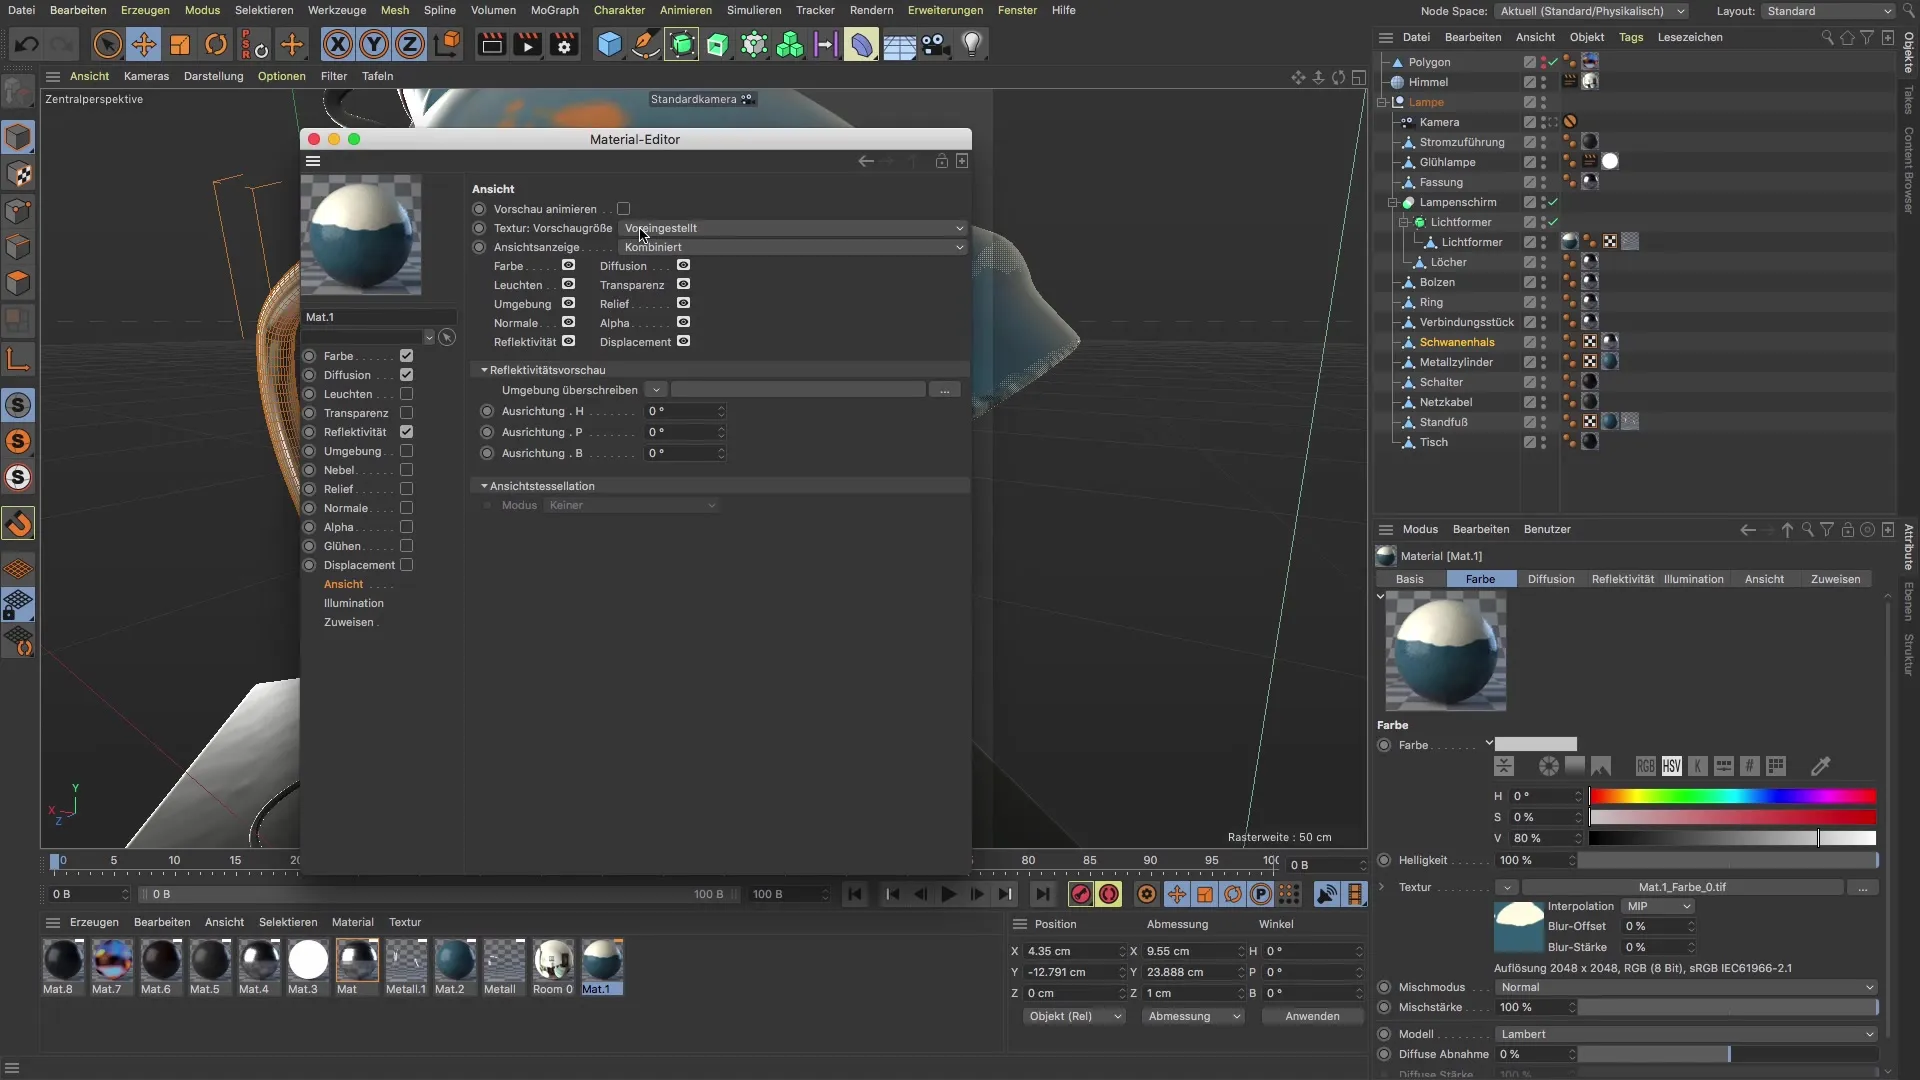
Step 3: Converting to PBR Material
Now it's time to convert the material into a PBR material. Select the reflectivity channel and start adding the main texture information. It is essential not to use the color channel and the diffusion channel. Instead, create a relief.
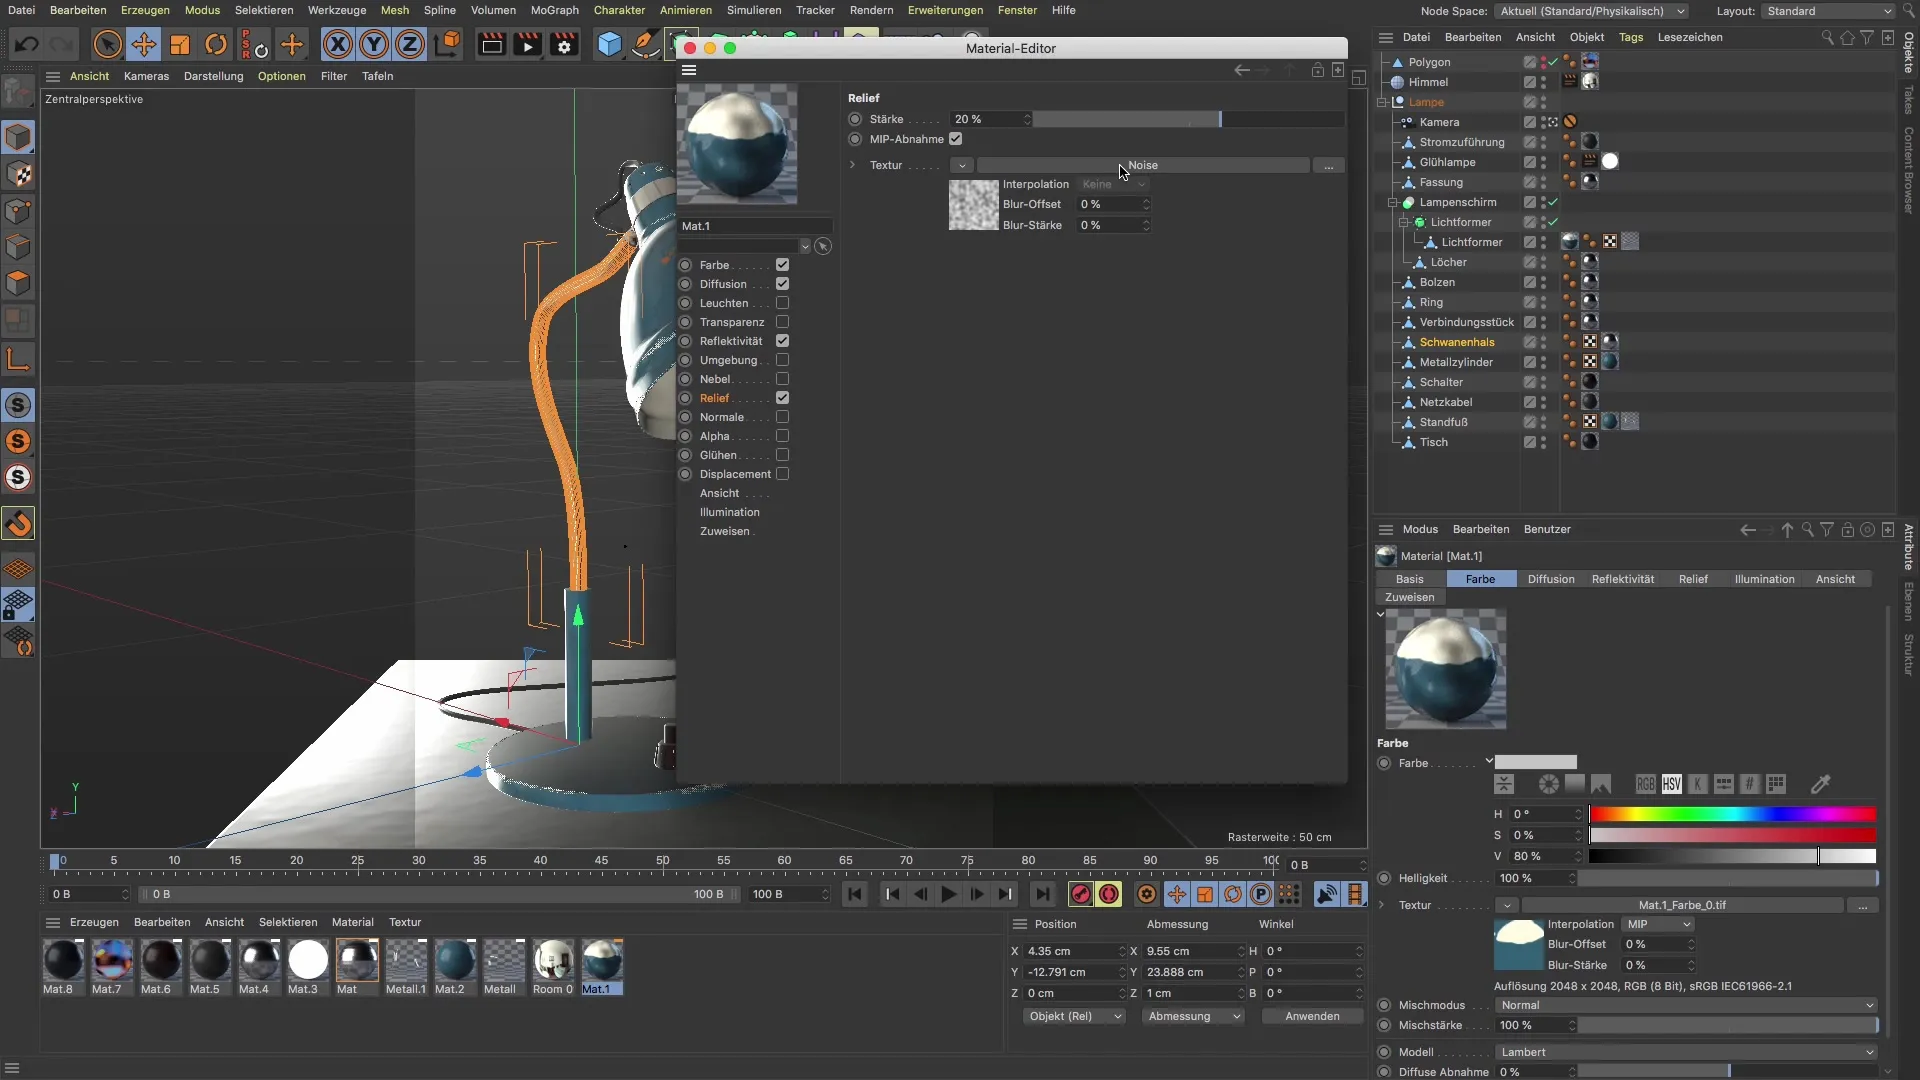
Step 4: Creating Relief Texture
Get a new texture that you want to use as relief. You can select an easy-to-edit texture like "Turbulance" here. Reduce the global size to 10% and the strength to 10% as well, to make the fine details more recognizable.
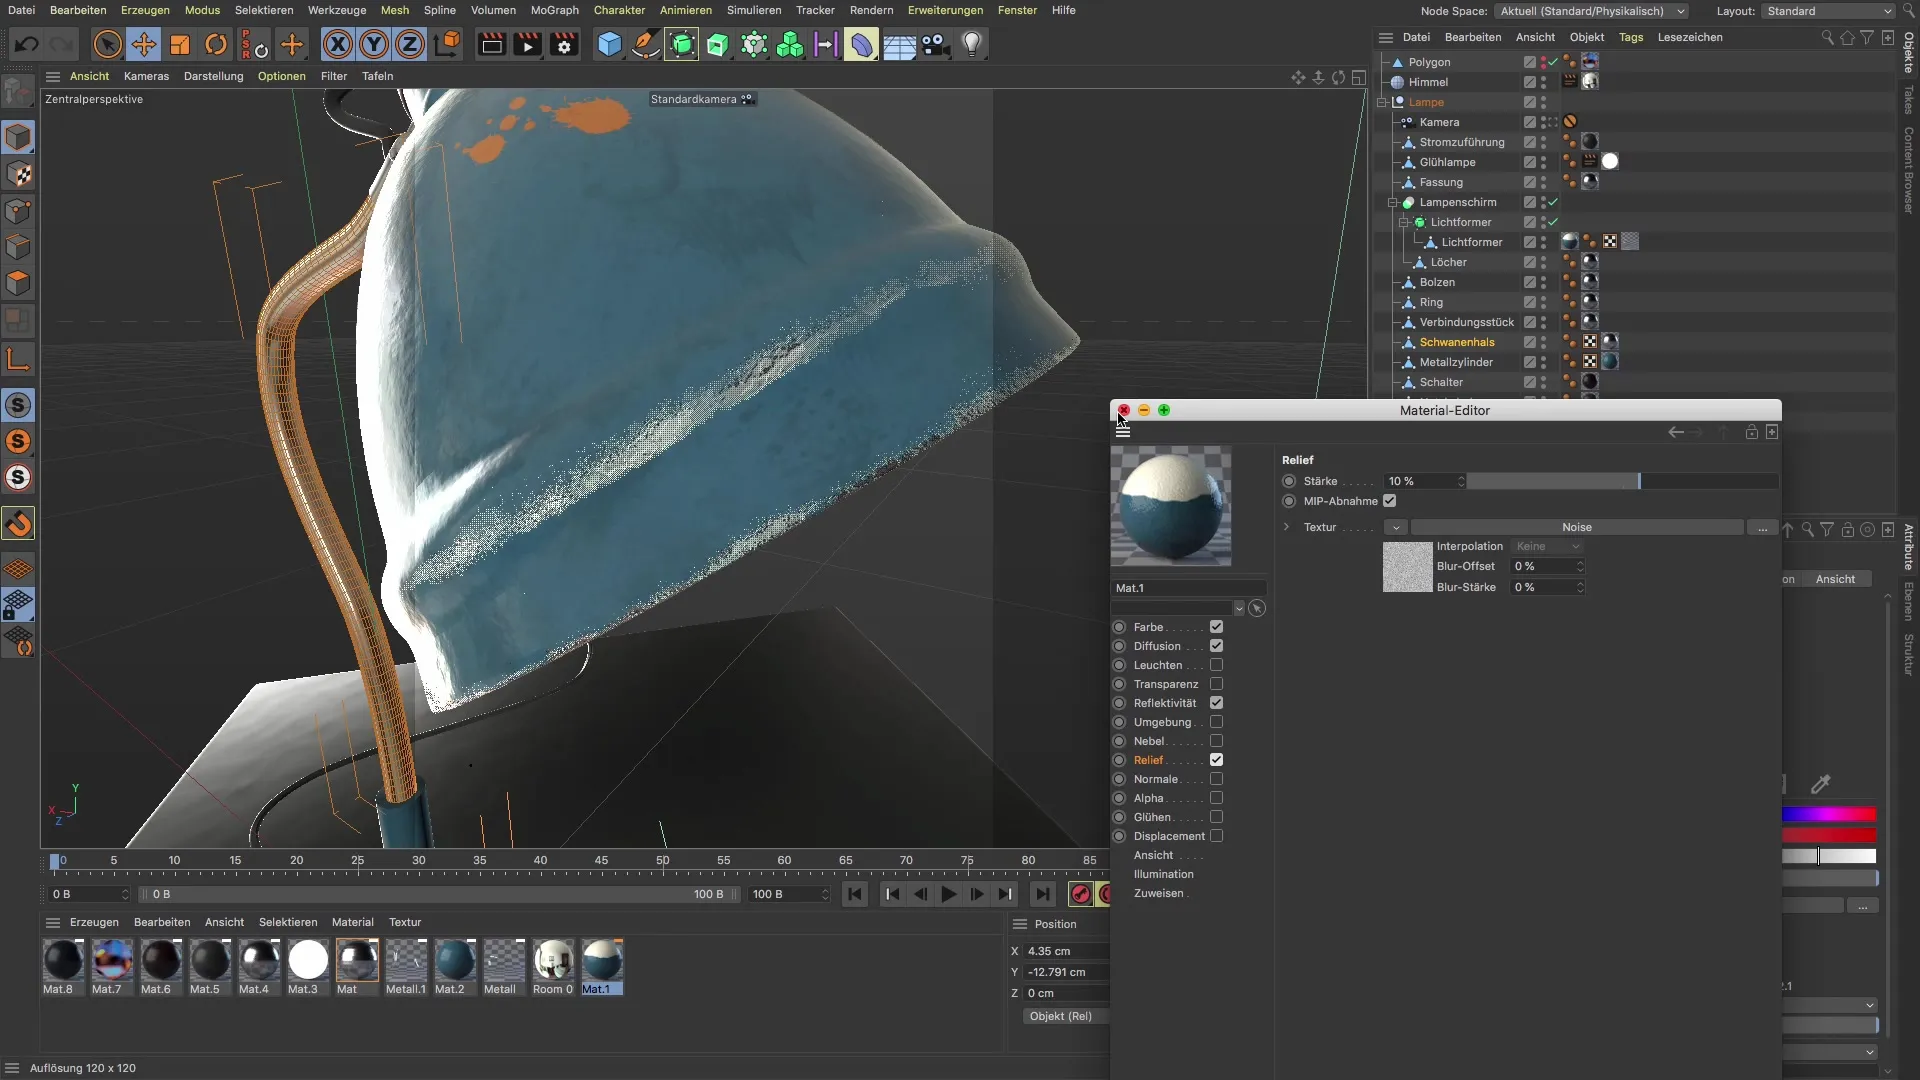
Step 5: Inserting Color Texture
Now, copy the entire texture from the color and paste it into the reflectivity channel. Make sure to choose the right spot within the channel to place the gloss layer correctly.
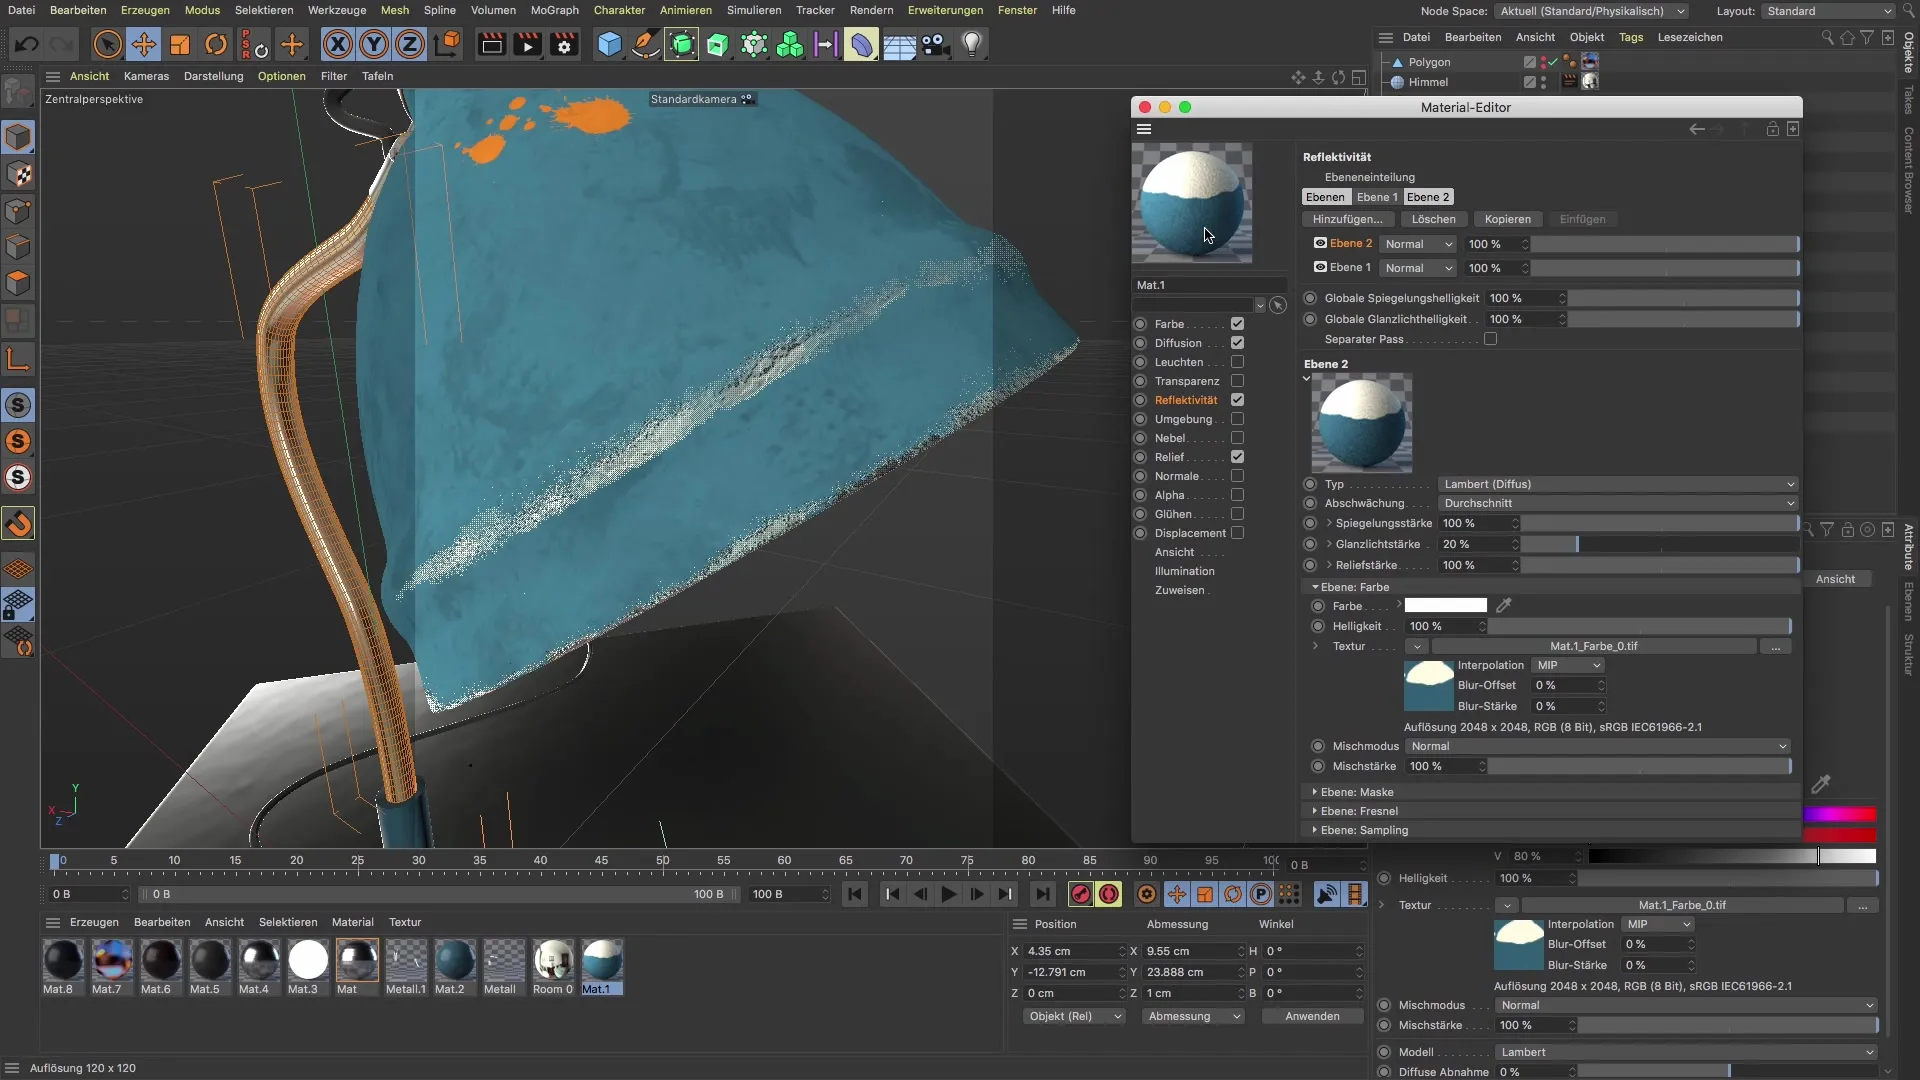
Step 6: Linking Gloss and Reflection Values
It is important that the gloss and reflection values are optimally linked. Exchange the values in the reflectivity channel accordingly to achieve the desired material effect.
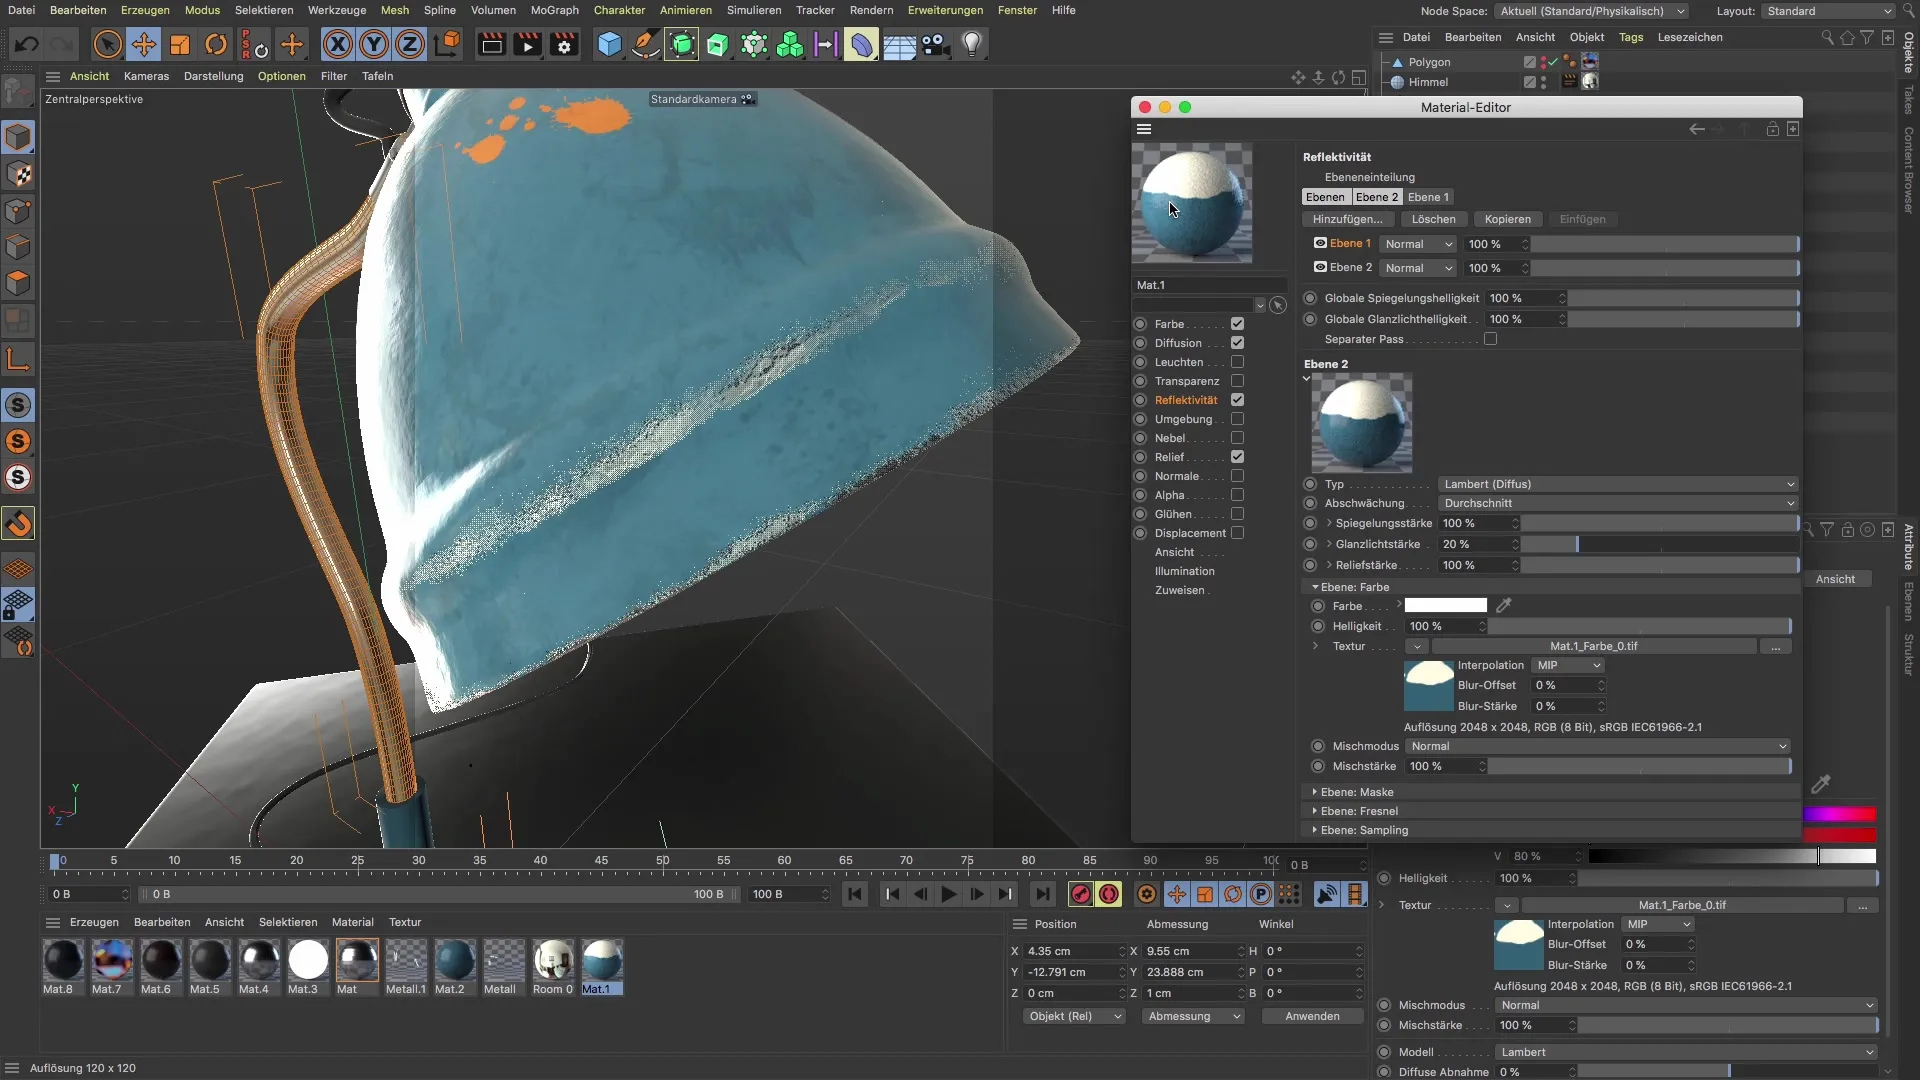
Step 7: Applying Diffusion
Now go to diffusion and copy the necessary texture. It is crucial to also make the right links here so that the material correctly displays the physical properties.
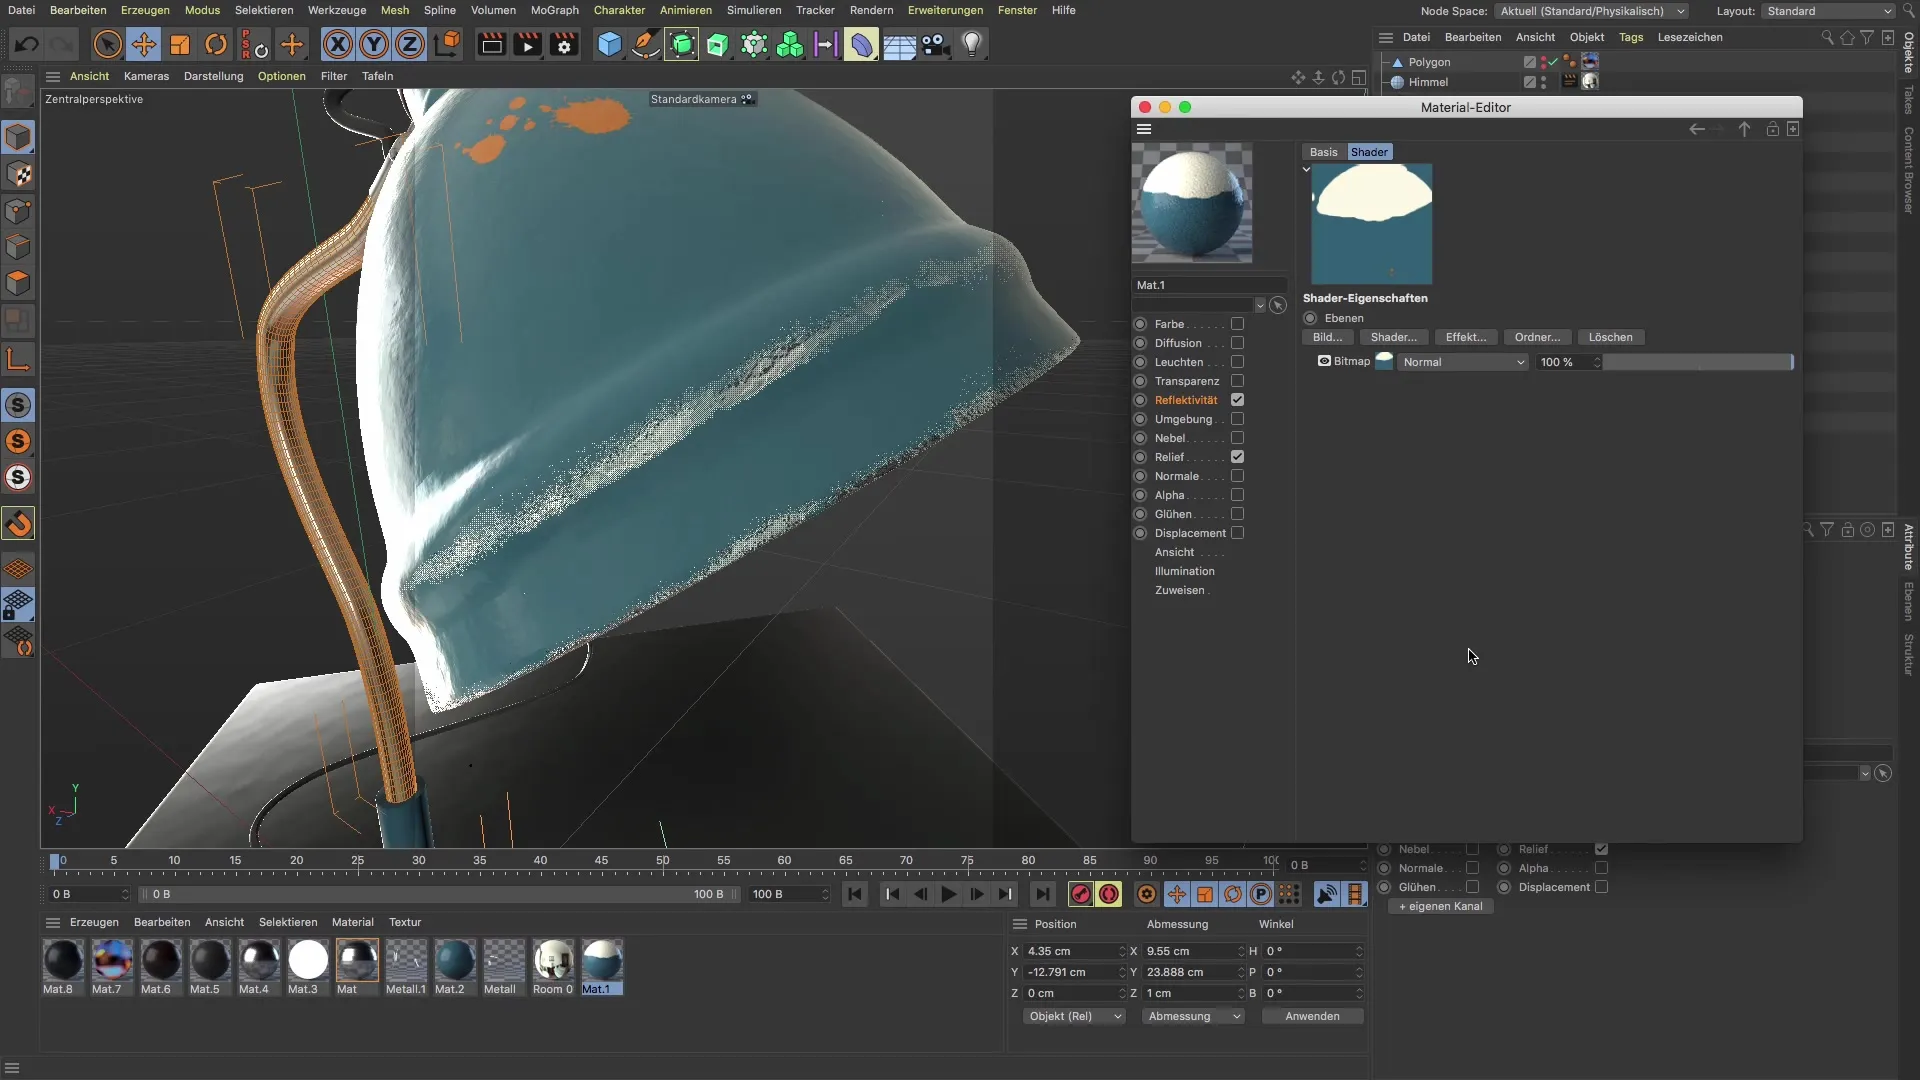
Step 8: Adjusting Texture Layout
In the final step, you will realign the textures for the relief channel. Make sure that the relief representation is clear and that there is the correct "reciprocity" between the reflection and the relief.
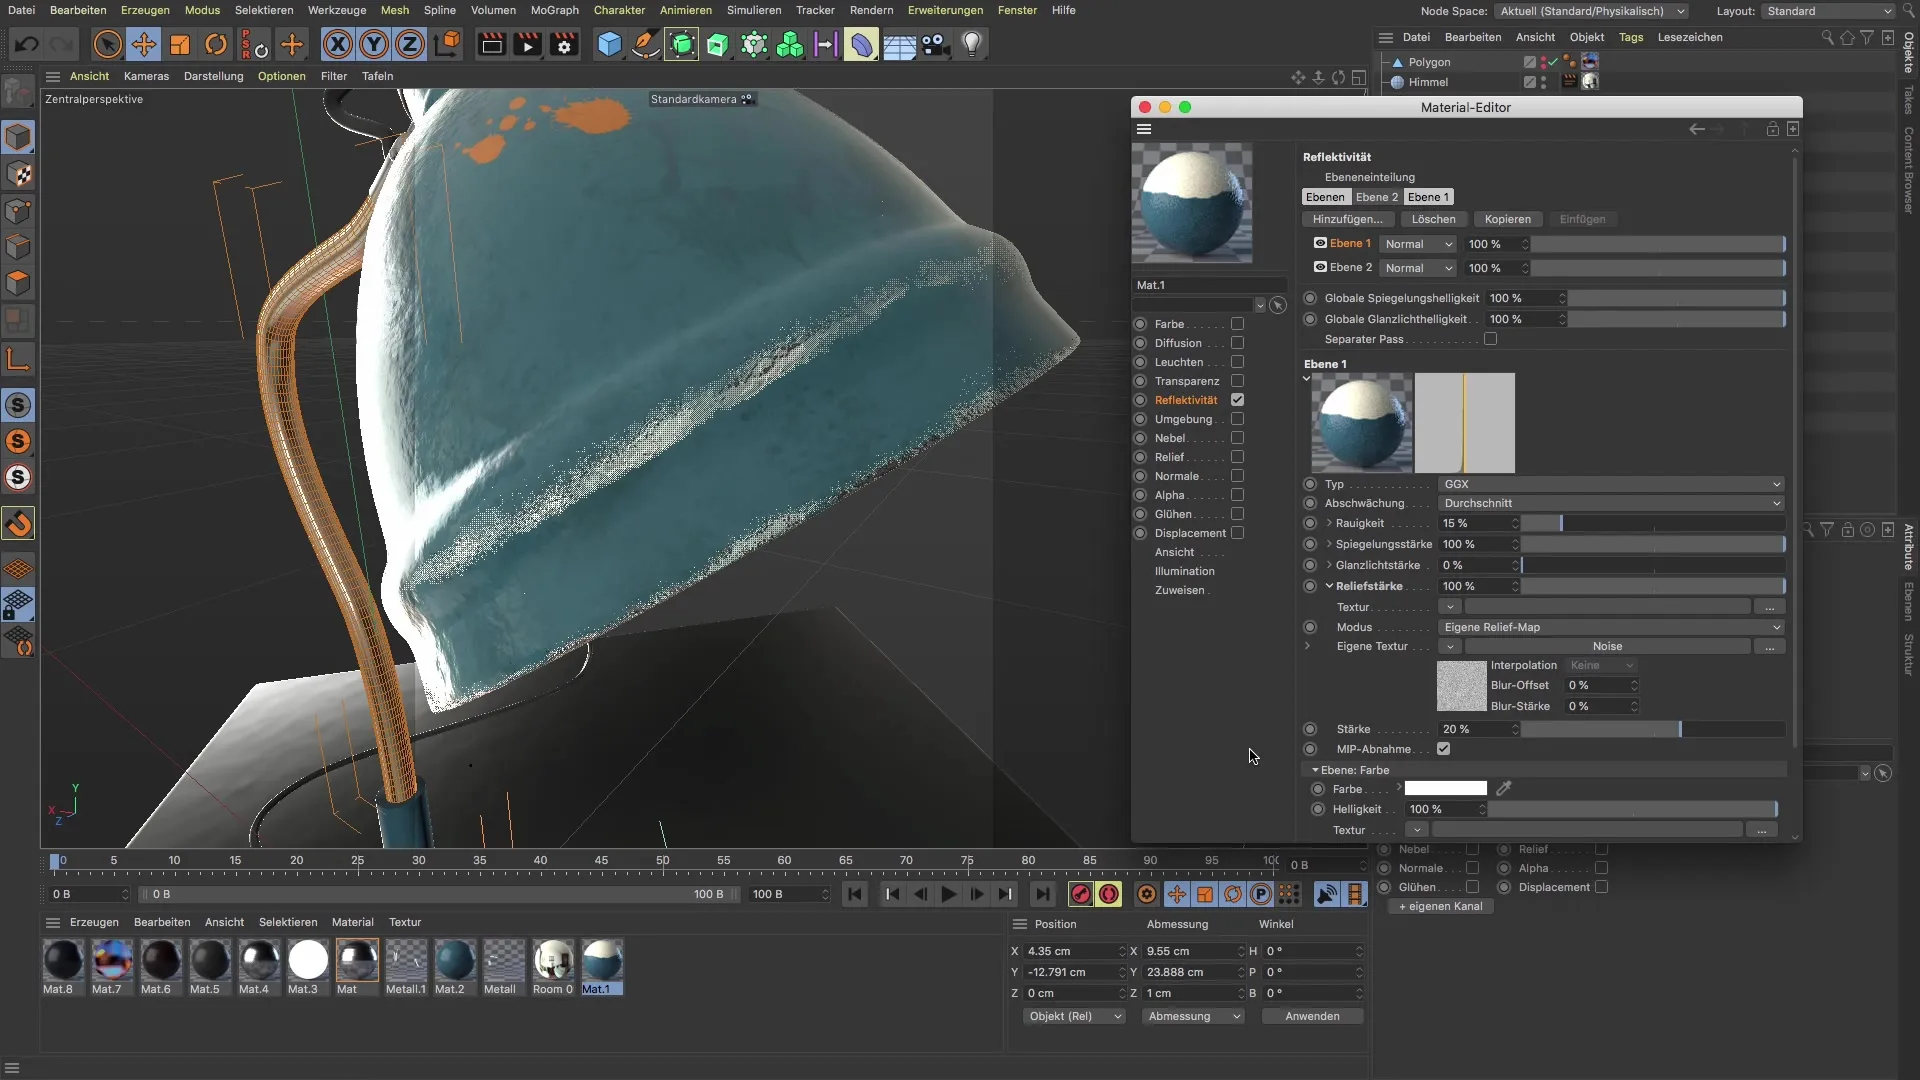
Step 9: Fine-Tuning
Check your settings in the material preview window and adjust the roughness and other parameters until you are satisfied with the appearance of the material.
Summary - Converting Materials to PBR with BodyPaint 3D
You have learned how to convert materials into PBR materials using BodyPaint 3D. With a focused approach and the right techniques, you can create realistic surface appearances that are suitable for both render pipelines and GLTF export. Always keep an eye on the settings to achieve the best results.
Frequently Asked Questions
What is the difference between PBR and classic materials?PBR materials are based on physically accurate principles and deliver realistic results compared to classic materials.
What are PBR materials needed for?PBR materials are crucial for GLTF export and render pipelines that aim for realistic representation.
How do I change the texture size for a PBR material?Select the texture in the preview window and set the size to 2K. Larger settings do not lead to improved quality.
