Creating a Pickup-Truck in Adobe Illustrator gives you the opportunity to unleash your creative skills and create unique designs. In this tutorial, you will learn how to fill the surfaces of your truck with individual, free-form patterns and enhance your pickup with various effects. Let’s get started right away and give your design the final touch.
Main Insights
- You will learn how to use layers and clipping masks to create designs.
- Using patterns and various pattern effects gives your truck a personal touch.
- With the tools in Illustrator, you can achieve vibrant effects that highlight your design.
Step-by-Step Guide
To make the best use of this guide, follow the steps carefully and ensure that you use the corresponding tools at the mentioned points.
1. Prepare
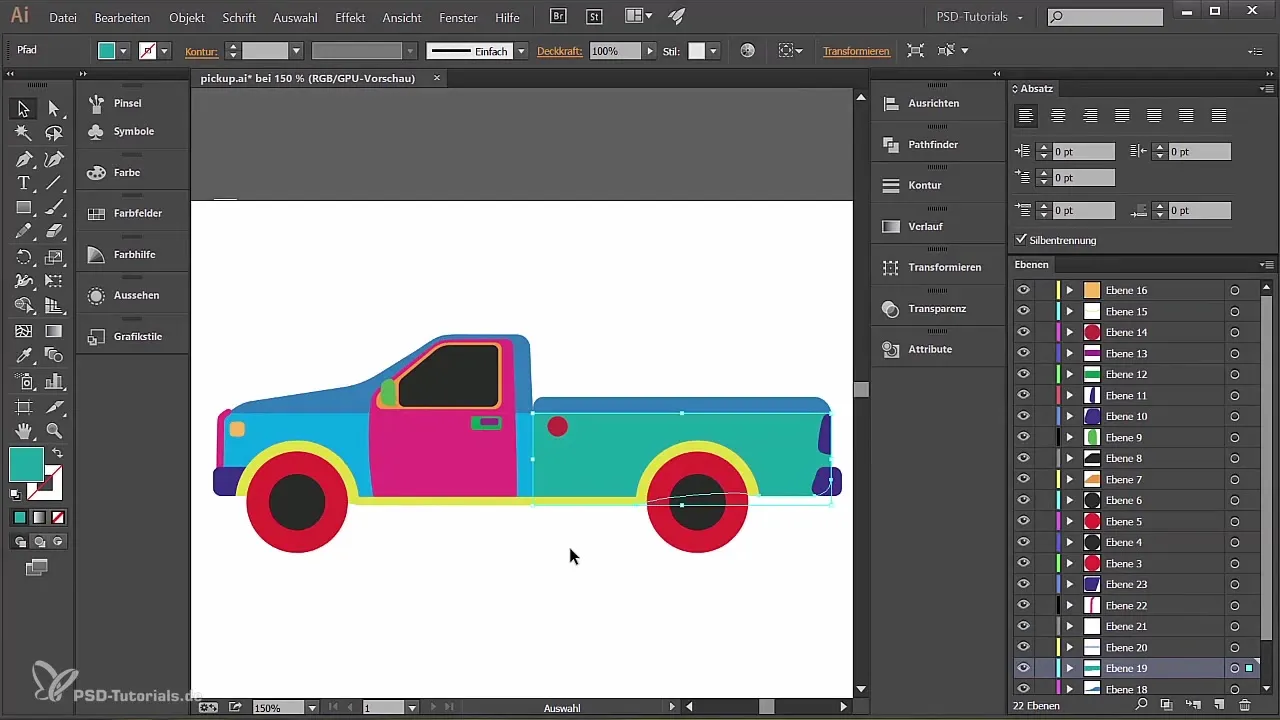
Before you start working with shapes, ensure that you have the necessary layers open and visible. For example, select the door of your pickup truck. Click on the corresponding layer to activate it.
2. Adjust Layers
Now it is important to adjust each area or layer that you want to create so that it is ready for pattern use. Click on the layer you want to edit to make sure it is active and you are working with the desired path.
3. Create Clipping Mask
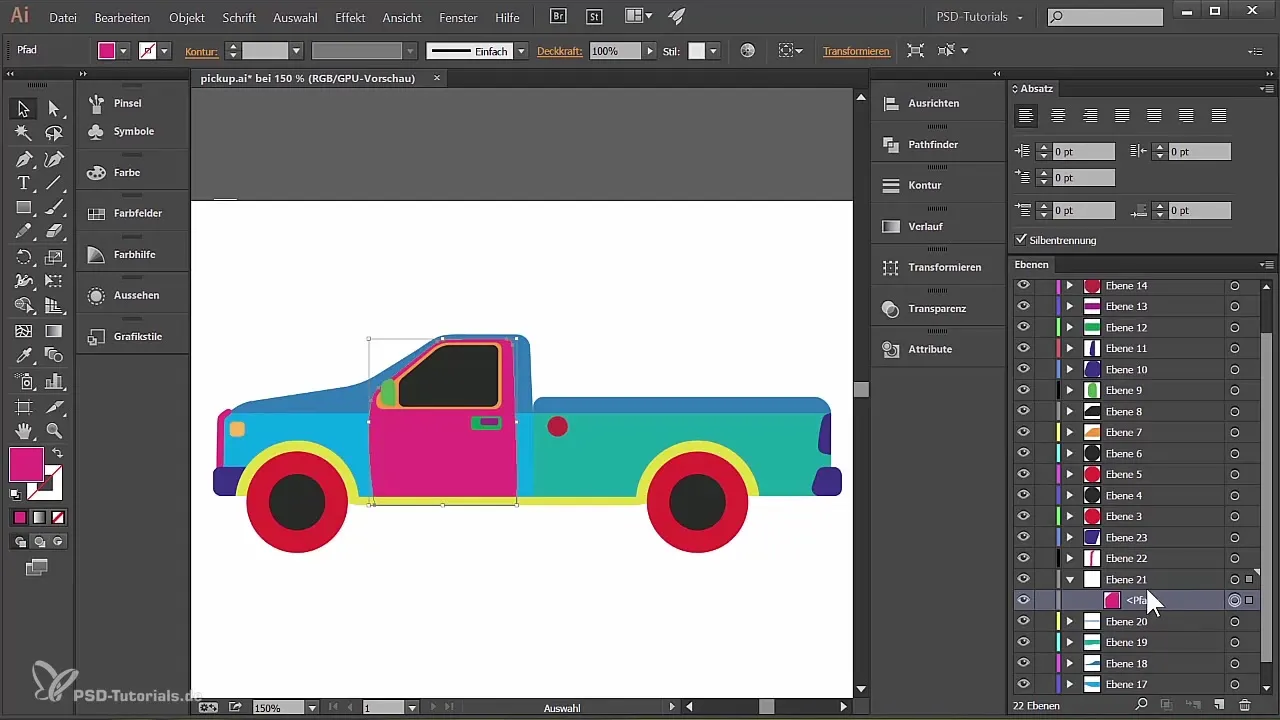
To seamlessly integrate your designs, create a clipping mask. Select the object you want to use in your fill and click on “Create Clipping Mask” to make the object visible. This will enable access to the object over the area.
4. Insert Patterns or Photos
Now you can make your first fill. You have the option to integrate a custom pattern or even a photo into your door. Make sure that when drawing, all effects stay within the clipping mask.
5. Create Custom Shapes
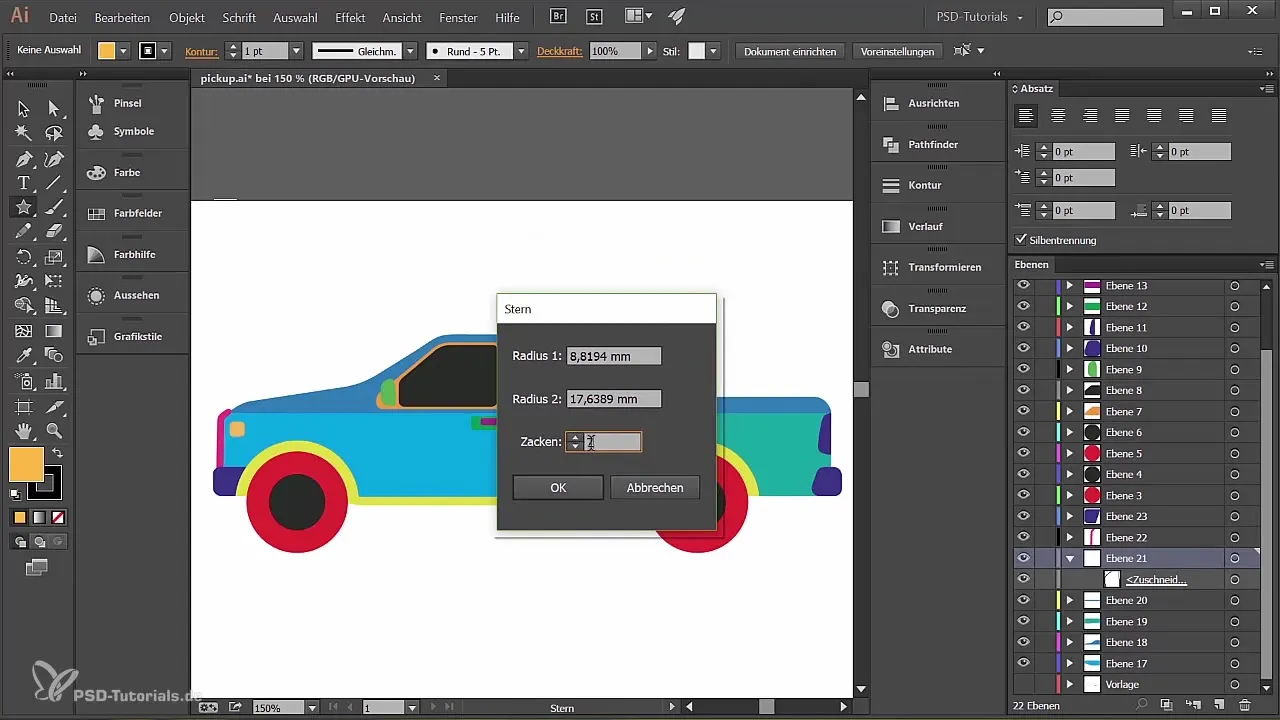
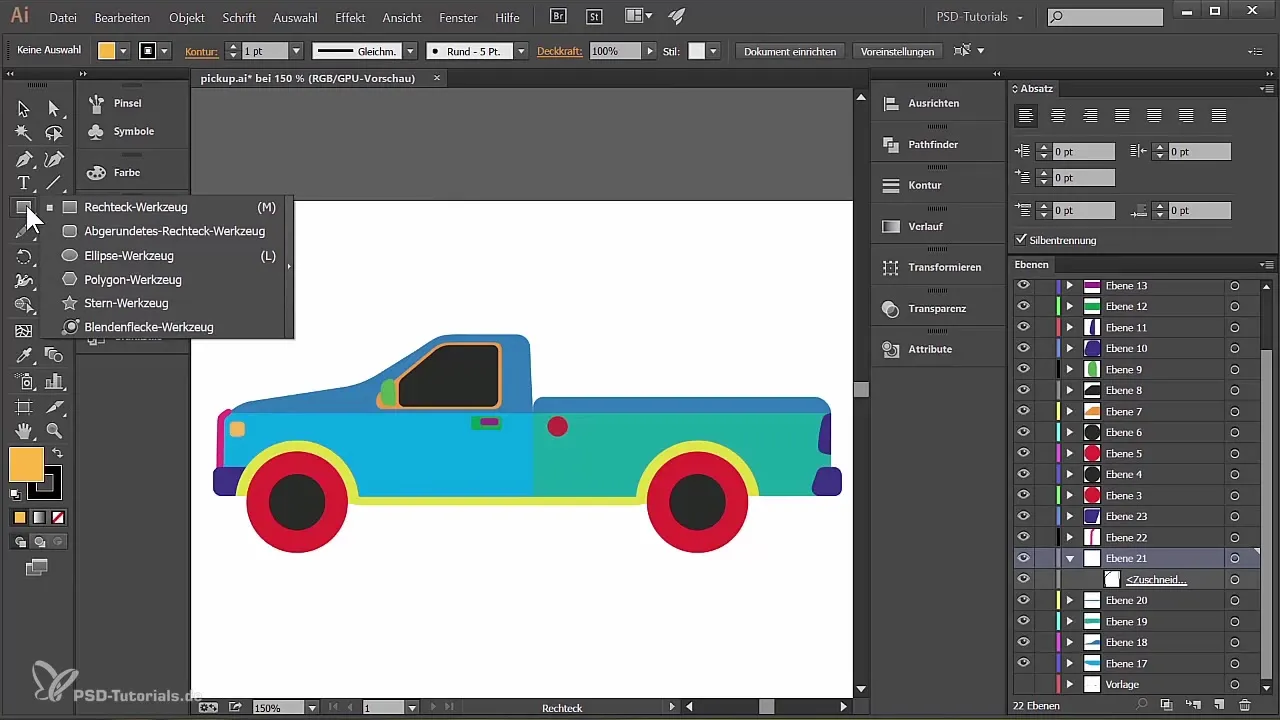
To give the truck a personal touch, you can create your custom shapes or patterns. Use the rectangle tool or the star tool to generate new designs. Place the star in the desired layer and adjust the colors and contours according to your preferences.
6. Apply Effects
To make your star or other shapes more interesting, select the width tool and experiment with the different settings. You can also twist the shape or apply other effects to achieve the desired look.
7. Color Design
Color plays a crucial role in your design. Choose your preferred colors in the palette view and fill your shapes. You can change and enhance the color intensity and shades as you like.
8. Add More Elements
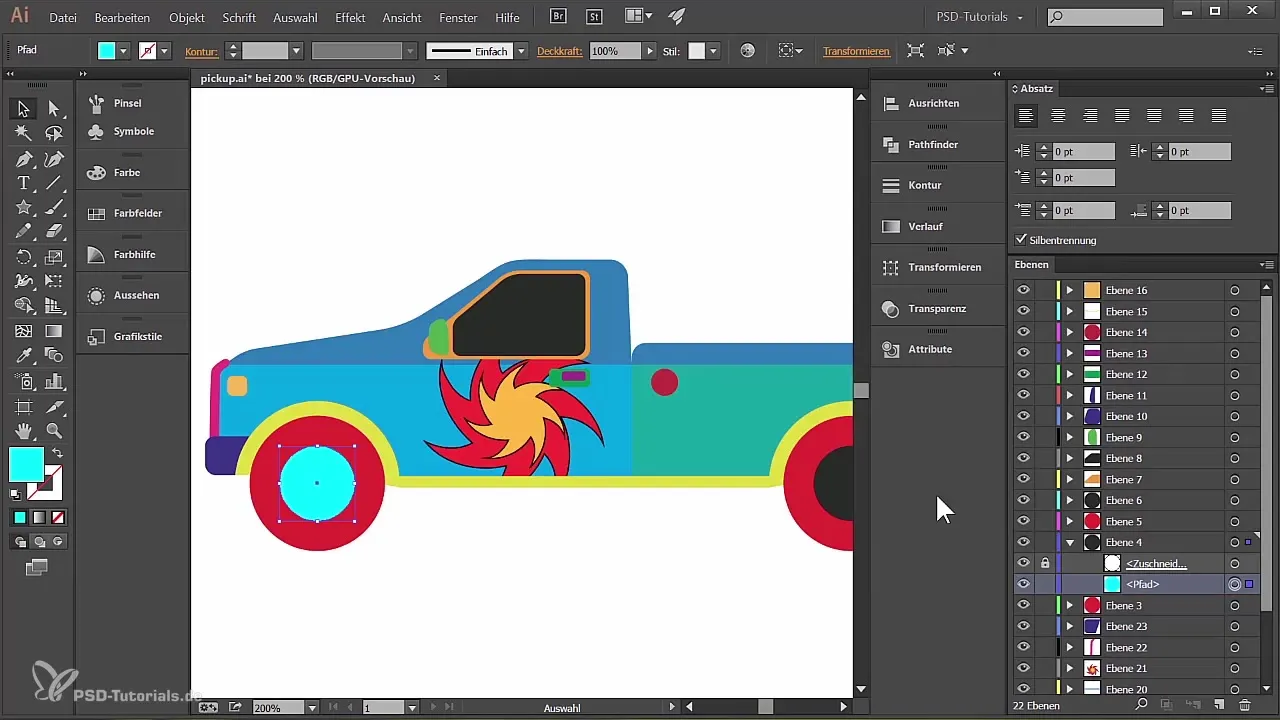
Create additional designs such as rims or other graphic elements. Duplicate existing paths to quickly generate new shapes. Ensure that all elements you want to create are correctly adjusted in the symbols and layers.
9. Use Crumple Effect
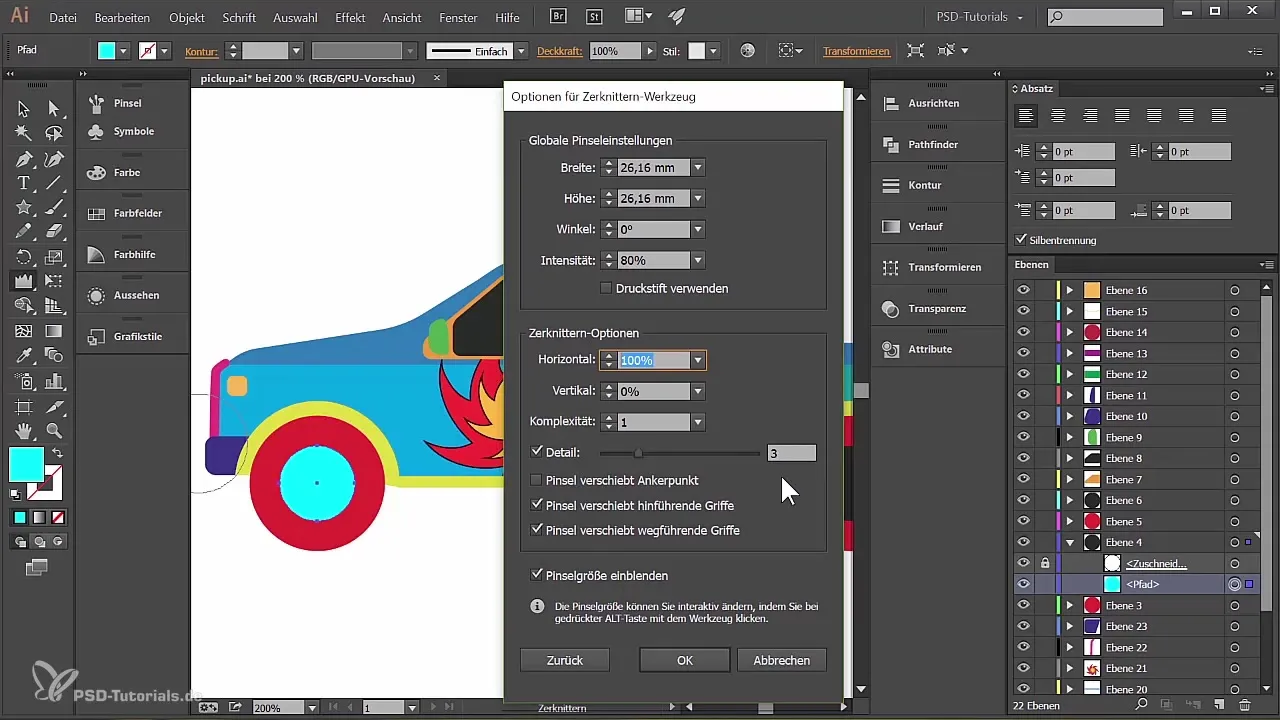
To make some of your elements appear more dynamic, you can use the Crumple tool. This technique adds life and depth to your design. Play with the settings and brush size to achieve different effects.
10. Create Effects Layer
To create a harmonious overall picture, create a separate layer for effects directly above your background. This influence allows you to target your shapes and colors and integrate additional effects like gradients.
11. Apply Gradients
After setting up your effects layer, you can experiment with gradients. Choose combinations that are both harmonious and provide the desired contrast. Apply the gradient to colored parts of your fill to create special accents.
12. Final Adjustments
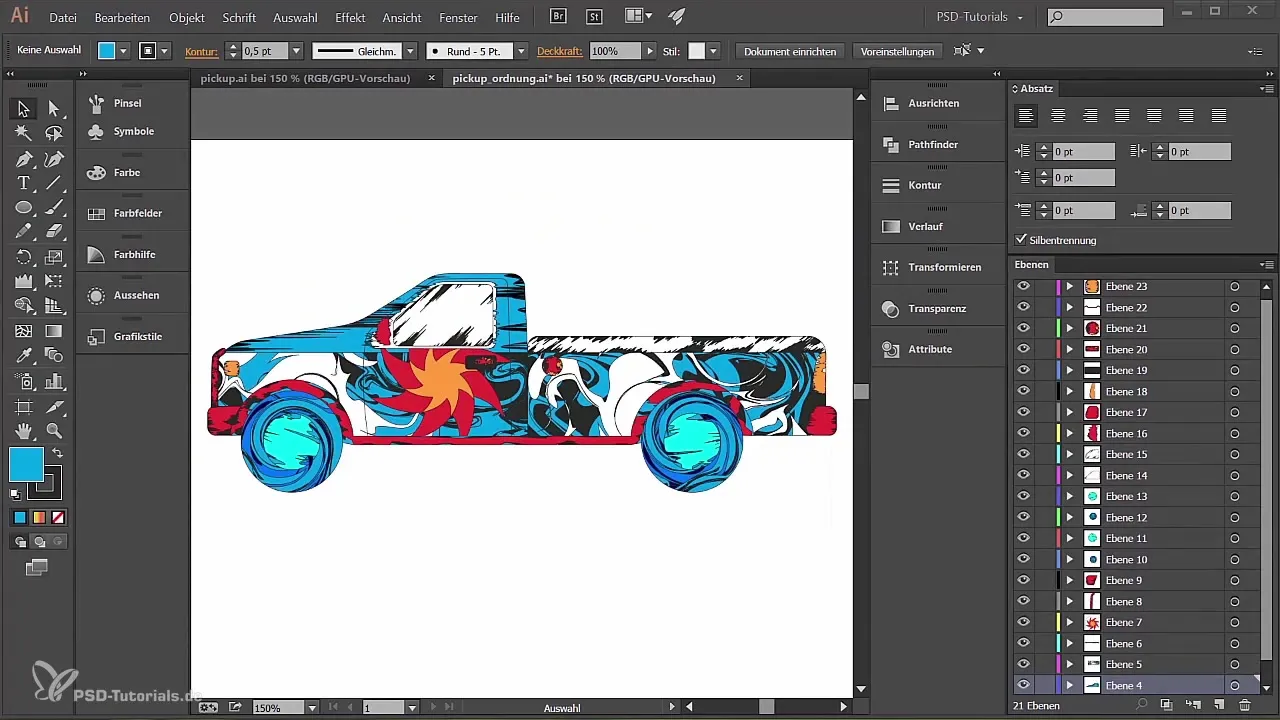
Now that your pickup truck has taken shape, go through your elements and make any necessary adjustments. Check the composition of all parts in the layers before finalizing your masterpiece. This way, everything is harmoniously coordinated and looks completely professional.
Summary - Designing Pickup Truck in Adobe Illustrator
In this guide, you learned how to create standalone designs with Adobe Illustrator by effectively using layers and clipping masks to design a unique pickup truck. Remember that even small adjustments and effects can make a big difference.
Frequently Asked Questions
How do I create a clipping mask in Illustrator?Select the layer you want to use as a clipping mask. Then click on “Create Clipping Mask”.
How can I insert an image into a shape?After creating a clipping mask, you can simply drag the image into the shape.
What tool is used to create patterns?You can use the rectangle tool or the star tool to generate new patterns and shapes.
Can I use multiple color layers in a design?Yes, you can use different color layers to bring more depth and dimension to your design.
How can I lock a layer?Right-click on the layer in the layers panel and select “Lock” to prevent it from being accidentally edited.
