Creating graphic objects in Adobe Illustrator can be an exciting and creative task. Today, you will focus on developing a glass surface for a lens. In this guide, you will go through the process of designing an attractively reflective glass and adding subtle reflections. The steps are specifically designed to guide you efficiently and systematically through the design process.
Main Findings
- Creating effective glass surfaces requires a solid understanding of the use of shapes, colors, and transparencies.
- Working with layers and clipping masks is crucial for correctly representing reflections.
- The application of gradients helps create realistic lighting effects.
Step-by-Step Guide
1. Define the Glass Area
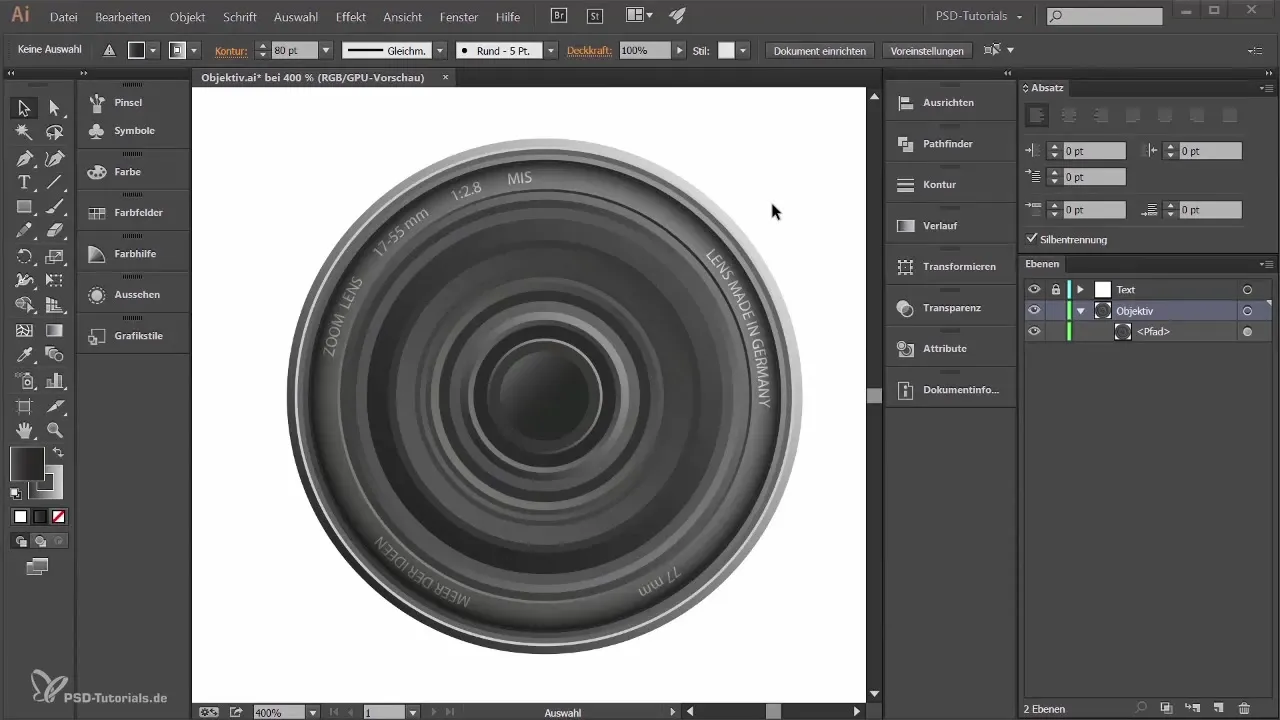
First, you need to determine where your glass should appear in the design. Select the ellipse tool and draw a circle that will serve as the base for your glass. Make sure the circle has no stroke and is visually appealing by placing it near the rings of the lens.
2. Create a Clipping Mask
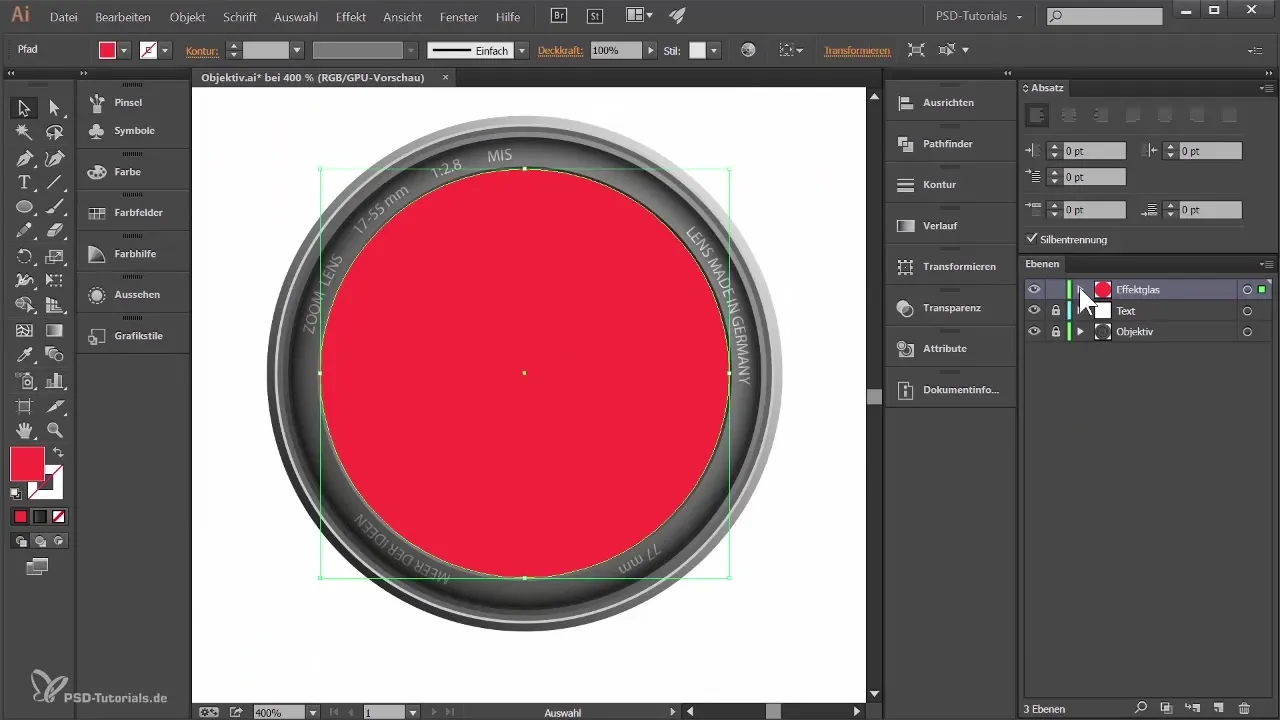
Now that the circle for the glass is created, convert it into a clipping mask. Select the layer with the circle and use the appropriate icon for “Create Clipping Mask” to ensure that the underlying content is visible through the circle.
3. Add the First Gradient
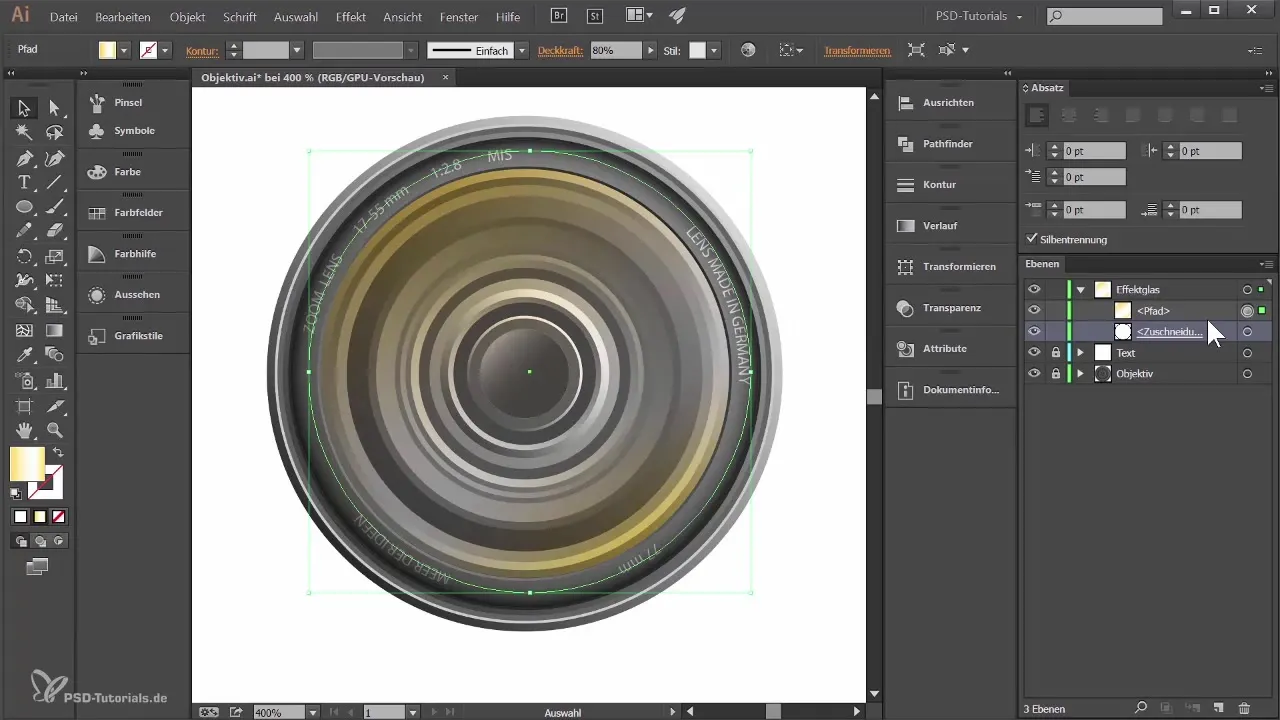
To bring depth and color into the glass, add a gradient. Create a new circle and select a linear gradient. Set the color values so that the gradient transitions from a light yellow to a white tone and adjust the transparency to about 80% to achieve a glass effect.
4. Create Additional Gradient Effects
Position additional circles to create further gradient effects. Experiment with different hues and use transparent settings to create a more dynamic glass surface. Remember to balance the midsections of the gradients well to show the right depth.
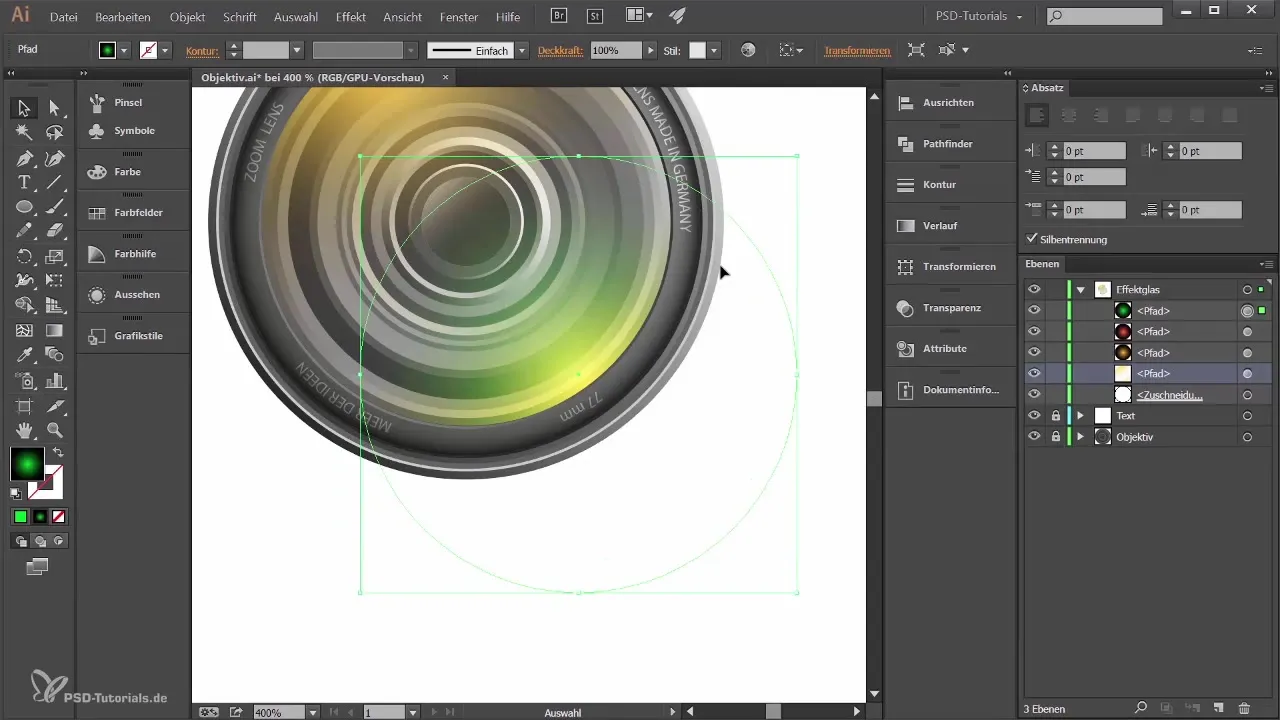
5. Add Reflections
For realistic reflections, it is time to duplicate additional circular shapes. Change the colors of the duplicates to light tones and place them in a transparency mode. This enhances the illusion of reflecting light on the glass.
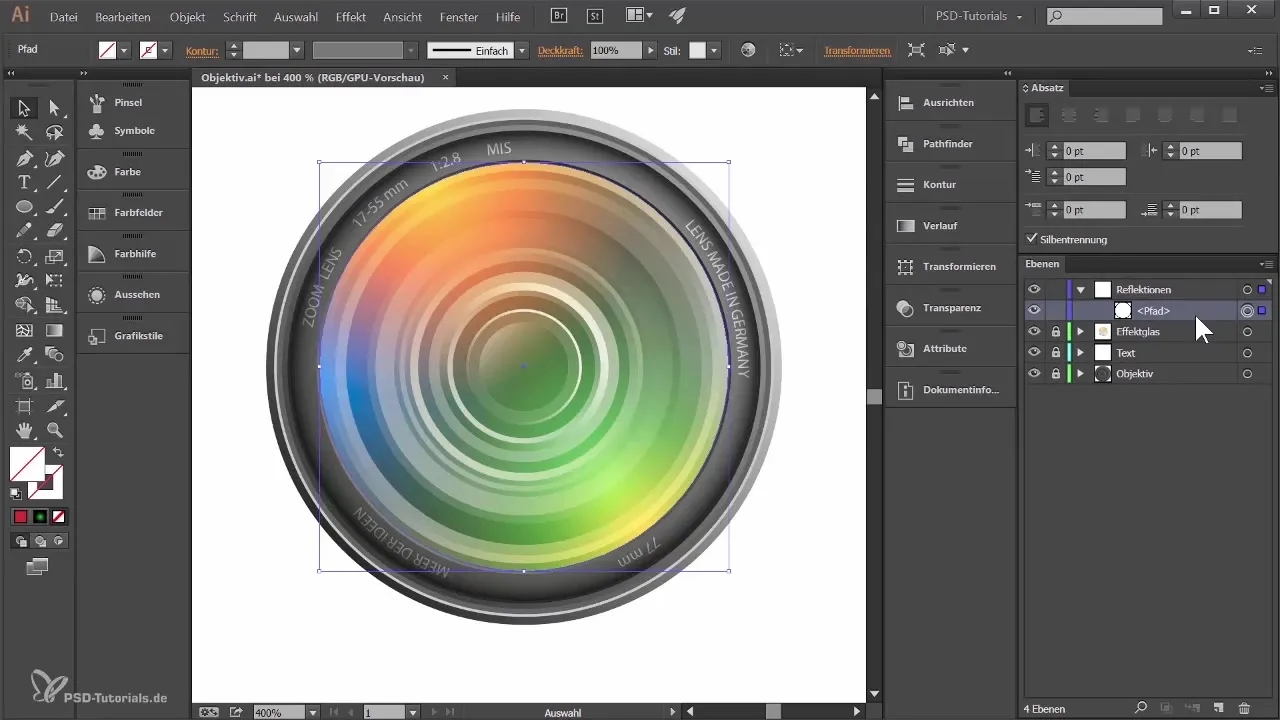
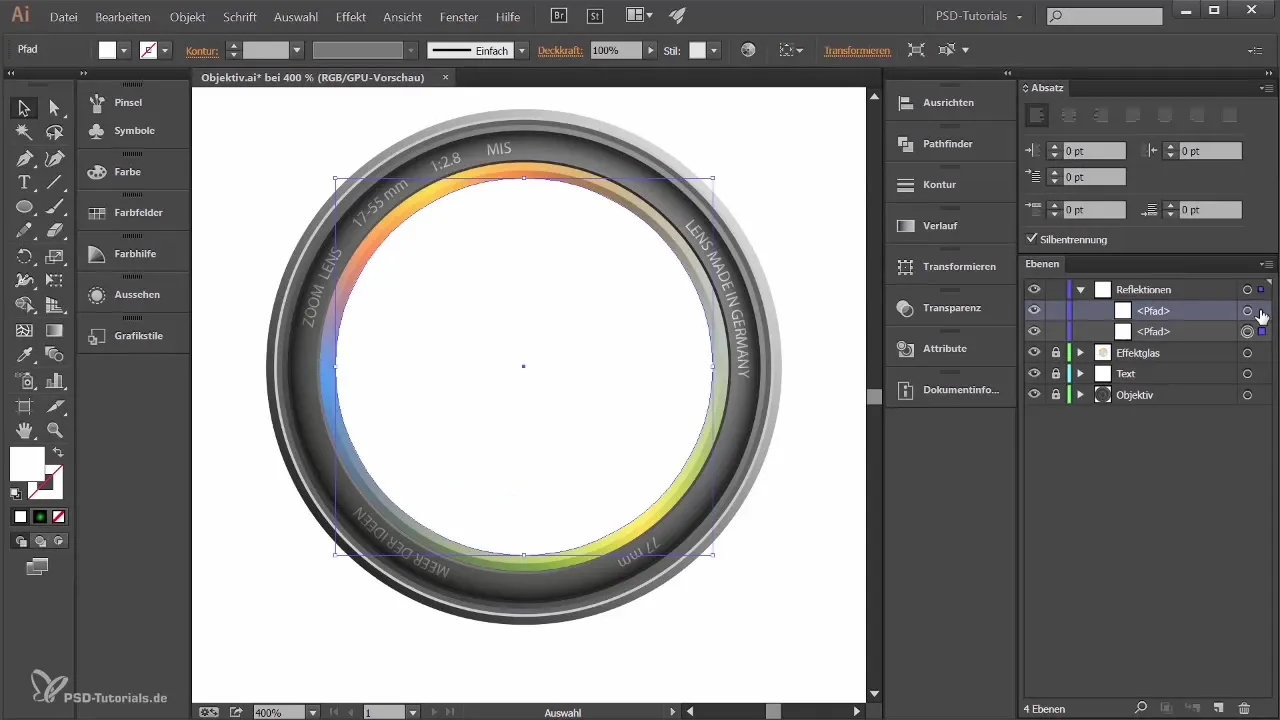
6. Punching Reflection Areas
To simulate real reflection effects, punch out some areas from the larger glass circle. Use the Pathfinder tool to subtract smaller circles from larger circles to create the illusionary light reflections.
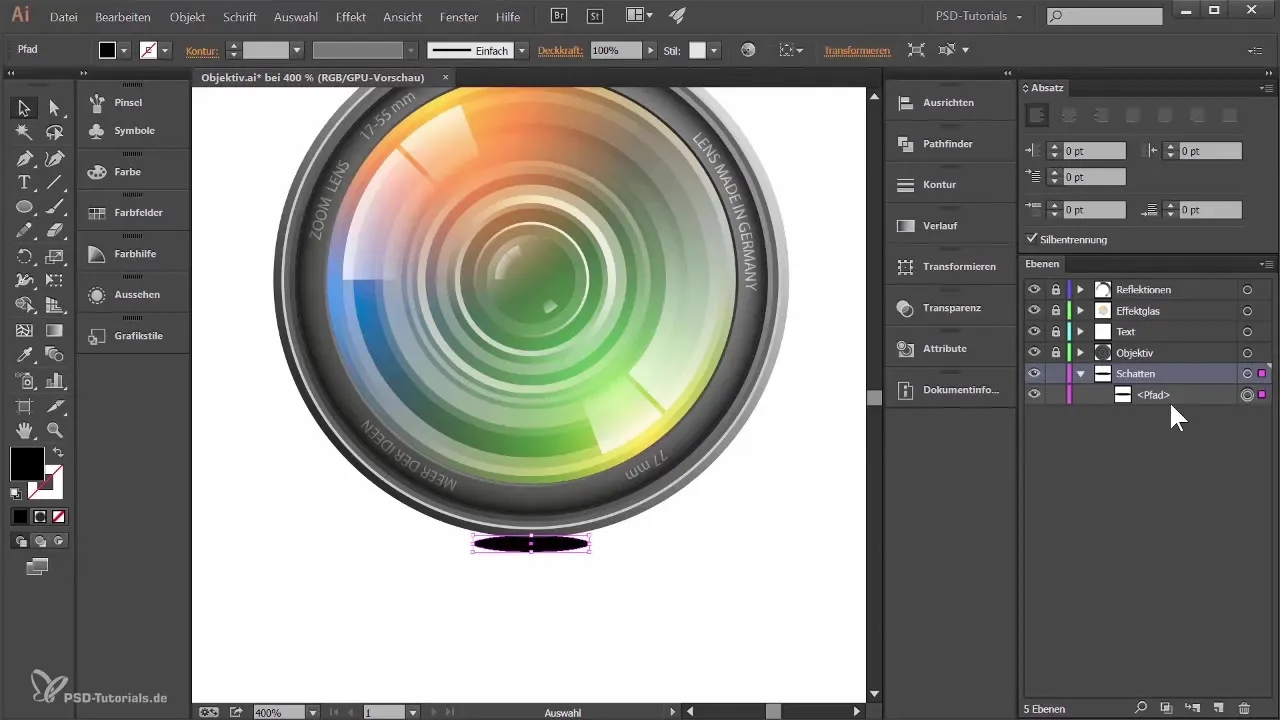
7. Reflect Through a Shadow
To further refine your design, create a separate layer for the shadows that you want to place under the glass. Create another ellipse, fill it with black, and use several duplicates of different sizes for a realistic finishing effect. Play with the transparency to make the shadow appear softer.
8. Finishing Touch and Adjustments
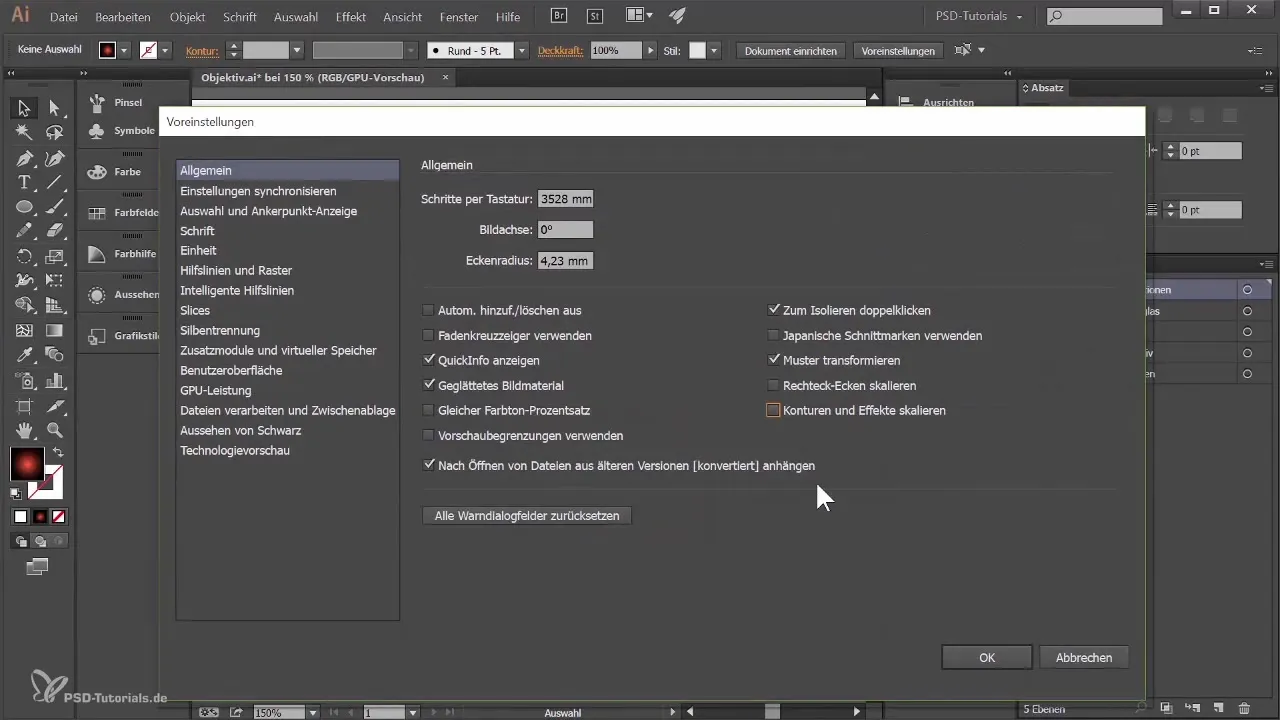
Now that all elements are placed, you can adjust all paths and their colors. If you need improvements, such as changes in position or color, feel free to approach the objects. Use the presets for scaling strokes and effects to easily enlarge or reduce your design without losing quality.
Summary - Designing a Glass Surface for a Lens in Adobe Illustrator
Your creation of an effective and realistic glass for the lens is now complete. The steps from the base shape to the complex reflection effects provide you with the tools to develop impressive graphic designs.
Frequently Asked Questions
What functions are available to mix colors?You can use gradients and transparencies to achieve various effects.
How do I create a clipping mask in Illustrator?Select the shape to be cut, go to "Object" and choose "Clipping Mask" then "Make".
Can I change a clipping mask later?Yes, you can edit the clipping mask at any time by adjusting the shape or the underlying graphic.
Do I need to adjust the transparency?Adjusting the transparency is important to achieve realistic glass and reflection effects.
How can I ensure my designs fit to scaling?Activate the “Scale Strokes and Effects” option in the preferences to work proportionally.
