With creative techniques, you can create fascinating digital portraits. In this tutorial, we focus on the hair area of your elf amazon. You have already started with the gradients, and now it is time to work out the structures and details of the hair. Additionally, we prepare initial details for the eyes, which will give depth to the overall image. Let’s dive in and deepen the art of digital painting!
Main Insights
- The right brush size and hardness are crucial for fine details.
- Color values should be taken from already existing areas to create natural shading.
- The focus is on the flow and direction of the hair to achieve a realistic overall image.
Step-by-Step Guide
Preparing the Hair
First, I go into the hair group, as I have already worked out the skin well. It is important to frame the face a bit to modulate the hair structure more easily. Go to your hair group and create a new clipping mask for the details.
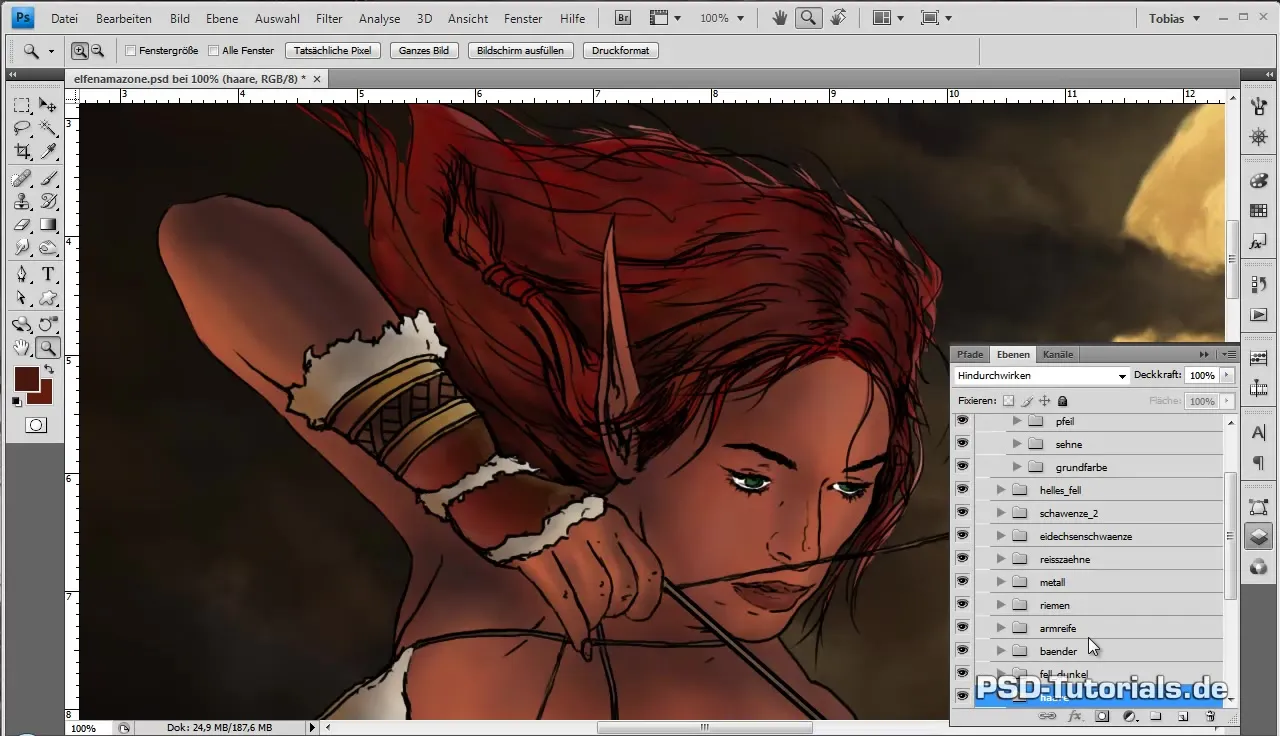
Adjusting the Brush and Choosing Color Values
Set your brush to a main diameter of about 2 pixels to generate finer details. Make sure to keep the brush hardness at 0% to achieve soft transitions. You will find that 25% opacity is too little for fine strokes and your strokes are not clearly visible. I recommend increasing the opacity to over 80% to highlight the strokes clearly.
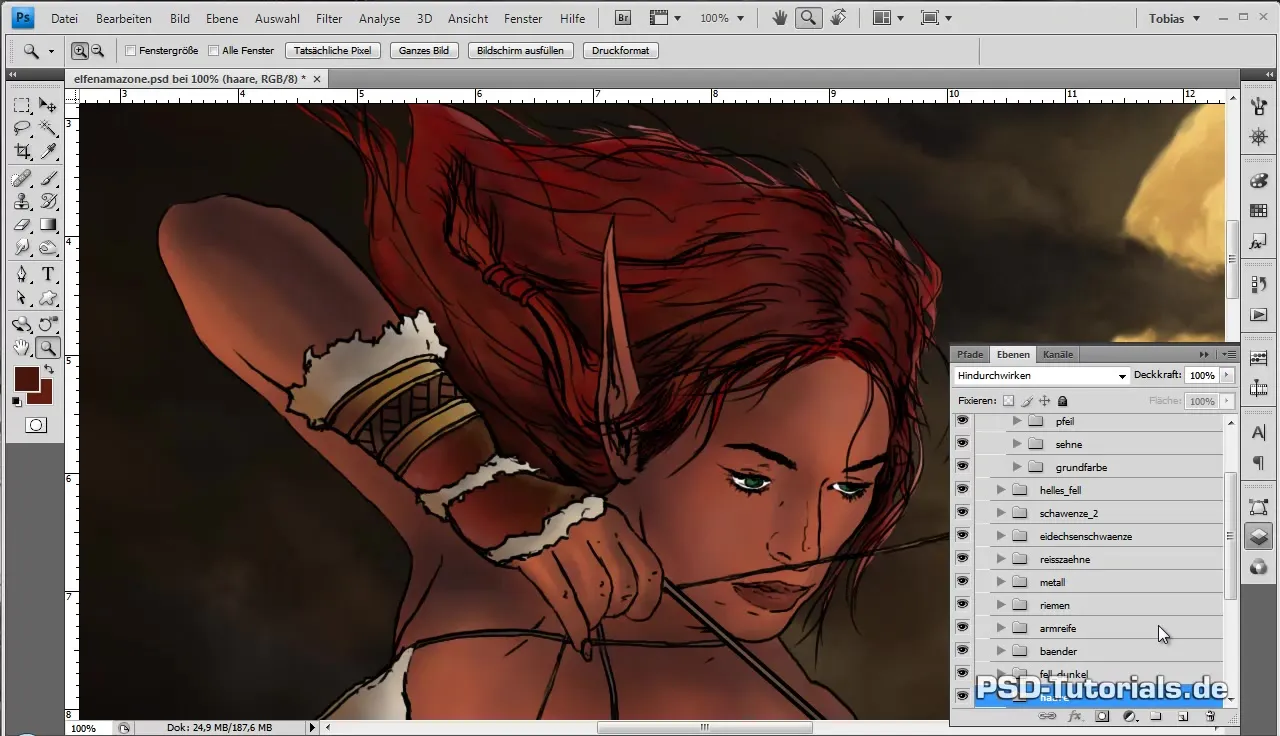
Incorporating Darker Tones
Use a darker shade to emphasize the shadow areas of the hair and ensure to respect the direction of the hair. The dark and light areas are crucial for the structure and flow of the hair.
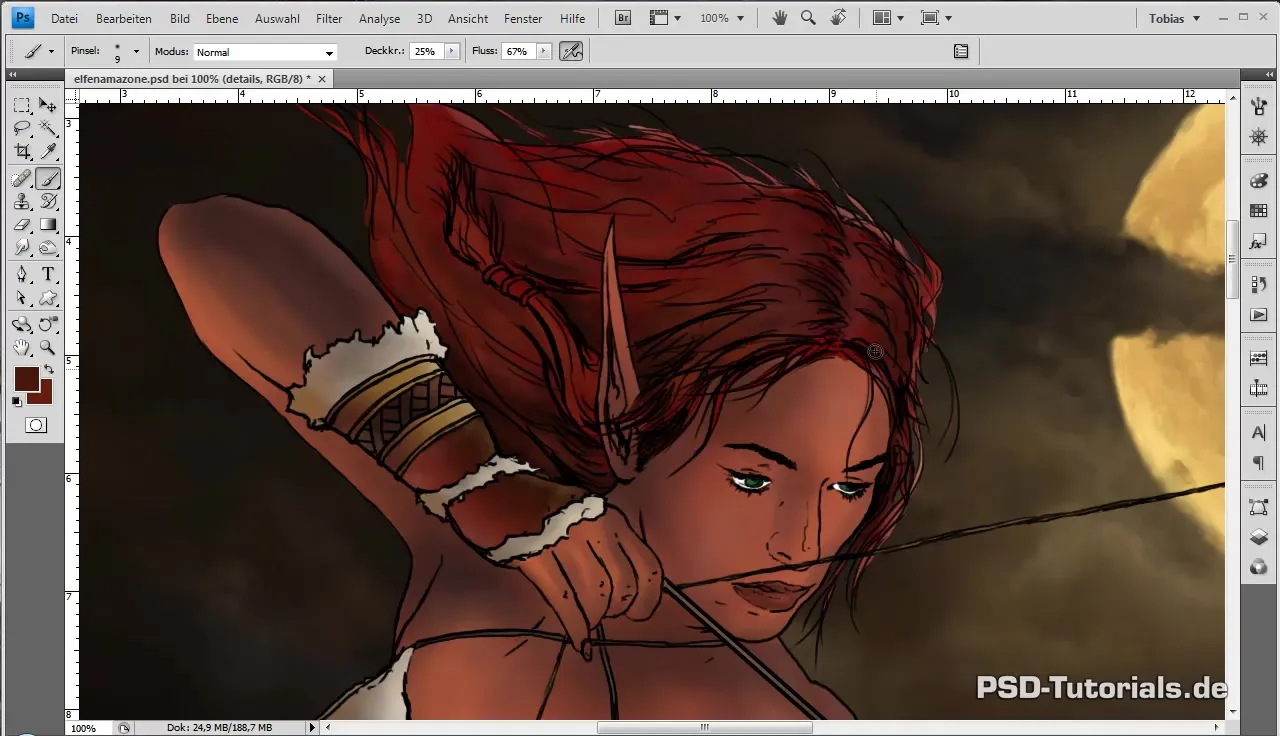
Sketching the Hair Structure
Take your time to sketch the structure of the hair on these first gradients. Ensure that the light and shadow conditions remain according to the already established color values.
Incorporating Strands
Focus on drawing only through the direction and flow of the hair, rather than overemphasizing individual strands. This will create the impression of a realistic hairstyle rather than a collection of independent hair strands.
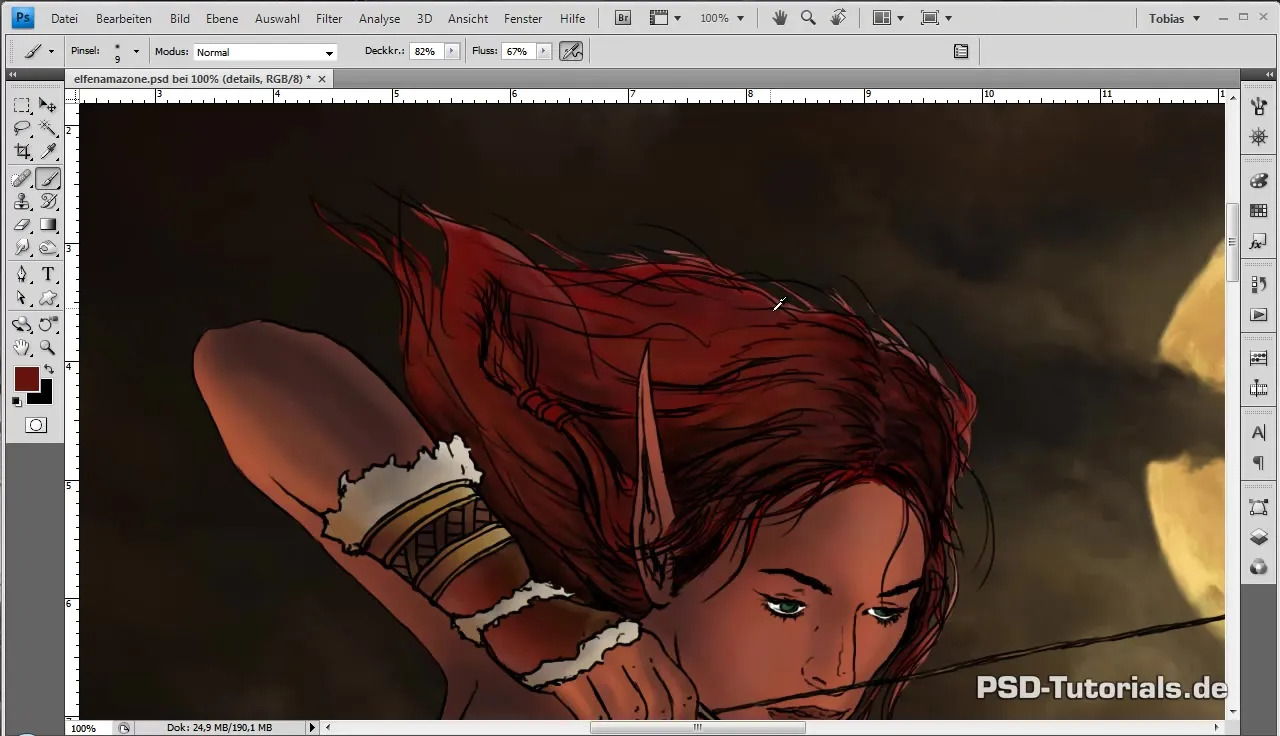
Detailing
Hide the layer with the outlines to see how your finished hair structure looks. If it still appears rough, that’s okay; we will keep working on it. Now reduce the diameter of your brush to about 5 pixels for the next level of detail and adjust the brush hardness for smooth strokes.
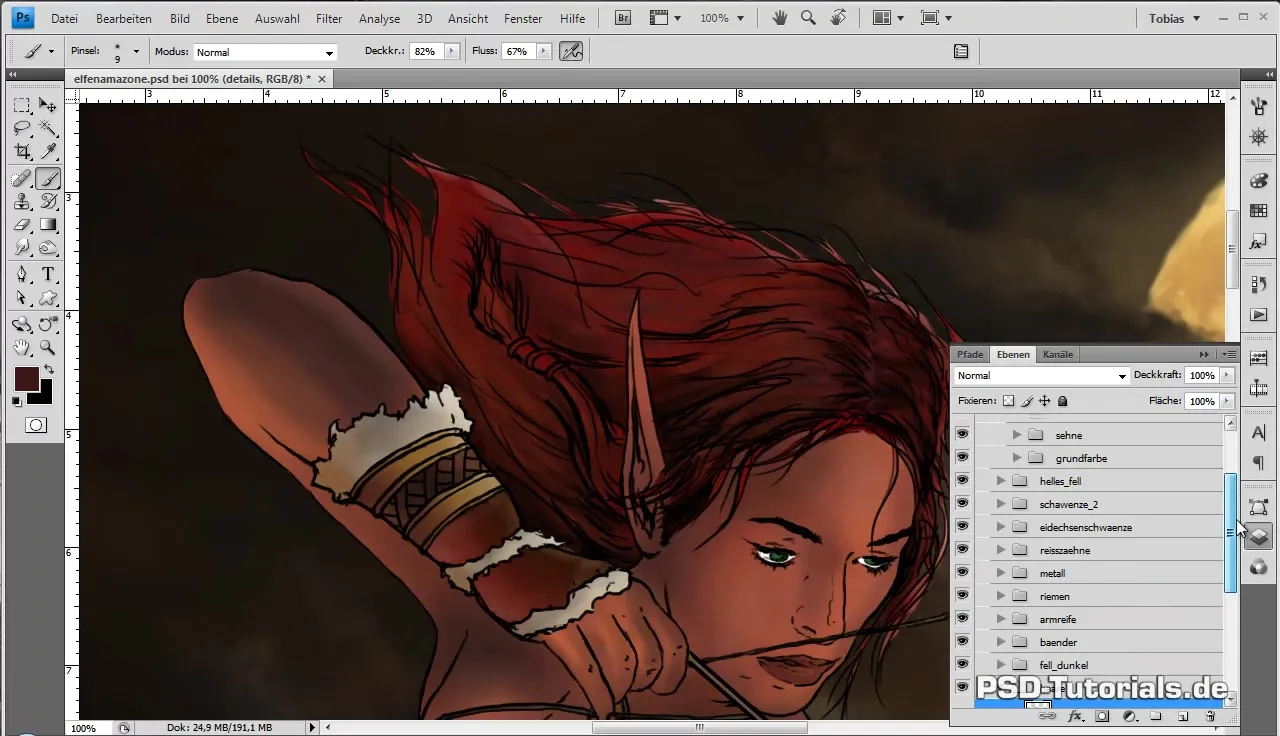
Finalizing the Hairstyle
Use the already created outlines to trace specific lines, especially in more complex areas like the braid. Use light and dark colors strategically to depict the light fall and give the hairstyle a three-dimensional effect.
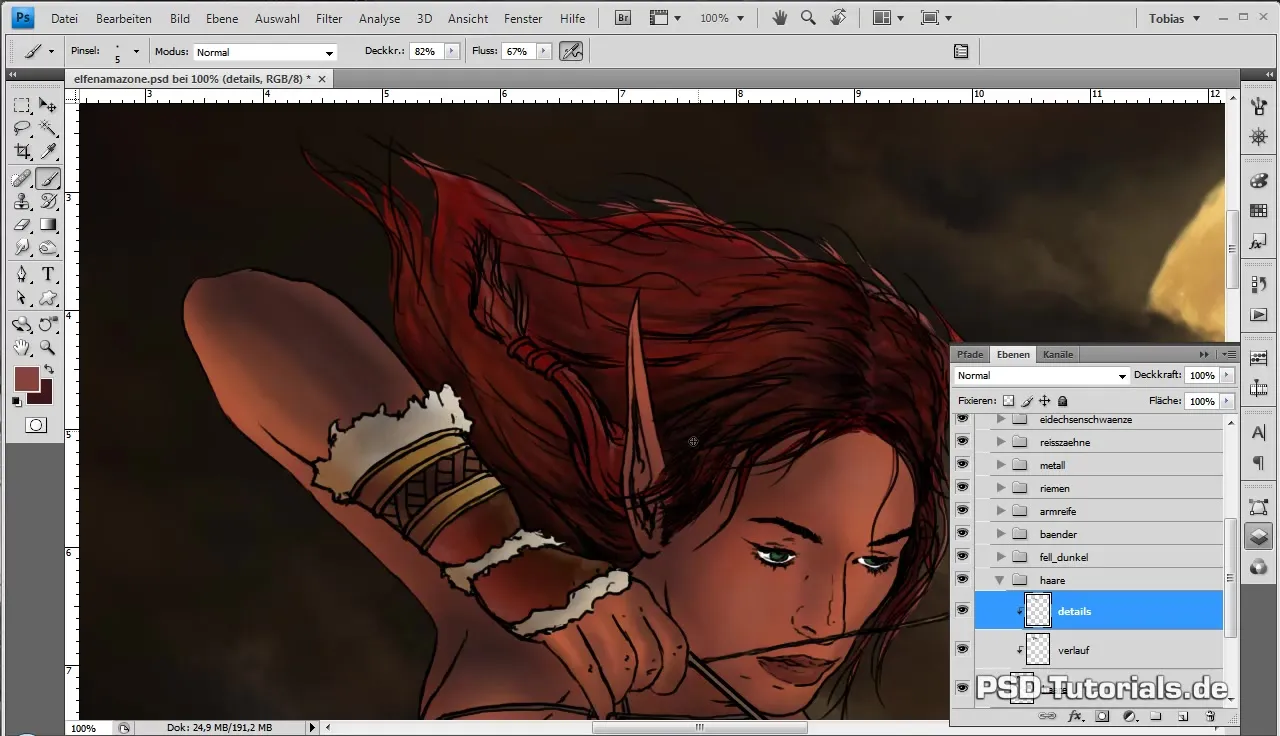
Refining with a Pixel Brush
To finally refine the details, switch to a 1-pixel brush and zoom in to 200%. This way, you can add small details precisely. These lines should also give the hairstyle a dynamic look.
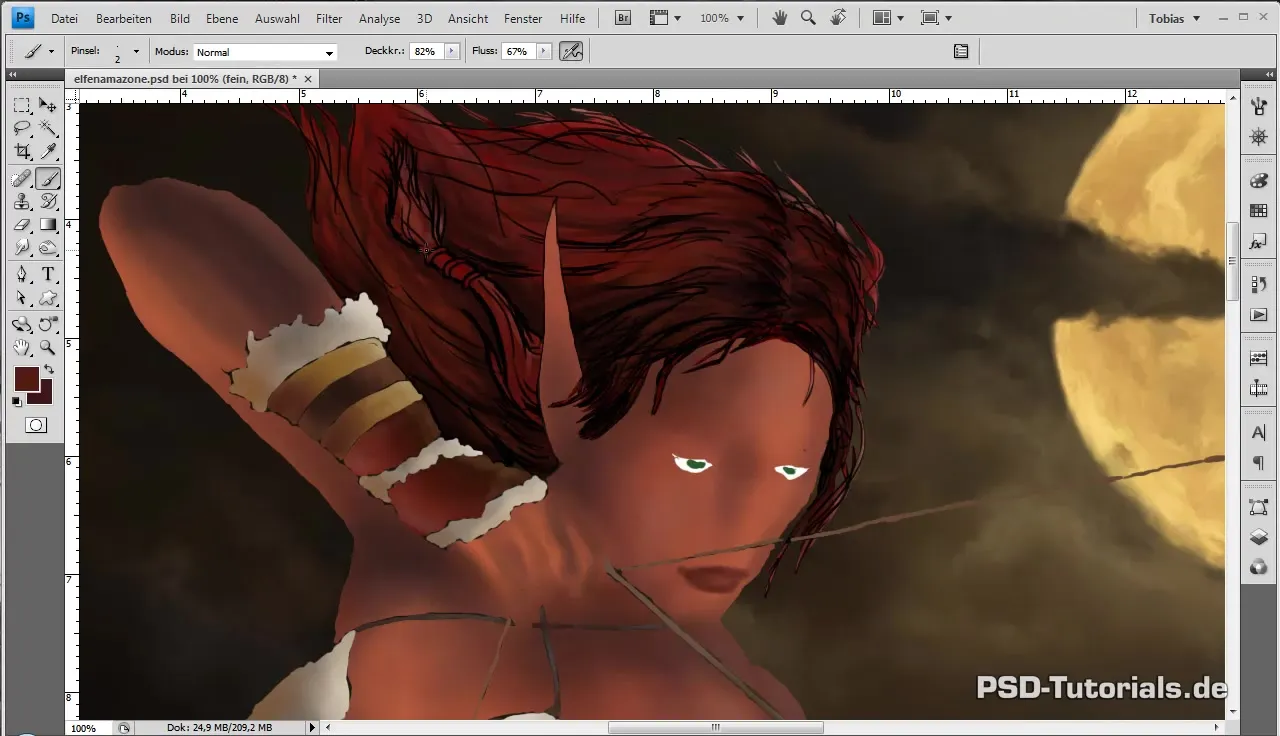
Using New Layers
If you find that the outlines are too thick or no longer fit into context, create a new layer. Here you can work more freely and add details without affecting the underlying structure.
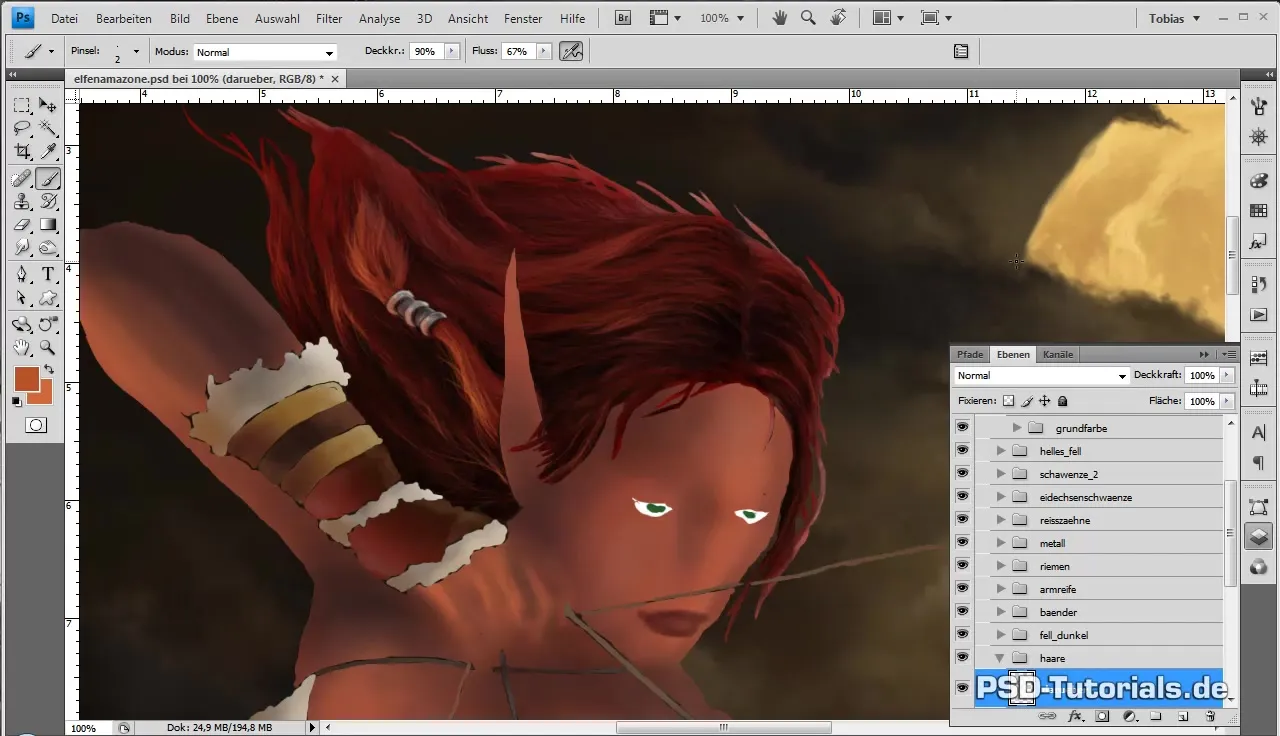
Harmonizing the Colors
Add more harmony to your image by scattering some colors throughout the hair structure to create a cohesive look. Ensure that these colors appear in different areas of the hair, not just in one spot.
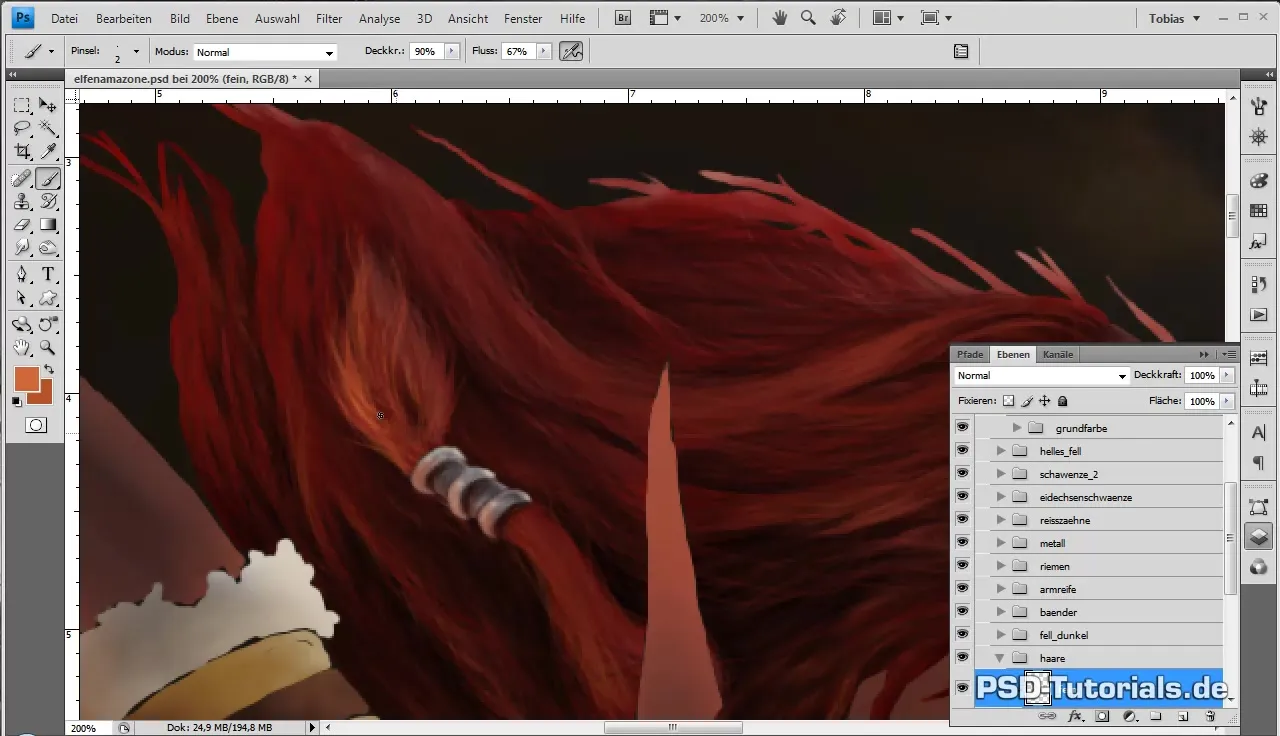
Adding Reflections
Add light reflections and consider how light from different sources falls into your image. Privacy is essential; pay particular attention to keeping reflections realistic and underscoring the structure of the hair.
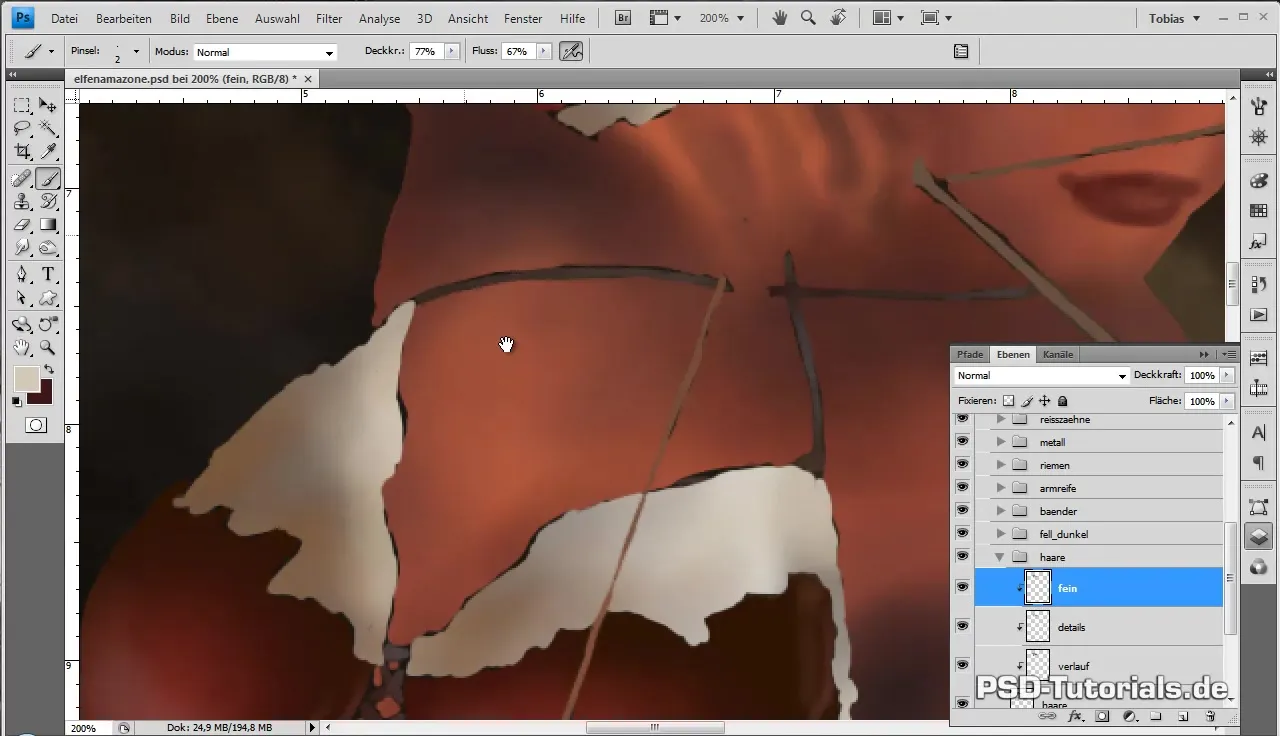
Transitioning to the Eyes
The eyes are now prepared by working them out in a new layer. Start with the basic shapes and gradually expand them through clipping masks.
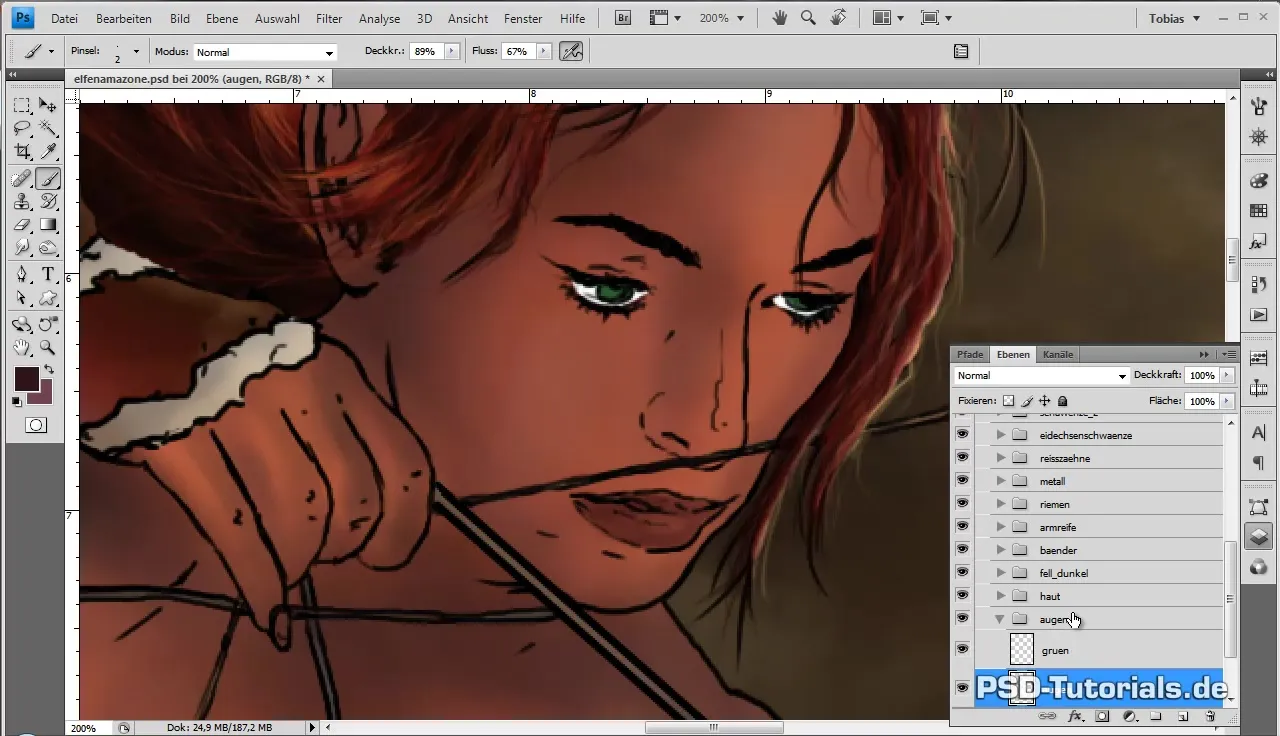
Finishing Touches on the Eyes
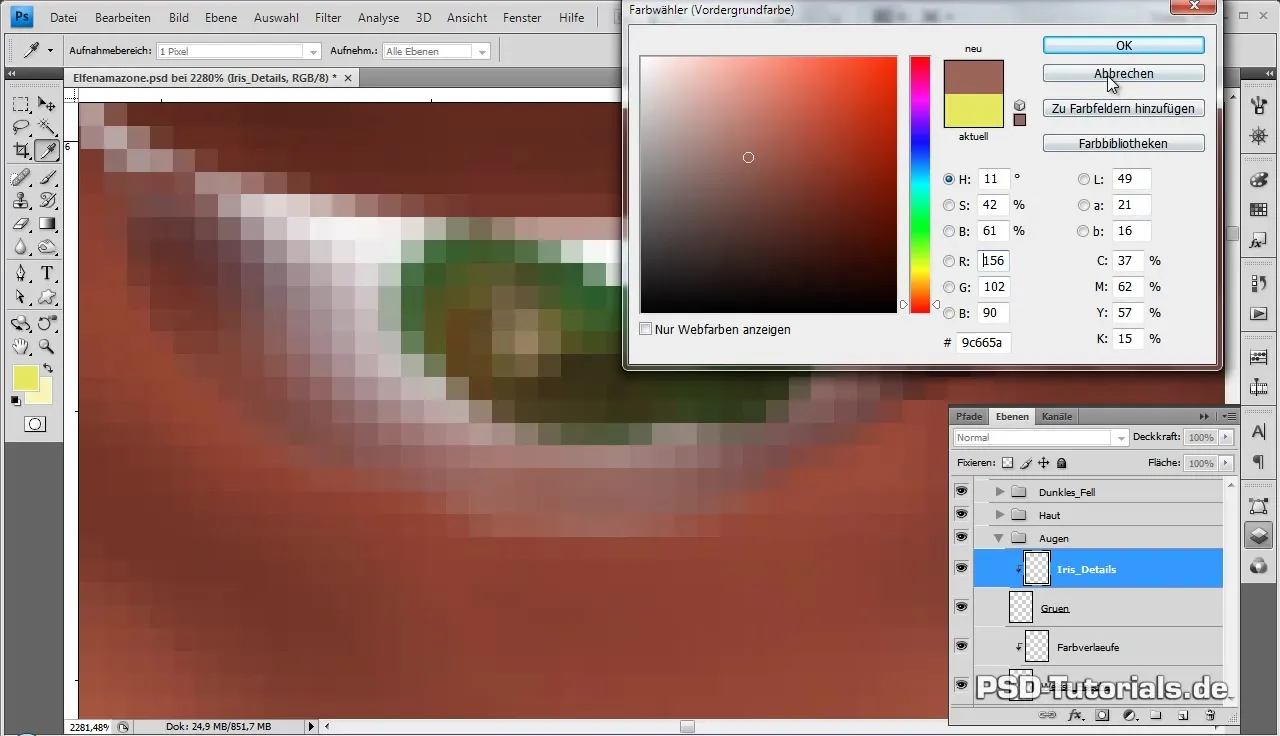
When you implement the colors for the iris and the whites of the eyes, consider how light and shadow conditions influence these areas. Manage the lighting effects with light and dark values to create depth.
Summary - Digital Painting: Efficiently Designing Elf Amazon Hair
In this tutorial, you learned how to detail the hair structure of your elf amazon. From preparation through the nuances of brush technique to the application of light and shadow – these steps will help you create realistic digital characters. Now apply your knowledge and continue experimenting with the techniques!
Frequently Asked Questions
How do I find the right brush size for details?A size of 2 to 5 pixels is ideal, depending on the level of detail you need.
Why are color values important when painting hair?Colors can convey the impression of depth and structure and make the hair appear realistic.
What is the best way to achieve light reflections on hair?Use bright colors and ensure that the reflections are positioned near the light source.
How can I ensure that the hair looks realistic?Pay attention to the flow and direction of the hair, and do not overemphasize the number of strands.
What software settings are best for digital portraits?Experiment with opacity, brush hardness, and brush sizes to achieve the best results for your subject.
