A creative image editing can especially enhance the emotional elements of a composition. In this tutorial, you will focus on the final steps in the digital post-processing of a couple in Photoshop. We will learn how to brighten the overall image through glowing lines, an atmospheric light rim, and targeted color adjustments. Let’s implement these effective techniques together that will elevate your compositing to a new level.
Key Findings
- Create glowing effects with color areas and masks.
- Use brush techniques for targeted highlights.
- Implement color corrections using layer modes and adjustment layers to achieve a harmonious color mood.
- Create light rim effects that play around your protagonists.
Step-by-Step Guide
To achieve the desired results, follow these steps closely:
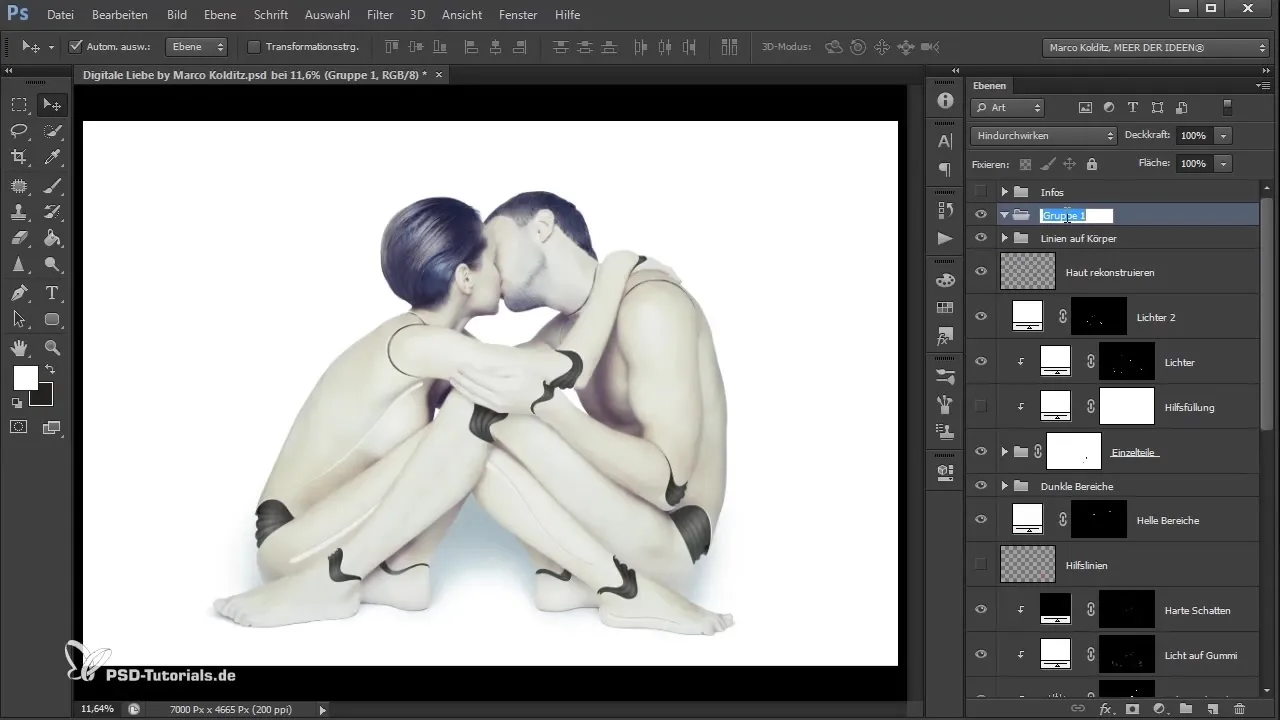
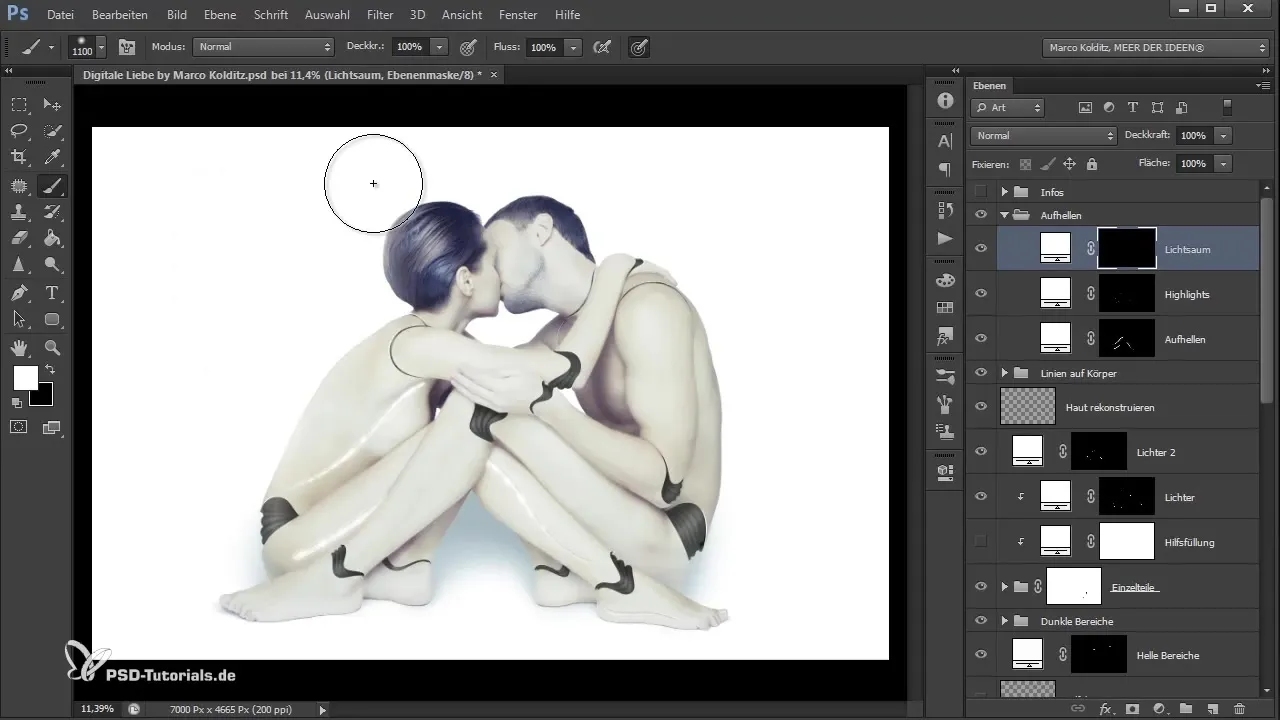
First, create a new group above the lines on the body group and name it "Brighten". Choose a soft brush with full opacity to make the curved lines of the woman glow. Set the layer to "Soft Light" mode and begin painting in the desired area. Make sure that the opacity can vary depending on the area to create a natural glow.
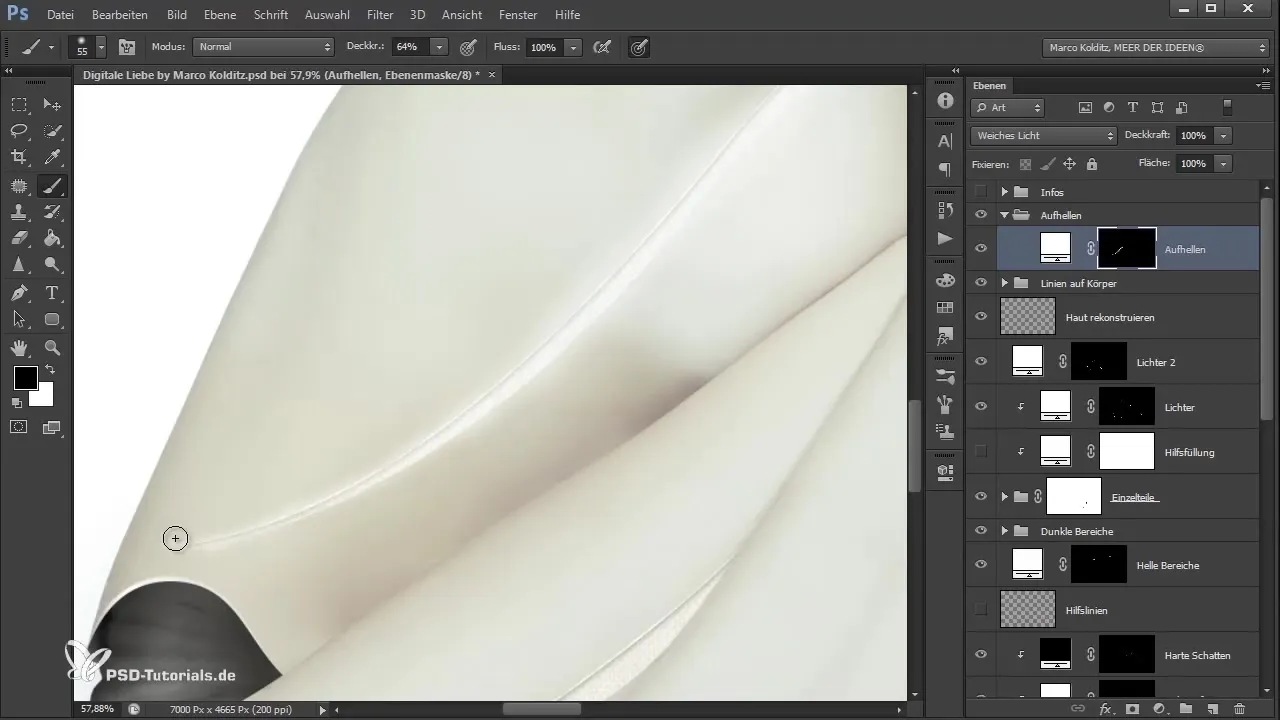
To further adjust the glow, switch between foreground and background colors to achieve different effects. Especially in the smaller slit areas, you should work with reduced opacity to avoid the light appearing too dominant. Here, you can also set the brush size a bit larger to ensure the contours blend harmoniously.
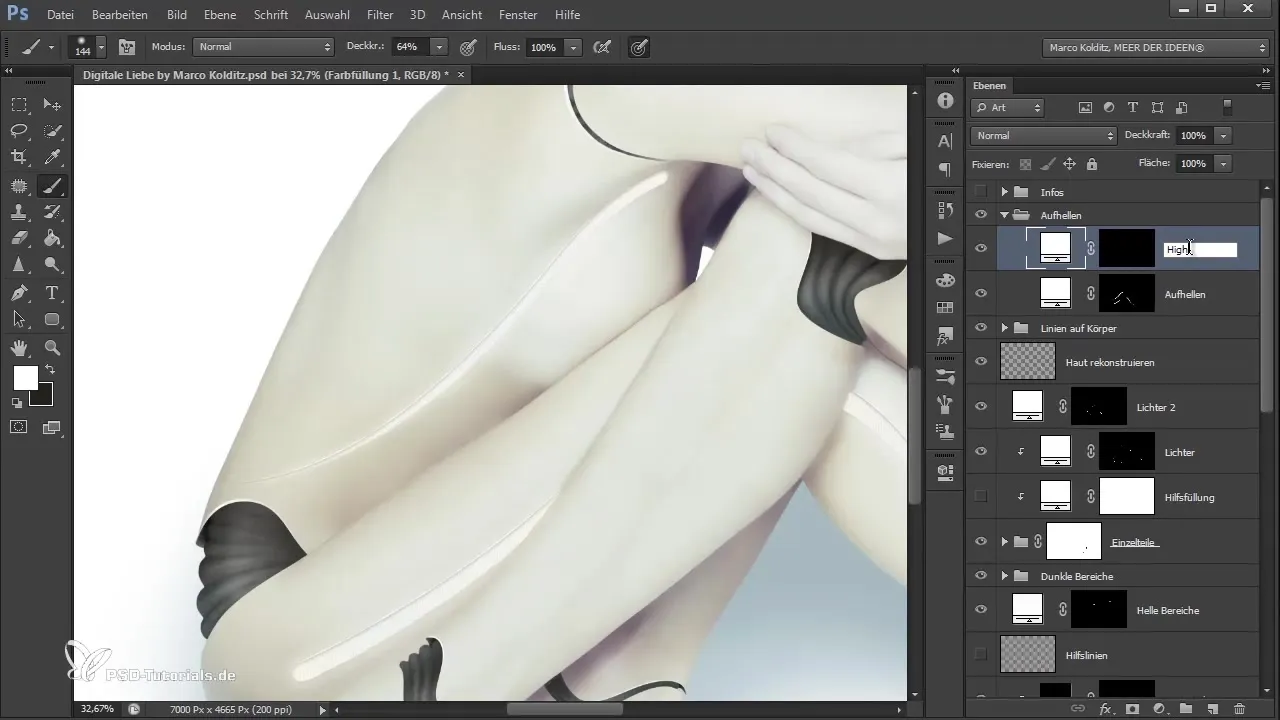
If you are satisfied with the first result, create a new color fill layer in white and invert the mask. Name this layer "Highlights". Now work with a smaller soft brush to set targeted highlights. It is important that these highlights are not evenly distributed but rather appear in spots to look realistic.
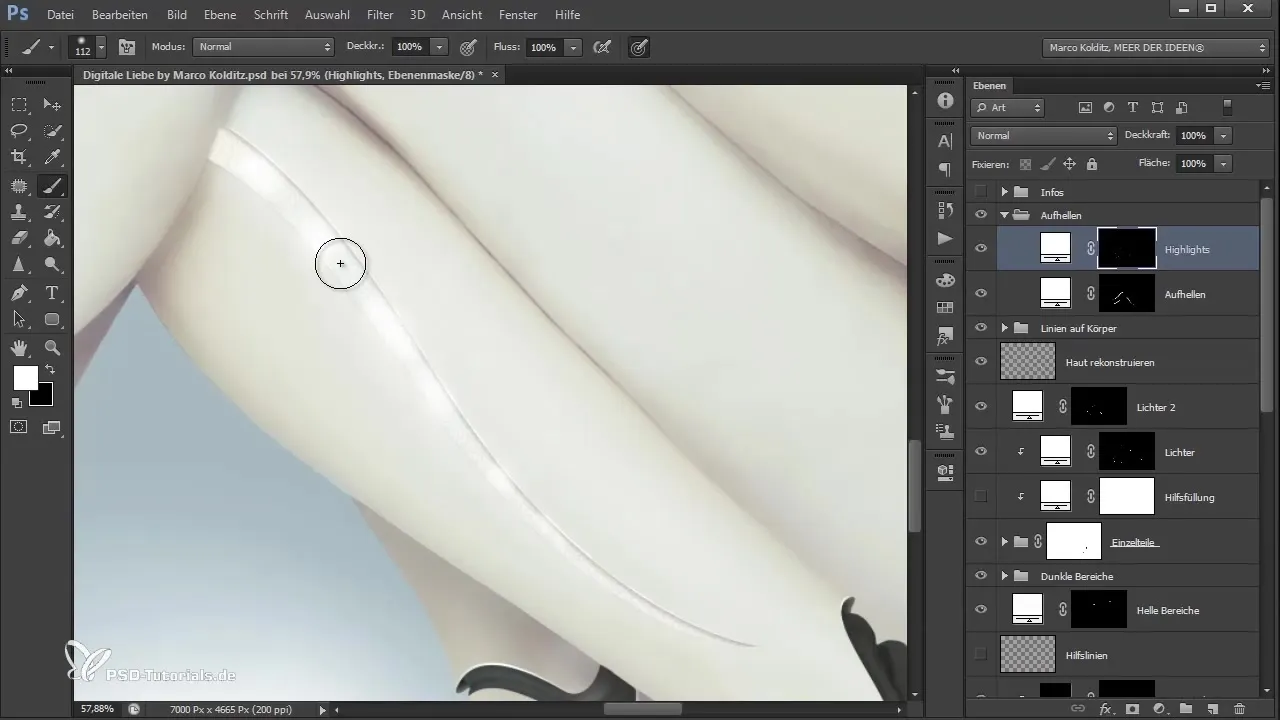
While implementing the highlight element, pay attention to the details. Let the light accents glow more strongly only in certain areas to create a nice contrast without overwhelming the overall representation. Take this opportunity to give the image more depth and interest.
To add additional light, create another white color fill layer, name it "Light Rim", and carefully paint around the contours of the couple with a soft brush. The goal is to create a gentle light rim that sets the protagonists in the spotlight while harmoniously integrating the bright background.
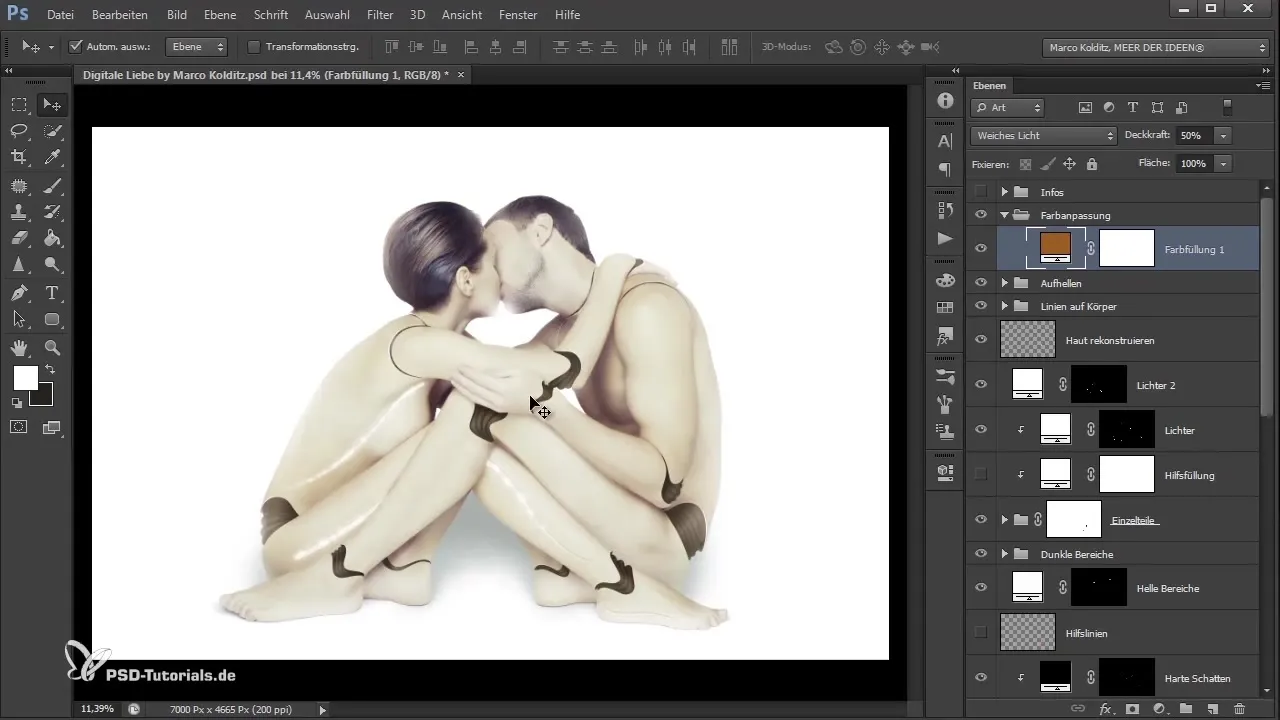
Next, another group for color adjustment is necessary. Create a color fill, this time in a warm orange-brown. Set this to "Soft Light" mode with an opacity of 50%. With this adjustment, you will notice that the overall atmosphere of the image appears softer and warmer.
To ensure that the color tone adjustments create a cohesive overall image, now create a hue/saturation adjustment layer. Here you can specifically adjust the hues in the midtones. For example, with slight adjustments in the shadows and highlights, you can enhance the visual appeal.
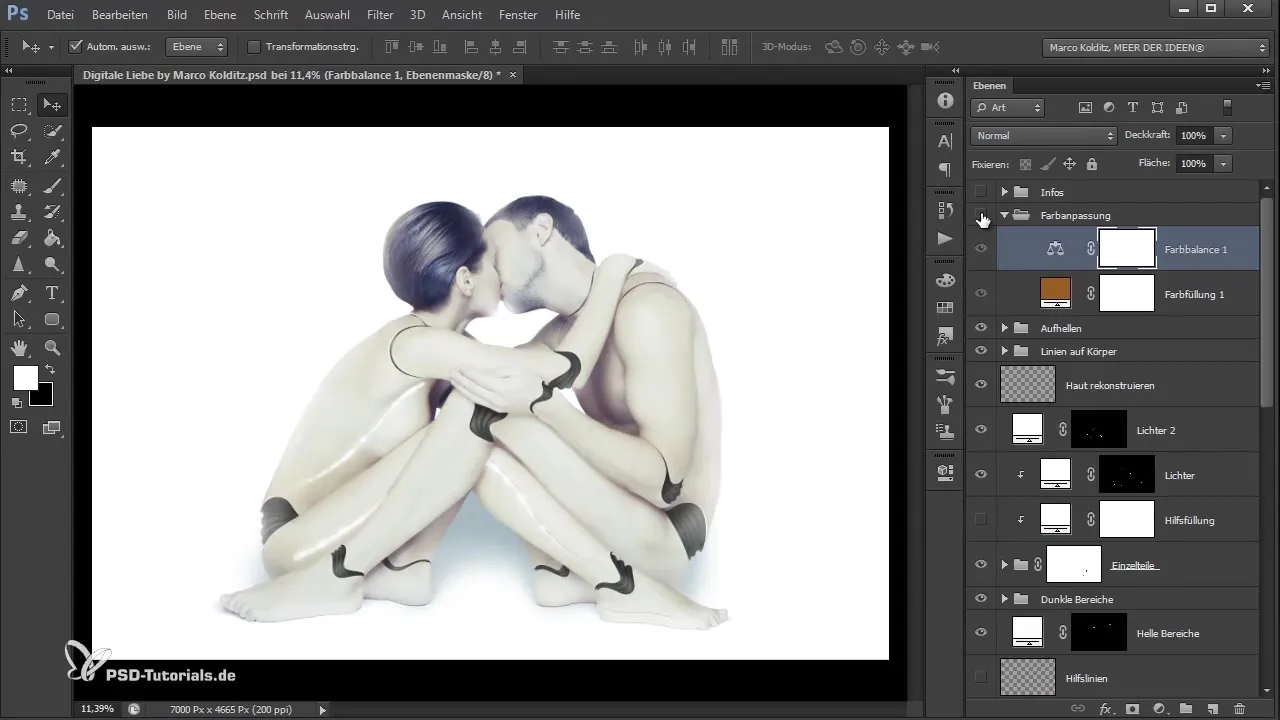
The final touches are often the crucial ones. If you like the result, you can enable or disable the visibility of the color adjustments to compare how the image looks before and after. The difference should be clearly noticeable.
With these final tweaks, you have reached the end of the steps. Experiment with different combinations of adjustments until you achieve the desired effect.
Conclusion
In this guide, you learned how to unleash the emotional potential of your digital composition through the use of glowing highlights, light rim effects, and precise color adjustments. Every detail counts in creating a harmonious and visually appealing image.
Frequently Asked Questions
How do I create glowing lines in Photoshop?Use a white color fill and work with a soft brush in "Soft Light" mode.
How can I set highlights in my composition?Create a new color fill, invert the mask, and paint selectively with a soft brush.
What effect does the "Soft Light" mode have?It ensures that the subsequent colors and brightness are harmoniously and gently integrated into the image.
How can I adjust hue and saturation?Use the hue/saturation adjustment layer and specifically adjust the values for shadows and highlights.
Can I create multiple light rim effects?Yes, you can create and combine multiple light rim layers to produce different light intensities.


