Flowcharts are an excellent tool for visually representing processes. They help to structure complex procedures and facilitate understanding for all stakeholders. In this Tutorial, you will learn how to create a simple flowchart in Mirothat you can use for various purposes. Let’s get started!
Key Insights
- Miro offers a variety of templates for creating flowcharts.
- In just a few steps, you can create a simple flowchart that depicts decisions and actions.
- Exporting your flowchart is straightforward and available in various formats.
Step 1: Choose a Template
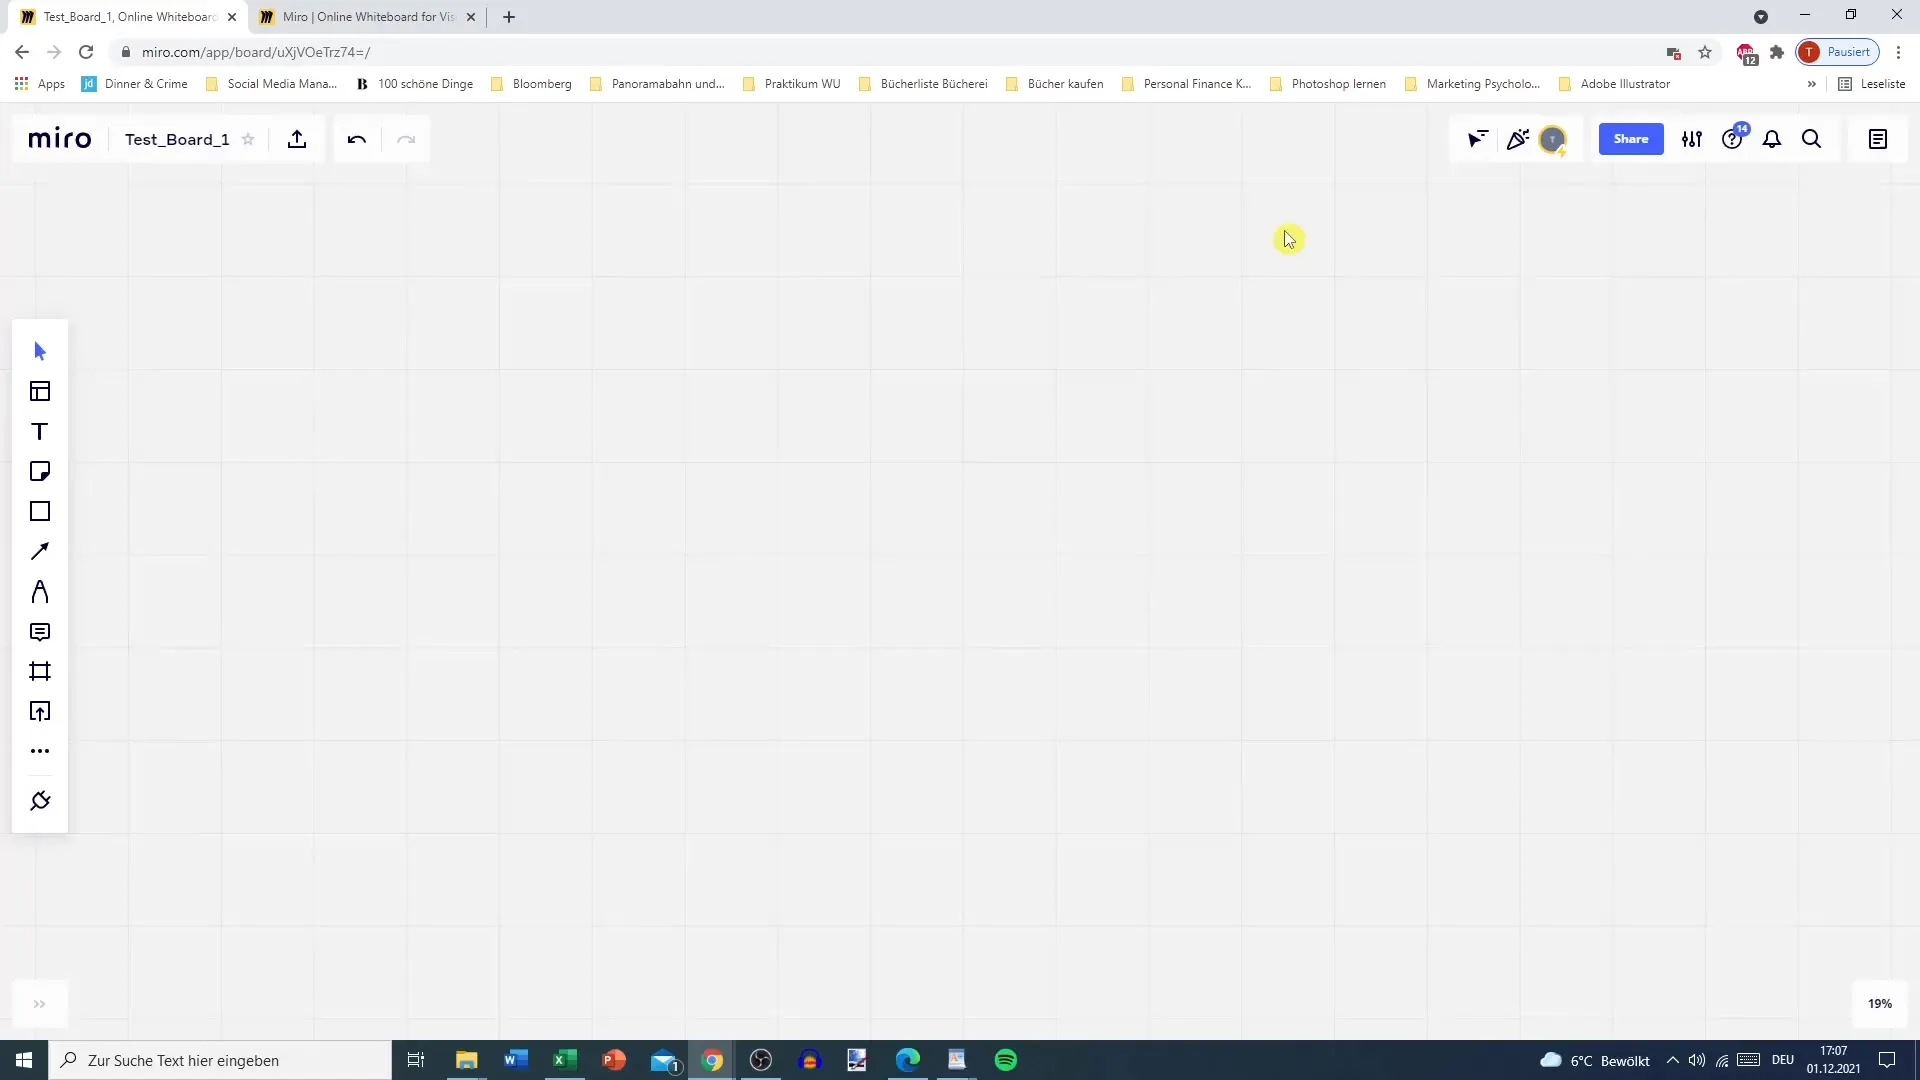
First, open Miro to access your board. You can then select the “Templates” feature to browse various templates. Miro offers a variety of templates that are suitable for different types of diagrams, including flowcharts. Look for the category “Mapping and Diagrams.” Here, select templates that are already filled with information or choose a blank template to work from scratch.
Step 2: Start the Flowchart
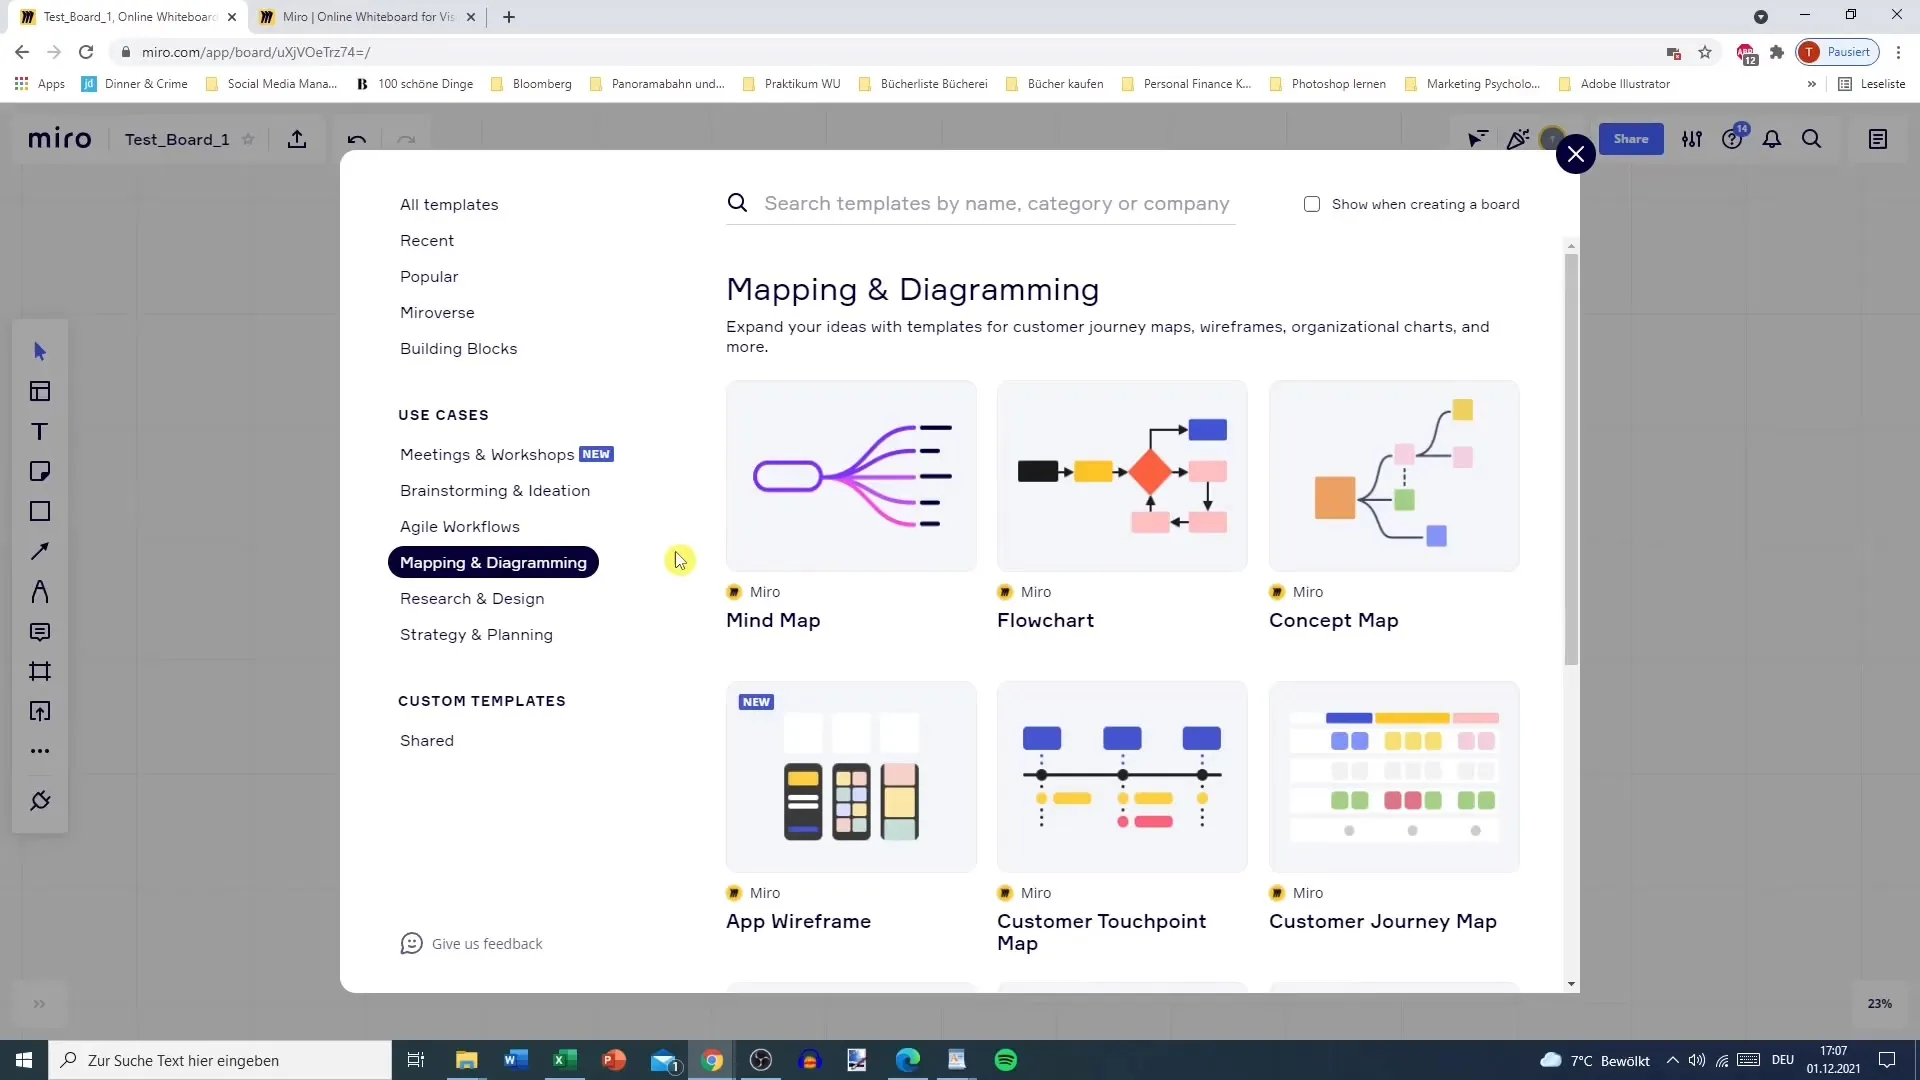
Once you have selected the flowchart template, you will see a basic structure. This usually includes a starting point, actions, and decision questions. Note that in the flowchart, you typically depict the course of a process by moving from one decision to the next.
Step 3: Define Actions
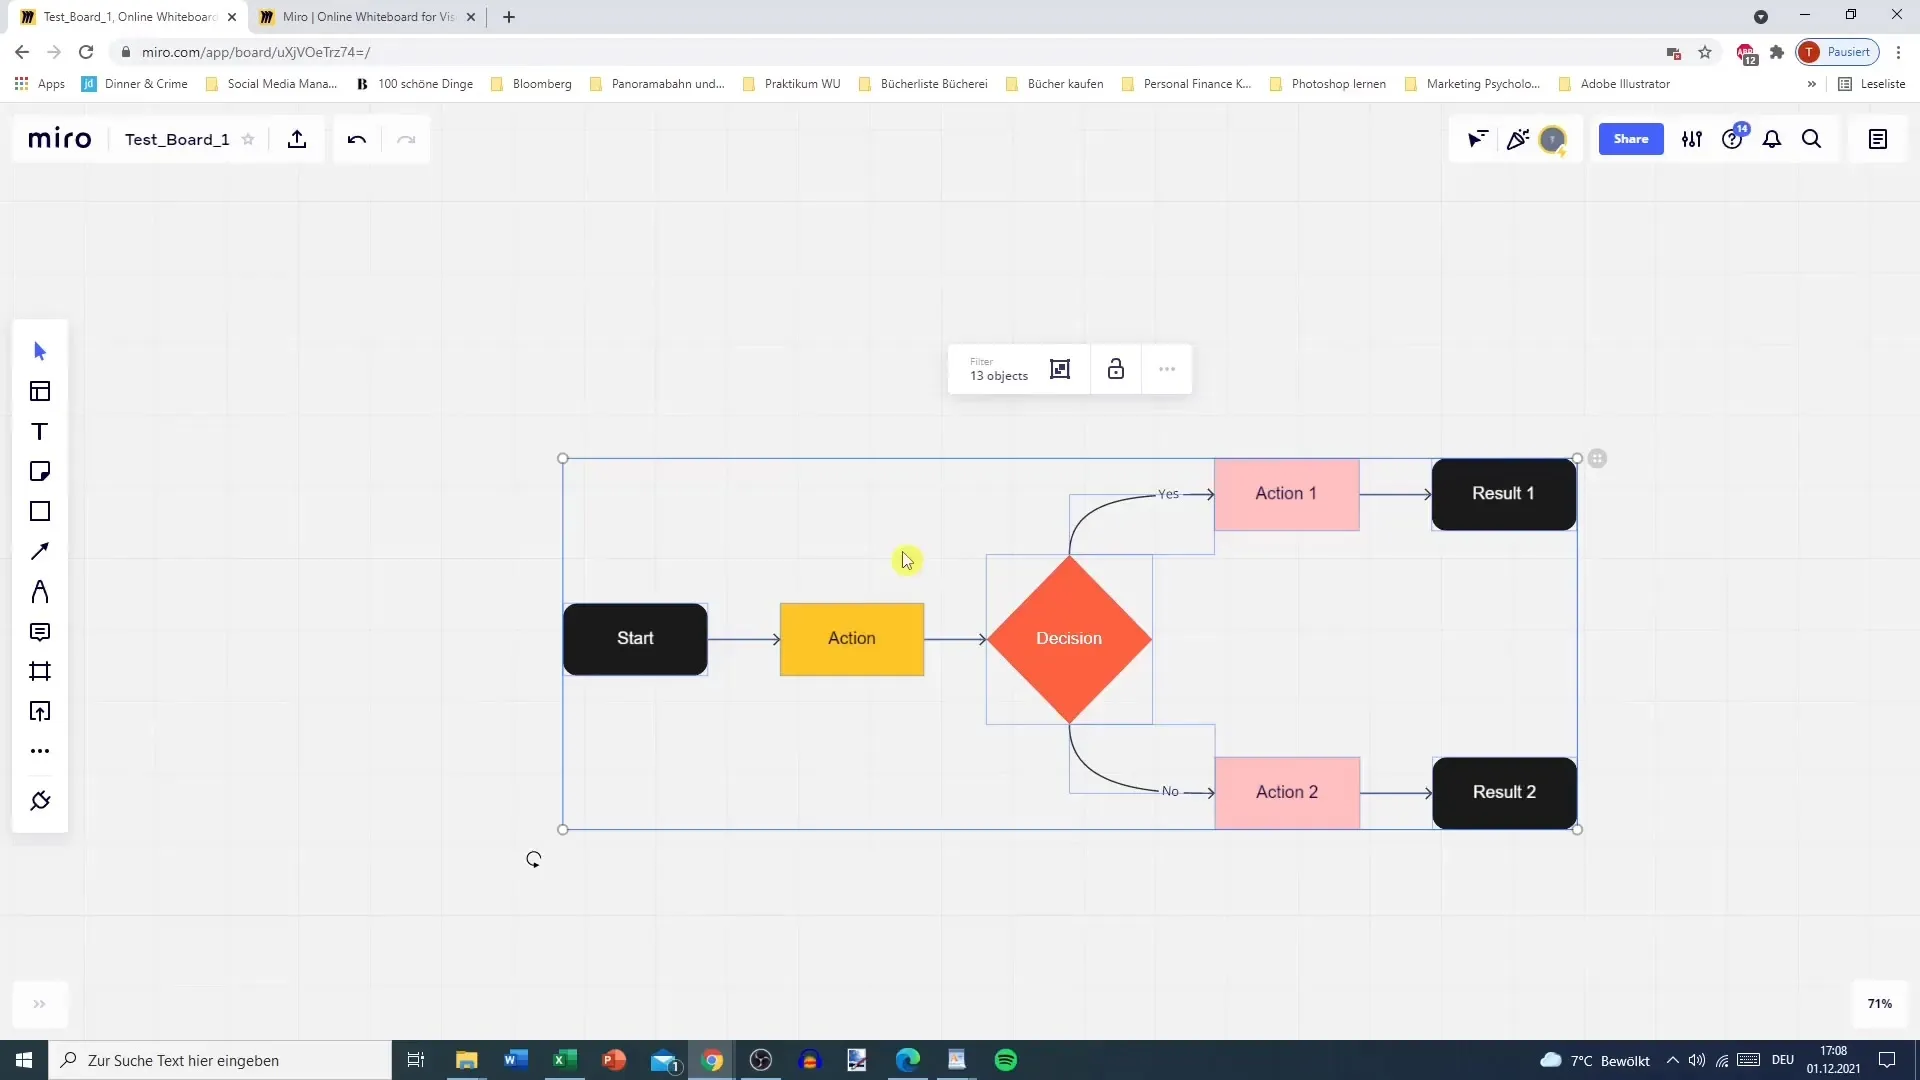
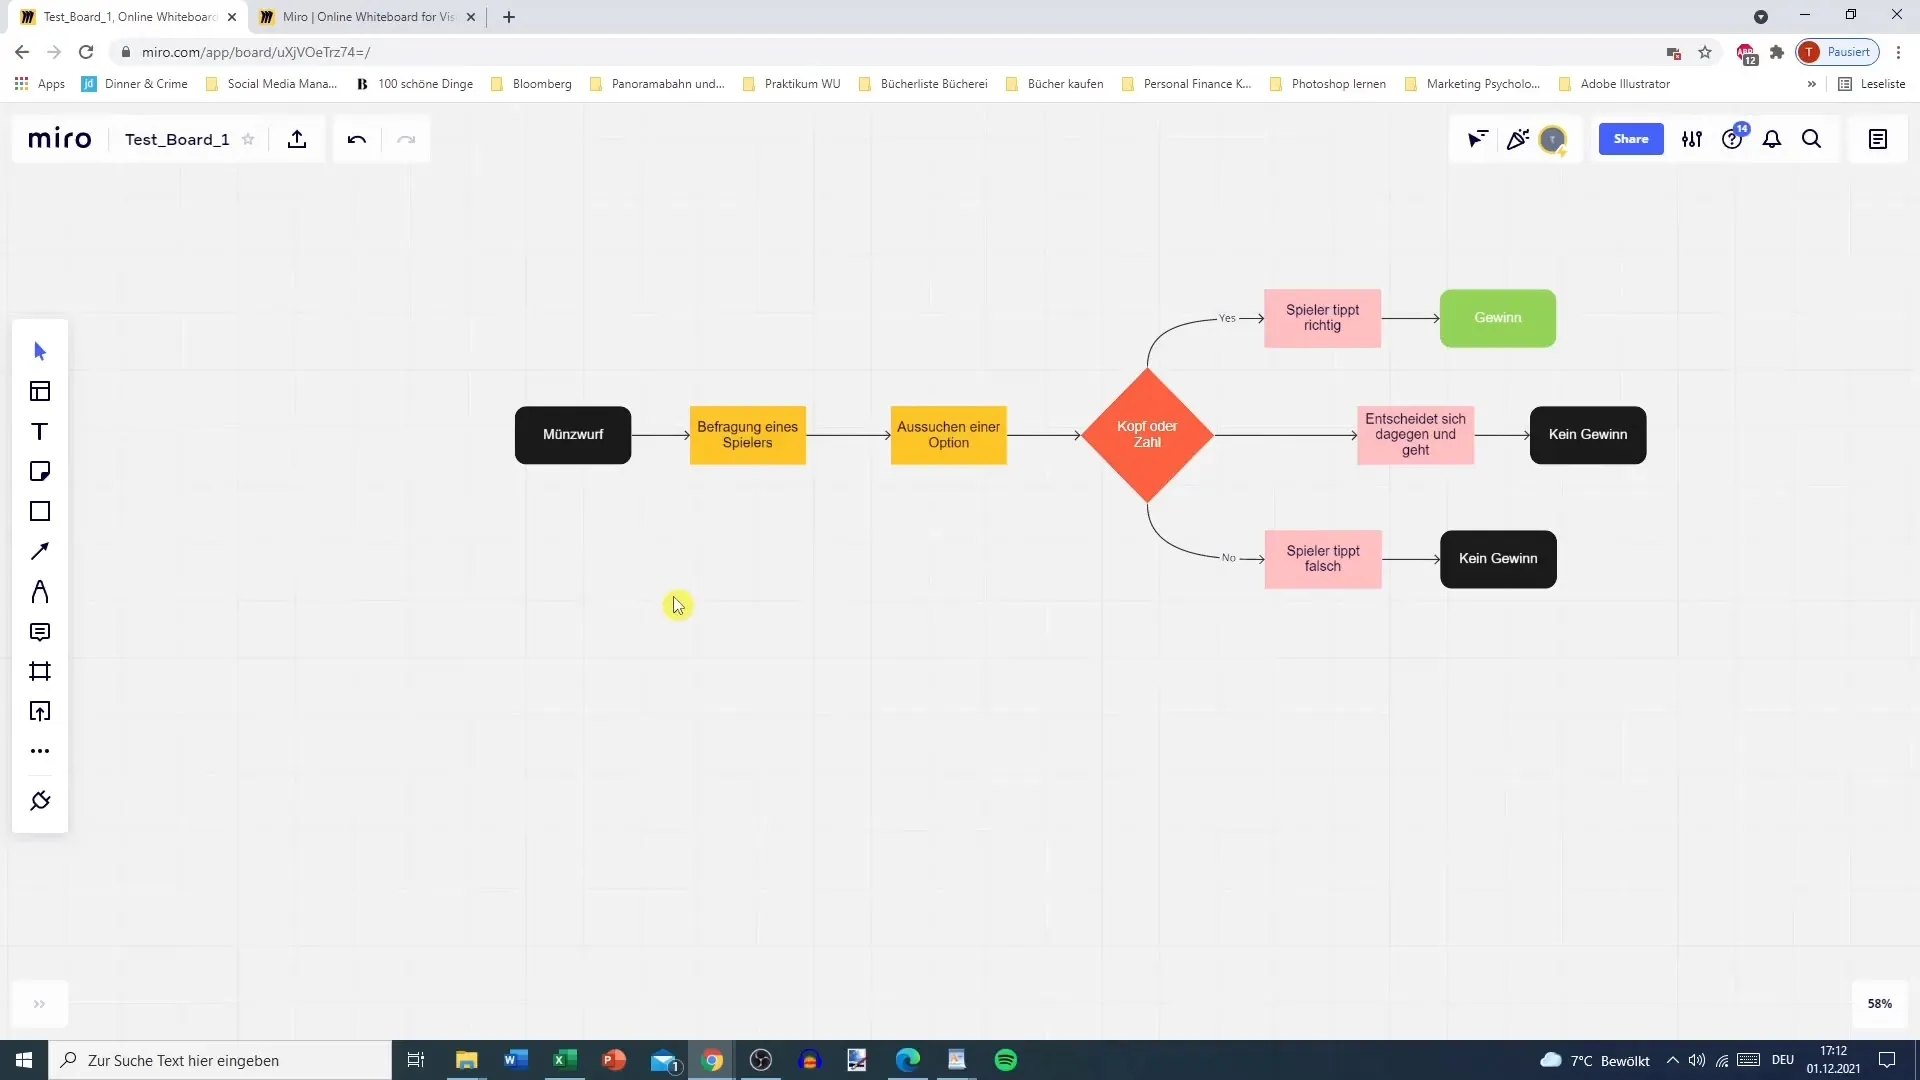
Now you start adding your specific actions and decisions. For example, you might start with an action “Coin Toss.” The next action could be “Surveying a Player” to find out whether they call “Heads” or “Tails.” This structure can help you visualize and depict the various possibilities in the diagram.
Step 4: Use Rectangles and Arrows
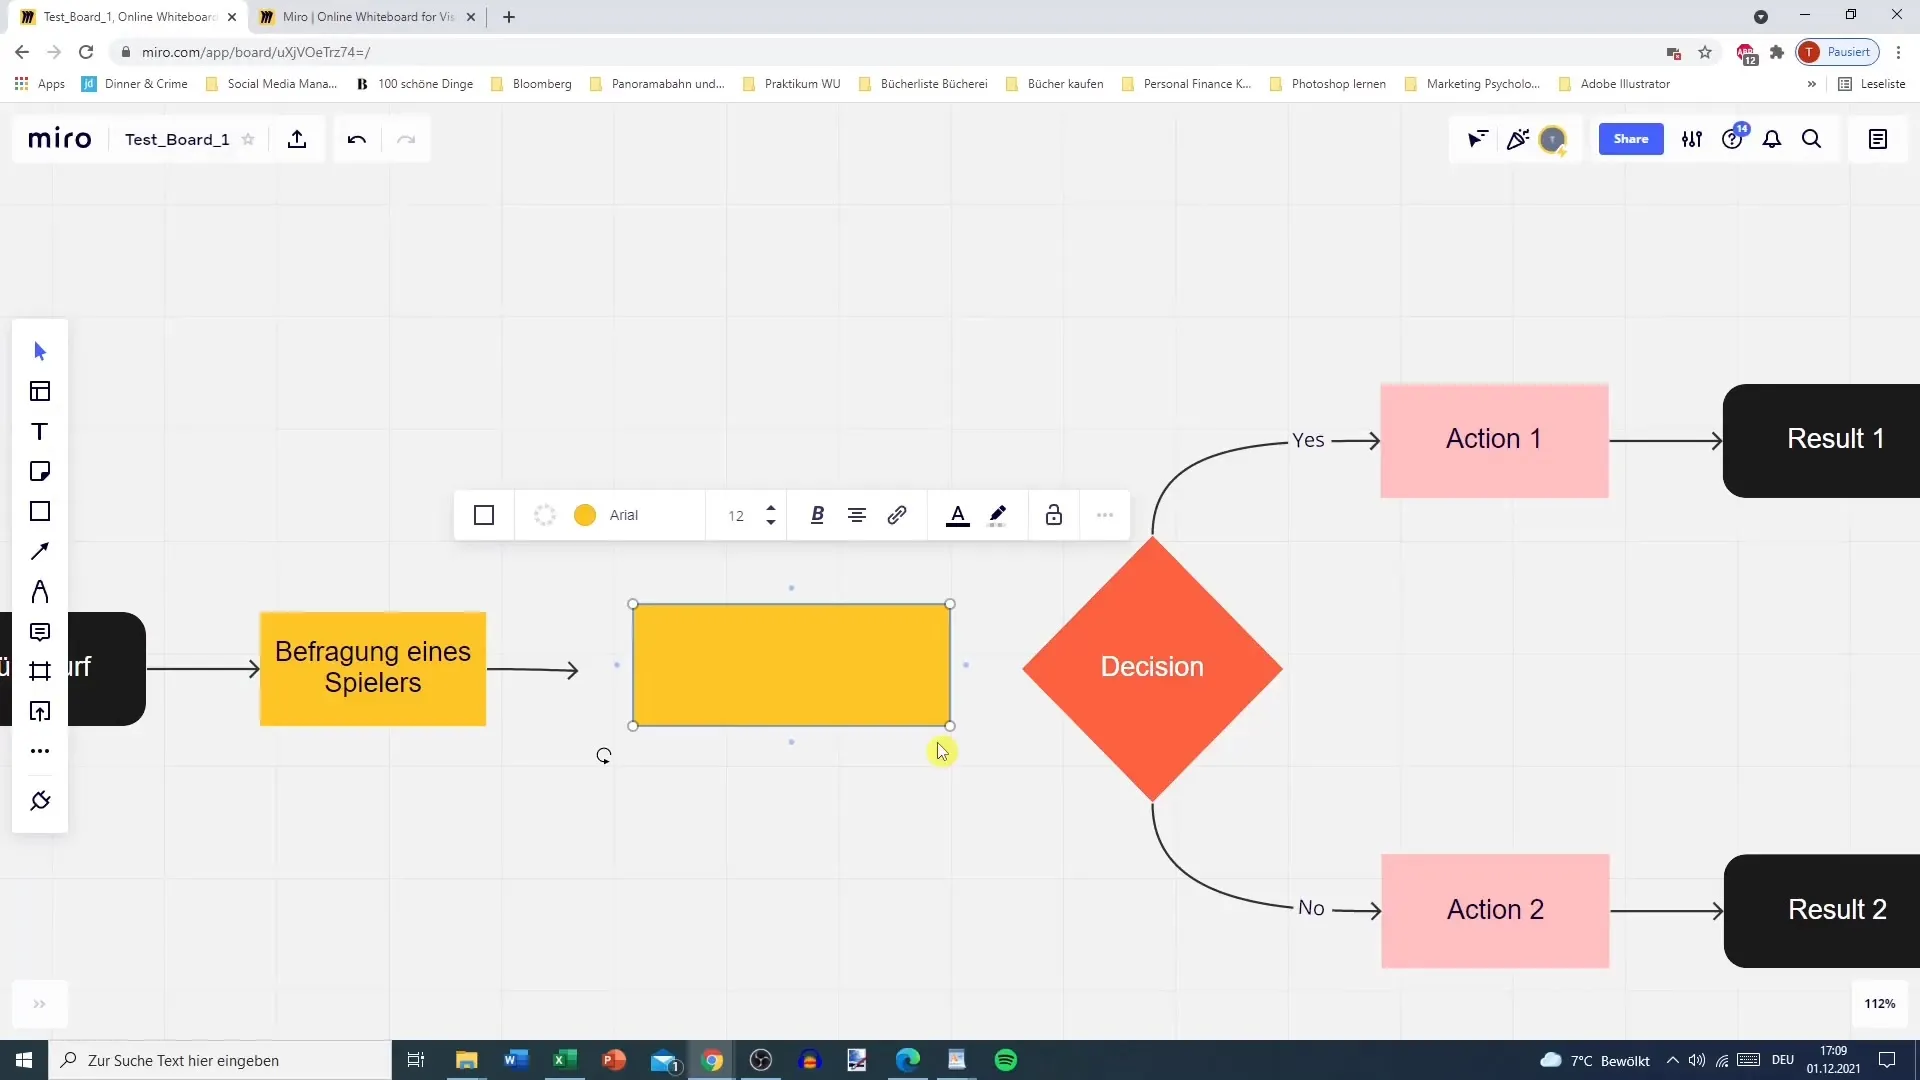
To expand your flowchart, add rectangles for additional steps. The creationof connections between actions is done using arrows. You can easily drag and drop rectangles and arrows into your diagram. Alternatively, you can also use copy and paste (Ctrl + C and Ctrl + V) to save time. Make sure that the arrows and rectangles are arranged logically to ensure a clear picture of the processes.
Step 5: Define Decisions and Outcomes
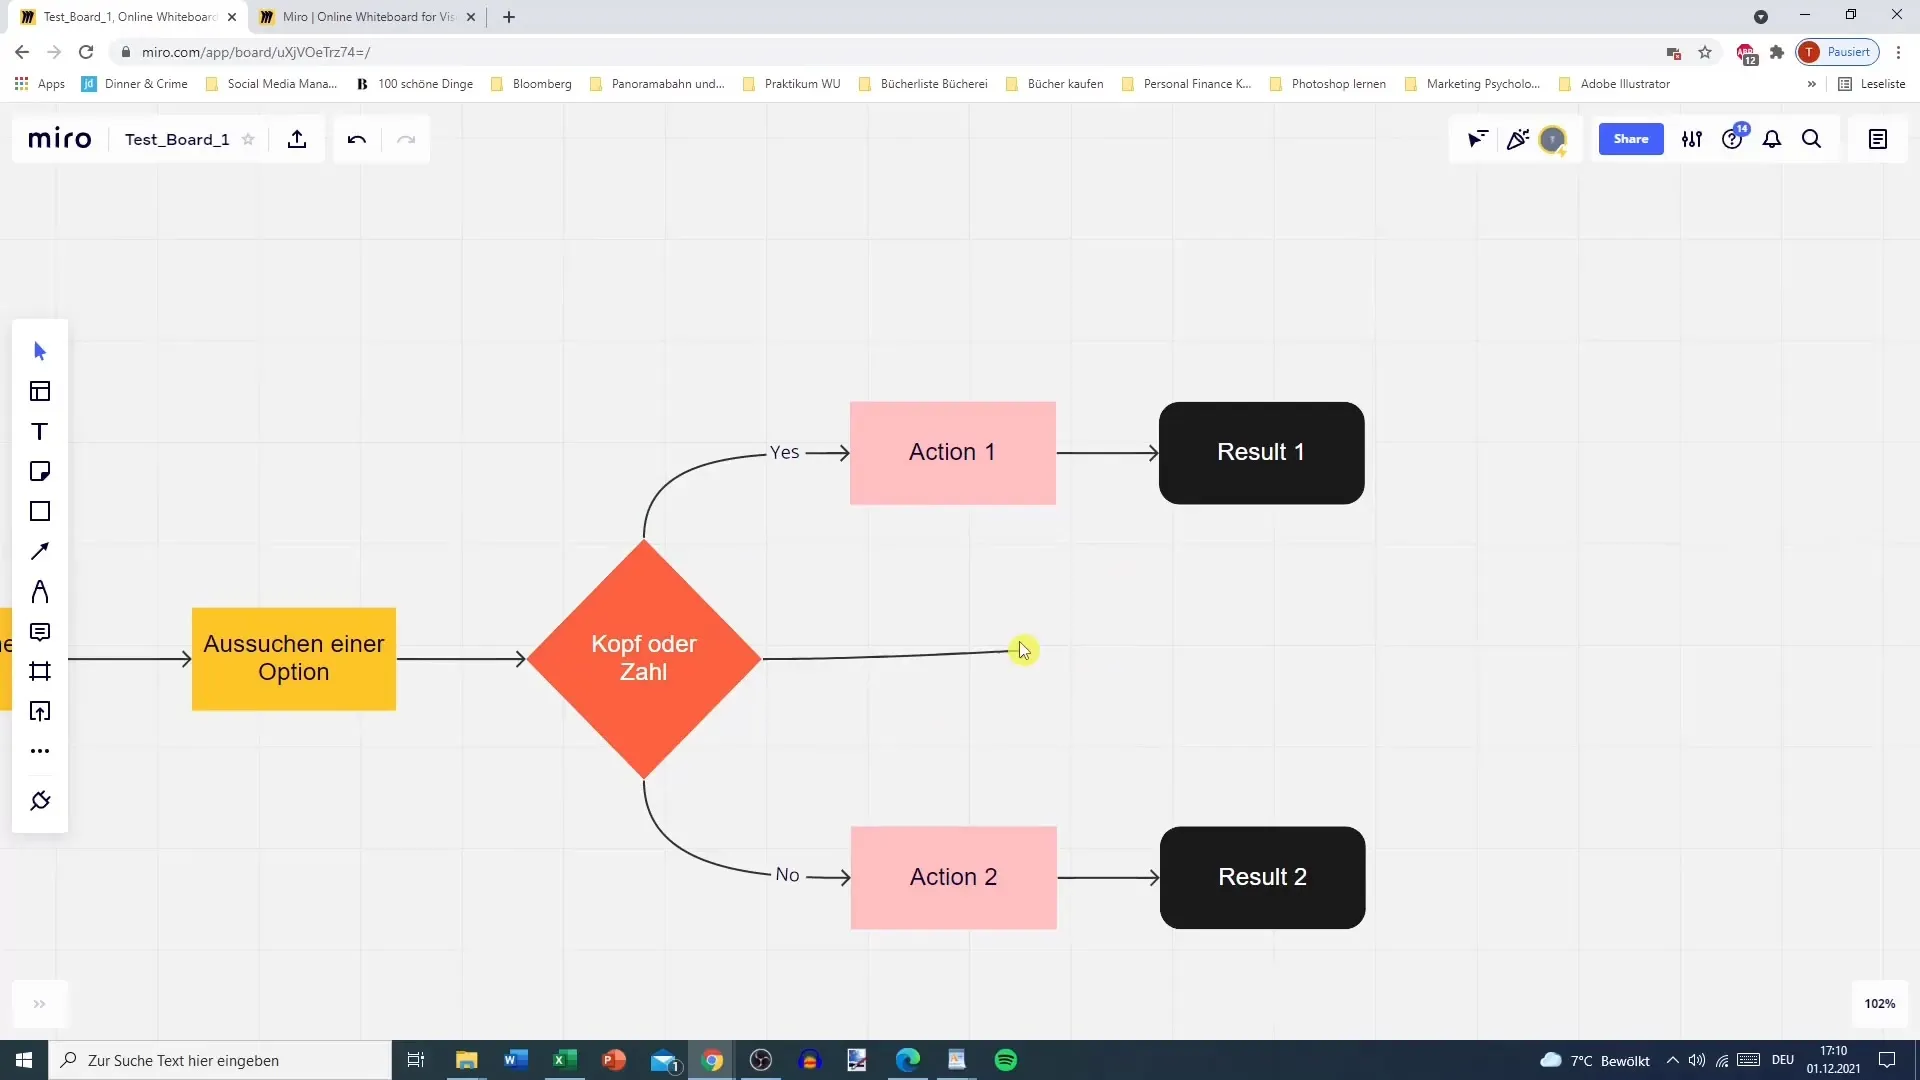
Now it’s time to define the decisions in your flowchart. Each decision should offer clear options such as “Yes” or “No.” Depending on the decision made, you can lead to different actions. This can be further refined by adding additional alternatives.
Step 6: Visualize Outcomes
After the decisions are established, focus on representing the outcomes. For example: If a player correctly calls “Heads” or “Tails,” it results in a win; if not, the outcome is “no win.” You have the option to visually differentiate the various outcomes, for example by using different colors for the rectangles.
Step 7: Refine the Diagram
Take some time to review your flowchart for completeness and clarity. It might be useful to add additional steps that may be missing, such as tossing a coin or querying titles. Fine-tuning helps optimize the diagram and ensure that the process is understandable.
Step 8: Export
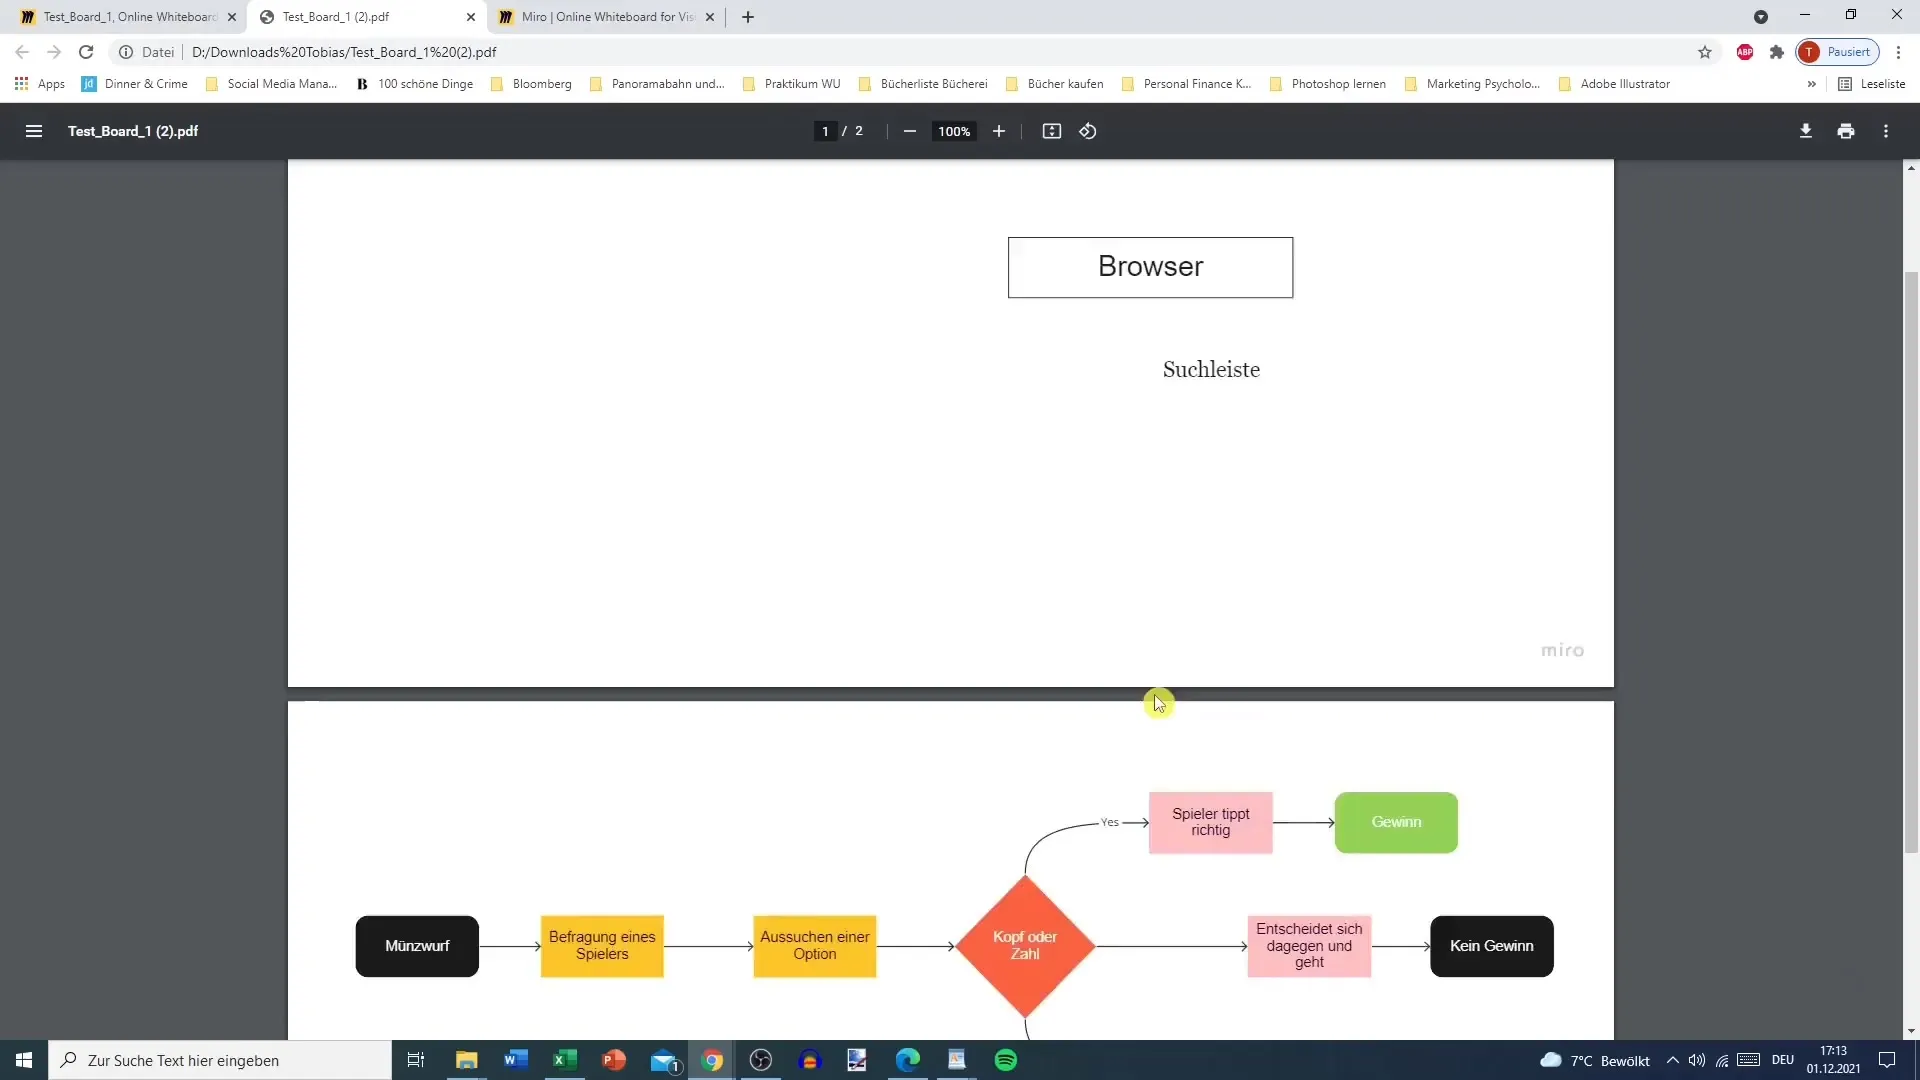
If you are satisfied with your flowchart, you can export it. Miro allows you to save your diagrams in various formats, such as PDF or image files. You can access the export options and choose the desired file type. Be sure to remove any unwanted elements before exporting the diagram.
Summary – Miro Tutorial: Creating Flowcharts Step by Step
In this tutorial, you learned how to create a simple flowchart in Miro. Starting from choosing a template to exporting the finished diagram – all these steps were discussed. By using practical examples, you gain a better understanding of Miro's functionalities and can use the software effectively.
FAQ
How do I create a flowchart in Miro?You select a template from the template gallery, add actions and decisions, and connect them with arrows.
Can I export a flowchart?Yes, Miro allows exporting in various formats, such as PDF and image files.
How do I add colors?Click on a rectangle or another element, select the color from the palette, and apply it.
