Miro is a powerful online whiteboard that is ideal for teams looking to collaborate. In this tutorial, I will show you how to set up your Miro account and explore the user interface. You will be guided through the different areas and learn how to work efficiently on your projects.
Key Takeaways
- Easy registration and account creation
- Overview of important features and menus
- Use of boards in the free version
Step-by-Step Guide
Creating Your Miro Account
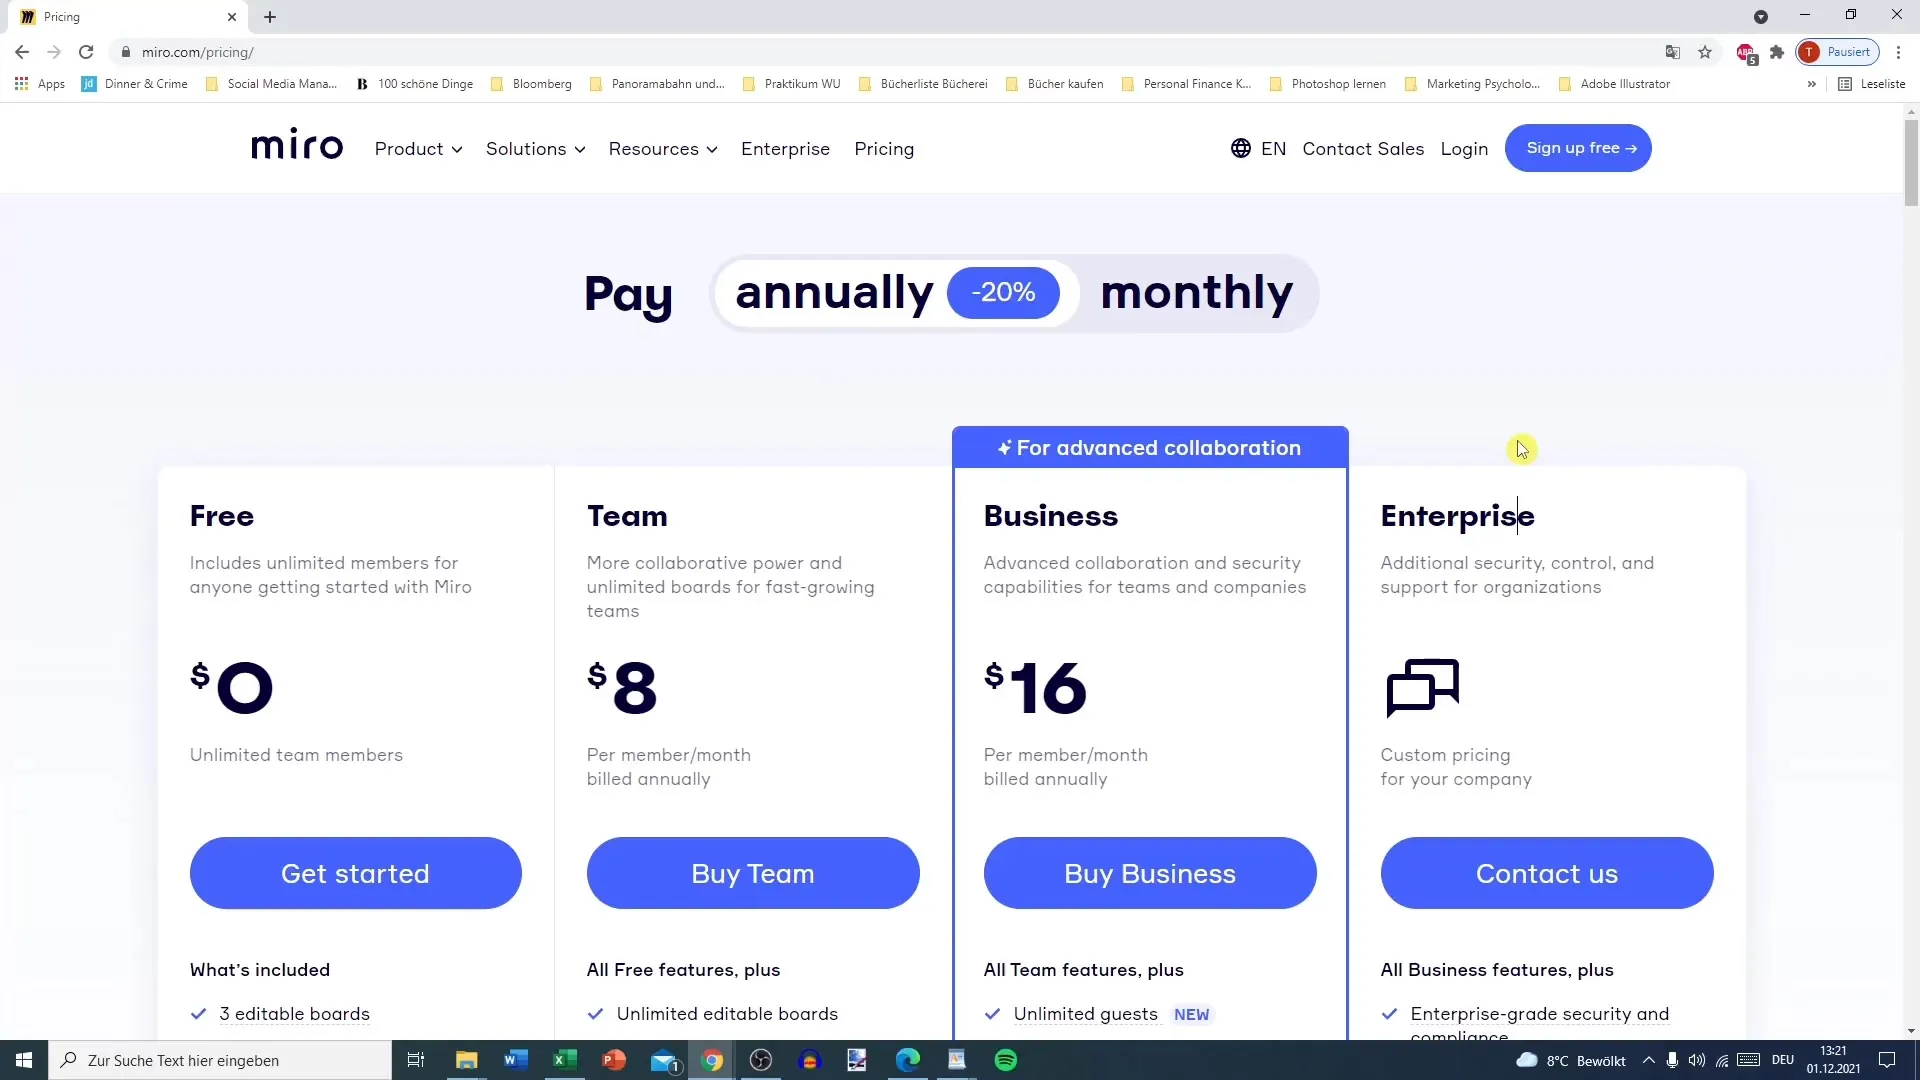
First, you need to create an account to use Miro. To do this, click on "Signup Free" in the upper right corner. Alternatively, you can click on the "Get Started" button if you're interested in a specific version. Here, you enter your name, email address, and a password. You also need to agree to the terms of use. The second field for news and updates is optional. If you already have an account, simply click on "Sign In" and log in with your credentials. You will need your email address and the corresponding password.

Getting to Know the Miro Interface
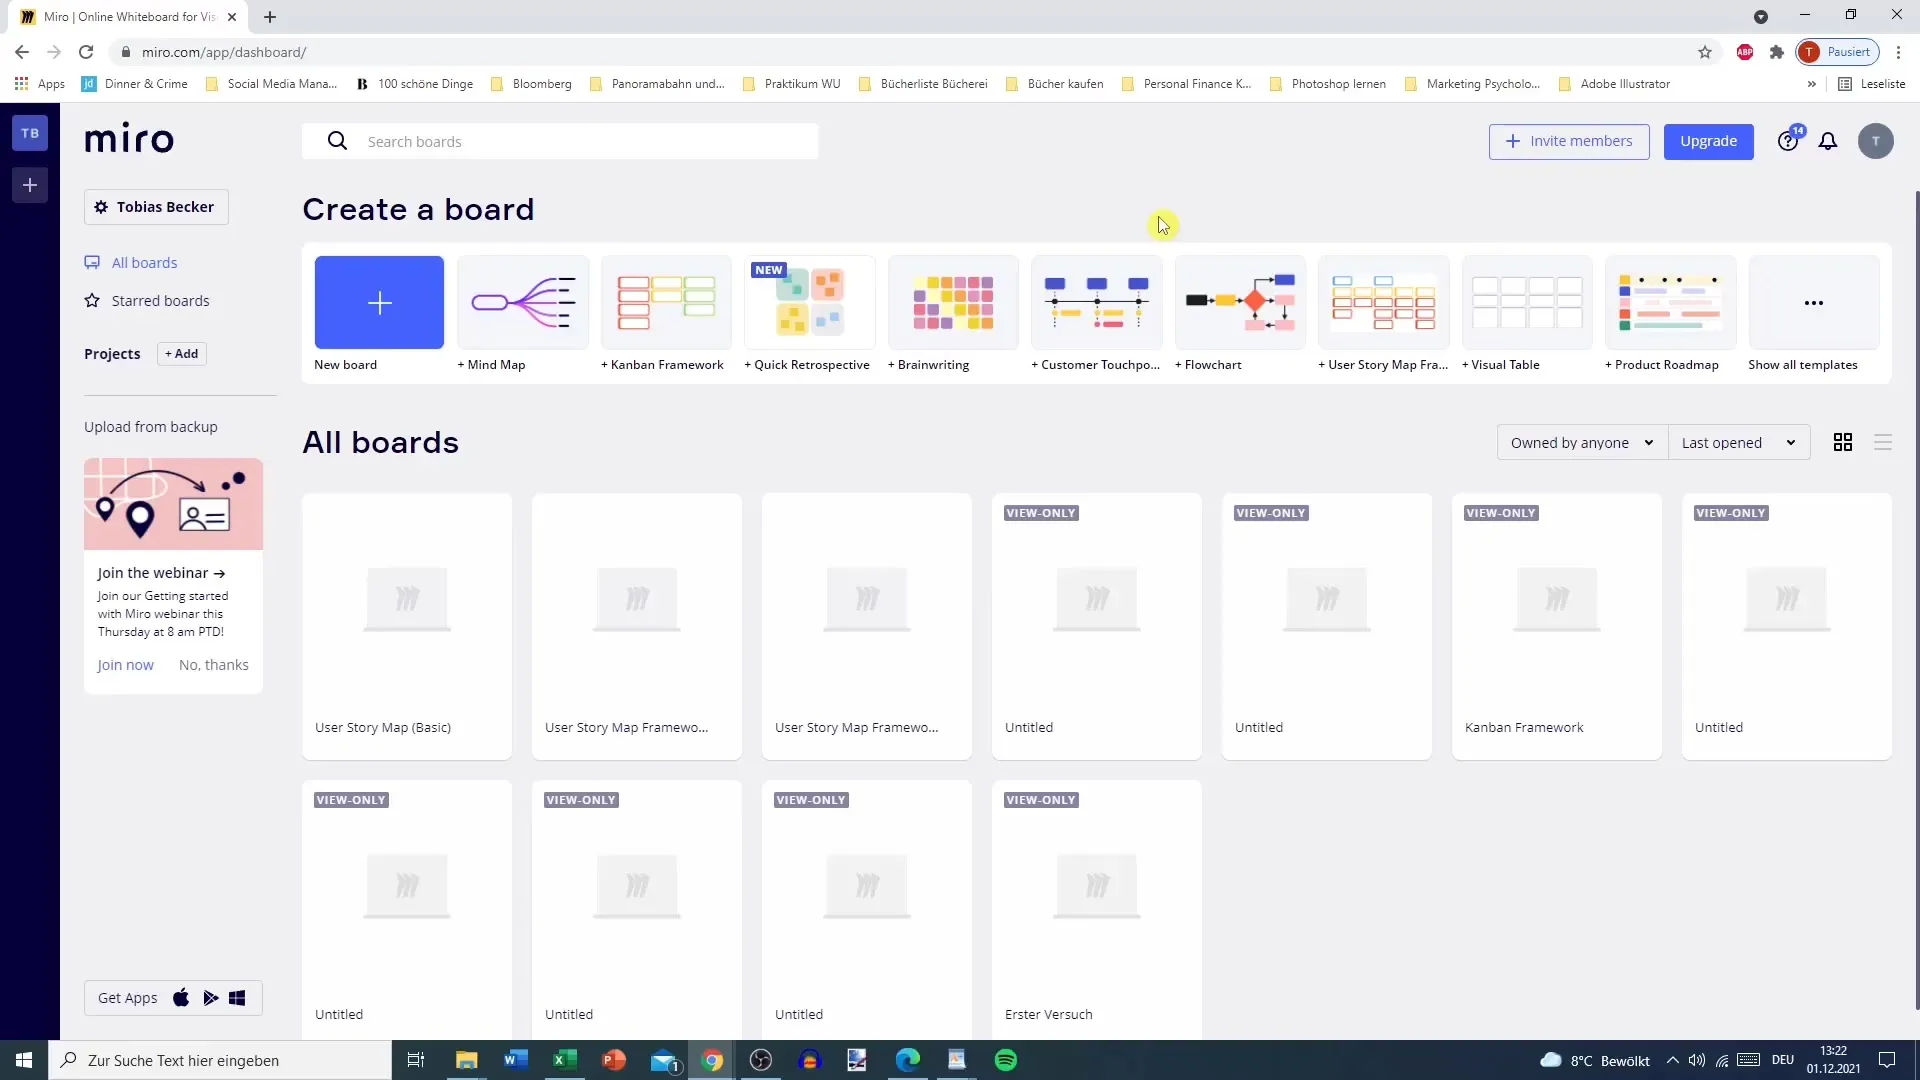
After logging in, you will land directly in the Miro interface. Here, you can see your team on the left side – in this case, you are alone. Each team has a view with various boards and members. Note that boards in the free version are visible to all team members, which is especially important since you cannot create private boards.

Managing Teams and Boards
If you want to create an additional team, click on the plus sign and select "Continue." However, note that you will need a paid plan for additional teams. Additionally, there are settings in the overview where you can customize your profile and manage apps.
Functions and Search Options
In the search bar at the top, you can search for specific projects. Each project can have a specific name. On the right, you will see the option to add members. To manage settings, you can create a new board or choose from various templates.
Editing and Managing Boards
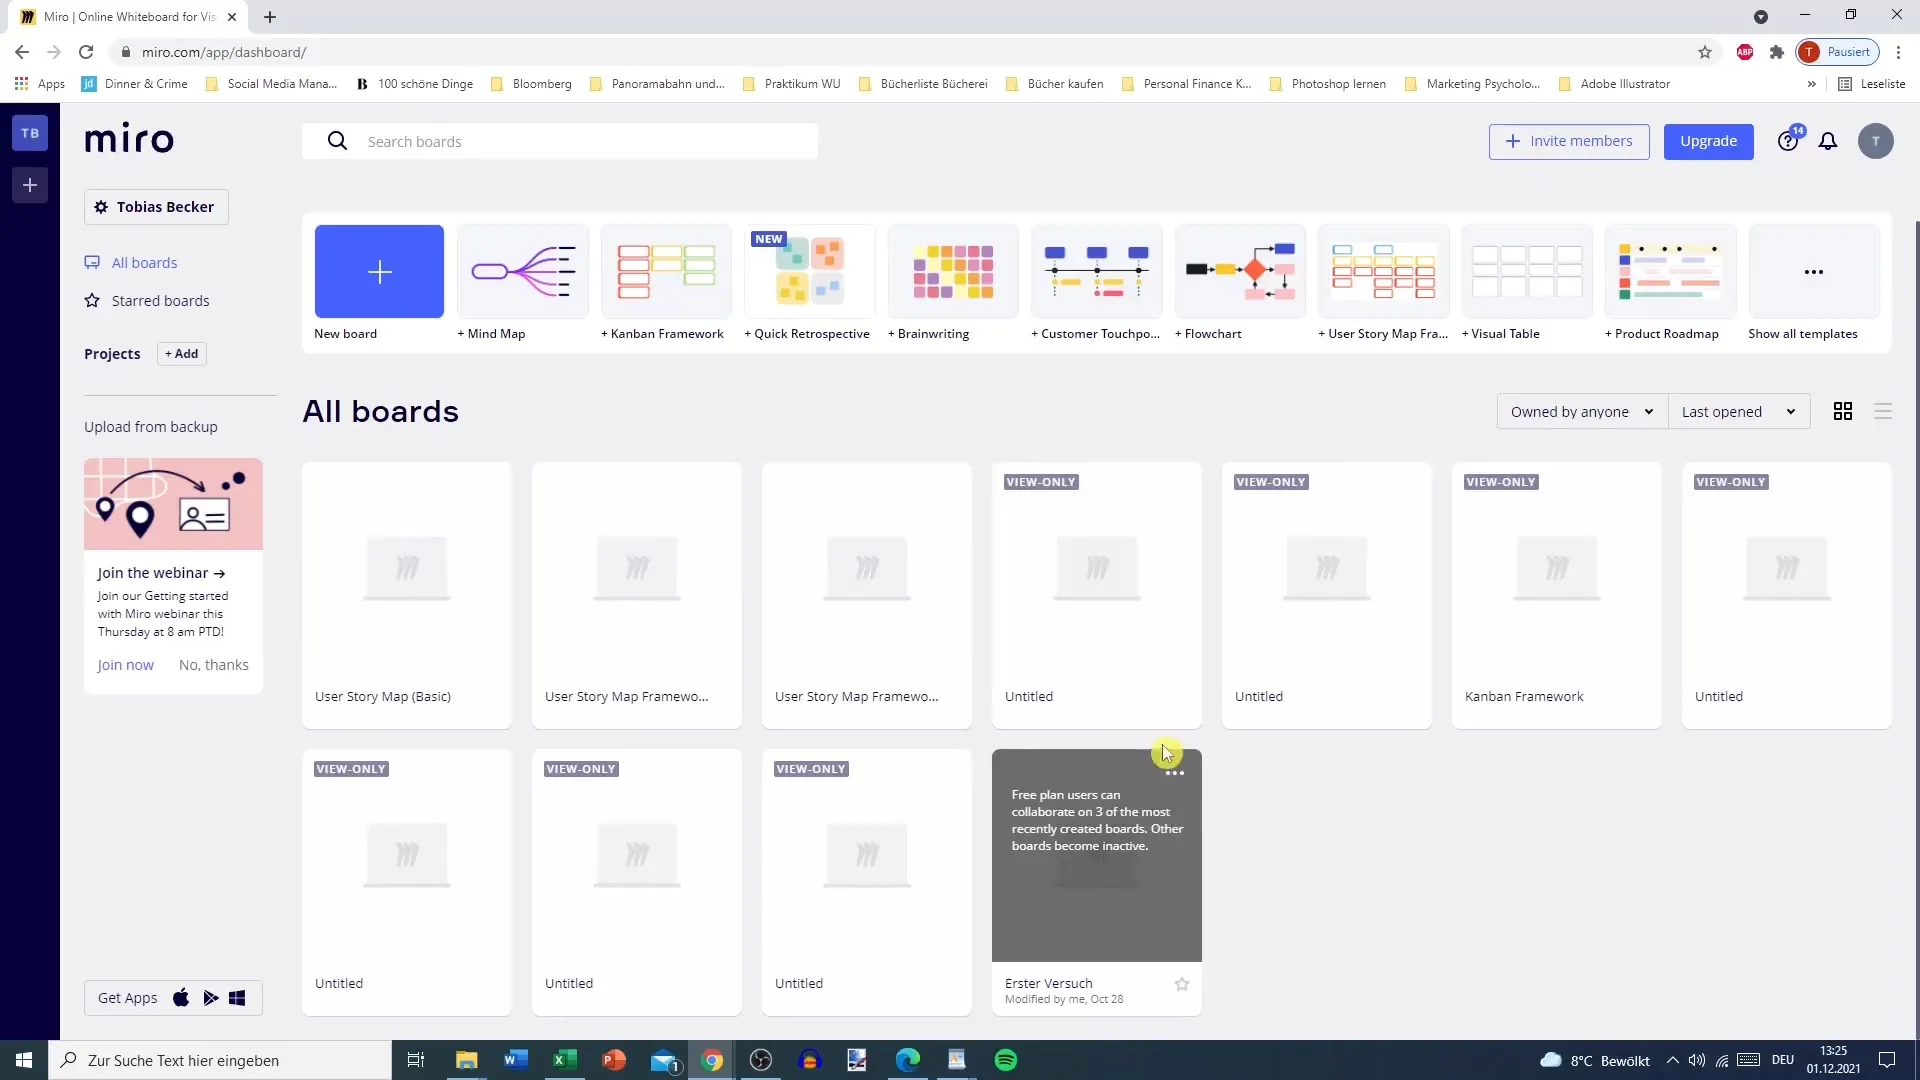
Here, you have the opportunity to see all your boards. In the free version, you can only edit three boards at the same time. Older boards will enter "View Only" mode, which means you can view them but cannot edit them. However, you can still look at all boards, even if they are editable.

Customizing Board Options and Views
You also have the option to give boards names and sort them by various criteria – for example, by "Owner" or "Modified." Here, you can switch between the grid view and list view to display the boards clearly.
Conclusion of the First Tour
With a brief overview of features, settings, and editing boards, I have now reached the end of this little tour of the Miro interface. In the next video, you will learn how to create your first board and use it effectively.
Summary - Miro: Exploring the User Interface
Miro is a flexible tool that helps you manage your projects more effectively. You have now learned how to create an account, explore the user interface, and use the various options for managing teams and boards.
Frequently Asked Questions
What is Miro?Miro is an online whiteboard used for collaborative work.
How can I sign up for Miro?Click on "Signup Free" or "Get Started" and follow the instructions to create an account.
How many boards can I create in the free version?In the free version, you can create up to three editable boards.
Can I create a private board?No, in the free version, all boards are visible to team members.
How can I add users to my board?You can add members in the user interface by using the option provided for that.


