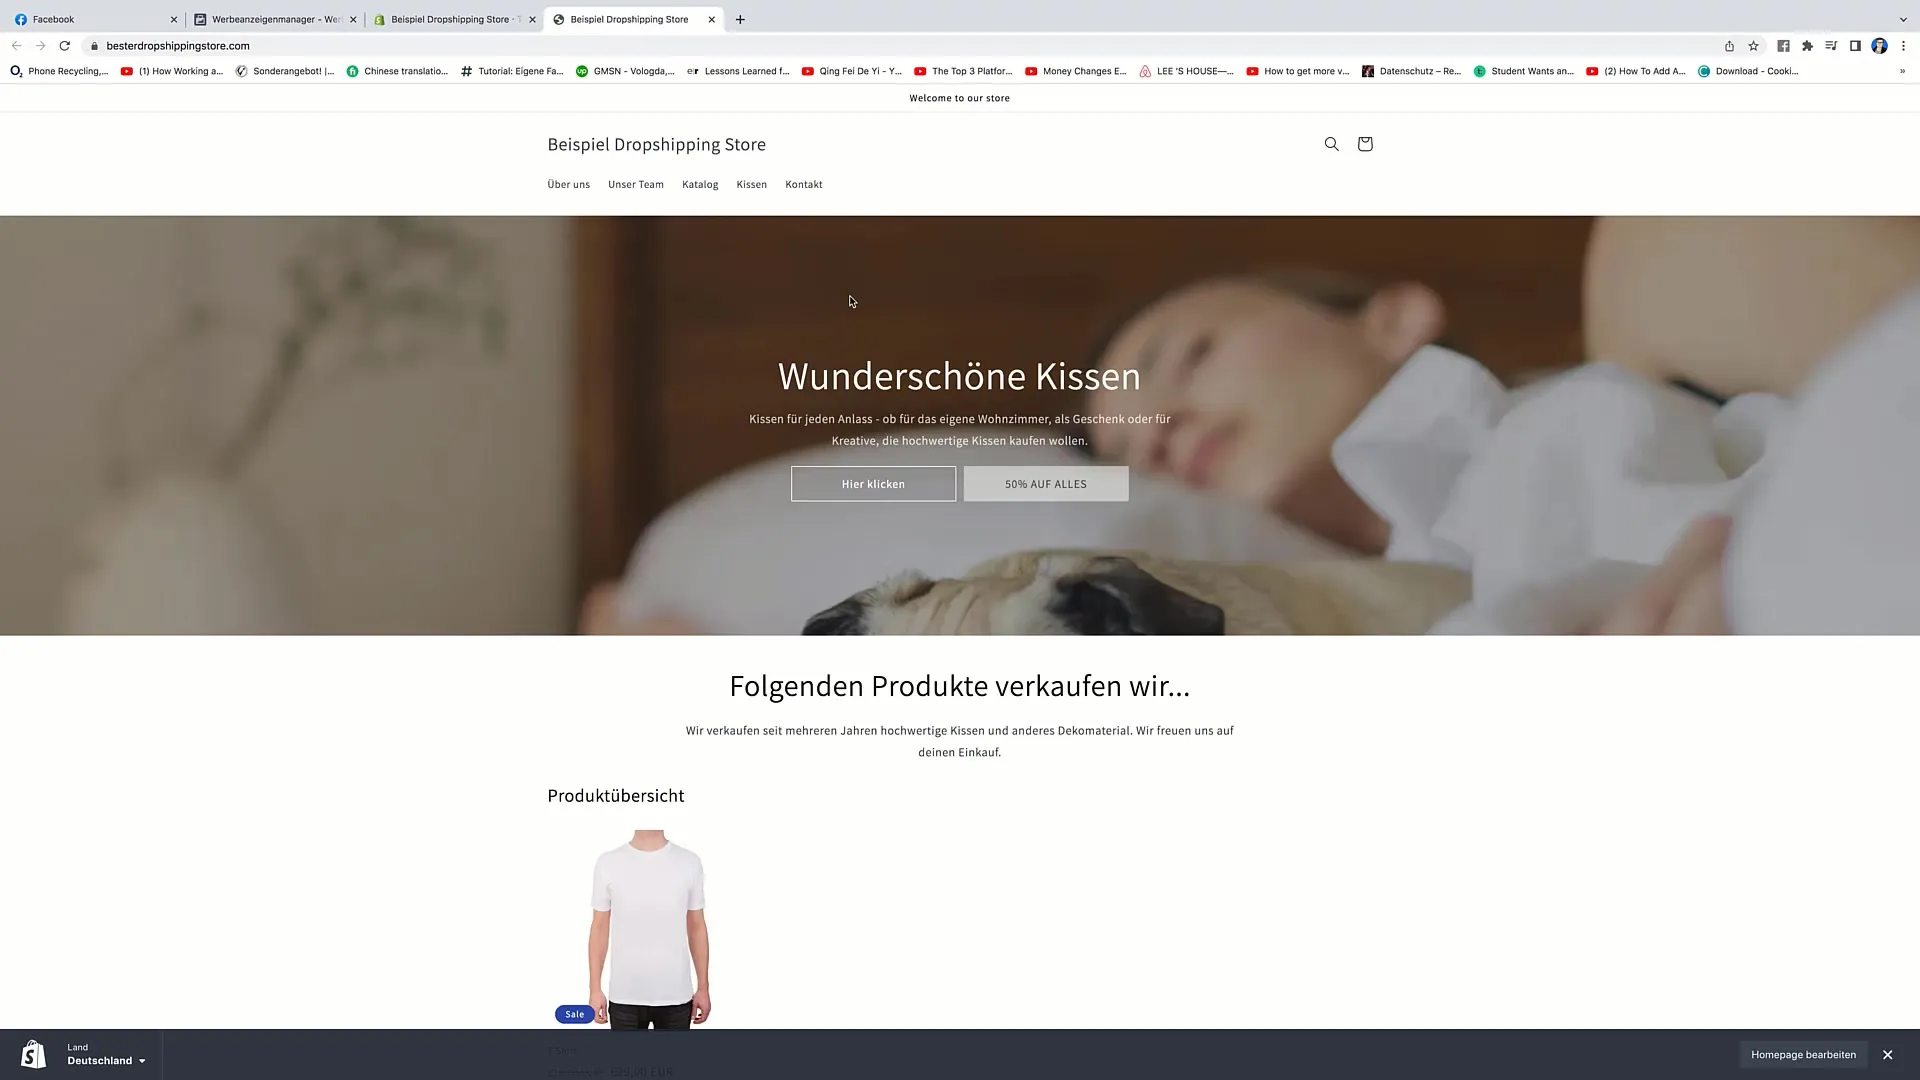
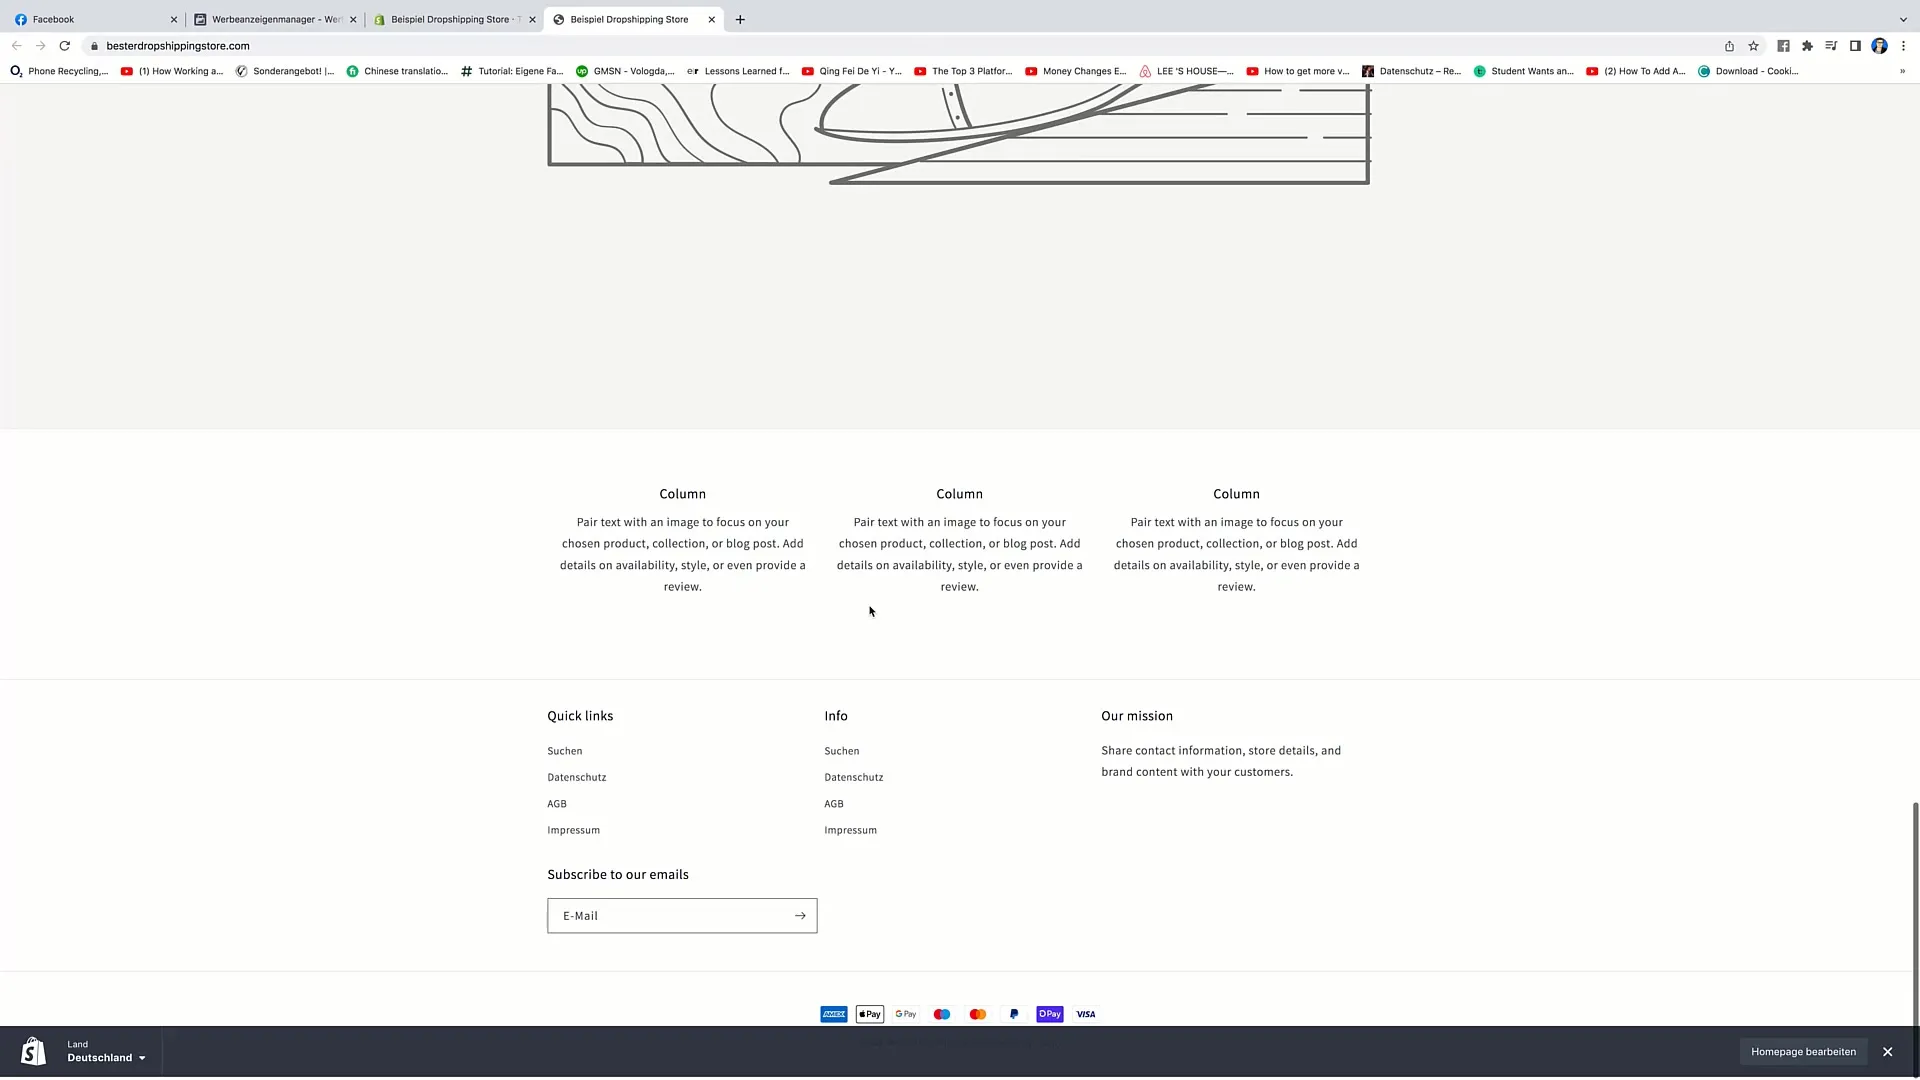
Collecting E-mail-addressesis crucial for the success of your online shop. Particularly if you run a dropshipping business, you should offer your potential customers the opportunity to sign up for your newsletter. An efficient method to ensure you get the contact information of your target audience is by using lead ads on Facebook. This guide will show you how to set up such an ad step by step to effectively collect email addresses.
Key Insights
- Lead ads allow you to collect email addresses directly through Facebook.
- You do not need additional hosting or your own landing page, as Facebook provides the lead form.
- The campaign should be clearly structured and target-specific in order to achieve the best results.
Step-by-Step Guide
Step 1: Open Facebook Ads Manager
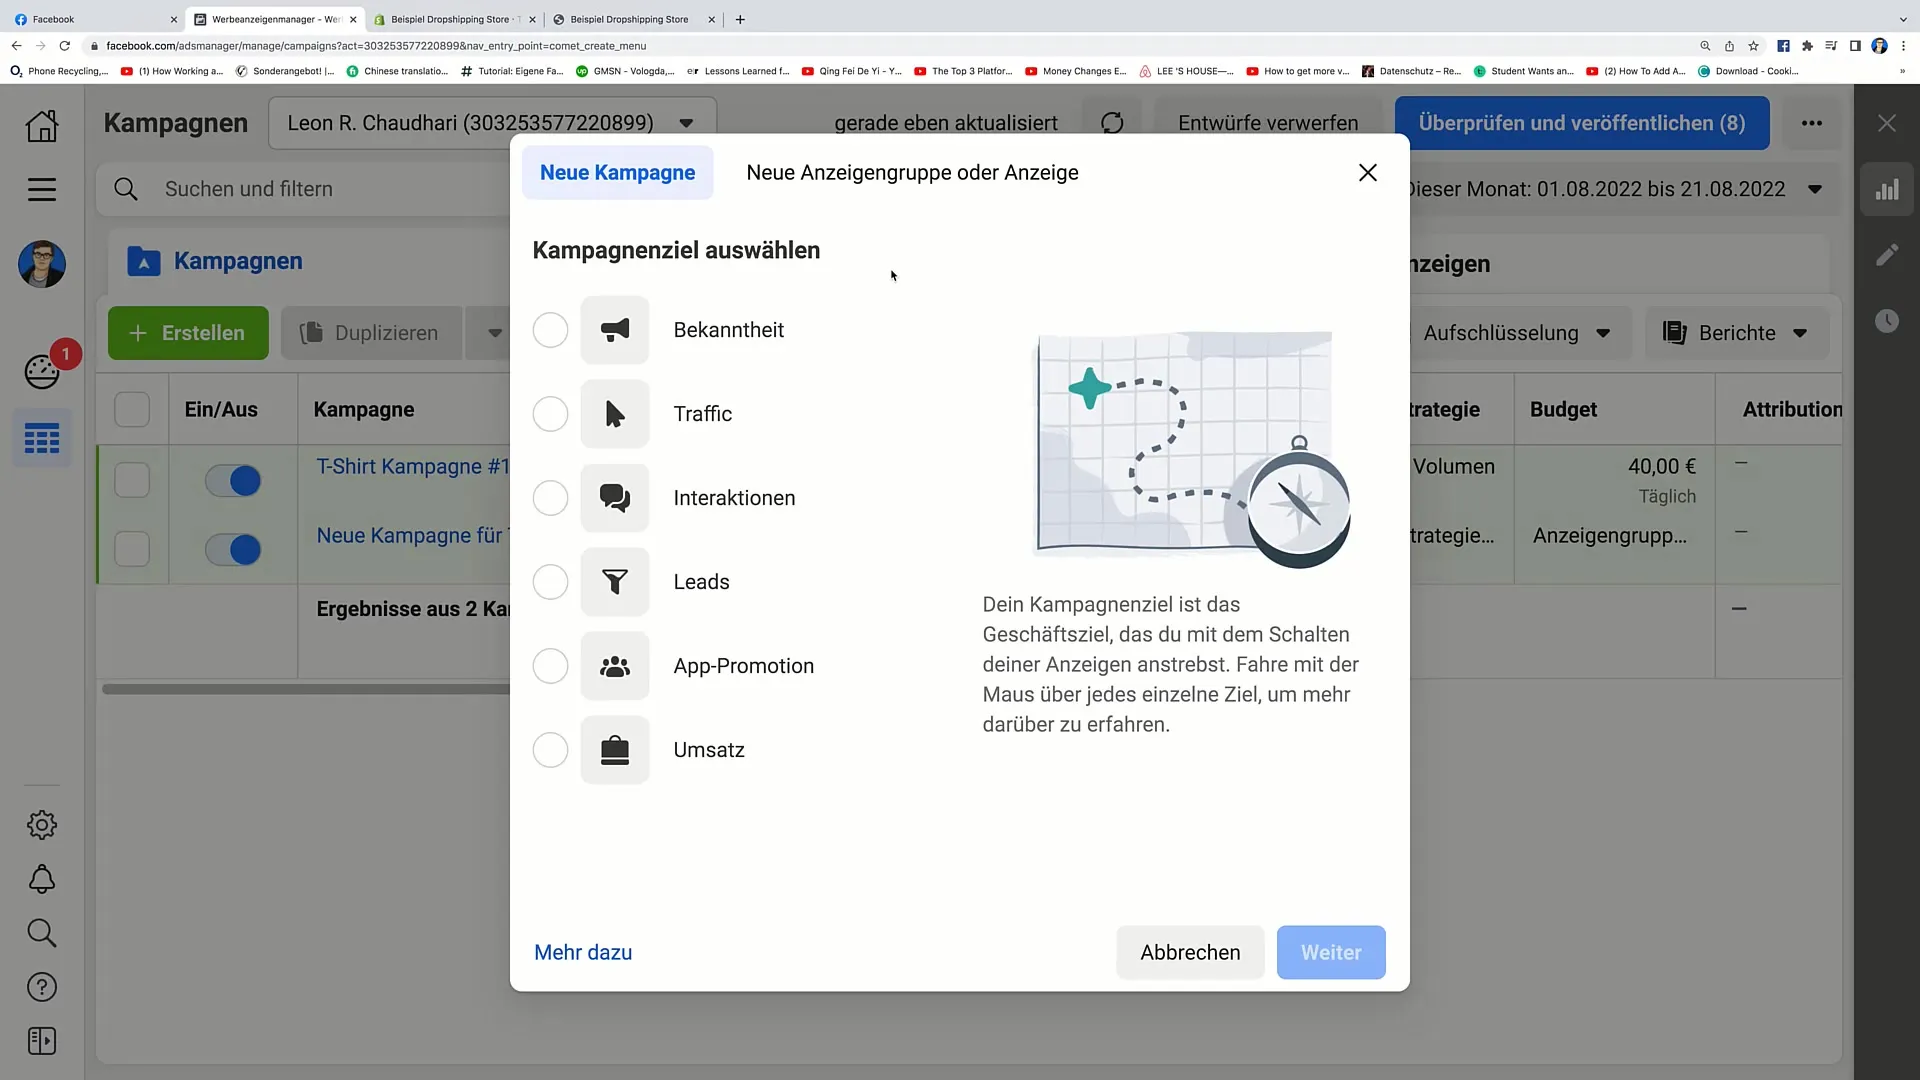
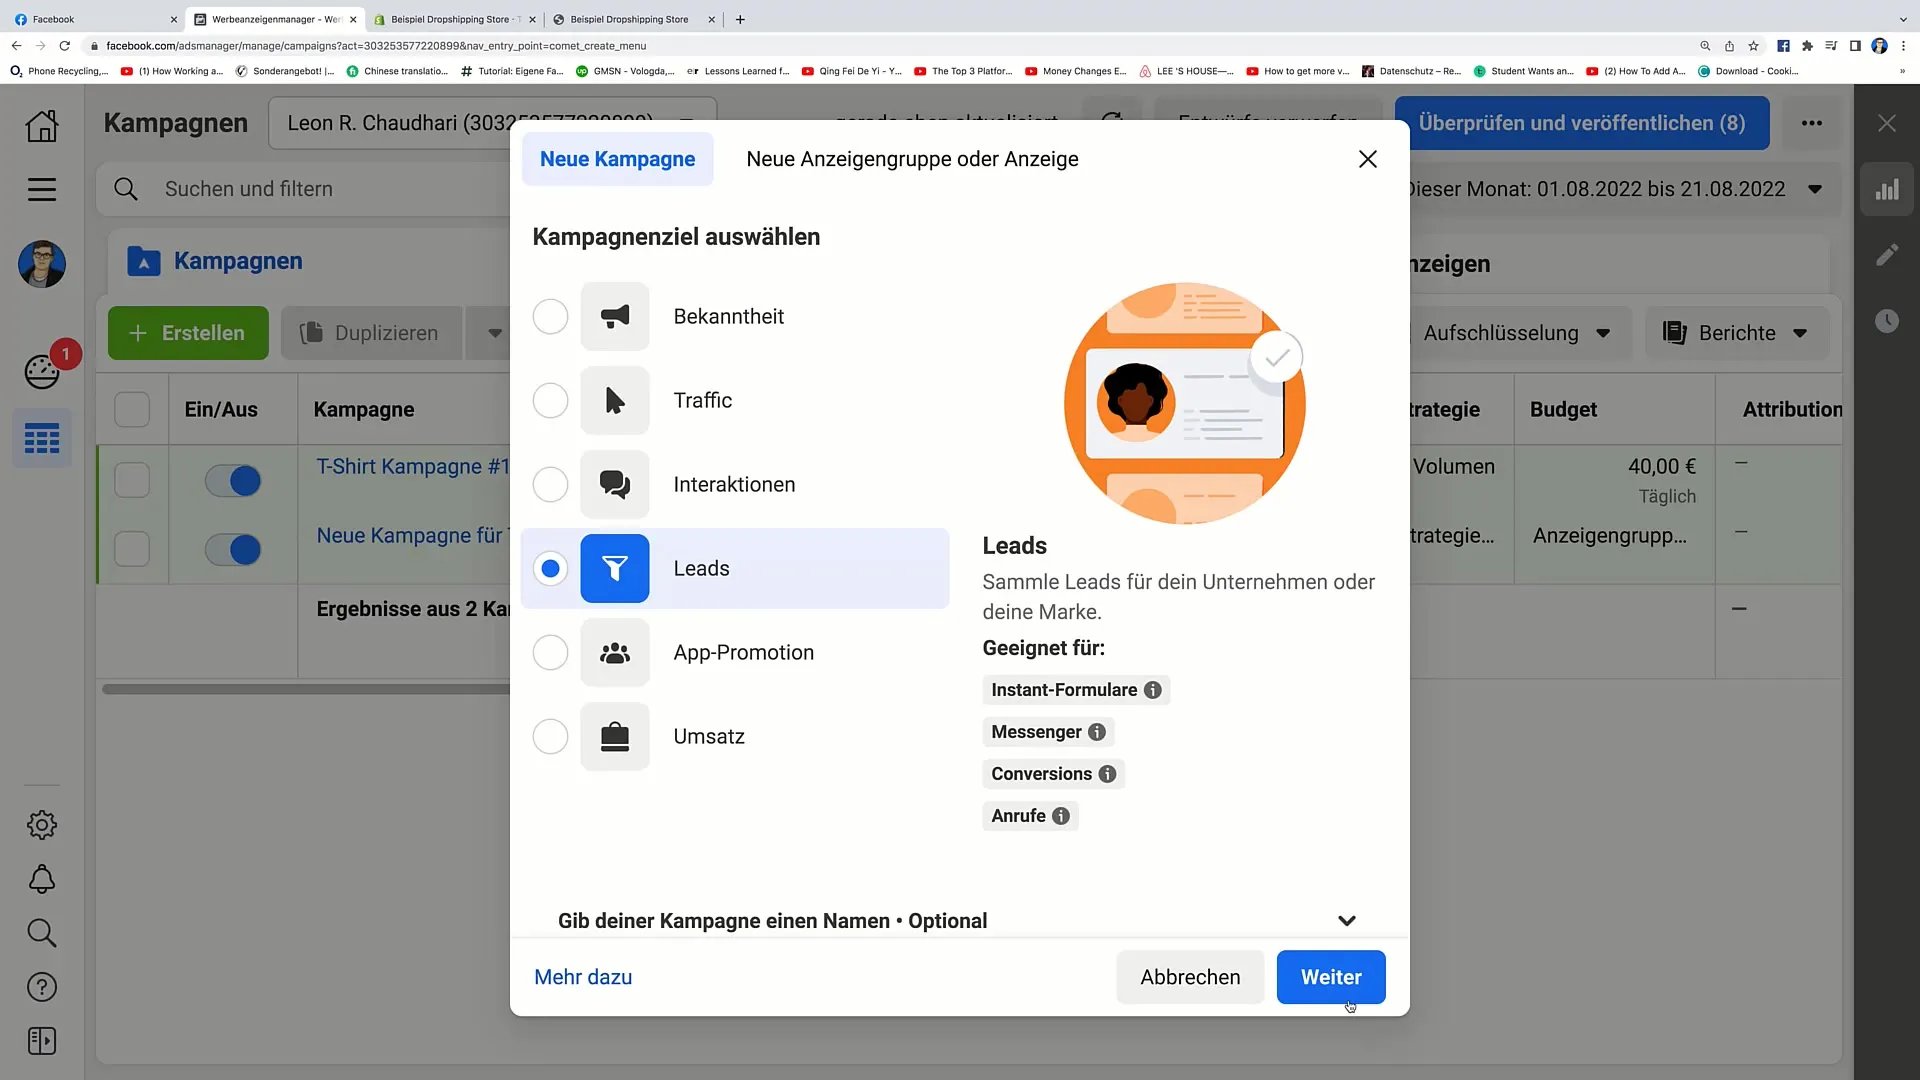
Start by opening the Facebook Ads Manager. Here you manage all your ads. Click on the tab for Leadads.
Step 2: Create Lead Campaign
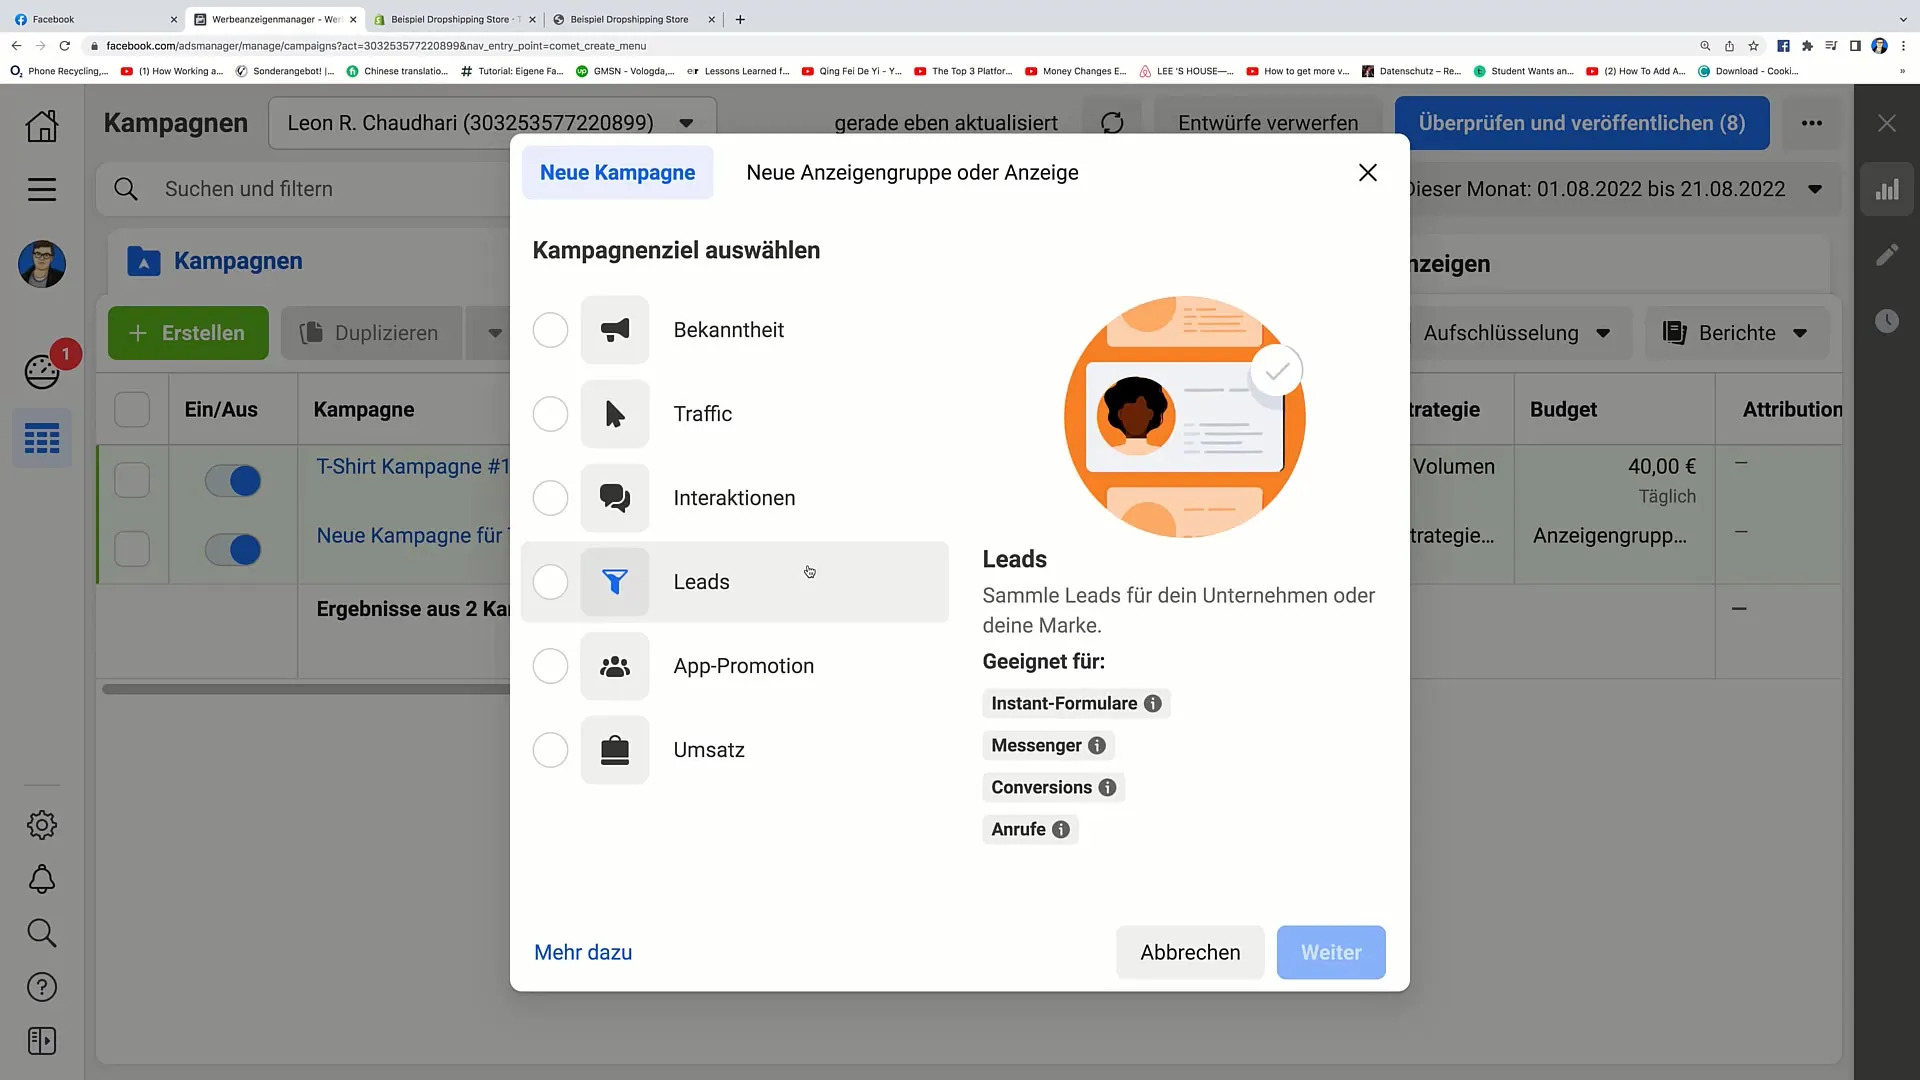
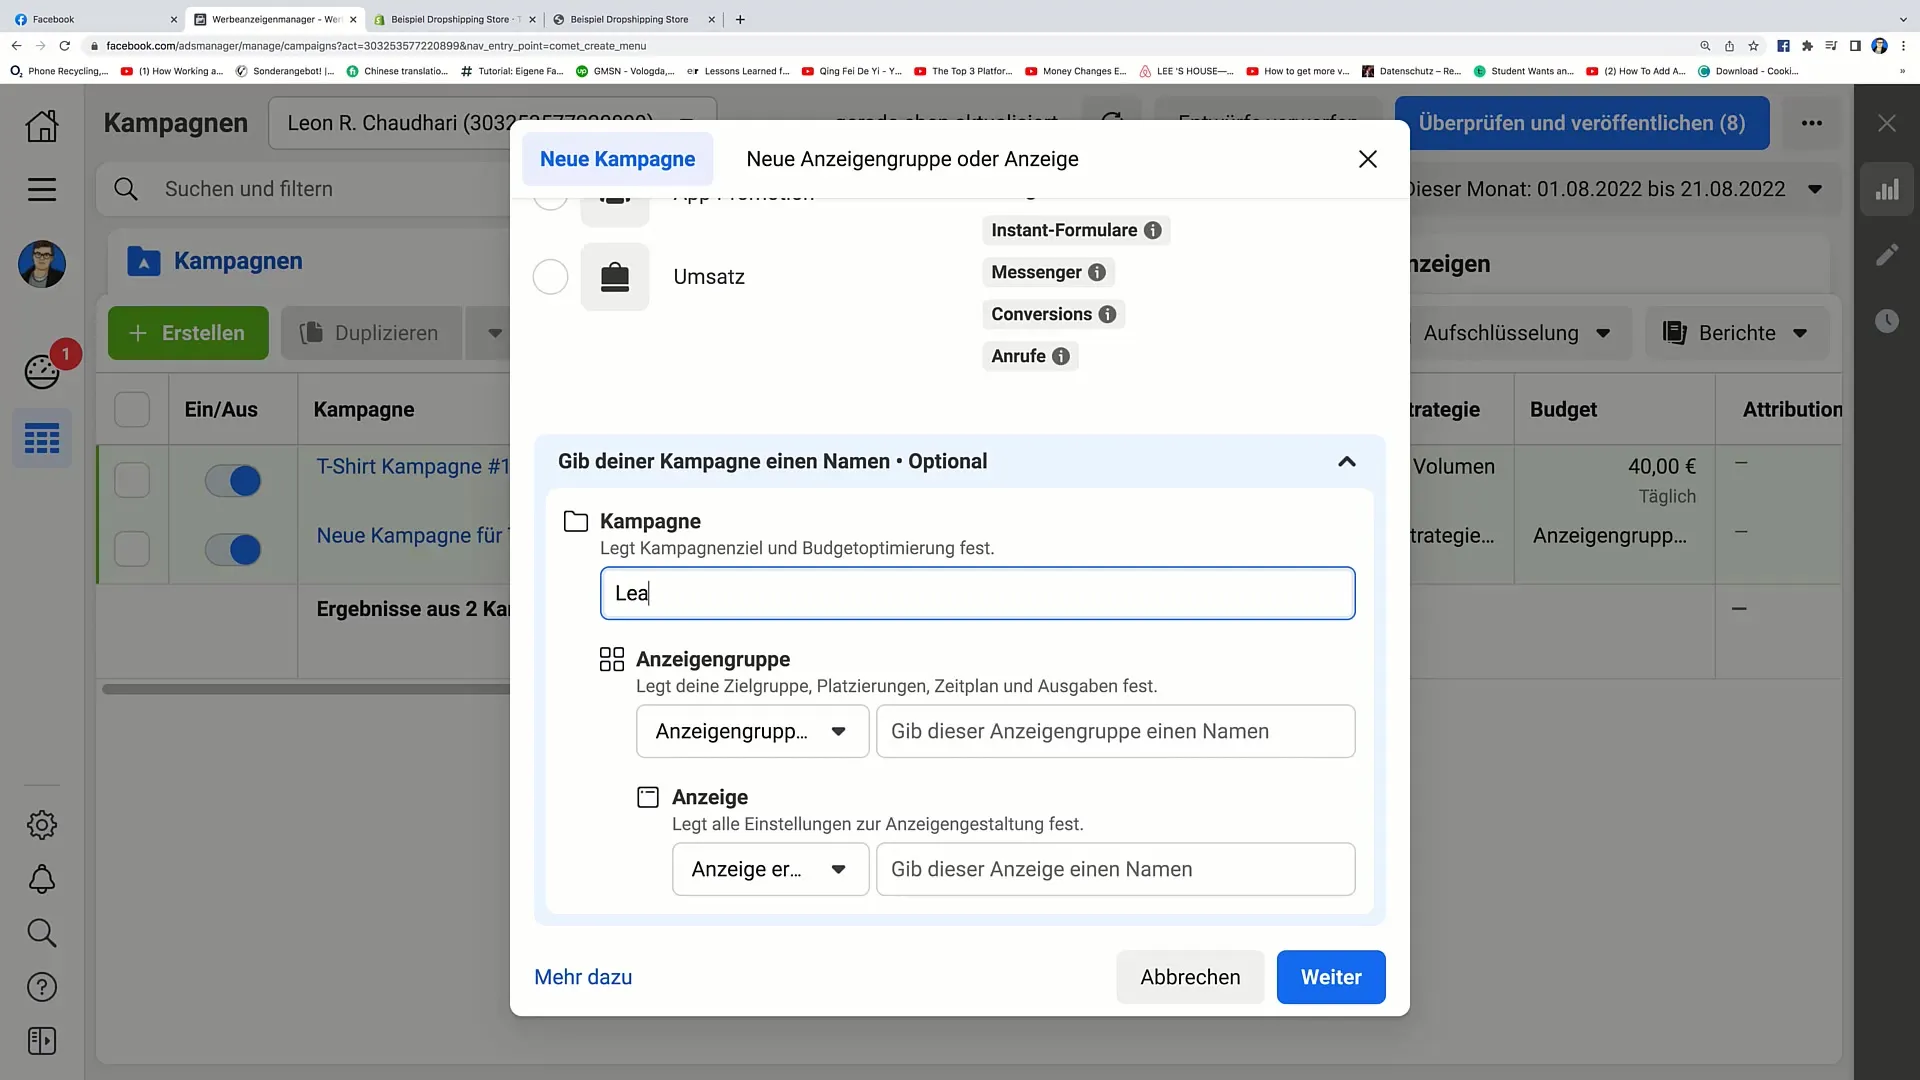
In the Ads Manager, click on "Leads". Once you do this, you will be prompted to name your campaign. A sensible name could be "Lead Campaign 1". This clear naming helps you keep track.
Step 3: Define Ad Group
Now name the ad group, for example "DE Chat". Here you want to ensure that you are targeting the right markets. For this campaign, you might aim for customers from Germany, Austria, and Switzerland.
Step 4: Set Target Audience Information
In the next step, select the gender of your target audience and specify the topic for your targeting. For this campaign, you could specify the interest "Fashion" and the language "German".
Step 5: Set Campaign Details
In the campaign details section, select the booking type "Auction" and set your campaign goal to "Leads". This means you want to generate email addresses. It may be advisable not to conduct an A/B test initially. Then click on "Next".
Step 6: Define Conversion Location
Here you specify how lead generation should take place. The simplest solution is to use an "Instant Form." This means it is a form that can be filled out directly within Facebook.
Step 7: Select Facebook Page
Select the Facebook page that should be linked to the campaign. It is important that this is your business page so you can properly assign the leads later.
Step 8: Set Budget and Schedule
Now determine how much you want to spend per lead at most. For example, you could specify that you want to pay a maximum of 4 euros per email address. Also set your daily budget; in this example, that would be 20 euros per day, which corresponds to about 5 leads per day.
Step 9: Adjust Targeting Settings
You can set your own audience here. For this step, you can enter Germany, Austria, and Switzerland and restrict the age to 25 to 35 years. Don't forget to consider gender and detailed targeting as well.
Step 10: Choose Placement
Here you can choose between automatic or manual placement of your ads. If you want Facebook to decide where the ad is best placed, leave the option for automatic placements enabled.
Step 11: Create Ad
After completing all the previous steps, you can create your actual ad. This takes place in the last step of the process. Note that we will go into detail about creating the ad in the next video.
Summary – Running Facebook Lead Ads – Step by Step
In this guide, you have learned comprehensively how to create a Facebook lead ad. With the right audience analysis and budgeting, you can effectively generate email addresses that are crucial for your online shop.
FAQ
How long does it take to receive the first leads?That depends on your budget and target audience, but you could receive some leads on the first day.
Is an A/B test necessary for the first campaign?Not necessarily, but it can help you maximize the success of your campaigns.
How can I download the collected leads?Leads can be downloaded directly from the Ads Manager once the campaign is active.


