Creating a thumbnailfor your YouTubechannel is crucial to grab viewers' attention. An appealing thumbnail allows you to stand out in the flood of content and increase interest in your videos. In this guide, you will learn how to easily and effectively designa thumbnail using Canva.
Key insights
- The design of the thumbnail should be targeted to the respective audience.
- Use Canva as a free tool for creating your thumbnails.
- Pay attention to the correct size (1208 x 720 pixels) for YouTube thumbnails.
- Keep the design simple and informative, choose colors and fonts that match your content.
Step-by-Step Guide to Thumbnail Design
Step 1: Access Canva and create an account
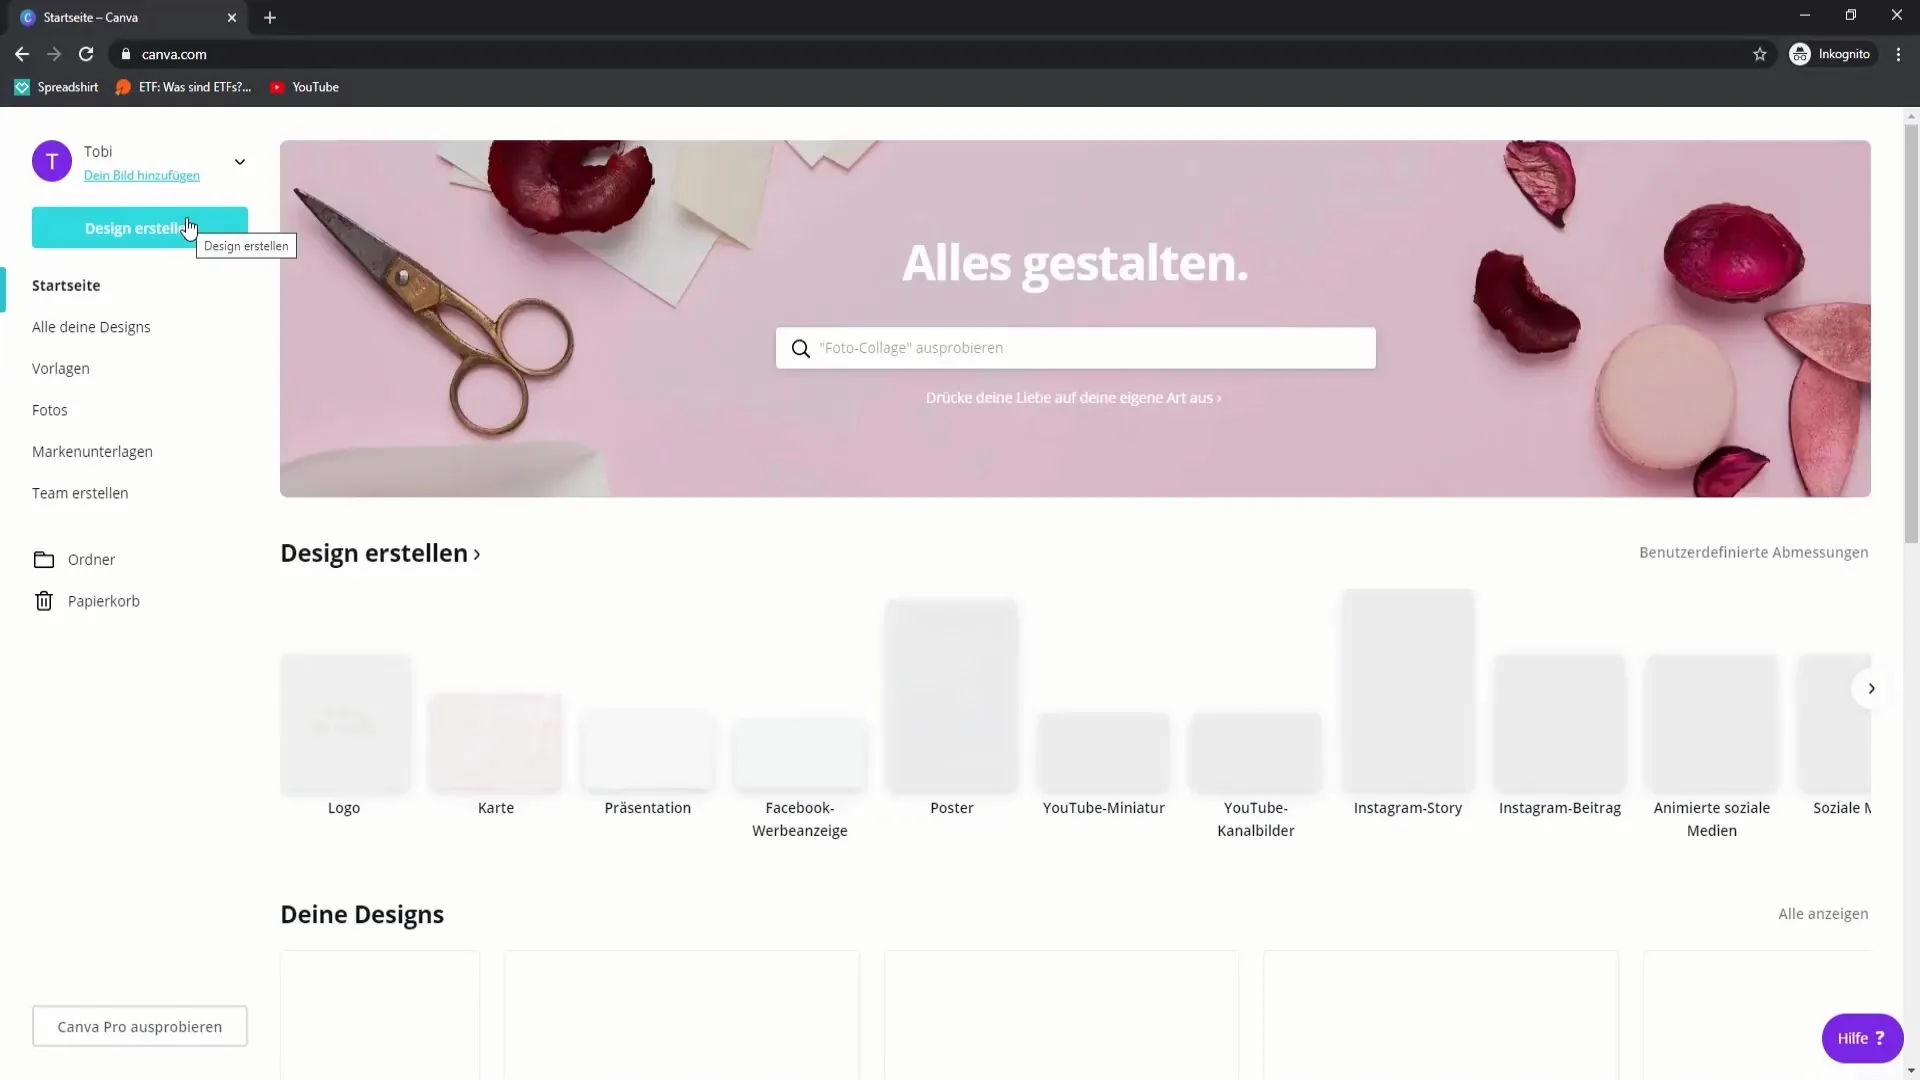
To create a thumbnail, first access the Canva website. You need to create an account to use all features. After registering, you will reach the homepage.
Step 2: Choose the right template
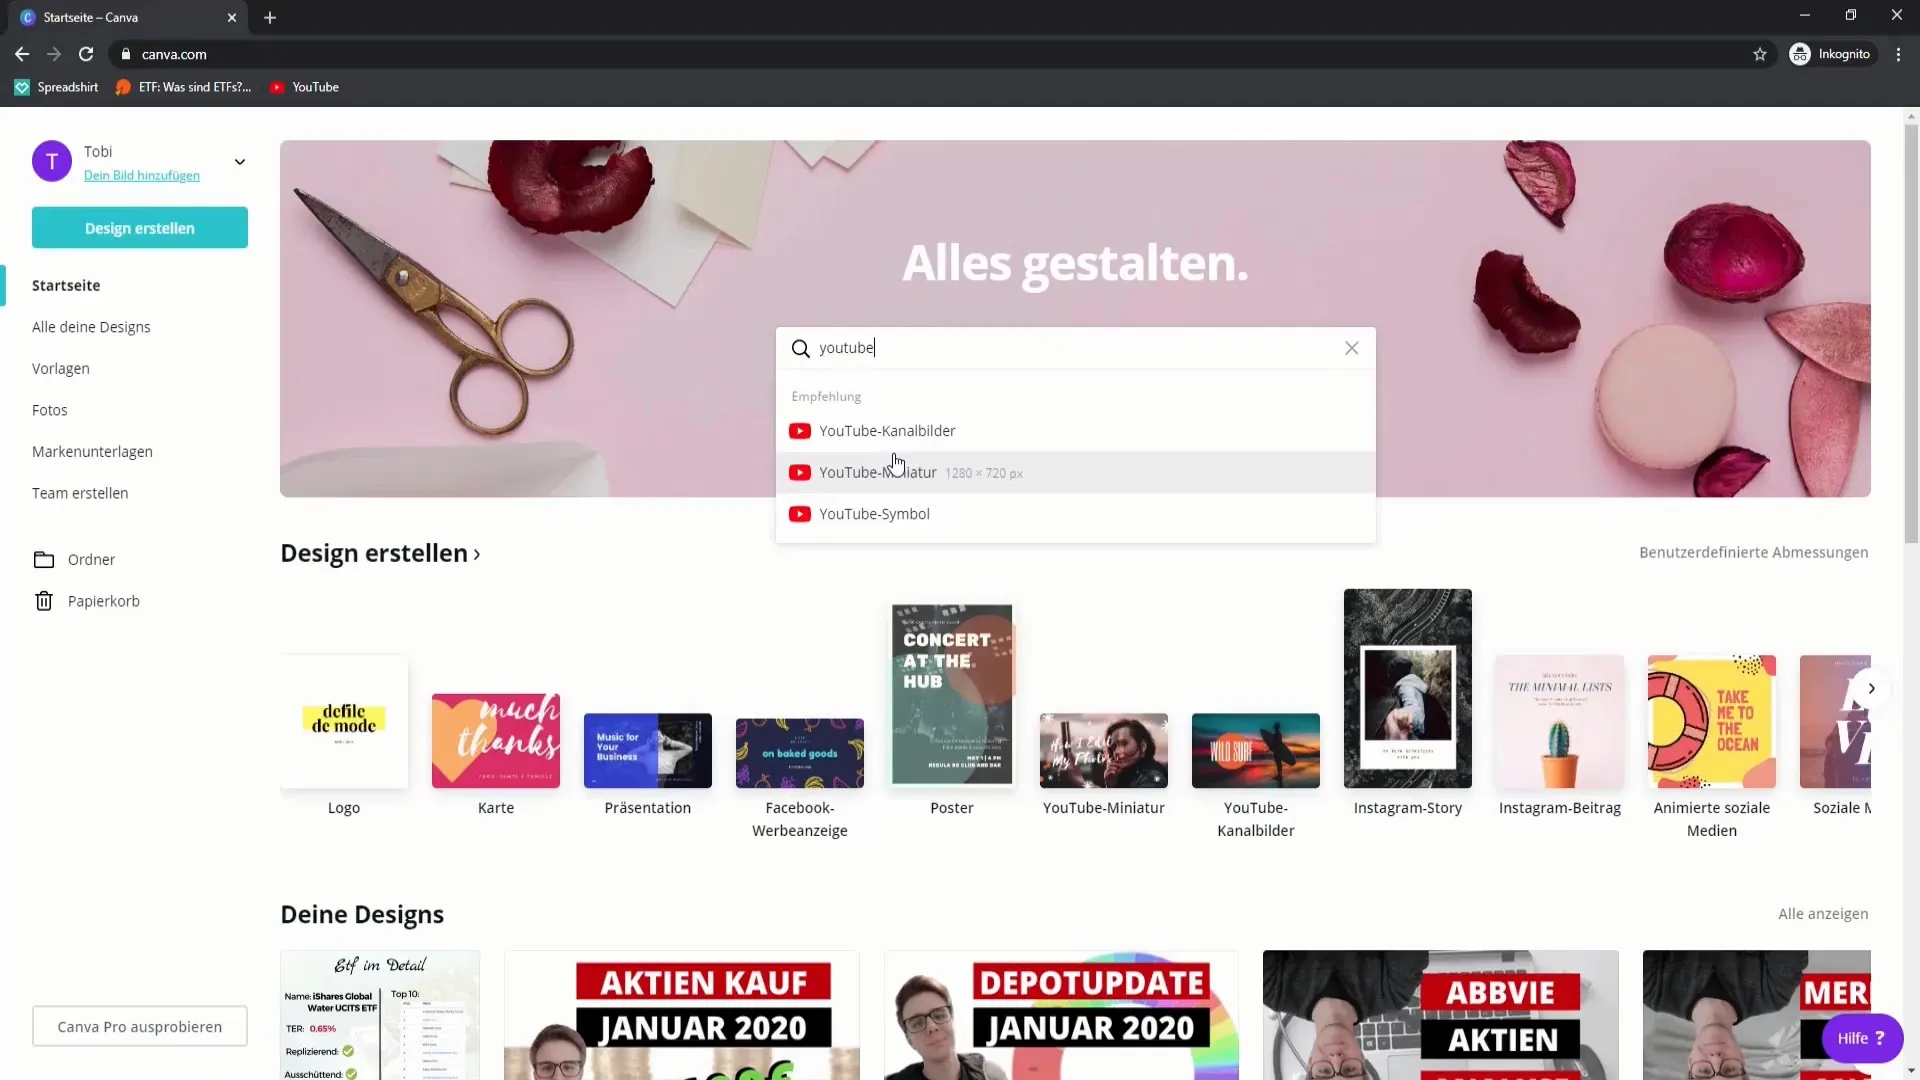
Type "YouTube Thumbnail" into the search bar to find the appropriate templates. YouTube thumbnails should be 1208 x 720 pixels in size for optimal display. Select this option.
Step 3: Customize the template to your needs
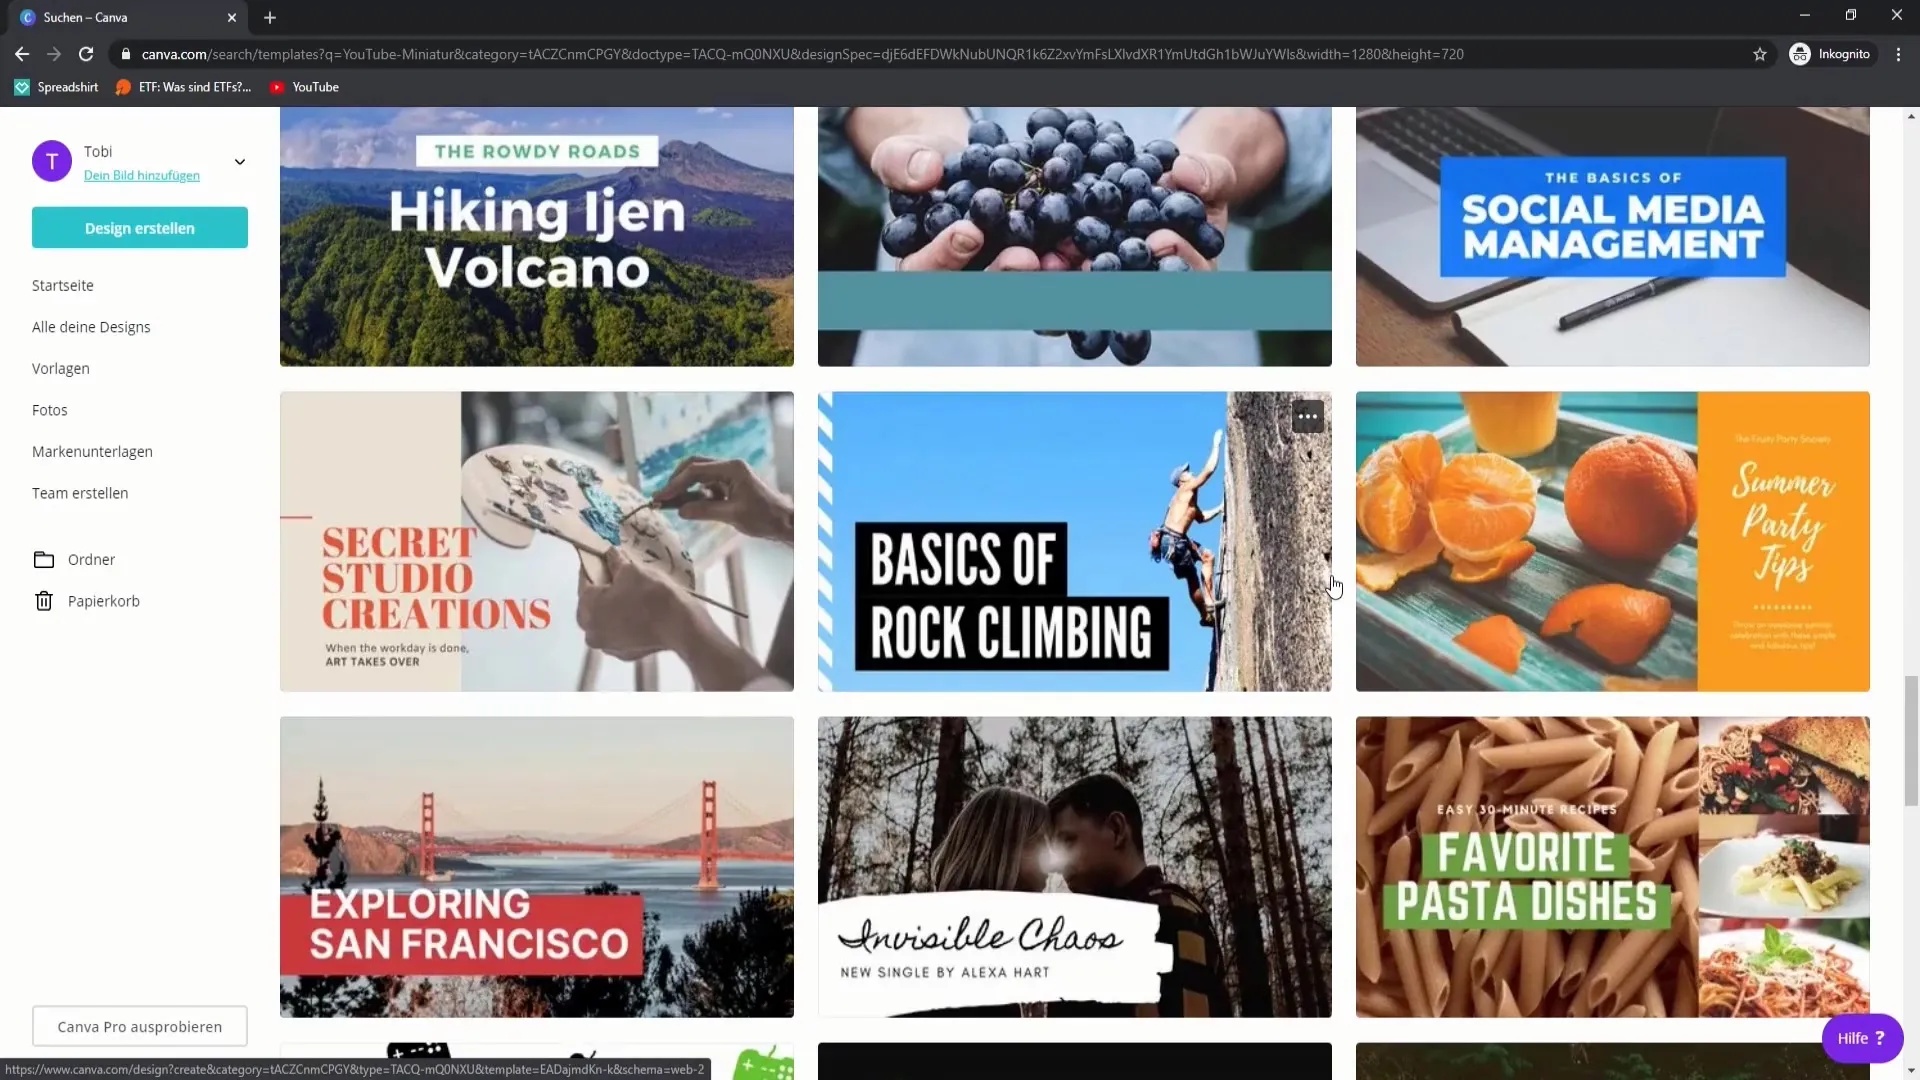
Here you will find a variety of templates. You might not like the designs offered. In this case, you can create the template yourself. Look for a design that meets your expectations, or start with a blank background.
Step 4: Add graphics and images
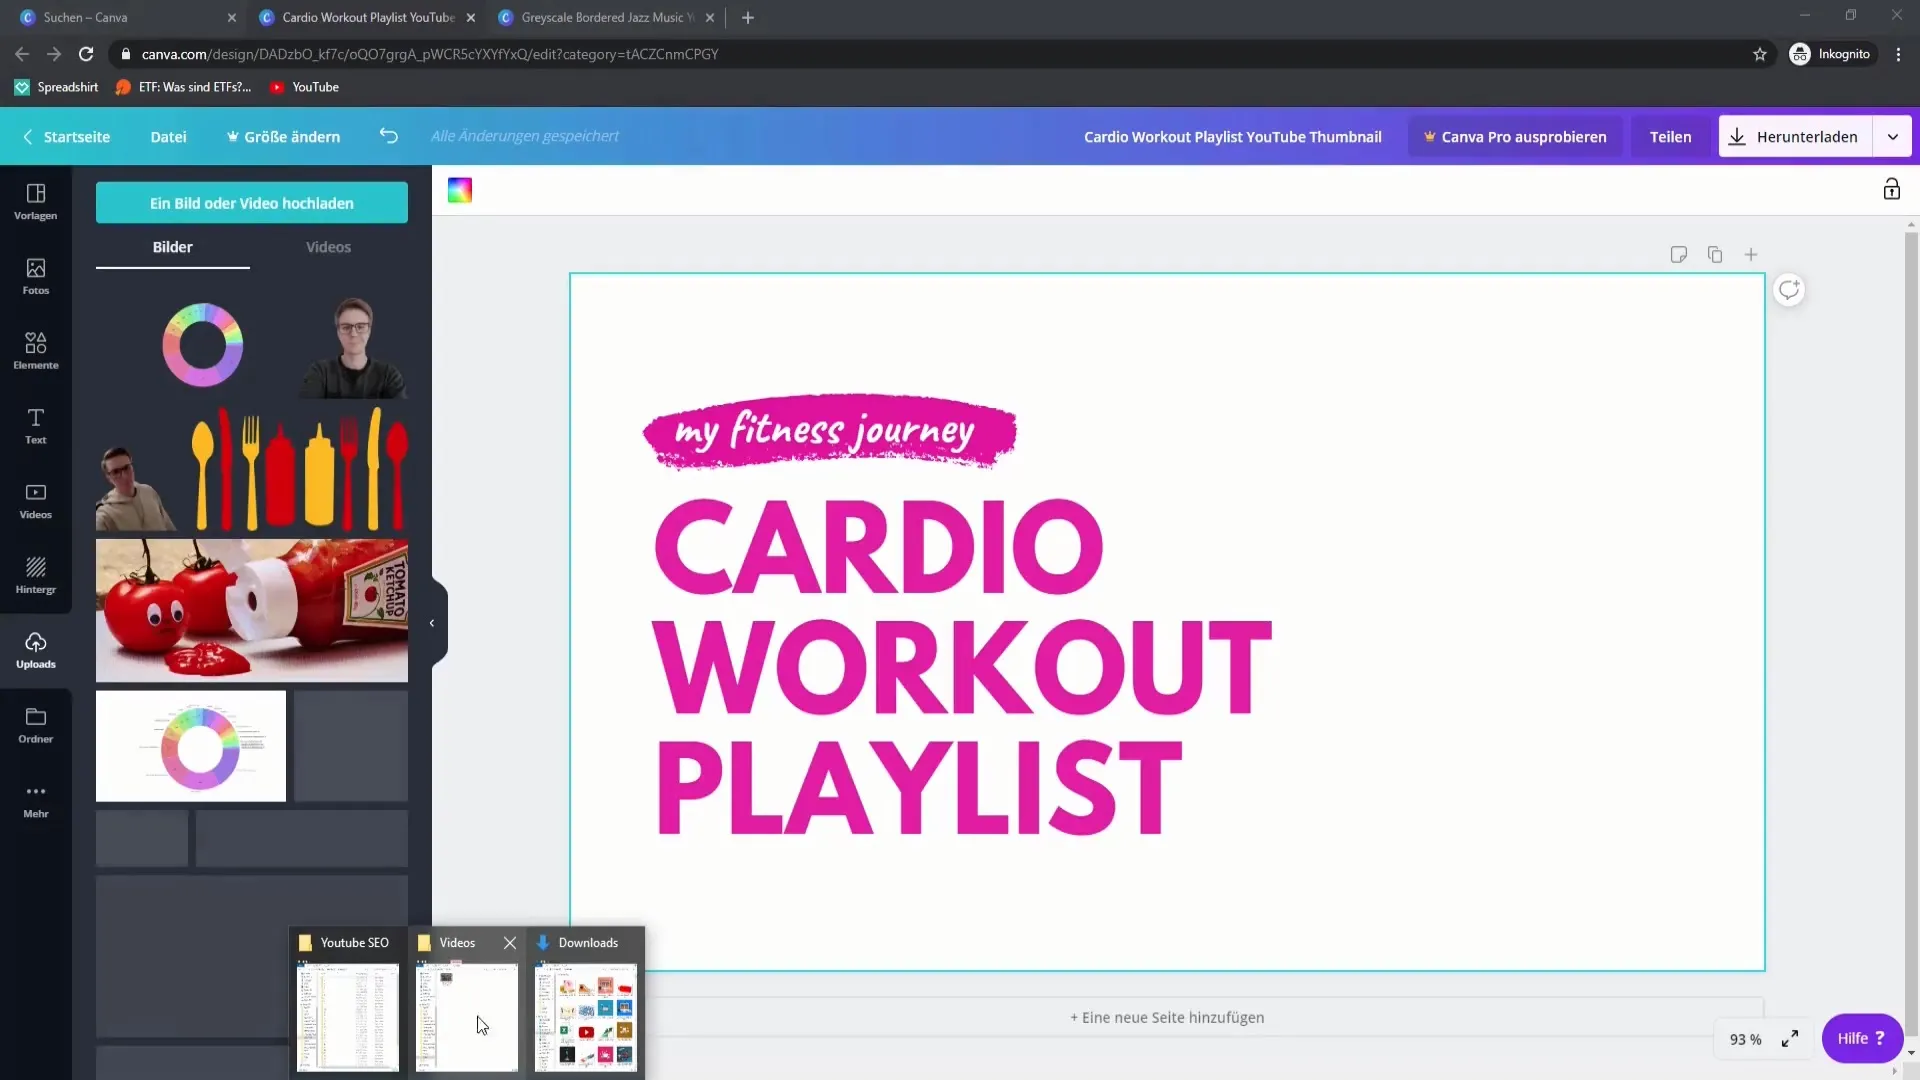
Go to "Photos" or "Elements" and search for free graphics that you can use in your thumbnail. You can also upload your own images that you have saved previously. Simply drag them into your design.
Step 5: Add text
After adding your graphics, it is important to insert the text. Think of a meaningful title that summarizes the topic of your video well. Choose a font that is easy to read and matches the color scheme.
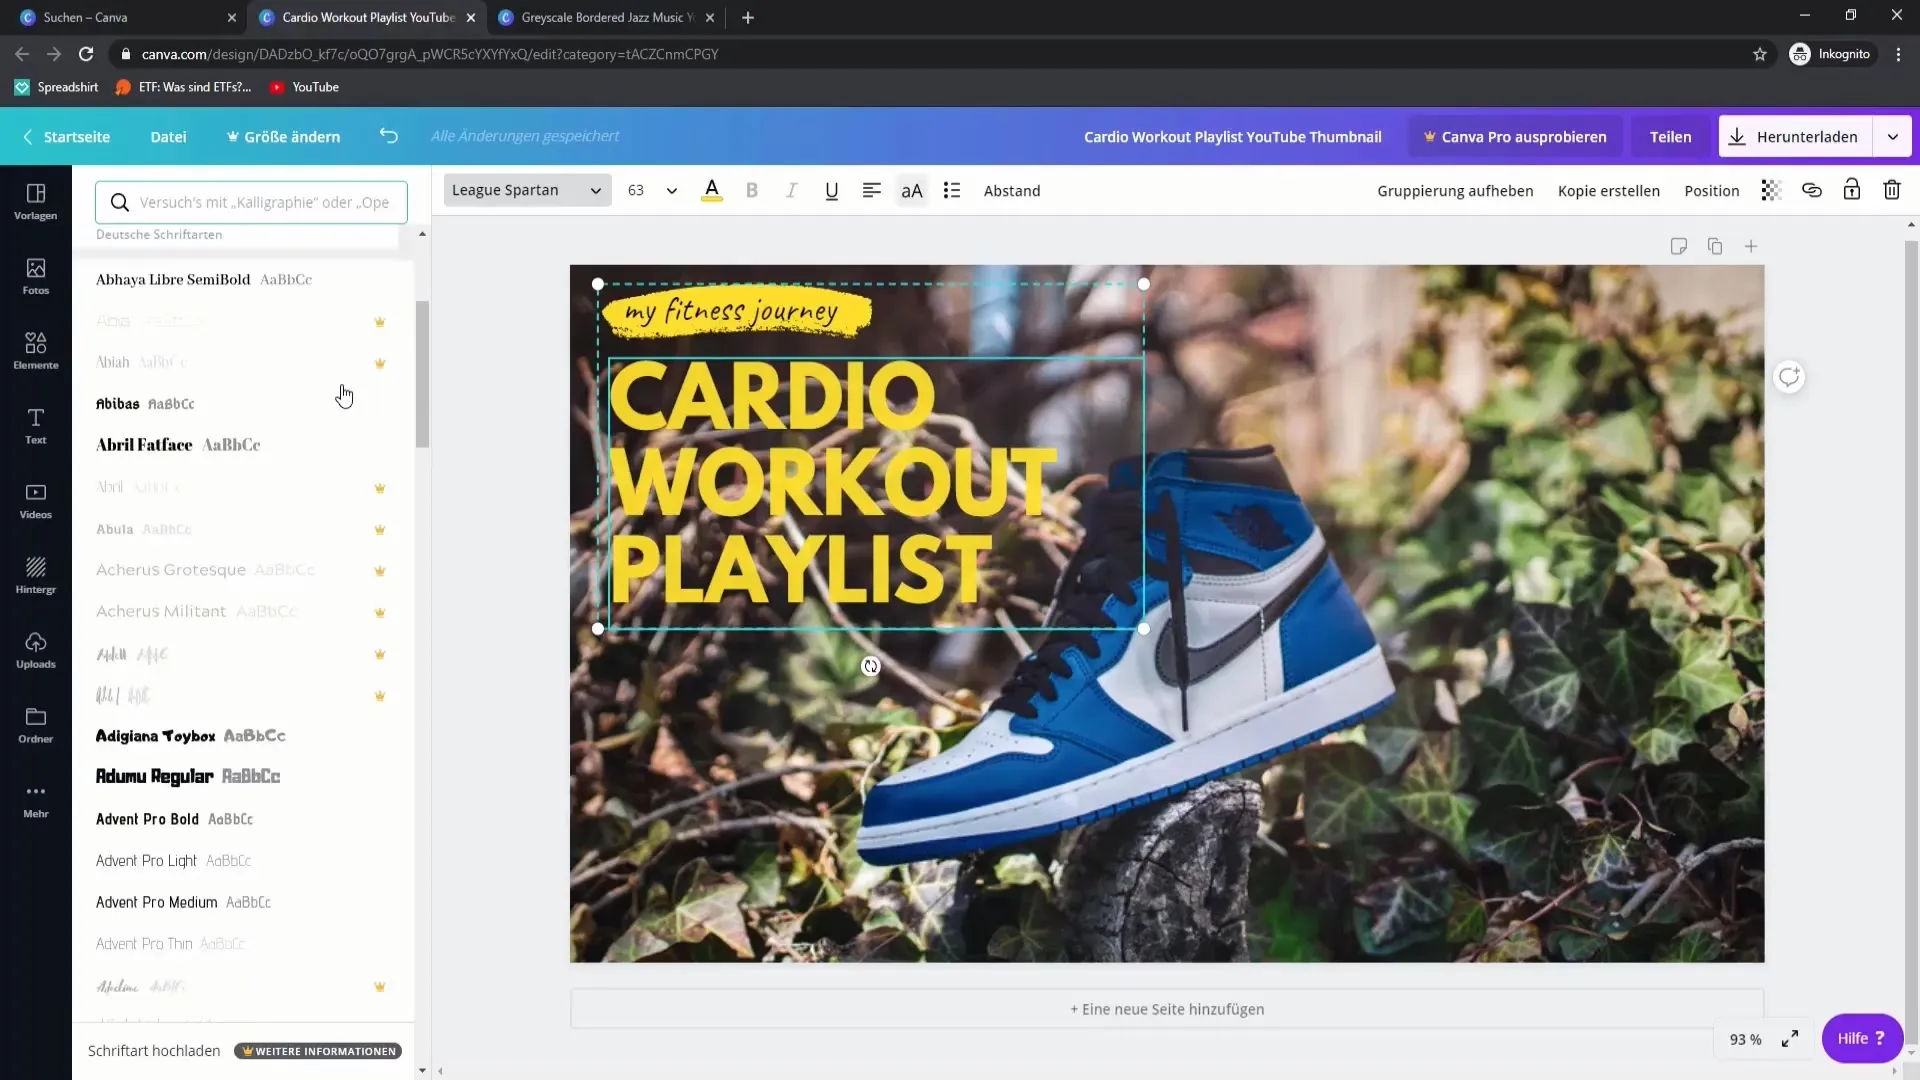
Step 6: Adjust color scheme and font
To ensure that the text is easy to read, change the colors accordingly. You can design the text in different colors to create more contrast. Make sure that the colors harmonize well with each other.
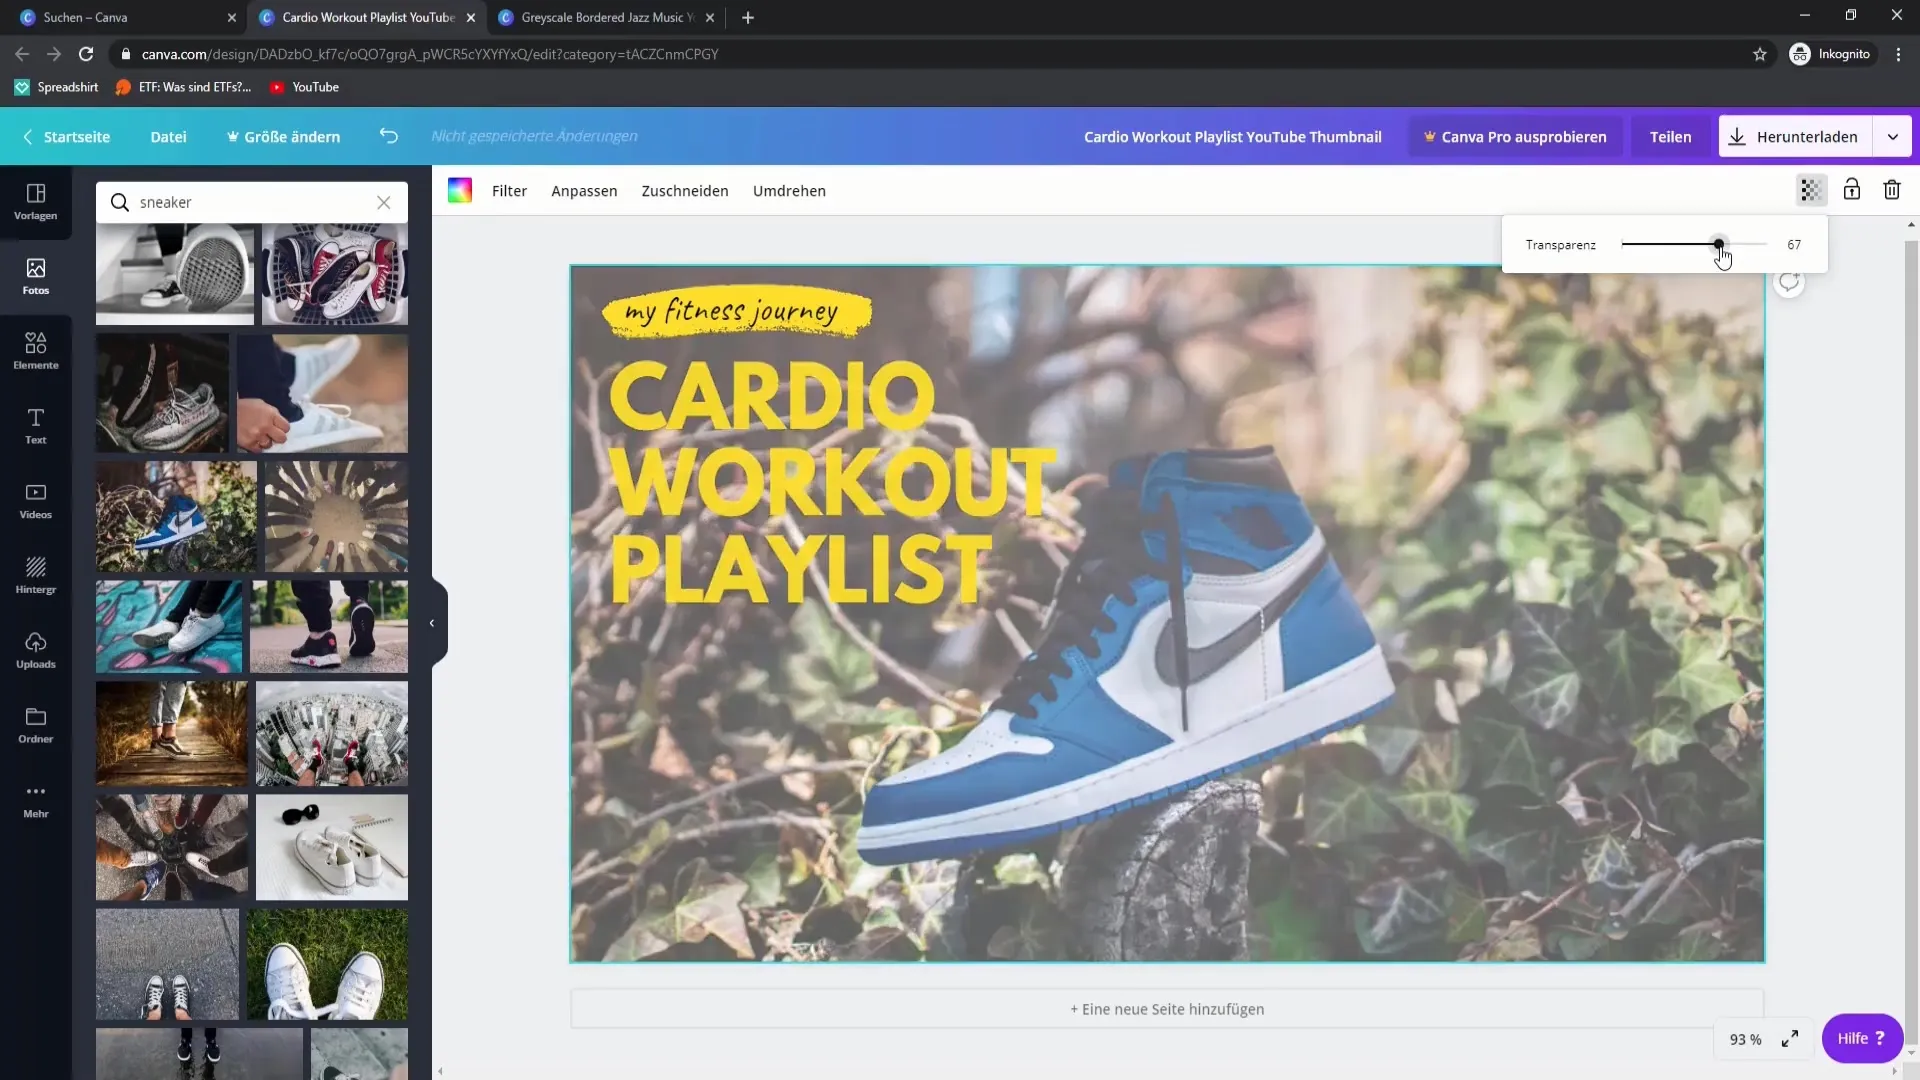
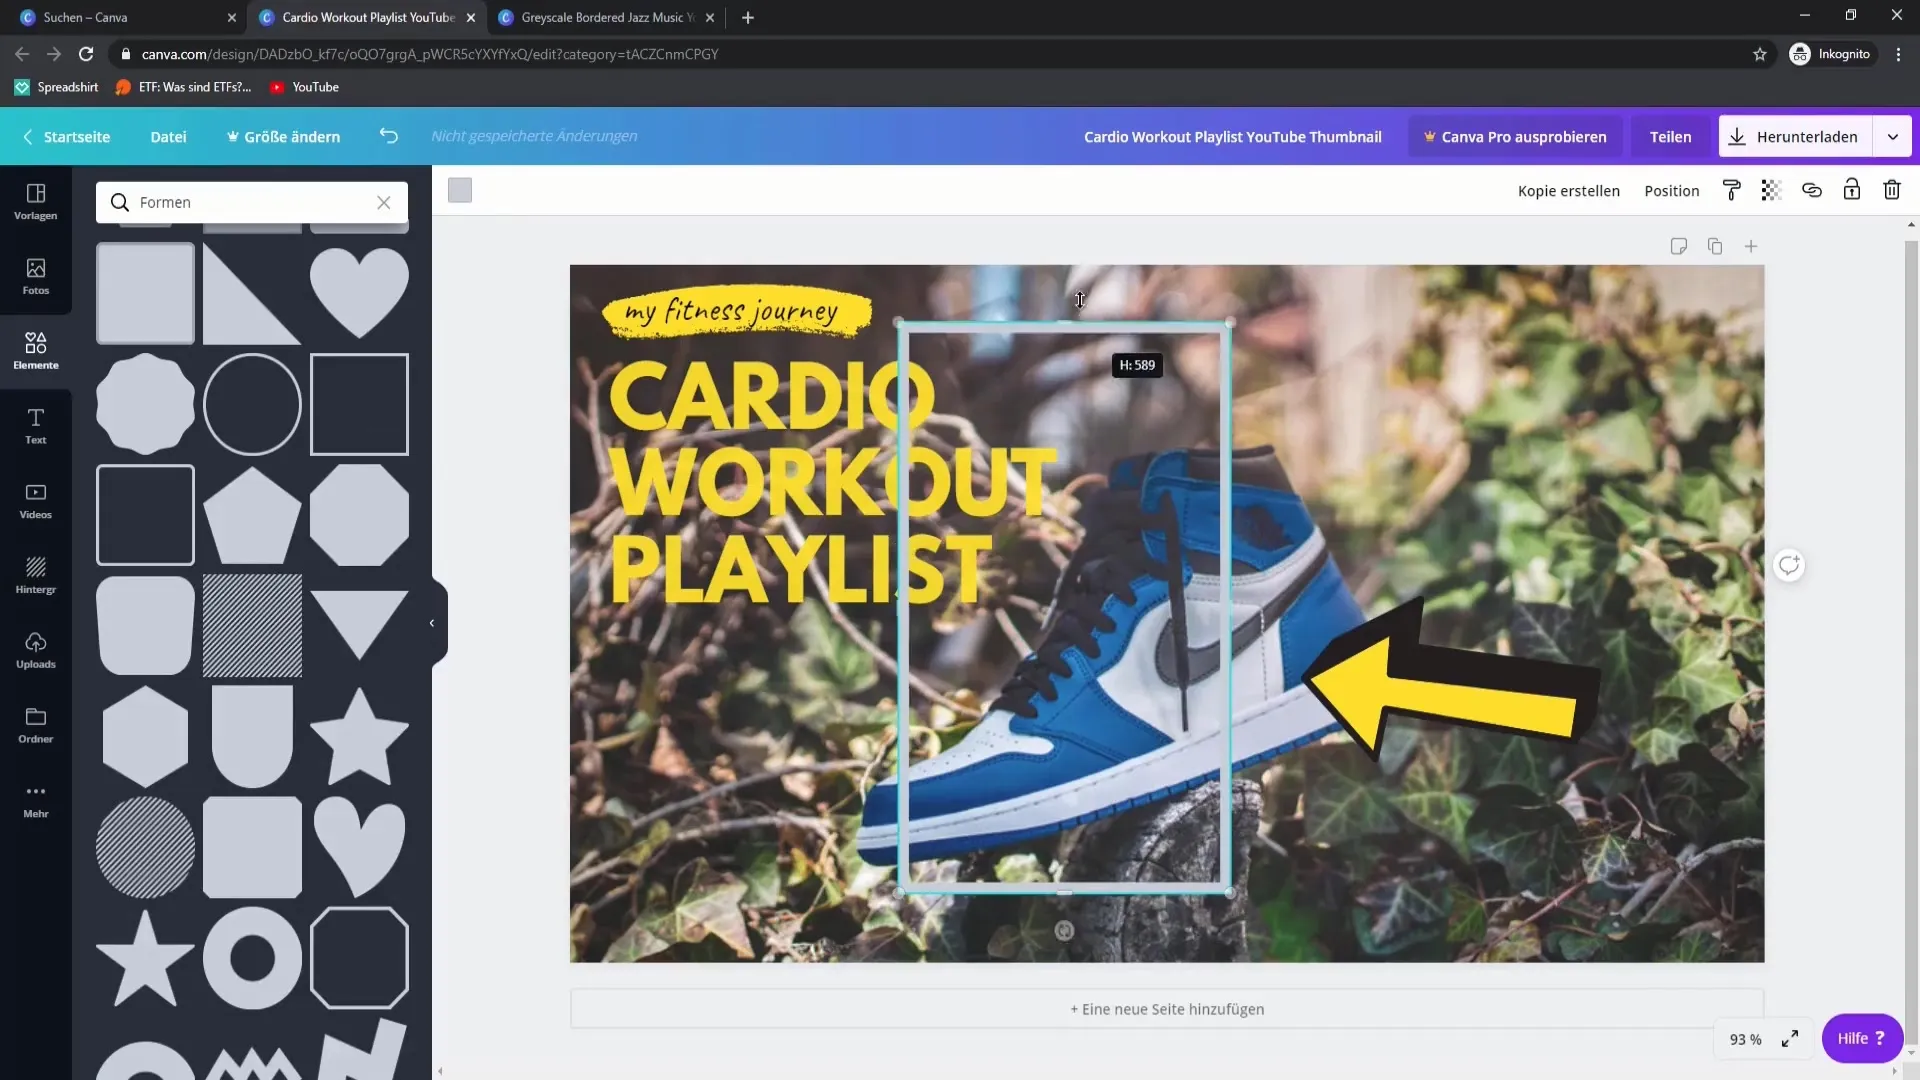
Step 7: Add elements for visualization
To make the thumbnail more interesting, add visual elements like arrows or frames. These can be used to highlight specific aspects or draw attention. Experiment with different design elements.
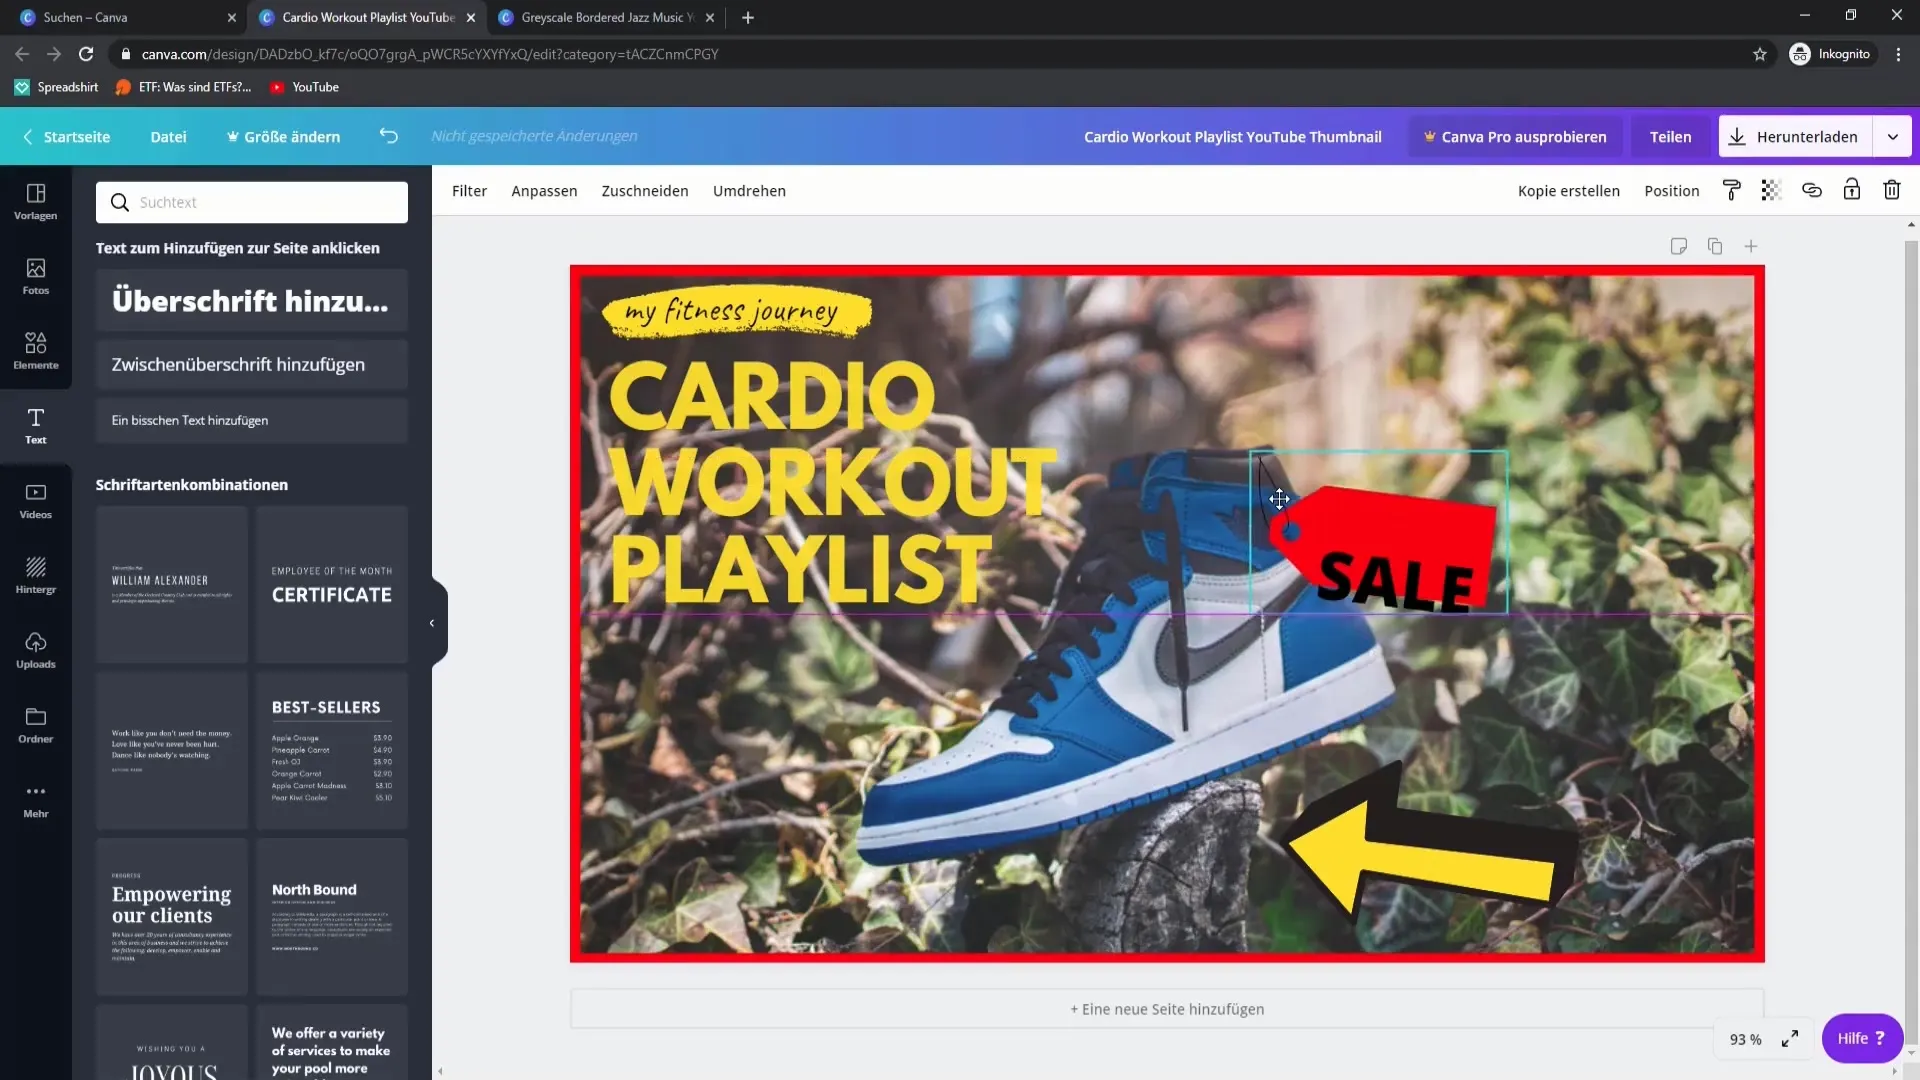
Step 8: Make final adjustments
Before saving the thumbnail, take a look at the entire design. Make final adjustments to ensure that the thumbnail is cohesive and appealing in overall design. If necessary, adjust the transparency of the images to enhance readability.
Step 9: Download the thumbnail
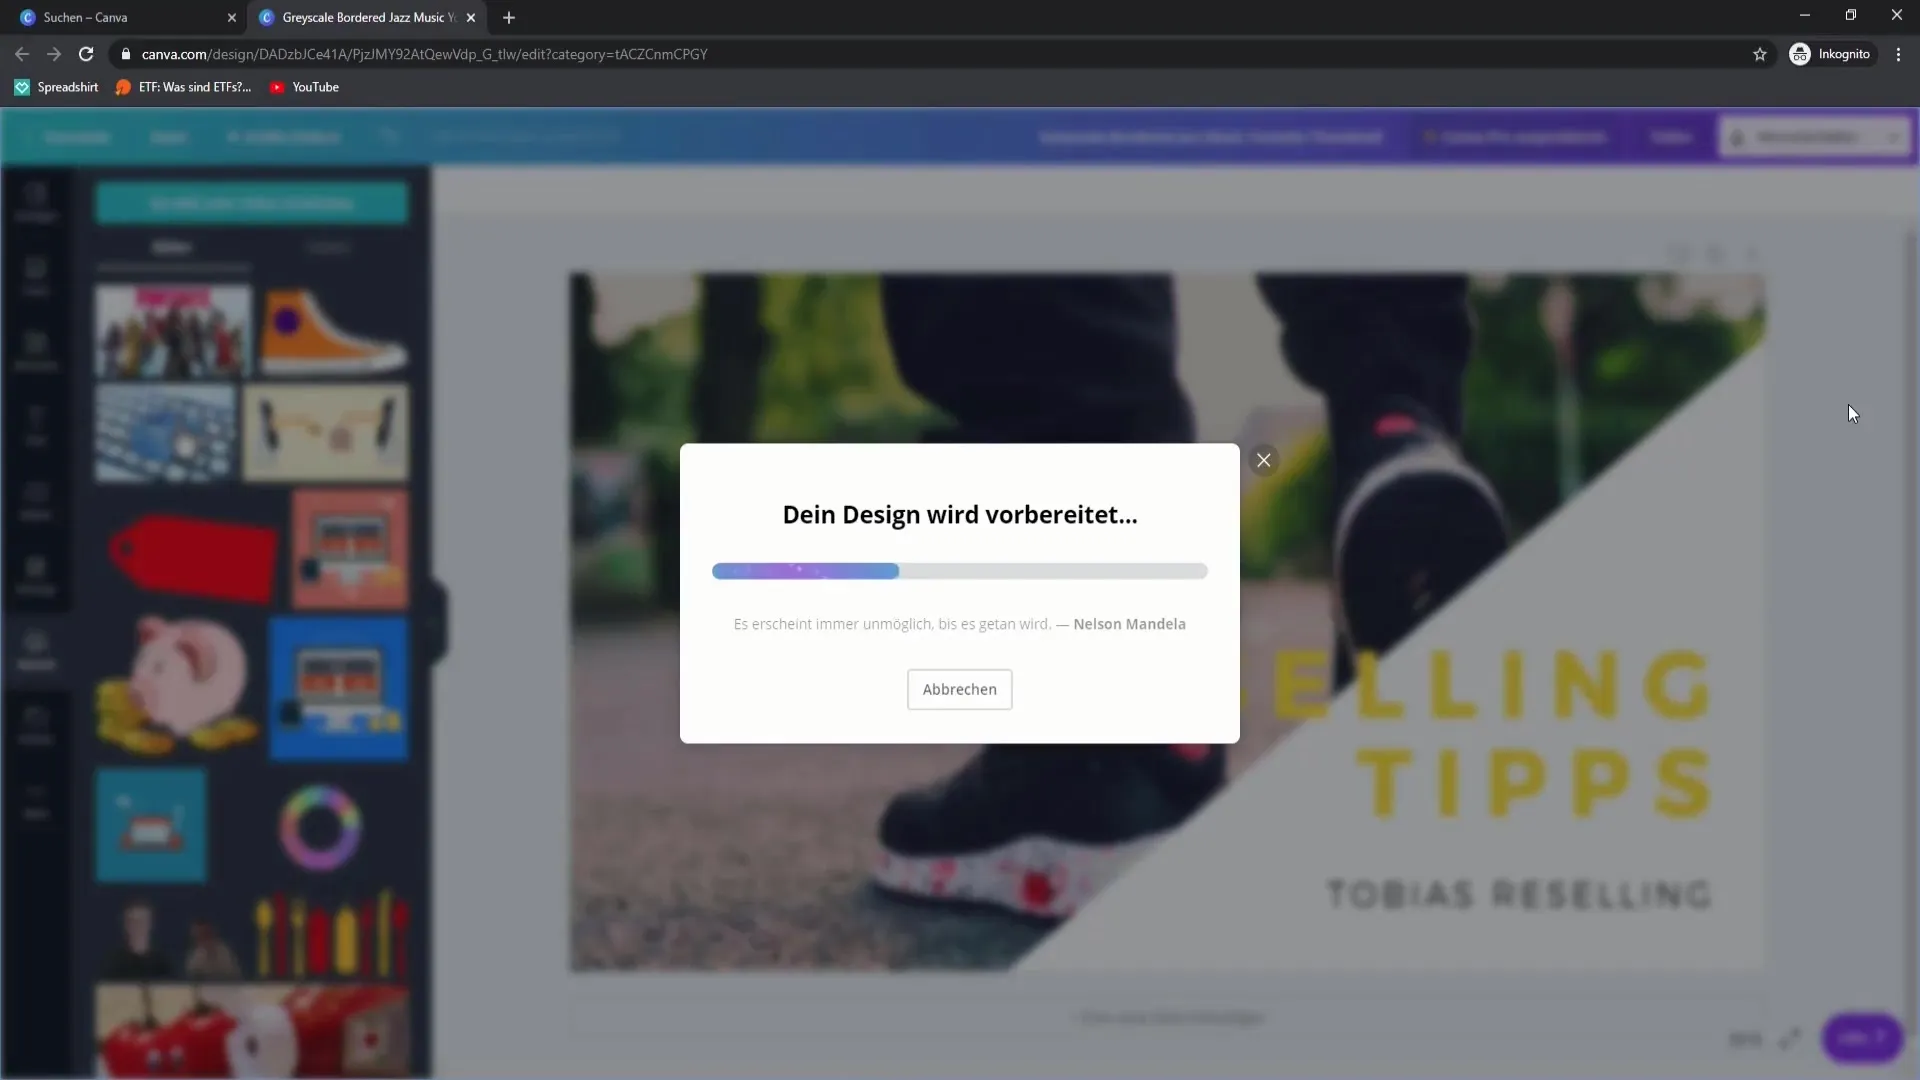
Once you are satisfied with the design, click on "Download." Choose the PNG format to ensure the best image quality. JPG files are less suitable as they can lose quality.
Step 10: Upload and optimize your thumbnail
Go back to your YouTube channel and upload the thumbnail for your video. Make sure to choose a thumbnail that matches the video content and meets the expectations of your target audience.
Summary – Thumbnail Design for YouTube: Step-by-Step Guide
Creating an effective YouTube thumbnail requires considering the target audience, an engaging design, and using the right tool. With Canva, you can easily implement the steps, increase the attention for your videos, and thus promote interest in your channel.
FAQ
How do I choose the right size for my thumbnail?The ideal size for a YouTube thumbnail is 1208 x 720 pixels.
Which tool can I use to create my thumbnail?Canva is a popular free tool for graphic design.
How important is the color scheme of my thumbnail?The color scheme is essential to create contrast and enhance readability.
Can I use images from Google for my thumbnails?It is advisable to use only images for which you own the rights or that are royalty-free.
Do I need an account for Canva?Yes, you need to register to use all features of Canva.


