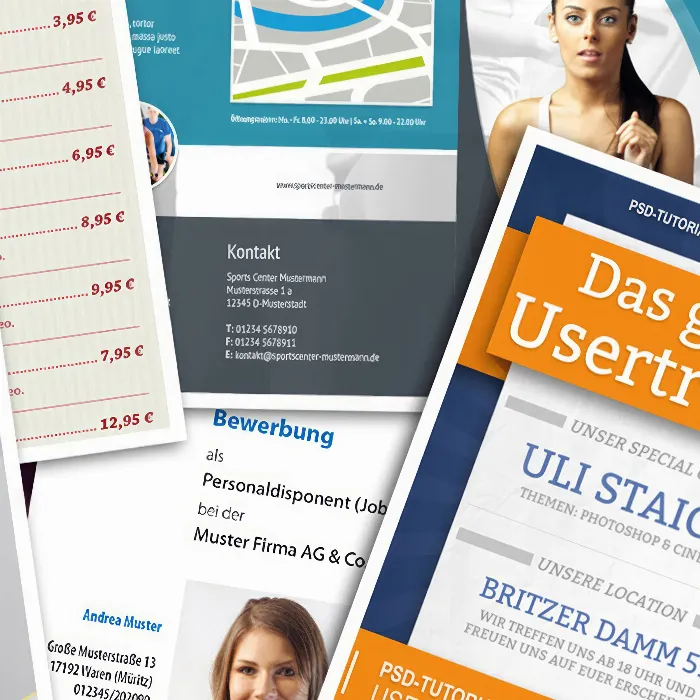
The basic idea for the logo was a purchased vector graphic from the www.fotolia.de image database.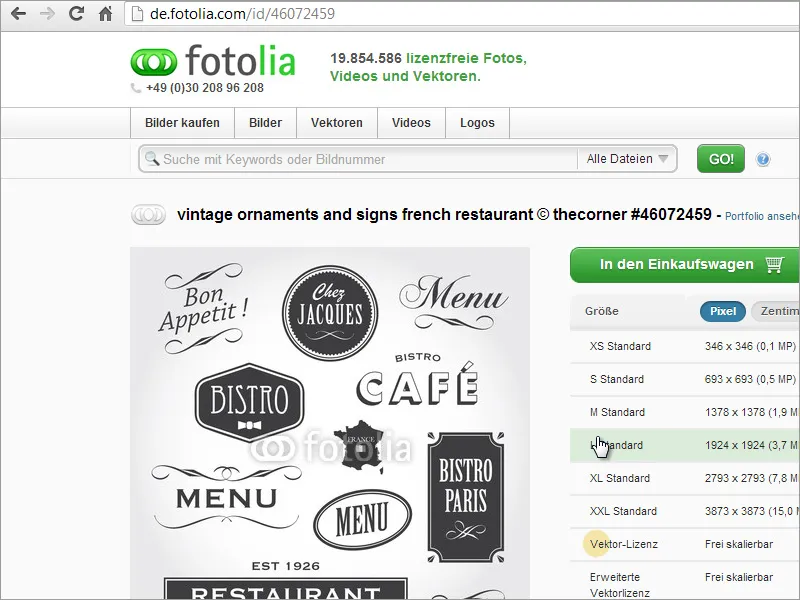
You can open this in a vector editing program, for example Adobe Illustrator. However, it turns out that a purchased graphic is not always an advantage, as the fonts, for example, have already been converted into curves and are therefore not easily adaptable.
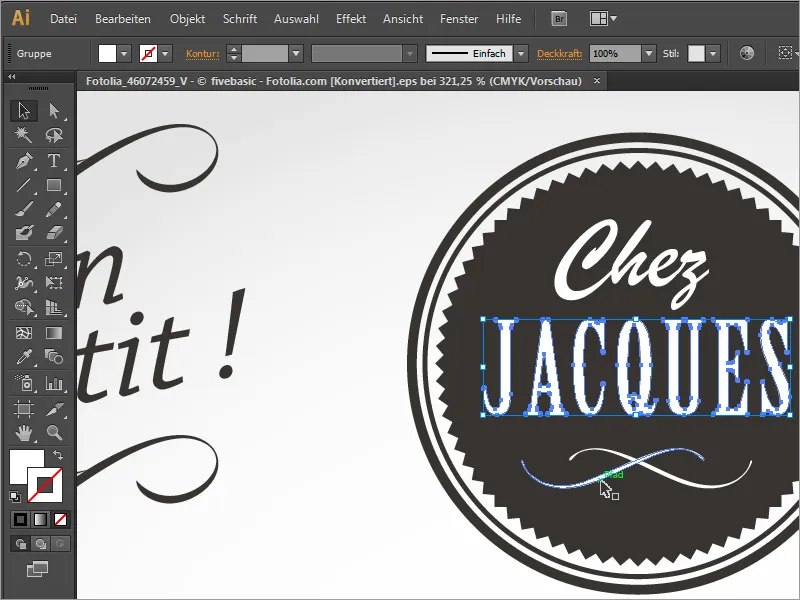
As this graphic is not particularly complicated, you can also create it yourself right from the start. Simply use a copy of this template as a stencil.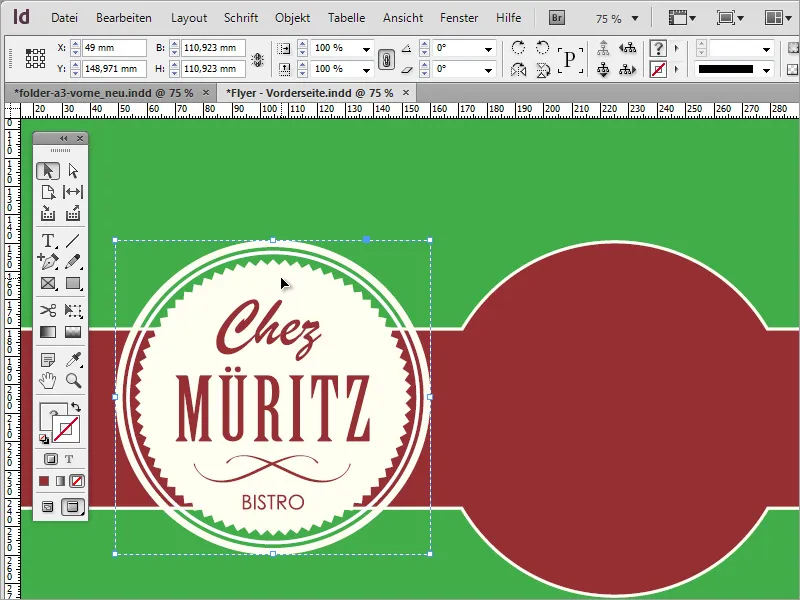
If you look at this graphic, it consists of several elements. For example, you can start by creating a circle. To do this, call up the ellipse tool and draw an even circle with Alt+Shift from the center and give it a 6 pt thick outline.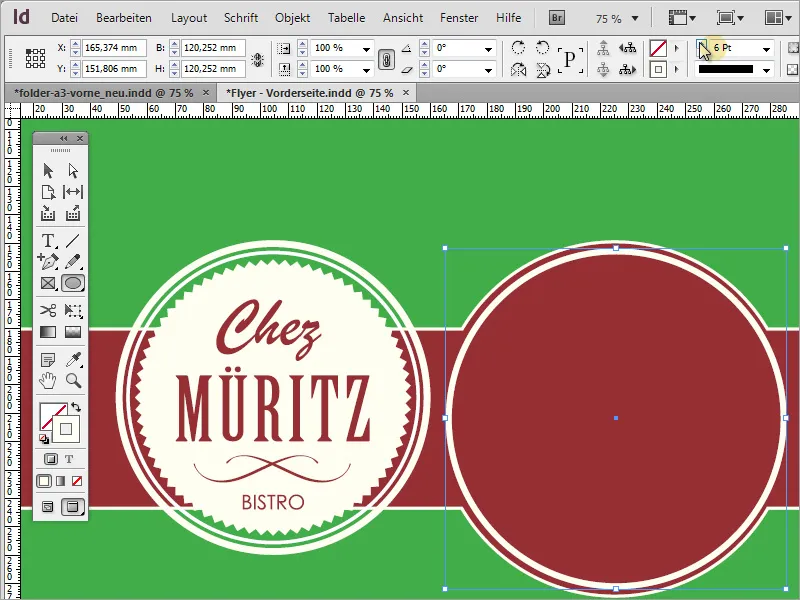
Reduce the graphic with Alt+Shift if necessary. Now you need a copy of the object. Use Ctrl+C and Ctrl+Shift+ Alt+V to create a congruent copy of the object. Reduce the outline of the object to 3 pt thickness and scale it smaller. Please make sure that the reference point is in the center.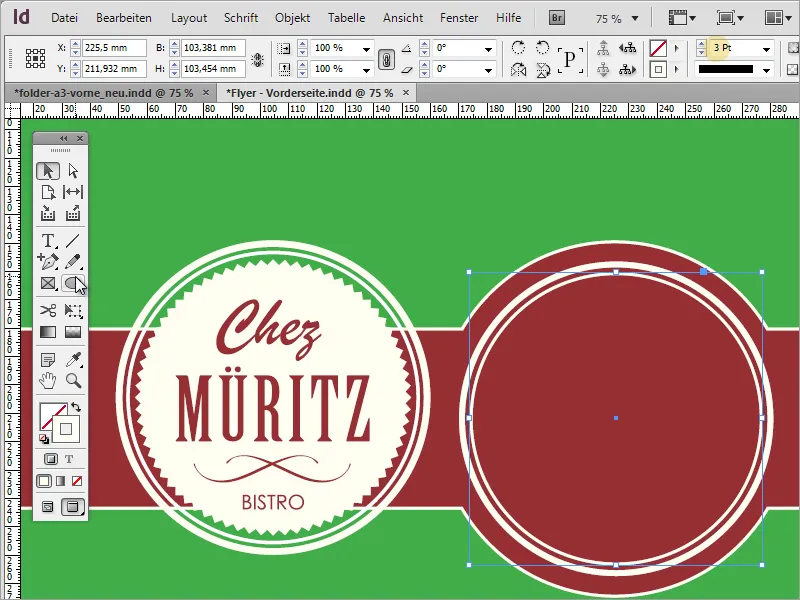
The jagged circle is still missing. You will need the polygon tool for this. Once you have activated the tool, you can double-click on the tool thumbnail in the toolbar to access the specific settings. Here you can enter the number of sides (i.e. corner points) and specify how pronounced they should be. The value of 100 for the sides and 5 % for the balancing for the star shape are the tried and tested settings here.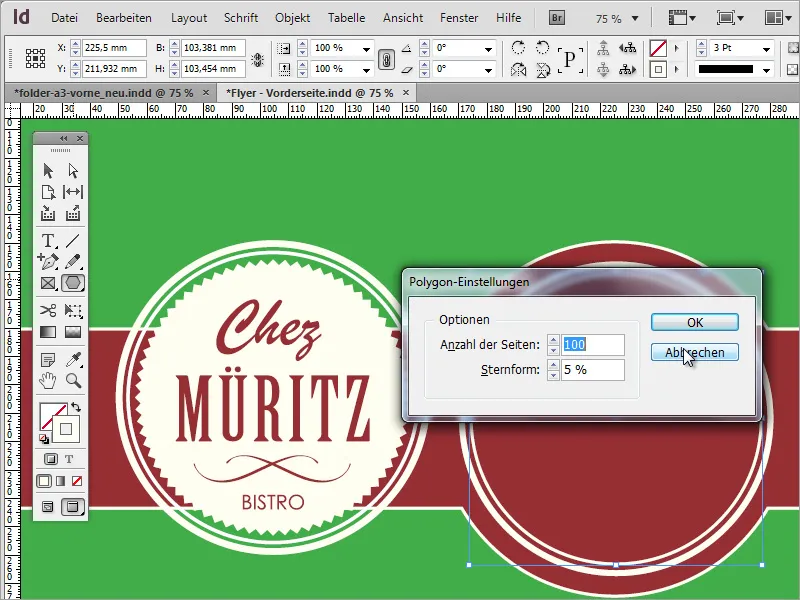
You can now use Alt+Shift to draw this jagged circle evenly from the center outwards. Set the surface color to beige - an outline is not necessary.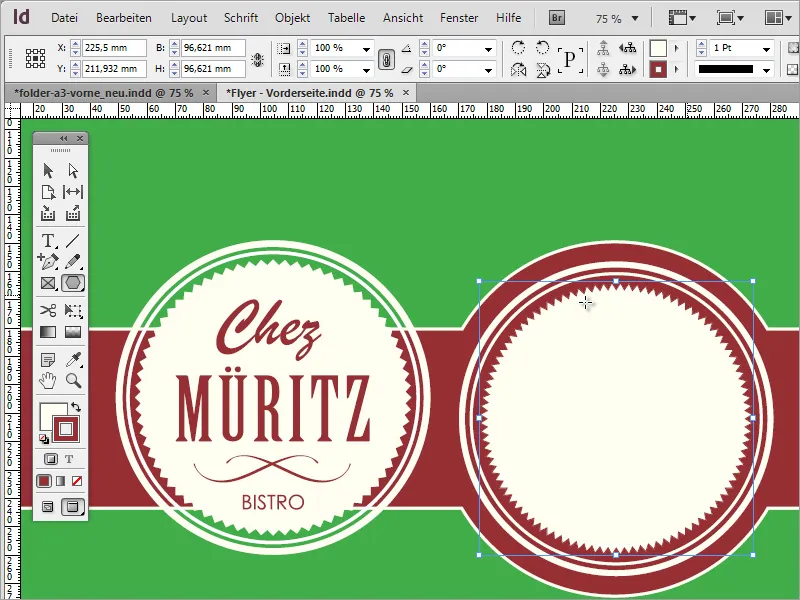
By double-clicking on the polygon tool again, you can also change the values for the jaggedness of the selected object.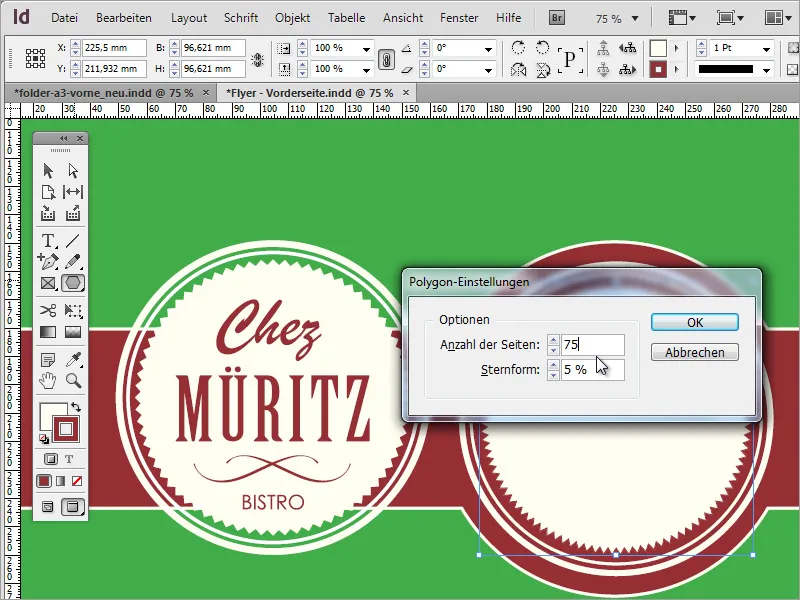
You can now enter the text. To do this, draw a text frame for the bistro name using the text tool. Then enter the name in this frame. For the example, the Brush Script Std font was used in the Medium font style at a size of approx. 50 pt.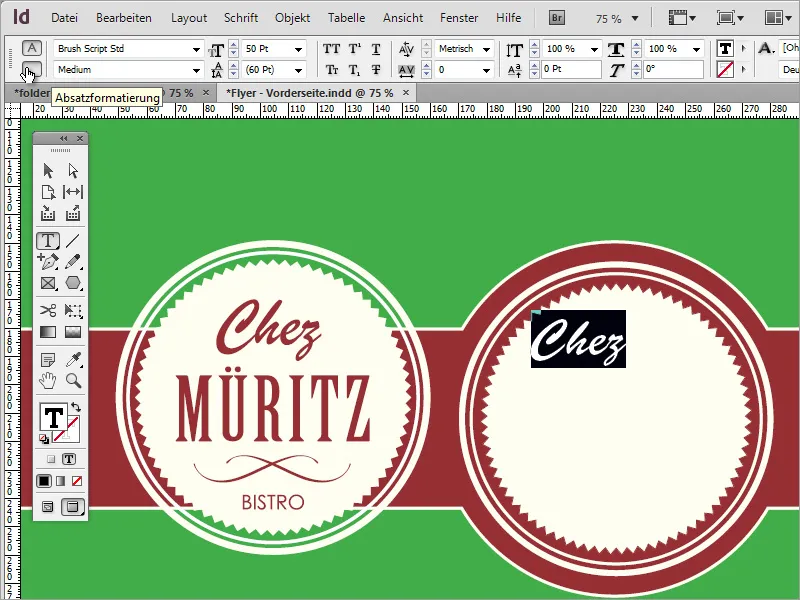
Now you just need to center this font and add the company color.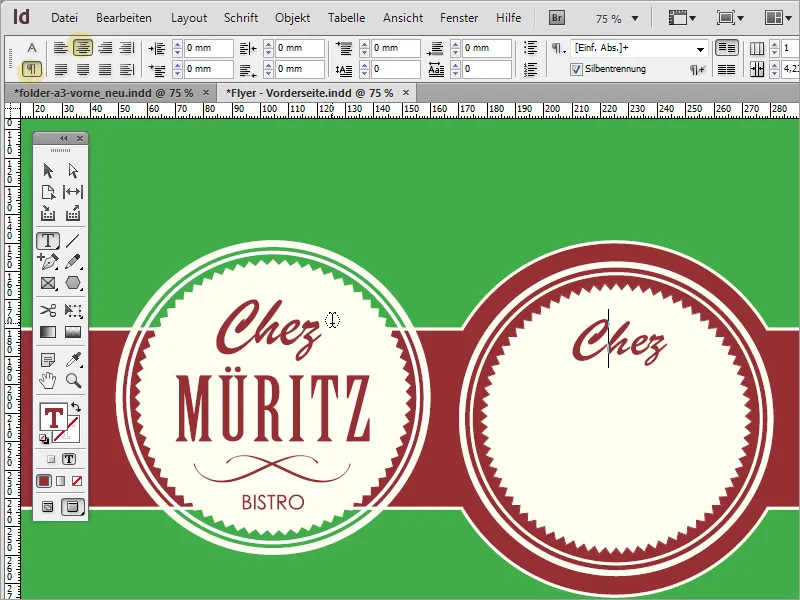
You can use any font you like for the place name or the addition. This also applies to all written content. I use Futura LT in capital letters.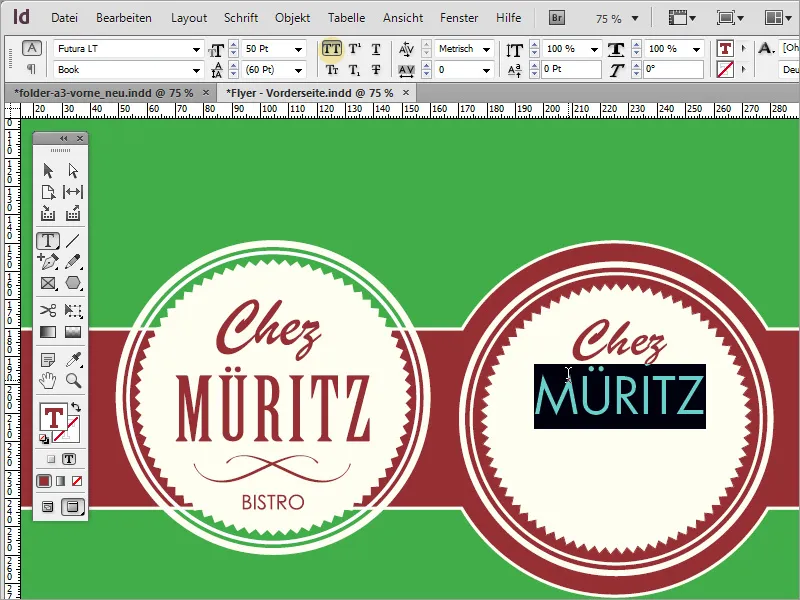
Alternatively, you can also use the same or a similar font as in the logo. This could be Chaparral Pro in regular and 60 pt, for example. This has also been made narrower. At this point, it always depends on which font you choose.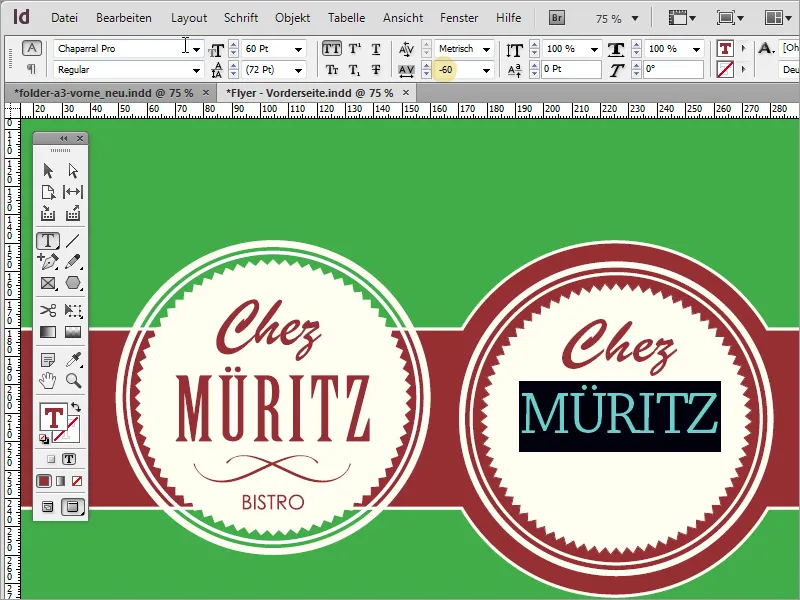
If you want to make the font longer, you can do this by converting this text into paths and then scaling it.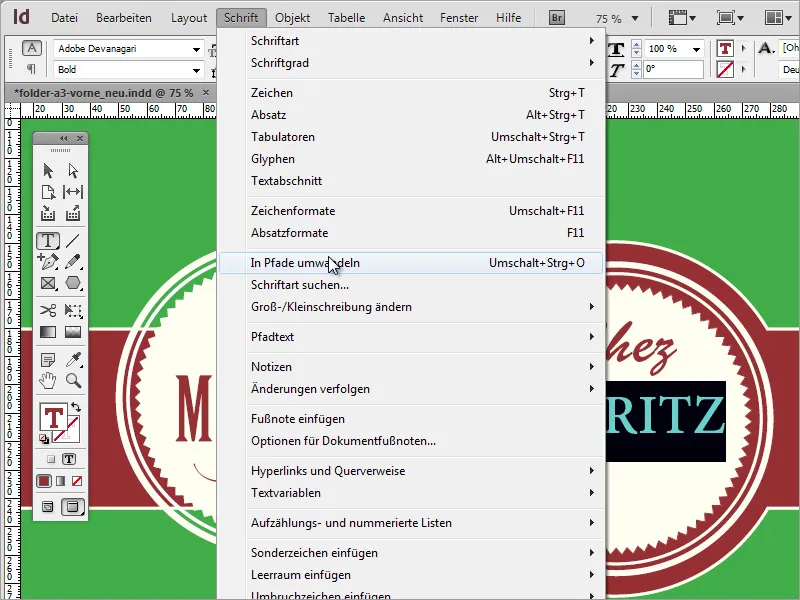
But it's also very simple: insert the text into a new text box and scale it by holding down the Shift key. (Or simply increase the letter length in the options). Many roads lead to Rome.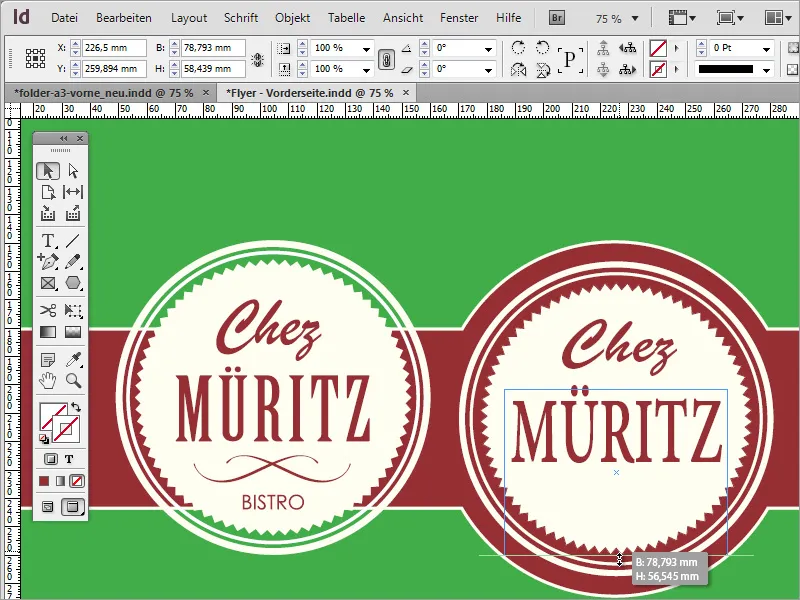
You can also create the crossed lines yourself or, if available, copy them from an existing vector file into the document.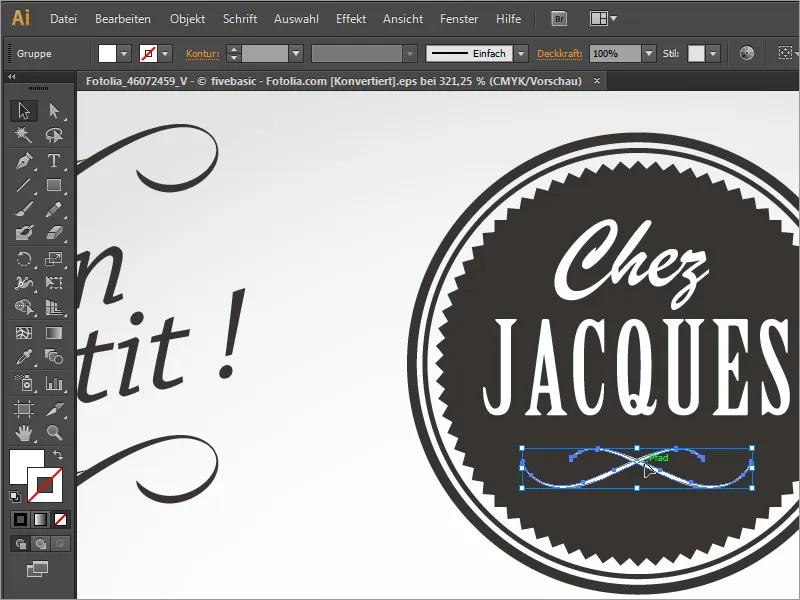
The copied graphic simply needs to be pasted into the document. You may need to deactivate the outline color and change the area color and scale the object.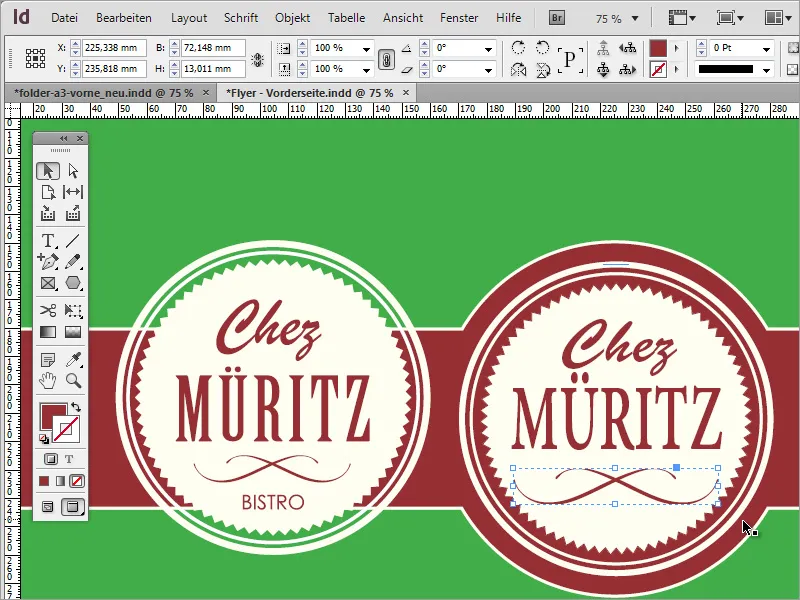
And finally, you will need the location name - the good bistro as text. Simply add this text to the existing text box. Adjust the font to your liking. In the example, Futura LT was used again in capital letters at approx. 20 pt.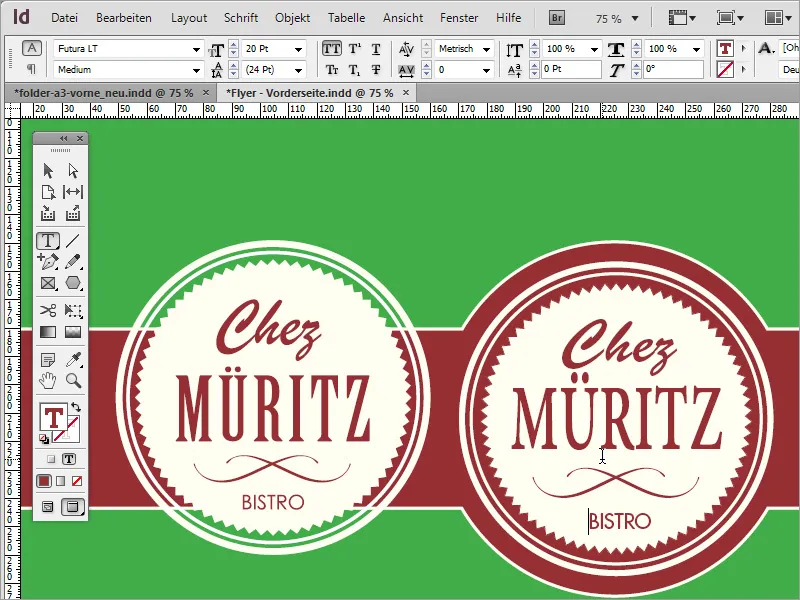
Now the reference to the opening hours of the restaurant is still missing. To do this, you can copy the rectangular area from the page header and paste it below. To do this, simply hold down the Alt key and drag this rectangle to the bottom of the page.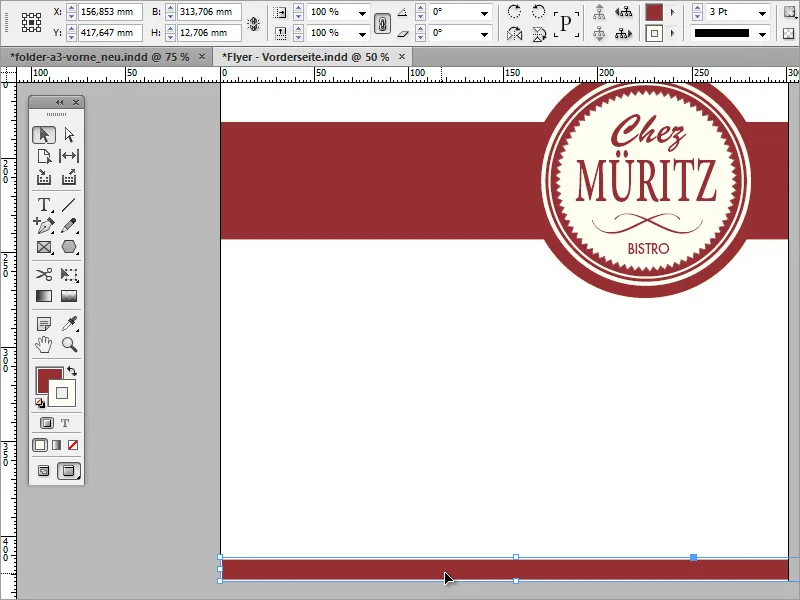
Scale the rectangle so that it is slightly larger. Enter the opening hours in a text box. Futura LT in 14 pt and Medium font was used for the text.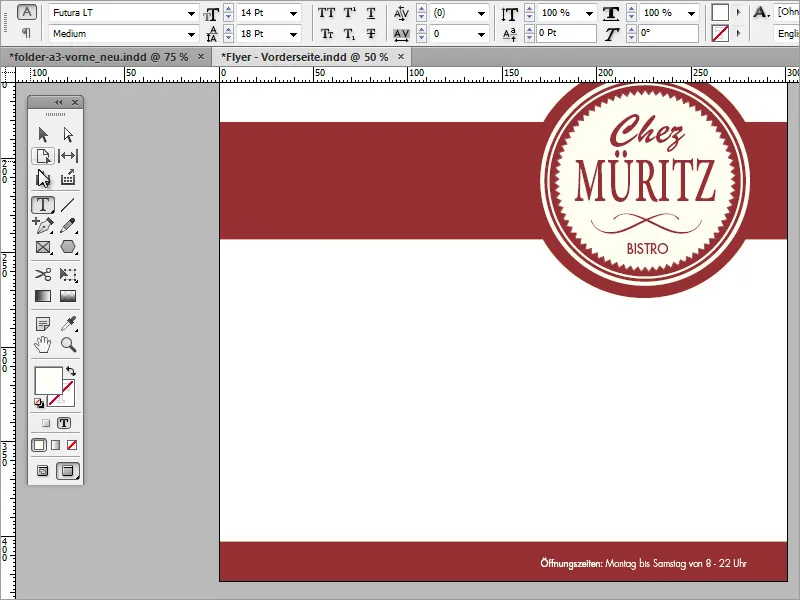
Now turn your attention to the background structure. There are basically two ways in which you can do this. The first way is to obtain a suitable texture from the Internet. You can download such textures from the www.subtlepatterns.com website.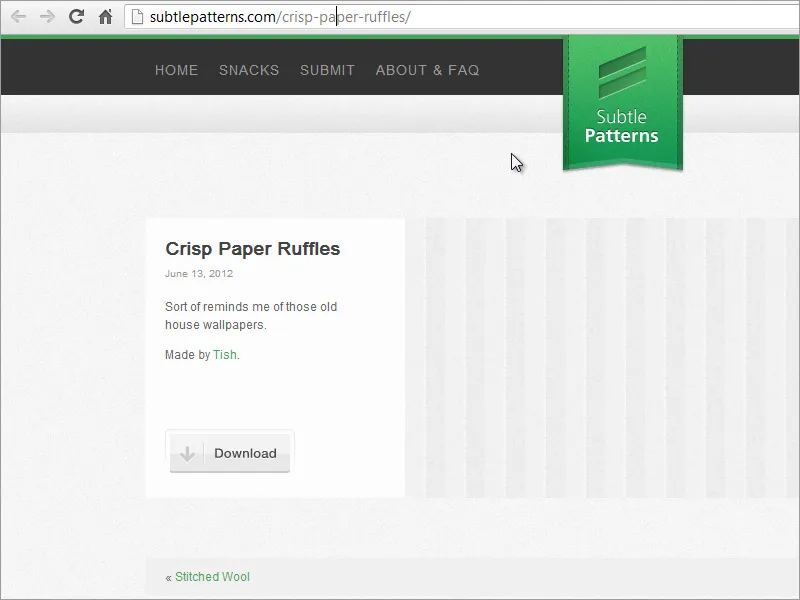
Then you can use an image editing program such as Adobe Photoshop to further edit this texture. Create a new file for the A3 format in this program.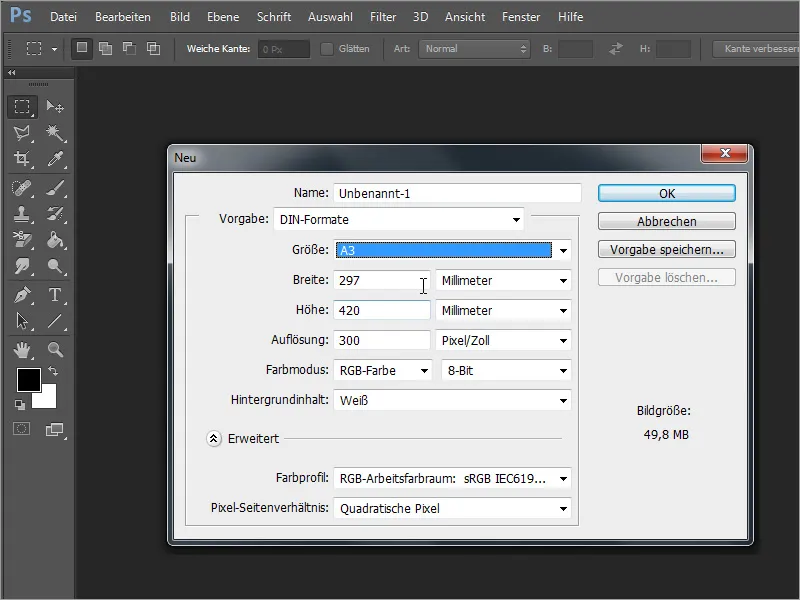
Press F7 to open the layer control panel and double-click the background layer to convert it into a normal layer.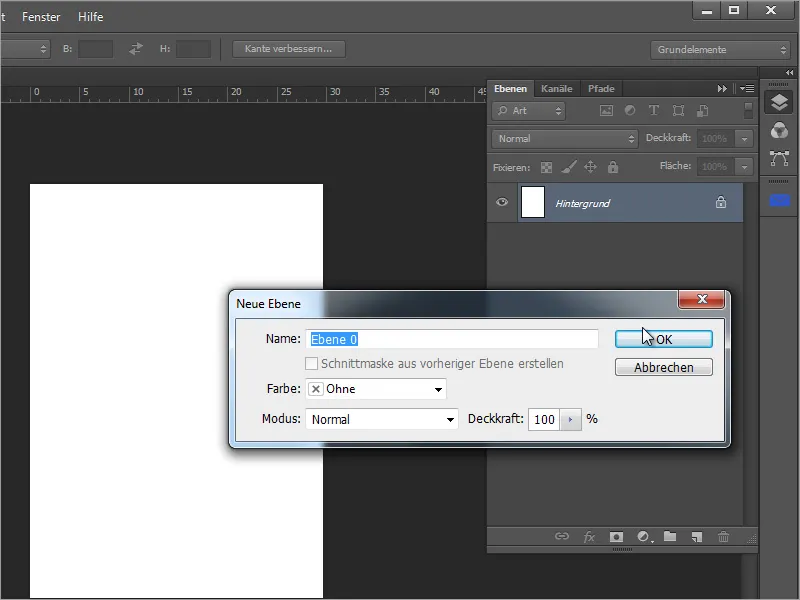
A pattern should be placed on this layer. However, before you do this, open the downloaded pattern in a separate file in Adobe Photoshop. Use Ctrl+A to select the entire area of this pattern. With the selection active, switch to the Edit>Define pattern menu.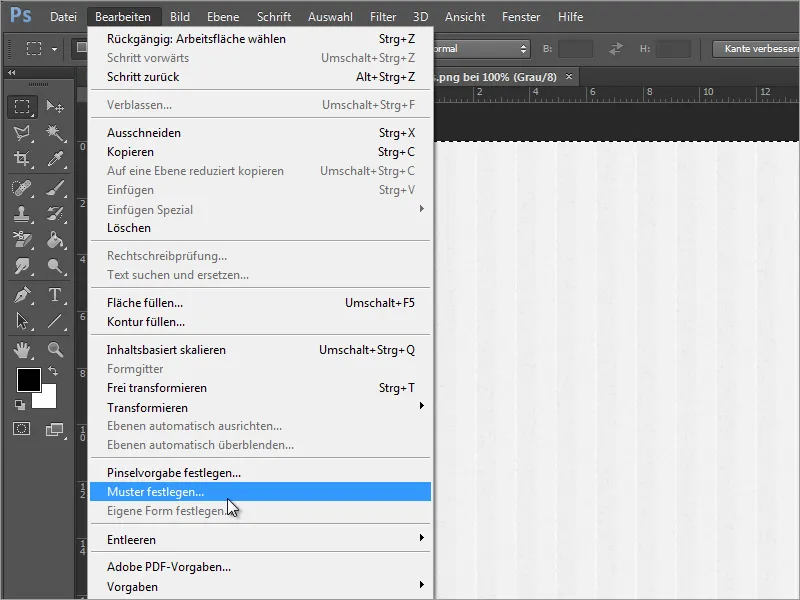
A dialog box opens to save the pattern. If necessary, create a different name here.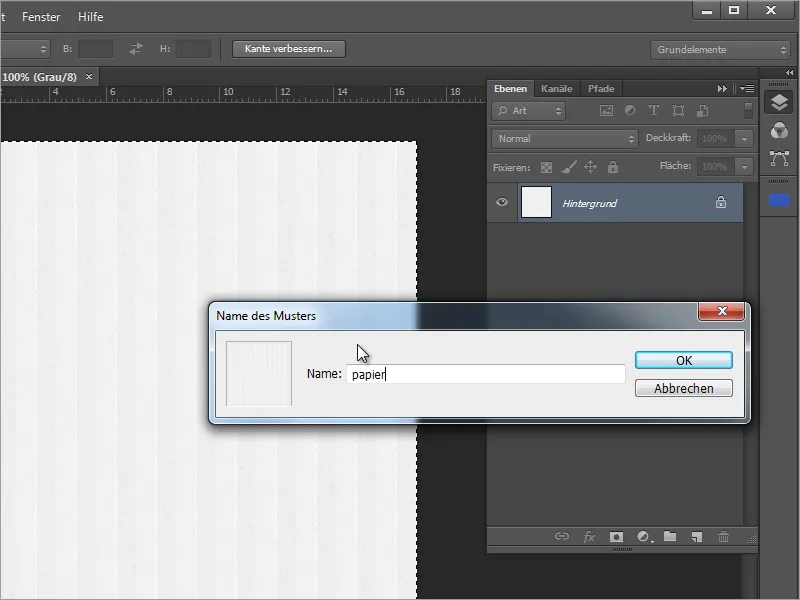
You can then switch back to the A3 document. First change the object to the CMYK profile via the Image>Mode menu item. Confirm the dialog box.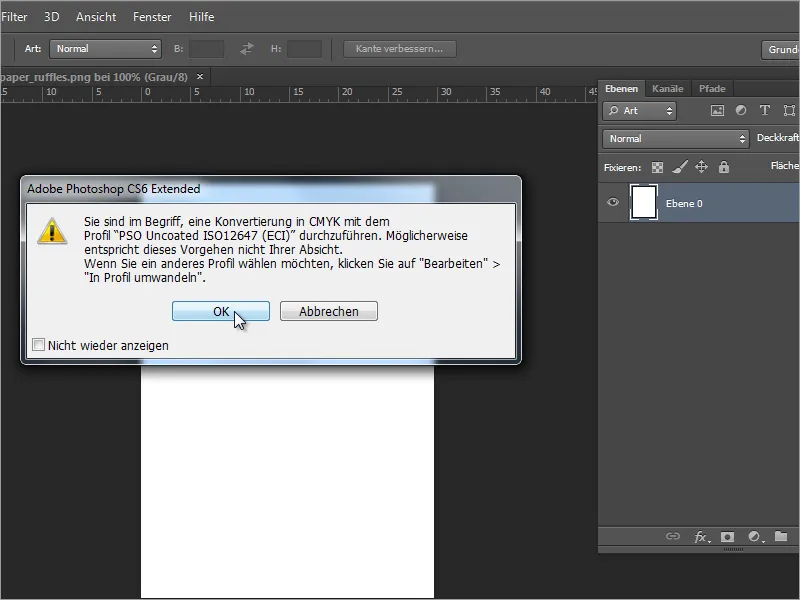
It is now important that you change the background color in Adobe Photoshop beforehand. Use the color values that were used for the beige in the InDesign document as a guide. This corresponds to a 5% yellow component.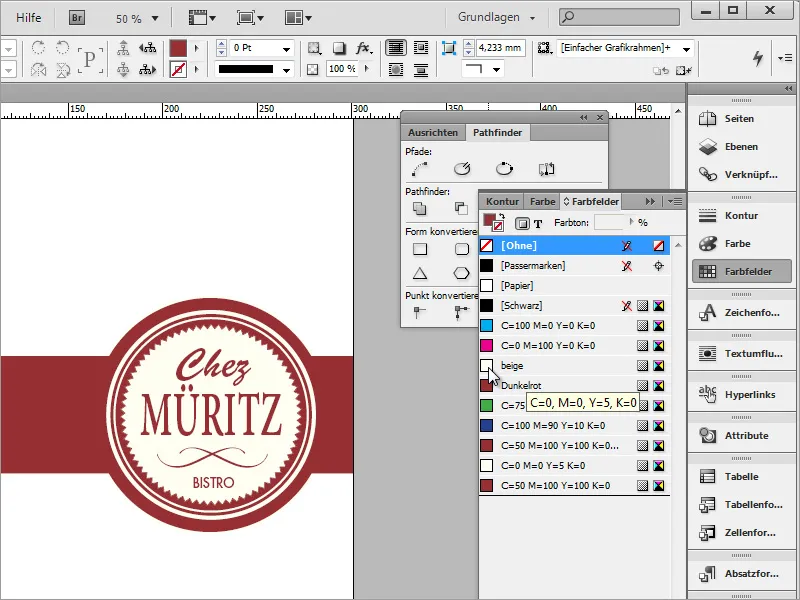
You can double-click on the color thumbnail in the toolbar in Adobe Photoshop to open the color picker dialog box and enter the color value directly there.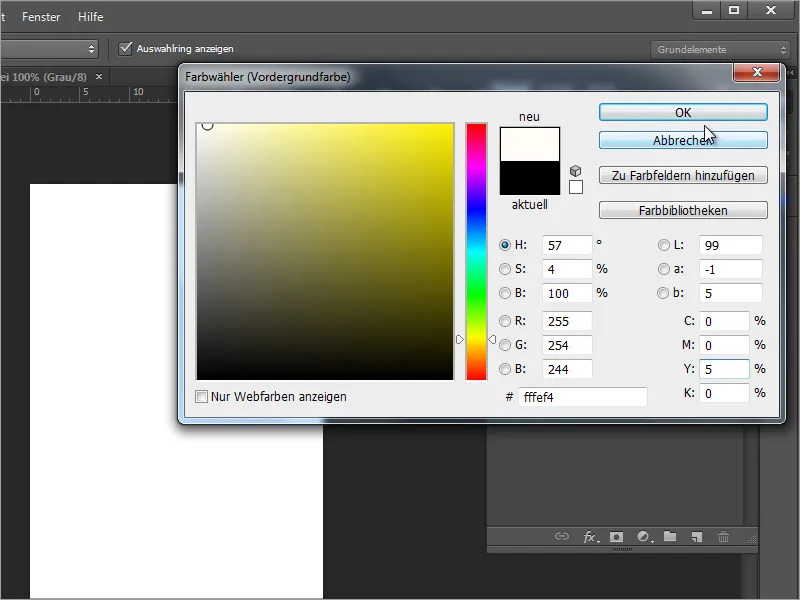
With Alt+Backspace you can fill the active workspace with this new color.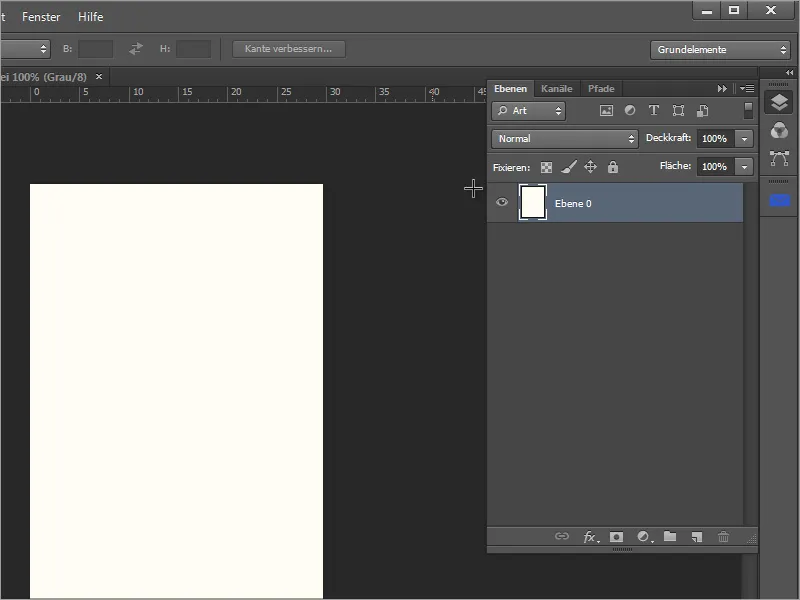
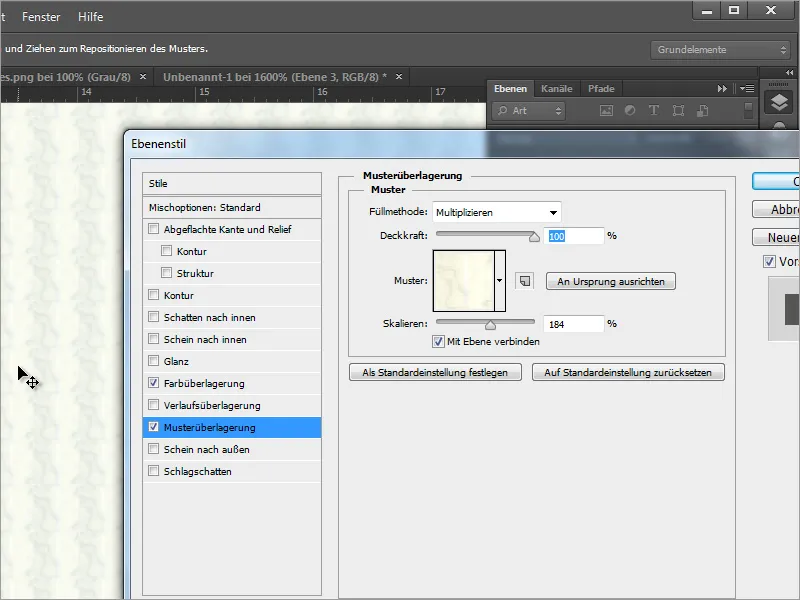
Now you need the fill options for this layer. To do this, right-click on layer 0 in the layer control panel and select the Fill options entry from the context menu. Alternatively, double-click on this layer to open the dialog box.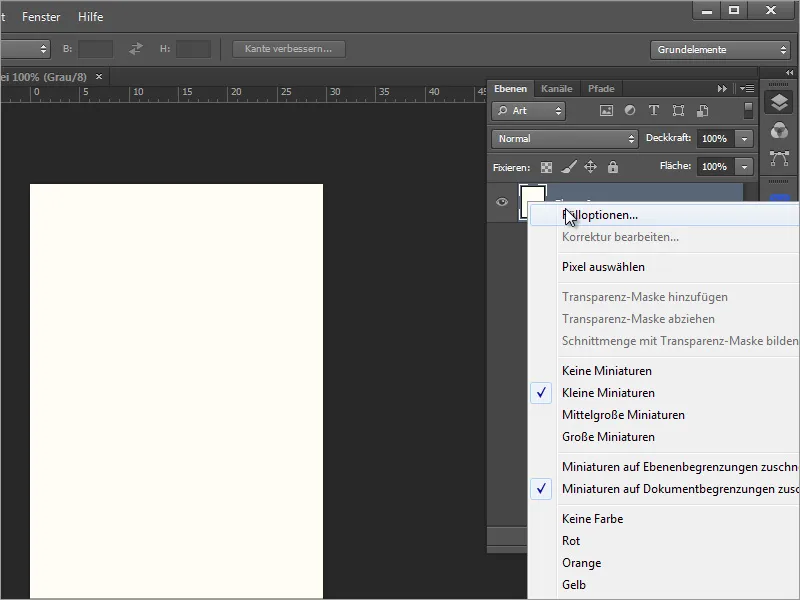
Select the pattern overlay in the dialog box. In the drop-down selection field, go all the way down to call up the pattern you have just saved.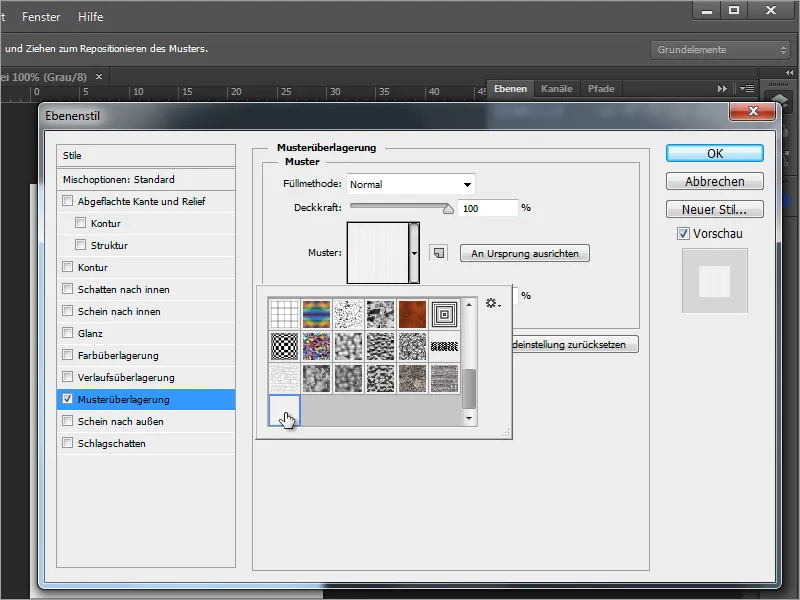
In addition, set the fill method to Multiply so that the yellow of the background shines through.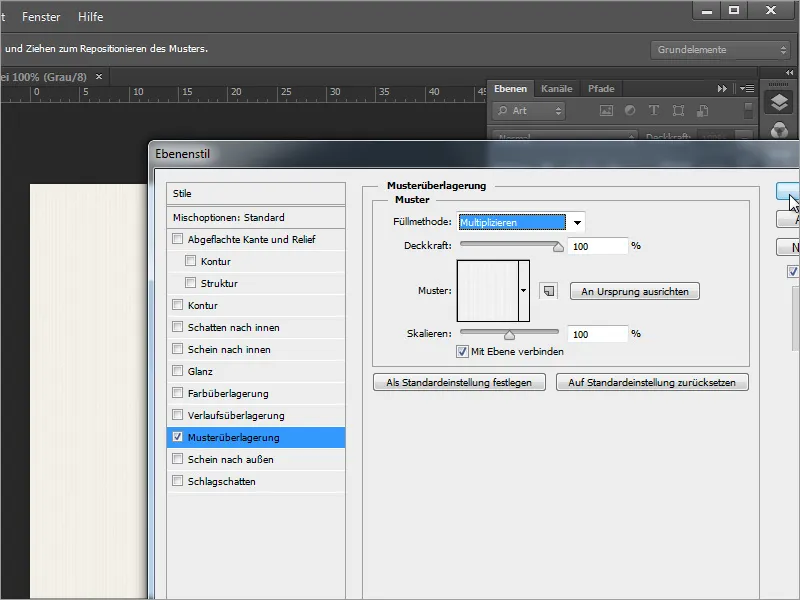
If you zoom into the document, you can see the result in more detail. Save the document as a Photoshop file.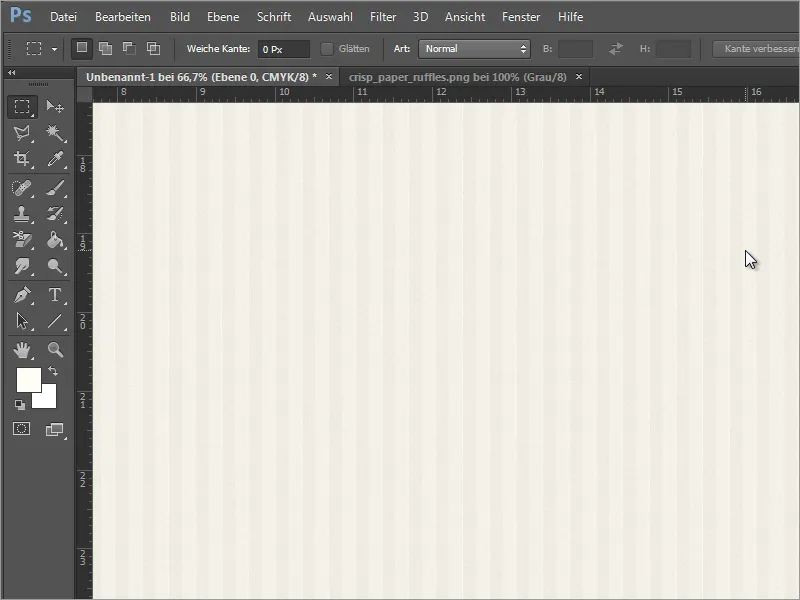
In InDesign, you can insert this document by pressing Ctrl+D to open the Place dialog and selecting the file you just created. Then drag it over the entire document.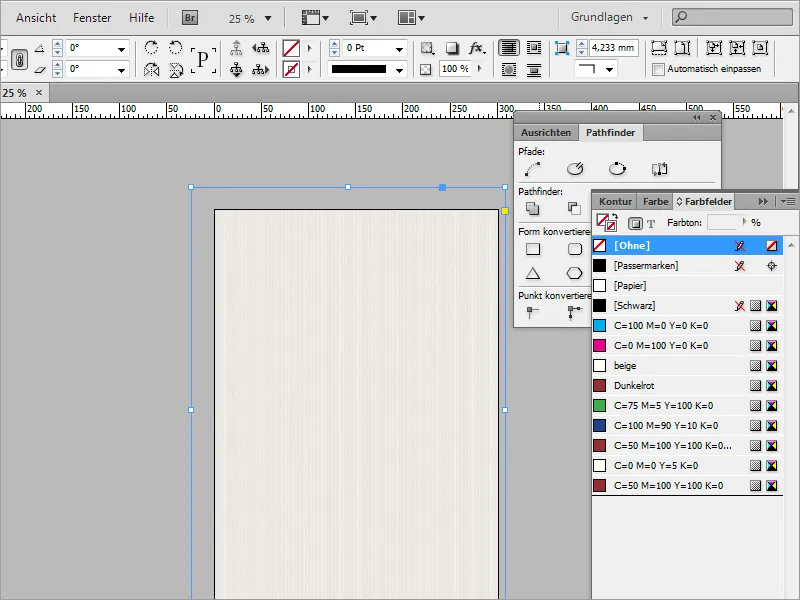
Use Ctrl+O to move this graphic to the background, as it would otherwise cover all other objects.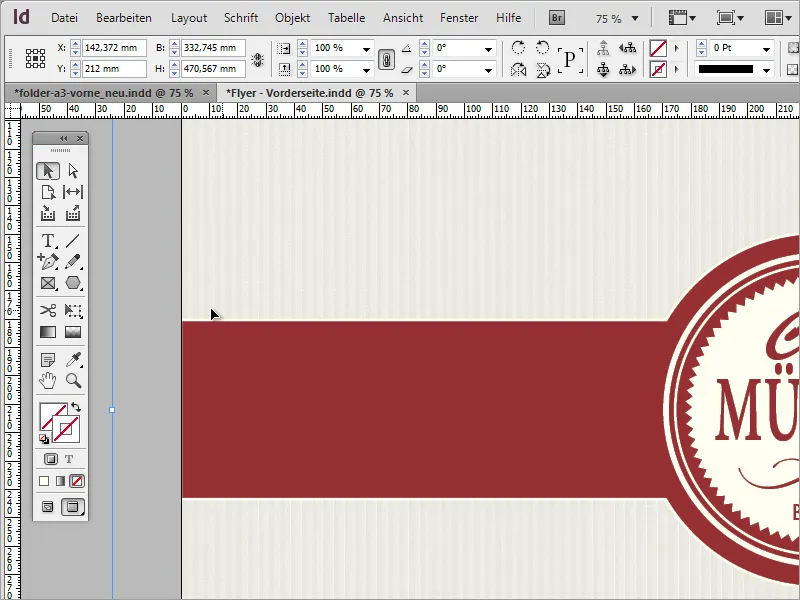
You can also easily create such a background texture yourself in Adobe Photoshop. All you need is a few simple steps. You can start by creating a new document. Make sure that you have selected pixels instead of millimetres for the dimensions. The document itself doesn't have to be that big.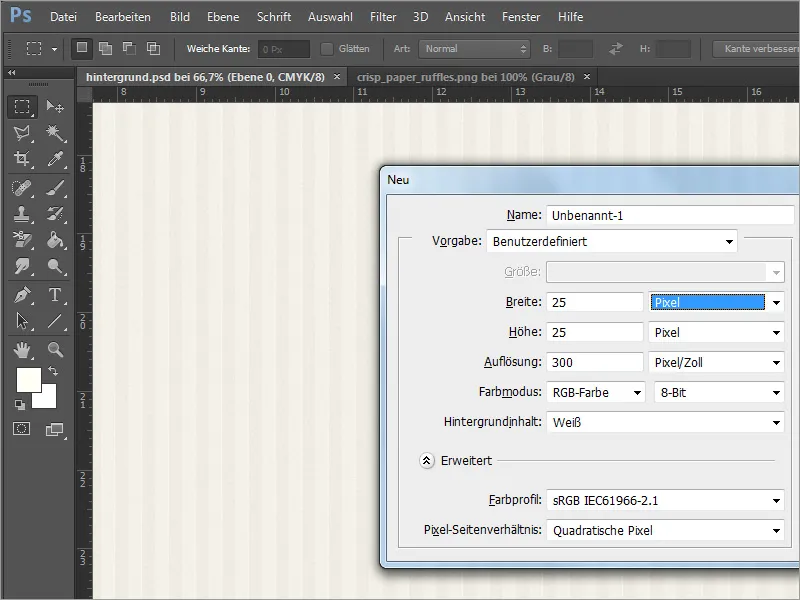
Use Ctrl and + to zoom into the document. Now you need to give the document a new color. To do this, you can set the already proven color tone of 5% yellow again or make it slightly darker at 10%.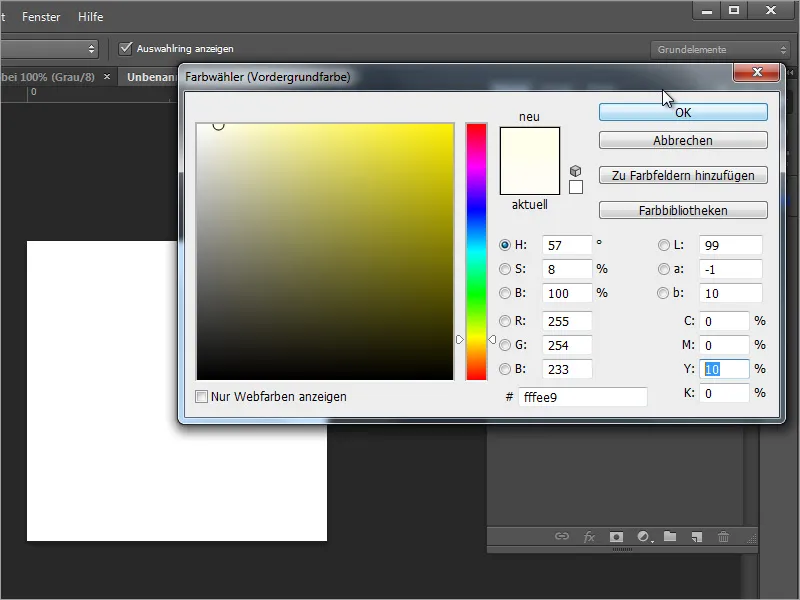
Use Alt+Backspace to color the object. The checkered pattern is created at large zoom levels in newer Photoshop versions and allows you to edit the area with pixel precision.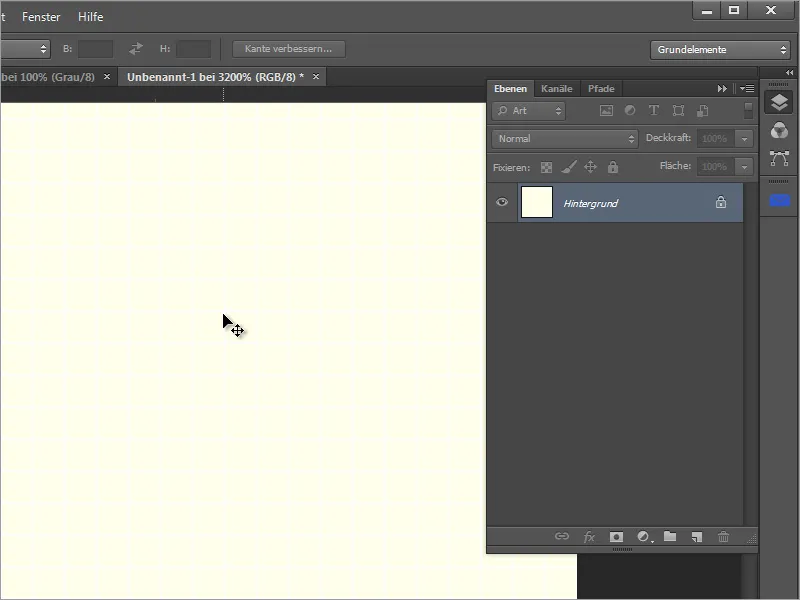
If this bothers you, you can also deactivate this view via the View>Display>Pixel grid menu.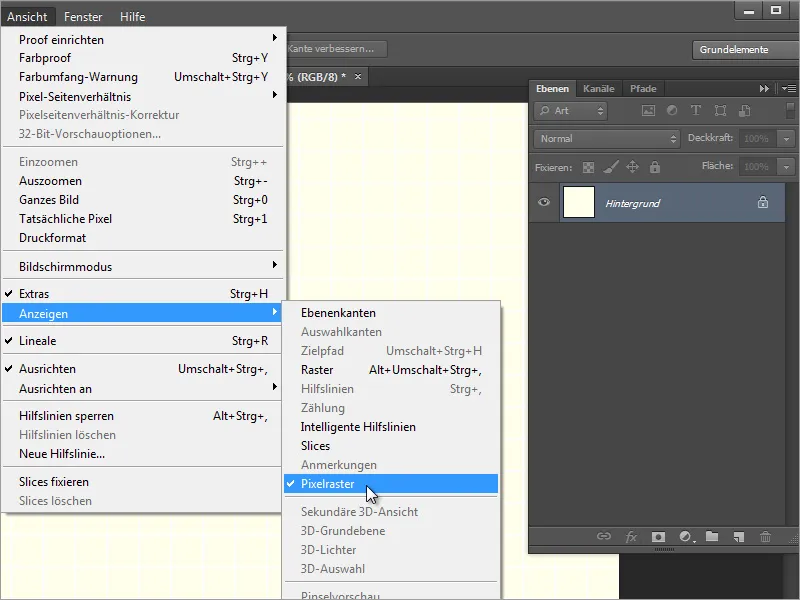
Use the selection tool to draw a rectangular selection up to the center of the document. Also create a new layer and set a new, darker color with which the selected area should be colored.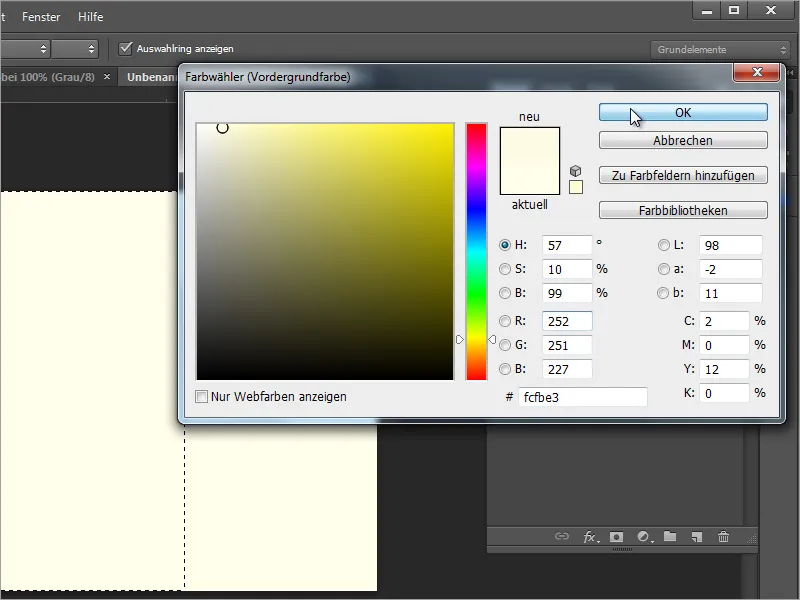
Use Alt+Backspace to fill the selected area with this new color. Also call up the fill options for this layer via the context menu or by double-clicking. There you define an outline of 1 pixel in size for the object in the color white with the position facing outwards. Then confirm the dialog.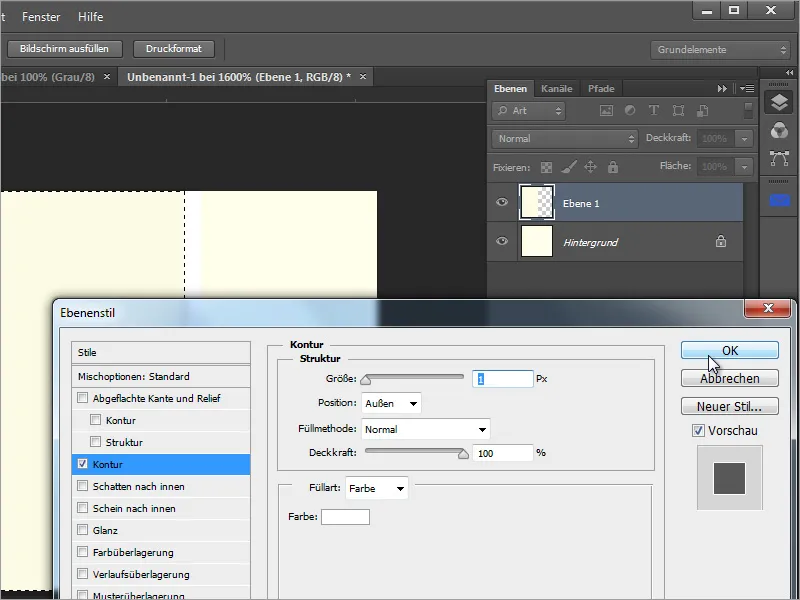
Then copy all visible layers. To do this, press Ctrl+A to select the entire area. Press Ctrl+Shift+C to copy everything visible from the displayed layers to the clipboard. Press Ctrl+V to paste this clipboard back into the document. Adobe Photoshop will automatically create another layer.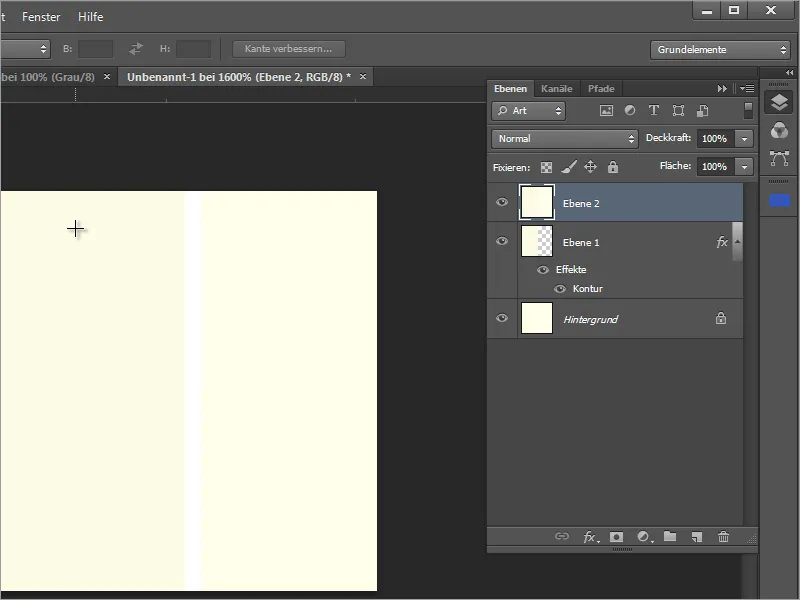
Next, call up the noise filter. This can be found under Filter>Noise filter>Add noise.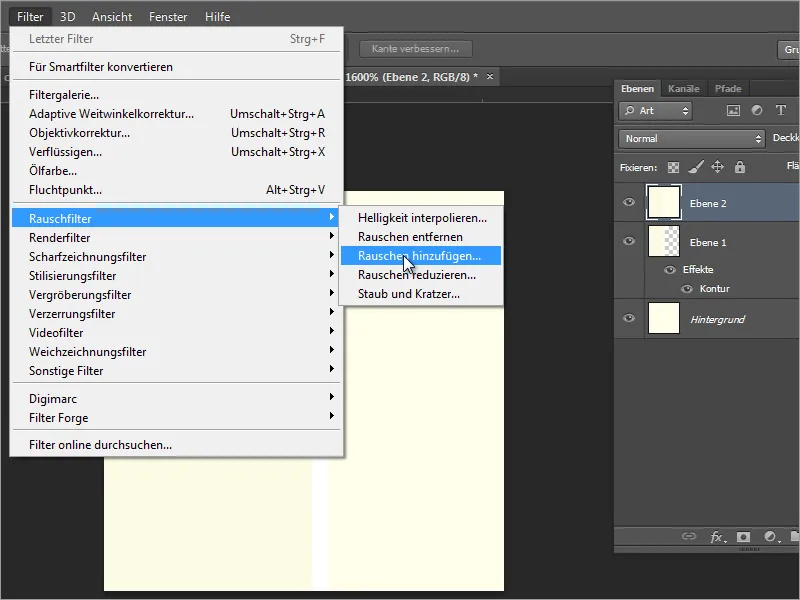
You can now add a slight amount of noise. However, so that the whole result is not too colorful, you should select the Monochromatic option and keep the strength of the noise to a minimum of 1 %.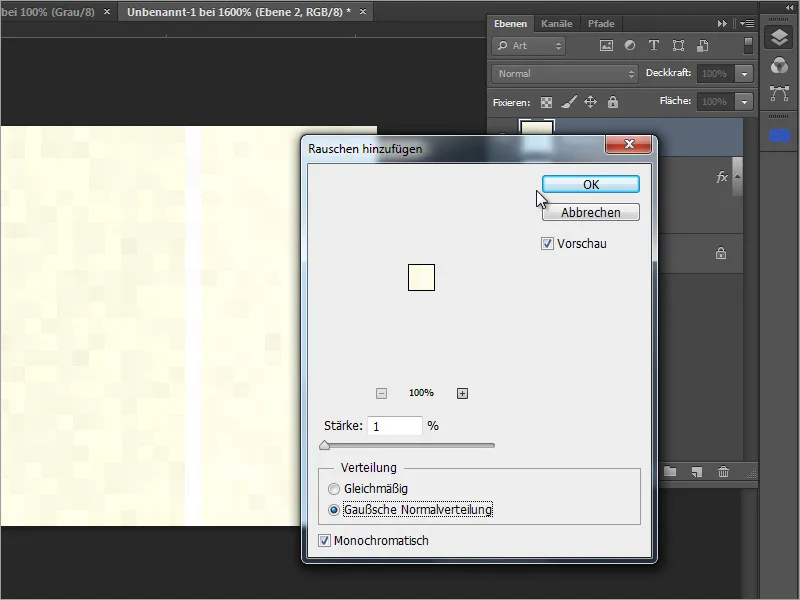
Now follows a test to show whether the texture you have created actually corresponds to what you want to end up with. To do this, select the texture with Ctrl+A. Navigate to the menu item Edit>Define pattern to save it as a pattern.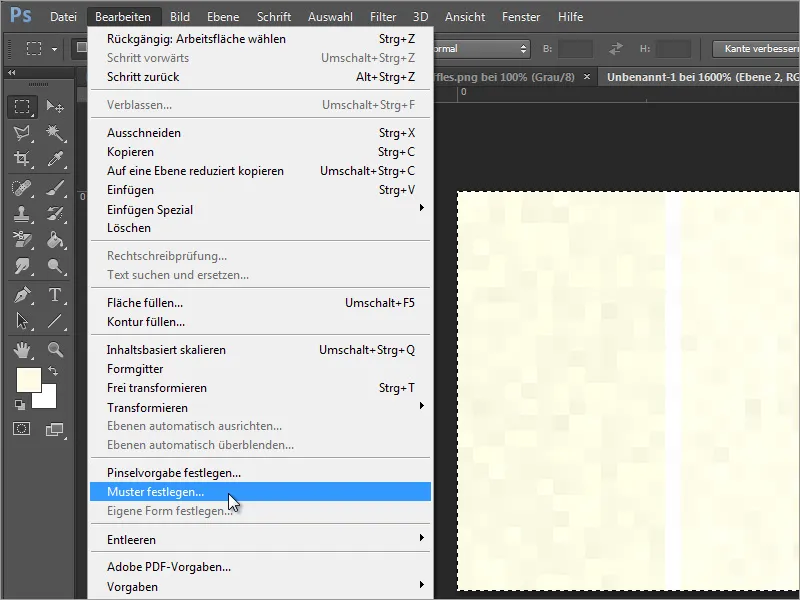
You can then test the pattern in any file. However, to make it easier to compare the result, we recommend testing it on the original file. The best way to do this is to copy the layer and change the pattern. The stripe effect can already be seen very clearly in the preview.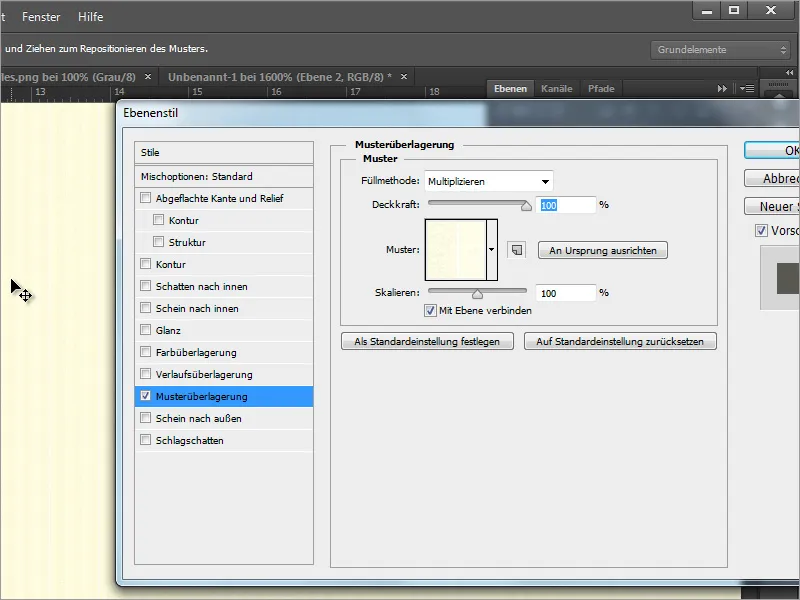
You can also darken or recolor this pattern using a color overlay. Select the Color or Multiply mode from the drop-down selection field for the fill method and vary the opacity.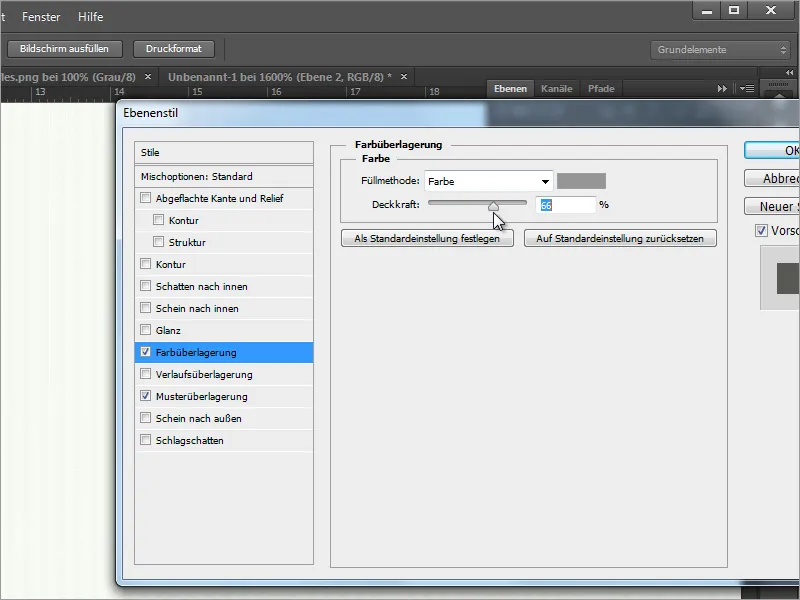
Once you have made all the settings to your satisfaction, you can save the document and switch back to InDesign. In the InDesign document, you can easily replace the background by changing the link to the document you have just created in the Links palette, for example.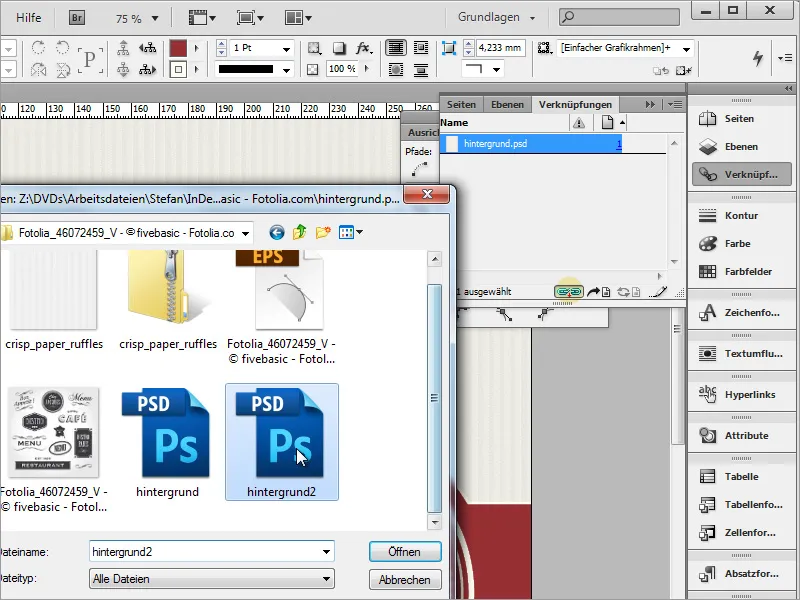
The link is then recreated and the background of the document is provided with this new information.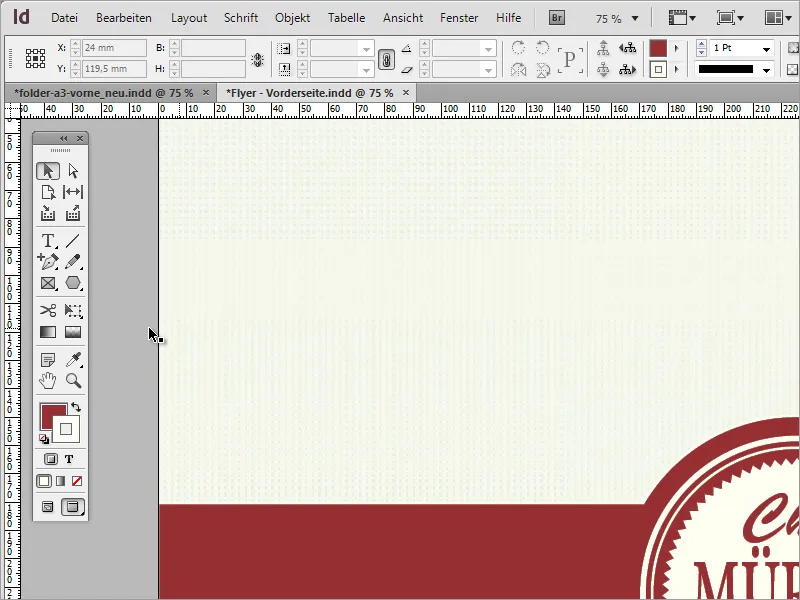
Now it is possible that these stripes may not look the way you perceived them in Adobe Photoshop. However, as this is an editable file that you can edit with Photoshop at any time, it is a good idea to make these changes directly in Photoshop. Therefore, switch back to the image editing program. There you can adjust the scaling of the pattern.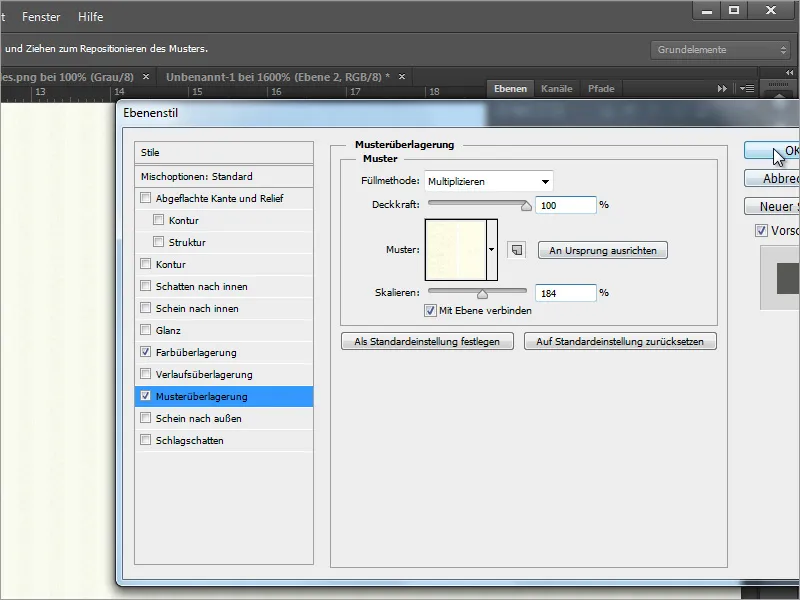
After saving as a Photoshop document, you can update the link again in InDesign. The new background graphic will then be displayed.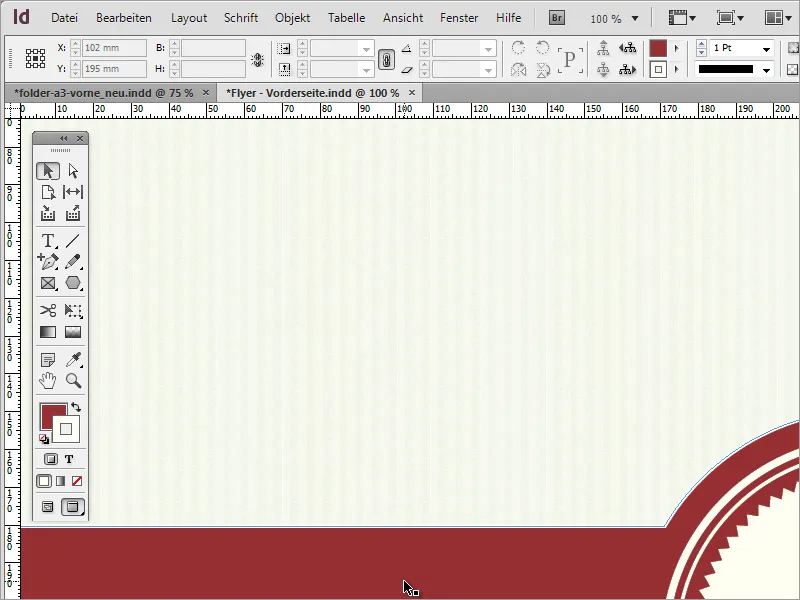
Finally, you can create your own structures for the background in a variety of ways. It doesn't always have to be lines.