You can now add the bistro name and the address. You will need two text areas in which to enter the content. The upper bleed consists of the Futura LT font in 20 points with the Medium font style. The address block is also based on a Futura LT in Light with a 14-point font size and the web address is again based on the Medium font at 14 points.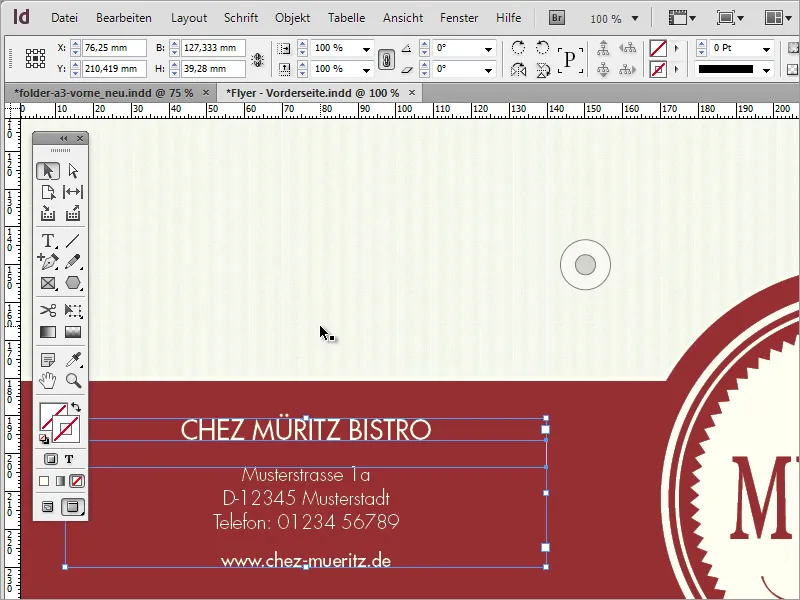
The back or inner part is still missing. This consists of very similar elements that are already used on the front.
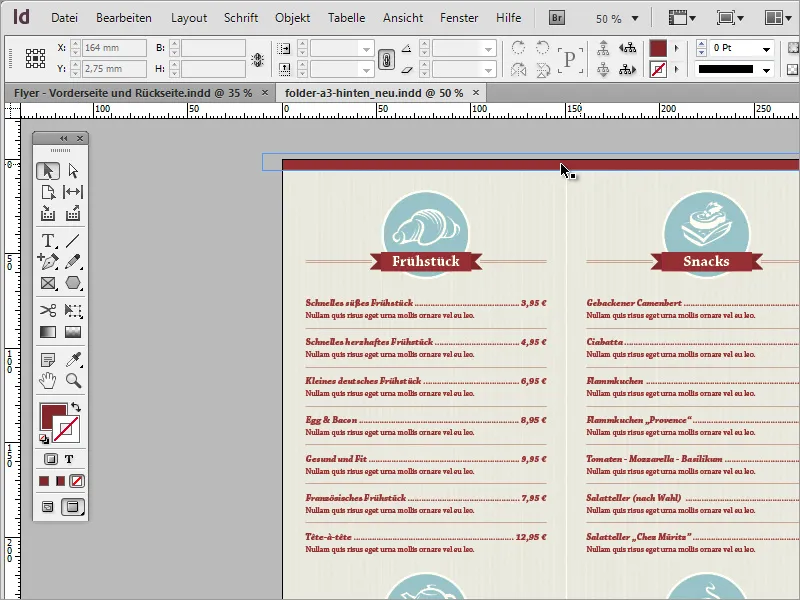
Copy the first page you have just created by simply dragging it onto the New icon at the bottom of the page control panel and remove the parts of the document that you do not need.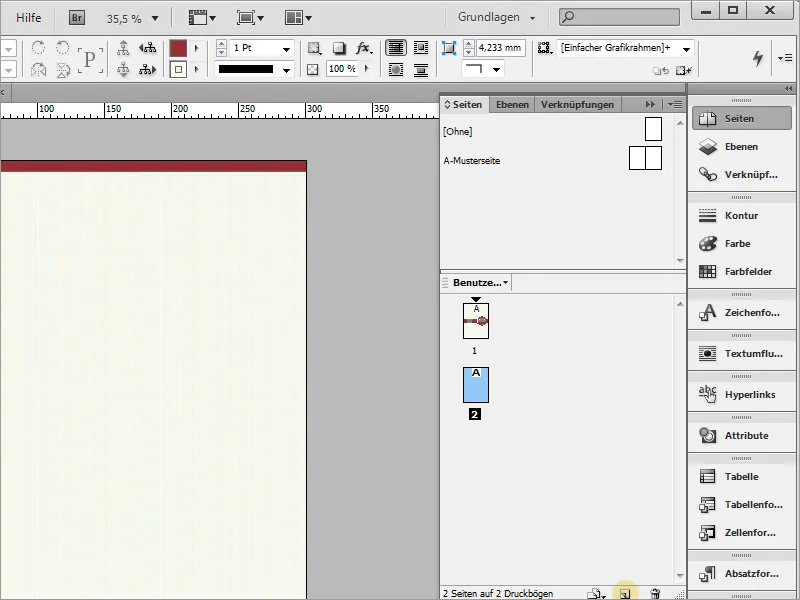
You may have accidentally deleted the logo. No problem, just copy the logo from the title page. Either click on each individual part or simply draw a frame around the logo with the selection tool to select it completely.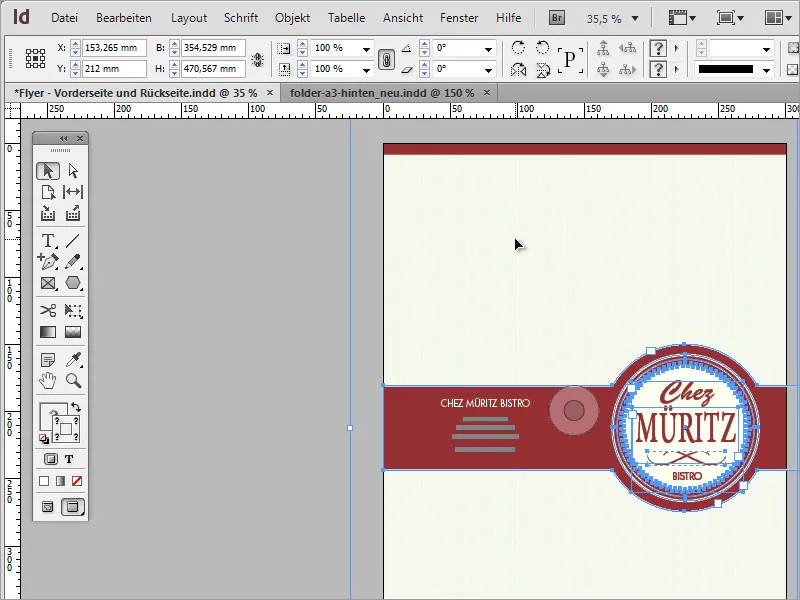
Simply click away unwanted parts of the image by pressing the Shift key and clicking on the unwanted part of the image, for example the background image, which should not be copied. In the end, only what you actually want to copy remains.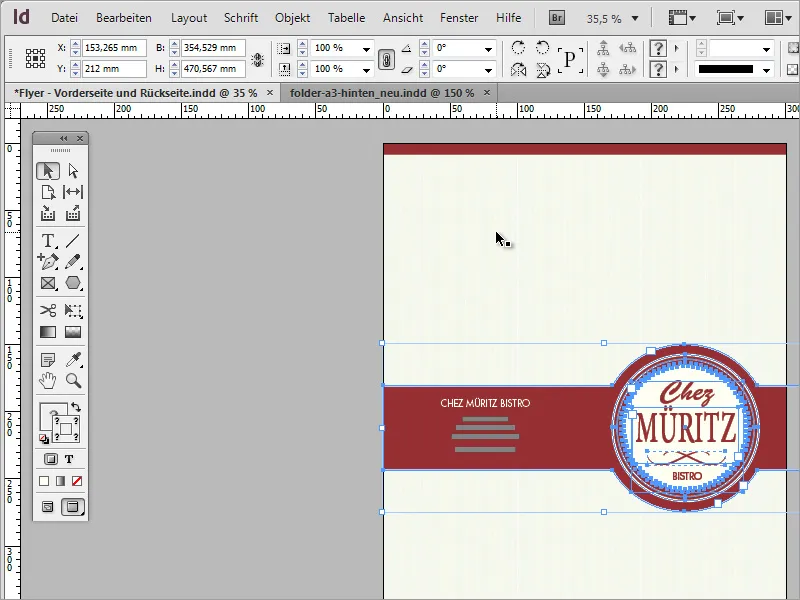
Press Ctrl+C to copy the entire object, switch to the second page and paste the copy on this page with Ctrl+V. You can then move this copy down and use the Shift key to make it smaller, as it is far too large for this part of the map. However, this also results in a new problem, as the font is not scaled in this way.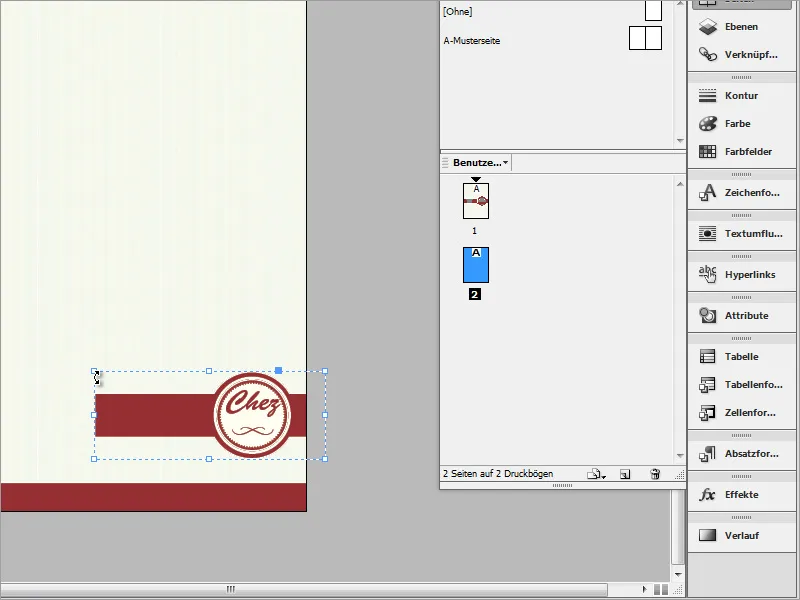
You can work around this by pressing Ctrl+Shift and then reducing the size of the object.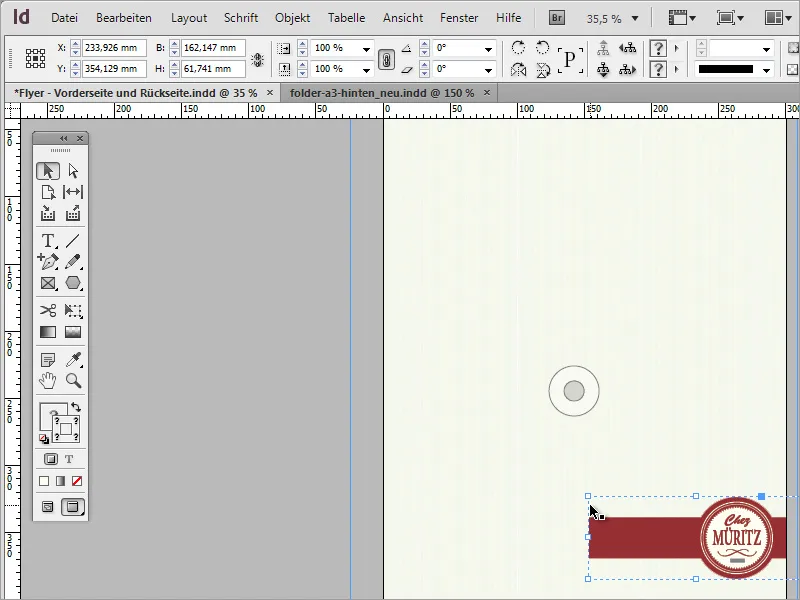
I initially position the object in the center on the right-hand side. So that you don't accidentally select the background every time, you can simply lock this layer using the layer control panel. Navigate to the relevant layer in this control panel and activate the lock symbol.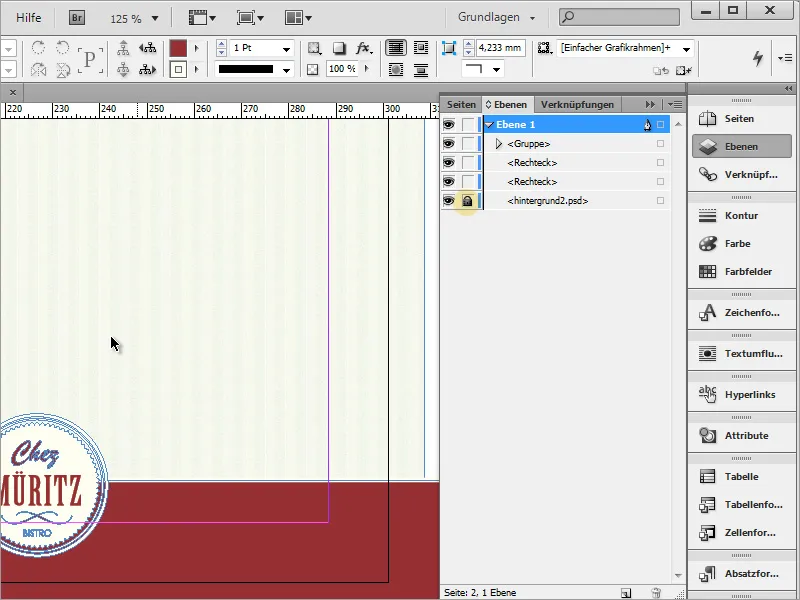
A circle framing the logo is still missing at this point. To do this, use the ellipse tool again and draw an even circle from the center of the logo using the Shift and Alt keys. Then position the circle further into the background using Ctrl+Ö.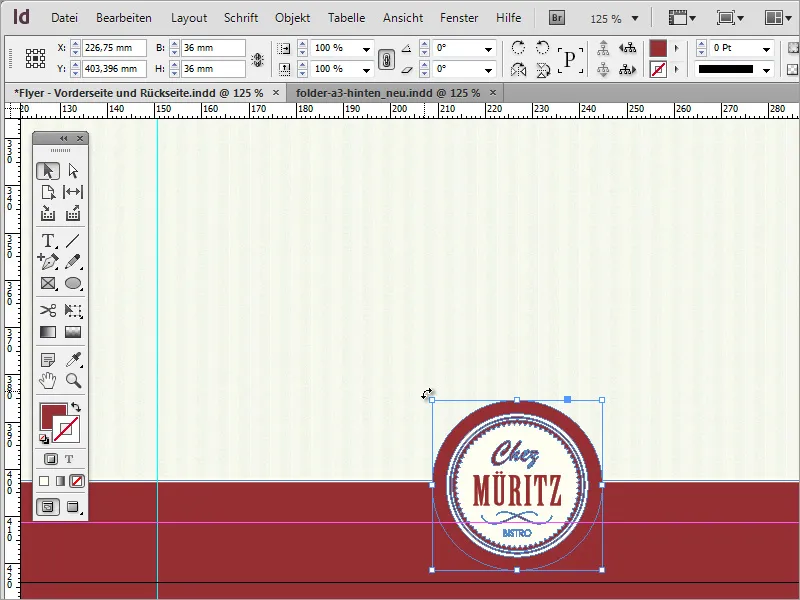
As you also need this logo and the circle on the opposite, left-hand side, you can select both elements and create a copy by moving them with the Alt key. Position this copy approximately in the middle of the side wing.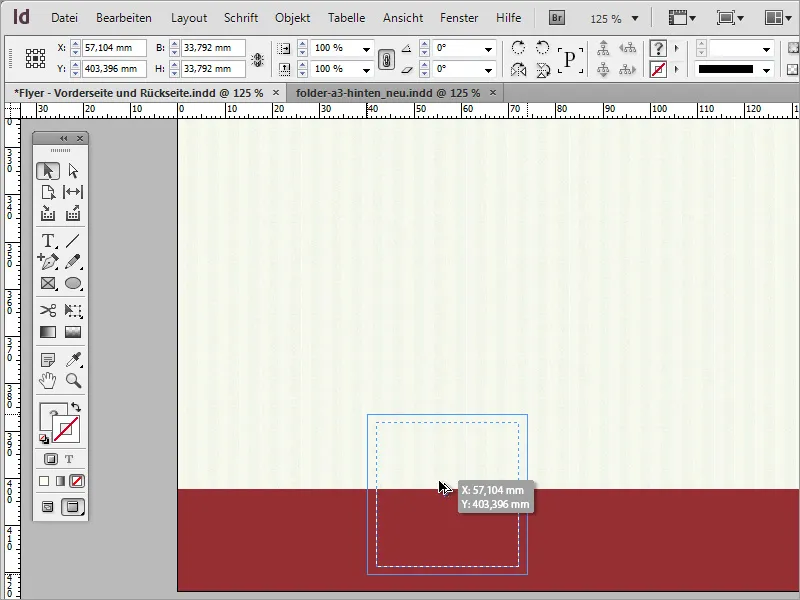
So that you can actually place this object in the middle, it is again a good idea to use a temporary auxiliary object. To do this, use a simple rectangle that extends from the center fold to the edge border.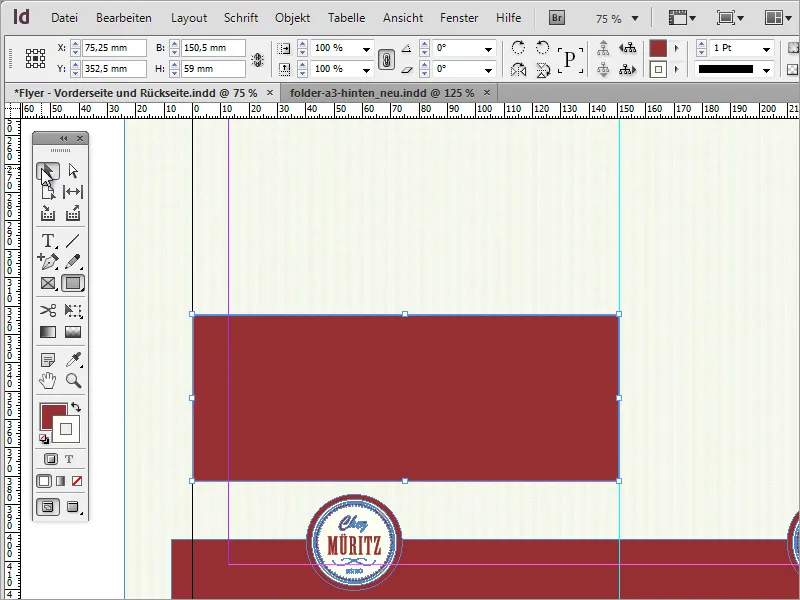
If you now move the logo, InDesign orients itself to existing objects and snaps to the center axis.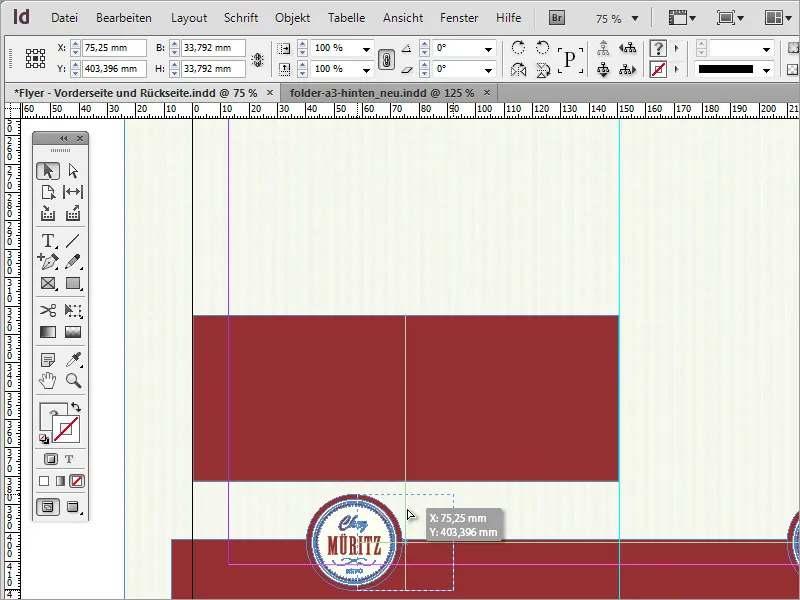
Alternatively, you can also align the objects to each other in the conventional way by first selecting them with the selection tool and holding down the Shift key and then calling up the dialog box for aligning and distributing objects via the Window>Objects andLayout>Align menu. This dialog box contains a button for centred object alignment..webp?tutkfid=74083)
Once the objects have been aligned, you can delete the auxiliary rectangle. Now focus on the outline of the lower bar together with the circle shapes. To do this, you must first ungroup the logo so that you can edit the rear circle separately from the rest. Click on the logo with the right mouse button and remove any existing grouping.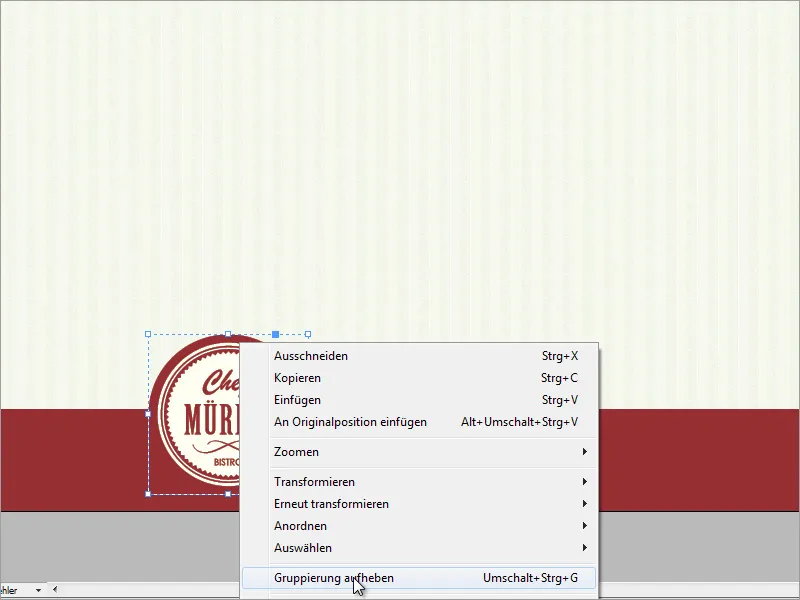
Then select the rectangular background area and the two circles of the logo backgrounds.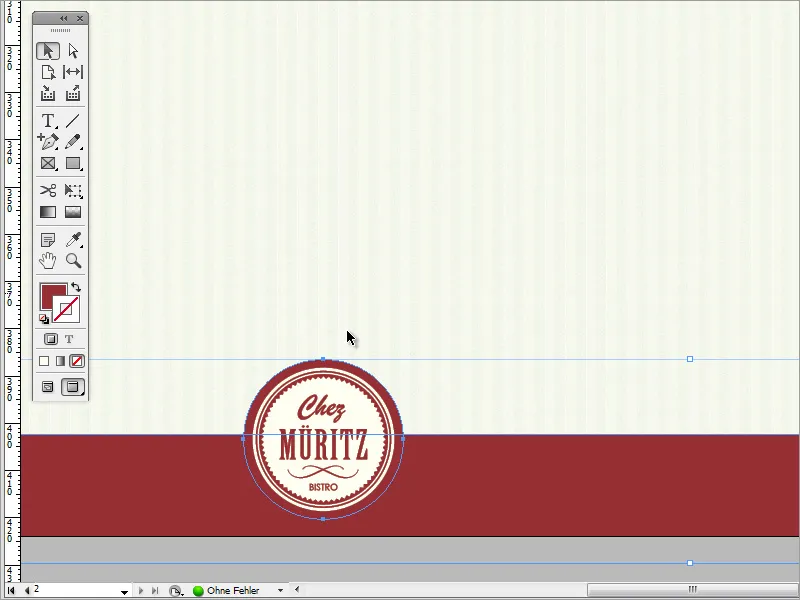
Use the pathfinder, which you can find under Window>Object and Layout, to combine these 3 objects into one large object.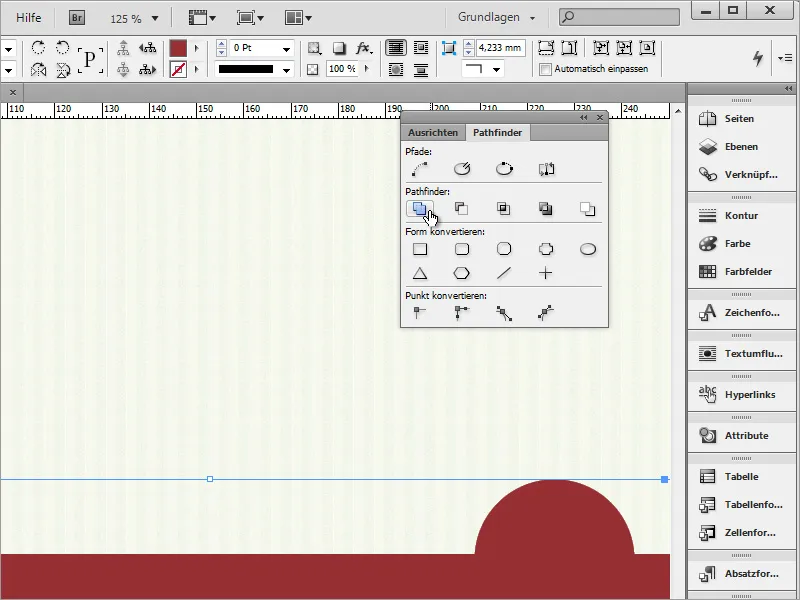
You can assign an outline with a 3-point thickness that only encloses this area. The result should then look something like this depending on the background pattern: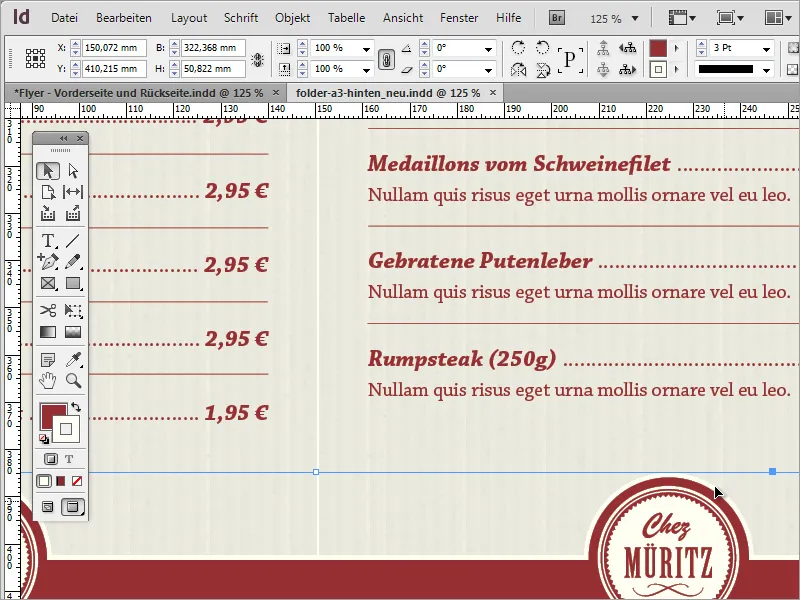
Now it's time to move on to the menu. There are four areas with a very similar structure. Above the sections are graphics and more detailed descriptions of the food on offer. You can easily create something like this yourself.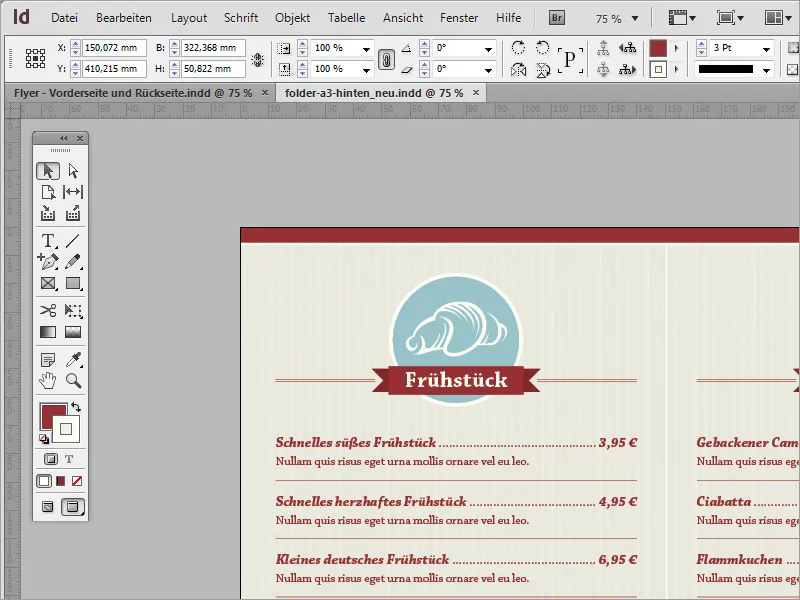
First of all, you get the appropriate graphics from an image database or create them yourself in advance. You can find suitable commercial graphics at www.fotolia.de, for example.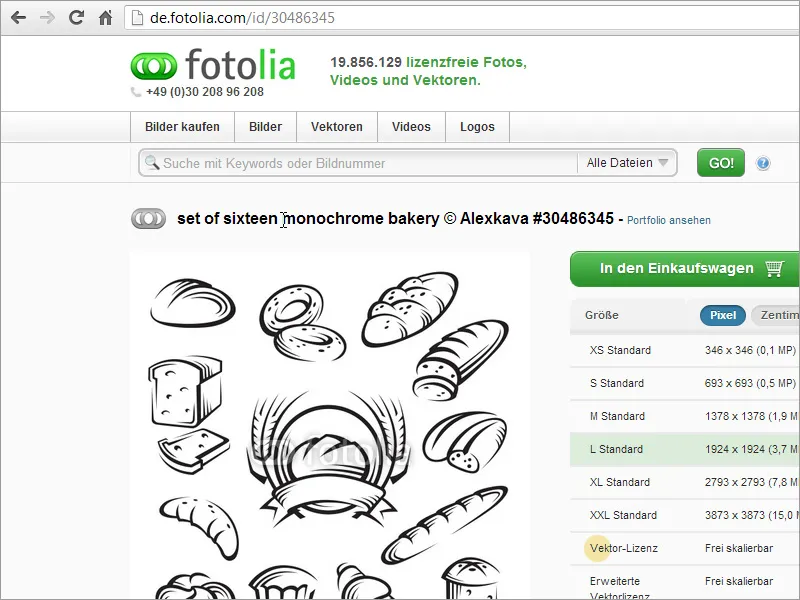
You can open the downloaded vector file in a vector editing program such as Adobe Illustrator. You can copy each individual graphic with Ctrl+C and use it in your InDesign document.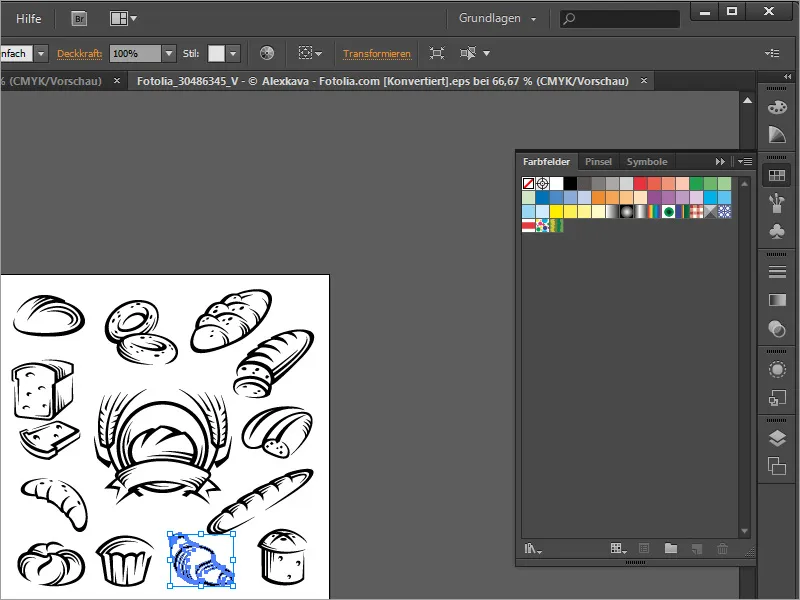
To create these groups, you can also temporarily hide the background pattern of the page via the layer control panel, as in some cases this can be irritating for further work. Simply click out the eye.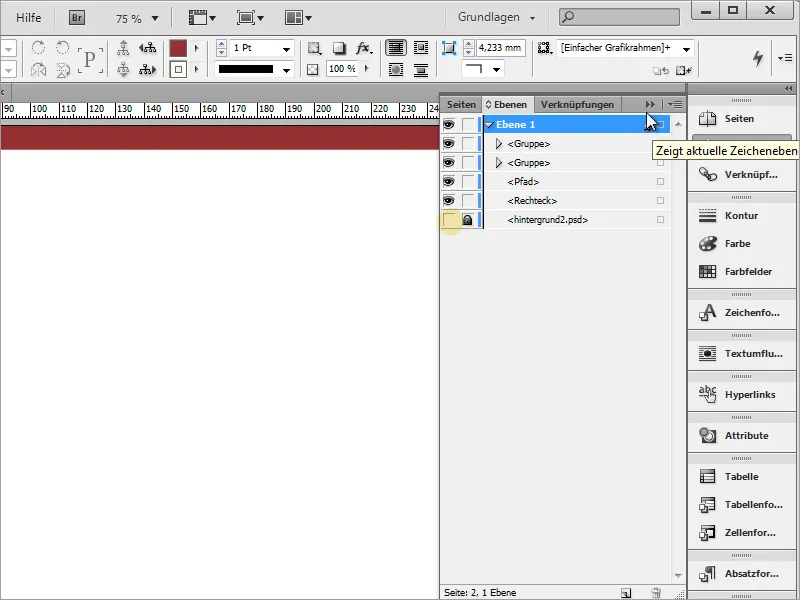
Now you can use Ctrl+V to copy the graphic from the clipboard into the document. If you are outside the selected graphic at the corners with the mouse, a rotation symbol becomes active. You can then rotate this graphic in the desired direction.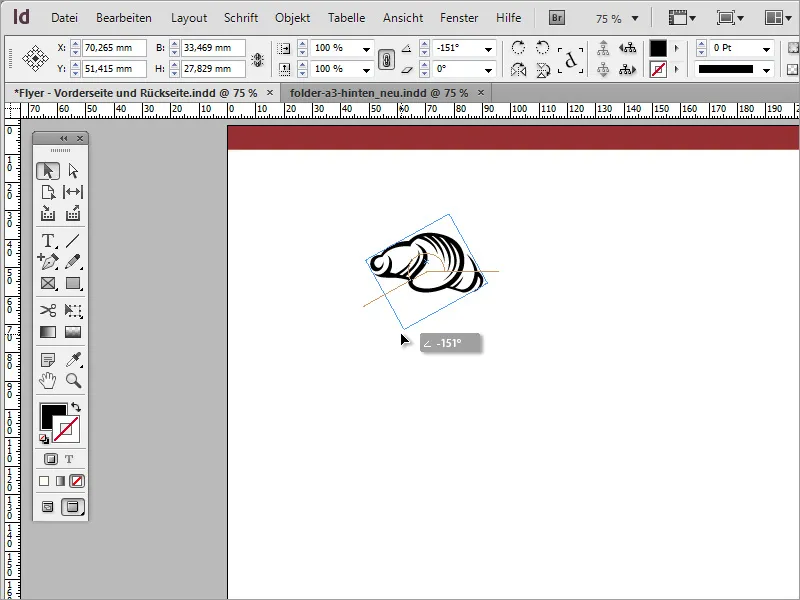
Before this graphic is filled with a white color, you need a circular background graphic. In the template, this graphic has its own color.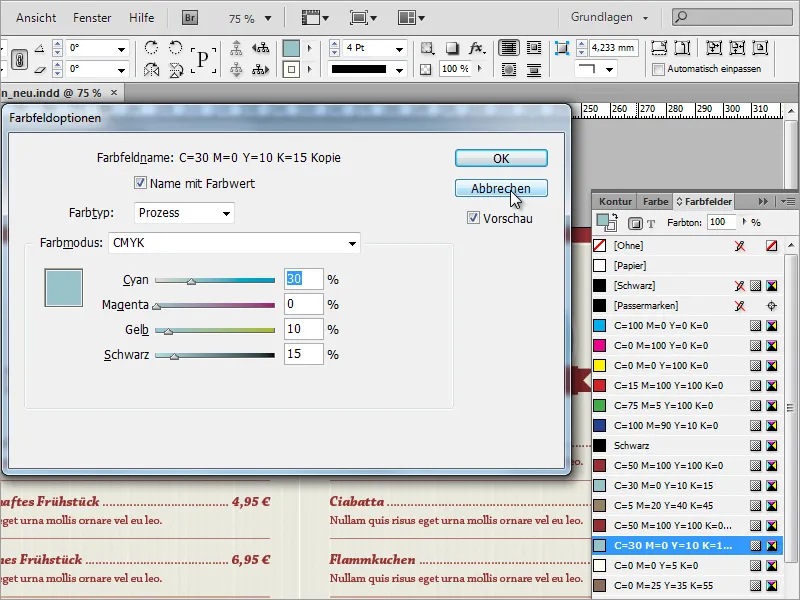
You can also make it very easy for yourself in such cases: Instead of defining a new color in the relevant document, you can simply copy this existing graphic and import it into the current project. The corresponding color value is immediately transferred to the color fields palette.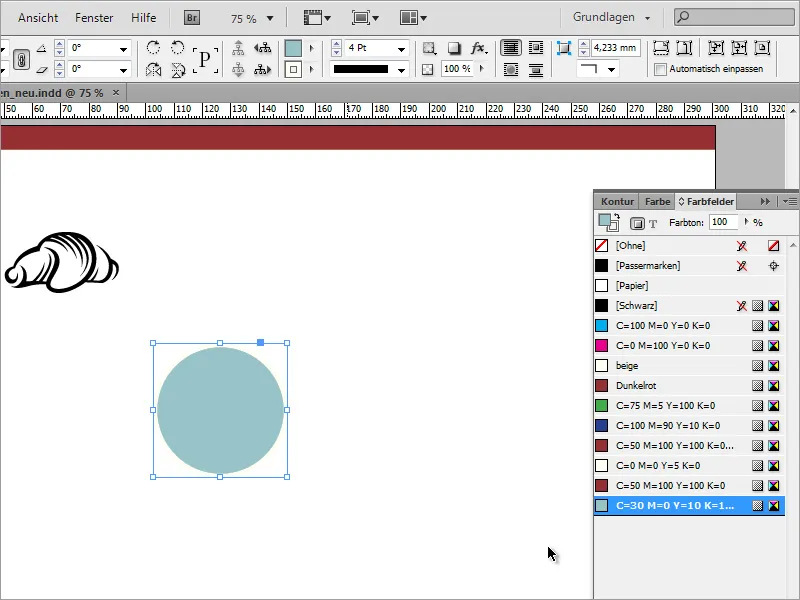
If such a graphic is not available, simply create another circle with the ellipse tool and draw it evenly with the Shift key.
This circle is also given an outline. However, not with 3, but with 4 pixels thickness. Set the circle further into the background with Ctrl+O and recolor the graphic in beige.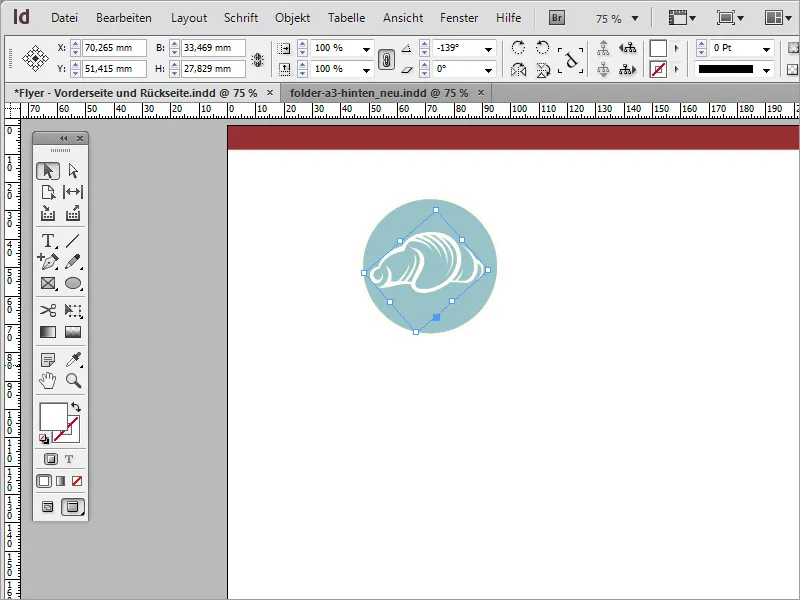
Use the Align function again to align both graphics vertically in the middle.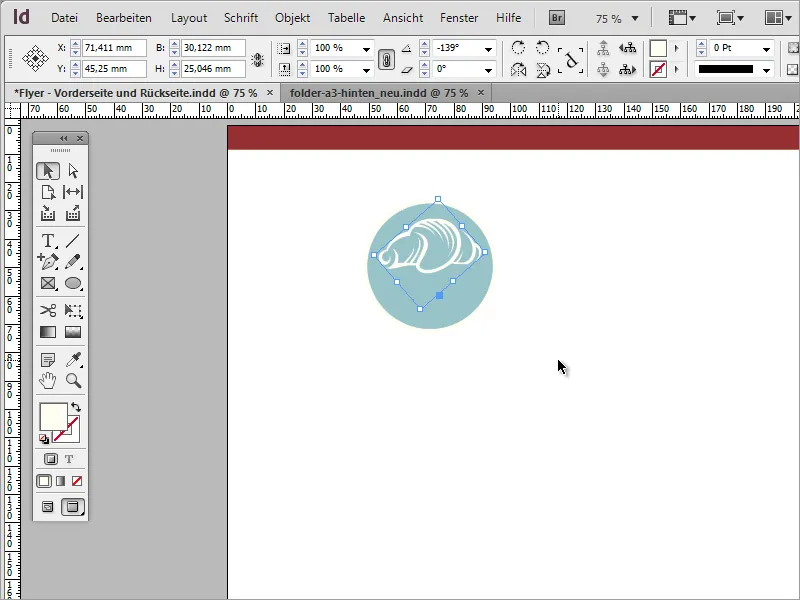
If you look at the decorative element, you will notice that it consists of several individual elements and colors. To do this, you need another red color in the color fields palette, which you can create right away.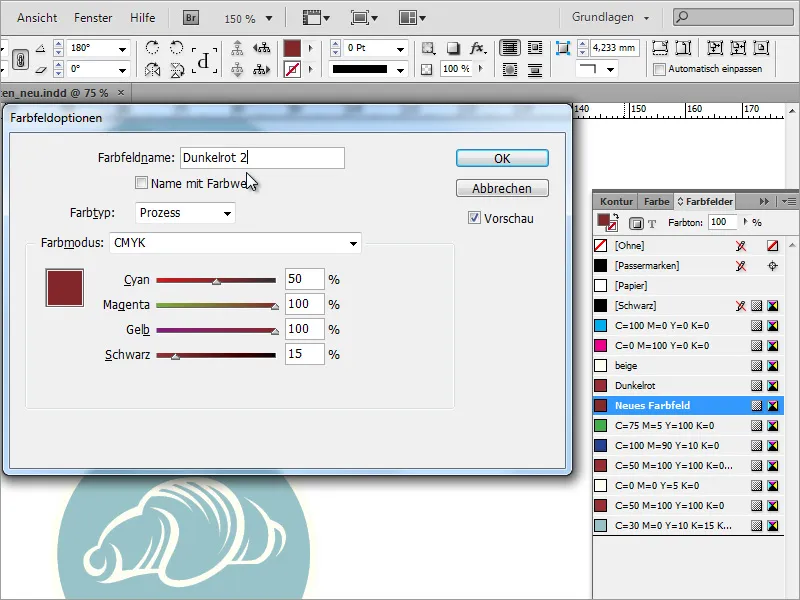
Now simply recreate the whole thing. To do this, create a narrow rectangular area. Make sure that the outline is deactivated. You only need the surface color. Create another, smaller rectangle at the same time. Then switch to the Pen tool and select the Add anchor point tool from the flyout menu. Then click in the smaller rectangle at the height of the center on the left-hand side to add a point.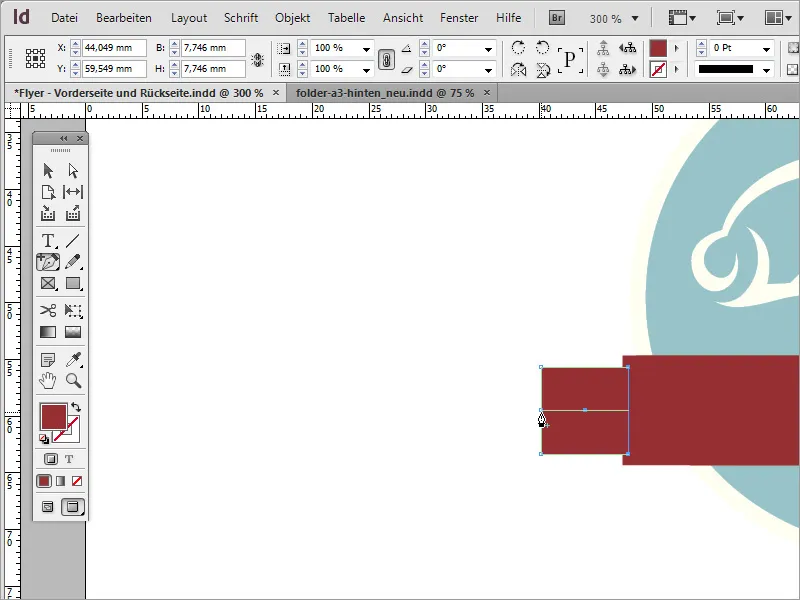
Hold down the Shift key and use the selection tool to activate this anchor point and drag it towards the center of the object until a nice point is created.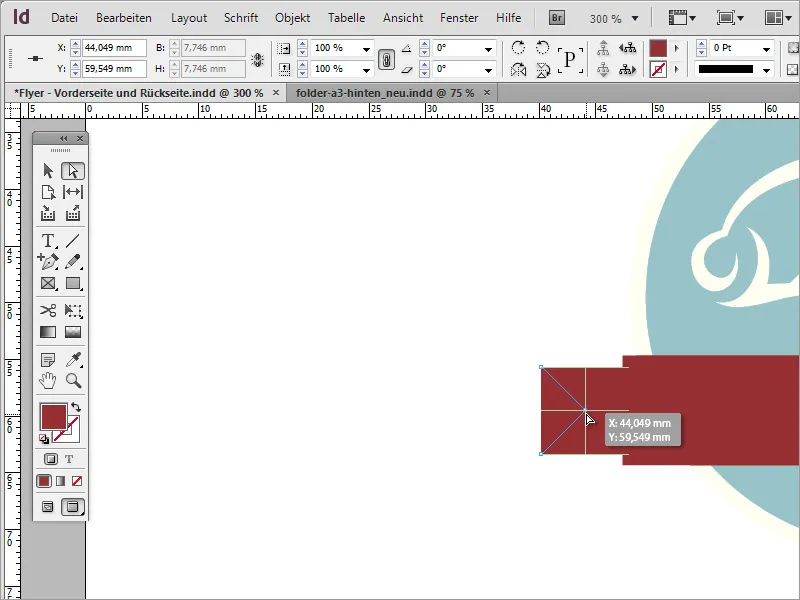
Now you can move the object a little further inwards and backwards with Ctrl+Ö and fill it with the darker shade of red.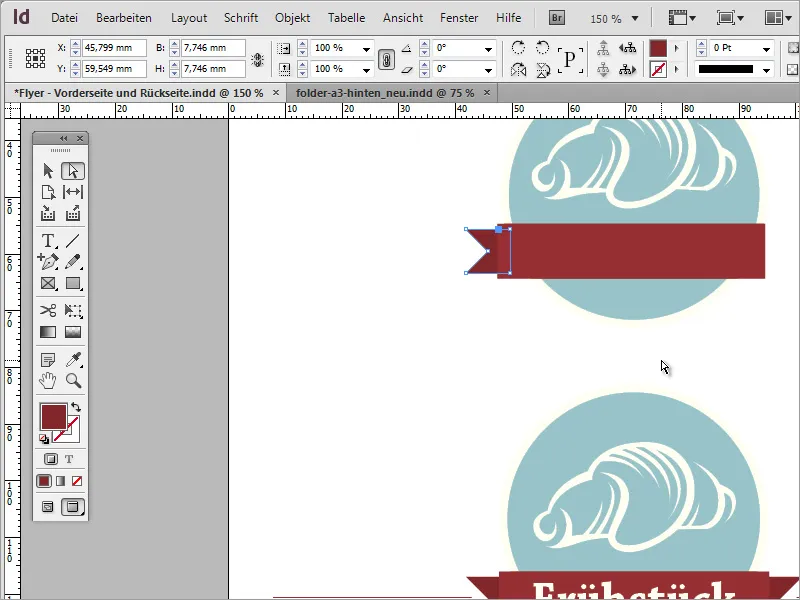
Copy the small rectangle horizontally to the right with Alt+Shift. You can also use the context menu to transform the object and flip it horizontally.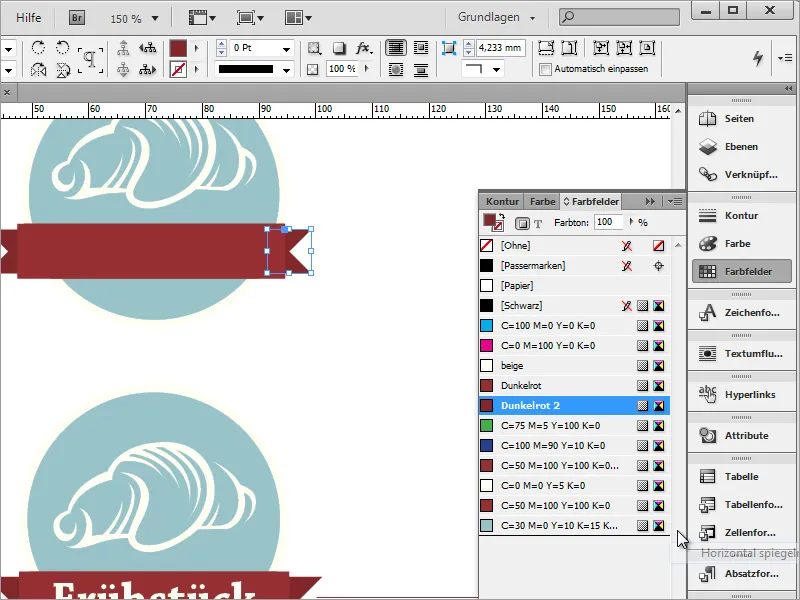
Use the line drawing tool to create the small lines for the logo. Draw a line with the Shift key so that it is positioned horizontally.
Set the fill color for this line to off and the outline color to the company red. The line thickness is around 0.25 point. Use Alt+Down Arrow to create a copy and move it down.
Then select both lines and duplicate them again by moving them with the Alt key. If you also hold down the Shift key, you can move these lines horizontally to the same height.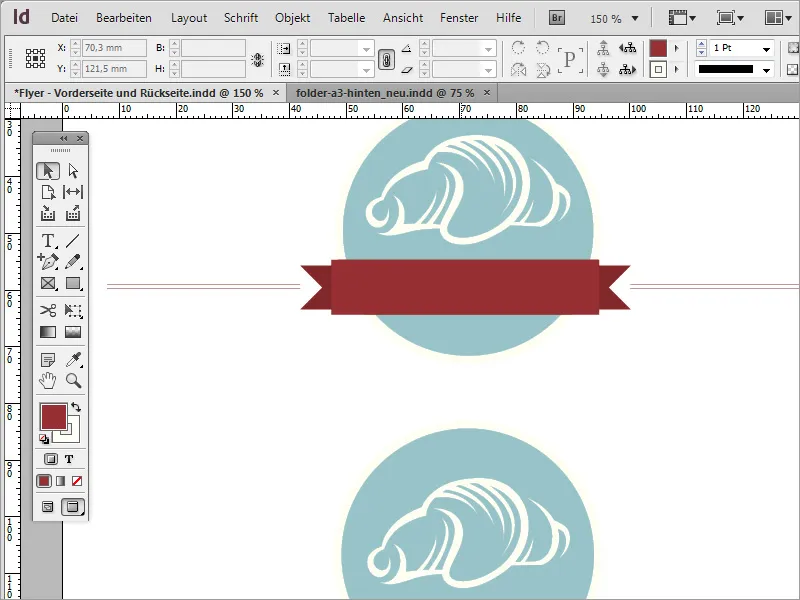
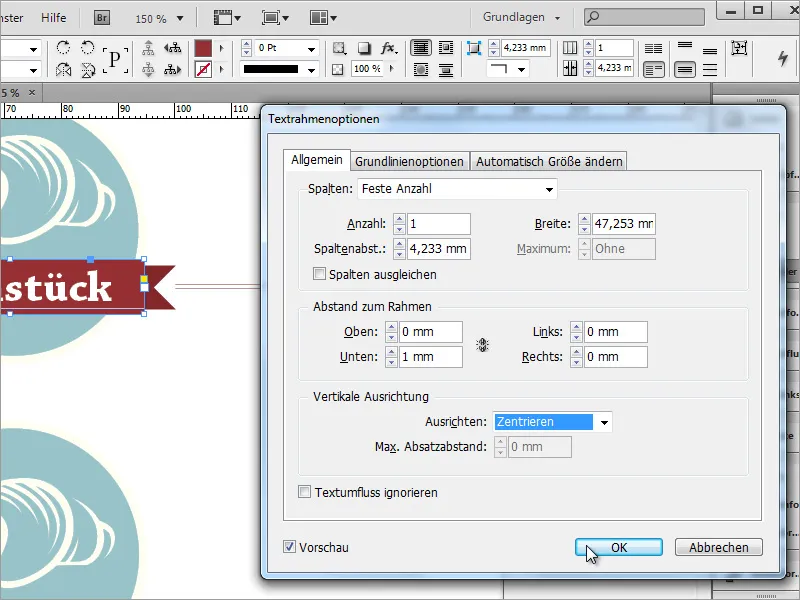
Now you can enter the exact name for the food category. For the template, the font Chaparral Pro in Bold with 22 point size was used. By right-clicking on the text box, you can call up the text frame options and set the option Center for the vertical alignment. You can also enter user-defined values for the distance to the frame to visually position the text better.