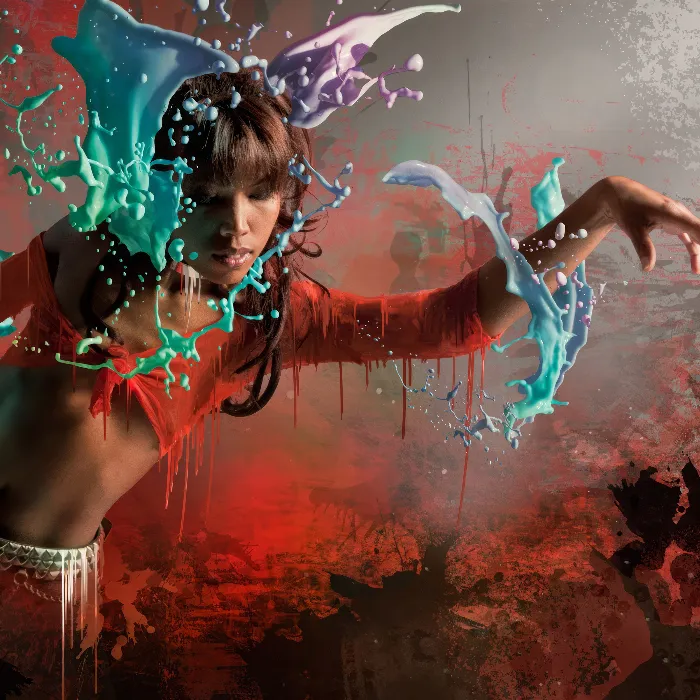
A Aqua text effect gives your text a fresh, liquid look that is perfect for summer designs, water themes, or creative projects. With Photoshop, you can create this effect in a few simple steps by combining gradients, layer styles, and gloss effects. In this first variation, I'll show you how to create a realistic, transparent Aqua effect that makes your text appear as if it's formed from water. Let's get started and make your typography flow!
Step 1
Create a new blank document in Photoshop; the size doesn't matter. In my example, I'm using a document sized at 800 x 600 pixels.
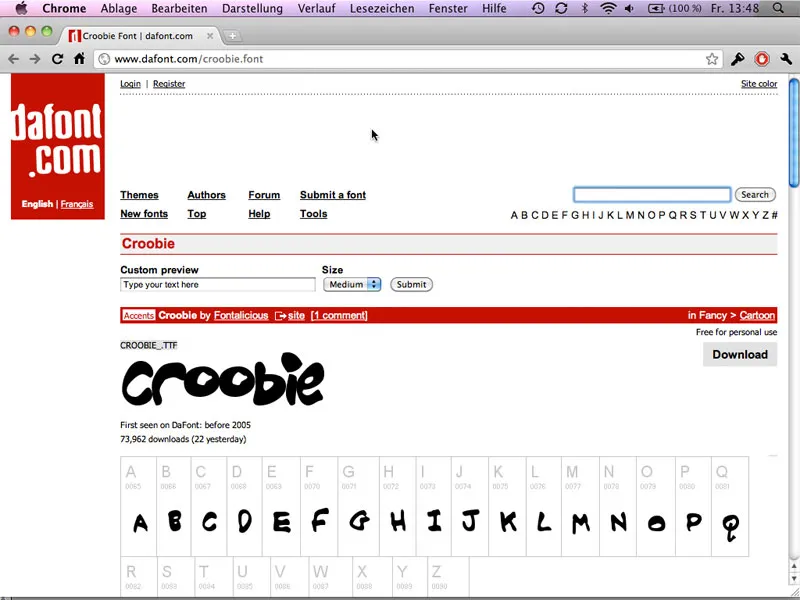
In the document, write a small text using a non-linear font, such as "PSD." In this tutorial, I'm using the "Croobie" font (http://www.dafont.com/croobie.font).
Step 2
The Aqua effect is created entirely with layer effects; to do this, click on the layer's fx icon and set the following effects:
Attributes not listed retain the default values.
Drop Shadow:
• Opacity: 60%
• Distance: 5 px
• Spread: 0%
• Size: 5 px 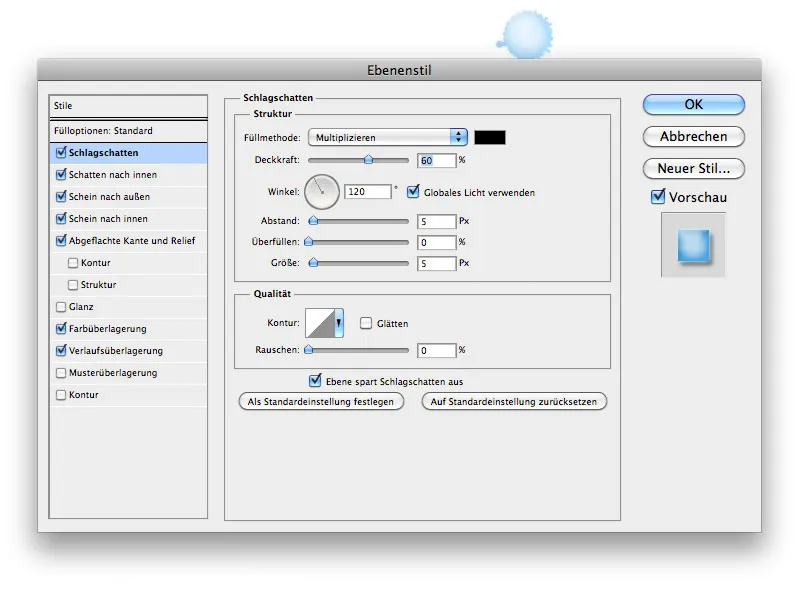
Inner Shadow:
• Opacity: 18%
• Distance: 5 px
• Spread: 0%
• Size: 5 px 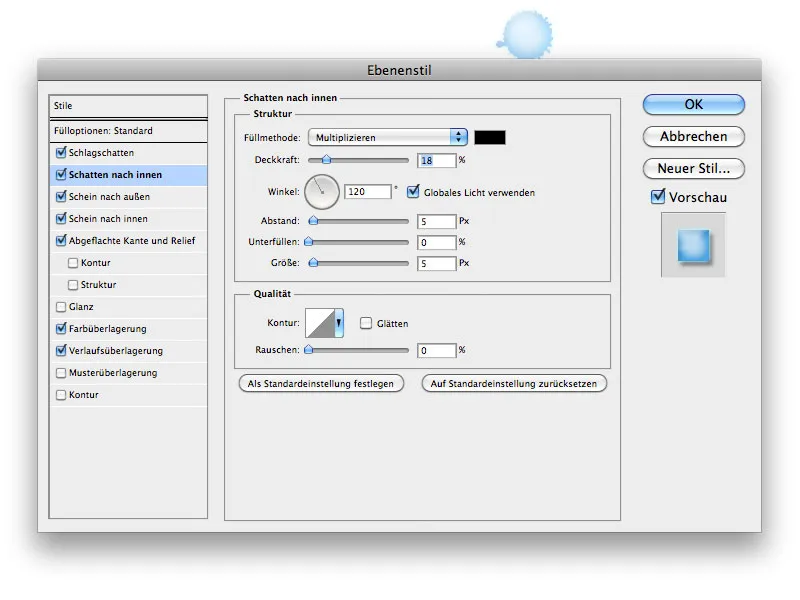
Outer Glow:
• Blend Mode: Normal:
• Color: #bfefff 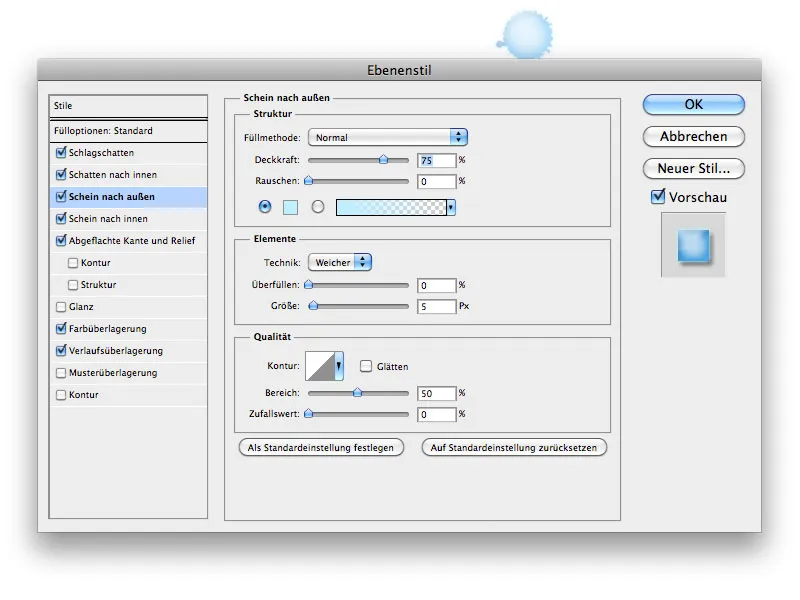
Inner Glow:
• Opacity: 67%
• Gradient: #193483 -> #ffffff
• Size: 21 px 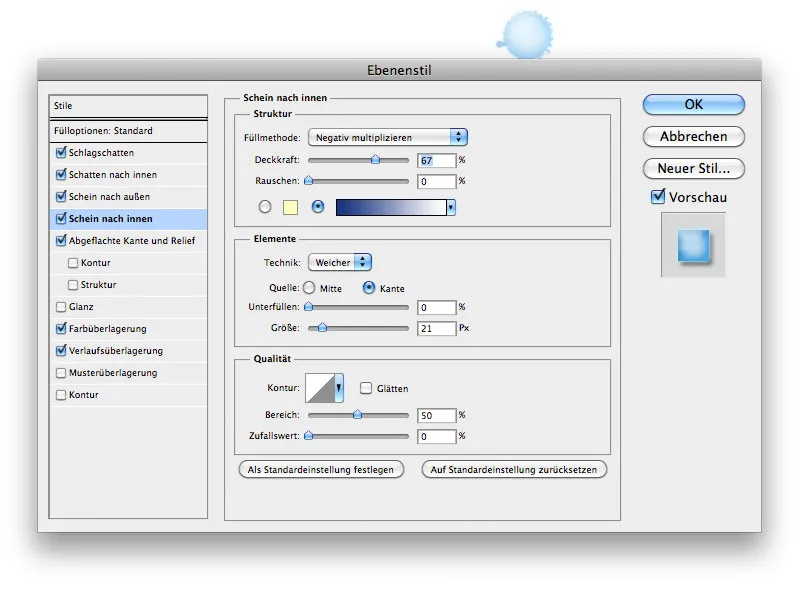
Bevel and Emboss:
• Style: Inner Bevel
• Technique: Smooth
• Depth: 90%
• Direction: Up
• Size: 46 px
• Soften: 0 px
• Angle: 39
• Highlight Mode: Multiply #ffffff
• Highlight Opacity: 66%
• Shadow Mode: Multiply #eaf3f5
• Shadow Opacity: 28% 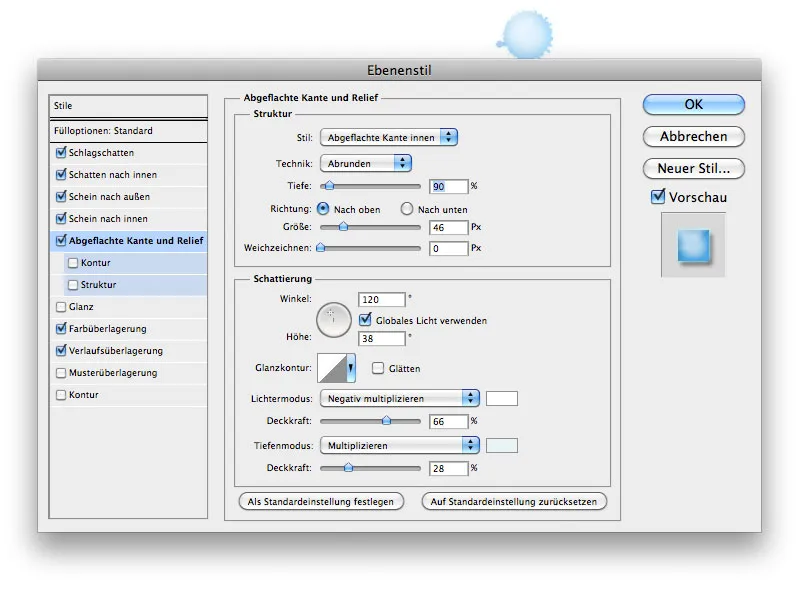
Color Overlay:
• Blend Mode: Multiply #4ab4fe 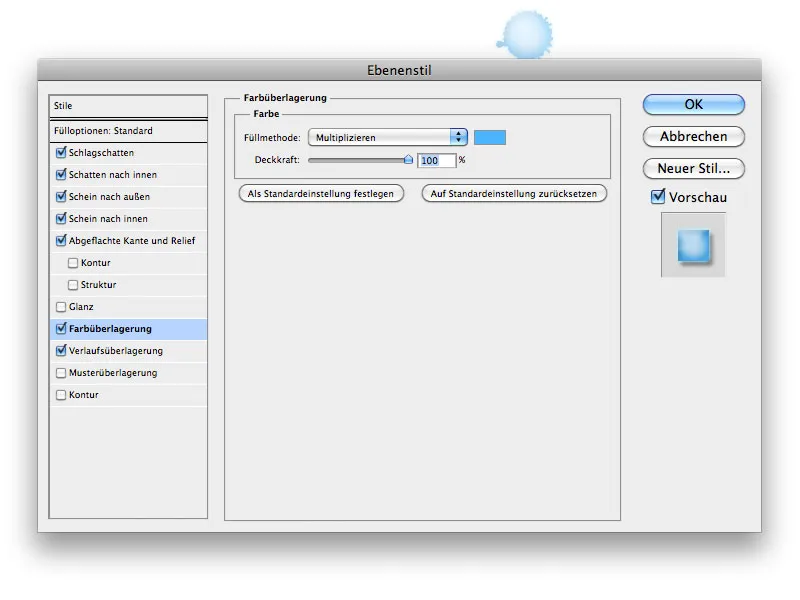
Gradient Overlay:
• Blend Mode: Normal
• Gradient: #c9c9c9 -> #ffffff
• Style: Radial
• Angle: 117°
• Scale: 129% 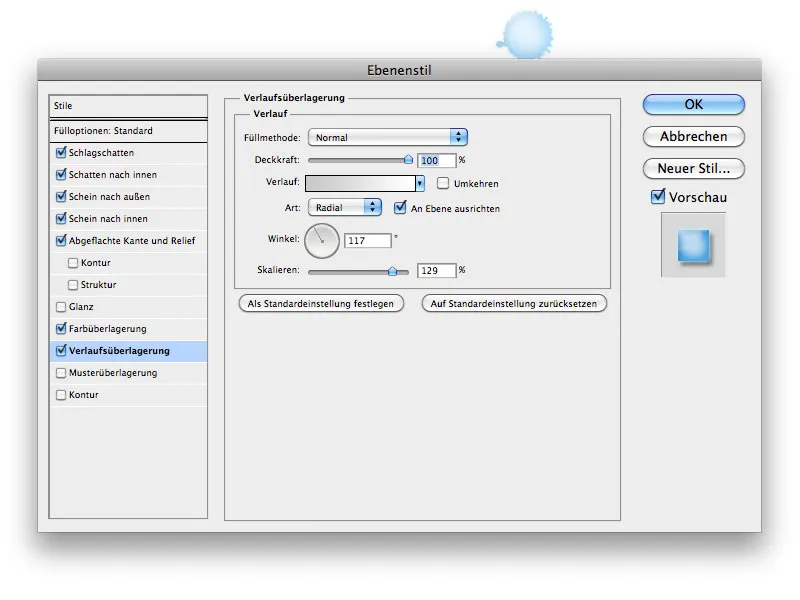
You can also copy the layer effects from the working file (PSD).
Step 3
Now, with a brush that looks like a spot, paint under the text. Apply the same layer effects to the brush as you did to the text. Reduce the text's opacity to 85% and the brush's to 40%, and you're done. 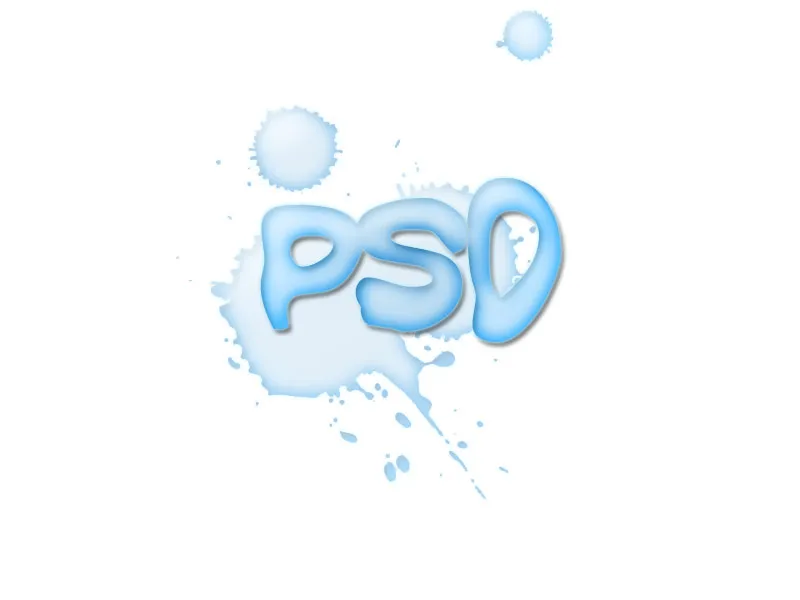
Have fun recreating this.
As working files, there are two PSD files with the Aqua effect - a lighter and a darker variation.
