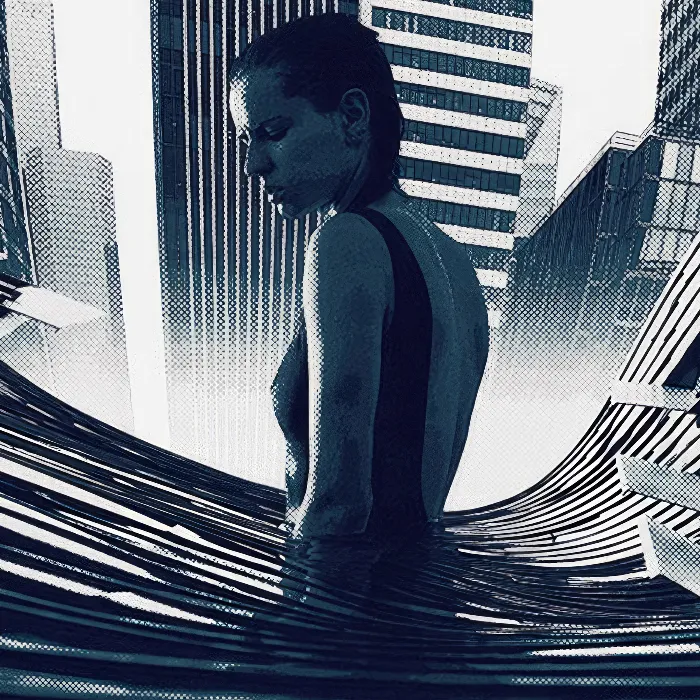
Graphic compositions often come with challenges in image editing, especially when it comes to harmoniously integrating elements. If you want to insert a new building into an existing skyscraper image, precise steps are necessary to ensure a natural appearance. In this guide, I will explain how to add an additional building to the composition, adjust it perspective-wise, and harmonize the hue to achieve a cohesive overall image.
Key Insights
- Expanding the canvas for additional buildings
- Using Photoshop's selection tools
- Applying color adjustments as clipping masks
- Creating realistic reflections
Expand the Canvas
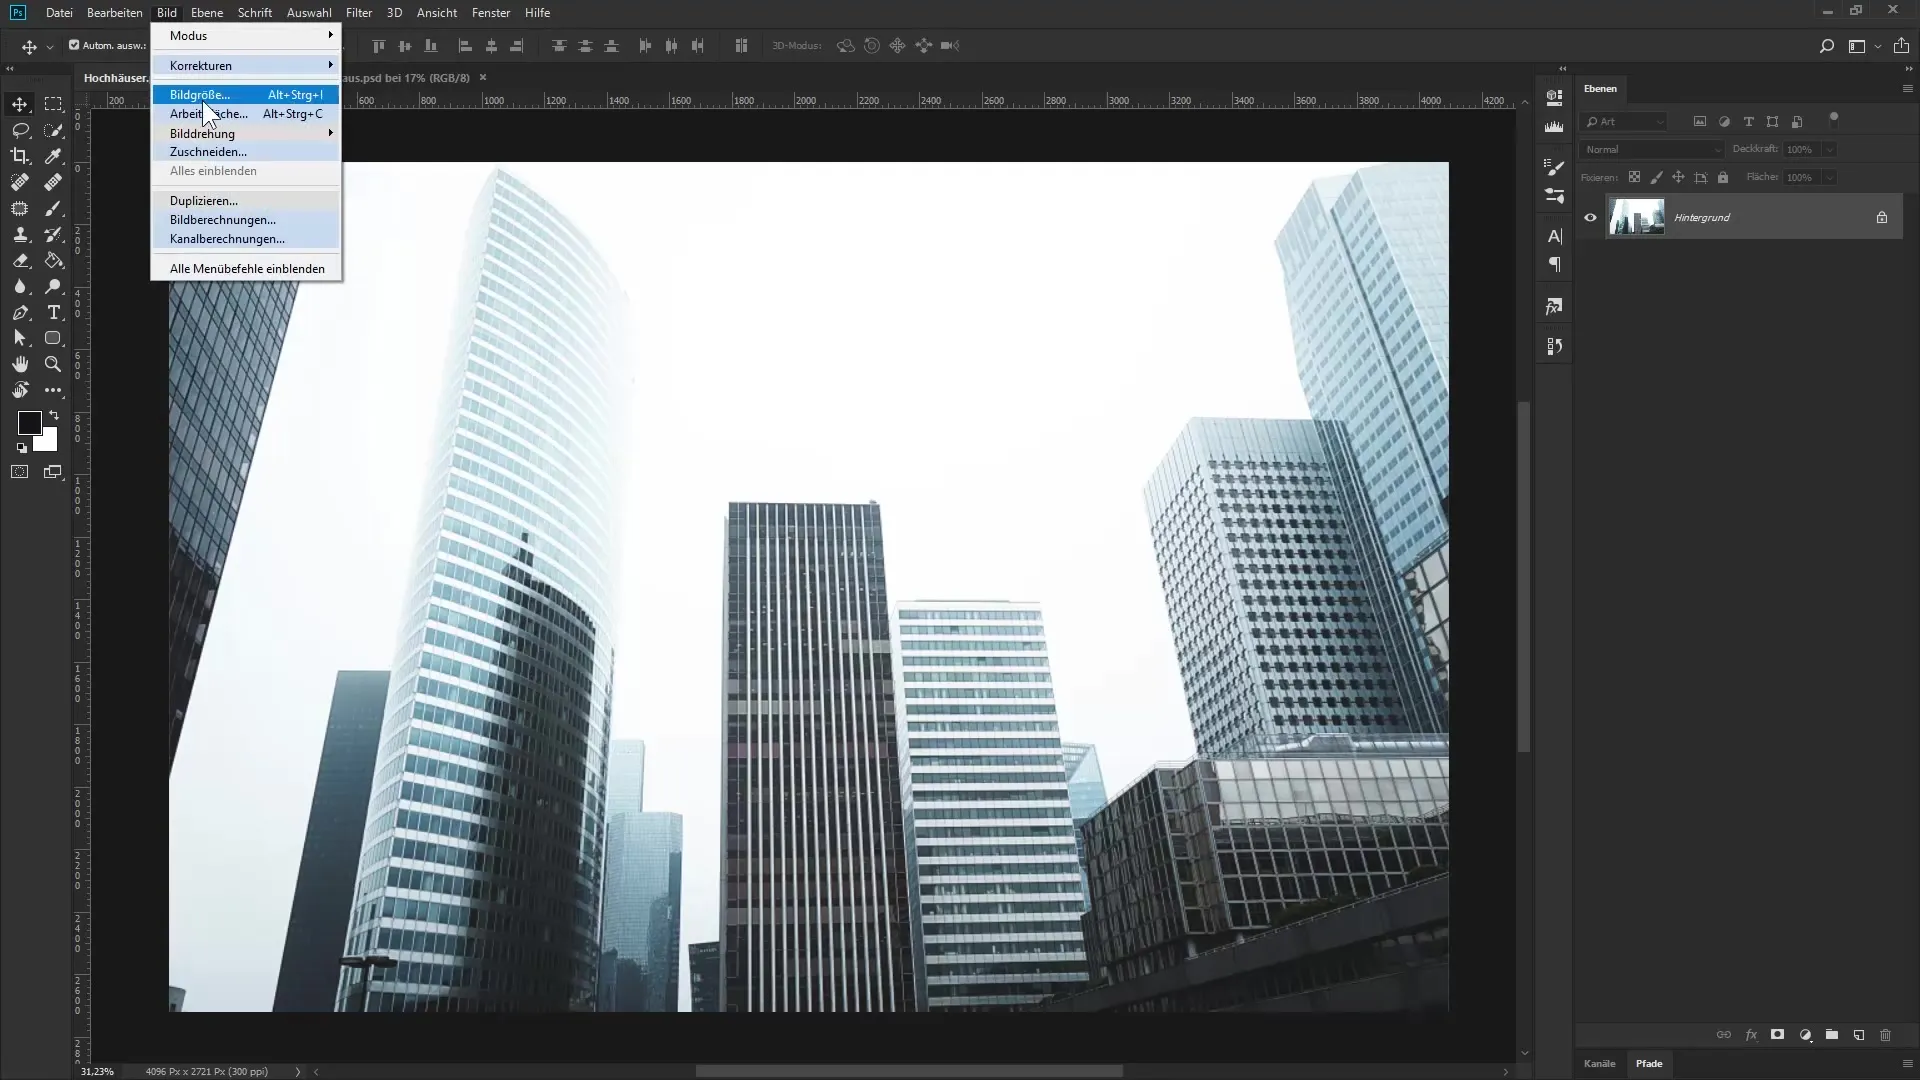
To create more space for the new building, you need to enlarge the canvas. Go to "Image" and select "Canvas Size." Here you can see the current width of your document and can expand it by the desired number of pixels. Ensure that the expansion is made to the right to have enough space for the new building.
Remove Background from New Building
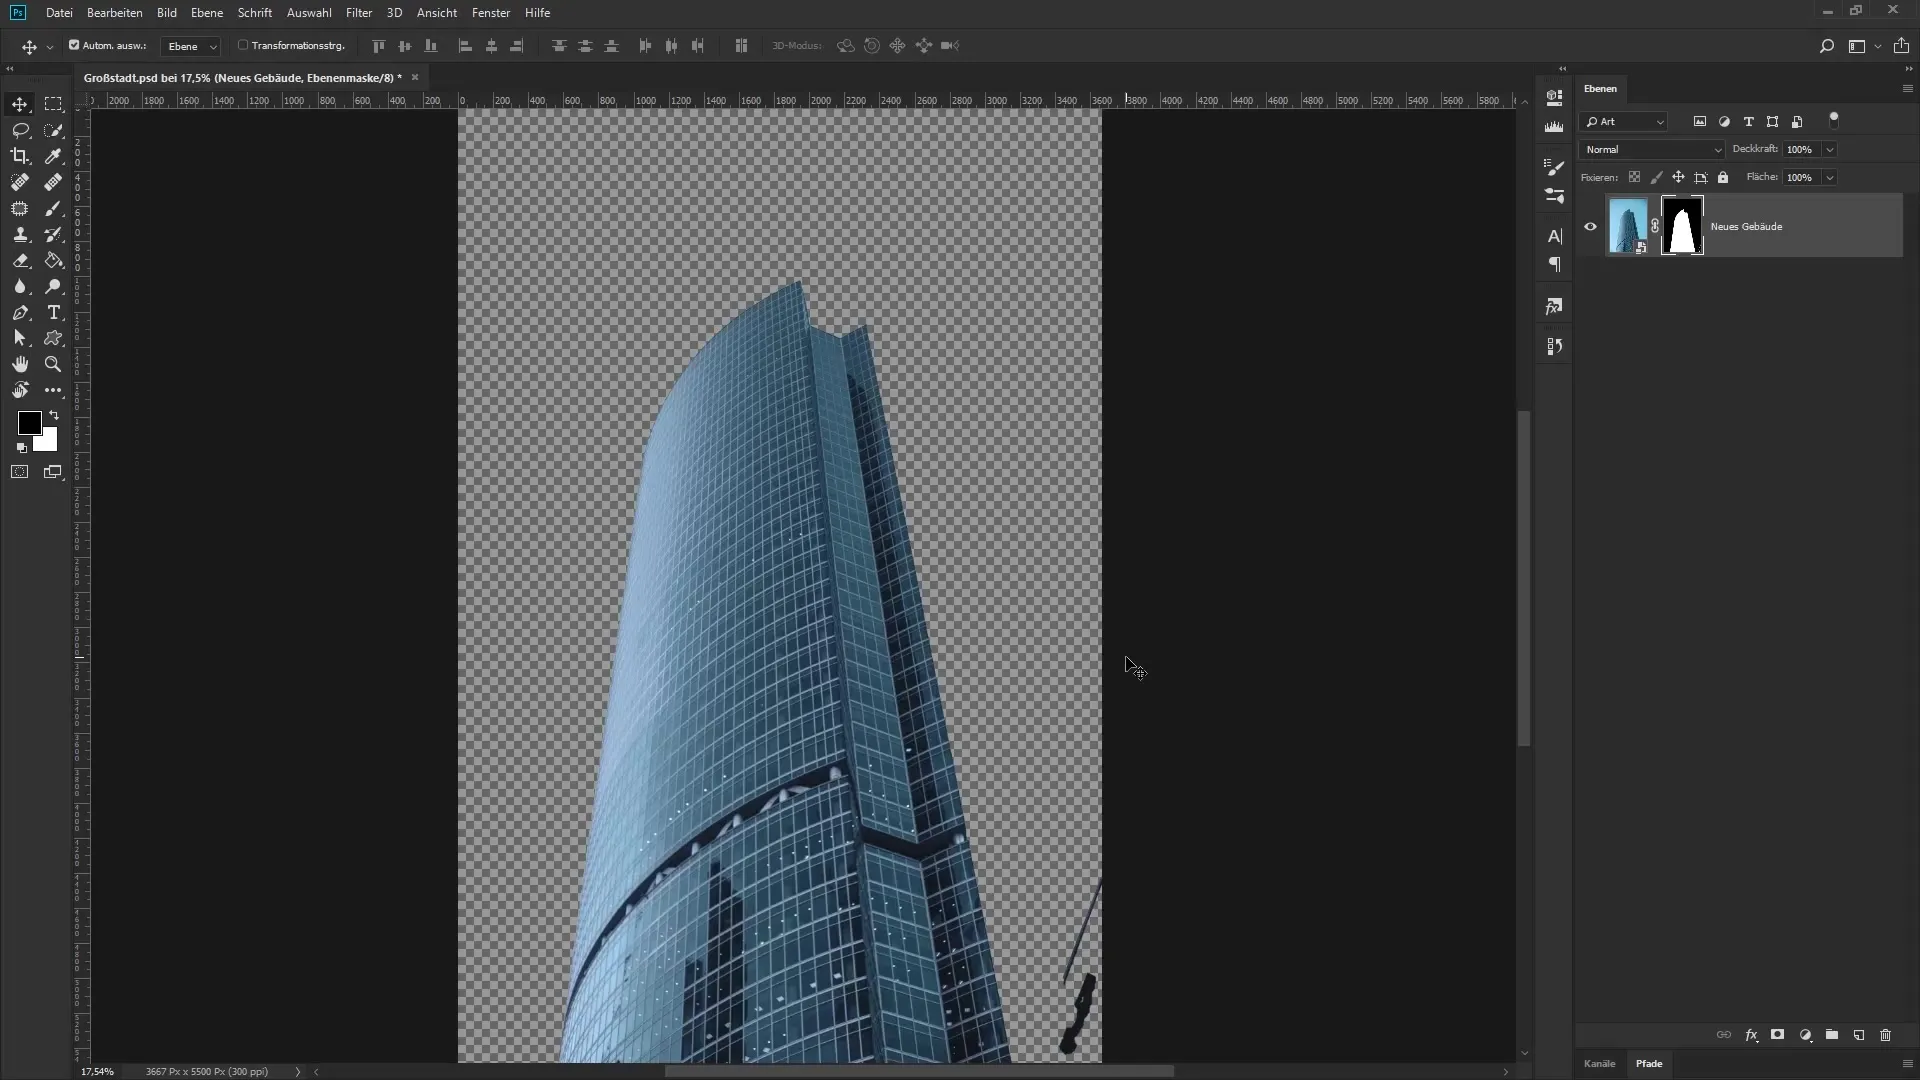
Select the desired building from a custom photographer. You should consider this image as a background layer in the layers palette. Convert the background layer to a Smart Object. This also allows for adjustments later. Create a selection via "Select" and then click on "Select Subject." Photoshop will try to automatically delineate the building-related object from its background. Once the selection is made, create a mask to isolate the building.
Edit Mask
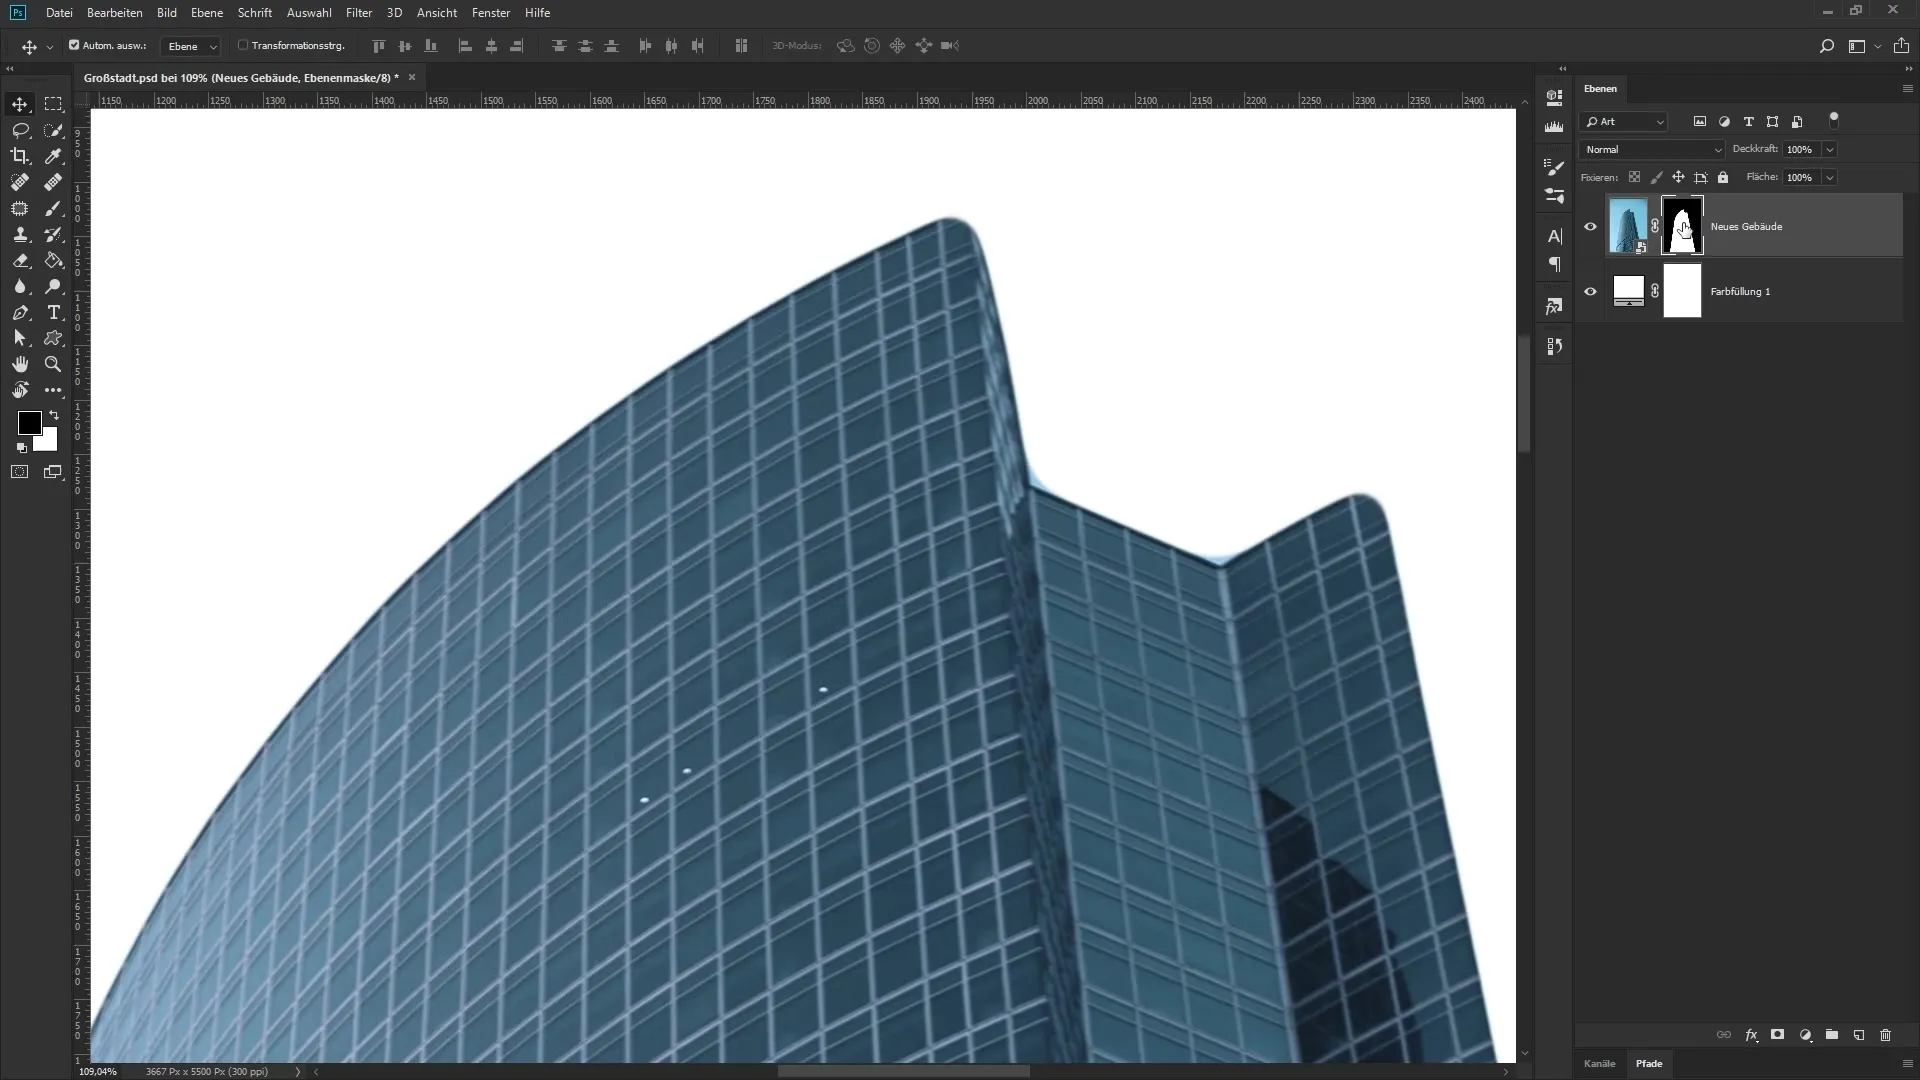
To optimize the edges of the mask, double-click on the mask in the layers palette. Increase the edge softness to make the transitions smoother. You can also increase the contrast to better highlight the isolated area. Adjust the settings until you are satisfied with the results.
Position New Building
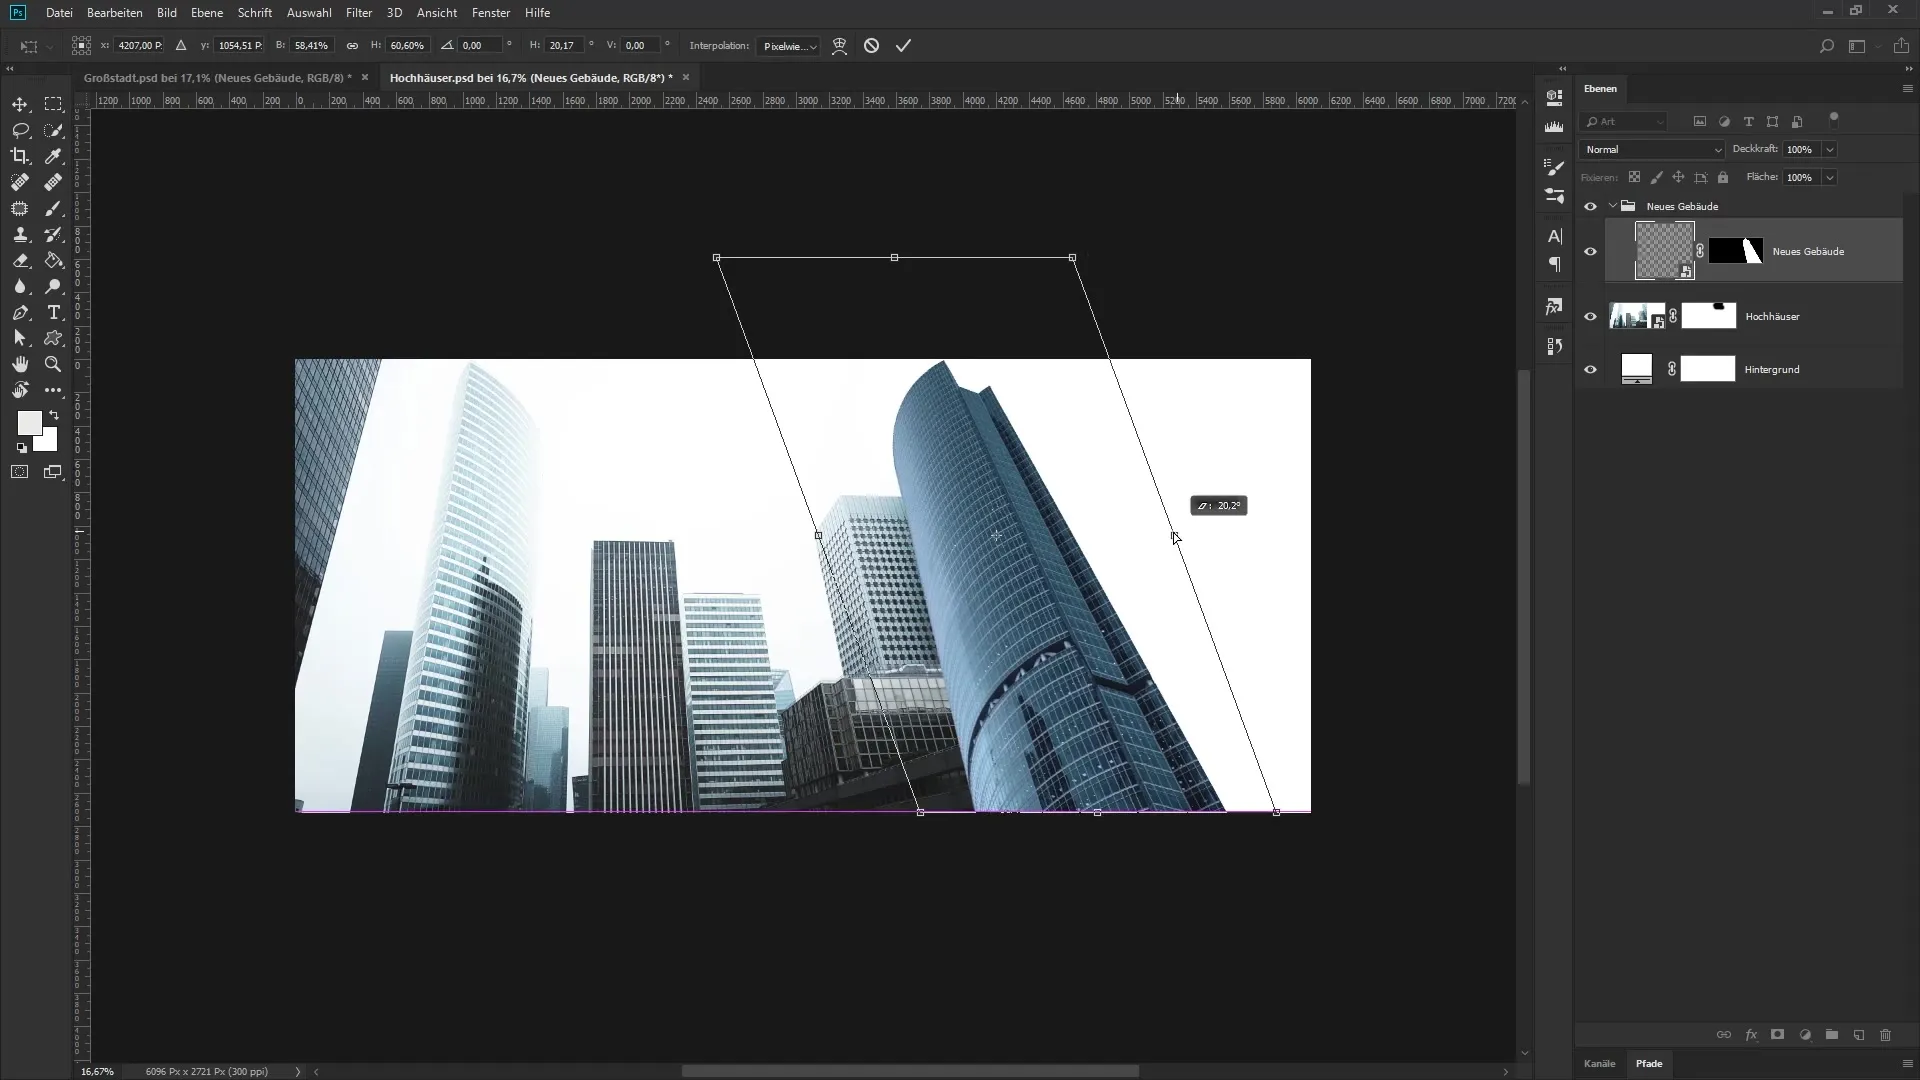
Now return to your original image where you created space for the new building. Repeat the process of converting it into a Smart Object. Now you can create a new building in a group so you can keep your work organized. Copy the isolated building and paste it into the new image. Transform the building so that it fits well into the existing scene. You must ensure that the proportions and perspective are correct.
Adjust Colors
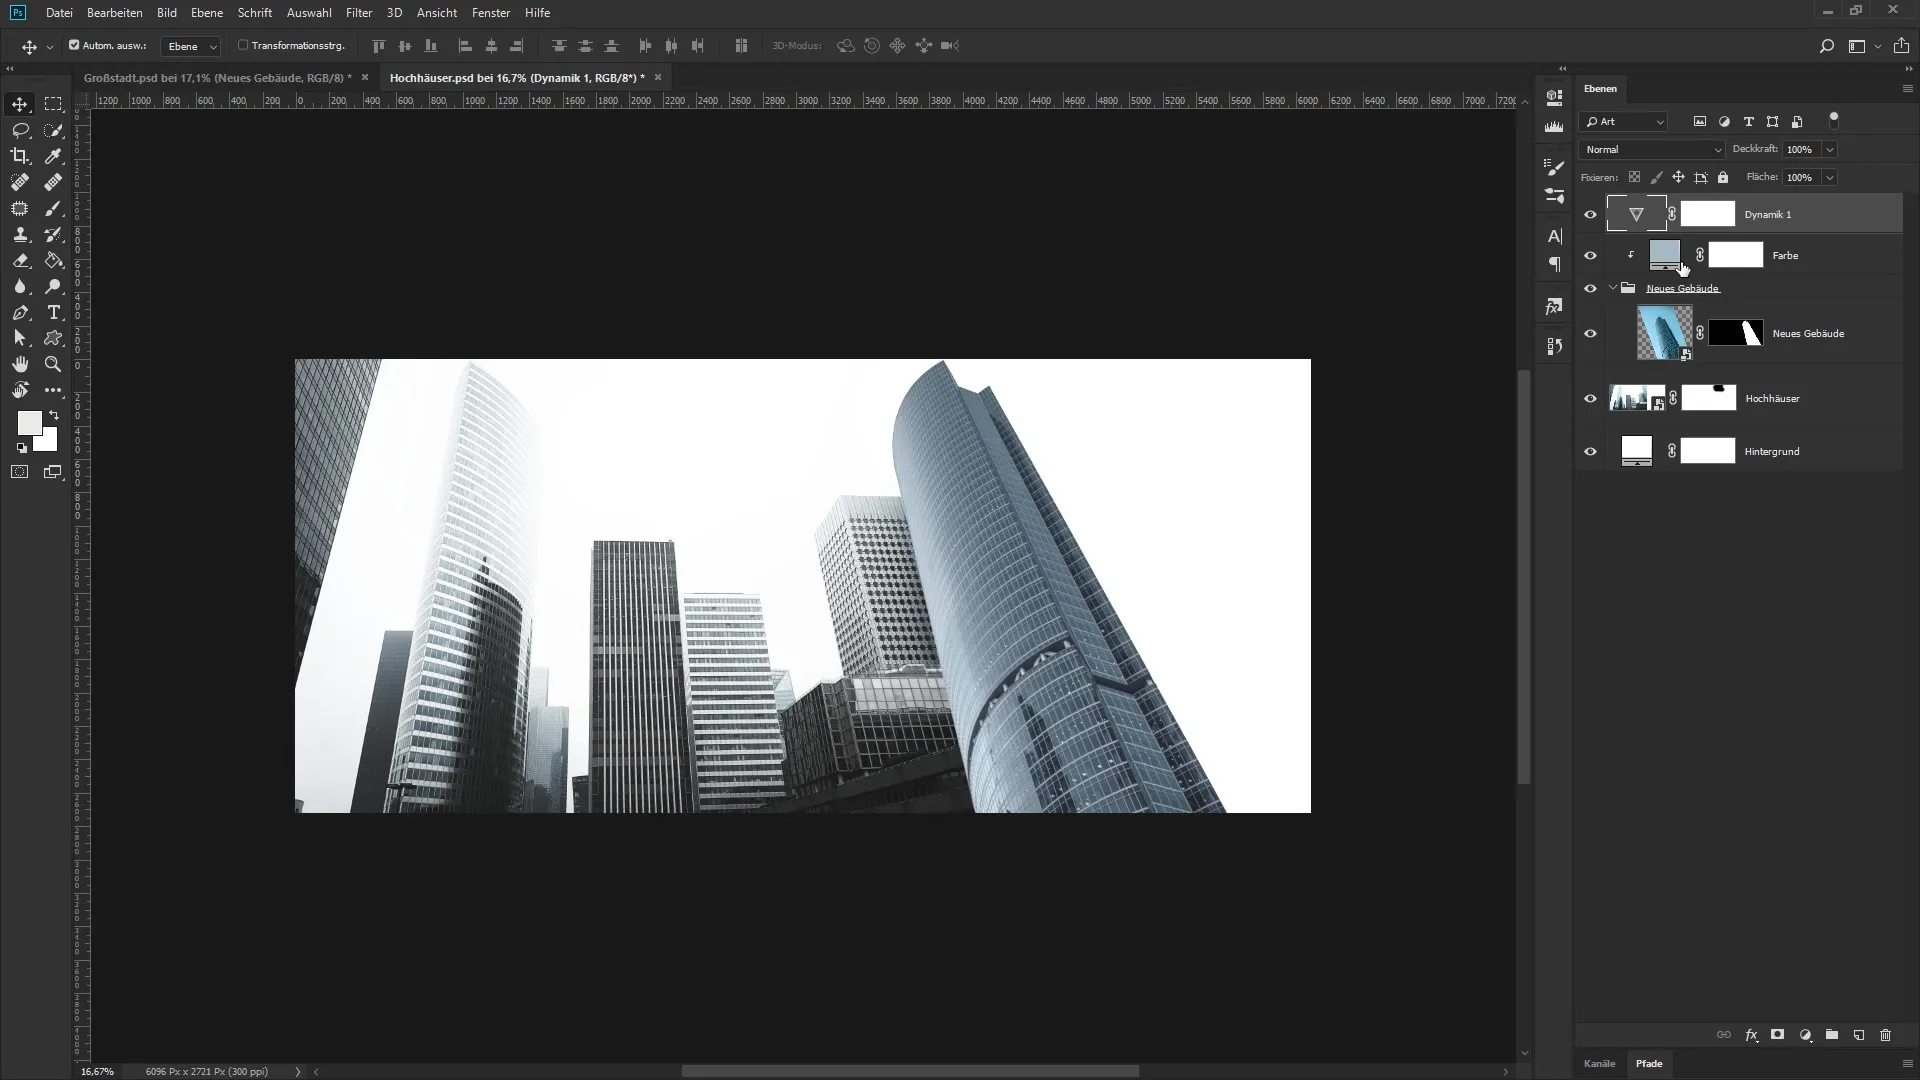
Since the new building does not harmonize color-wise with the other buildings, you need to make color corrections. Create a new adjustment layer for color fills above the group of the new building. To ensure that the color adjustments only apply to this building, transform the color adjustment into a clipping mask. Choose the desired hue that corresponds with the rest of the image and adjust the opacity.
Create Reflection
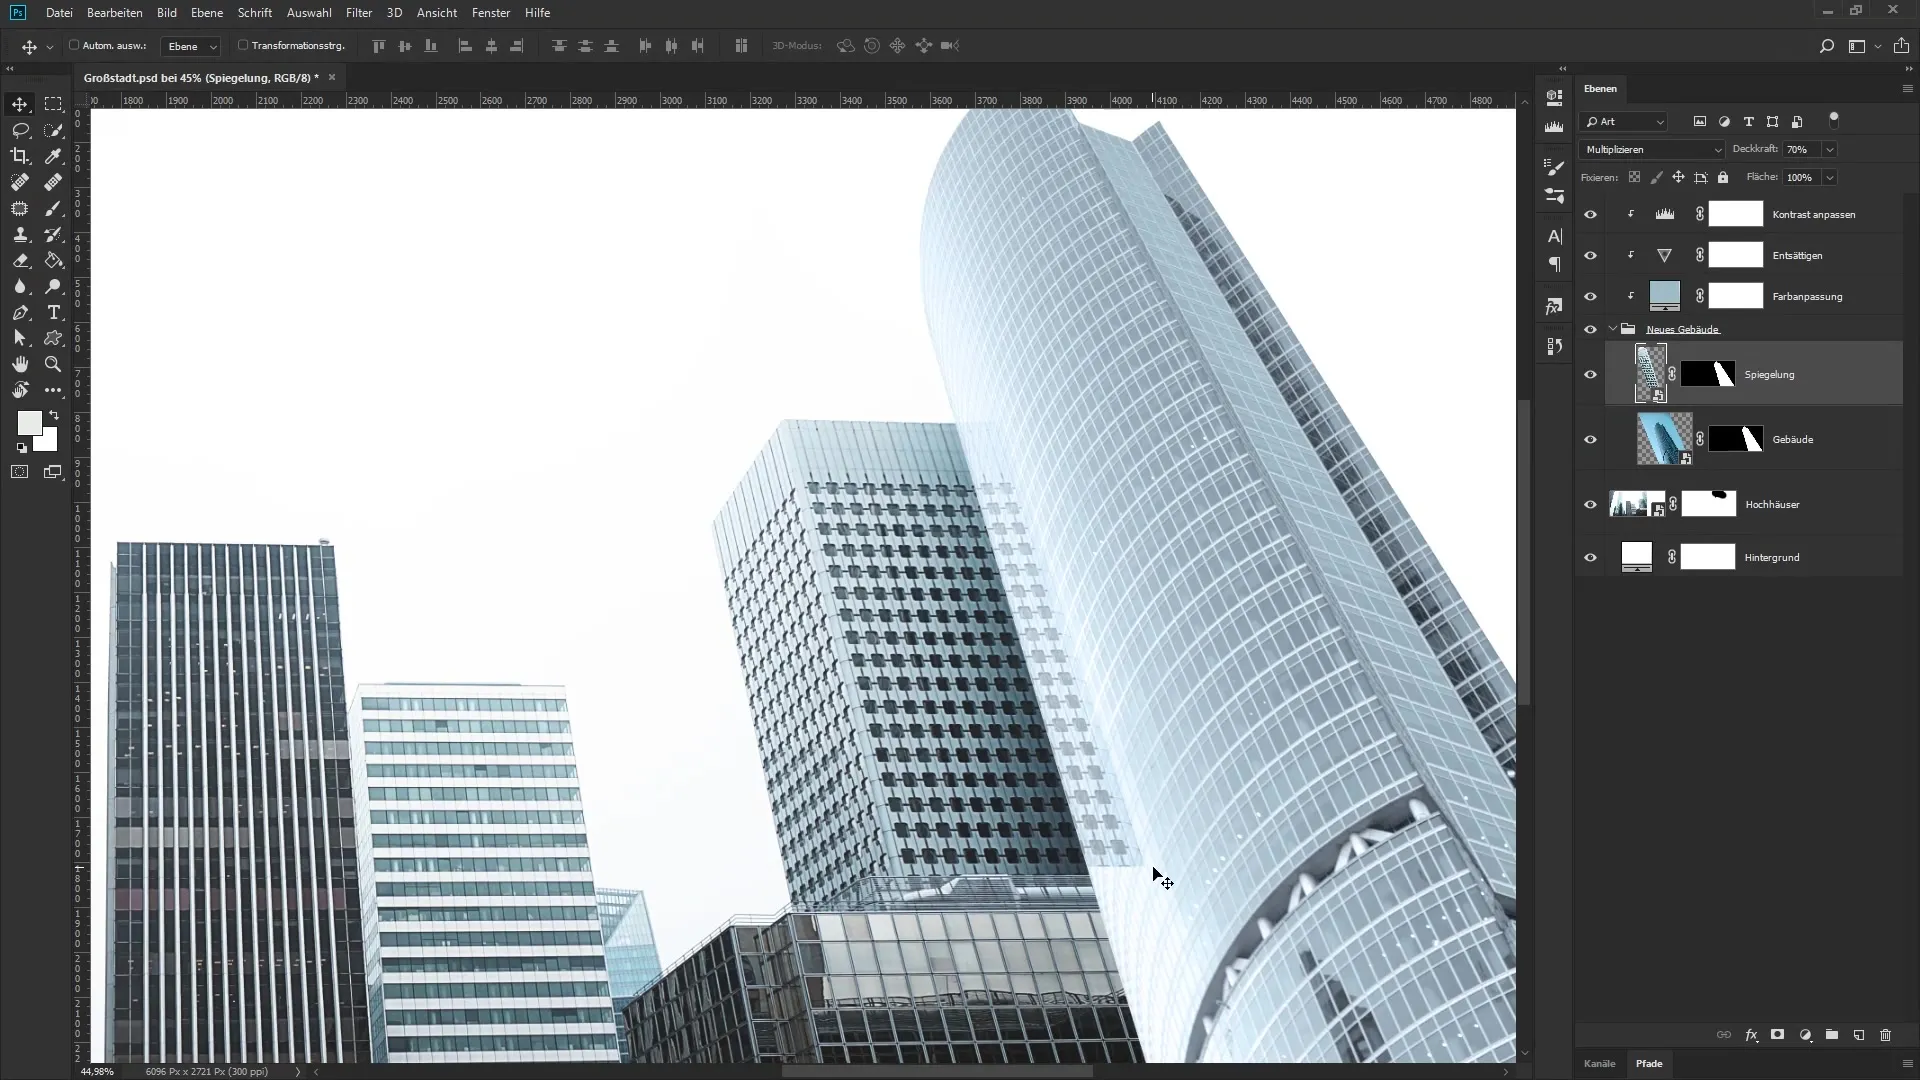
To make the scene even more realistic, add a reflection of the new building to the composition. You can select an area of the object, copy it, and then flip it. Ensure that the reflection is positioned correctly and perspective-wise adjusted. Again, you should apply a mask to control visibility in the right places.
Add Additional Effects
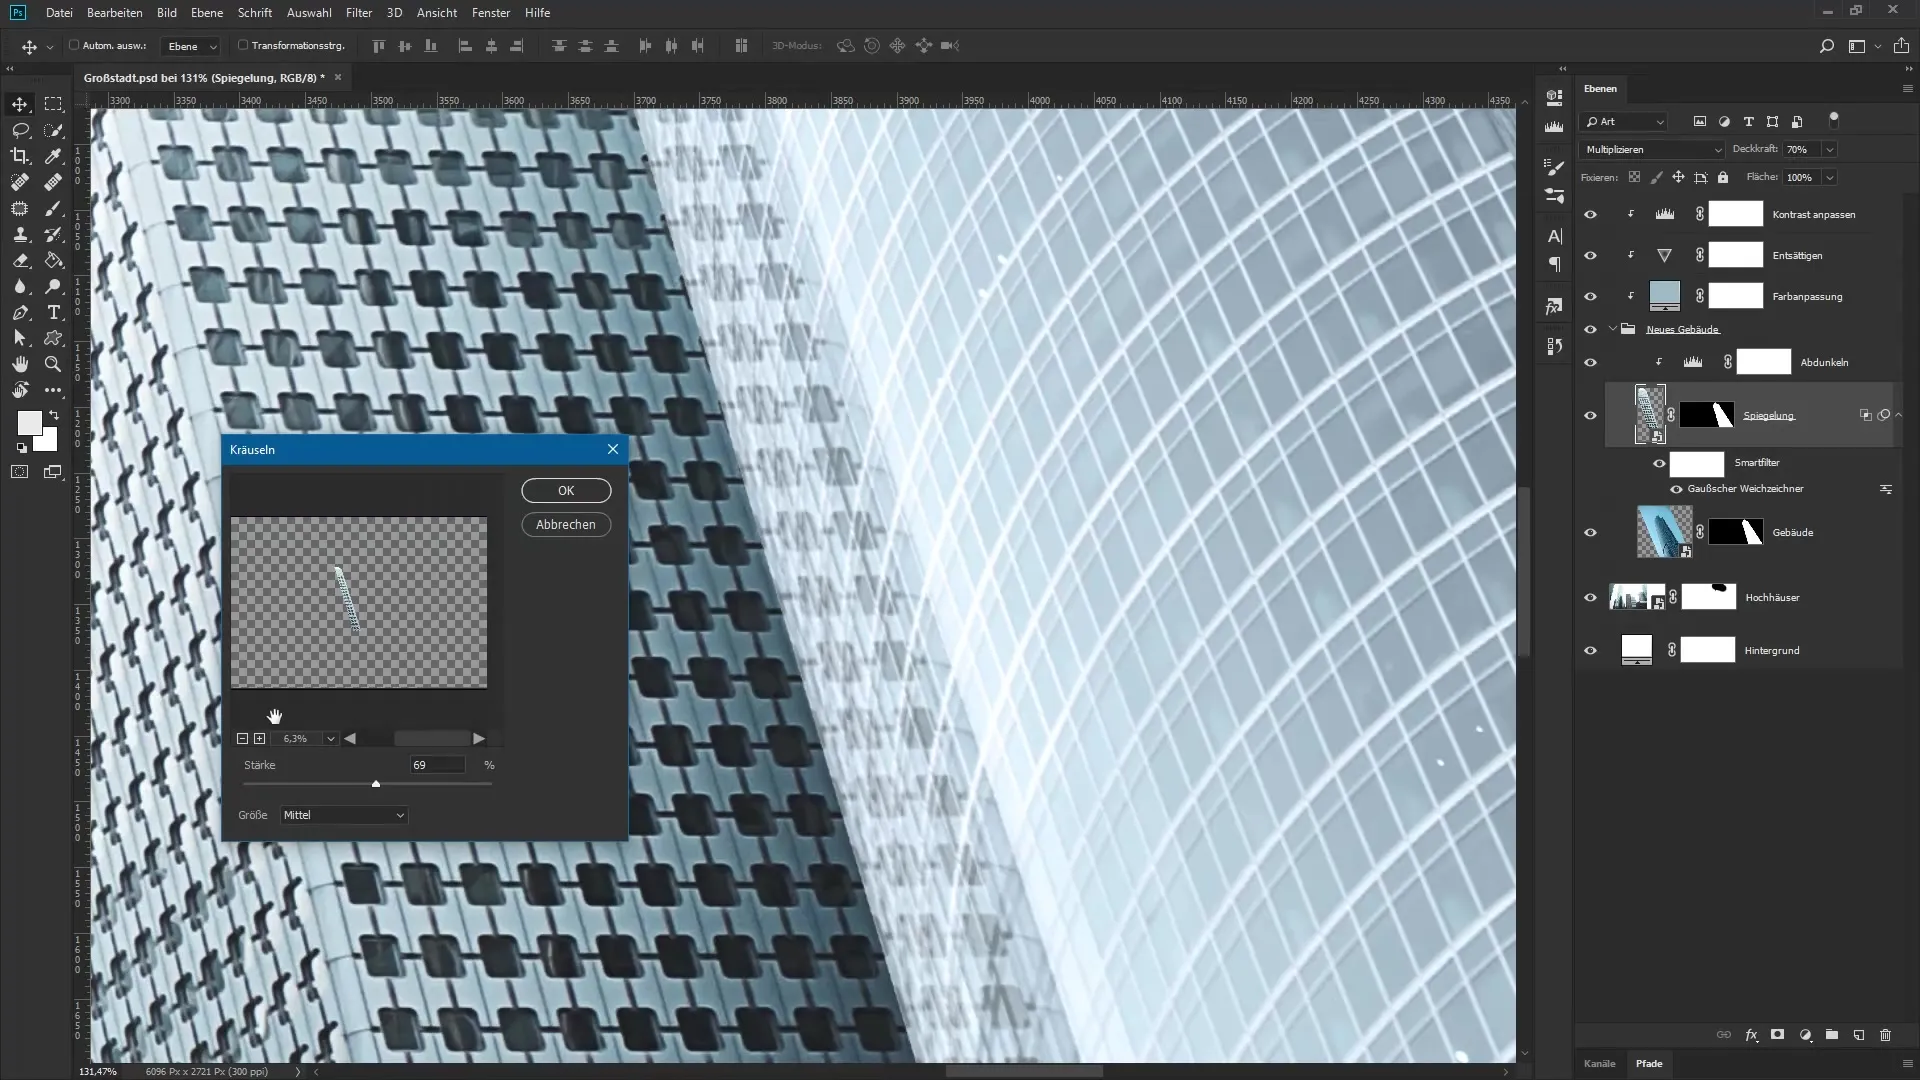
For a more realistic reflection, the sharpness of the edges can be softened using blurring and filters. Select the reflection layer and use the Gaussian Blur to smooth the edges. You can further adjust the image by applying additional filters like “Ripple” to make the reflection even more believable.
Summary - Urban Image Montage in Photoshop: Effectively Designing and Combining Skyscrapers
By following these steps during the Christmas season, you can ensure that the skyscrapers in your composition are harmoniously integrated. The combination of effective isolation, appropriate coloring, and realistic reflections will significantly enhance the visual quality of your night shots.
Frequently Asked Questions
How can I expand the canvas in Photoshop?Go to “Image” > “Canvas Size” and manually adjust the width.
How do I create a mask for an isolated object?Select the isolated image and click on the mask icon in the layers palette.
How do I match the colors of the new building to the original?Use an adjustment layer for color fills and convert it into a clipping mask above the group of the new building.
How do I create a reflection in Photoshop?Select the desired area of the image, copy it, and flip it horizontally. Then use a mask to adjust visibility.
Should I make the reflection sharper or softer?Ideally, the reflection should be softer to create a realistic look. Use filters for blurring.
