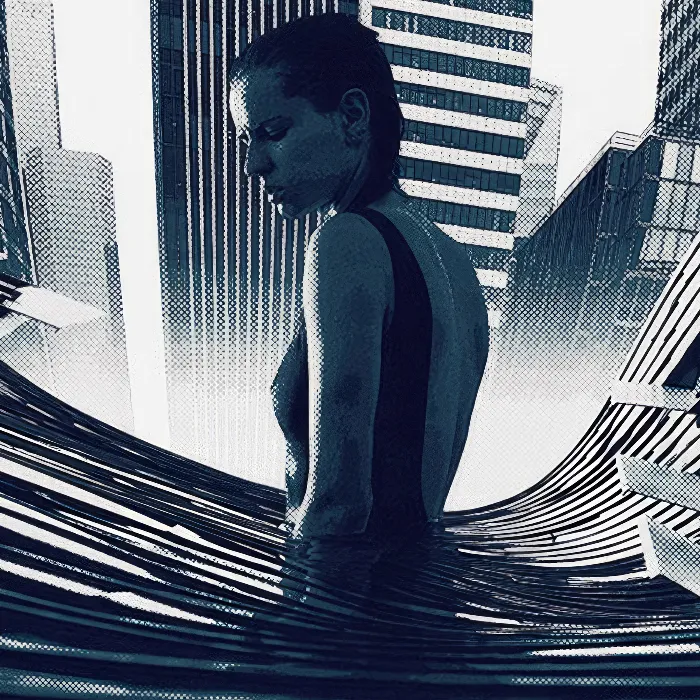
Photo compositions open up countless possibilities for you to express your creativity and transform everyday images into something unique. In this tutorial, you will learn how to achieve an urban look like in the artwork “The Metropolis” using various stylistic devices in Photoshop. Trust the instructions and take your skills to the next level.
Main Insights
- Create summary layers to simplify your editing
- Experiment with different filters like edge enhancement and halftoning
- Use gradient layers to adjust colors purposefully
- Optimize brightness for a striking image
- Color look adjustments ensure a harmonious composition
Step-by-Step Guide
To customize the image, start by creating a new group in the layers palette. Place it at the top and name it “Style”. Within this group, consolidate all your changes on one layer. To do this, hold down the Control, Shift, Alt, and E keys simultaneously to create a summary layer.
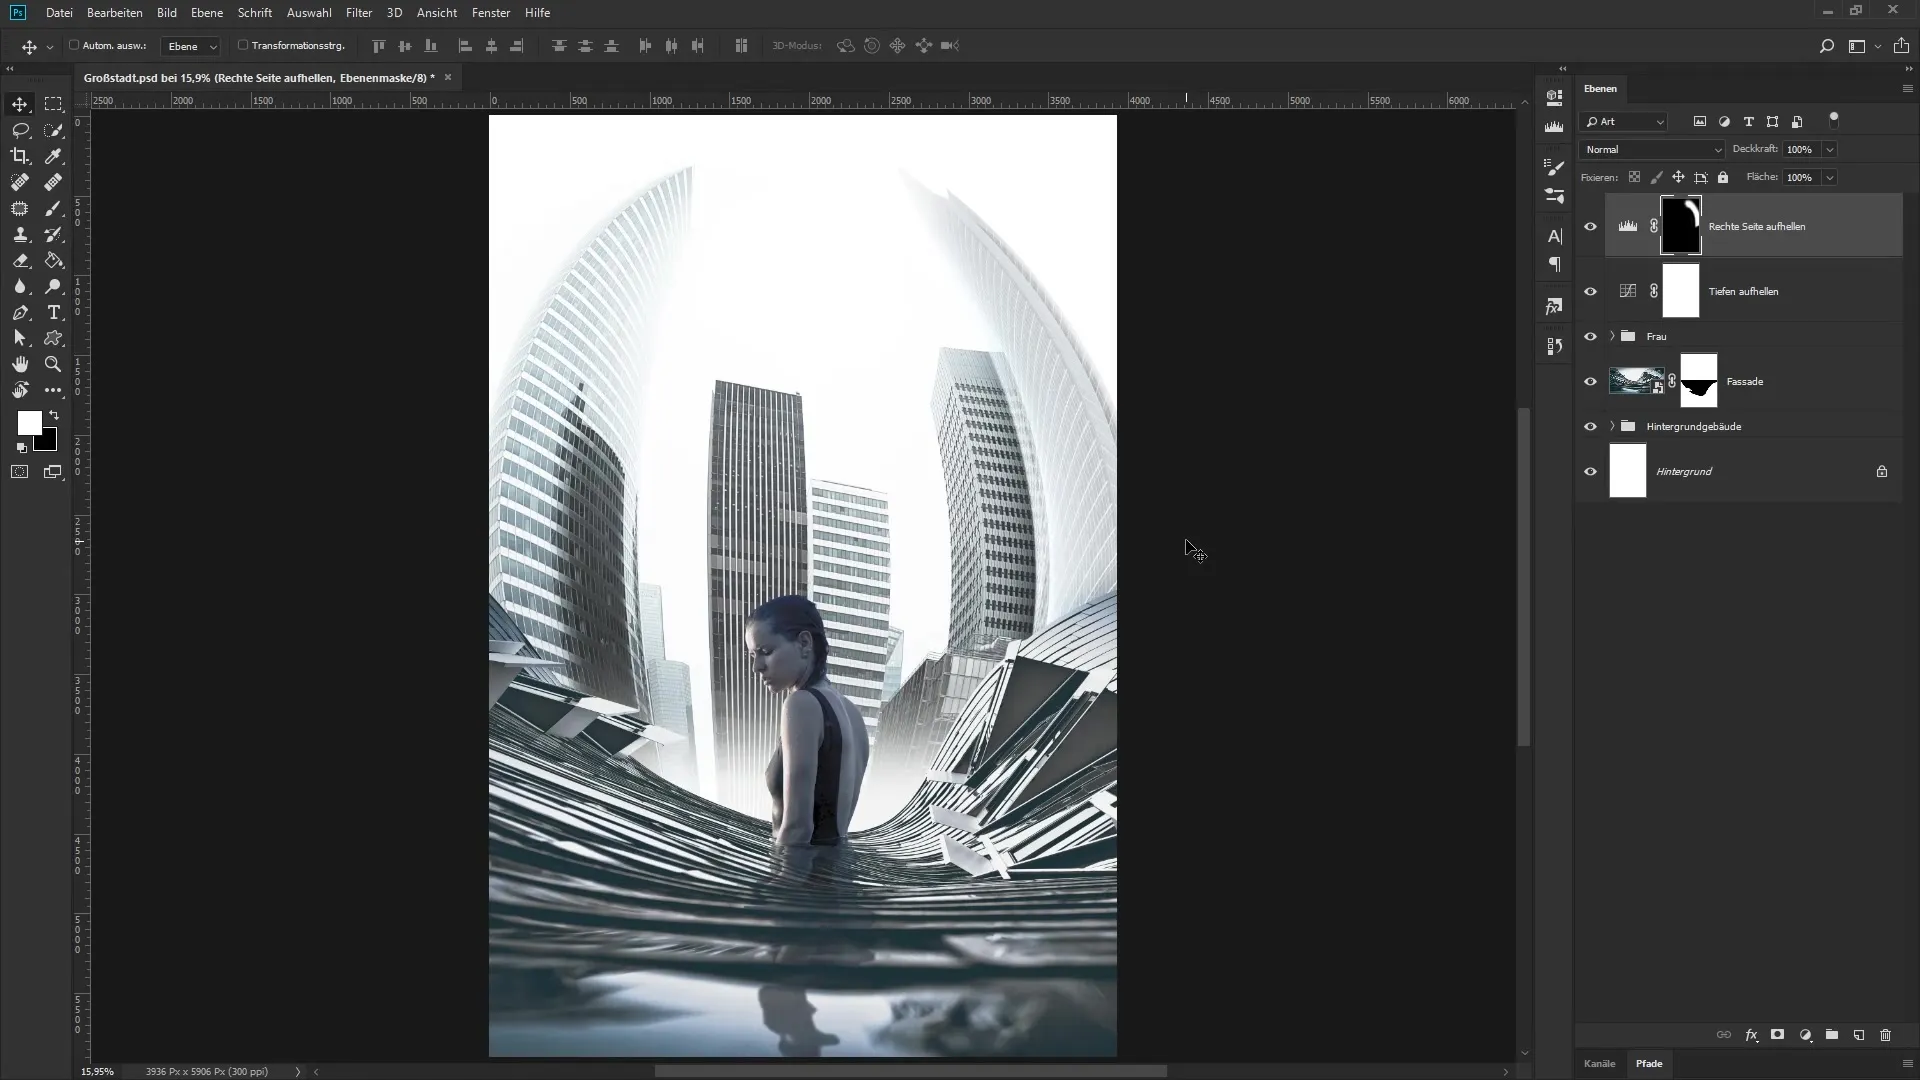
You will convert this new layer into a smart object and name it “Tone Separation and Edge Enhancement”. The next step is to select the filter. Choose “Filter” and then “Filter Gallery”. You can minimize the dialog box that opens to get a better overview.
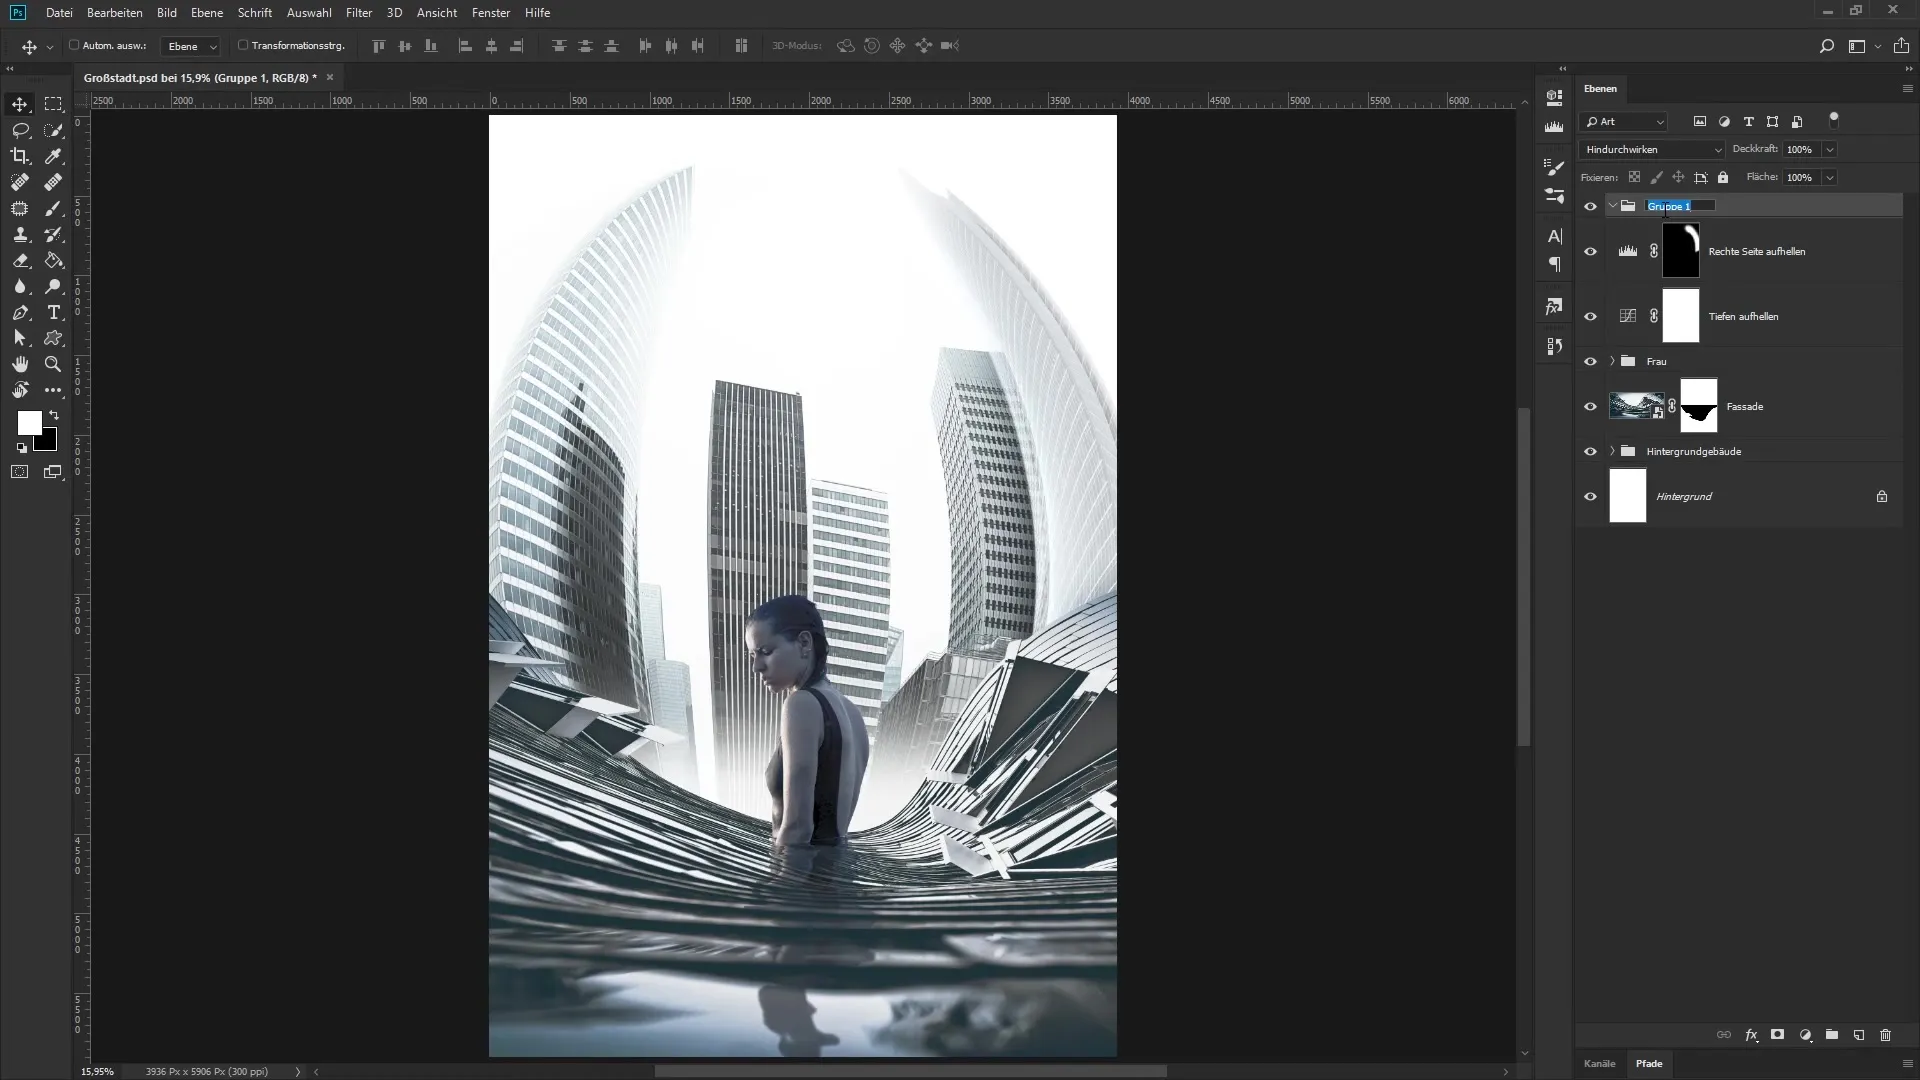
Now you will set the parameters. Set the edge strength to 0, the edge opacity to 1, and the tone separation to 3. These values emphasize the edges of your image while simultaneously reducing the number of colors. Confirm your inputs with “OK” and observe the difference. This will make your image stand out maximally.
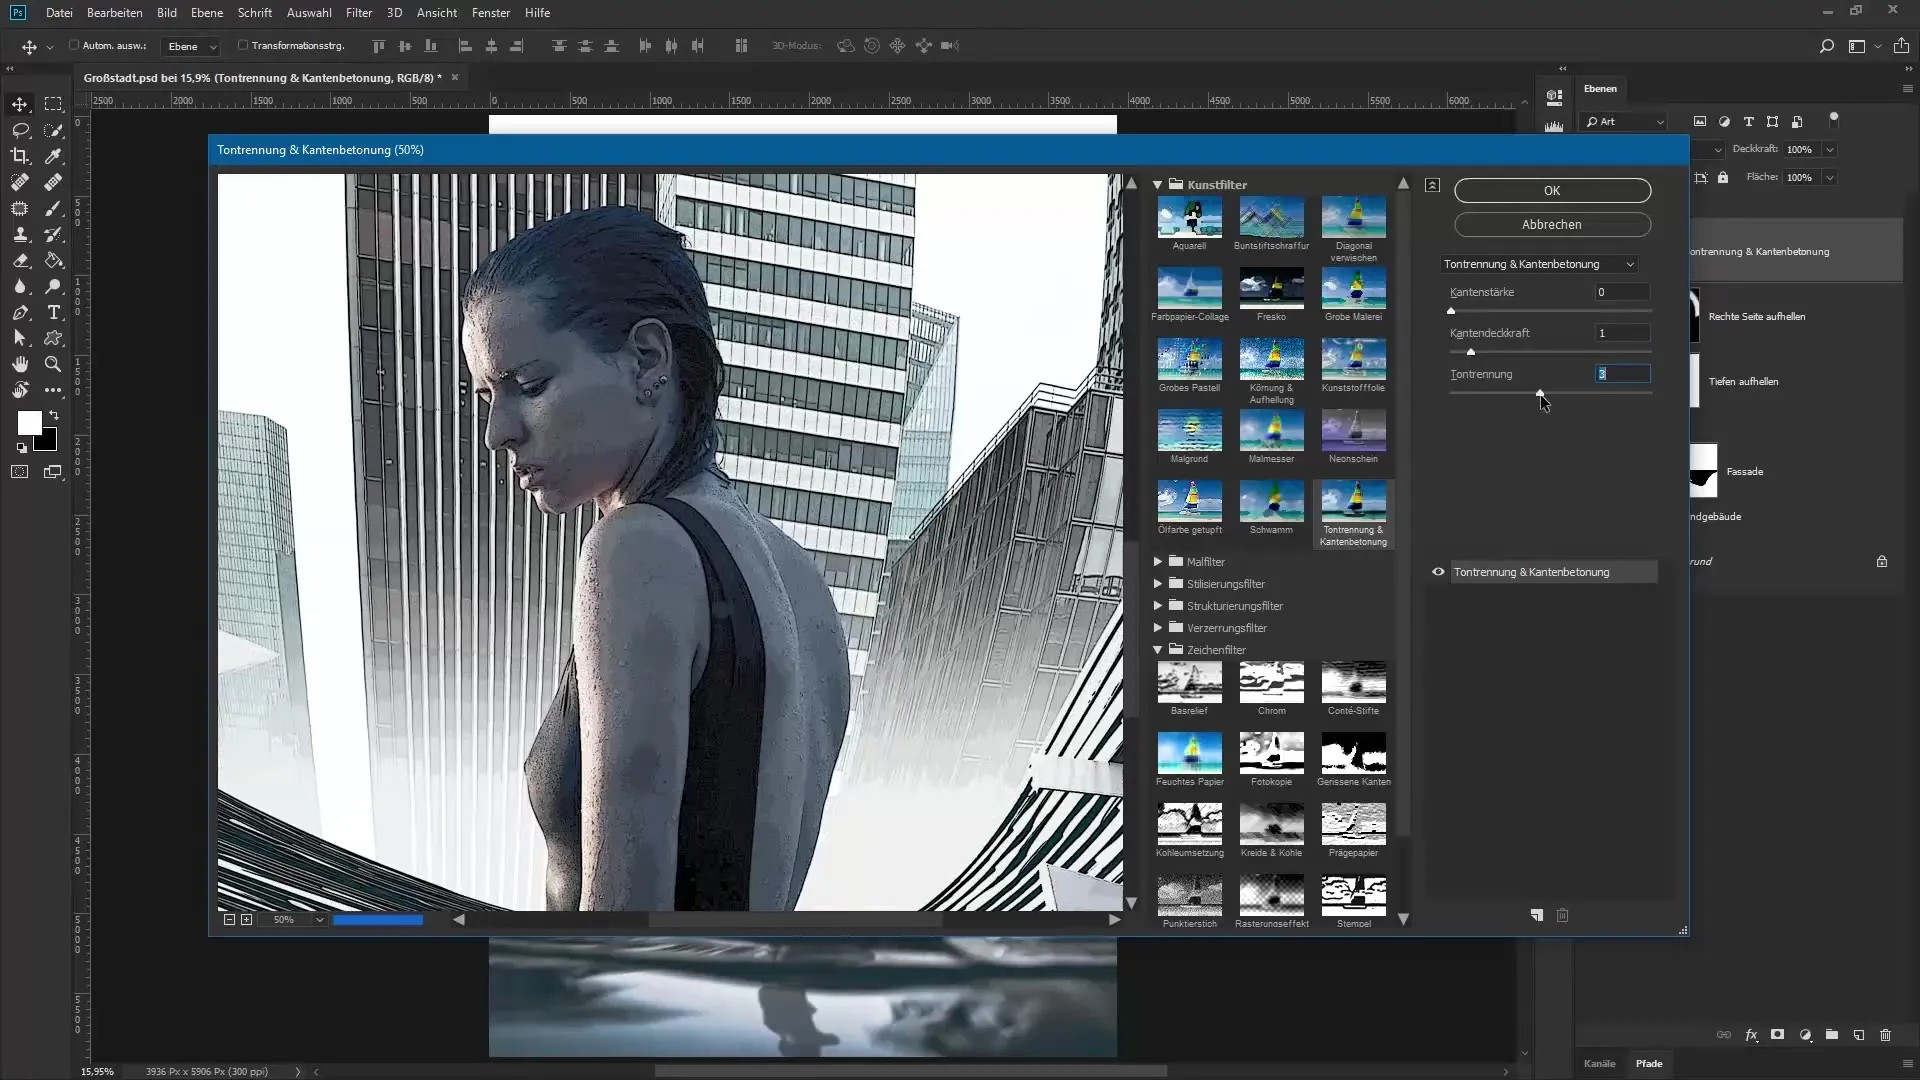
To create a second summary layer, repeat the previous process with the Control, Shift, Alt, and E keys. Name this new layer “Halftone Effect” and before you apply the halftone effect, invert the colors using the keyboard shortcut Control and I.
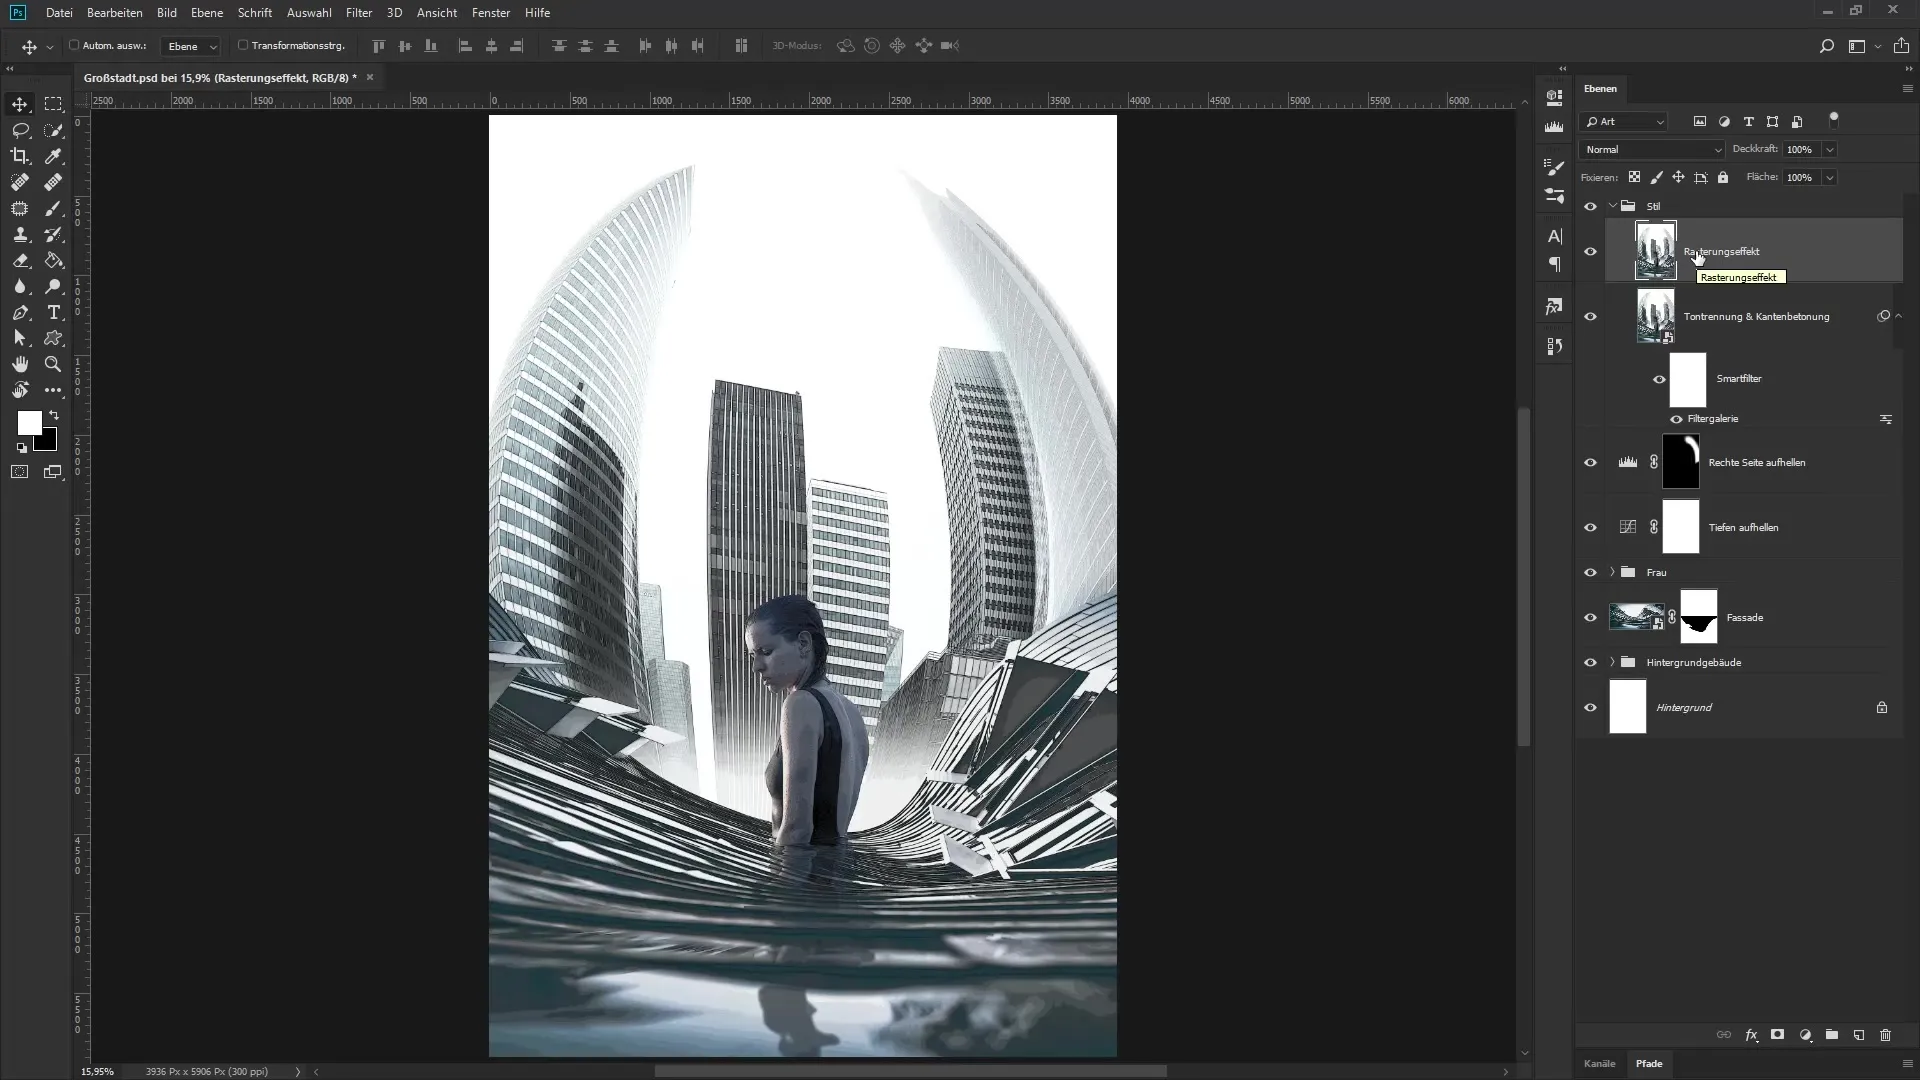
Now right-click on the layer and select “Convert to Smart Object”. Return to the Filter Gallery but select the Halftone effect from the Sketch filters group. Decrease the zoom level to observe the result in real-time.
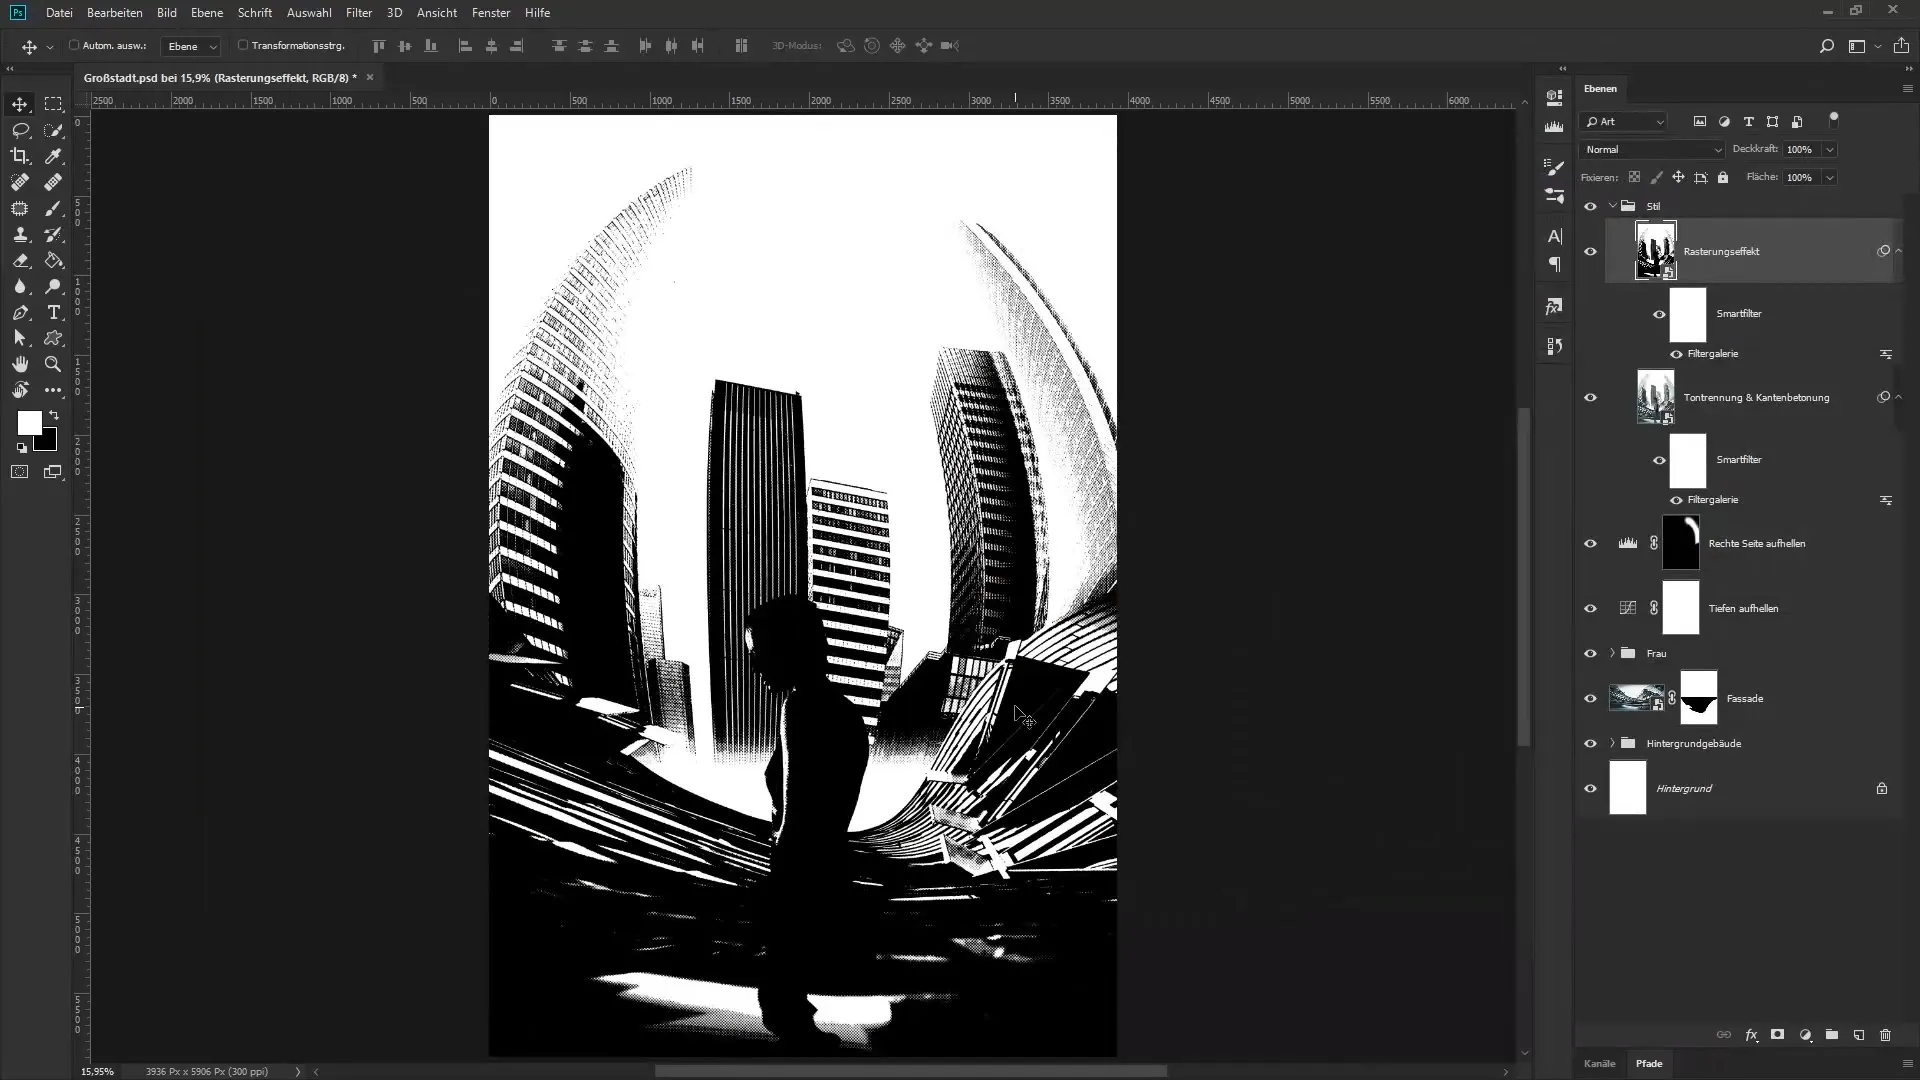
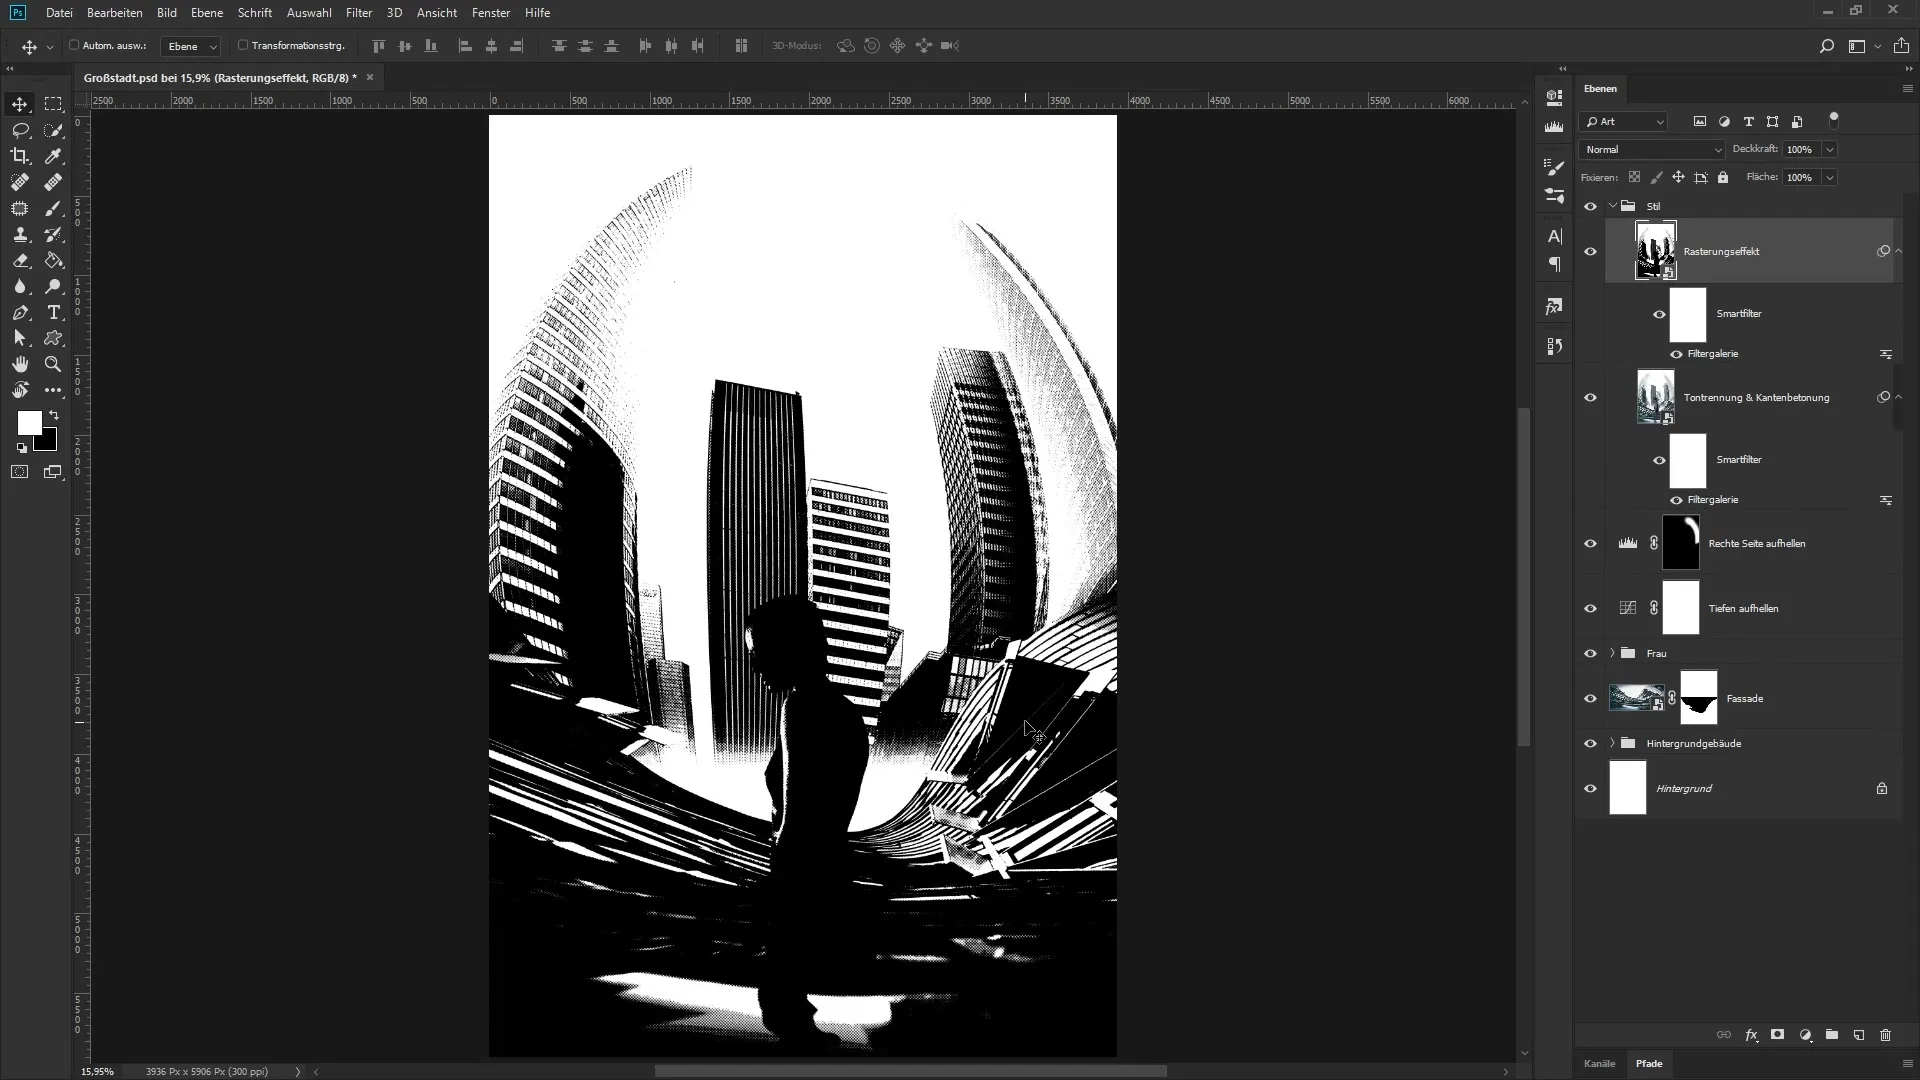
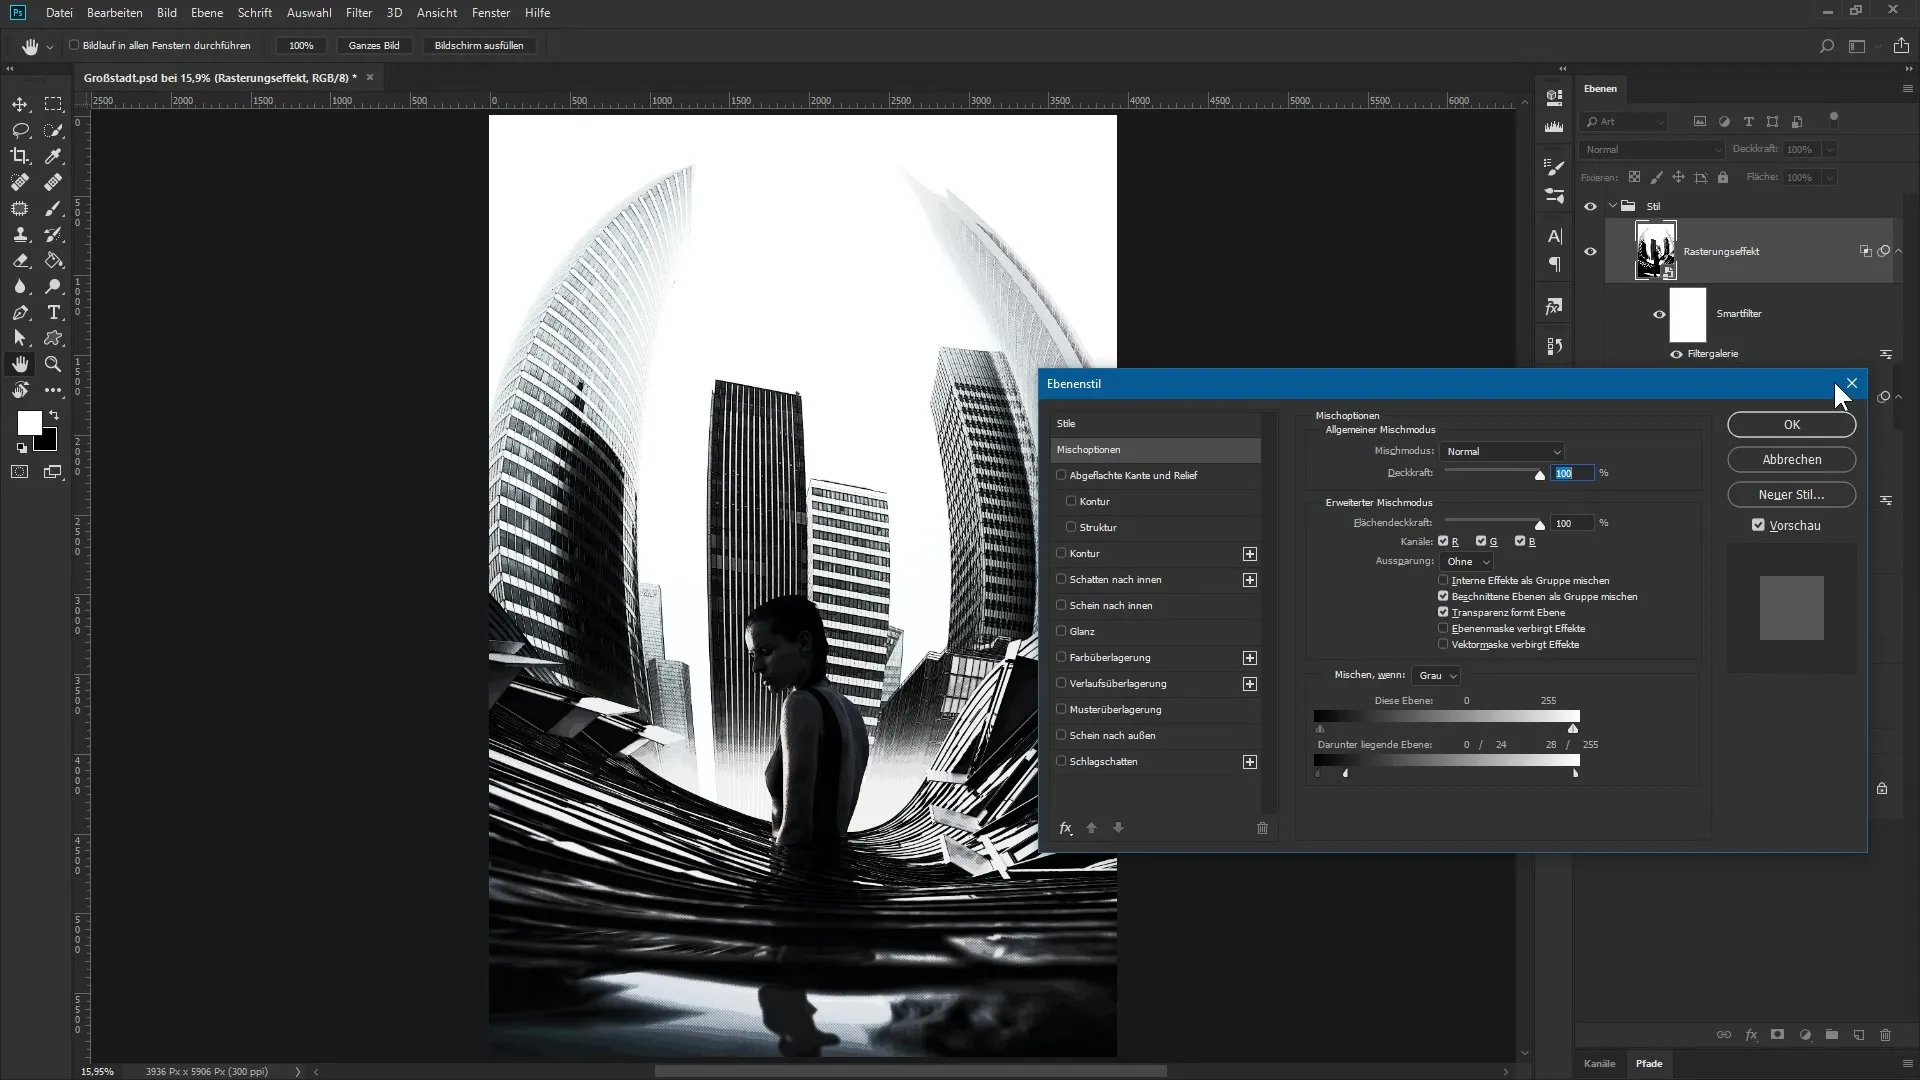
Set the size to 4, the contrast to 47, and the pattern to dot. Confirm your settings with “OK”. Now you can adjust the brightness and darkness of the underlying layers. Double-click on an empty space of the halftone effect layer to open the layer styles.
Here you will adjust the “Underlying Layer” slider. Hold down the Alt key and move the dark slider to the right. You will also do this with the white slider by splitting it and placing it in the desired position. This way, you will highlight the dark and light areas and achieve a harmonious image.
Now it's time to refine the color look of your image. Create a new adjustment layer and choose “Gradient Map”. Here you can adjust the gradient from white to black. Click on the gradient and adjust the hue values of the sliders accordingly.
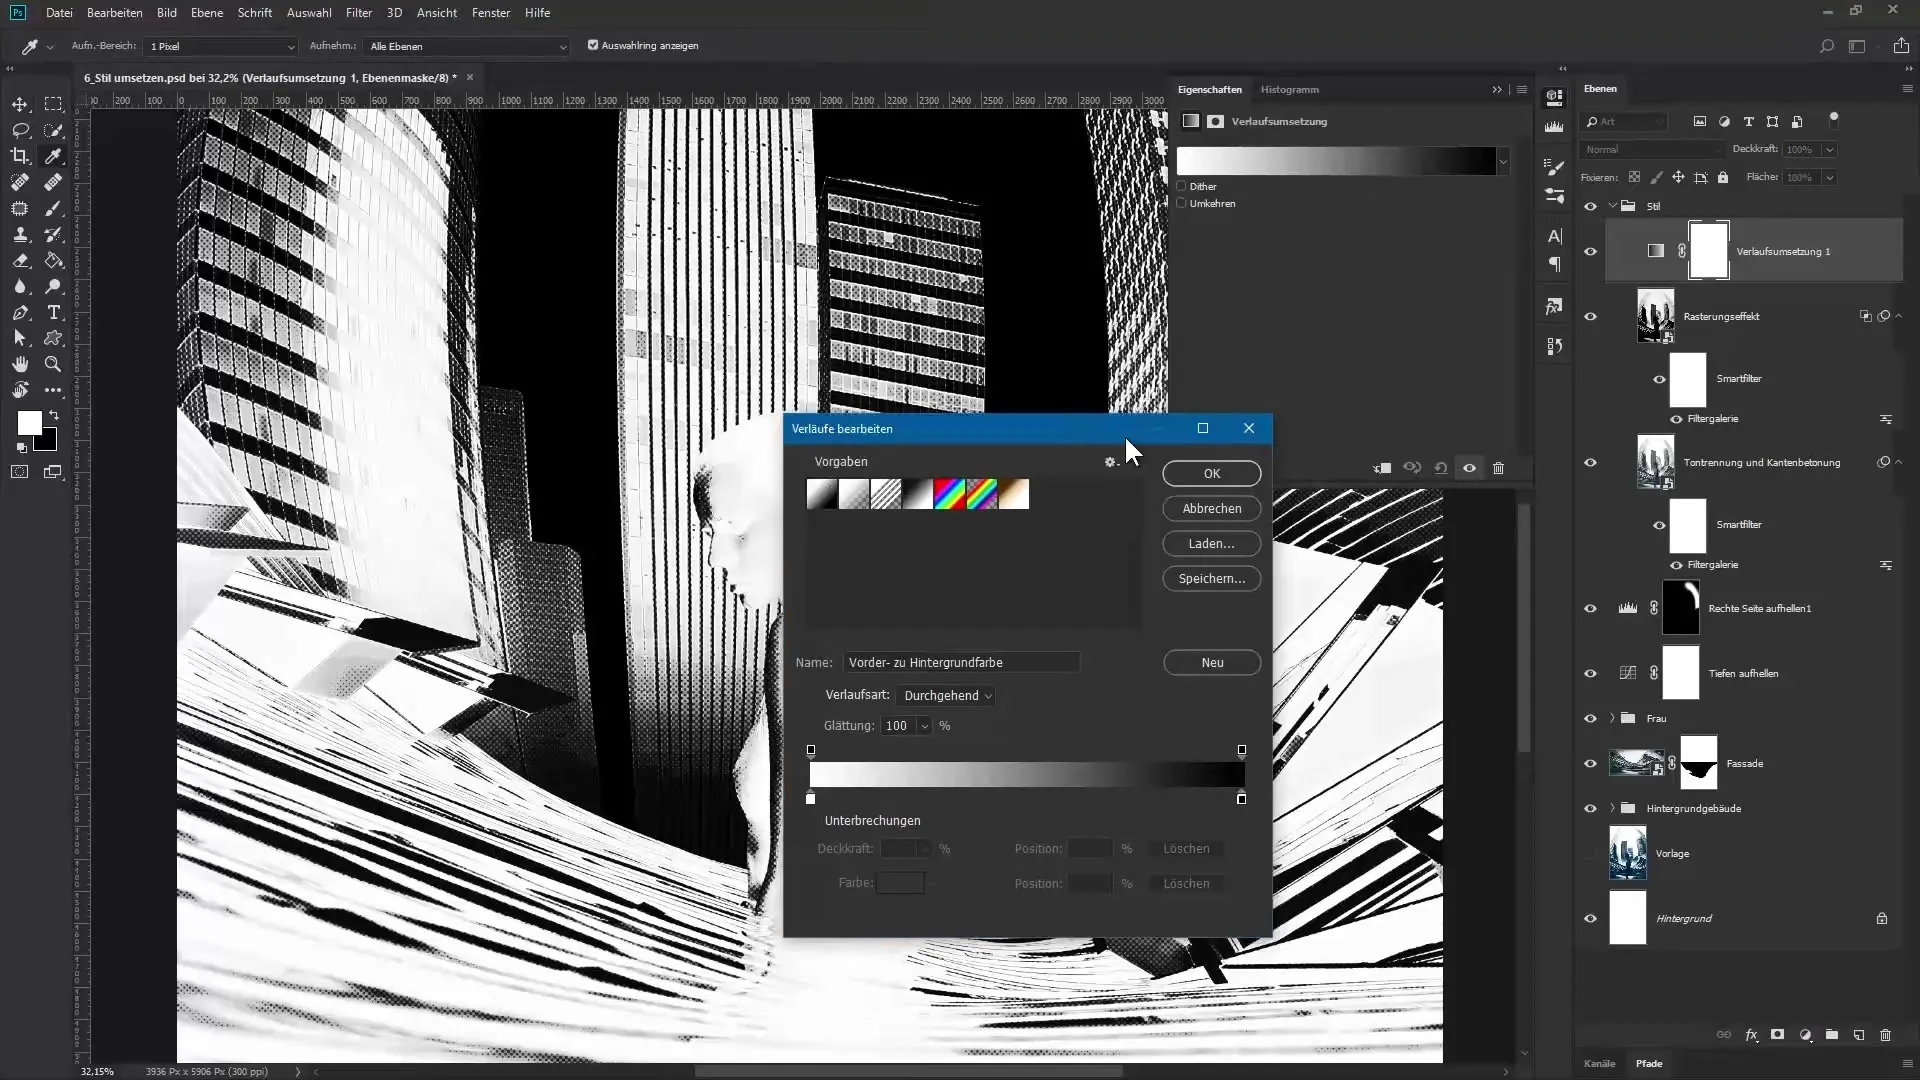
Set values such as 12 for green, 51 for blue, and for another slider 57 for red at 114 for green and 135 for blue. Also set a gray tone and set the last slider to white. Confirm your selection and name this layer “Color Block”.
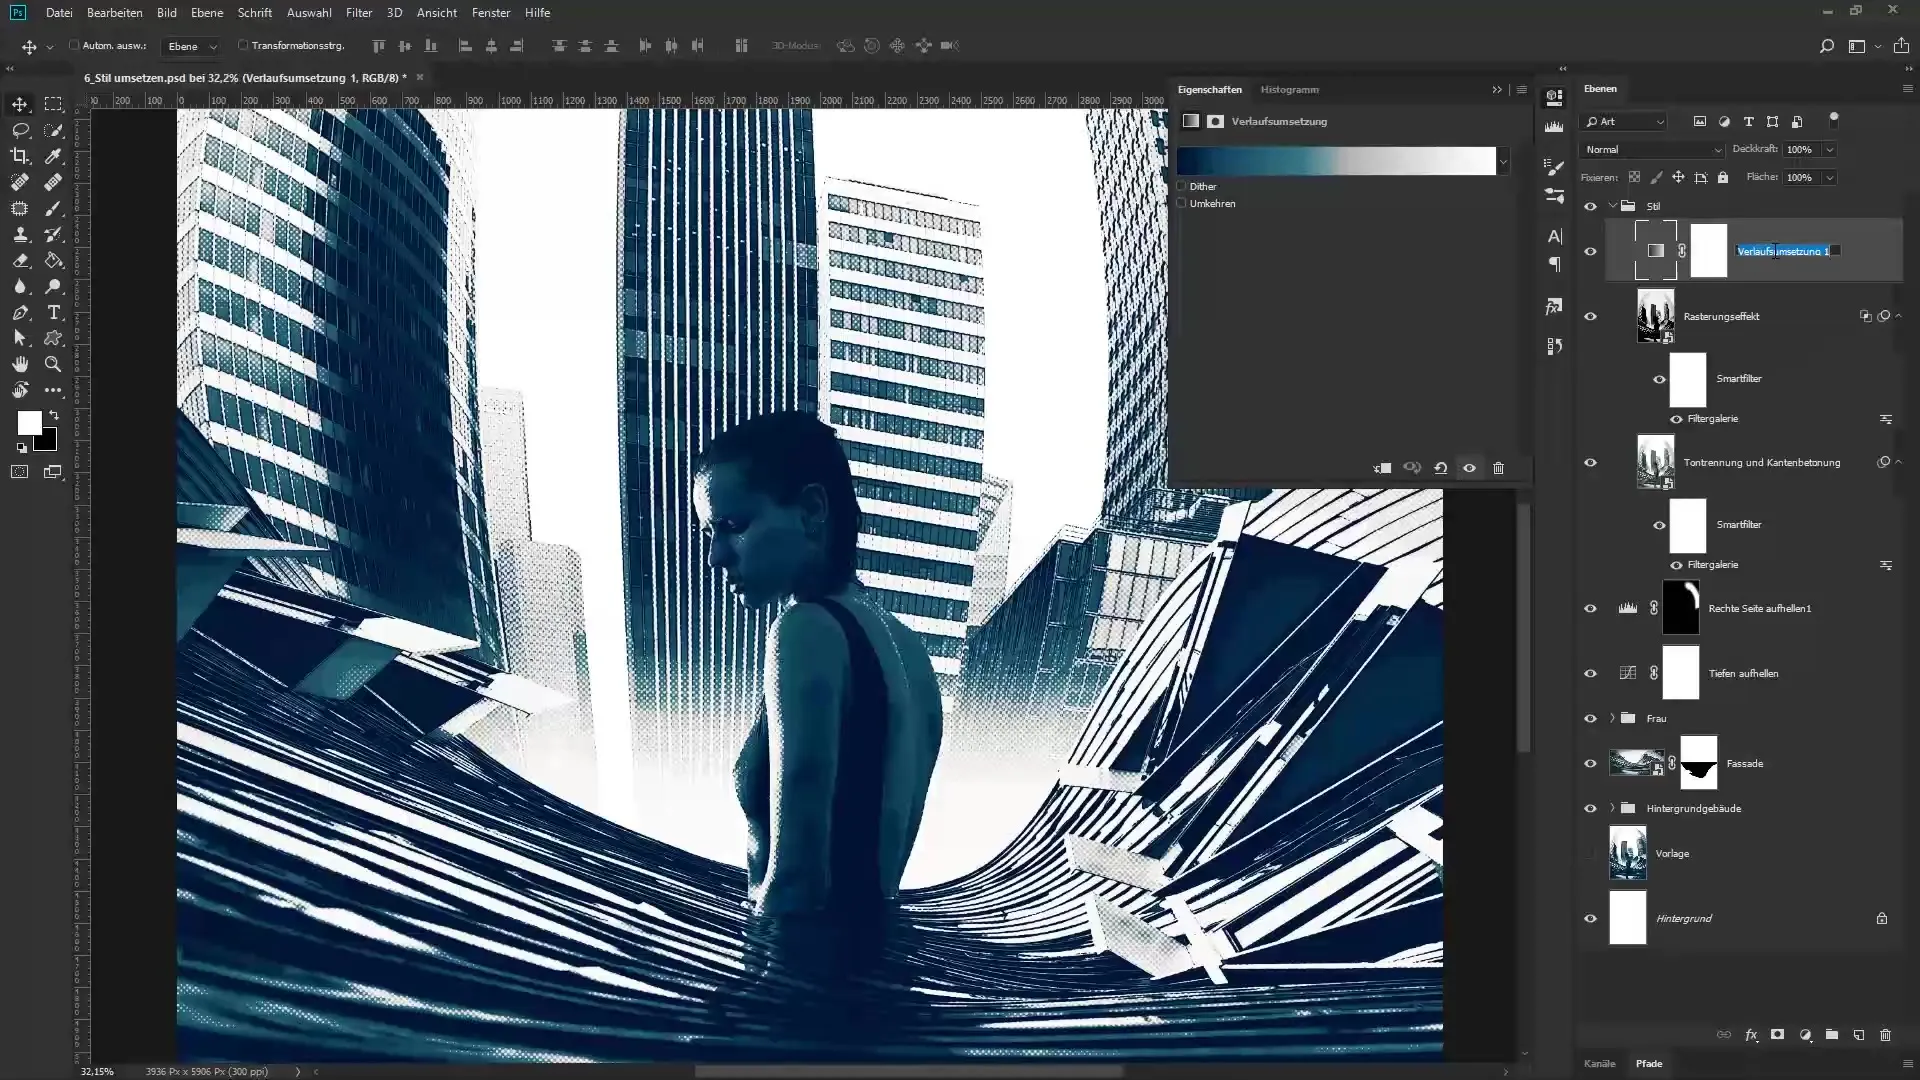
Look at the overall picture, the transformation will be obvious. For fine-tuning, you can assess whether you want to adjust the saturation and vibrance. Pull the saturation slider to about -35 and the vibrance to -15. Name this layer “Desaturation” to keep your work organized.
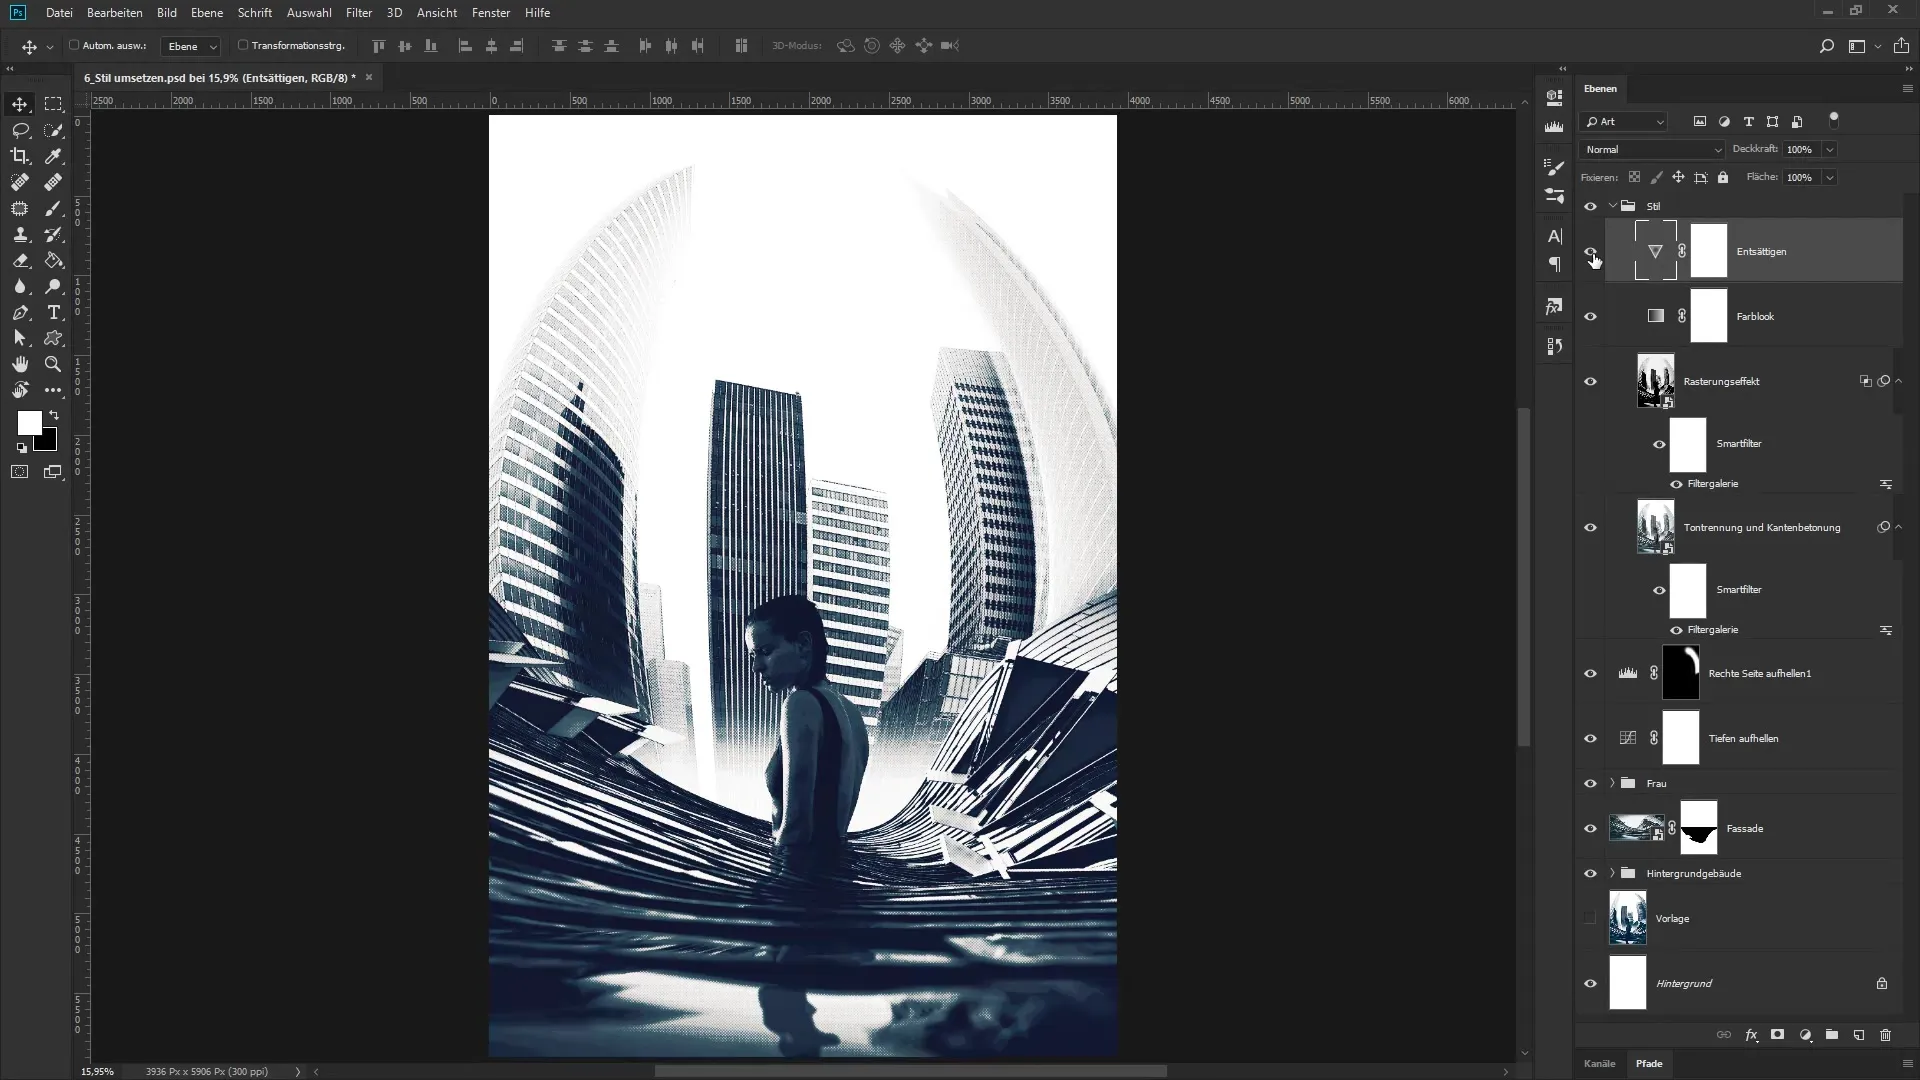
Where you once started, you now hold the final image in your hands. The urban look achieved through the settings and effects gives the artwork a distinctive character.
Summary - Urban Image Montage in Photoshop: Successfully Implementing the Artwork “The Metropolis”
In this guide, you have learned how to refine your image with various concurrent effects. The application of filter and gradient layers has imparted a new expressiveness to the artwork “The Metropolis”. Use these techniques in your future projects and expand your creative skills.
Frequently Asked Questions
How do I create a summary layer in Photoshop?Hold Control, Shift, Alt, and E to consolidate all active layers into a new one.
What is a smart object and why should I use it?A smart object allows you to work non-destructively, so you can adjust filters and changes at any time without altering the original image.
How do I adjust the gradient of an adjustment layer?Double-click on the gradient map and adjust the sliders in the dialog box to achieve the desired colors.
What can I do if I want to adjust the colors in the image?Create a new adjustment layer, like the gradient map, and play with the hues to produce the desired effects.
How can I optimize the contrast of my images?Use the layer styles and play with the sliders to emphasize the dark and light areas of your image composition.
