In the creative design process, individual brushes are an indispensable tool. In this guide, I will show you how to create two different brushes for your Photoshop compositing to add more depth and character to your images. With these brush tips, you can efficiently create both delicate threads and sparkling particles.
Main insights
- Create simple brushes in Photoshop for threads and glitter.
- Work with grayscale for maximum control over brush tips.
- Use brush settings to adjust spacing and sizes of brush strokes.
Step-by-step guide
Creating a brush for threads
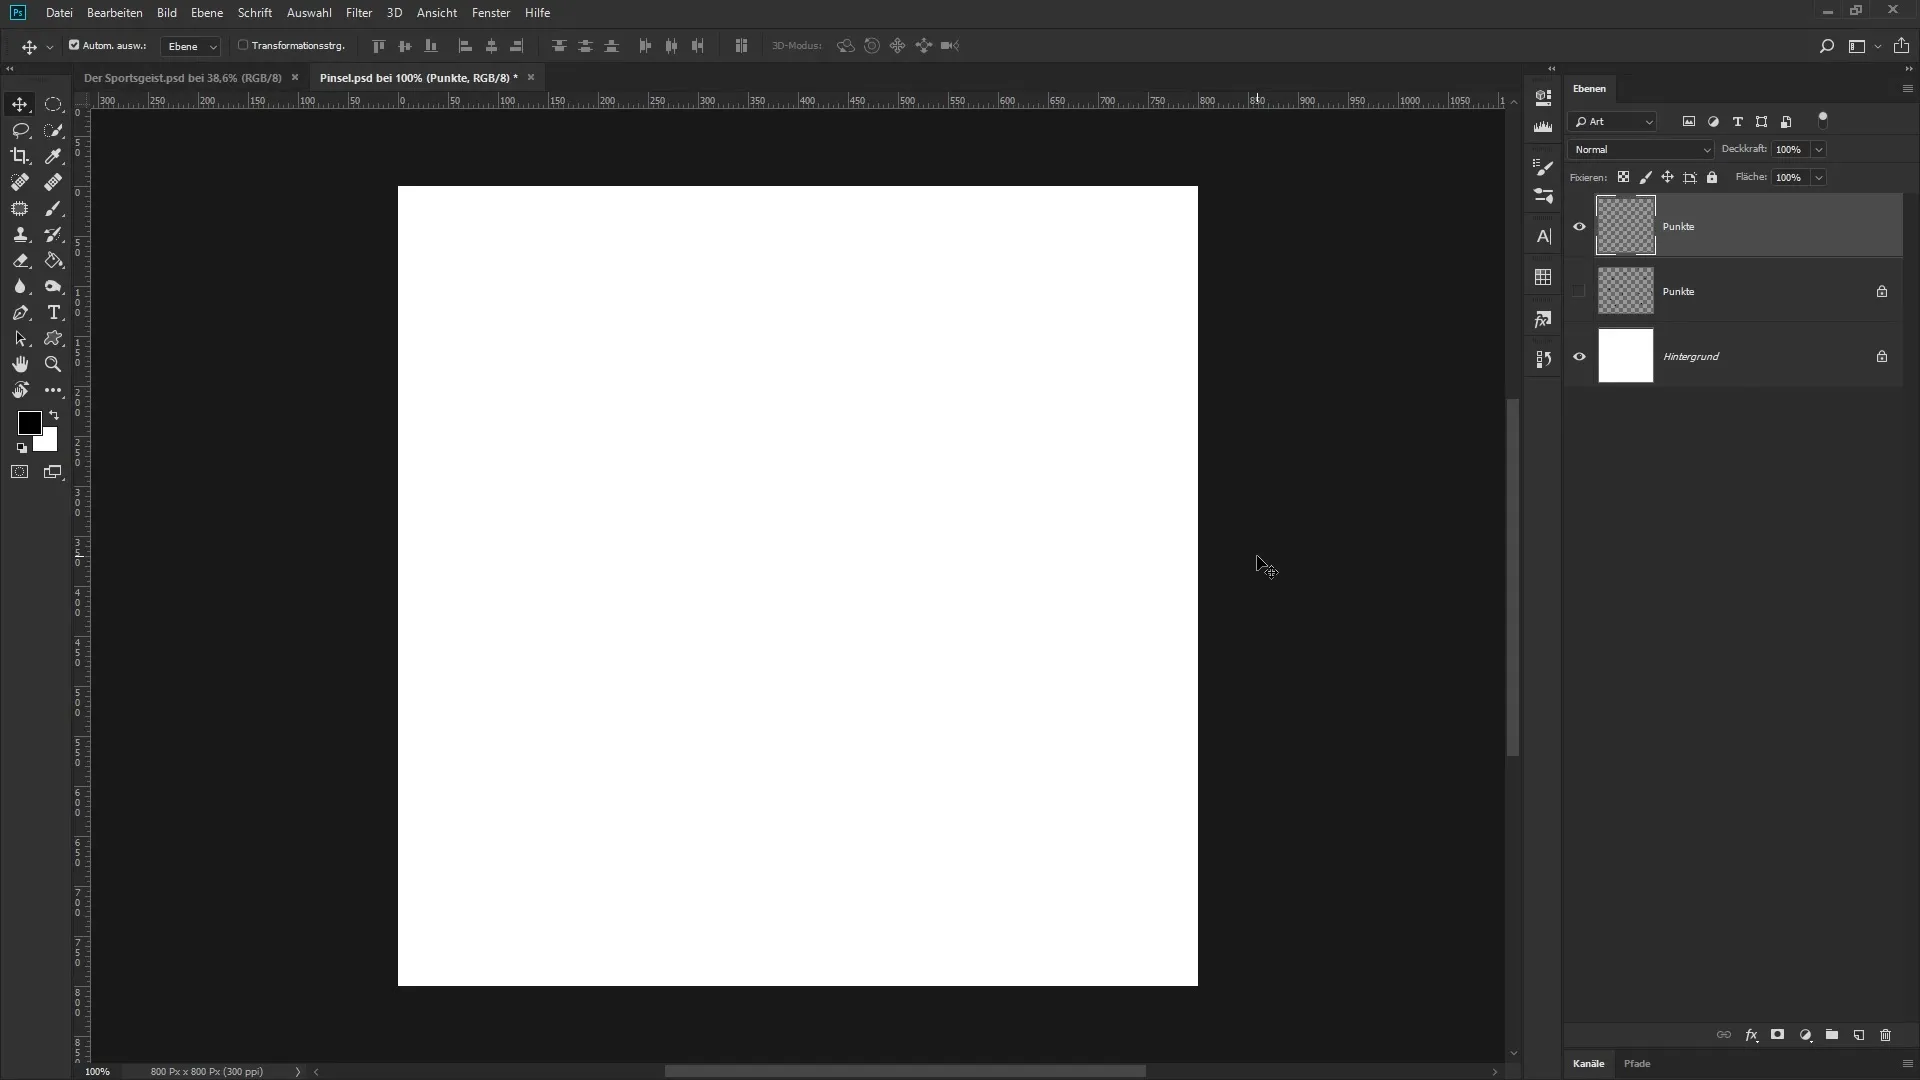
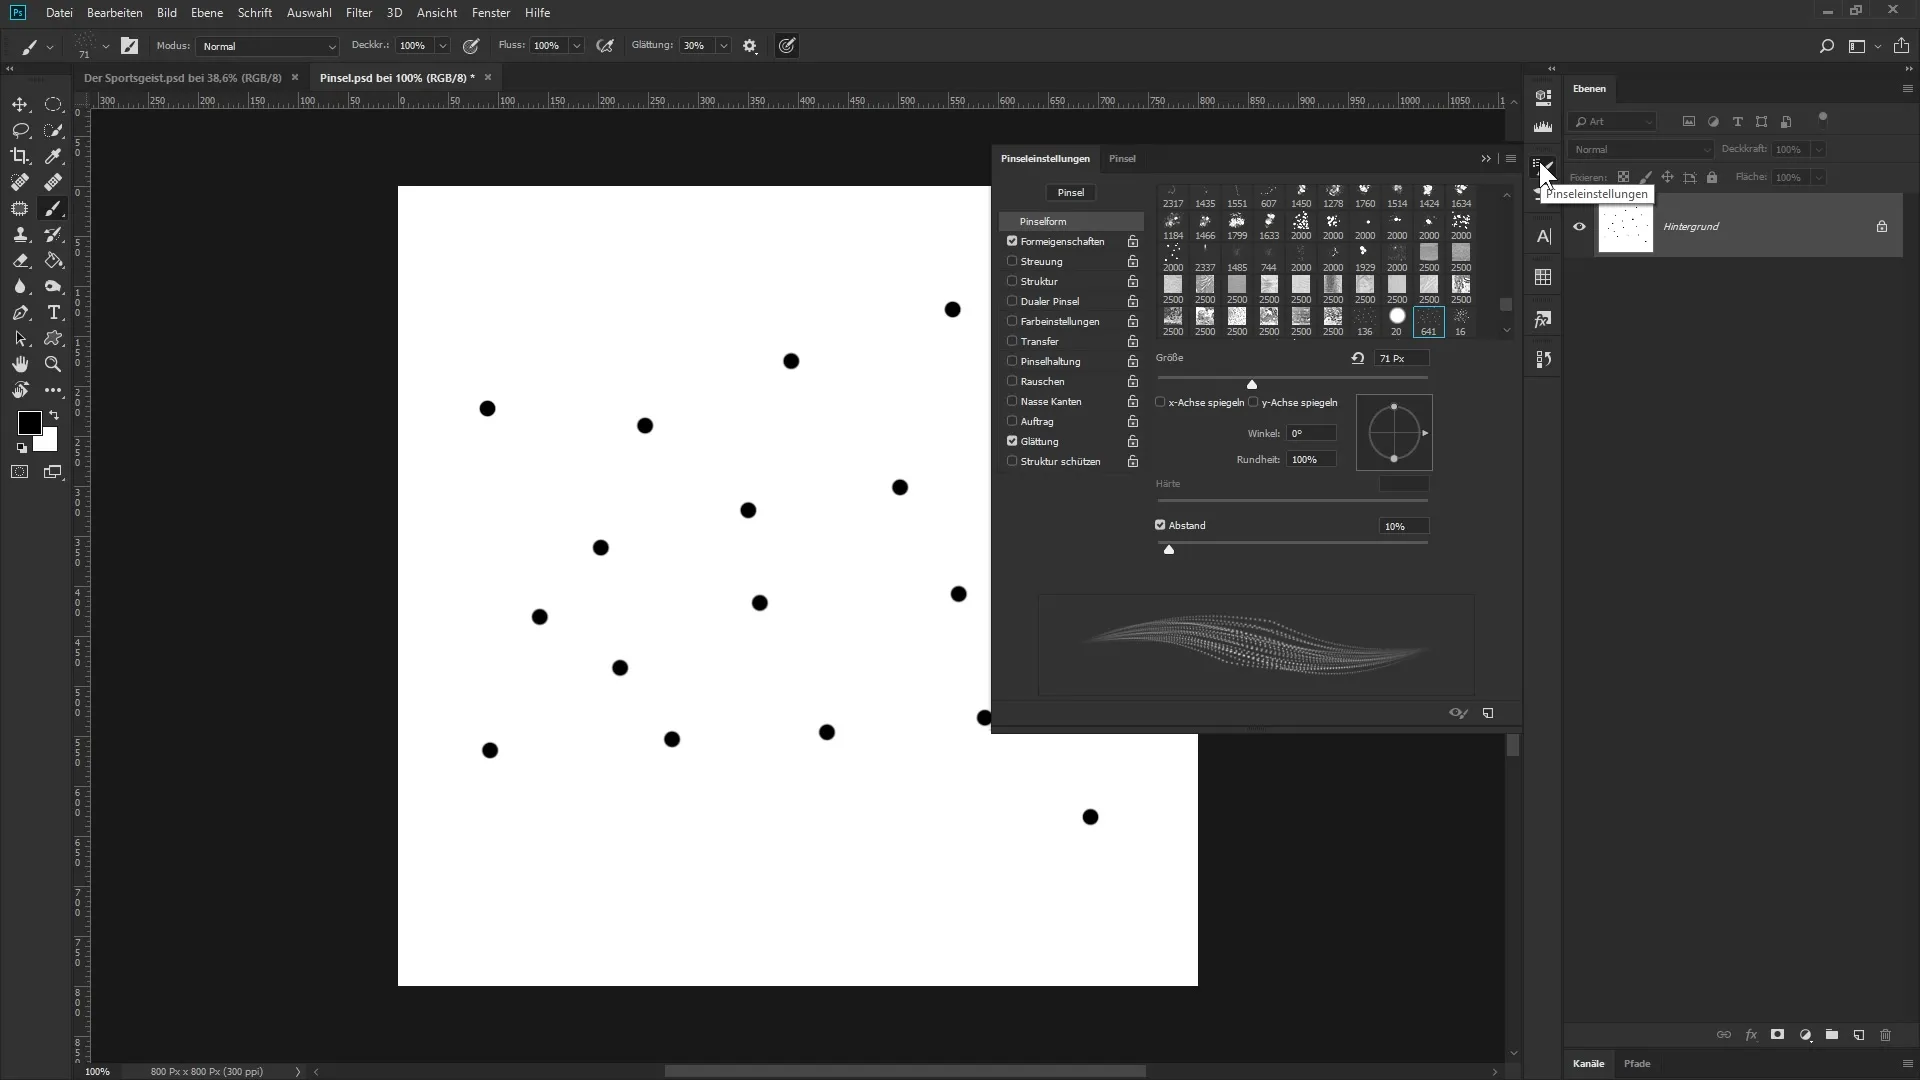
To create a thread brush, start with a new document. Set the dimensions to 800 x 800 pixels with a white background. Select the brush tool and use a hard brush with a size of 15 pixels. Now start painting small dots into the document.

The goal is to create a brush tip that serves as the basis for your thread. You should use complex, grayscale gray areas, as black dots will later be displayed as opaque while white areas remain transparent. Make sure to only use fully opaque black dots since these will represent the threads in your compositing.
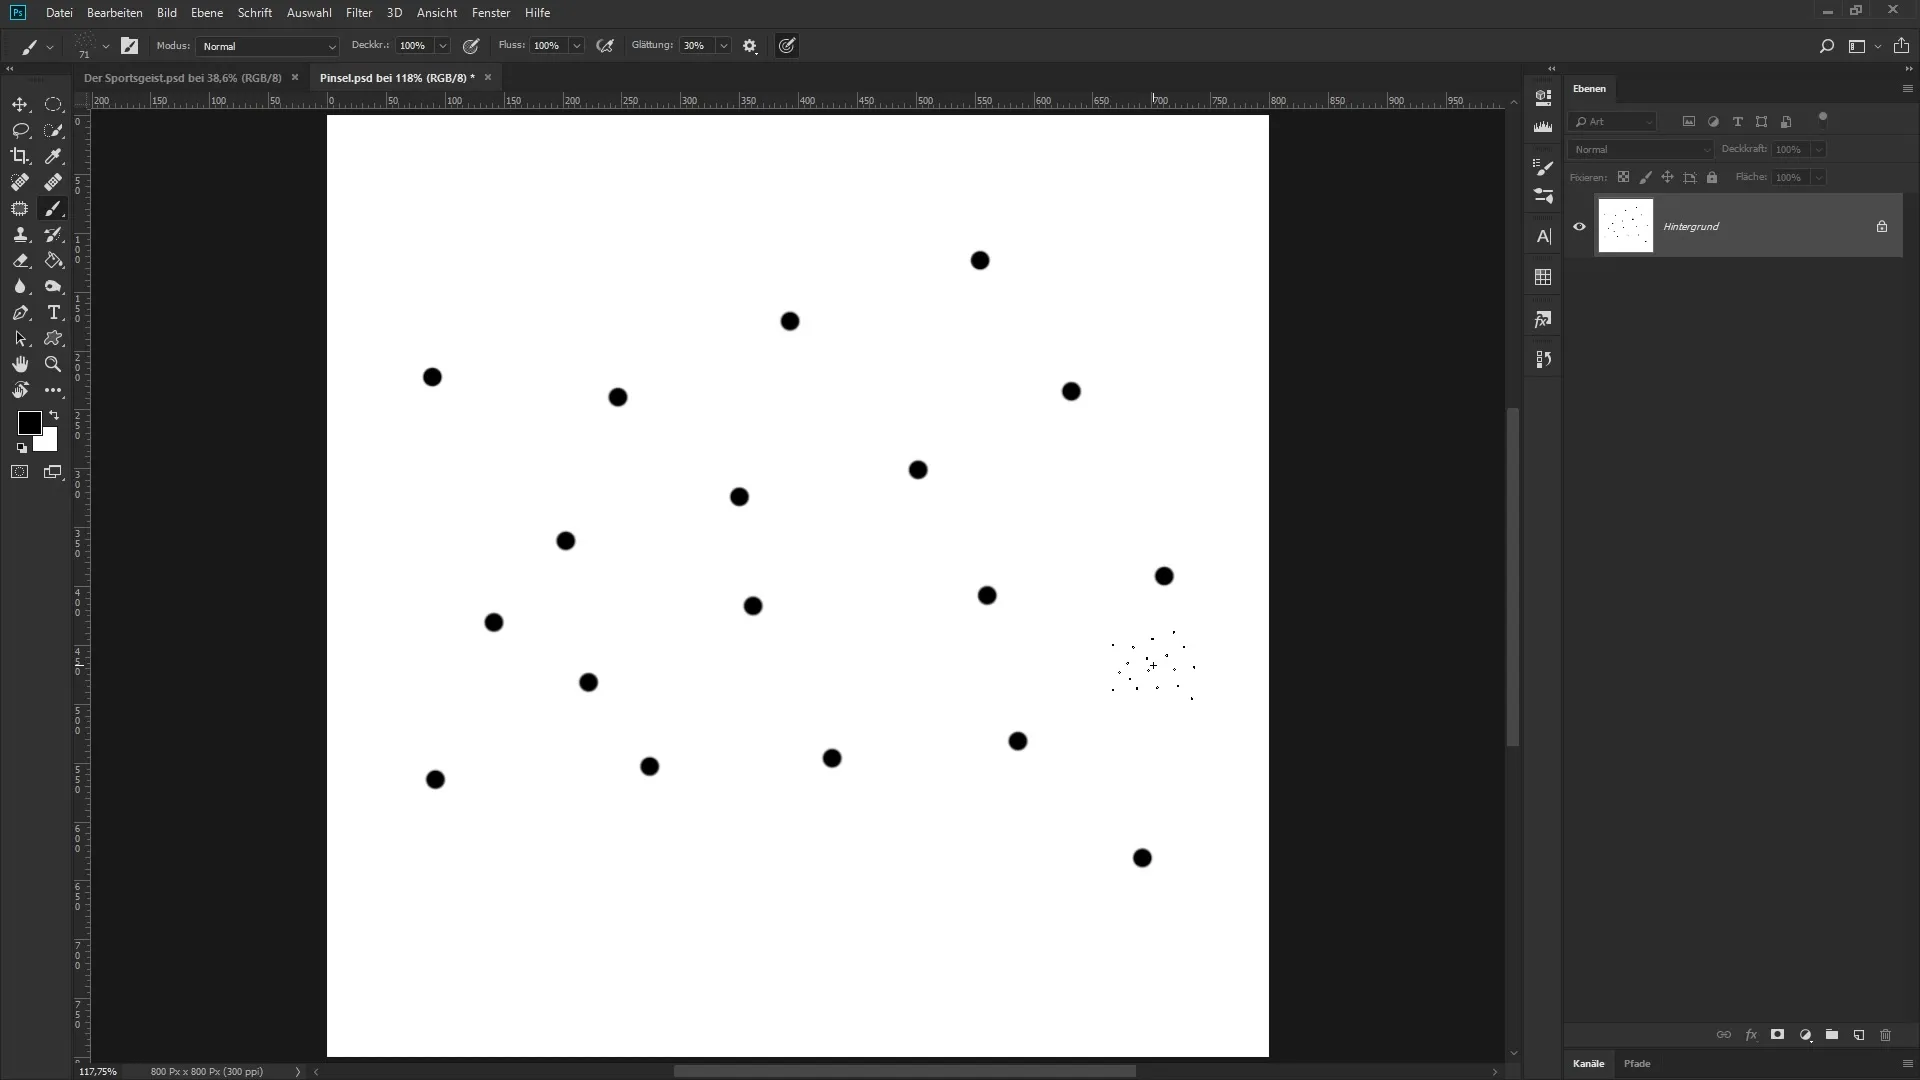
After you have drawn the dots, delete the sample layer and keep only your dots layer. To create a brush from the dots, go to “Edit” and select “Define Brush Preset.” A dialog box will open where you can give your brush a name – for example, call it “Thread Brush” and confirm with “OK.”
Now you have successfully created the thread brush. You can use it to place the dots in your image. By pressing the pen, you can vary the thickness of your brush stroke. Be sure to adjust the spacing in the brush properties to place the dots closer together.

In the brush settings, you will find the option “Spacing.” Set this value from 10% to 1% to create a continuous line. This will give you appealing threads that you can later incorporate into your compositing.
To ensure that your new brush is saved correctly, go back to the brush preset icon and rename your brush again as “Thread Brush.” Confirm again with “OK.” Delete the previous brush and now use your newly created thread brush in your designs.
Additional brush for glitter effects
Now that you have the thread brush, let's create a particle brush. Start again with a normal round brush. This will allow you to insert the glitter points. The typical round brush initially has a spacing of 5%. Increase this spacing to around 330% so that the points have enough room to appear randomly in the image.

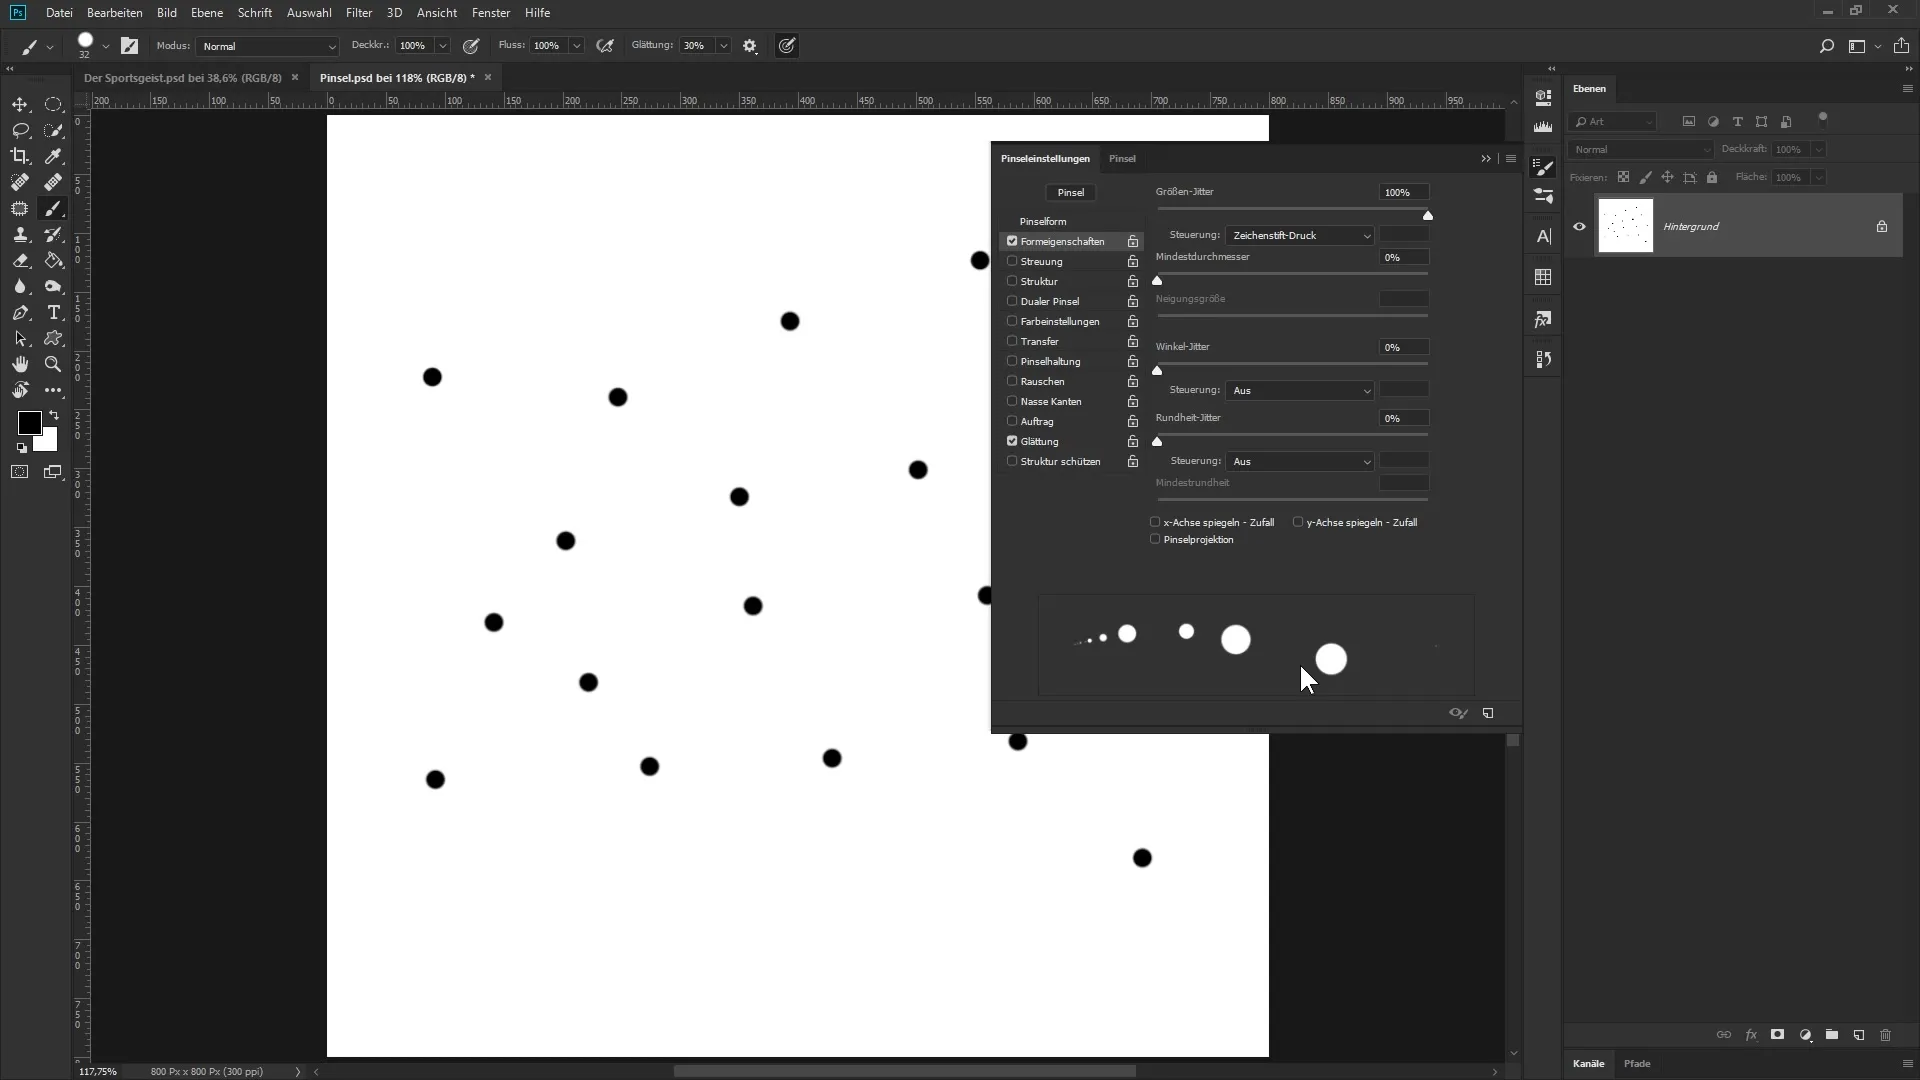
Go to the Shape Dynamics to set the variation of point size. Here you can increase the “Size Jitter” slider from 0% to 100% to get different point sizes. This way, I guarantee you a varied glitter effect.

Additionally, you can increase the vertical scatter of the points under the scattering settings. I recommend setting the value to about 450% to achieve a dynamic and random effect. You will see how the points are now distributed in a versatile manner.
Adjust the number of points according to your preference. Whether many small or a few large points, anything is possible. When you save the brush again, name it “Particle Brush.” With this brush, you can now integrate fun, sparkling effects into your projects.
Summary – Creating brushes in Photoshop: A guide for captivating effects
In this guide, you have learned how to create individual brushes in Photoshop for impactful threads and glitter particles. These tools are not only useful but also allow you creative freedom in designing your work. Experiment with the settings and discover your individual style!
Frequently asked questions
How do I create a brush in Photoshop?To create a brush in Photoshop, paint a grayscale shape and then select "Edit" > "Define Brush Preset" to save the shape.
What size should I choose for my brush?The size depends on your project, but a hard brush of about 15 pixels is a good starting point.
How can I change the spacing between brush strokes?In the brush properties, you will find the spacing setting that you can adjust to change the regularity of the strokes.
Can I vary the point size of my brushes?Yes, by adjusting the “Size Jitter” in the shape properties, you can achieve a variation in point sizes.
How do I save my brushes in Photoshop?Save your brush by clicking on the brush preset icon and giving it a name, which you then confirm.

