
Learn and understand React - the practical tutorial

- React in practice: How to develop your own apps and websites
- Explained step by step: basics, important functions and mechanisms
- From JSX (writing HTML in JavaScript) and props to components, styling and hook functions
- Practical learning: Develop a counting, to-do and video player app
- An eleven-hour video tutorial by programming professional Stephan Haewß
Ideal for anyone who has a basic knowledge of JavaScript, HTML and CSS and wants to develop their skills further: Start your React learning journey!
44 Videos, 667 minutes
Introduction and first steps
React tutorial: 1.1 | Welcome and overview
This introduces the topics that will be covered in the course and explains the motivation behind the course.
React-Tutorial: 1.2 | What is special about React?
There are now countless UI frameworks for JavaScript - so why should it be React of all things? In addition to the undisputed popularity of this library, there are also a few more profound reasons that speak in favor of React.
React tutorial: 1.3 | Set up development environment
In this lesson, we set up the development environment and use npm create vite to create our first React app in no time at all.
React tutorial: 1.4 | Anatomy of a React app
After we created a "fresh" React app in the last lesson, the aim here is to understand the structure of this app and explain how React can be embedded in a website.
Refresher: required JS-ES6 functionalities
React-Tutorial: 2.1 | Variable declaration with let and const versus var
A little refresher on var vs. let/const.
React-Tutorial: 2.2 | Destructuring
Destructuring enables the targeted extraction of elements from objects and arrays. On closer inspection, there are many possible applications that make JS code more elegant and compact.
React-Tutorial: 2.3 | Arrow-Functions
Functions are essential in JS and were previously only declared and defined using the keyword function. ES6 introduces an elegant and short notation that makes the code more readable and offers a solution to a tiresome problem with this.
React-Tutorial: 2.4 | Modules
Modules have been used in NodeJs from the very beginning, but initially it relied exclusively on the CommonJs module format with require. Since ES6, there has been a module definition in the standard and thus the new import/export keywords. This format is now supported by almost all (new) JS libraries and NodeJs can also handle it in the latest versions.
React basics and counting app
React-Tutorial: 3.1 | HTML in JS: JSX
With JSX you describe the UI of a component and integrate JS expressions into it. The project file for the video contains the finished code for this tutorial section.
React tutorial: 3.2 | Create components
Custom React components can be written very easily using functions that return JSX.
React Tutorial: 3.3 | JavaScript expressions in JSX
This lesson explains how data and JavaScript expressions can be integrated into JSX.
React-Tutorial: 3.4 | Save state with useState
Without a state that can change, it is almost impossible to implement a meaningful app. In React, useState is normally used for this. This lesson introduces this hook and explains its use.
React-Tutorial: 3.5 | Counter component with props
Props are used to transfer data to child components. Here we explain exactly how this is done and what you need to pay attention to.
React Tutorial: 3.6 | Input fields and dynamic props
If props change dynamically, the corresponding render function of the component is called again.
Develop a to-do app with React
React tutorial: 4.2 | Communication between child and parent component
If a child component wants to communicate something to the parent component, this is done via a callback prop.
React-Tutorial: 4.3 | Mark to-do as done
To-dos should also be completed at some point. Here we discuss how this works in the code.
React tutorial: 4.4 | Styling with emotion
The appearance of a UI is undoubtedly important. That's why I explain here how this works with the Emotion library and how you can use the Prop className with it. The style attribute, with which you can style each element separately in detail, is also discussed.
React Tutorial: 4.5 | Group by Done Status
The to-dos can be divided into two groups by filtering the to-do array.
React-Tutorial: 4.6 | Delete to-dos
Of course, you also need to be able to delete to-dos. Here we explain how this works using array filtering.
React-Tutorial: 4.7 | Save DIVs
Up to now, we have always "wrapped" components in DIVs. In certain cases, however, this can be dispensed with.
React tutorial: 4.8 | Save and load
Now it gets interesting: To-dos can be easily saved persistently in the browser memory and, of course, loaded again so that they "survive" the reloading of the page.
React tutorial: 4.9 | UseEffect as a mounted handler
Side effects can be integrated with useEffect. The mounting of a component can also be handled with this function.
React-Tutorial: 4.10 | To-do-App - Conclusion
Brief summary of our to-do app and latest improvements.
Create a video player app
React tutorial: 5.1 | Create video player app
The video player app is created with create vite and it is explained how the app should be structured. The project file attached to the video contains the finished code for the video player.
React-Tutorial: 5.2 | Control video element with useRef
DOM elements can be referenced with the ref attribute and accessed with useRef. Here we do this with the video element.
React-Tutorial: 5.3 | New video player component with play/pause/stop
We create the actual video player, which already has buttons for play, pause and stop.
React tutorial: 5.4 | Combine pause/play with state
As you never need Play and Pause at the same time, we combine them into one button.
React tutorial: 5.5 | Video events for play and pause
The video element's own controls also control the video, but this means that our status for the play/pause button is not adjusted accordingly. We fix this by using event handlers on the video element.
React tutorial: 5.6 | Video volume control
We can also change the volume using a separate control.
React tutorial: 5.7 | Set video position
Jumping to any position in the video (Seek) is surprisingly easy to accomplish by setting the currentTime property.
React-Tutorial: 5.8 | Show video length
The length of the video is only determined after the video metadata has been loaded, which is why we have to wait for the right event.
React-Tutorial: 5.9 | Playlist with select
The playlist is realized by a list, which can be implemented with the HTML element select.
React-Tutorial: 5.12 | Add new videos to the list
Now the editing of the video list comes into play: We add the addition of video entries.
React-Tutorial: 5.13 | Delete entries from list
What you add, you must also be able to delete again. We do this in a similar way to the to-do app by filtering.
React-Tutorial: 5.14 | Play Playlist
The playlist should not only serve as a "bookmark list", but also automatically play the videos one after the other. This will be realized in this lesson.
React tutorial: 5.15 | Next and Previous buttons
For the impatient: Buttons for the next and previous video.
React tutorial: 5.16 | Disable next and previous buttons
A special treatment for the first and last video is implemented: the Next and Previous buttons should be deactivated accordingly.
React tutorial: 5.17 | Saving and loading videos
Now we save and load our playlist. This is done in the browser's local storage in the same way as in the To-do app.
You can watch the original videos used as examples in the video player app here (all CC attribution license, see the corresponding websites):
Elephants dream: https://orange.blender.org/
Big Buck Bunny: https://peach.blender.org/
Sintel: https://durian.blender.org/
Advanced topics (additional hooks, optimizations)
React tutorial: 6.1 | Create your own hooks
Using the useJsonFetch hookas an example, this section explains how to write your own hook functions.
React-Tutorial: 6.2 | UseImmer instead of useState for simple changes to the state
Changing state with the setter of useState can be tricky. But with useImmer it is no longer a problem.
React-Tutorial: 6.3 | Optimization of components with memo
The UI is built faster and reacts more quickly to user input if the render functions are not called unnecessarily. memo can be used to prevent components from being rendered if their props do not change.
React-Tutorial: 6.4 | Optimization of components with useCallback
With useCallback you can prevent the unnecessary rendering of child components when callback propsare used.
React Tutorial: 6.5 | Optimization of components with useMemo
Complex calculations within the render functions should only be carried out if necessary. With useMemo, the results of these calculations can be cached, taking into account the dependencies.
React-Tutorial: 6.2 | UseImmer instead of useState for simple changes to the state
15 min OpenExamples of use
-
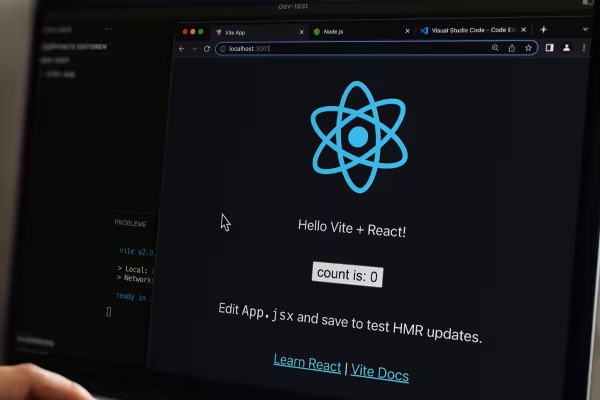 Start the tutorial with an introduction to React and set up the development environment.
 -
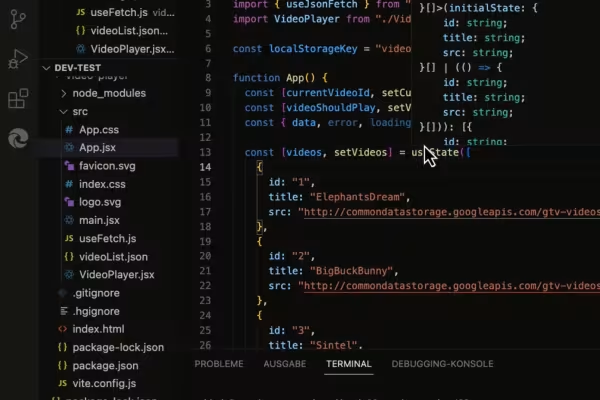 Learn all the important basics about JSX, components and props.
 -
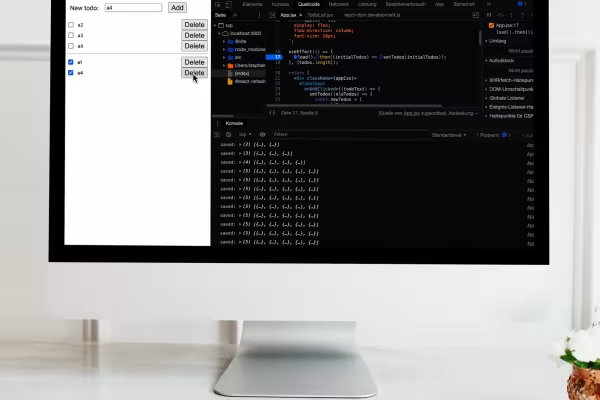 Learn and understand from practical examples: Develop a functional to-do app with React.
 -
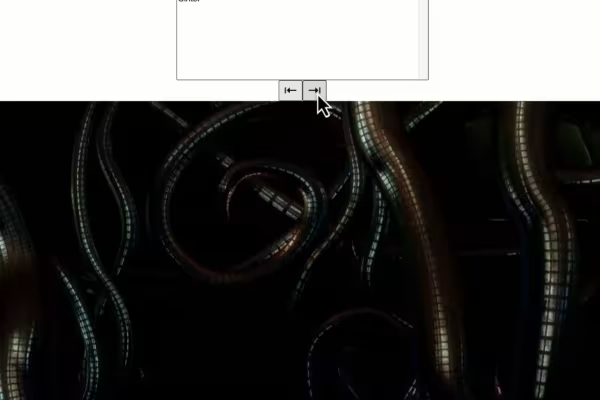 Create a video player with all the functions that such an application needs.
You might also like

How your websites & apps speak like ChatGPT

For error-free, fast websites with optimized layouts
For modern websites & apps

Step by step to your own functional forms
Comment now „Learn and understand React - the practical tutorial“