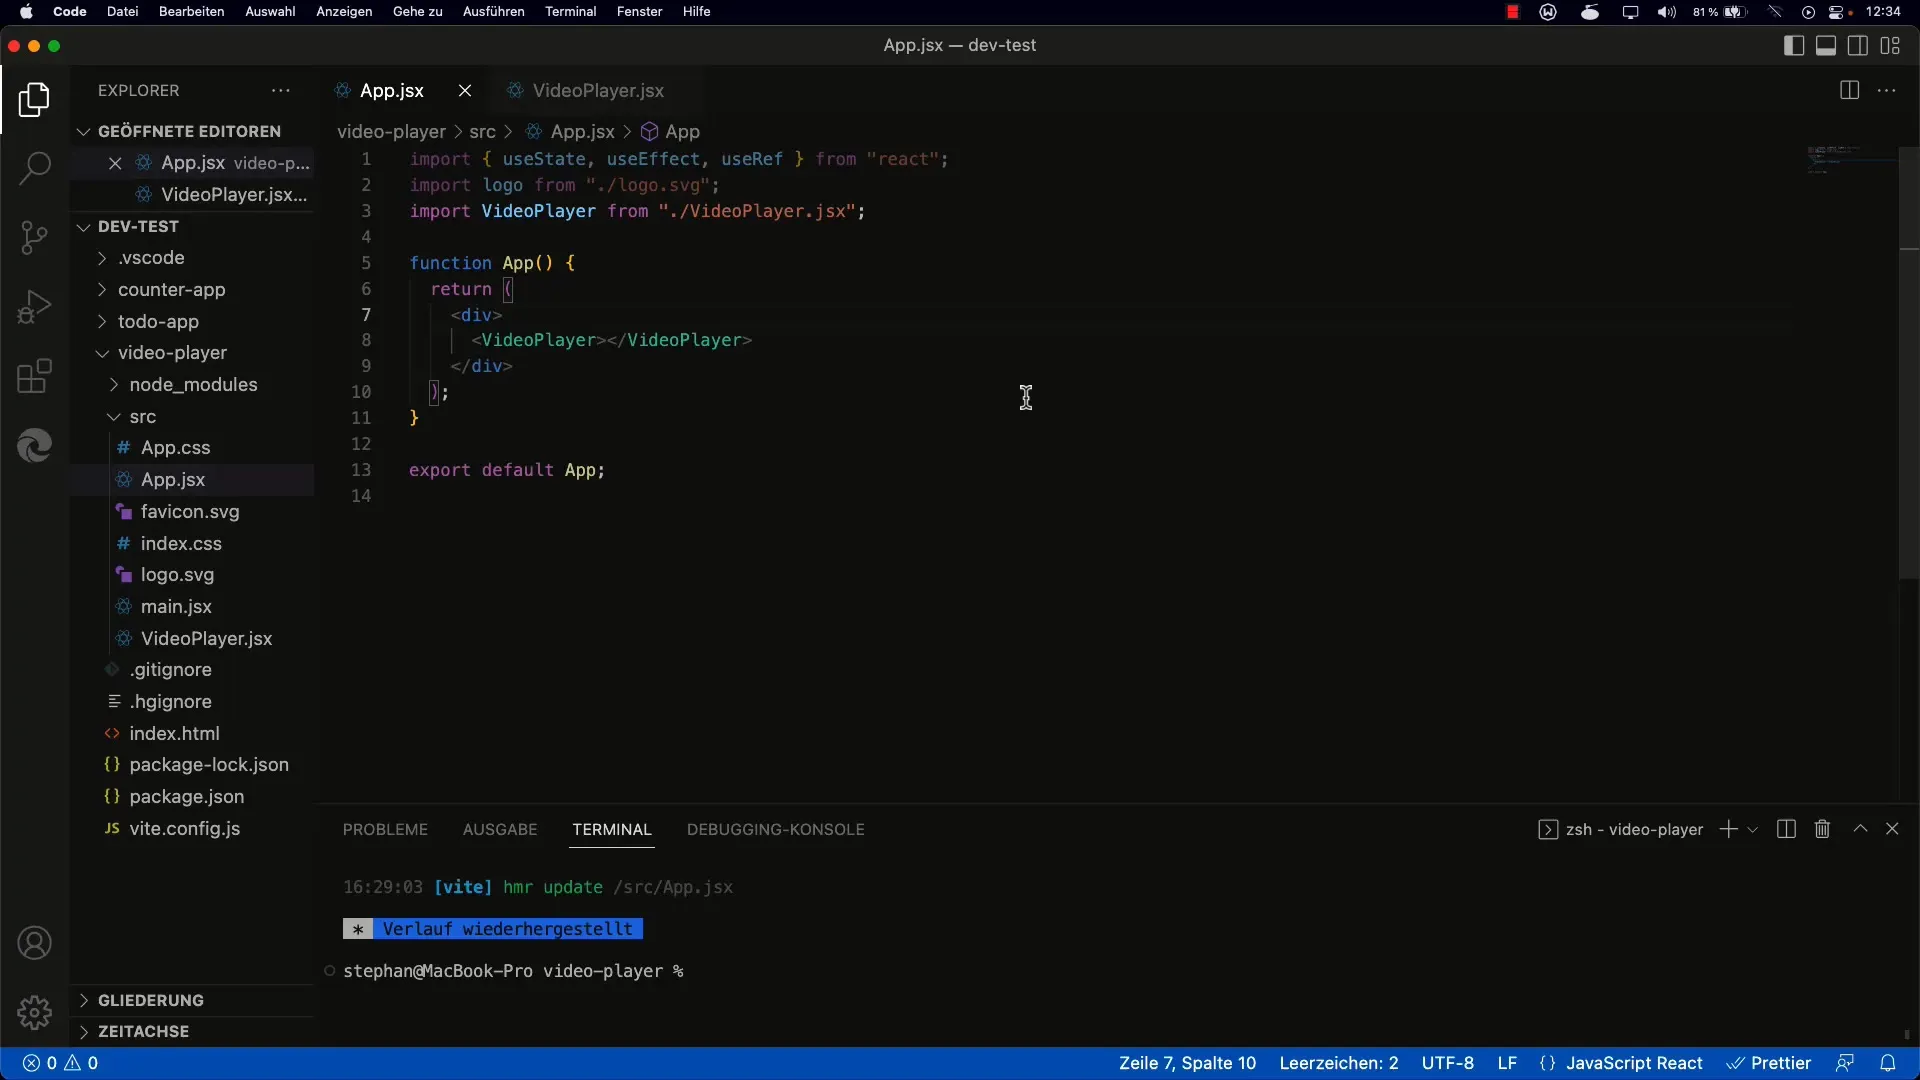
Do you want to implement a simple playlist for videosin your Reactapplication? With this, you can select videos from a predefined list and play them in the video player. In this tutorial, you will learn how to use a select element to choose different video URLs and display them in the player. Let’s get started right away!
Key takeaways
- The use of the select element in React allows for an easy selection of video URLs.
- The state is used to store the current video URL and utilize it in the video player.
- Event handlers like onChange help recognize and respond to the user's selection.
Step-by-Step Guide
Step 1: Set the Basics
Before you start with the code, make sure you have set up your React project. You can easily create a new React app for this tutorial if you don't have one already. Once that is done, start implementing the playlist.

Step 2: Add Select Element
Add a select element to your application. This element will contain the various videos to choose from. At the start, you could insert three fixed options with predetermined video URLs. Here is an example:
Step 3: Create Stateful Component
To manage the selection of the video, use the React state. Set the initial state to an empty string and utilize useState to store the current video URL.
Step 4: Add onChange Event
To respond to changes in the select element, add the onChange event handler to the select element. This event handler will call the function that updates the state:
Step 5: Integrate Video Player
Now it is time to configure the video player to use the current URL from the state. Create a video player component where you pass the src property to the video element:
Step 6: Error Handling
If you encounter Not a Number errors, you can add a simple conditional check to ensure that the duration of a video is loaded correctly and handled accordingly. An example of such a check:
Step 7: Enhance the User Interface
To present the videos created in an appealing manner, consider adjusting the size of the video element. You could use CSS for this:
Step 8: Make Playlist Dynamic
The final step is to replace the fixed options with a dynamic list. You can do this by using an array of video URLs in your state management system. With this array, you can dynamically generate and modify the options in the select.
Here you can later incorporate logic to add or remove URLs.
Summary - React Tutorial: Playlist with Select
In this tutorial, you learned how to integrate a select element to display a list of videos in a React project. You implemented state to store the user's selection and control the video player accordingly. Additionally, you identified and resolved potential sources of errors and optimized the user interface for a more appealing presentation.
FAQ
How can I add more videos to the playlist?You can easily modify or extend the array that stores the video URLs and generate the options in the select dynamically.
What should I do if the video player does not work?Check whether the URLs are correct and that the video player has access to the resources. Ensure that the video format is supported by the player.
Can I play the videos in a specific order?Yes, you can implement logic that stores and adjusts the order of URLs depending on how you want to structure the playlist.


