
Understanding and Using Affinity Pixel Studio

In the end, you take a photo all the way from the RAW file to the finished key visual – cleanly cut out, professionally retouched, and cinematically graded. Exactly the workflow that turns snapshots into real eye-catchers.
20 Videos, 130 minutes
Affinity Pixel: 0 – Intro
1 minA brief introduction to what awaits you in the training.
Affinity Pixel: 01 – Understanding the Pixel Interface & the Develop Studio
5 minYou get to know the interface of the Pixel Studio and understand the Develop Studio, which appears automatically when you open a RAW file. This way, you'll find your way around the photo environment with confidence.
Affinity Pixel: 02 – Developing a RAW Photo: Exposure, White Balance, Tonal Values
10 minYou develop a RAW photo from scratch: white balance, exposure, shadows and highlights. In doing so, you lay a clean foundation for all further editing.
Affinity Pixel: 03 – Understanding the Histogram & Correcting It Selectively
8 minYou learn to read the histogram and spot underexposure and overexposure immediately. This lets you correct exposure deliberately instead of going by feel.
Affinity Pixel: 04 – Local Adjustments with Gradient & Radial Filters
7 minYou edit specific areas of an image instead of the whole photo. With overlays, for example, you can brighten a face without changing the background.
Affinity Pixel: 05 – Using Adjustment Layers Professionally
4 minYou'll learn the most important principle of professional image editing: working non-destructively with adjustment layers. This way, your original image always remains untouched and editable.
Affinity Pixel: 06 – Understanding Layer Masks & Using Them Purposefully
7 minYou master layer masks based on the principle that black hides and white reveals. This allows you to control with pixel-level precision where an effect is visible.
Affinity Pixel: 07 – Clipping Masks for Selective Effects
3 minYou will learn about clipping masks and understand how they differ from layer masks. This lets you restrict effects specifically to the shape of an underlying layer.
Affinity Pixel: 08 – Selection Tools & Clean Cutouts
6 minYou will get to know the selection tools and cleanly separate a subject from the background. This is the foundation for composites and background changes.
Affinity Pixel: 09 – Masking Hair & Difficult Edges
5 minYou master the supreme discipline of cutting out subjects: fine hair and difficult edges. With the Refine dialog, you cleanly separate even complex contours from the background.
Affinity Pixel: 10 – Removing Distracting Objects (Repair Brush & Inpainting)
9 minYou remove distractions and skin blemishes invisibly and non-destructively. You learn to always work on a separate layer in order to protect the original.
Affinity Pixel: 11 – Curves & Tonal Values in Real Projects
8 minYou will learn the two most important tools for brightness and contrast: tone curves and levels adjustment. With the S-curve, you can deliberately give images more depth.
Affinity Pixel: 12 – Using HSL Deliberately
7 minYou target individual colors in the image precisely, without changing the rest. This way you can optimize skin tones or tone down distracting colors.
Affinity Pixel: 13 – Creating a Cinematic Look with Split Toning
7 minYou create the typical cinematic look with warm lights and cool shadows. You understand why orange and teal work so well together.
Affinity Pixel: 14 – Practical Project: Finishing the Cinematic Grade
7 minYou combine all the color grading techniques into a finished look. With the before-and-after comparison, you can see the full impact of your grading.
Affinity Pixel: 15 – Replacing & Integrating the Sky
6 minYou swap a boring sky for a dramatic one and blend it in convincingly. You learn why the transition at the horizon line is crucial.
Affinity Pixel: 16 – Matching light & shadow between images
6 minYou match the color, brightness, and mood of inserted elements to the scene. With the unifying color veil, your composite looks like it came from a single shot.
Affinity Pixel: 17 – Export for Social Media vs. Print (JPEG, PNG, TIFF)
6 minYou'll learn which file format is the right one for which situation, and you'll export your visual correctly. JPEG for social media, PNG for transparency, TIFF for print.
Affinity Pixel: 18 – Canva AI: Select & Improve (Canva Premium)
11 minYou'll get to know the AI tools that improve an existing photo: depth selection, upscaling, colorizing, as well as portrait lighting and blur. These features require a Canva Premium subscription.
Affinity Pixel: 19 – Canva AI: Generative Tools (Canva Premium)
7 minYou are using the generative AI tools that create new image content: Generative Fill, Generative Expand, and Generative Edit. These features also require Canva Premium.
You might also like
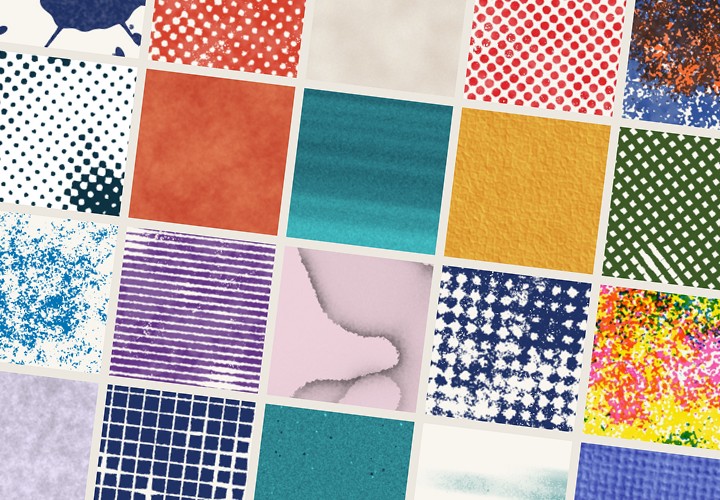
20 sets in 4K (4096 × 4096 px, 300 DPI) as JPG plus Photoshop patterns, calibrated to the fill method
From a blank document to a print-ready brochure – your complete layout workflow in the new Affinity app (formerly Publisher)

Vector design in the new Affinity app – from the first anchor point to the finished logo, social media post, and AI workflow

Live your layout now!
Comment now „Understanding and Using Affinity Pixel Studio“