
CINEMA 4D Video Training - Shaders & Textures

- Learn how to create common materials for your projects
- Workflows for texturing using various practical examples
- Working files included
How real is your imagination? 4.5 hours of video training that will inspire you!
14 Videos, 283 minutes
Material creation
Shaders and Textures - Material Creation in CINEMA 4D: Glass
This chapter deals with the frequently asked question of how to create a glass material that looks as realistic as possible.
It shows which settings should be made and how to create variations. It also shows how to create correct edges in the glass material.
Shaders and Textures - Material Creation in CINEMA 4D: Car Paint
Chapter 2 is about car paints and how to create them. We will also show what happens when you tweak various settings.
Also, what the difference is in switching to a Fresnel instead of using a highlight.
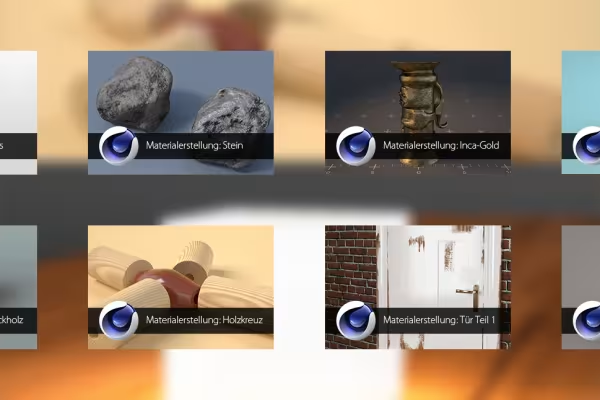
Shaders and Textures - Material Creation in CINEMA 4D: Inca Gold
Of course, we also want to show something golden, which is why we have selected an older game object and given it an old gold material.
We also provide an insight into the construction of the scene and the lighting. We also demonstrate how to texture the floor and apply the color of the texture so that it is possible to change the color of this texture in CINEMA.
Shaders and Textures - Material Creation in CINEMA 4D: Plastic
We will use a beak cup to create plastic materials. We will also increase the realism here using SSS.
Shaders and Textures - Material Creation in CINEMA 4D: Chopping Block
When creating the chopping block, a great deal of attention is paid to the use of external textures. Also how to match these textures perfectly to the object. The use of displacement and diffusion settings is also covered.
Shaders and Textures - Material Creation in CINEMA 4D: Wooden Cross
Here we will go into the new wood shader in CINEMA 4D R14. We will use two presets and adapt them to our needs.
Shaders and Textures - Material Creation in CINEMA 4D: Wooden Floor
How do you use relief to create a beautiful wooden panel? In this chapter, we will look at a beautiful, lacquered wooden panel and how to set it "naturally".
Shaders and Textures - Material Creation in CINEMA 4D: Worn Door - Part 1
To create a scuffed door, we use the professional functions of BodyPaint. We also use brush presets to create the "unsightly" areas of the door. Furthermore, we paint directly onto the model using several channels in BodyPaint.
Shaders and Textures - Material Creation in CINEMA 4D: Worn Door - Part 2
To create a scuffed door, we use the professional functions of BodyPaint.
We also use brush presets to create the "unsightly" areas of the door. We also paint directly onto the model using several channels in BodyPaint.
See part 1 for the working file.
Shaders and textures - Material creation in CINEMA 4D: Engine block
It is often important to place different metals in a scene. We will do this here and also show the differences in the metals and how you can fine-tune them.
Shaders and Textures - Material Creation in CINEMA 4D: Hammer Paint
While working on the engine block, I came up with the idea of hammer finish paint to add some color to the metal round! Here, Noise shows how to create such a hammer finish and the texture of the surface.
Working file see engine block.
Shaders and Textures - Material Creation in CINEMA 4D: Tiles
Anyone who has always wanted to recreate their bathroom will be shown here how to create tiles using CINEMA 4D's own on-board tools. Functions such as multiply are also looked at in more detail.
Shaders and Textures - Material Creation in CINEMA 4D: Push Button
Integrating a pushbutton into a control panel is no longer a problem - at least as far as the material is concerned. Transparent materials are created and the topic of absorption is addressed. Such a push button is also made to glow. Finally, lettering is applied to the transparent material.
Shaders and Textures - Material Creation in CINEMA 4D: Stone
This chapter on stones provides another overview of the use of noise. Layers are discussed and the difference between relief and displacement is emphasized.
Examples of use
-
 How to apply shaders and textures in Cinema 4D - learn how here!
You might also like

Practical applications for companies

Produce high-quality videos

Edit films, transitions, animations, and more

How it works. What options exist.
Comment now „CINEMA 4D Video Training - Shaders & Textures“