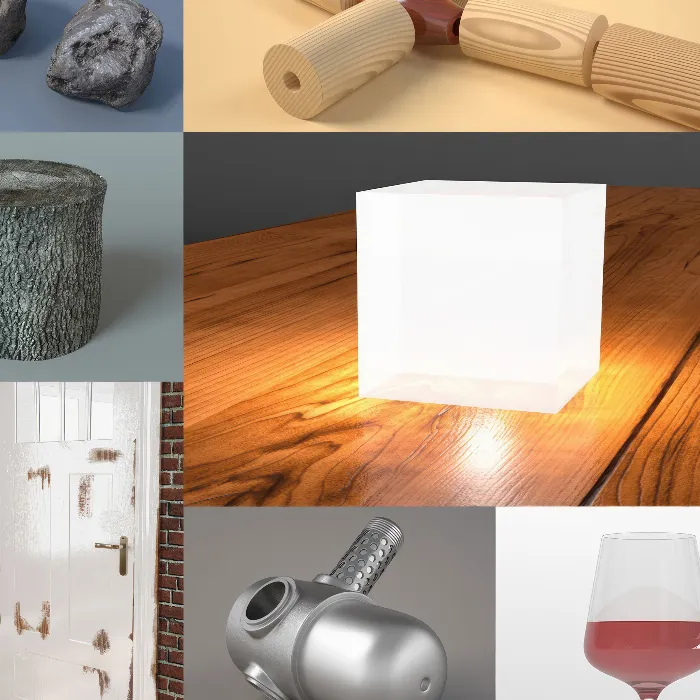
In this guide, I will show you how to create a hammer finish paint in CINEMA 4D. This effect adds color and texture to your metal objects, especially for the engine block that we will use as an example here. We will use Noise and other shader settings to create a realistic and appealing surface. Let's get started with the creation!
Key Insights
- The hammer finish paint is achieved by adjusting the shader parameters and noise.
- The choice of colors, reflection, and relief is crucial for the final result.
- It is worthwhile to experiment with different values to achieve the best results.
Step 1: Create New Material
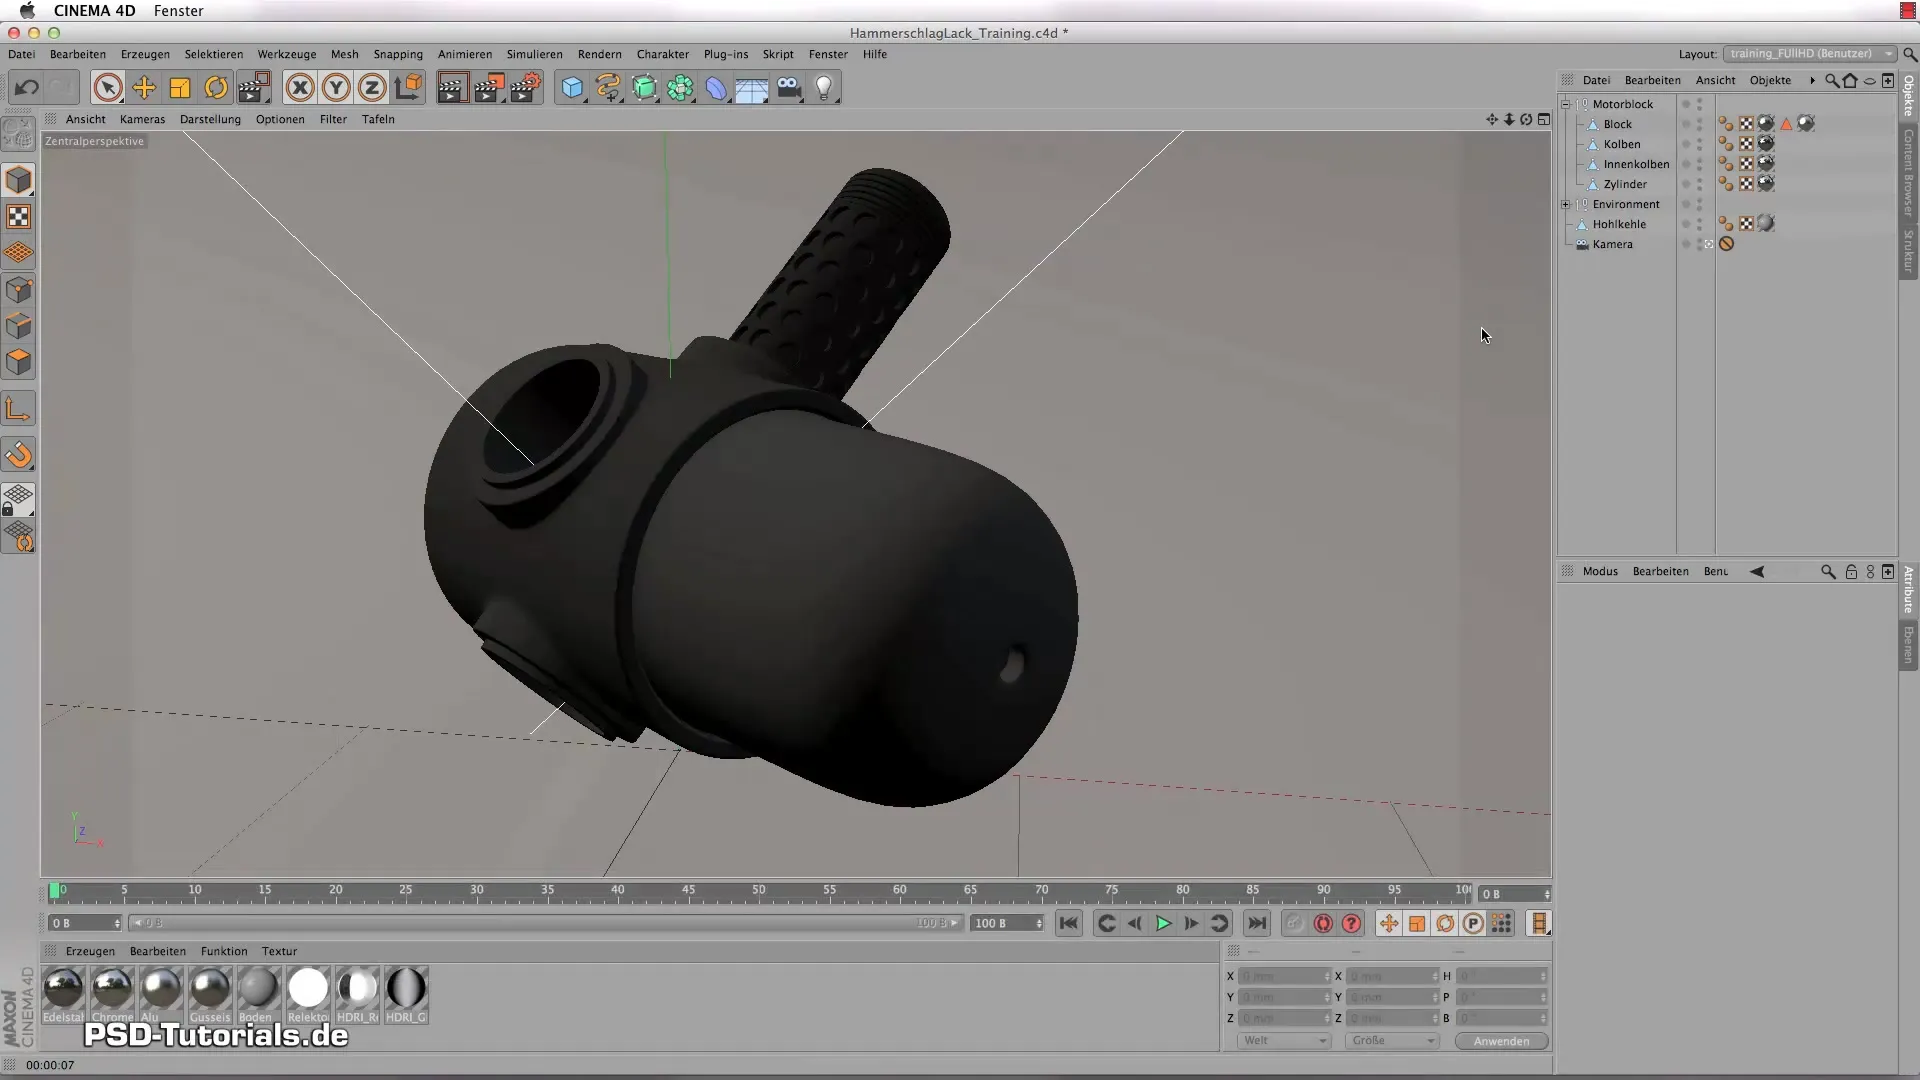
Open CINEMA 4D and load your project with the engine block. You will create a new material that represents your hammer finish paint. To do this, right-click in the material manager and select "New Material". Rename the material to "Hammer Finish Paint".
Step 2: Remove Specular Highlight
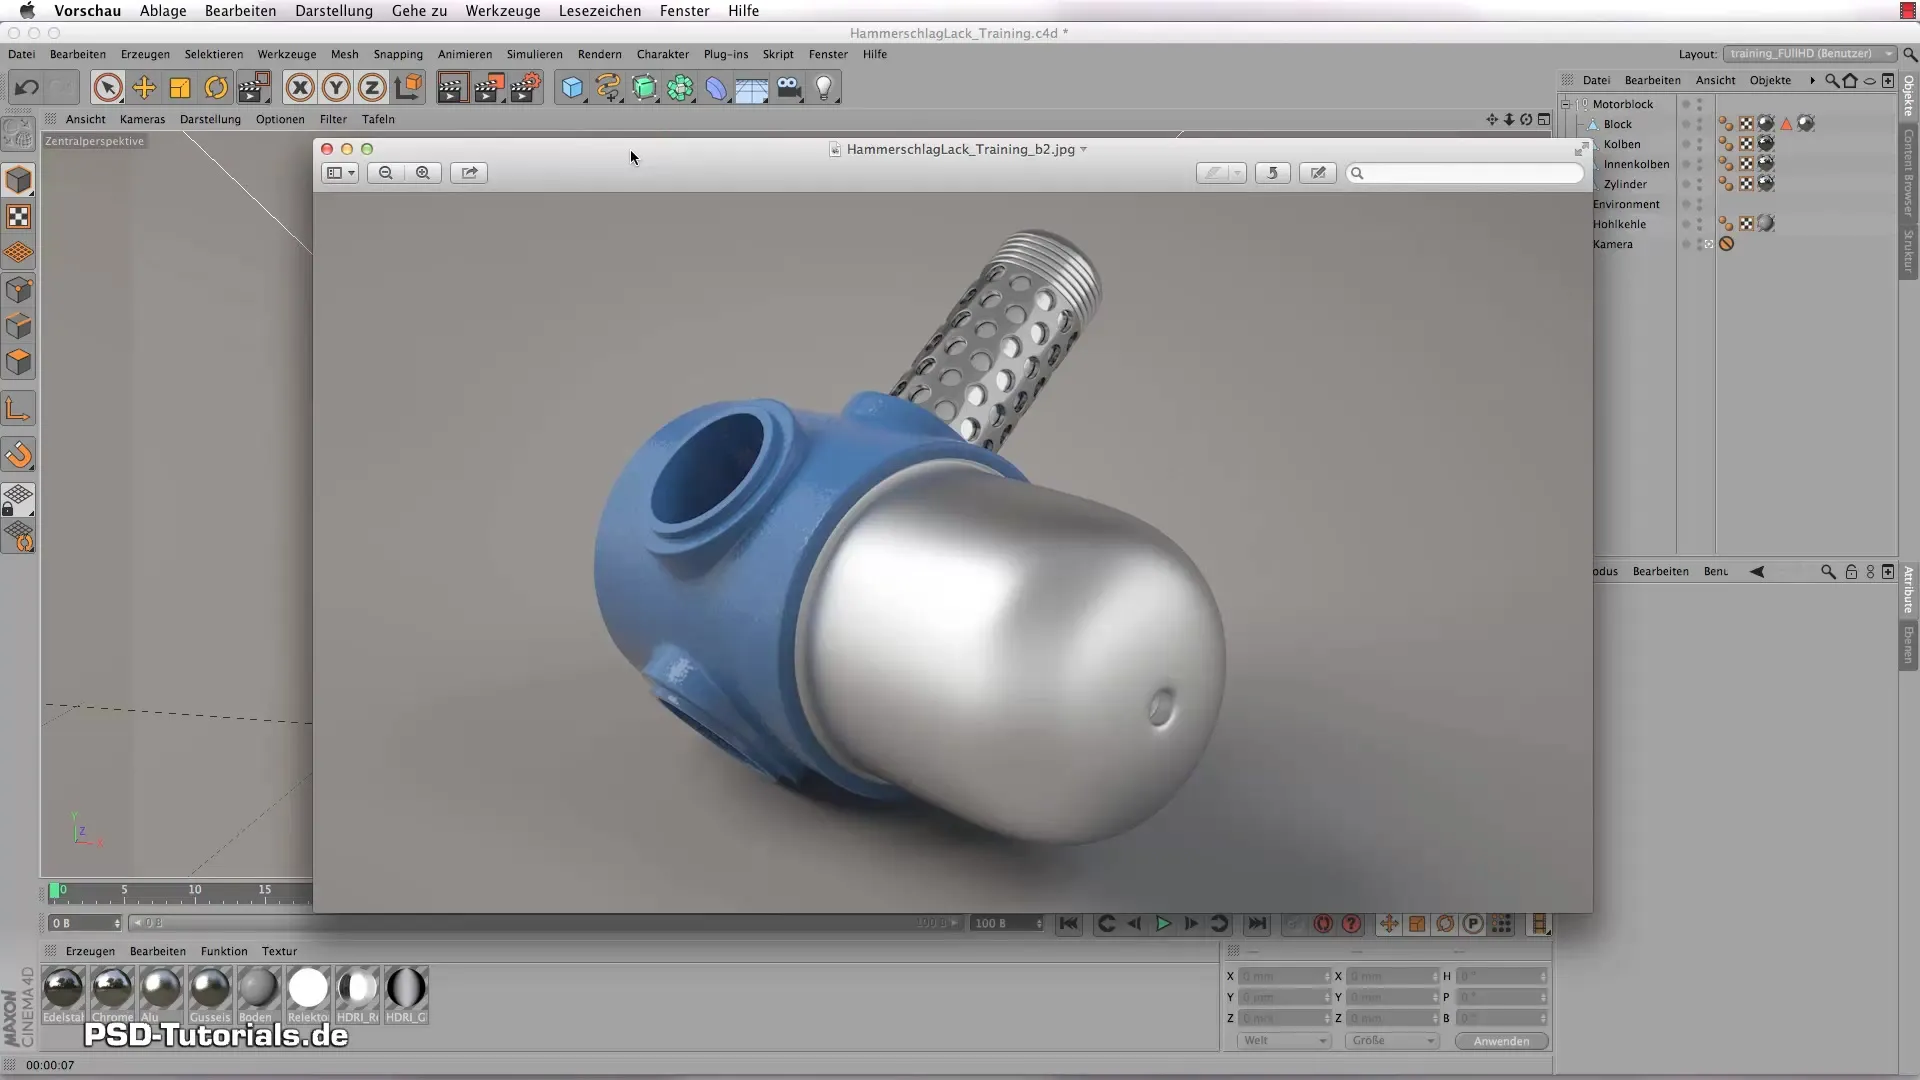
Go to the material settings and remove the specular highlight. This ensures that the hammer finish paint appears more matte, which is typical for this effect. In the next step, you will choose an appealing color. A bright blue has proven to be effective here.
Step 3: Add Reflection
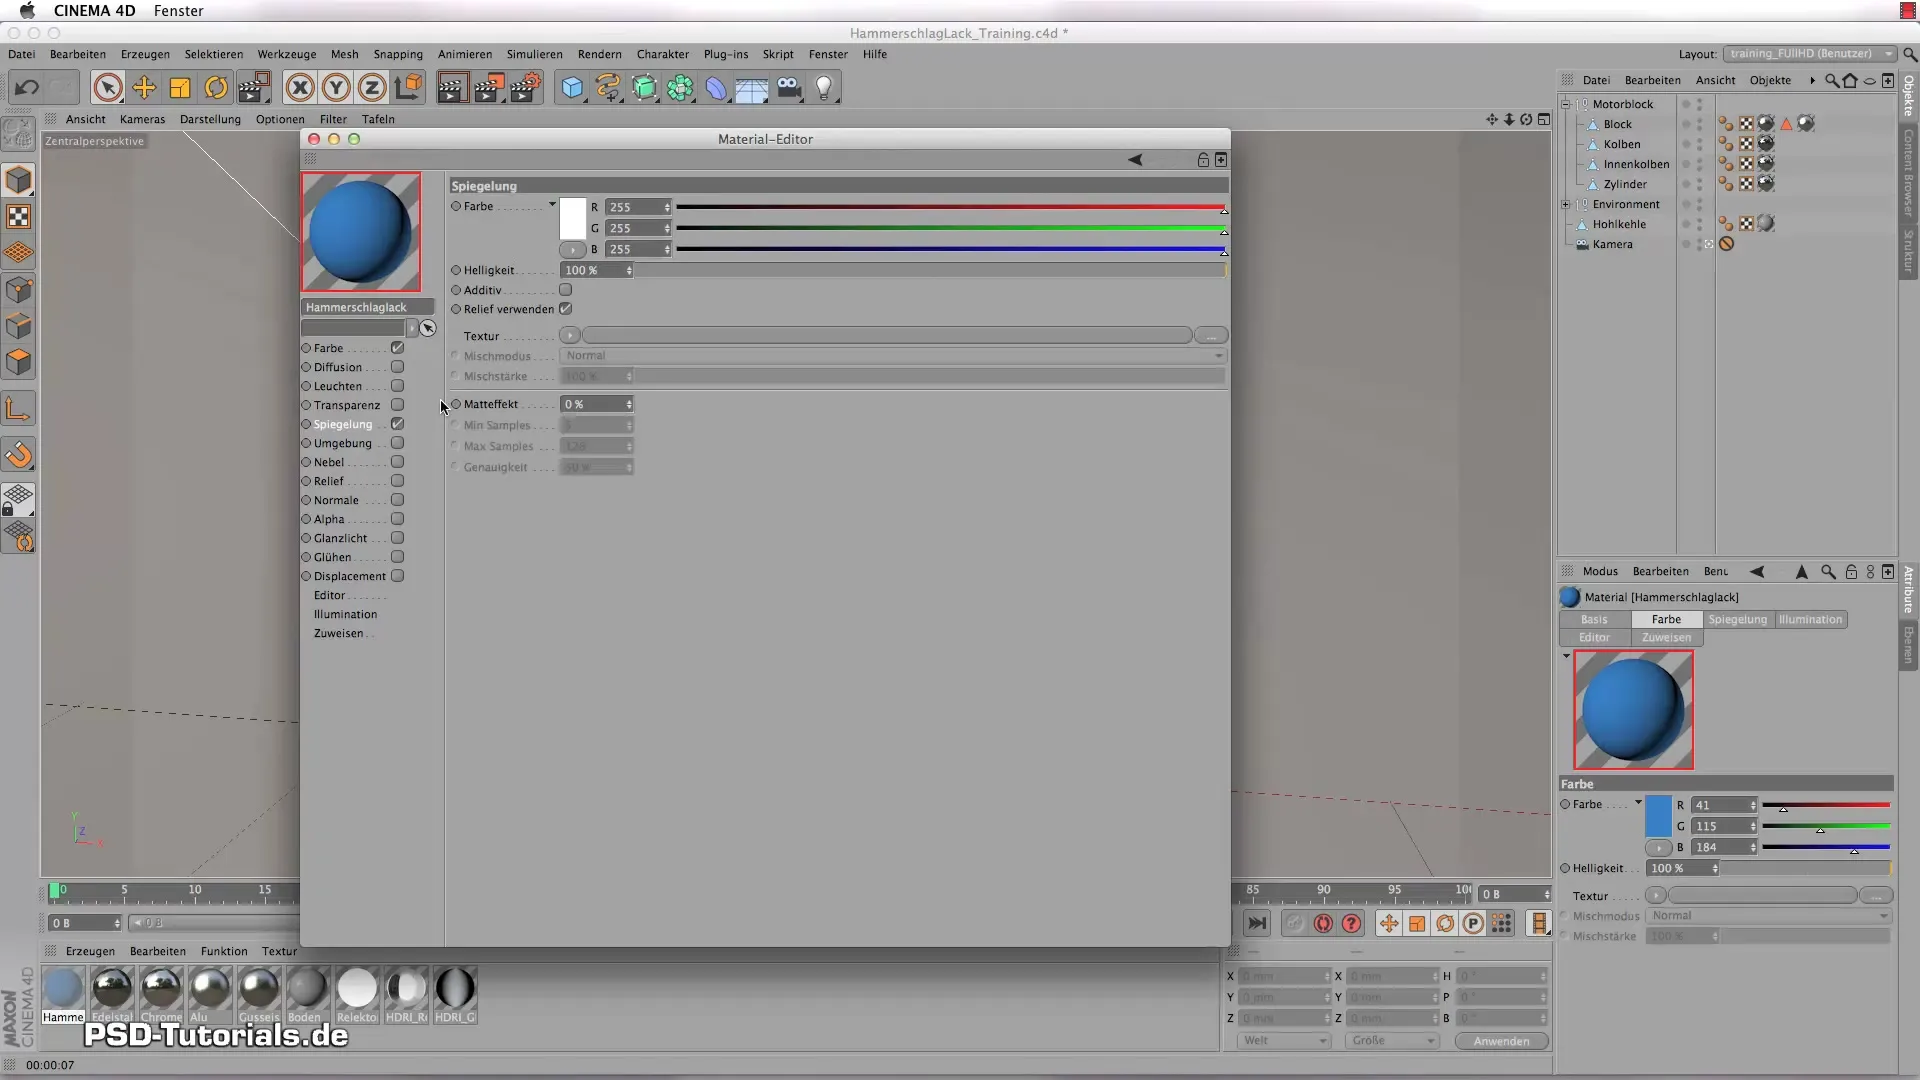
To create more depth and realism, add a reflection channel. Set the Fresnel value to 1.5. This makes the surface reflection appear natural. This setting can be easily adjusted and gives the material a more interesting look.
Step 4: Adjust Bump Channel
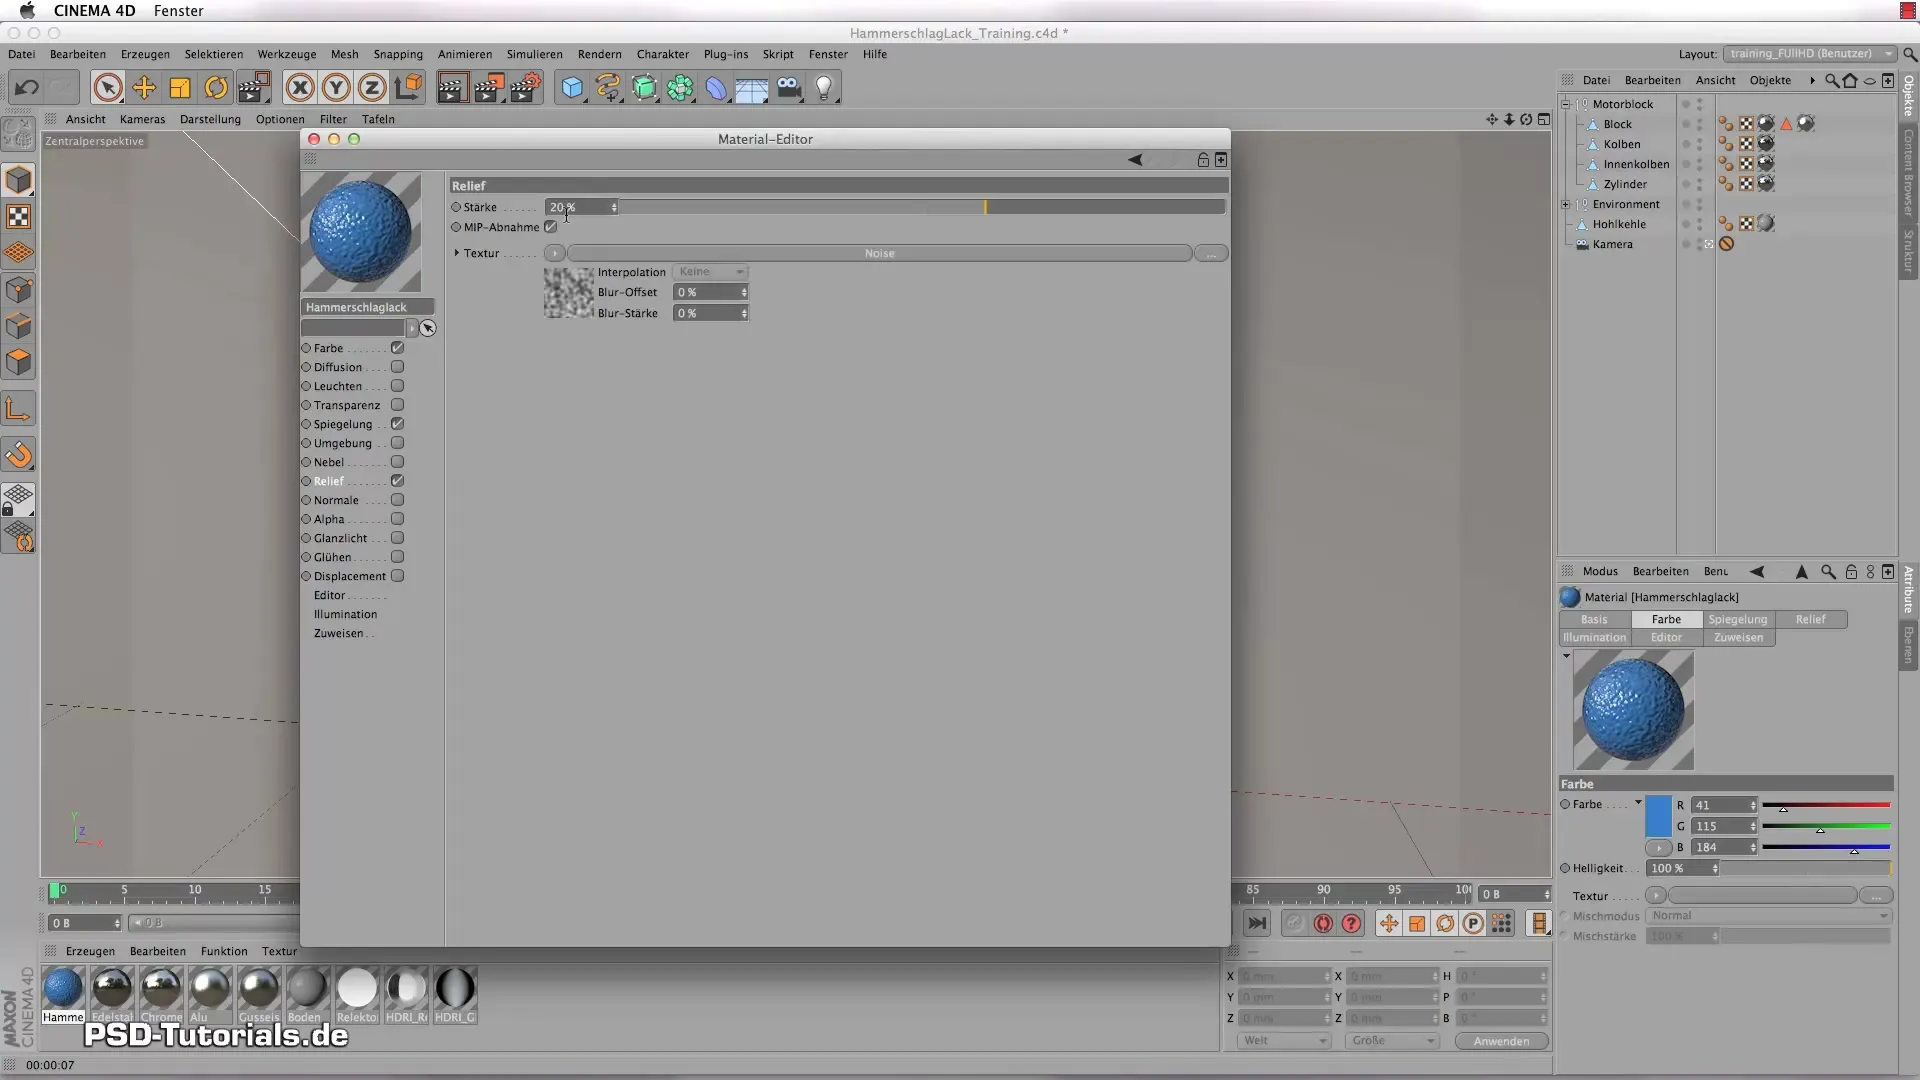
Now it’s time to activate the bump channel. Set the strength value to 5%. Choose the "Turbulence" shader as the new bump. The turbulence gives the material the necessary texture that resembles a hammer finish paint.
Step 5: Configure Clipping
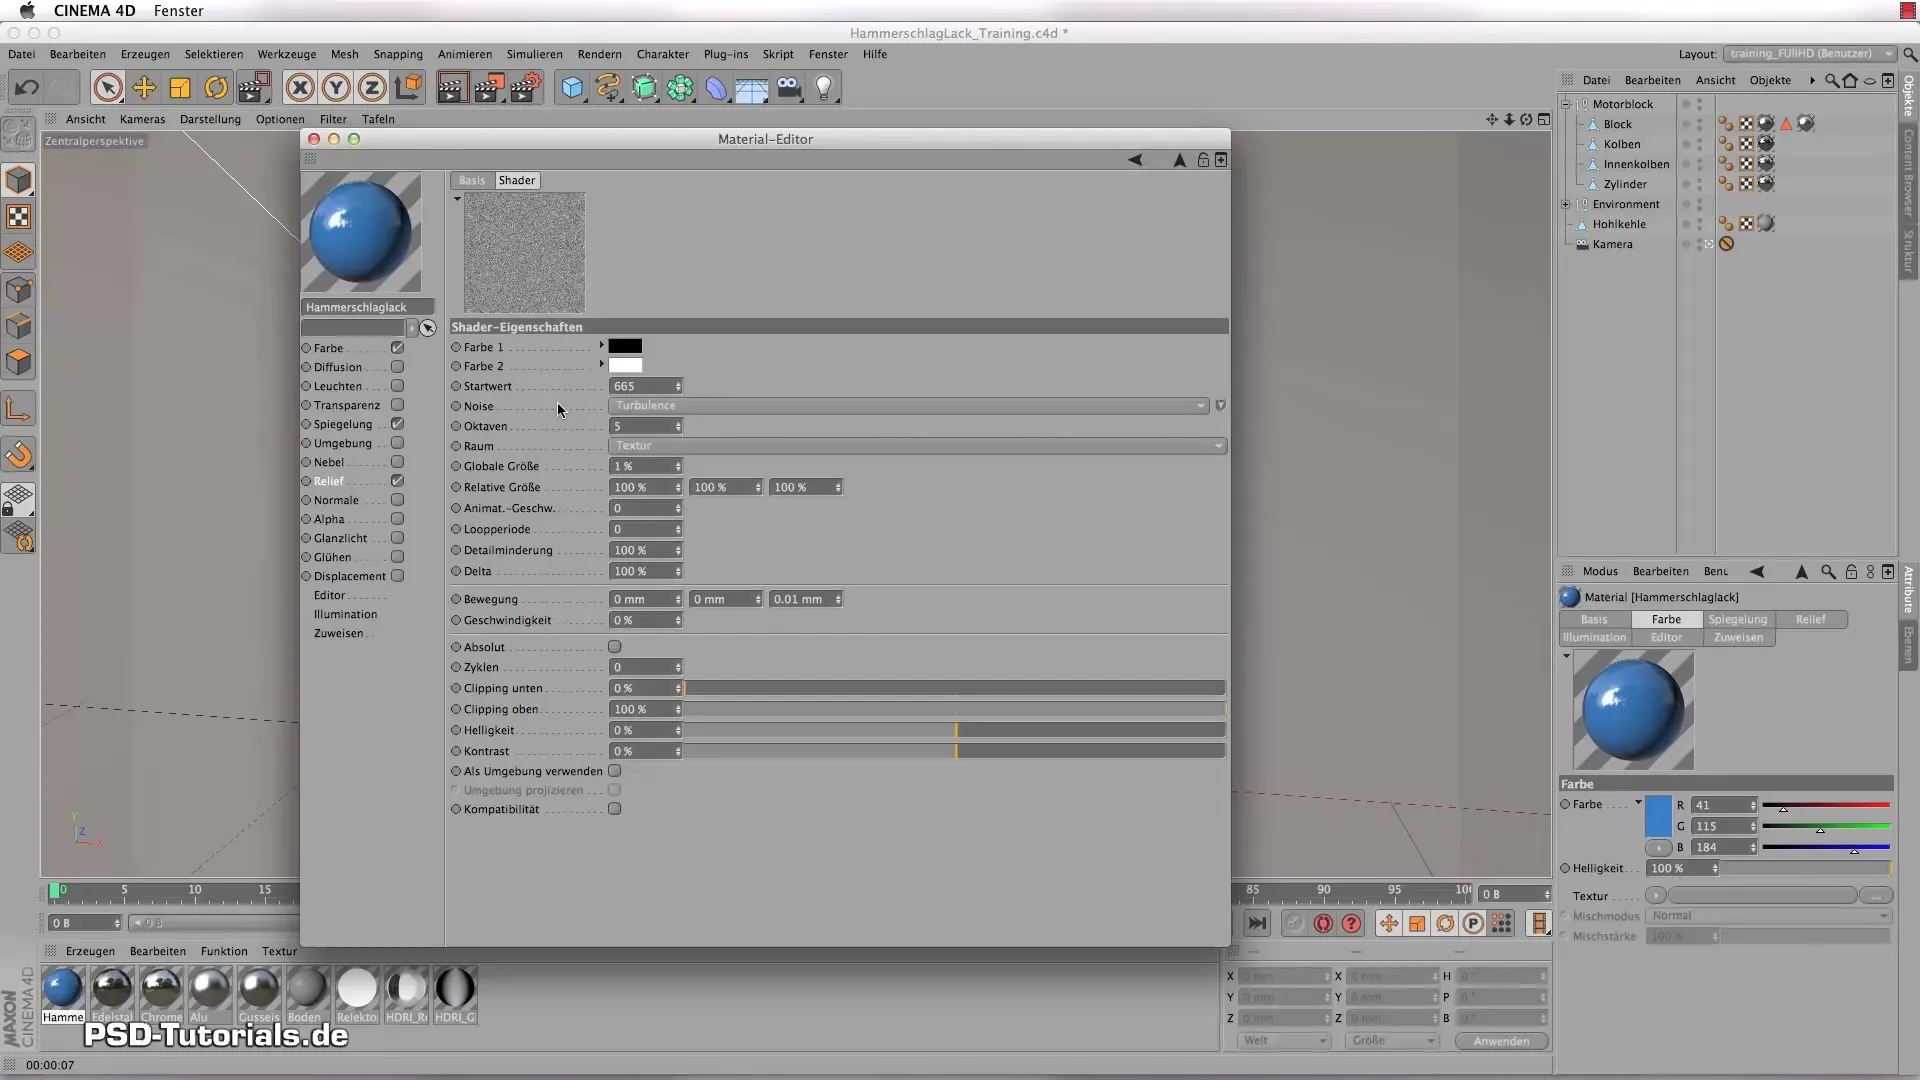
The next step is to configure the clipping. This parameter controls how much white and black portions are integrated into the material. Set the top clipping to zero to maximize the white parts and gradually move the bottom clipping to add the desired amount of black.
Step 6: Fine-tune Noise Settings
To shape the unevenness of your material, you can further adjust the clipping settings. Increase the value to around 50% to create an interesting texture. Adjusting the clipping from the top and bottom can effectively enhance the appearance of the hammer finish paint.
Step 7: Apply the Material
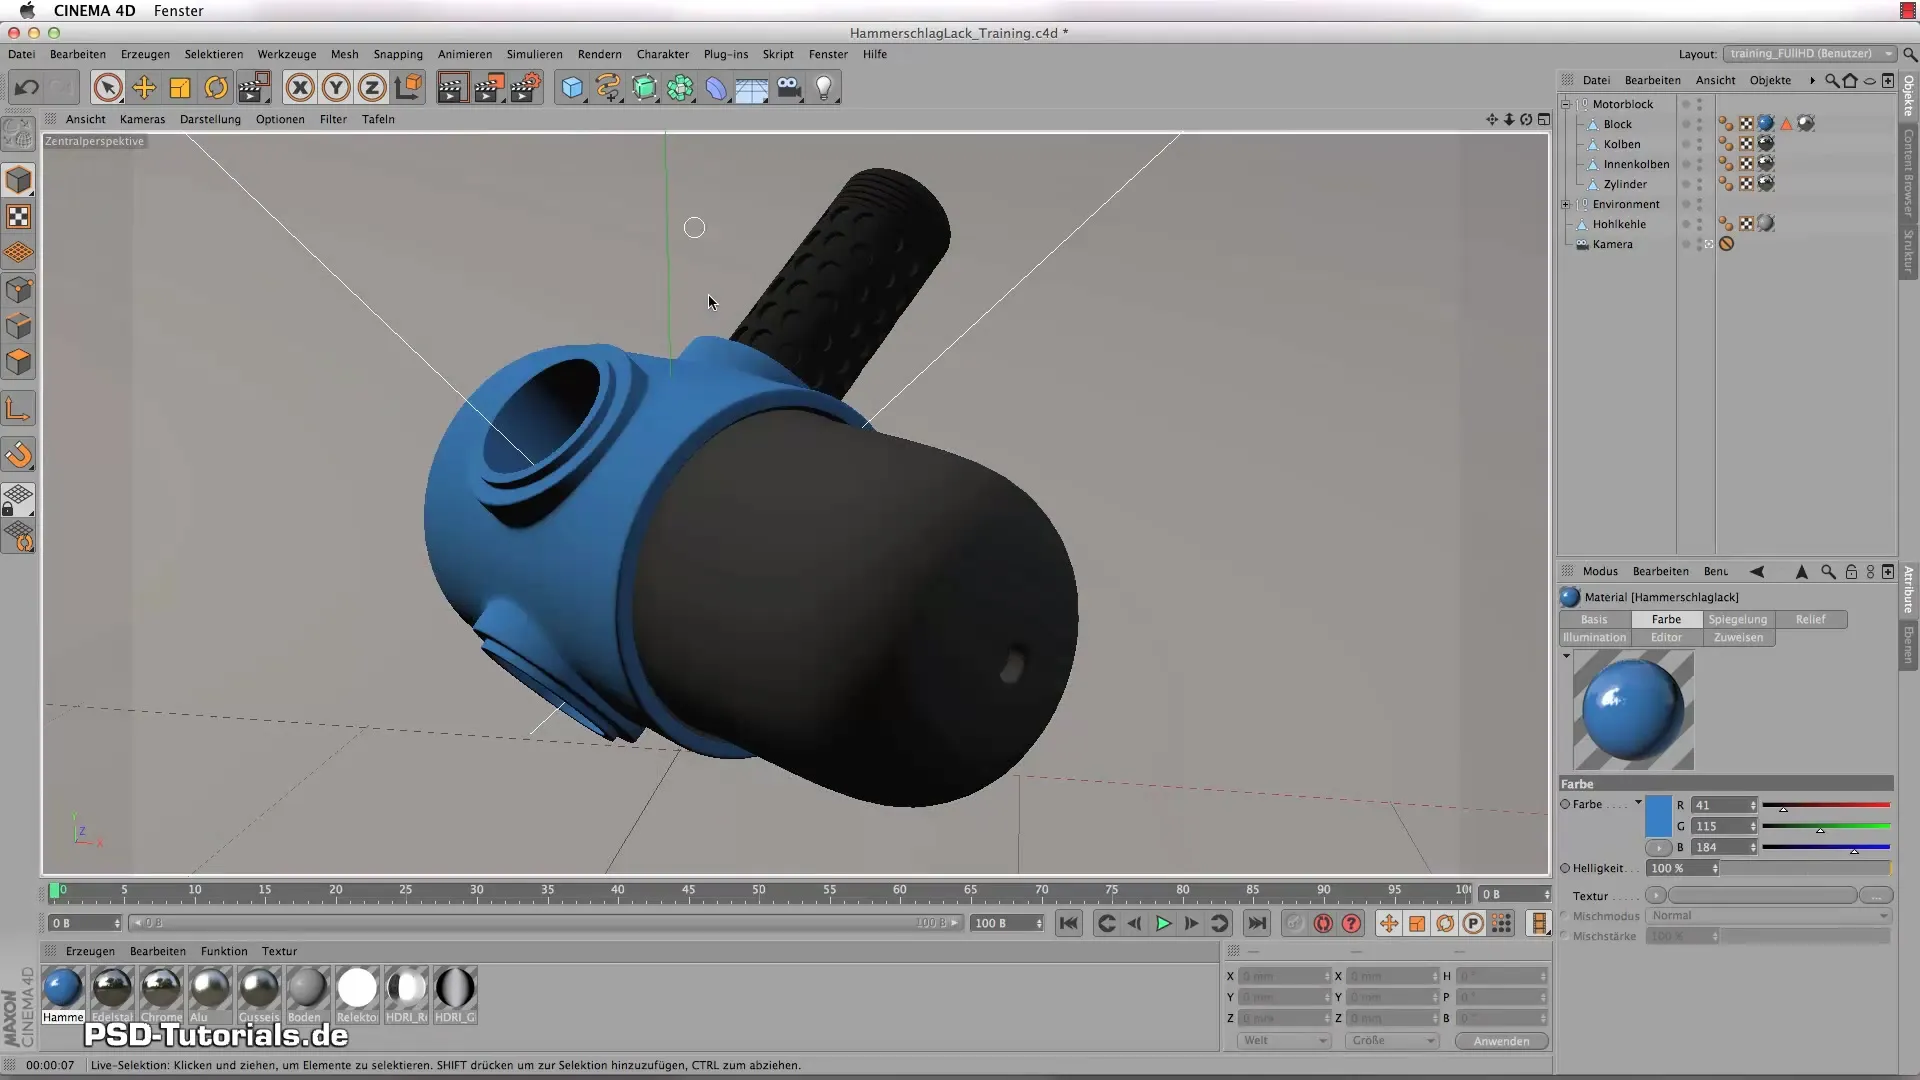
Drag your newly created hammer finish paint material onto the object in the workspace. Render the image to see how the effect looks on the engine block. In the preview, you can observe the reflection and light refraction on the surface.
Step 8: Fine Adjustments
If you are not completely satisfied with the result, you can go back to the shader settings and adjust the values for the texture or brightness. Experiment with the different settings to refine the look.
Step 9: Compare Results
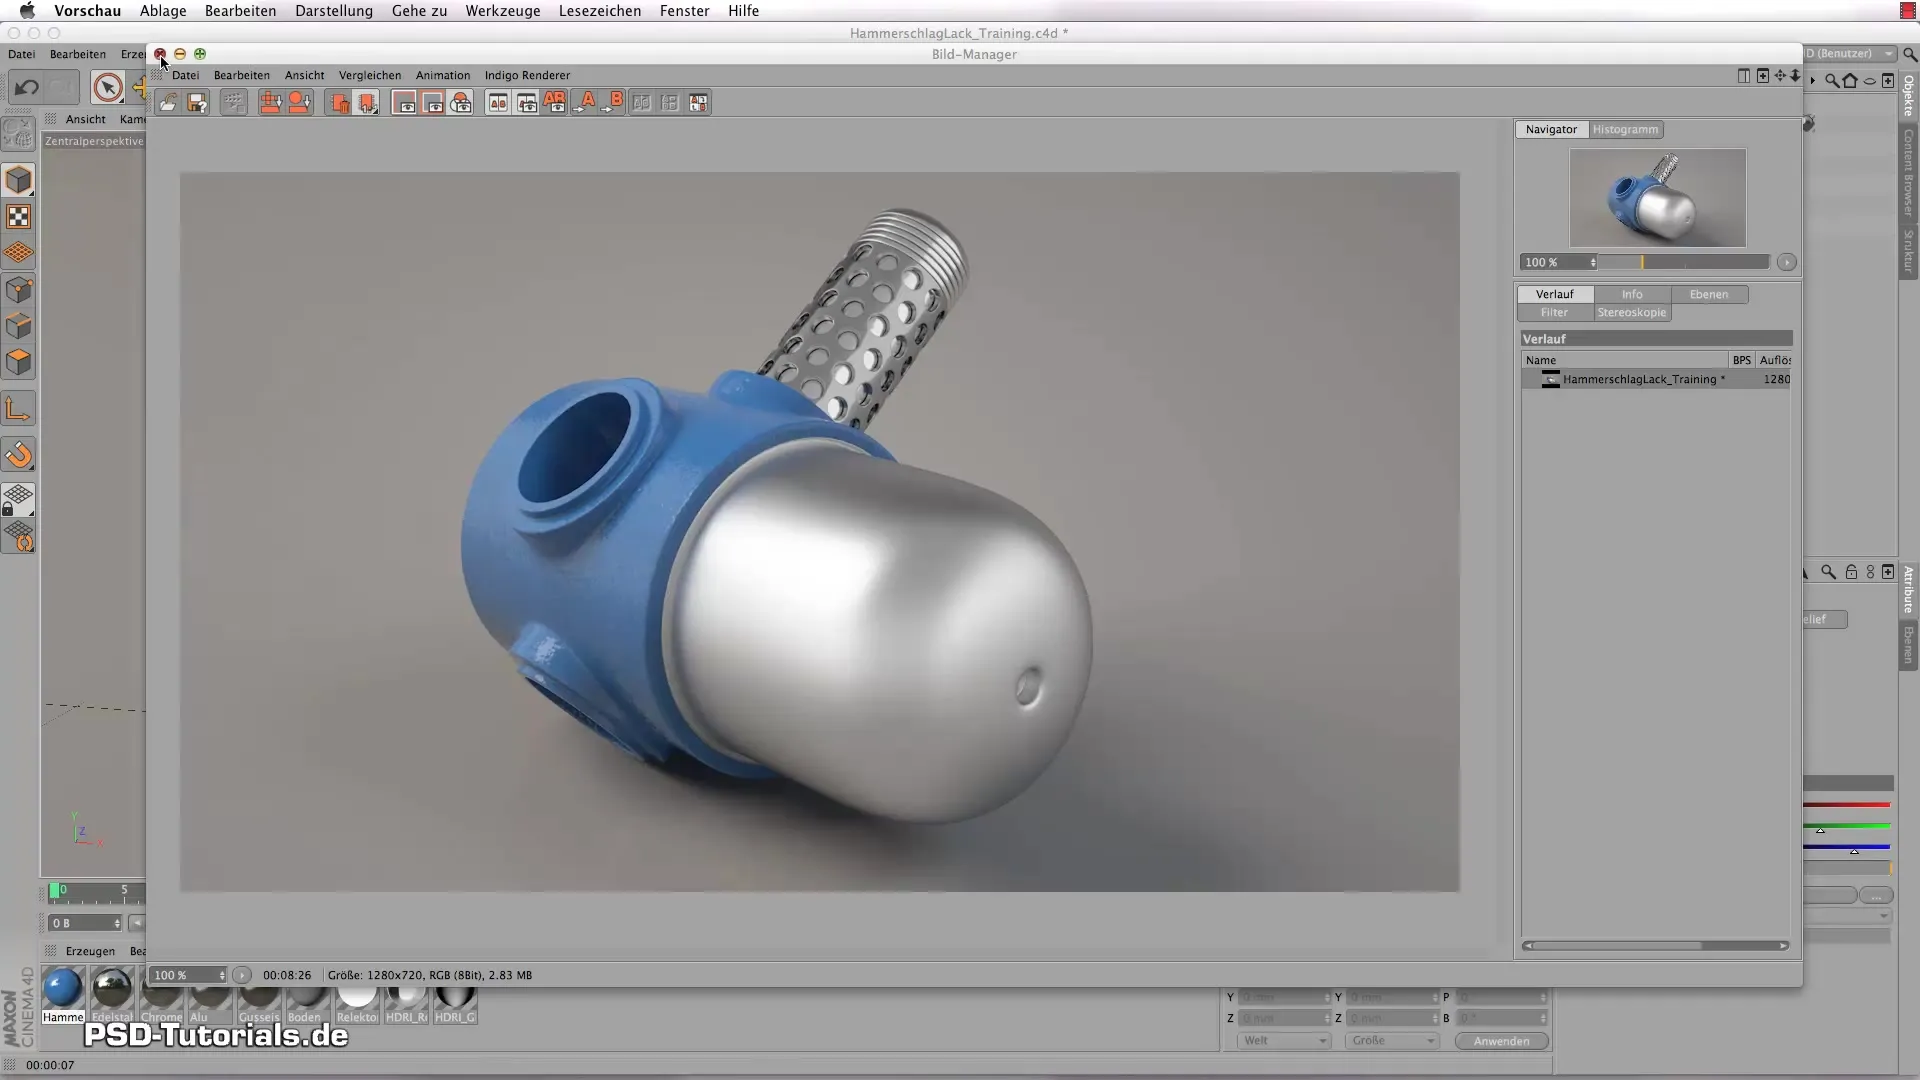
Take a look at the rendered images and compare the results. Create the renderings once under the old settings and then under the new ones to recognize the differences. This is an important method to understand which adjustments yield positive effects.
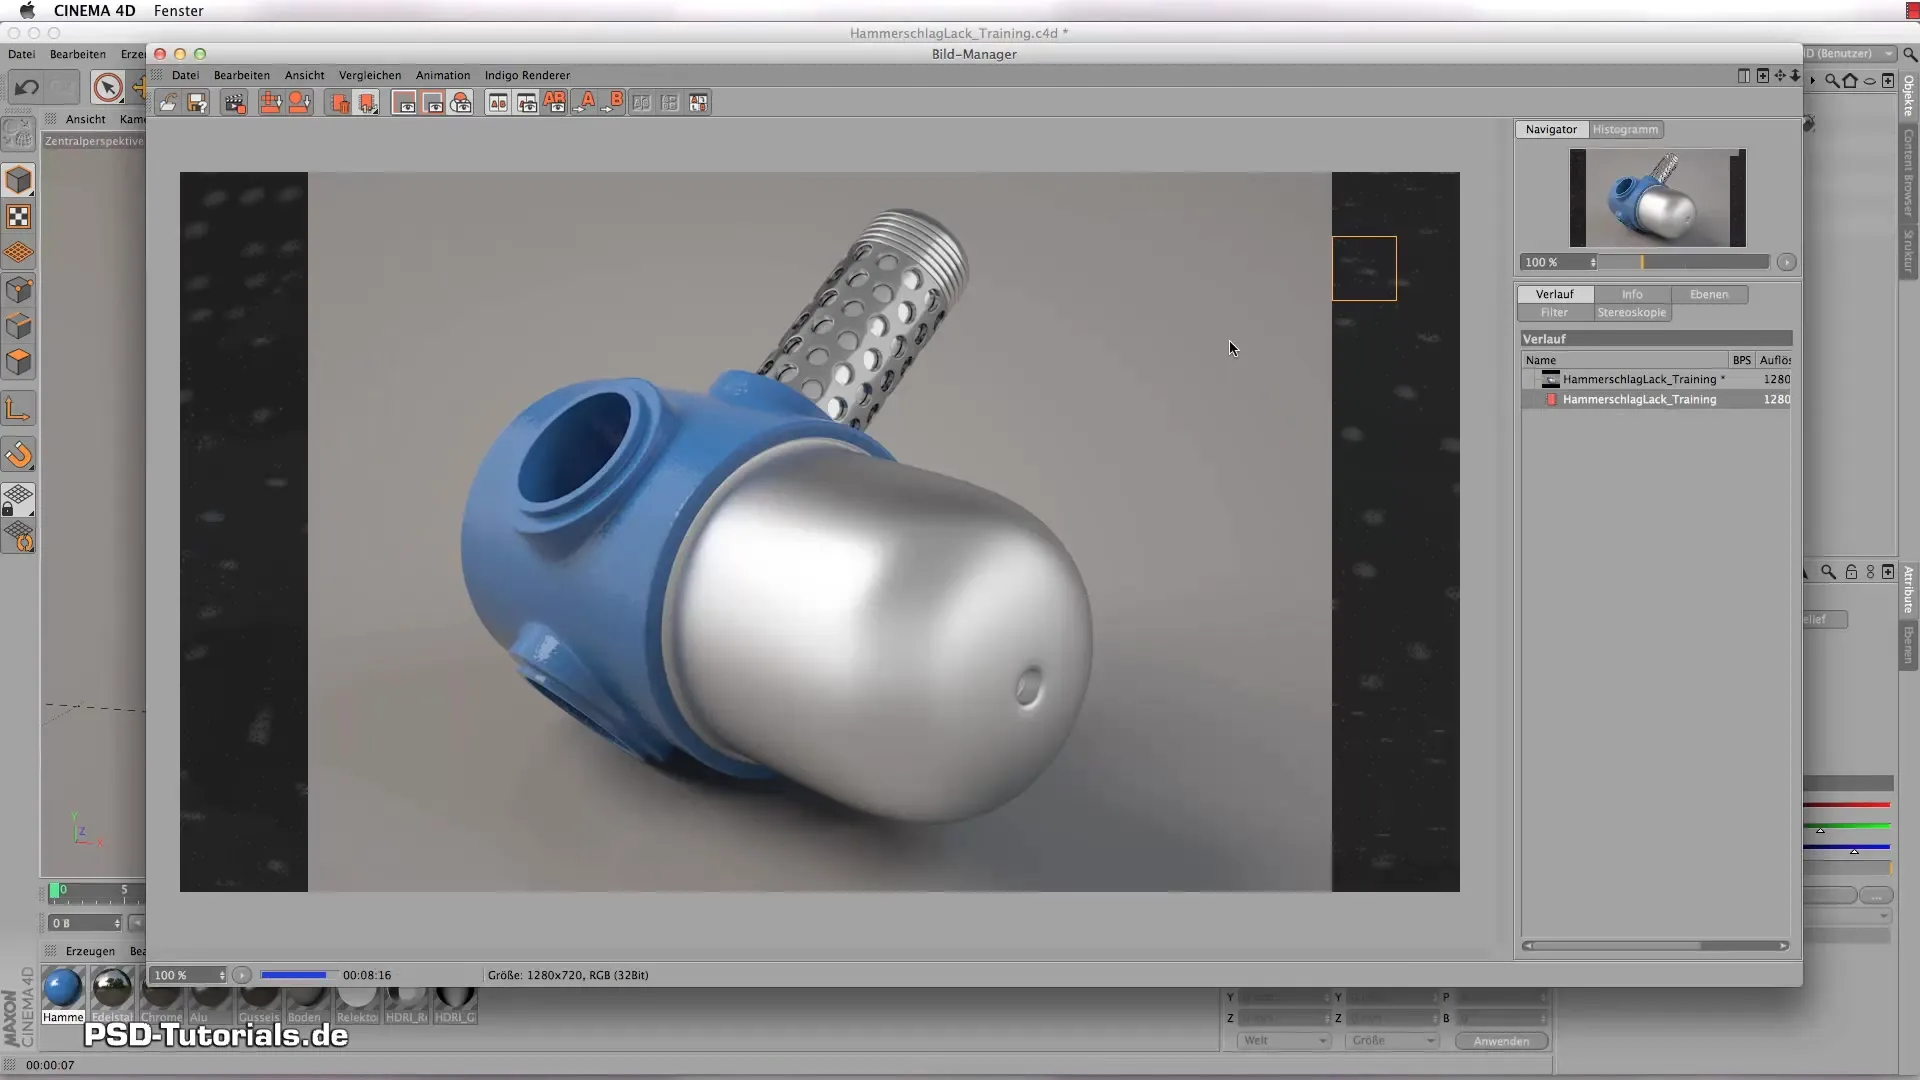
Summary – Create Hammer Finish Paint in CINEMA 4D
In this guide, you have learned how to create a hammer finish paint in CINEMA 4D. By adjusting color, reflection, and relief, you have learned how to improve the quality of your materials and make them more appealing. With the right settings, you can achieve impressive results.
Frequently Asked Questions
How can I change the color of the hammer finish paint?You can easily adjust the color in the material manager by clicking on the color selection.
What is the purpose of the clipping settings?The clipping settings influence the amount of white and black areas in the texture, which is important for surface design.
How can I achieve a realistic result?Experiment with different values for brightness and texture in the shader to find the ideal texture.
