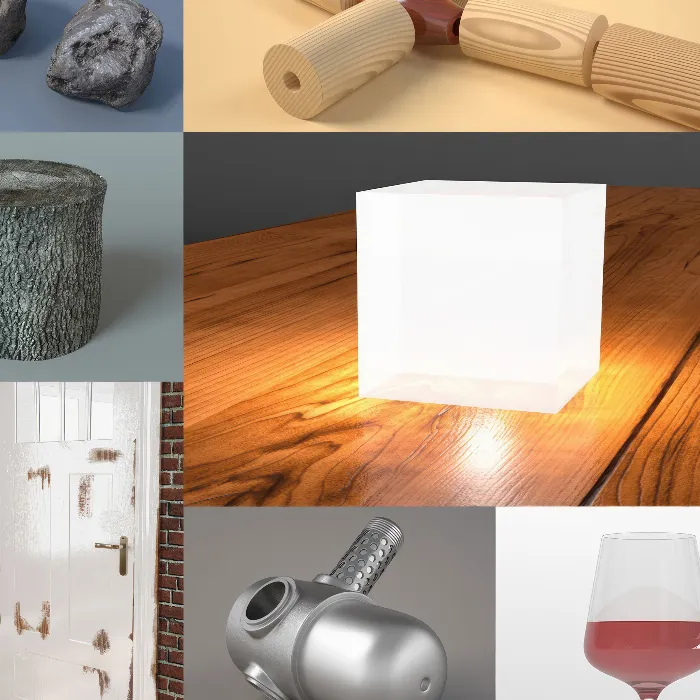
Wood textures are essential in 3D modeling to achieve credibility and richness of detail. In this tutorial, I will show you how to effectively use the new wood shader from CINEMA 4D R14 to create realistic wood materials. We will work with mahogany and pine materials, customize them, and use them for your projects.
Key Insights
- The wood shader in CINEMA 4D R14 offers versatile customization options.
- With the right settings, you can create realistic wood appearances.
- By varying the parameters, you can obtain unique textures.
Step-by-Step Guide
Create the Framework
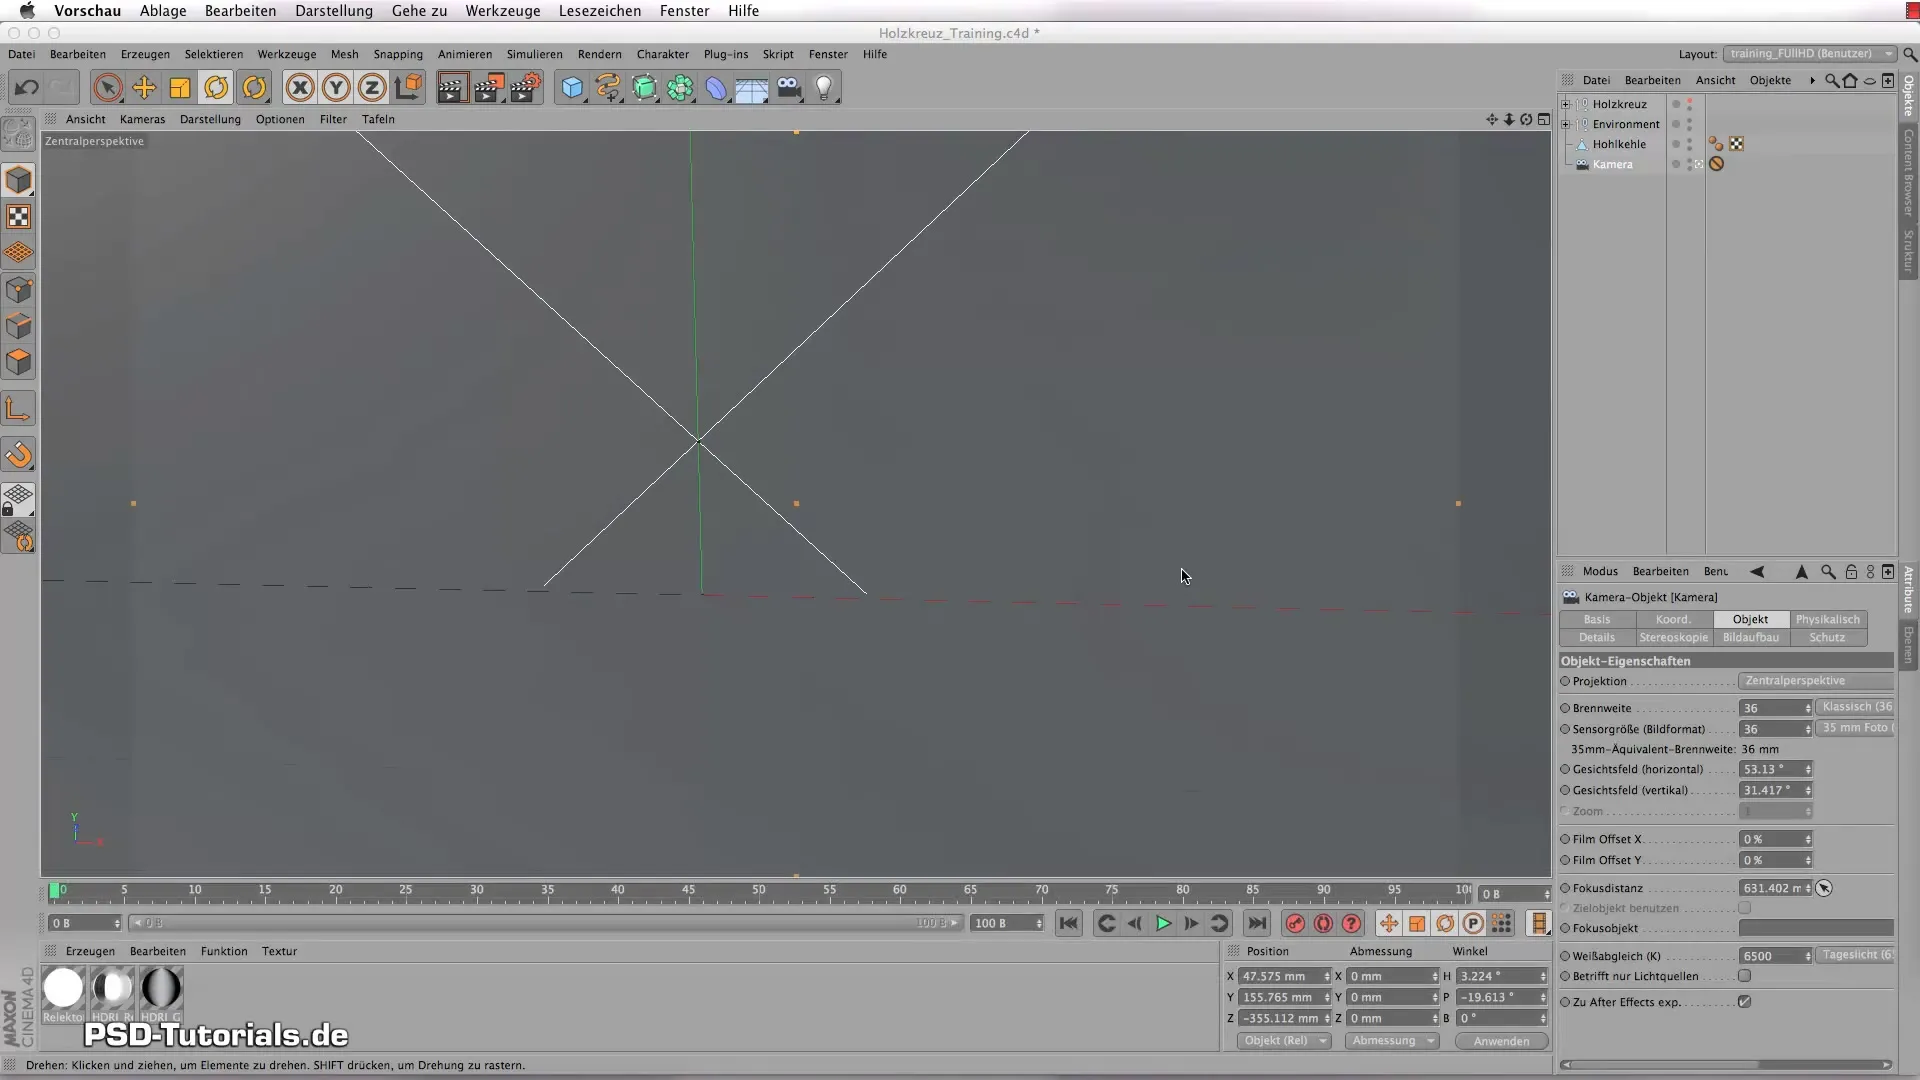
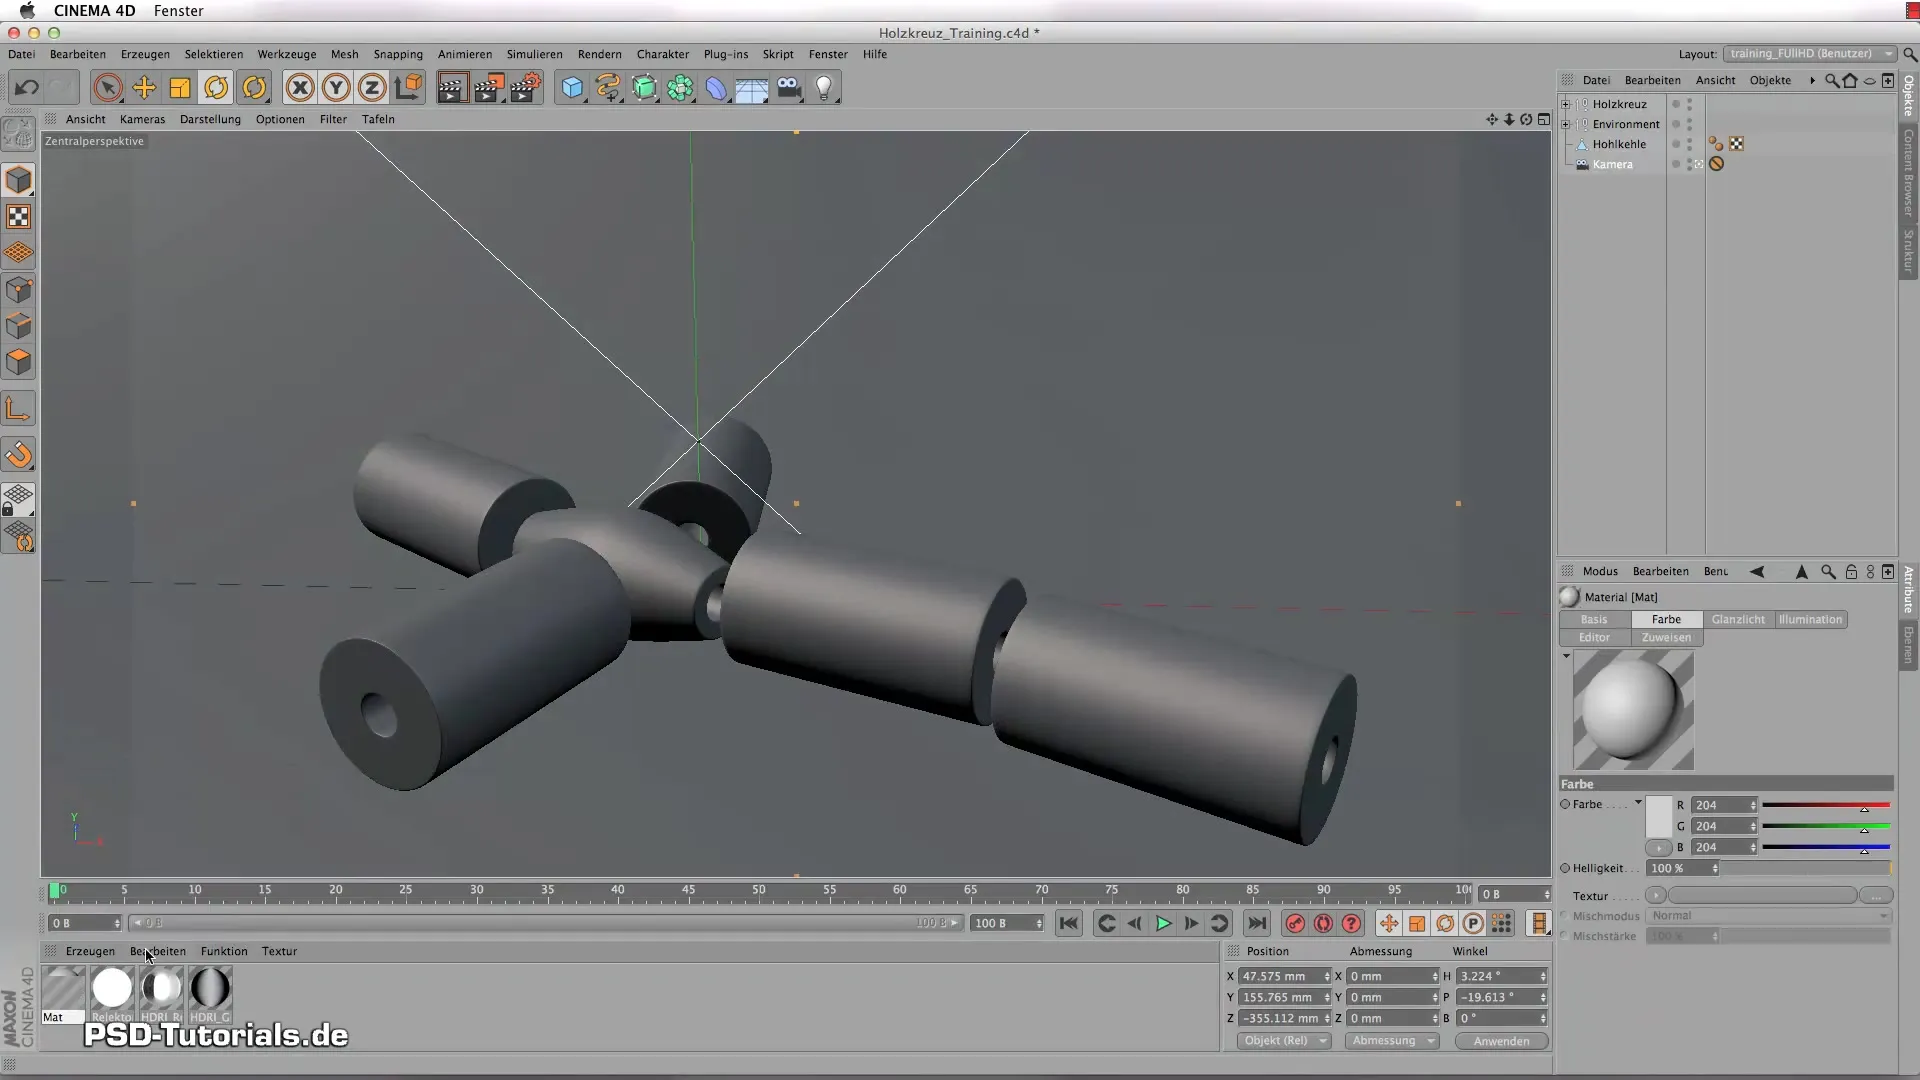
Start by opening a new project in CINEMA 4D. Create various cylinder objects that will serve as the basis for your wooden cross. These can be easily placed in the scene.
Create Floor Material
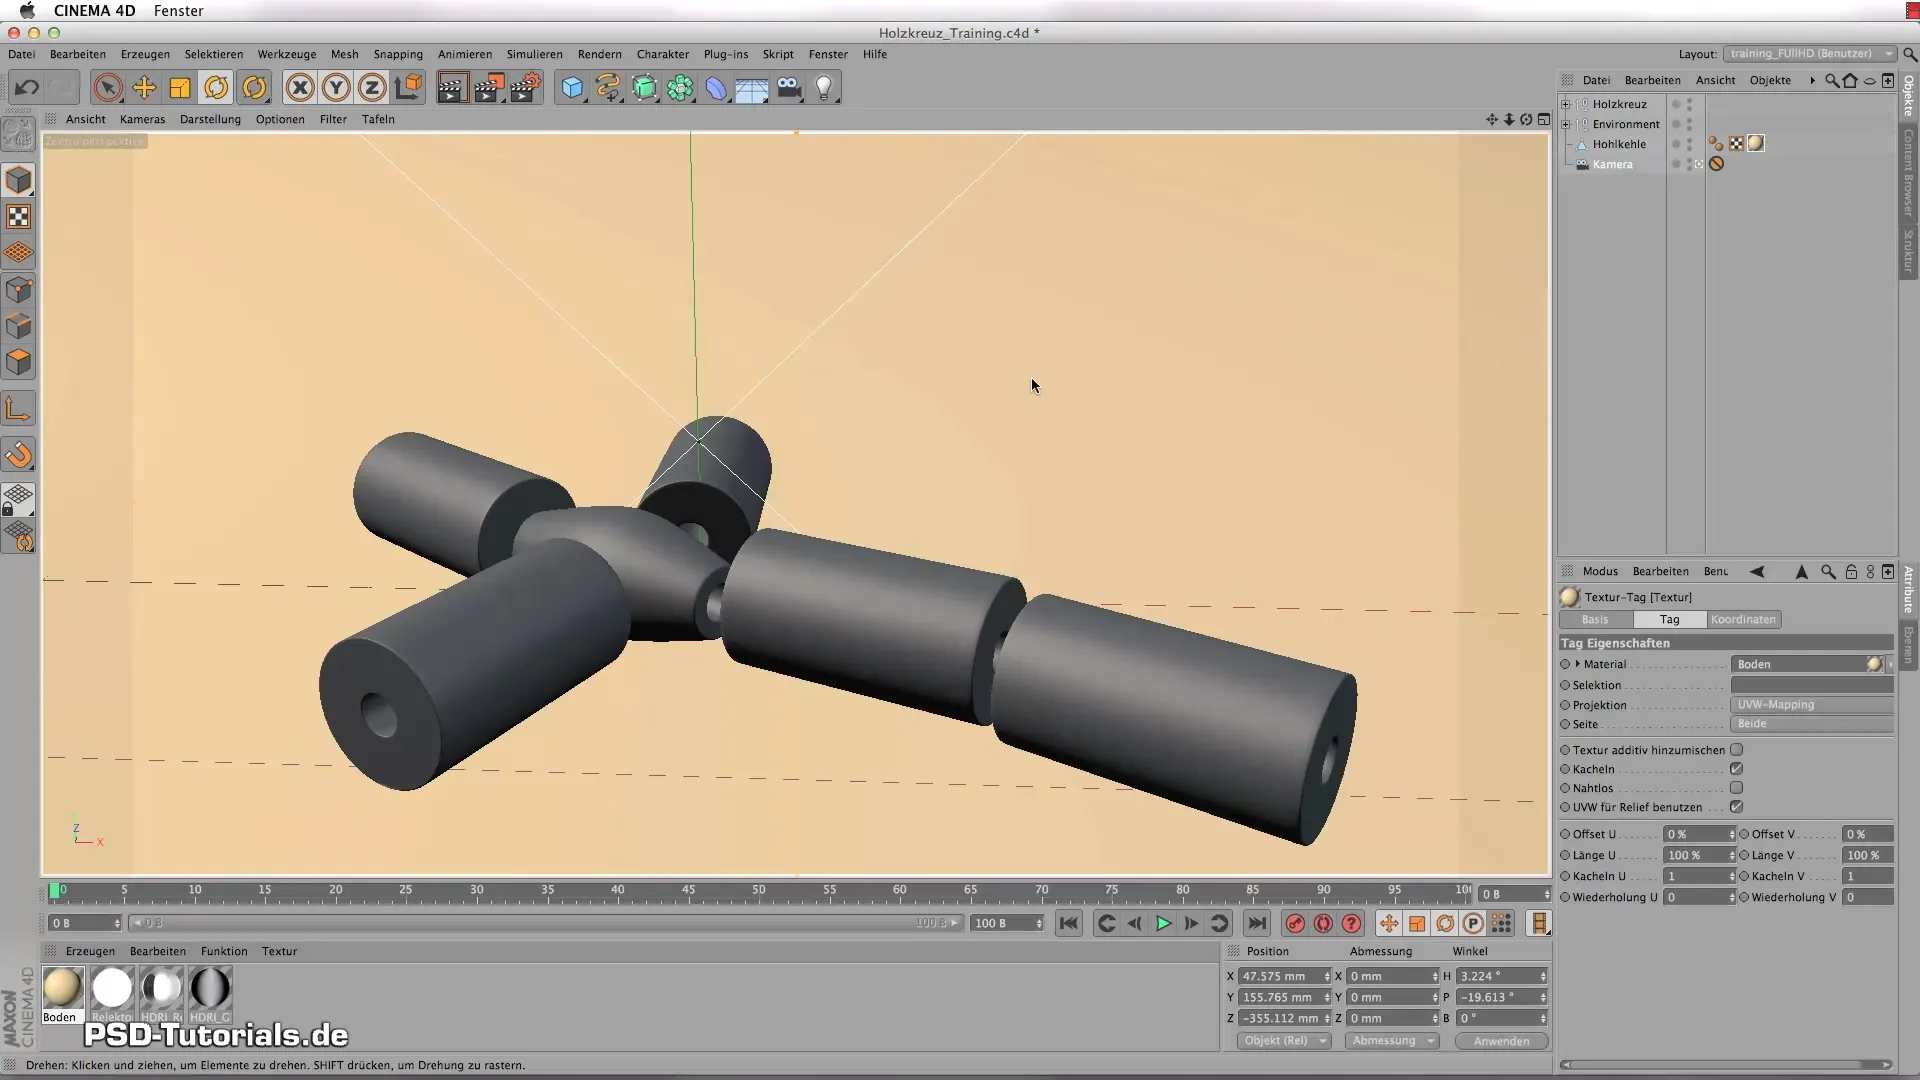
Next, create the floor material for the cove. Select the color channel and set it to a yellow pastel tone. Set the reflection to about 10% to achieve a realistic look.
Create Mahogany Material
Create a new material for the mahogany wood. Name it accordingly and go to the color analyzer. To activate the wood shader, select the appropriate wood type and adjust the hue. Make sure to set an appropriate texture.
Set Mapping
Since you are working with cylinder objects, it is important to use cylinder mapping to optimally apply the wood texture. Make sure to adjust the size of the texture to get more variation.
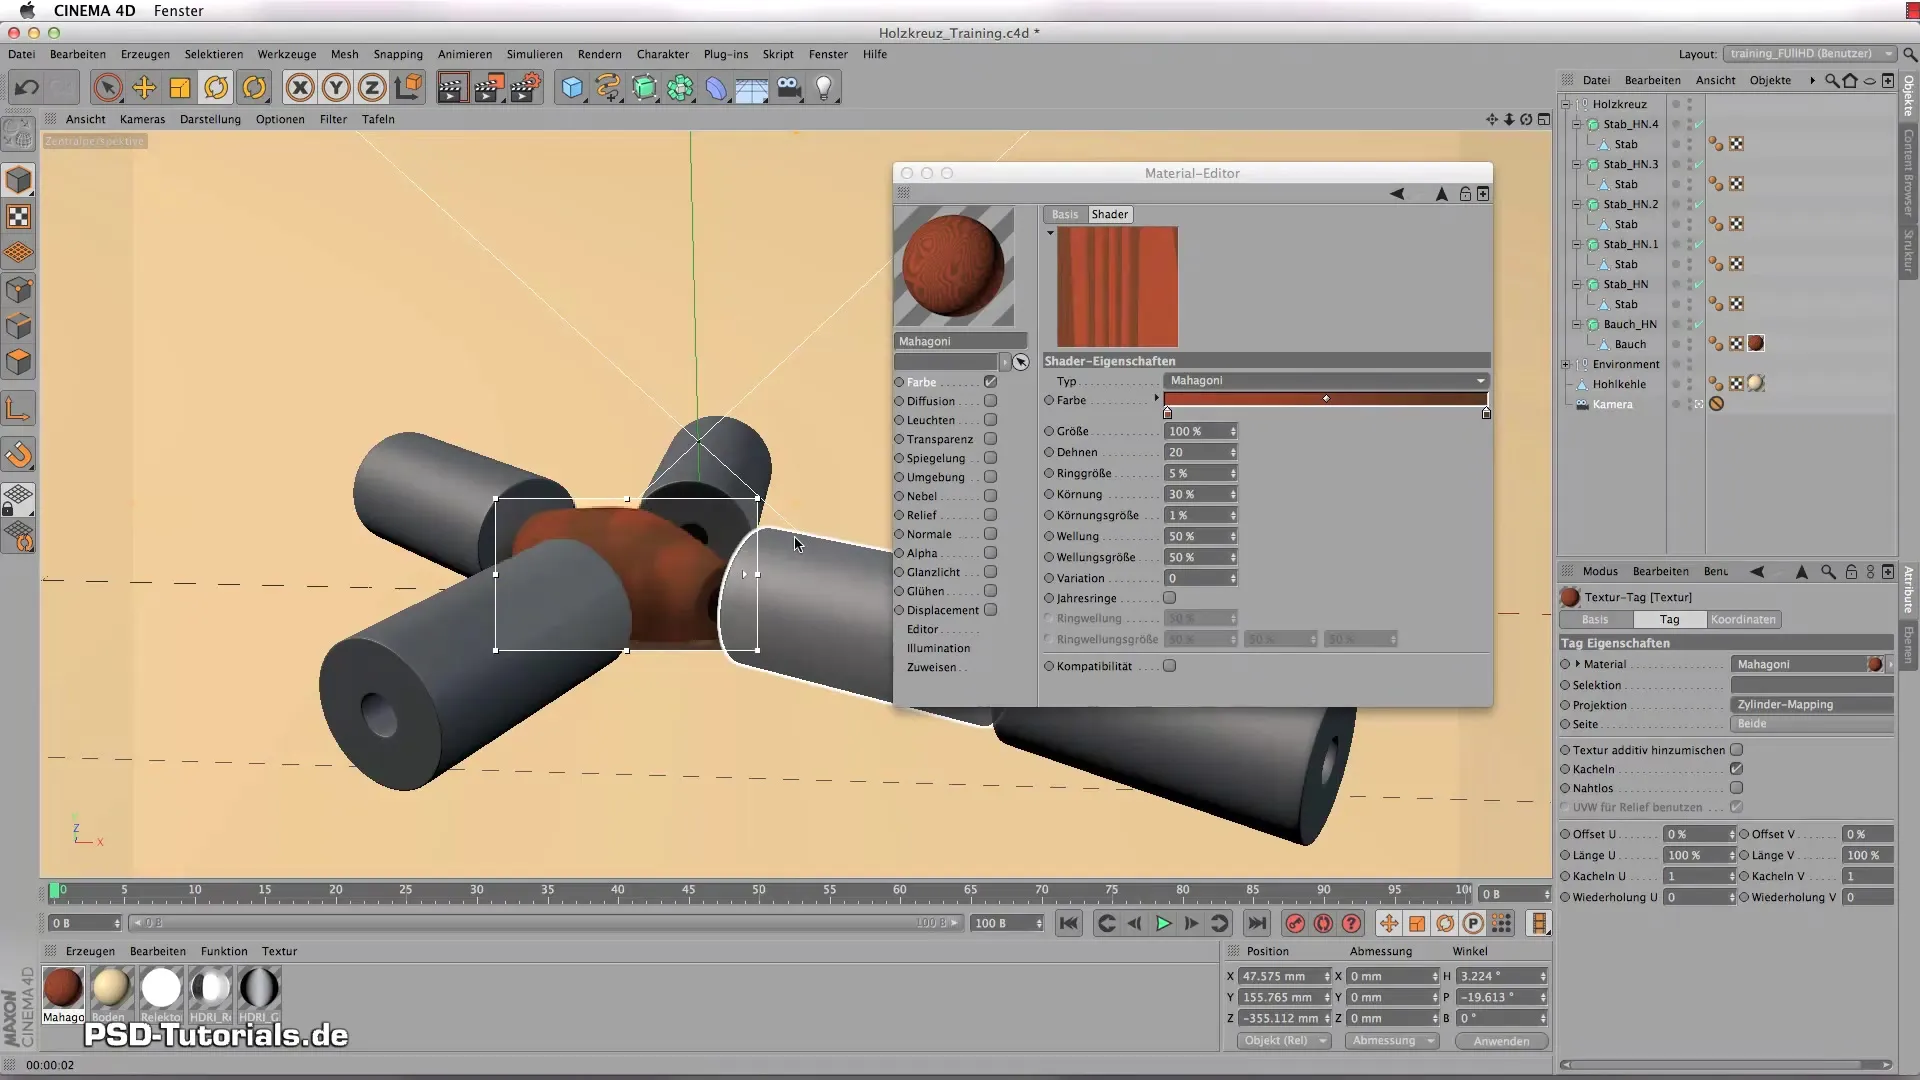
Adjust Wood Texture
Change the parameters such as stretch, ring size, and grain to achieve a realistic wood grain. Experiment with the values to obtain an appealing surface.
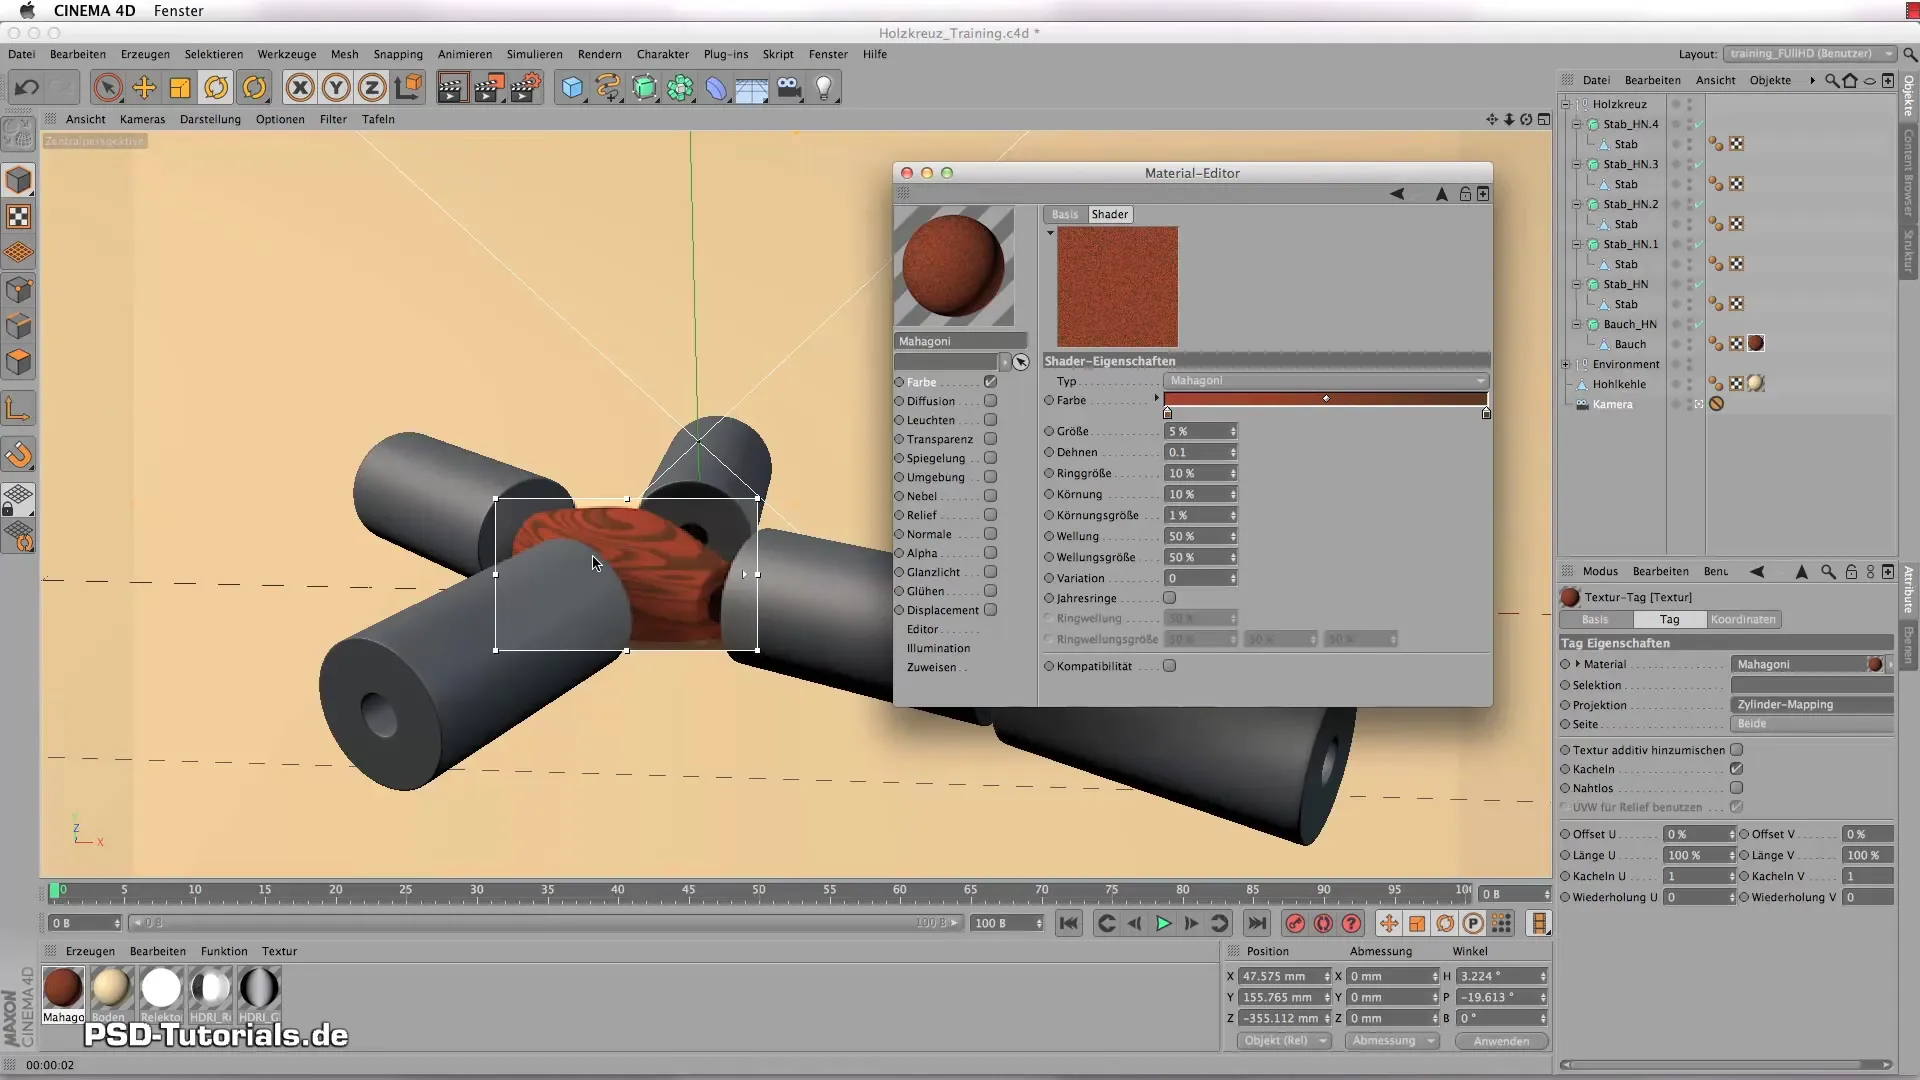
Add Gloss and Reflection
Add a slight reflection using the Fresnel effect to make the wood shader look realistic. Set the gloss values to match a polished wood surface.
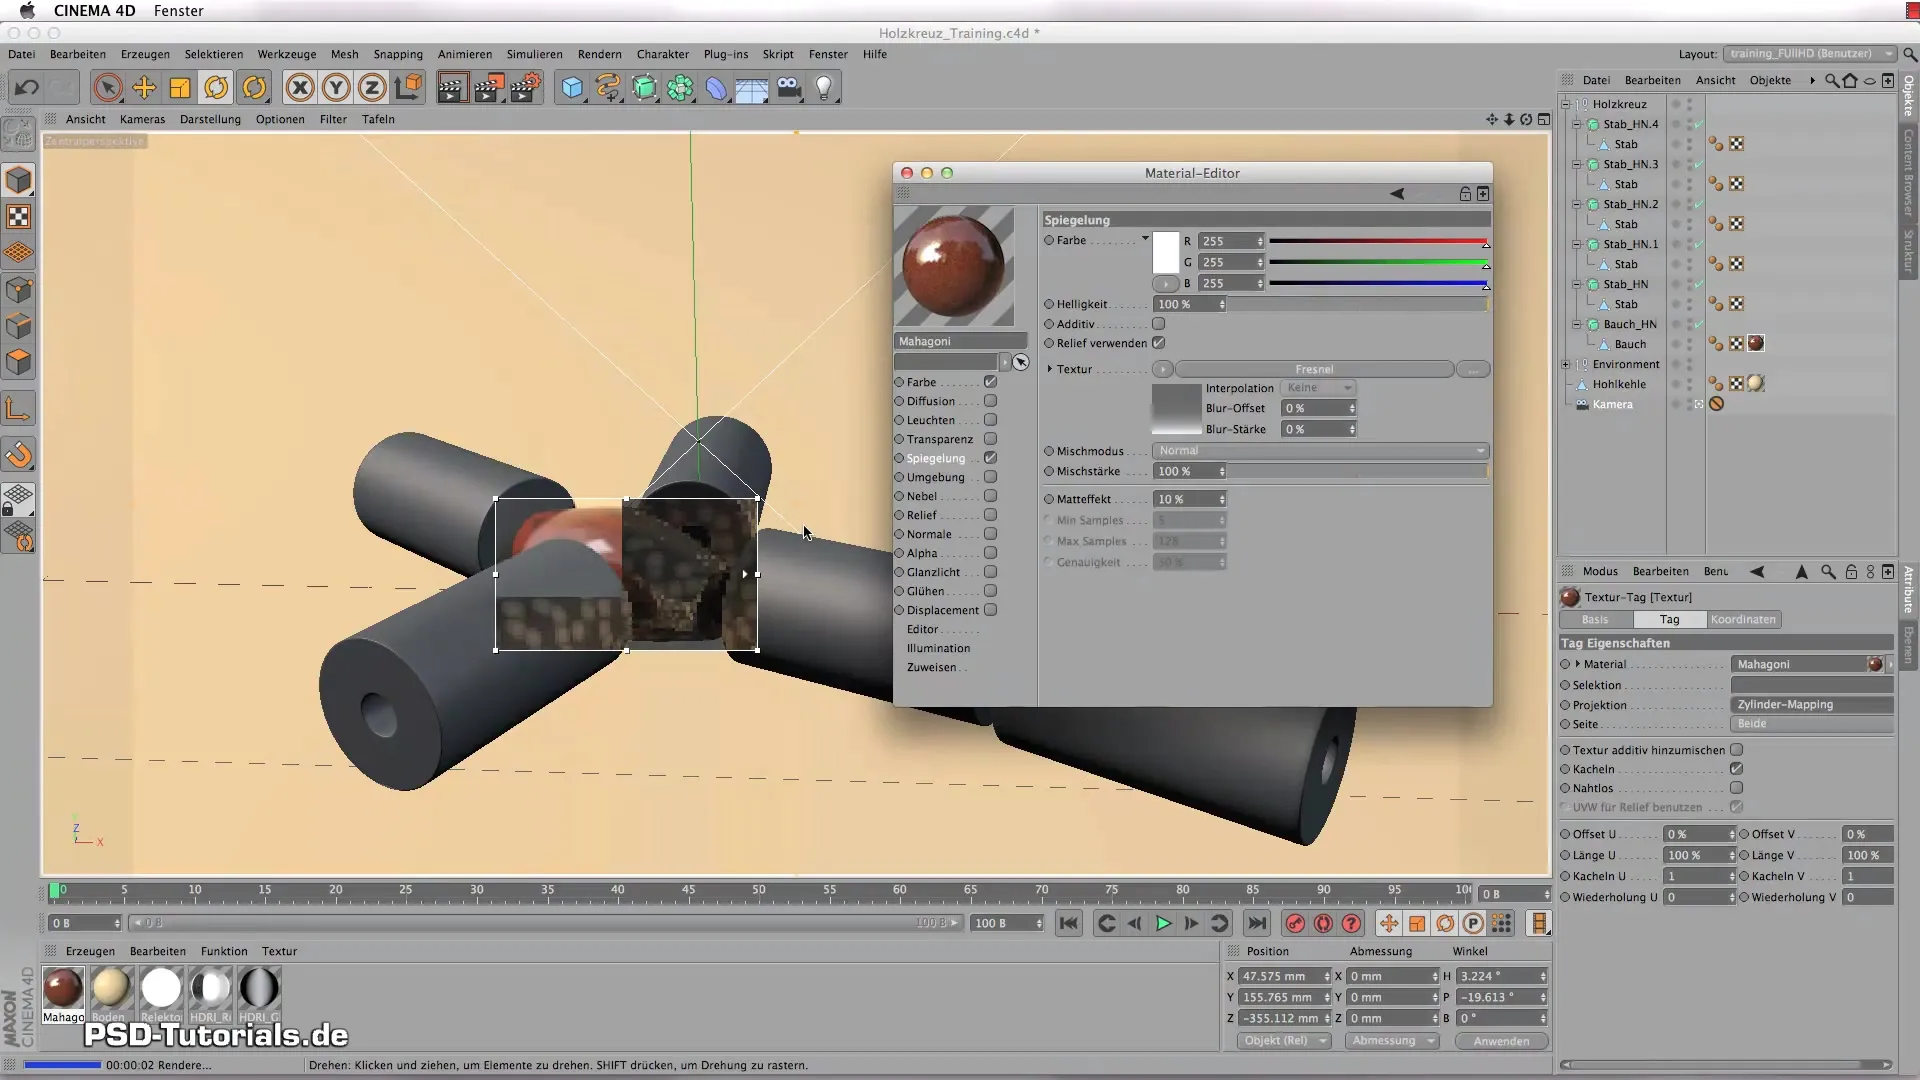
Create Pine Material
Now let’s focus on the pine wood. Create another material, select the wood shader again, and adjust the color and texture values. Make sure to set the basic parameters similar to the mahogany material but varying to ensure authenticity.
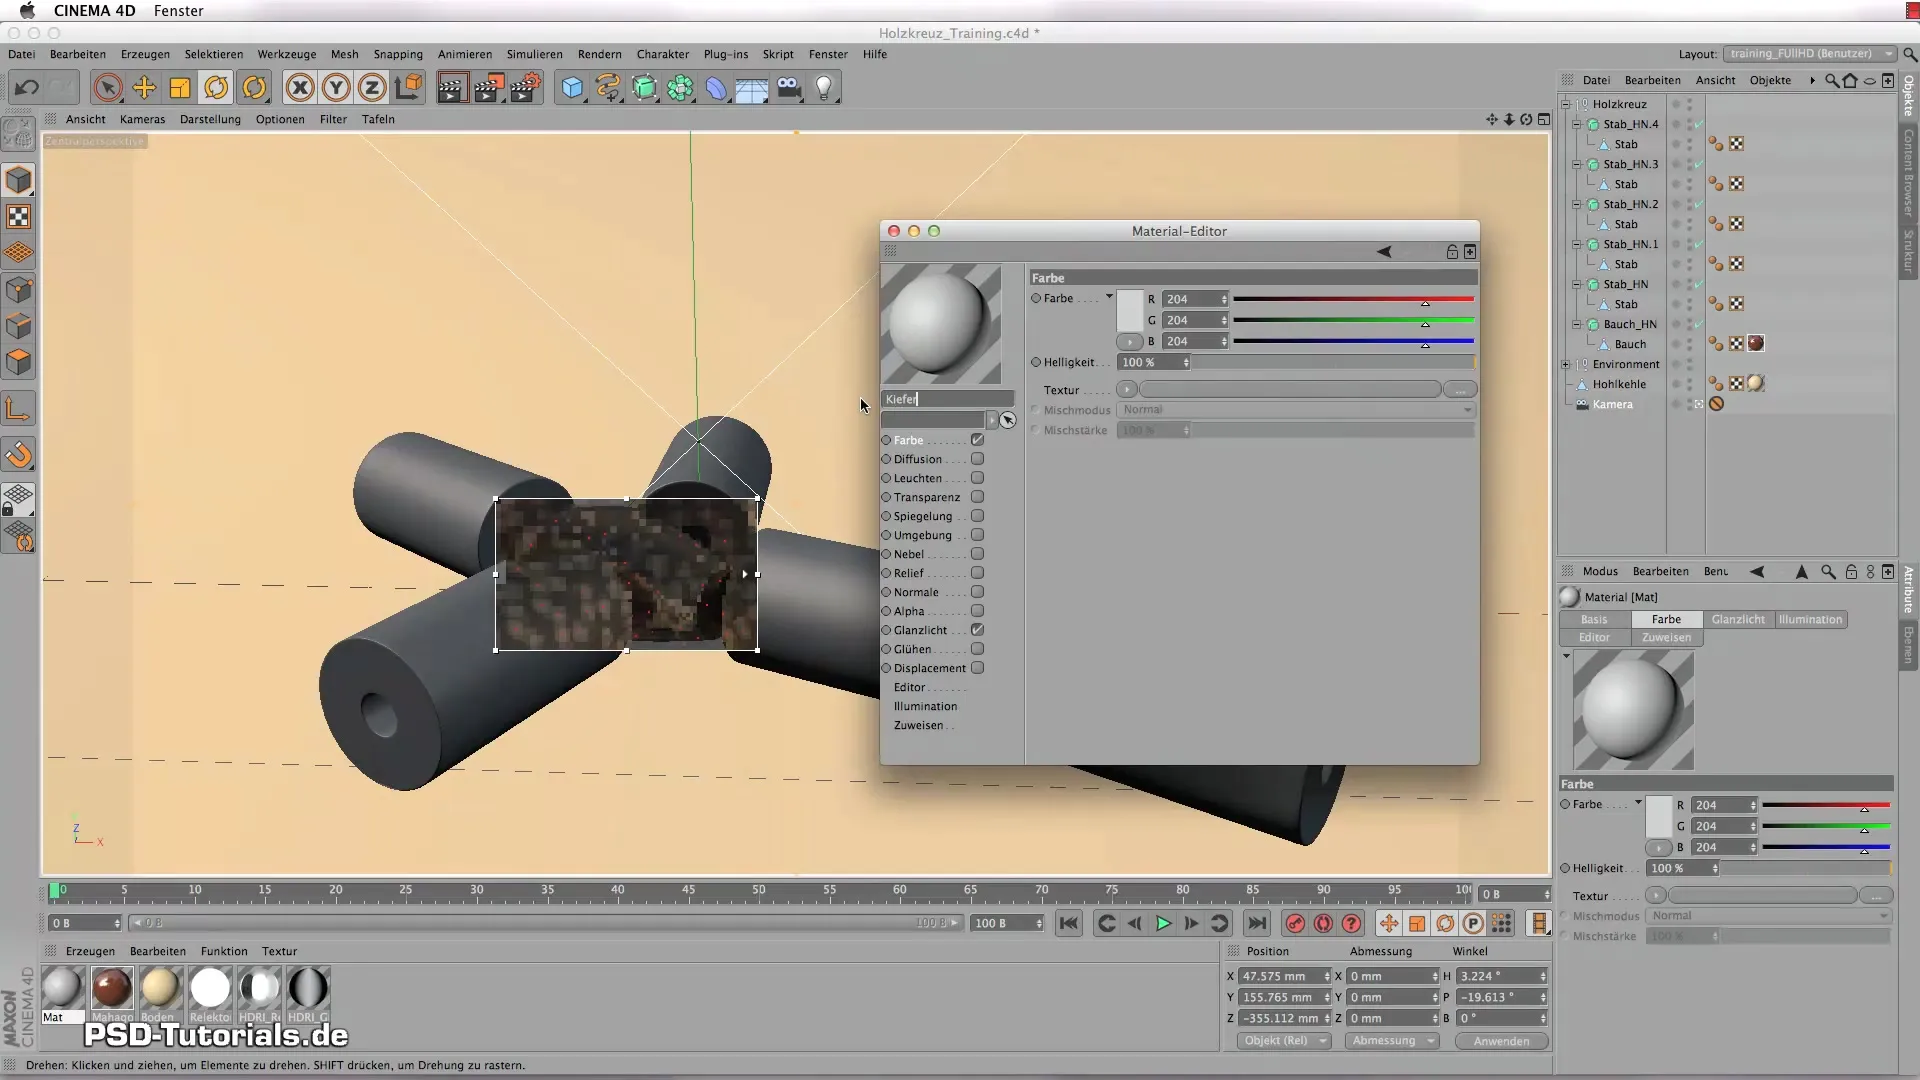
Create Texture Variations
To avoid uniformity in the pine surface, duplicate the pine material and experiment with the variations in the wood shader. Here you can play with the ring sizes and texture parameters.
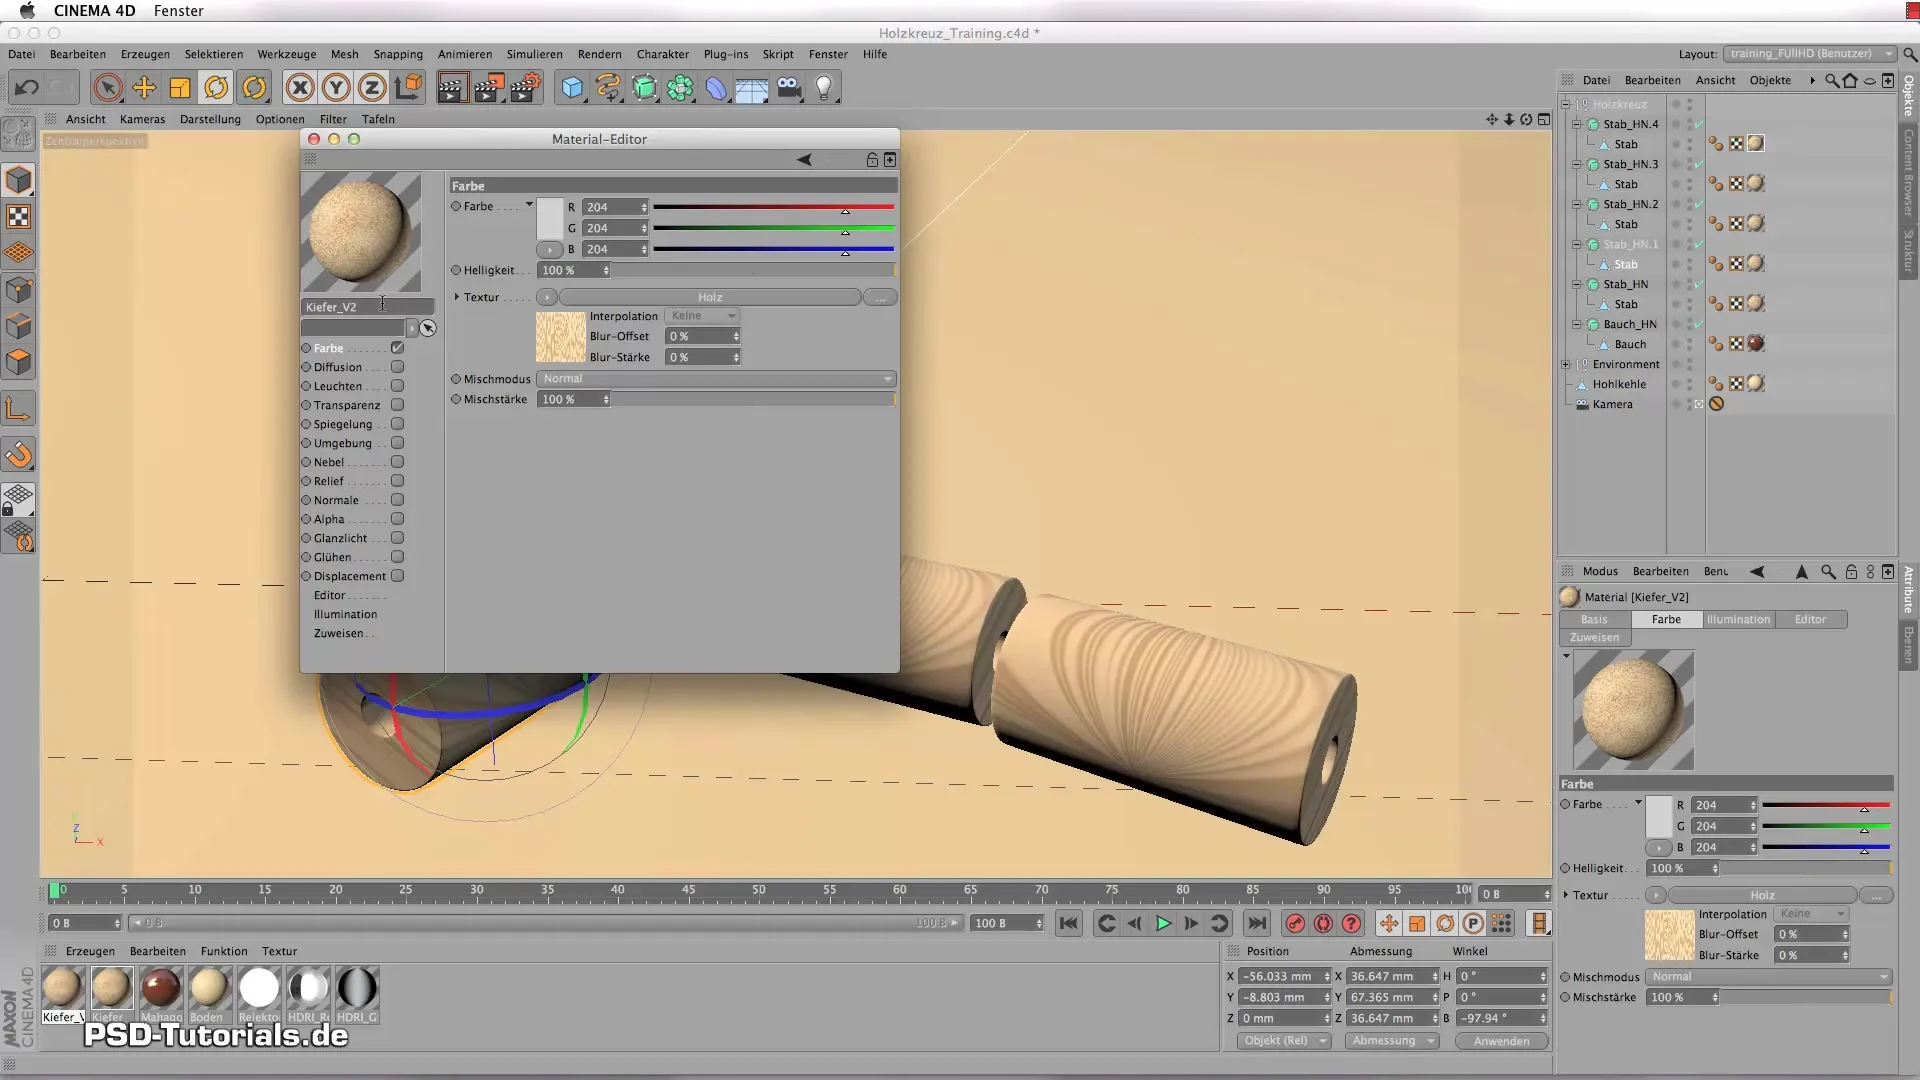
Make Final Adjustments
Rotate the textures slightly to create more variability. Set the final edges and check the visualization in the interactive renderer to see the results of the adjustments. Ensure that the similarity in the wood structures is minimal and interesting variations are visible.
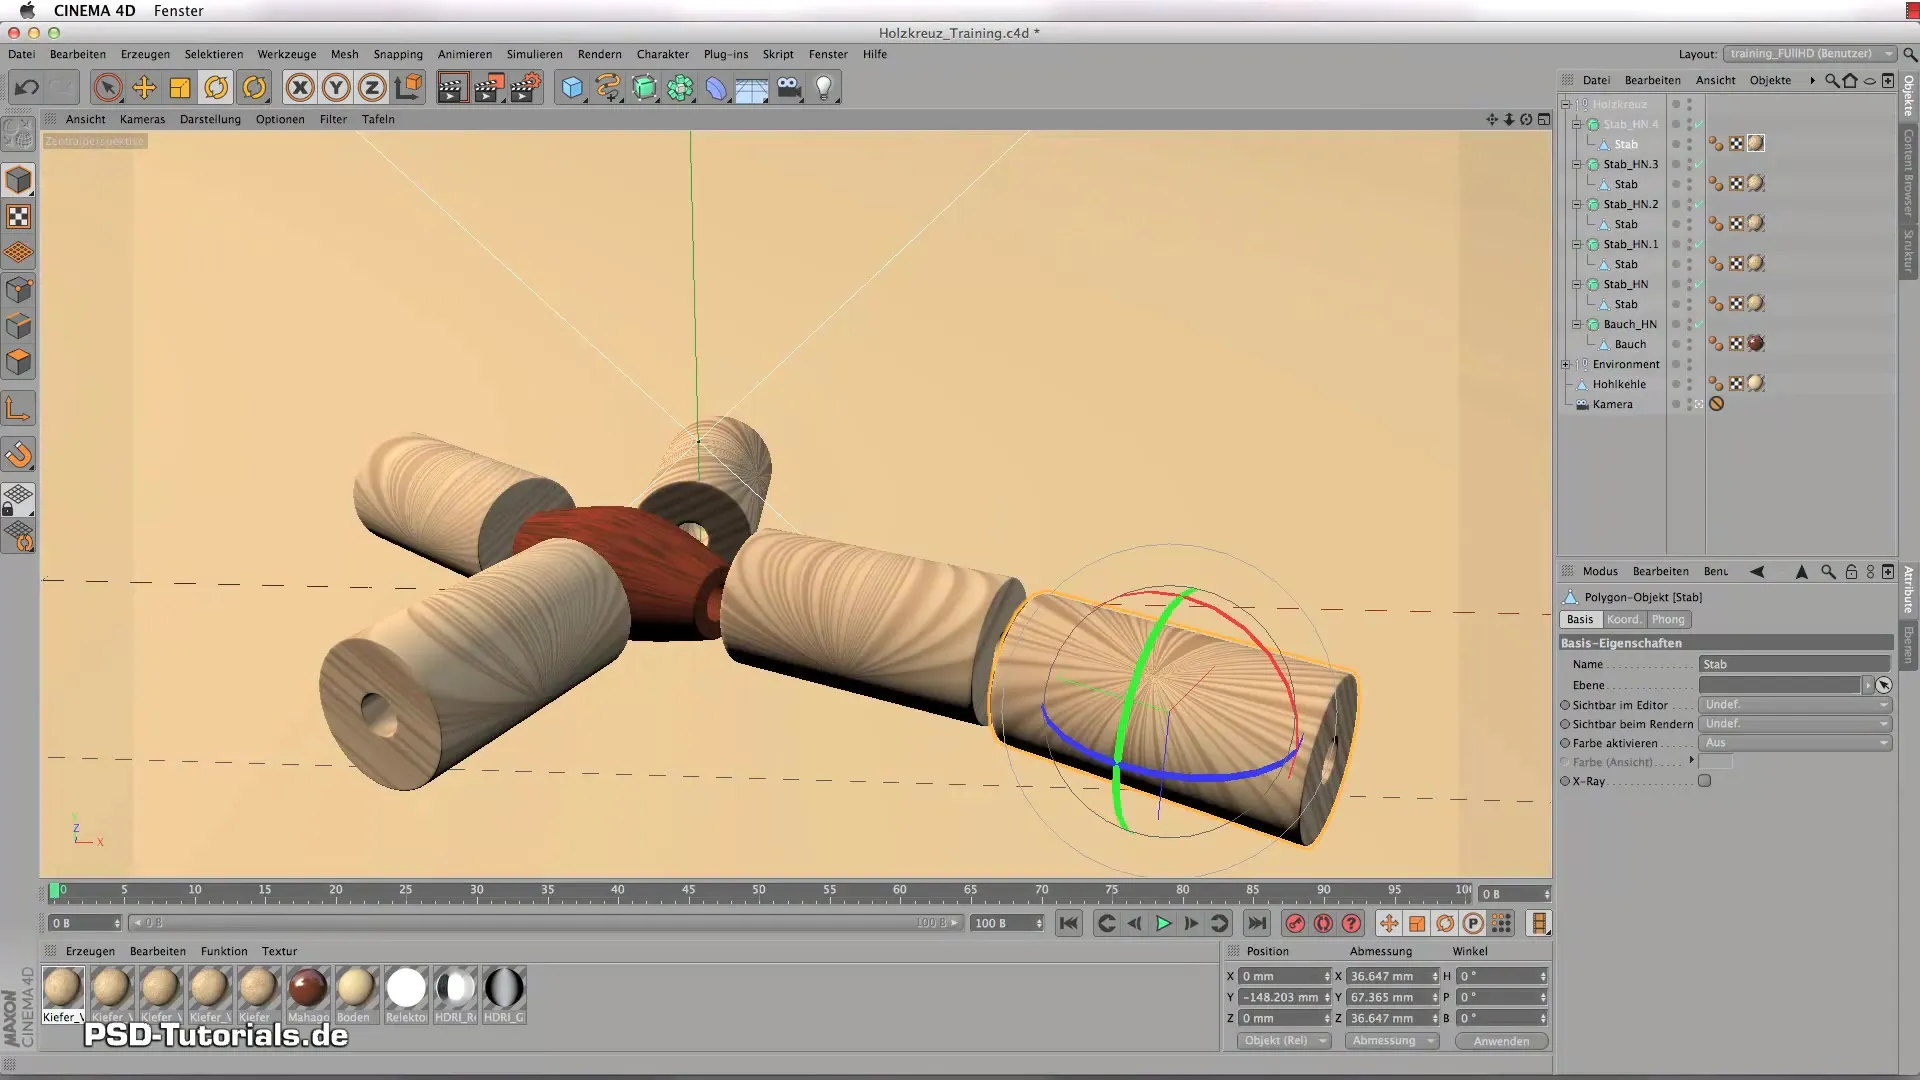
Summary – Creating Wood Shader in CINEMA 4D: Step-by-Step Guide to Material Creation
Creating wood materials in CINEMA 4D can be not only entertaining but also extremely satisfying. With the right settings, you can achieve impressive effects that enhance your models.
Frequently Asked Questions
How do I create a wood material in CINEMA 4D?You can select and adjust the wood shader in the color channel.
What is the difference between mahogany and pine wood?Mahogany is darker and has a finer texture, while pine is lighter and coarser.
How can I adjust the wood texture?You can easily adjust parameters like stretch, ring size, and grain in the wood shader.
What is the Fresnel effect?The Fresnel effect creates realistic reflections based on the viewing angle.
Can I duplicate materials?Yes, duplicating materials allows you to experiment with variations easily.
