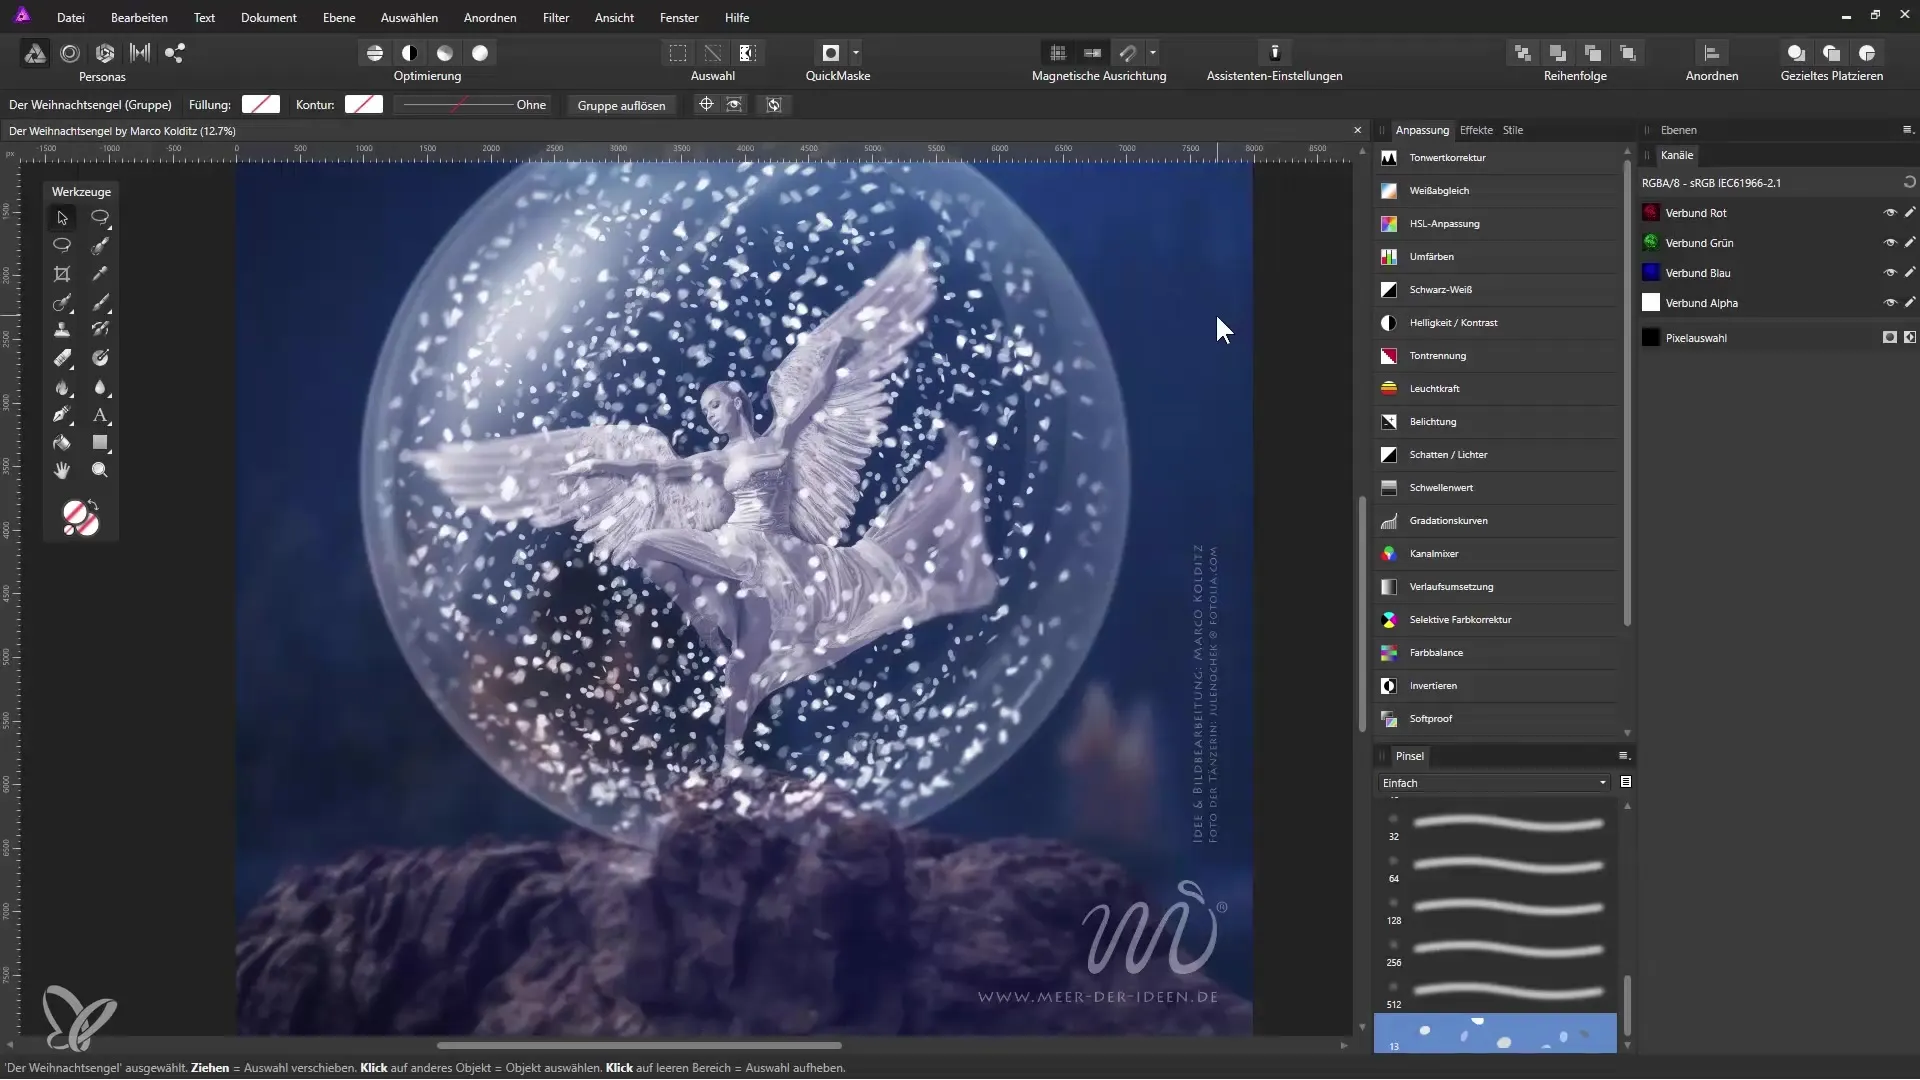
The digital image editing offers countless opportunities to merge creativity and technical skills. In this tutorial, you will focus on composing a Christmas Angel, specifically designing a dancer with a metallic look in Affinity Photo. The path to your goal involves various editing steps that will clearly demonstrate how to work with this powerful tool.
Main insights
Throughout this tutorial, you will learn how to prepare a dancer for a composing, convert her into an appealing black-and-white image, and create a metallic look that makes the figure appear like a statue. You will find out how to work effectively with adjustment layers, selection tools, and other features of Affinity Photo to achieve impressive results.
Step-by-Step Guide
Customize the User Interface
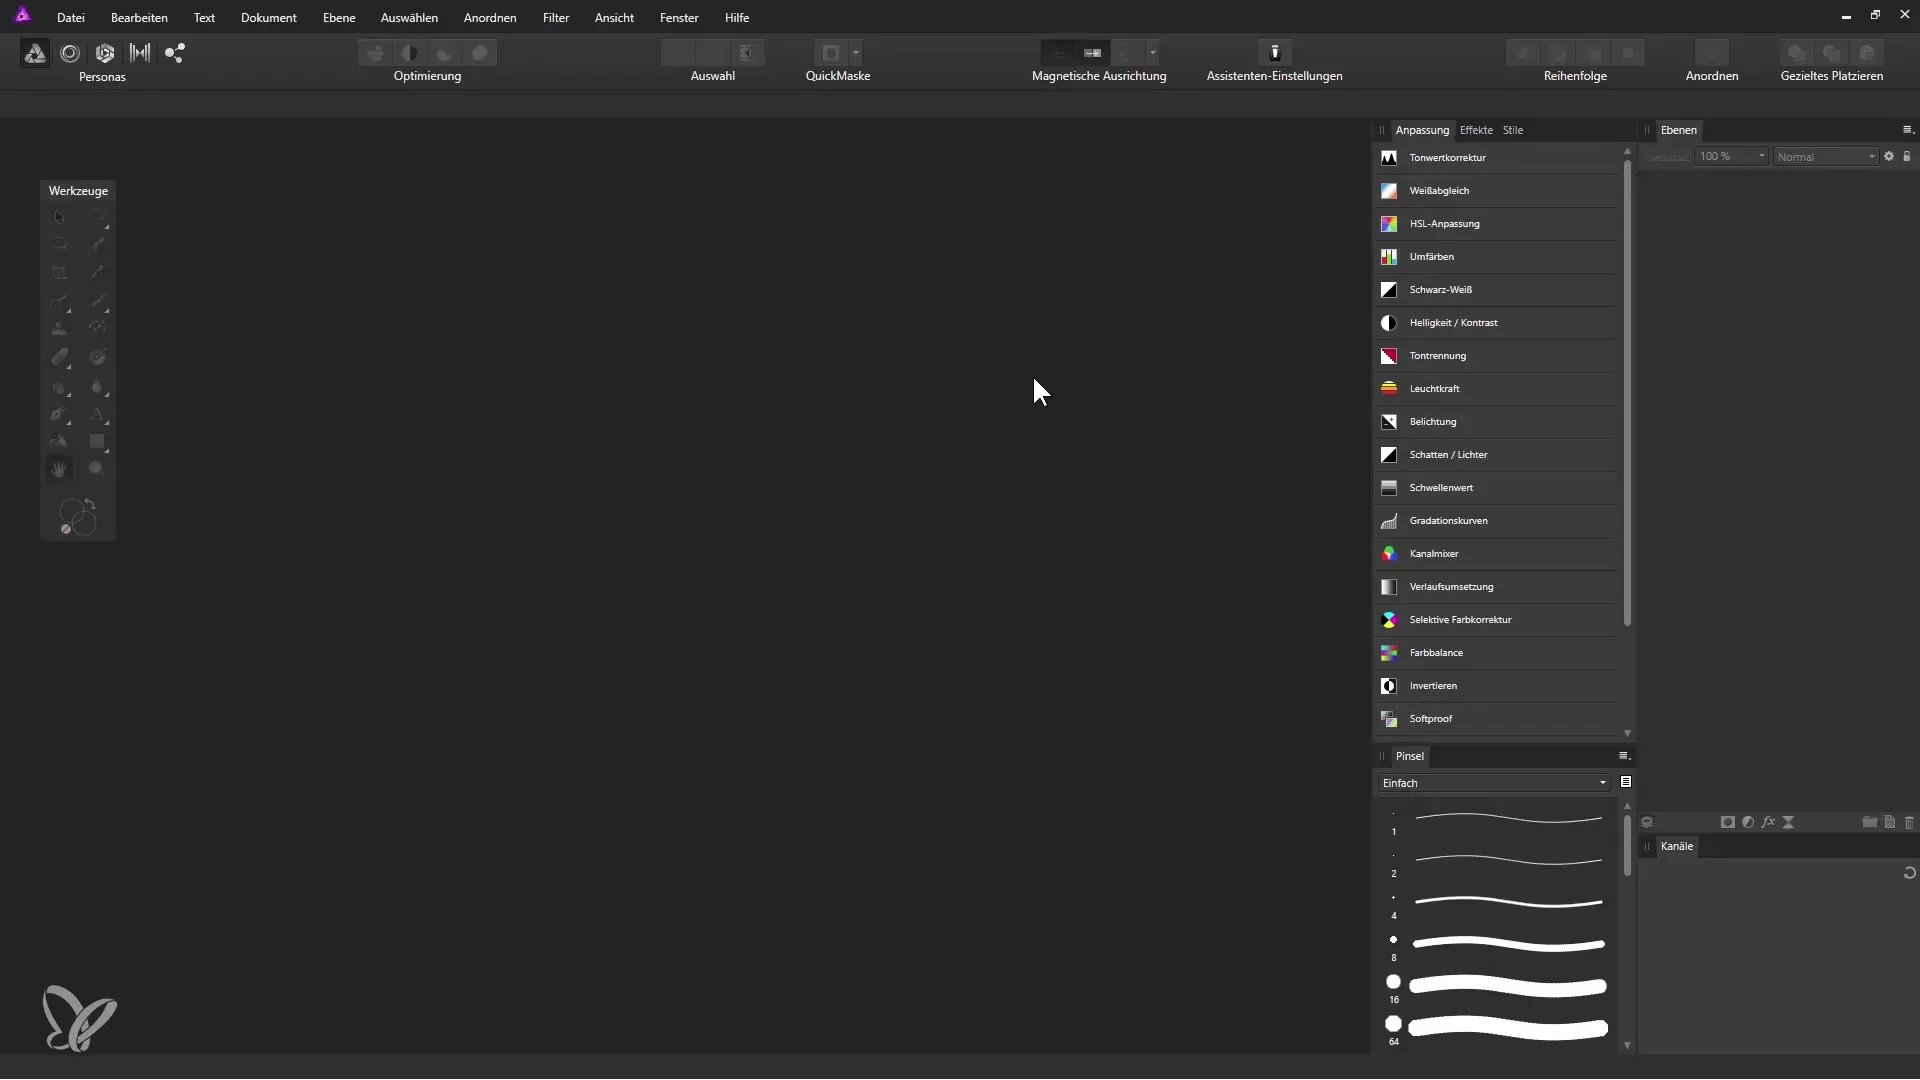
Before you start composing, it is important to set up the user interface of Affinity Photo to suit your working style. You can customize the toolbar to dock on the left side or float freely. To use monochrome icons, go to the preferences under the "Edit" menu and enable "monochrome icons". This helps you keep the tools clearer and avoid color distractions.
Import the Dancer's Image
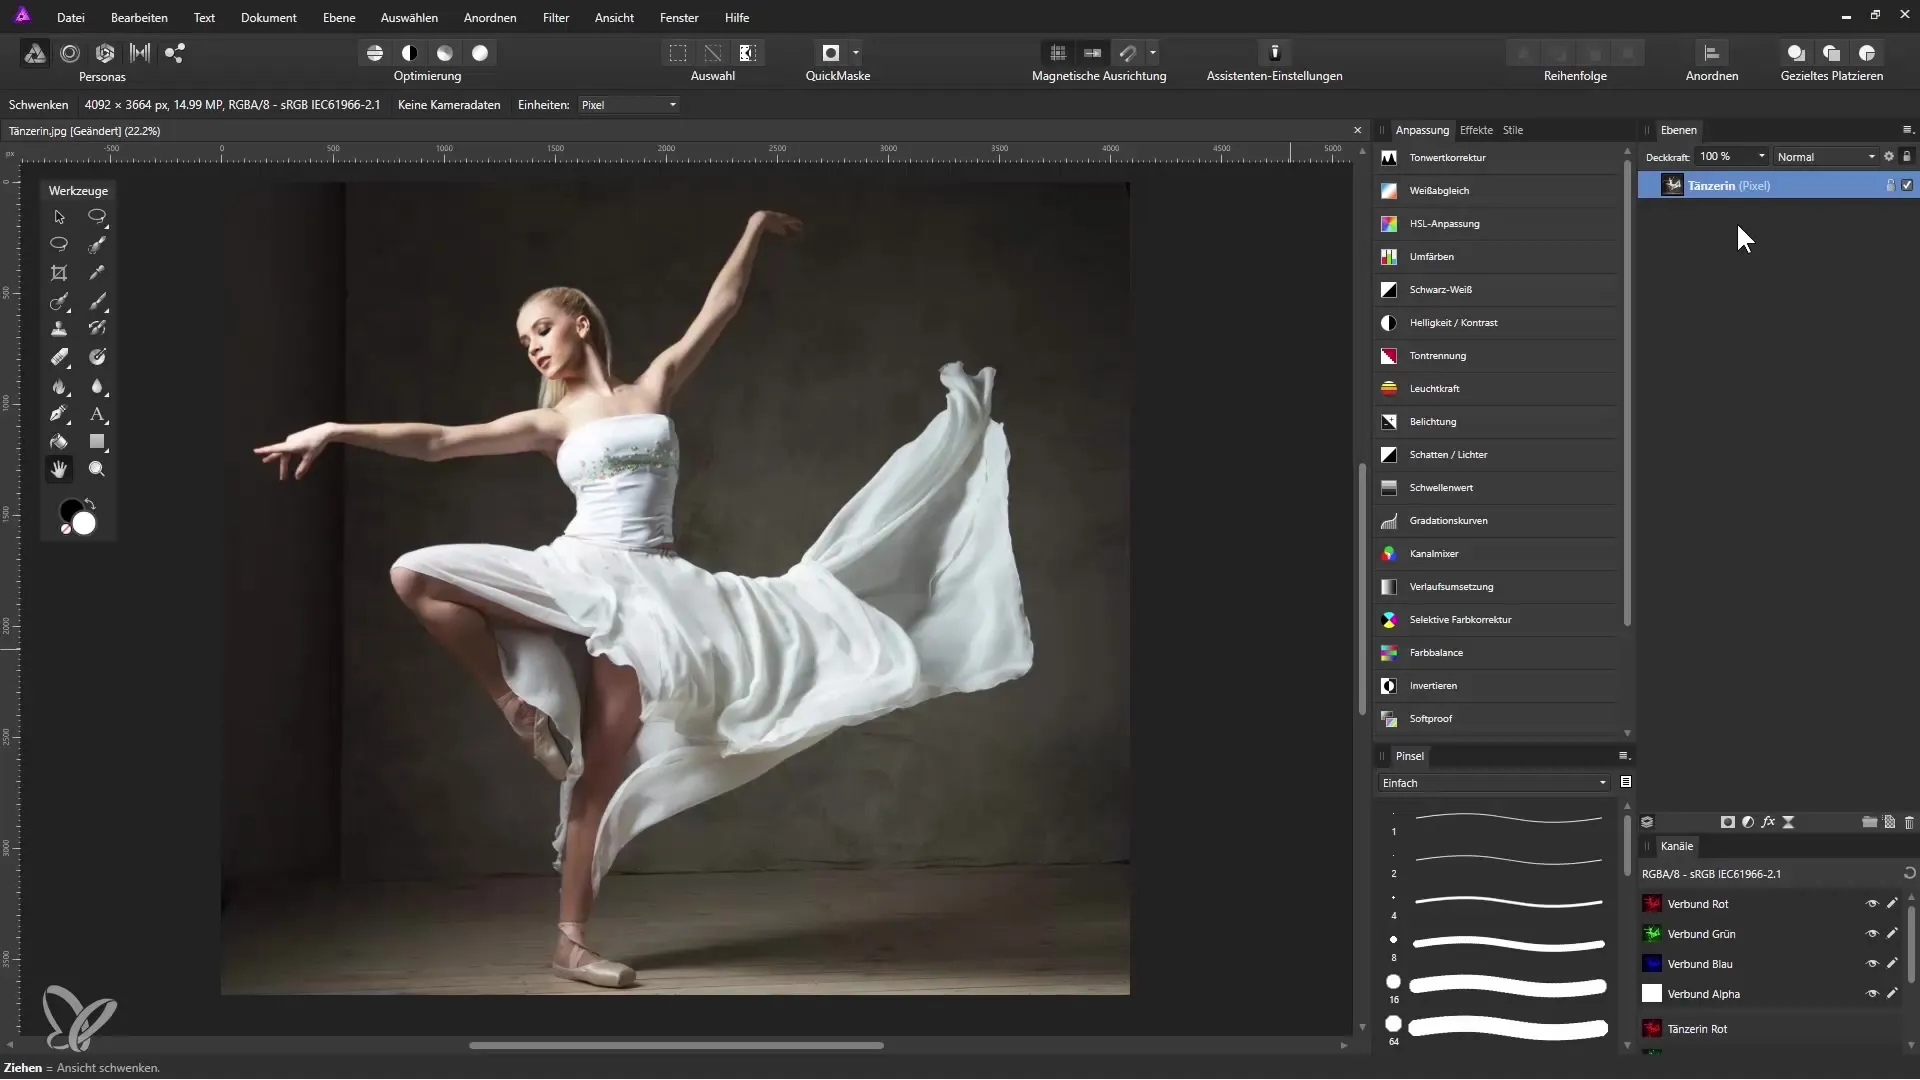
To start your work, you need to open the dancer's image in Affinity Photo. You can either search for the image by selecting "Open File" from your hard drive or simply drag it from the Windows Explorer into the program. After importing the image, it is important to rename it properly by clicking on the background and renaming it to "Dancer".
Black-and-White Conversion
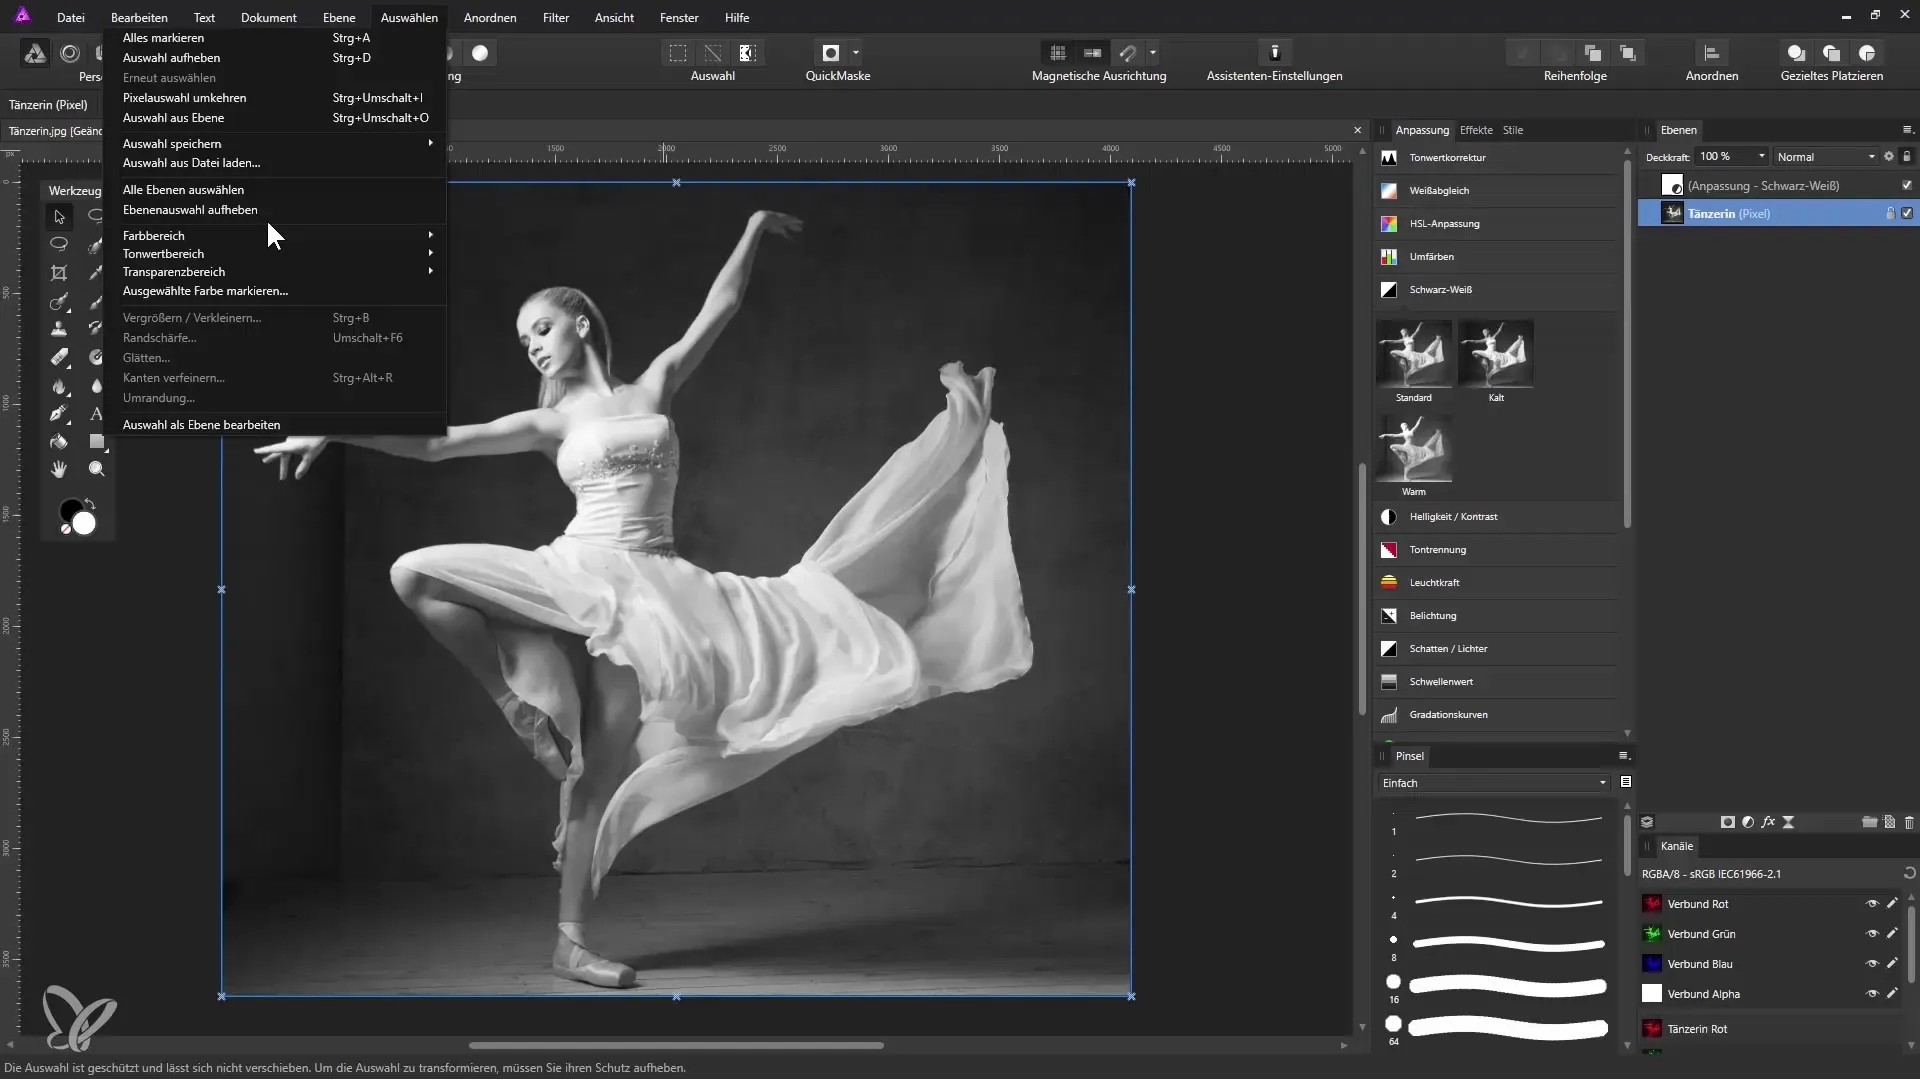
The next step involves converting the image to black and white. Go to the "Adjustment" panel and select "Black and White". A dialog box will open where you can adjust the sliders for the colors to achieve the desired black-and-white image. Be sure to adjust the settings to slightly reduce the yellows and accordingly adjust the greens and blues.
Metallic Look for Skin and Dress
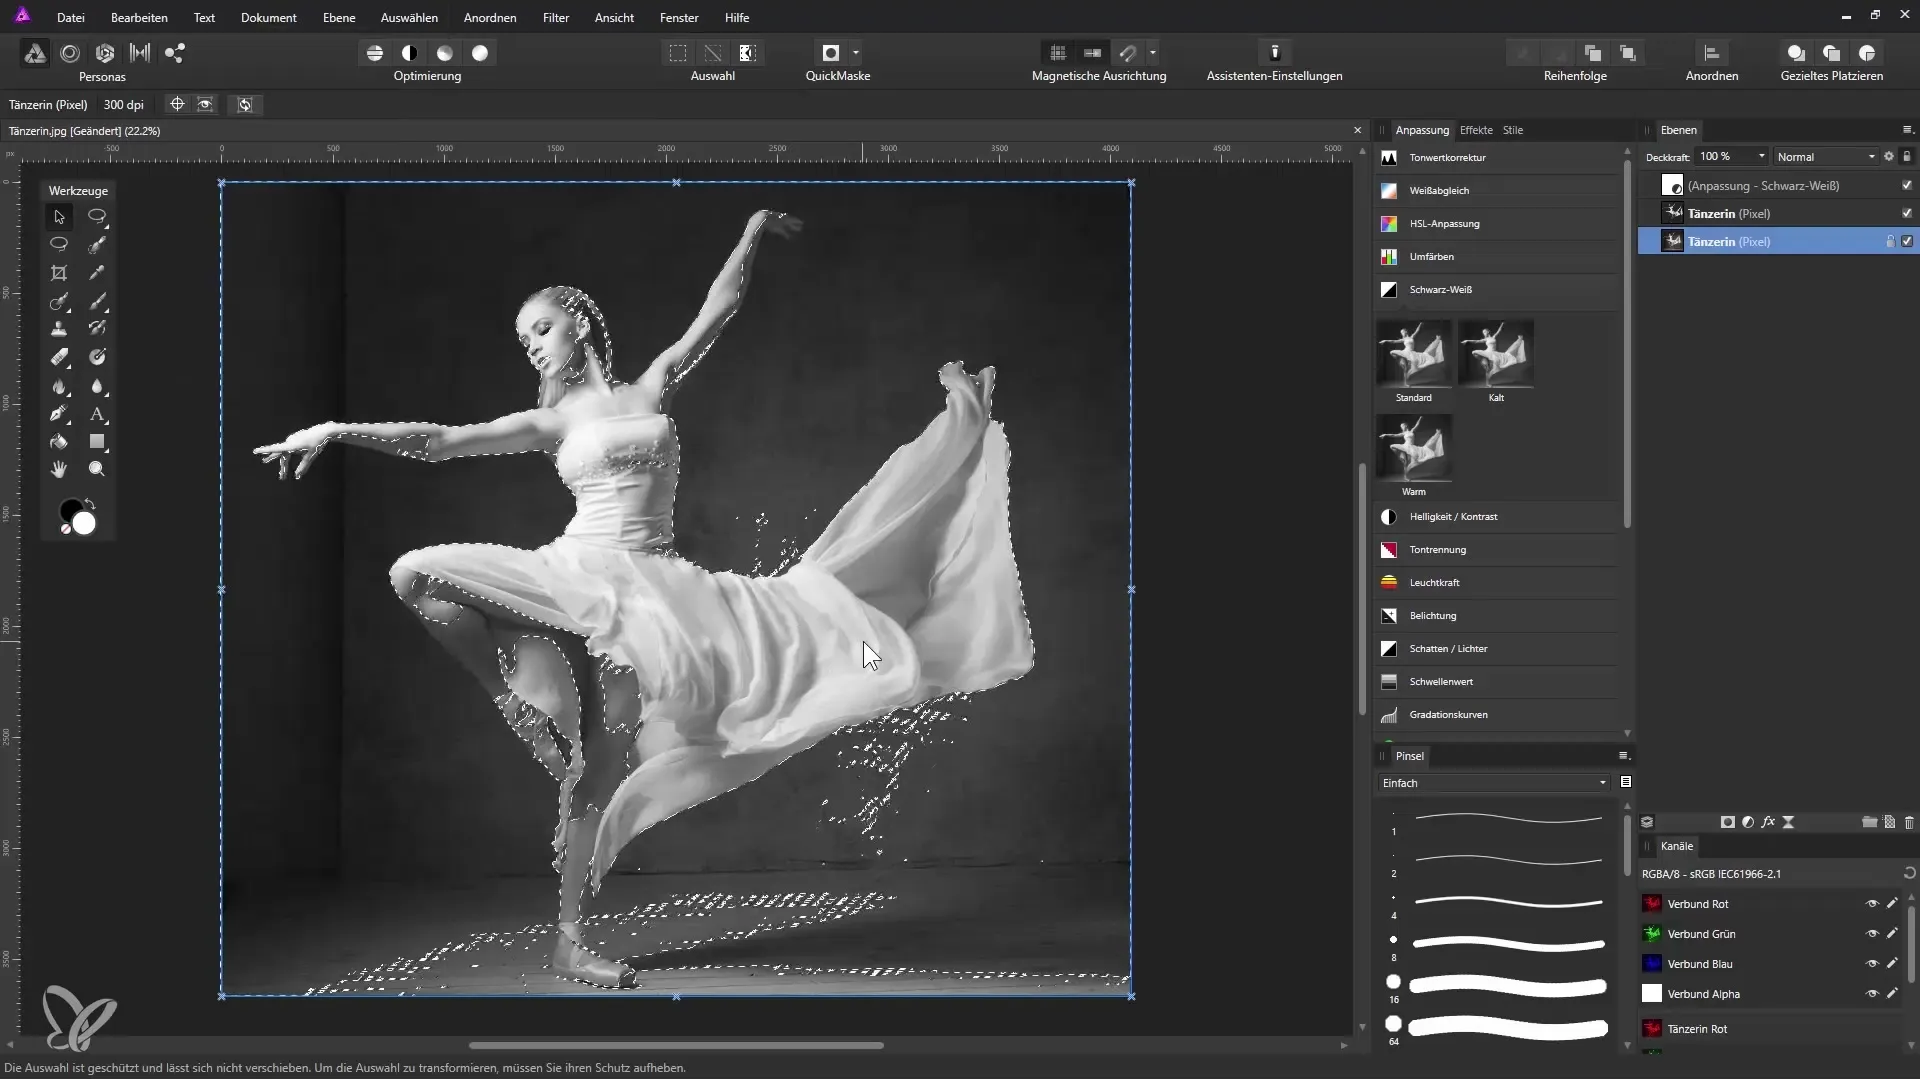
To give the dancer a metallic look, switch back to the "Dancer" layer and use the "Select" menu followed by "Color Range". First, select the highlights of the image. Only the bright areas should be visible. With the selection active, press Ctrl + J to pull this onto a new layer.
Select Dark Areas
In the next step, you want to select the dark areas. Again, go to "Select" and then "Color Range" and this time select the shadows. Here, too, simply press Ctrl + J to pull this onto a separate layer.
Make Adjustments with Levels Correction
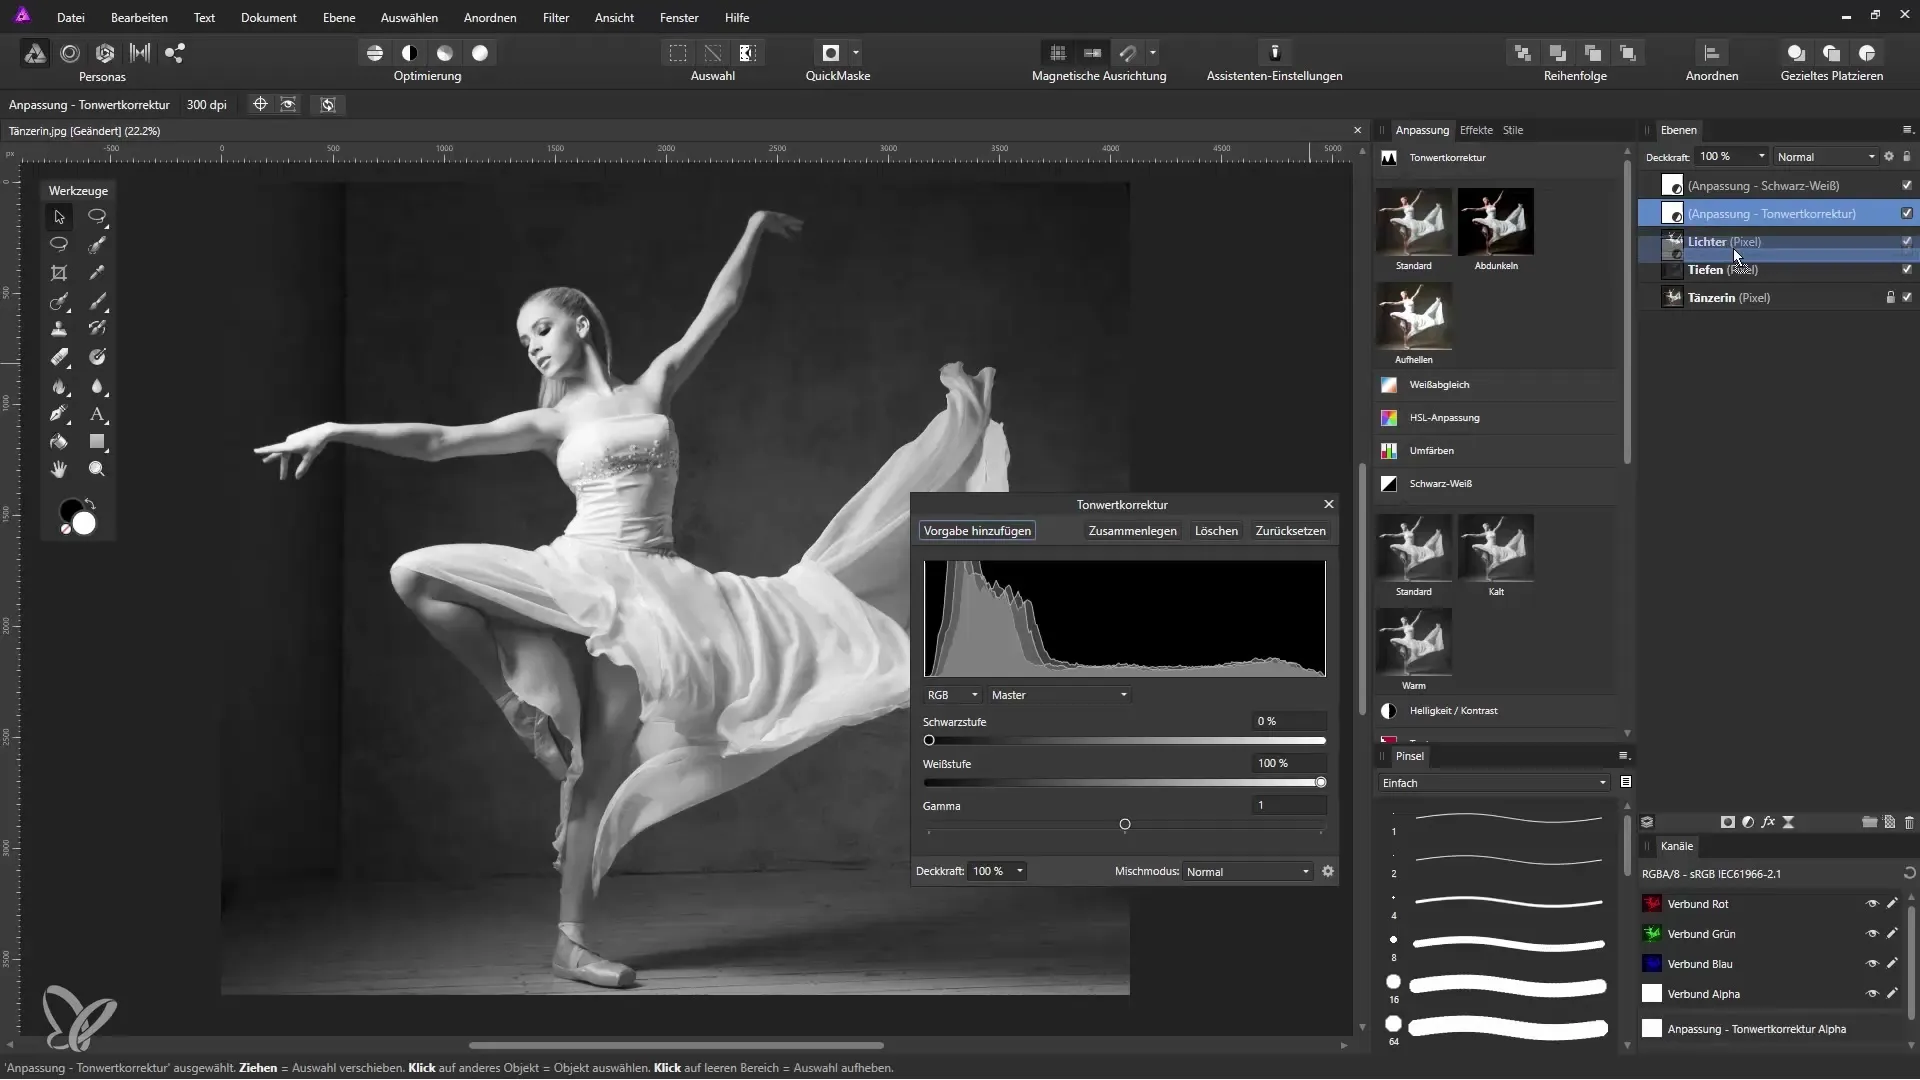
Now we come to the adjustments to create the metallic effect. Select the layer with the bright areas and add a "Levels Adjustment". Here you can darken the dark areas to intensify the metallic look. Move the sliders as needed and observe the live effect.
Finalization and Export of the Image
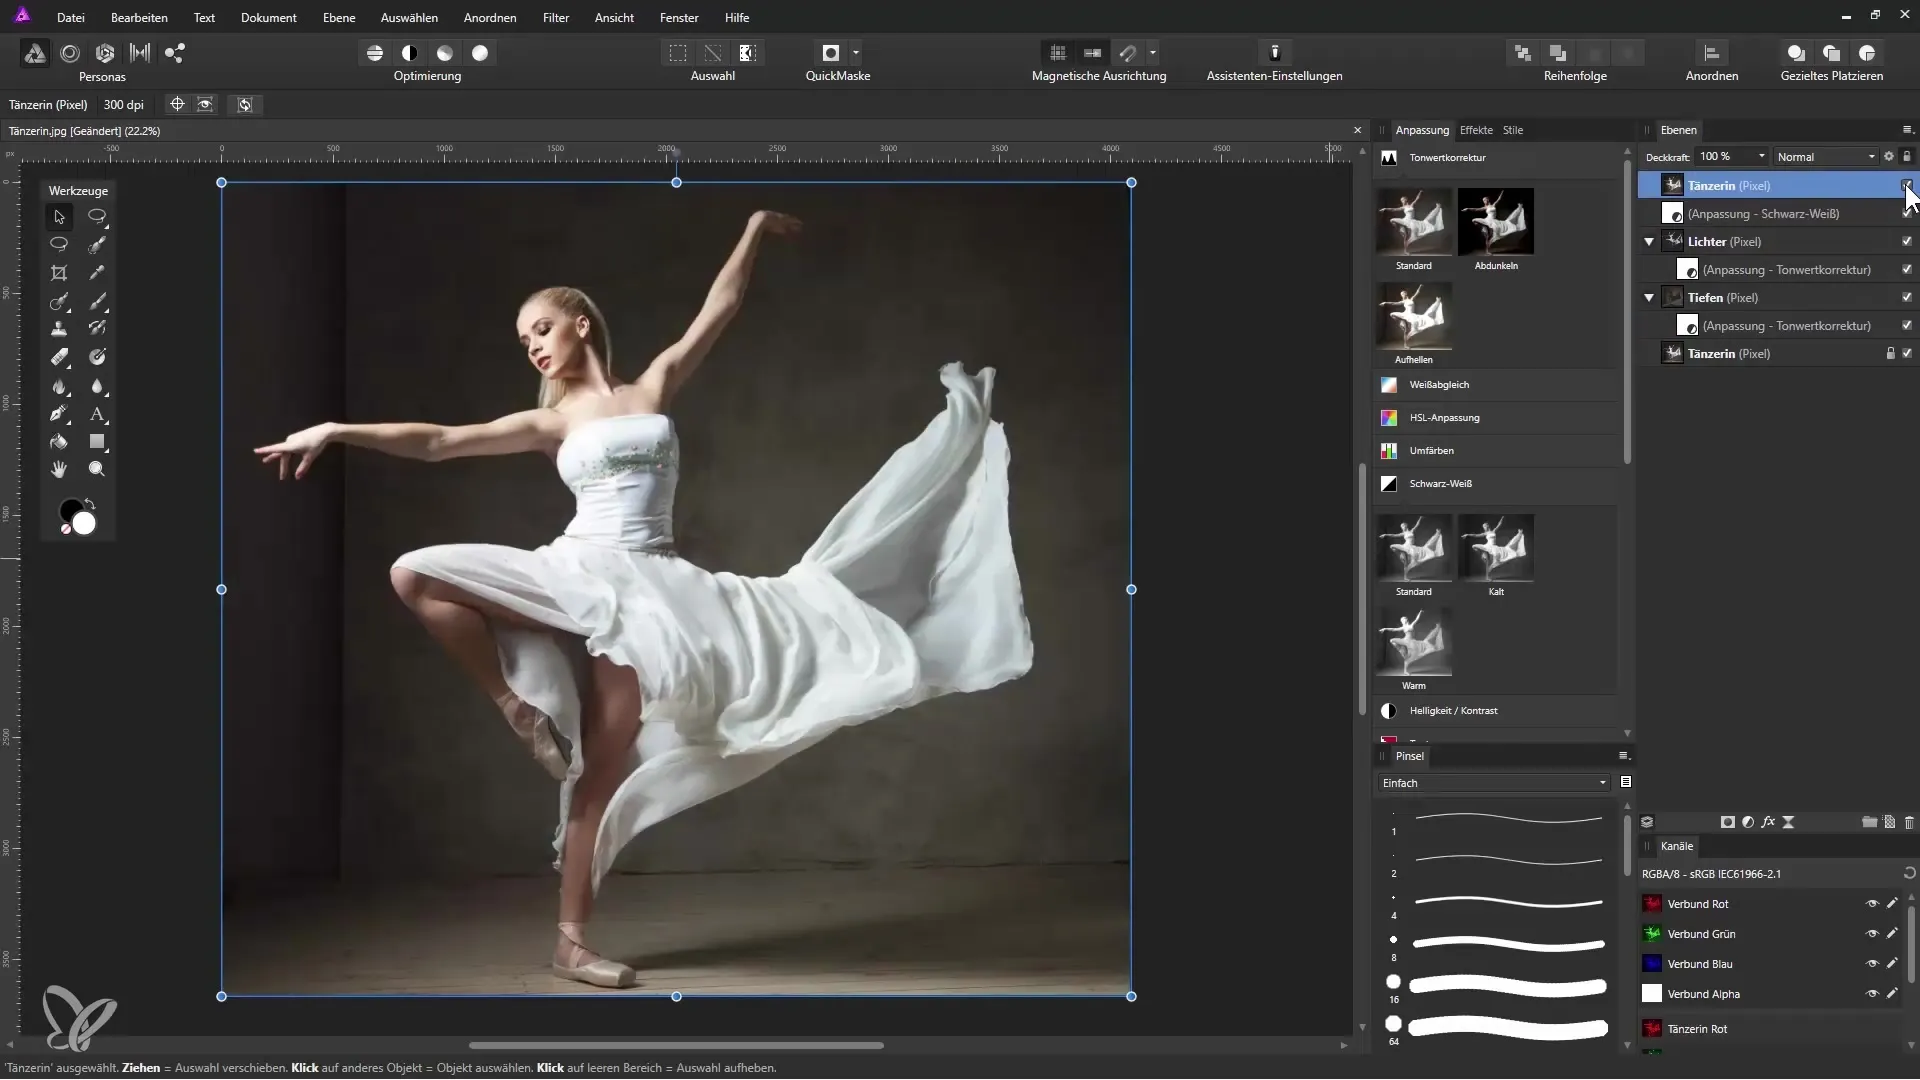
Once you are satisfied with the metallic look, the original image can be duplicated to represent the previous state for comparison. Pull the duplicated layer up to demonstrate the differences between the original and your edited image.
Summary – Christmas Angel Composing in Affinity Photo: Metallic Look for the Dancer
In this tutorial, you have learned how to prepare a dancer for a Christmas Angel composing in Affinity Photo and give her an impressive metallic look. By working deliberately with adjustment layers and levels corrections, you have deepened your knowledge of digital image editing and discovered some of the versatile capabilities of Affinity Photo.
Frequently Asked Questions
What is the first step in the tutorial?The first step is to customize the user interface of Affinity Photo.
How can I import the dancer into Affinity Photo?You can import the image either by using "Open File" or by dragging it from the Windows Explorer.
How do I make the image black and white?Open the "Adjustment" panel and select "Black and White".
What do I do to give the dancer a metallic look?You need to select the bright and dark areas using "Color Range" and then make adjustments through "Levels Correction".
How can I export the edited image?You can duplicate the image and compare the changes to the original layer.
