You are at the end of your creative journey and want to add the finishing touches to your Christmas compositing "The Christmas Angel"? In this guide, I will take you through the final steps of compositing in Affinity Photo. Here you will learn how to add the background, adjust the color mood, and finally edit the last details. Get ready to take your image to the next level!
Key Insights
- Simplifying layers brings more order to your project.
- Using blur and vignettes enhances the depth of your image.
- Adjusting the colors ensures that your elements harmoniously fit together.
Step-by-Step Guide
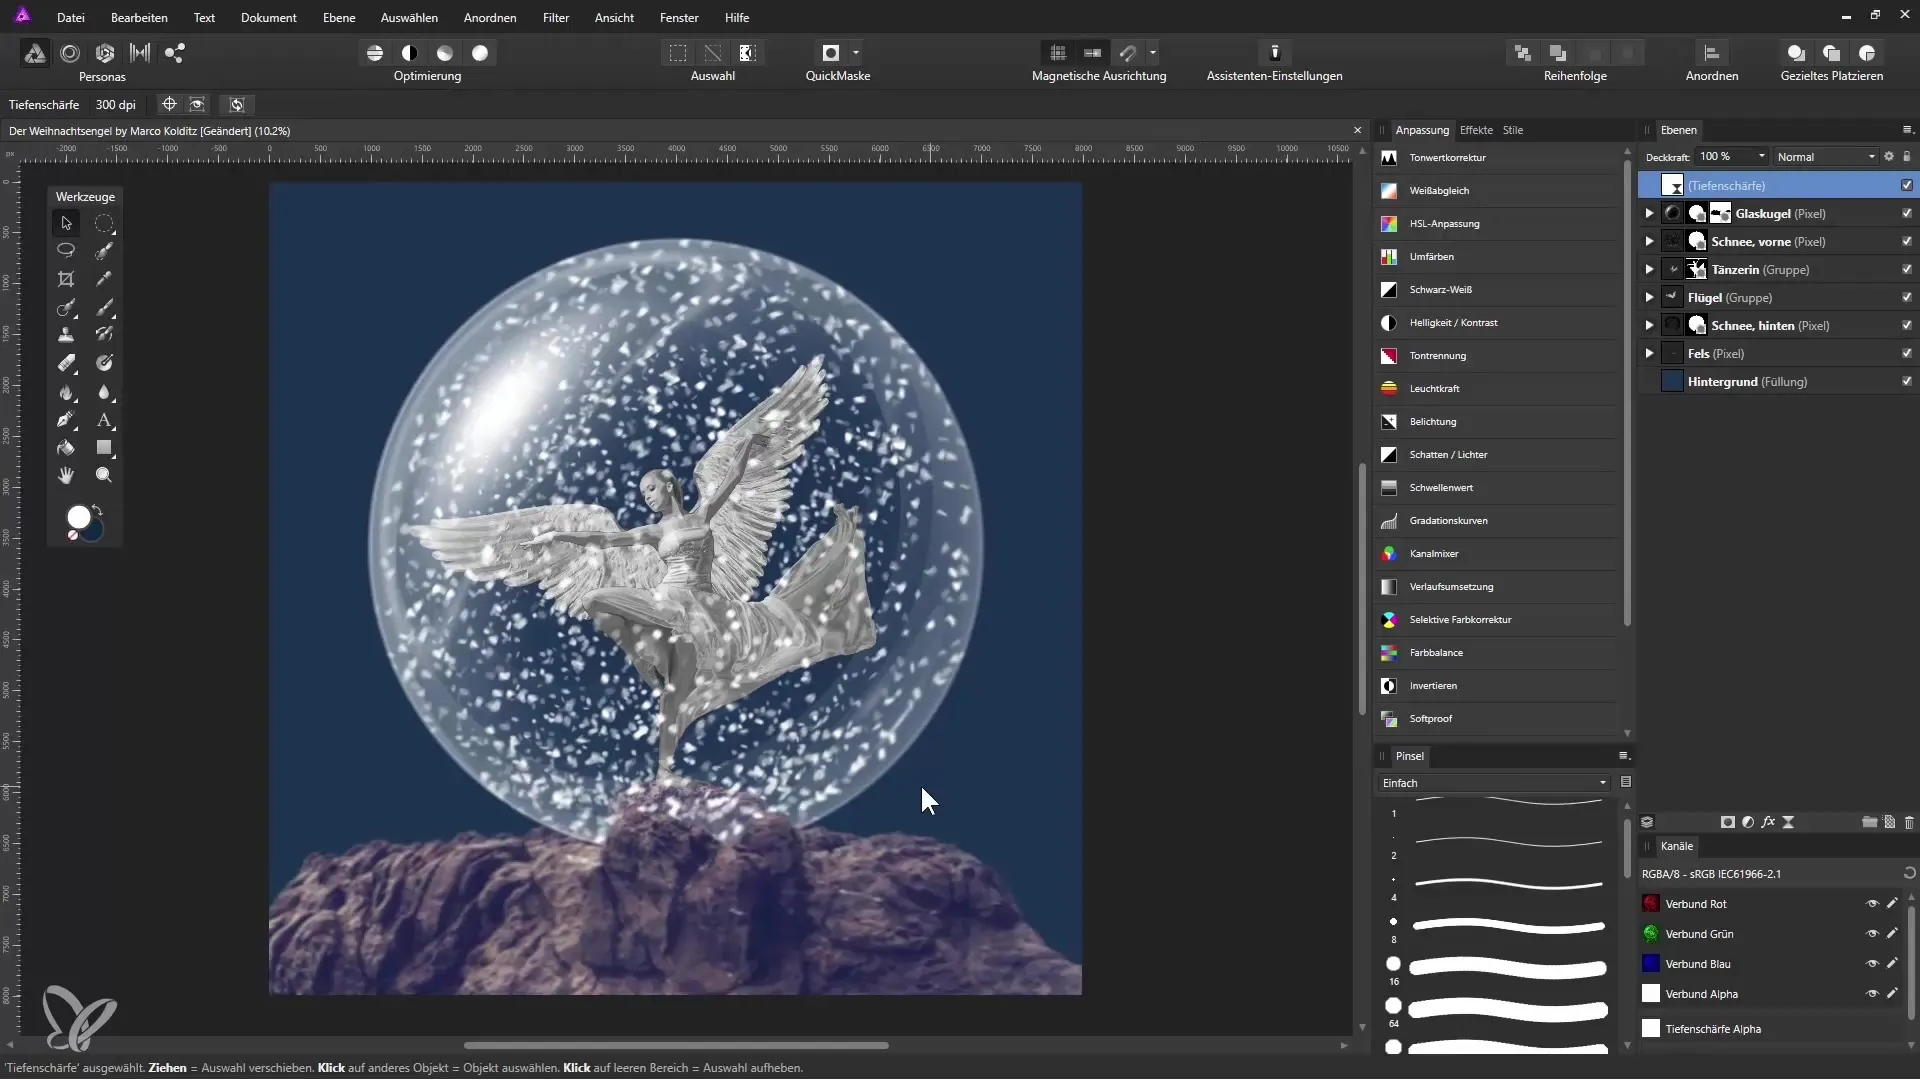
Let’s start the process by consolidating all the previously edited objects. This creates order in your layers palette. Hold down the Shift key and click on the "Depth of Field" layer as well as all the intermediate layers and groups. Then press the shortcut Control + G to group the selected layers. Double-click on the group name and rename the group to "Christmas Angel."
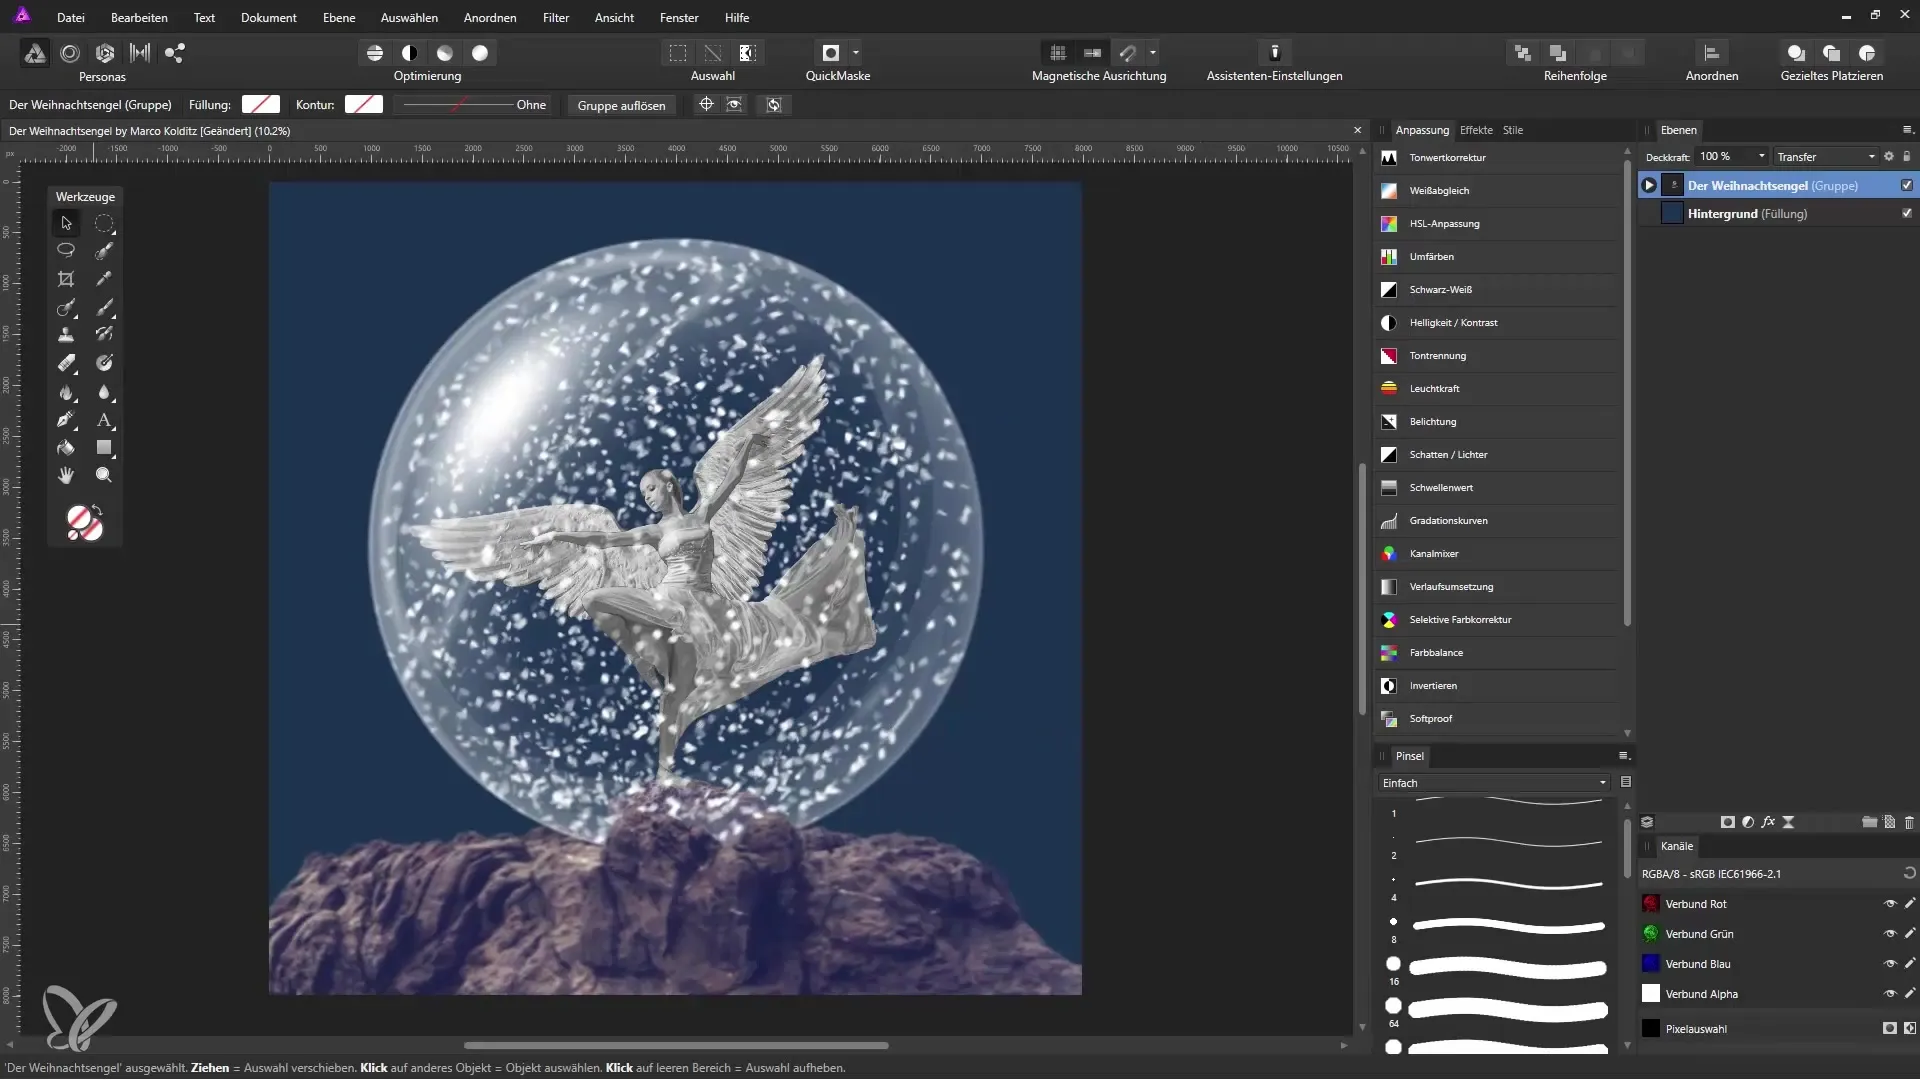
In the next step, we will add the background. We will drag the landscape image directly into Affinity Photo. Make sure this image is on top, as it should lie over the entire compositing. Next, you can scale the image and position it across the entire picture as desired. Change the layer mode from "Normal" to "Soft Light" to create a harmonious connection between the background and the foreground. This adjustment will significantly influence your color mood in the image.
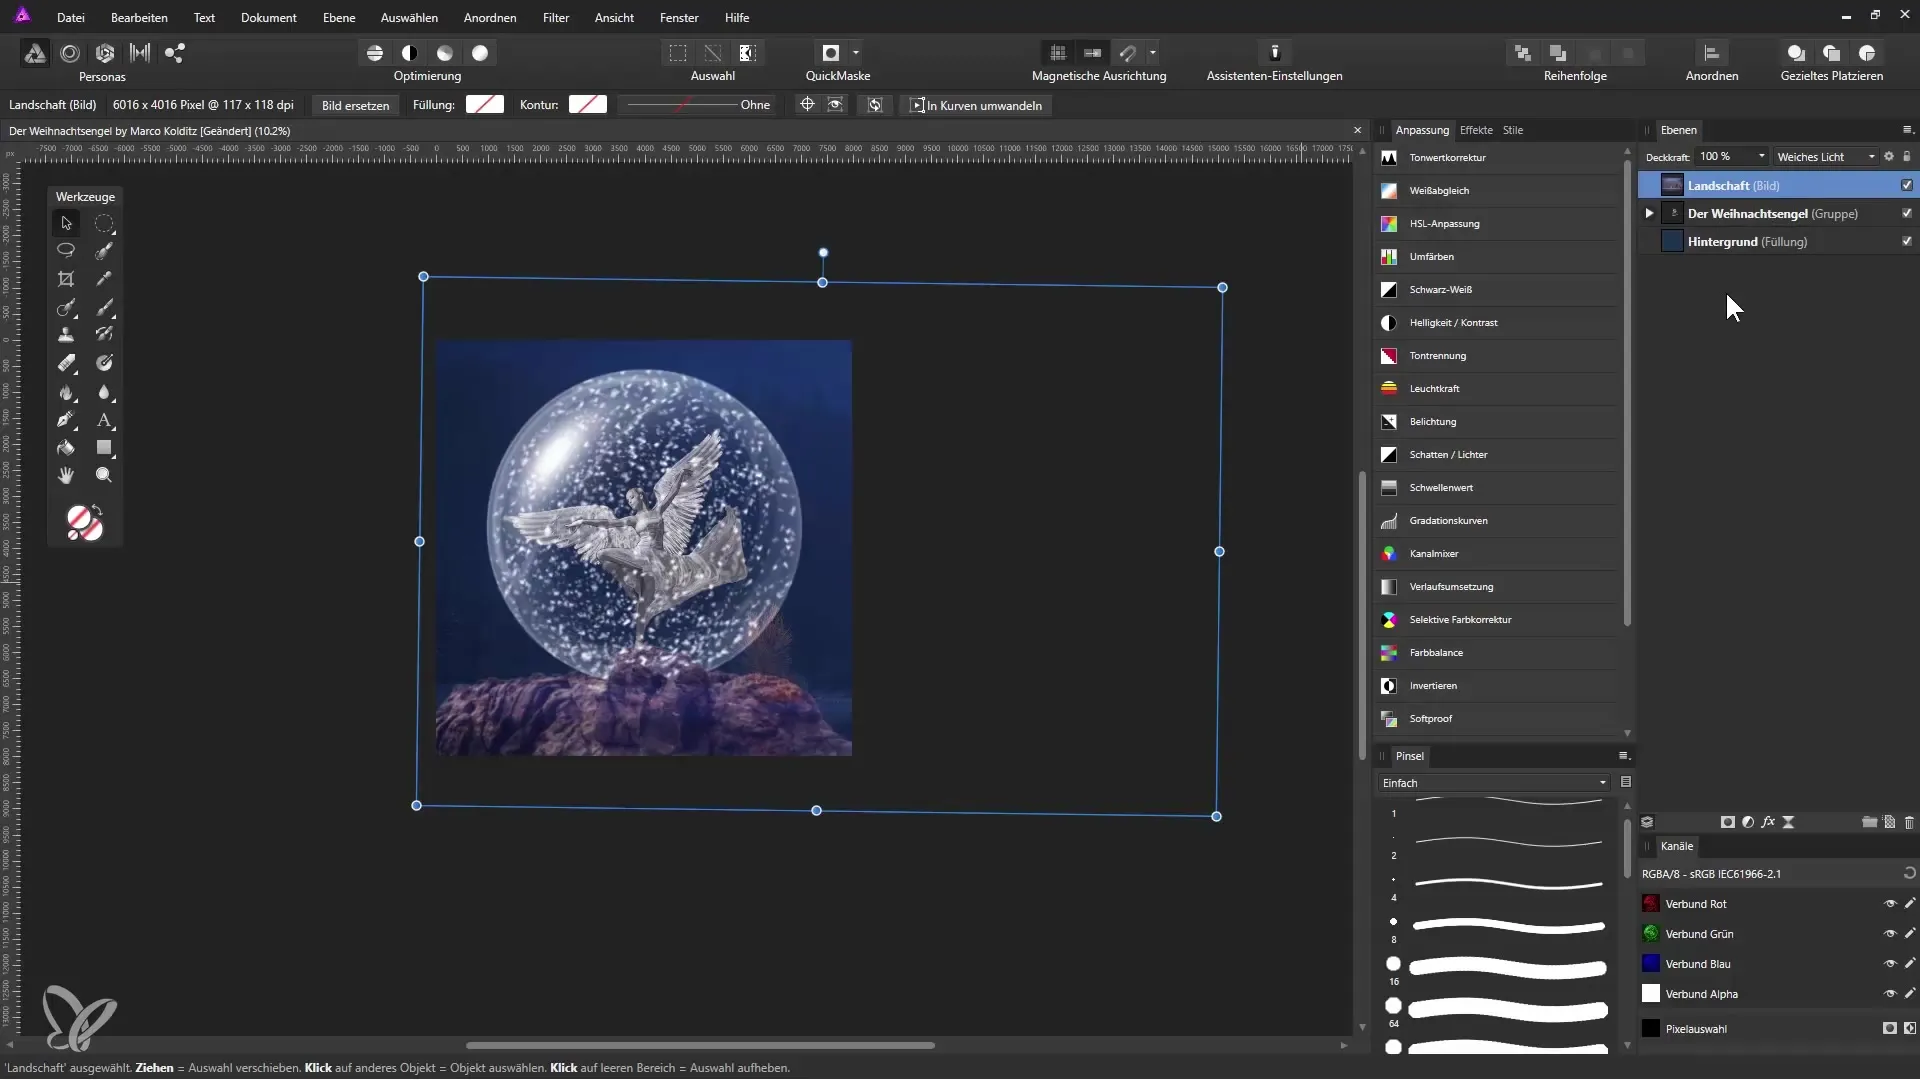
Now it's time to portray the background slightly blurred so that it does not appear too dominant. Select the "Landscape" layer and create a new live filter layer for "Lens Blur." Drag the radius initially to the maximum to see the preview of the blur. Experiment with the number of blades and their roundness to achieve the desired bokeh effect. However, in this case, it's not necessary to create a dramatic effect; just keep it at moderate blur.
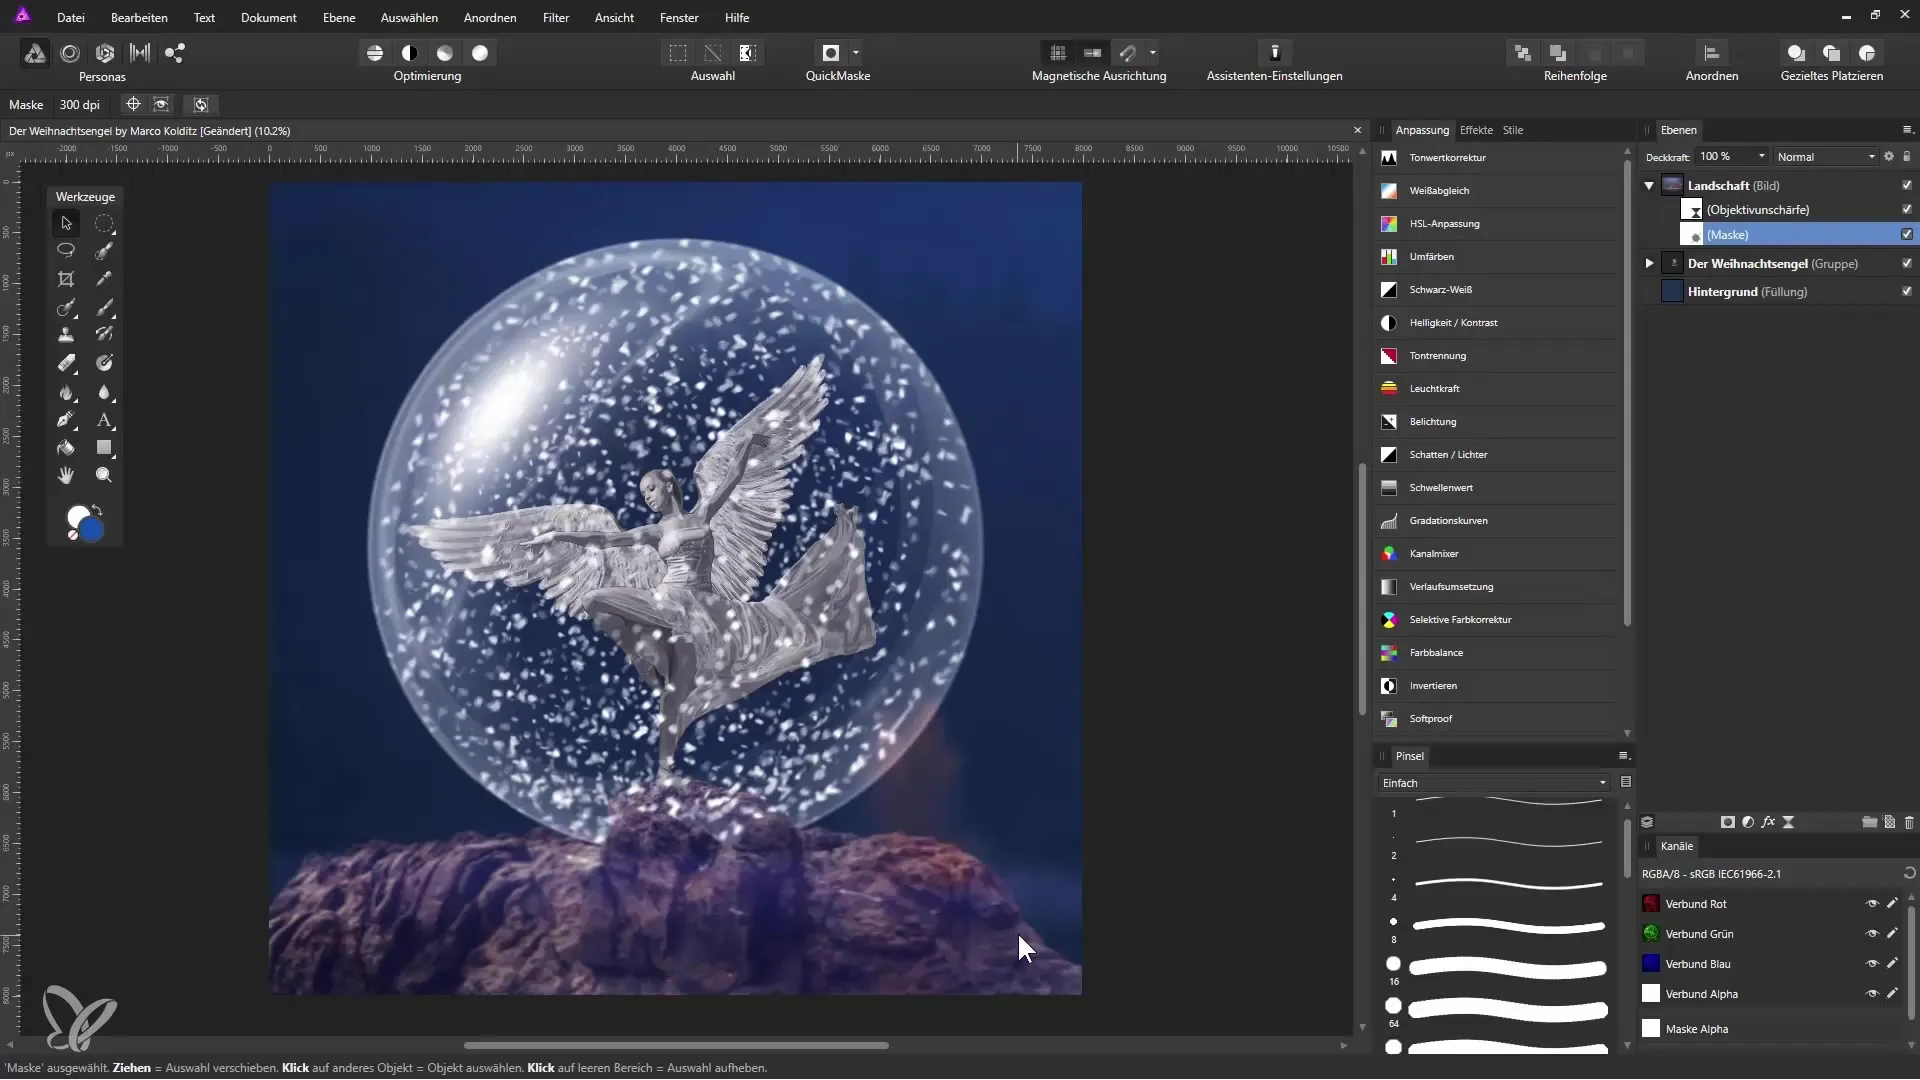
To avoid unwanted color bleeding, such as the colorful tree in the foreground, you will work with a mask. Therefore, click on the "Landscape" layer and create a mask. Ensure that the painting color is set to black, which you can use to remove areas where the colors of the background bleed through. Select the paintbrush and adjust the width, opacity, and hardness. Paint over the areas you want to retouch.
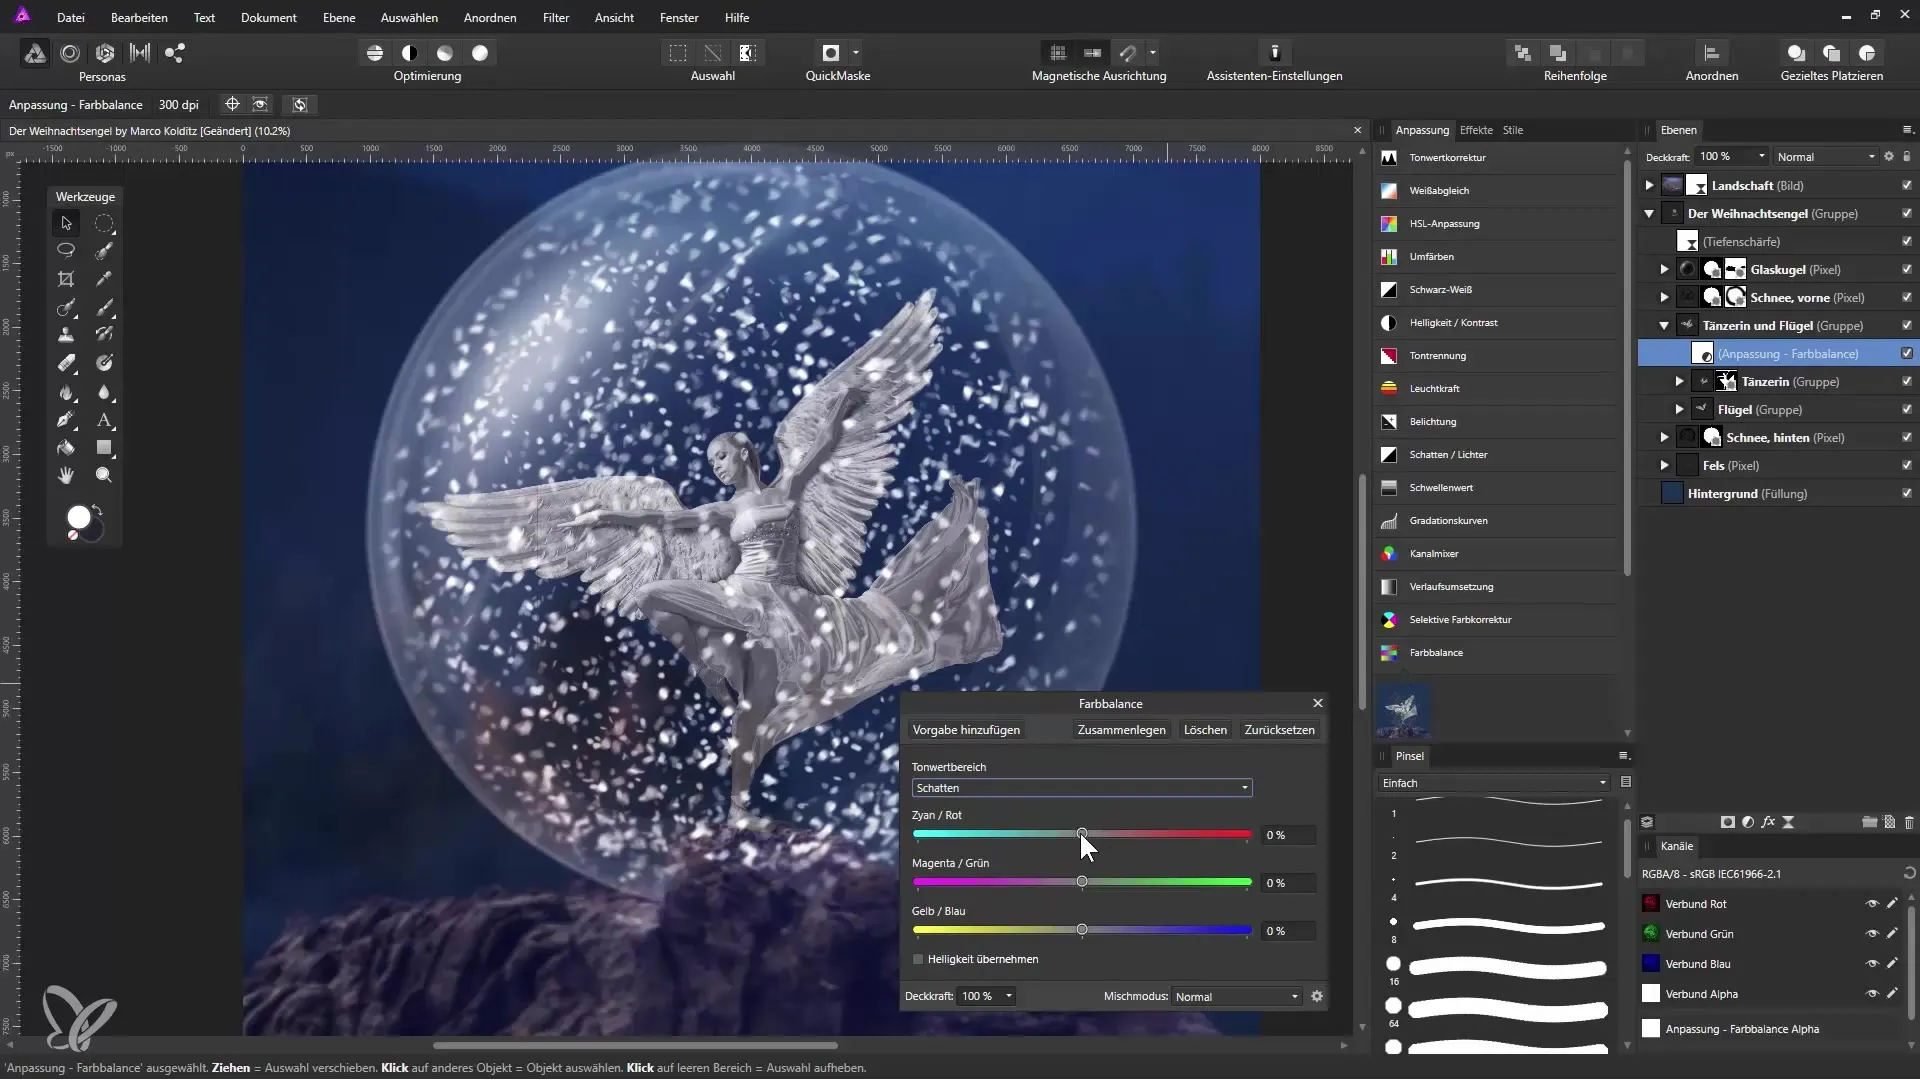
Now we turn our attention to adjusting the colors of your "Dancer and Wings" group. To do this, select this group and choose the "Color Balance" option. Drag the color balance module into the group and adjust the shadows, highlights, and midtones to match harmoniously with your overall image. Change the cyan and red sliders to set the appropriate mood.
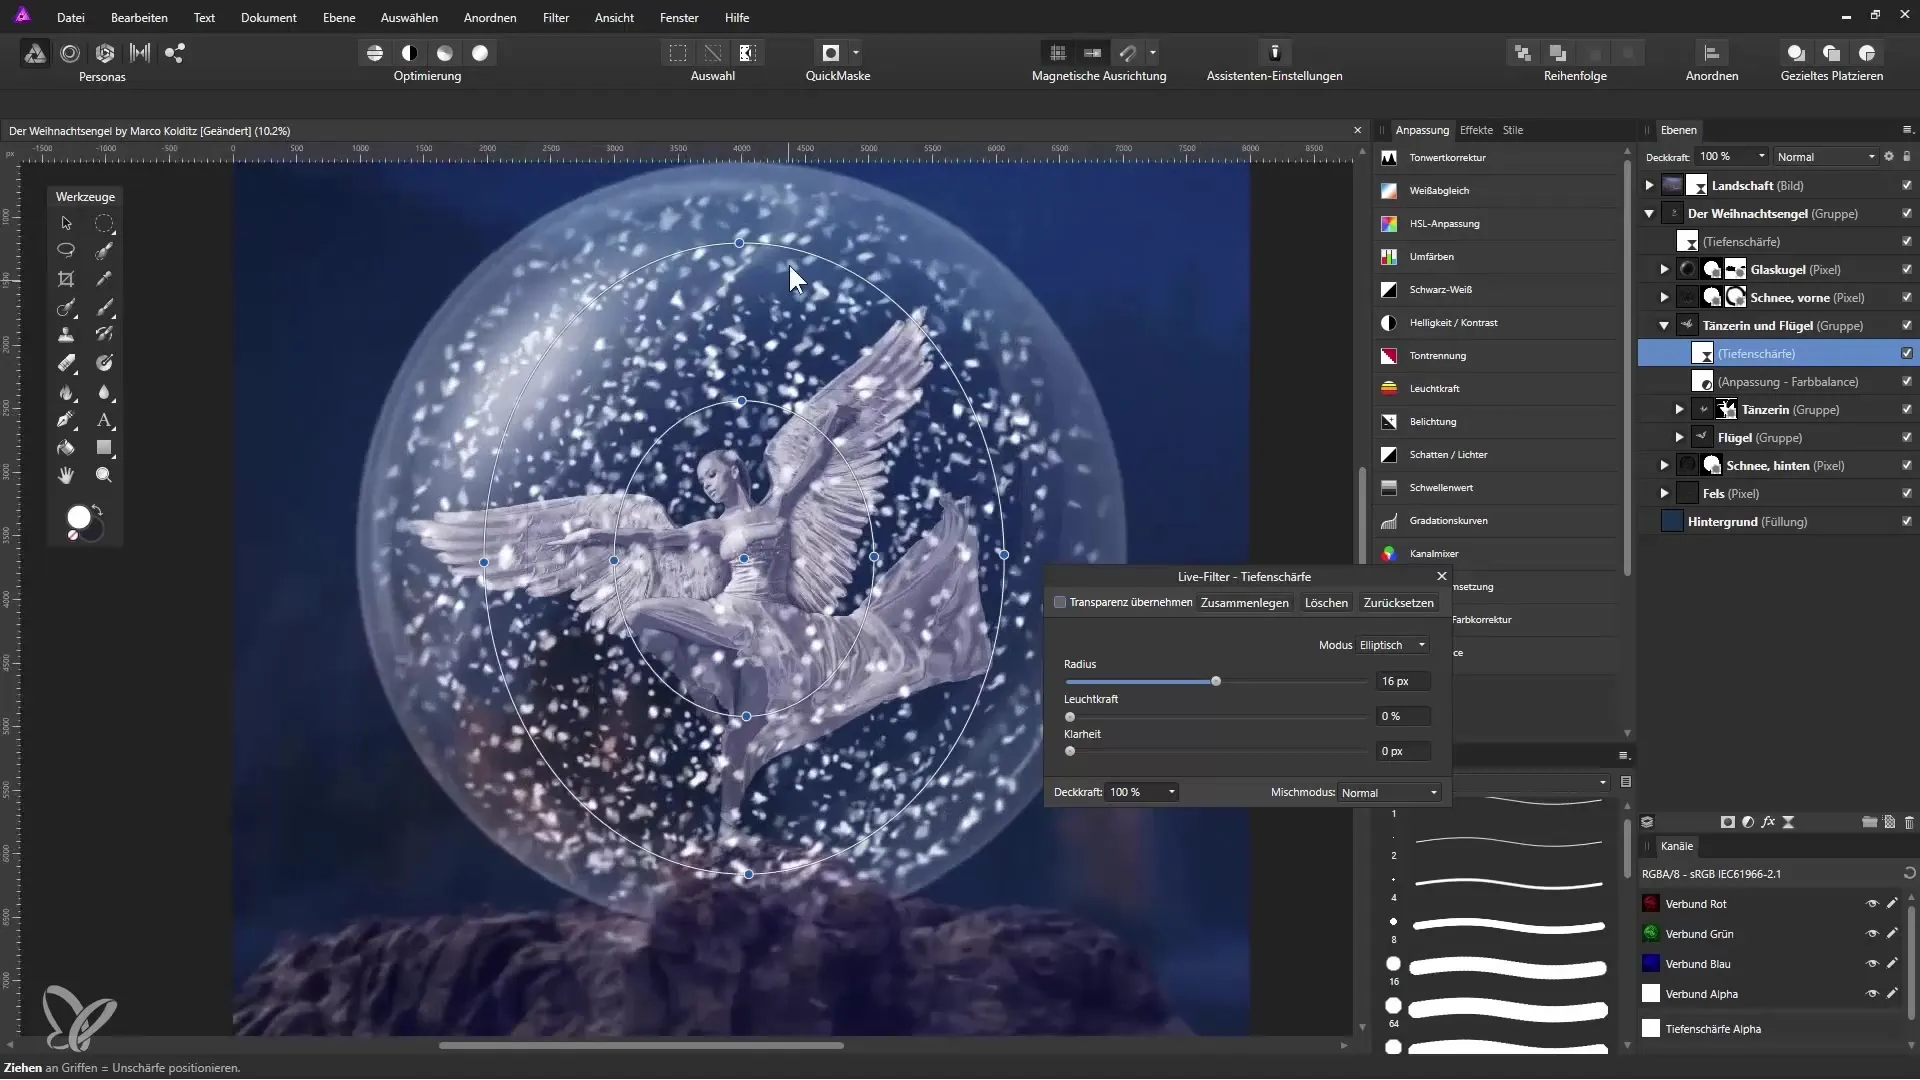
To make the edges of the wings appear slightly blurred, add another live filter layer for "Depth of Field." Position the filter below the "Dancer and Wings" layer to apply the blur only to this layer. Make sure the dancer herself remains sharp while the wings transition into the blur.
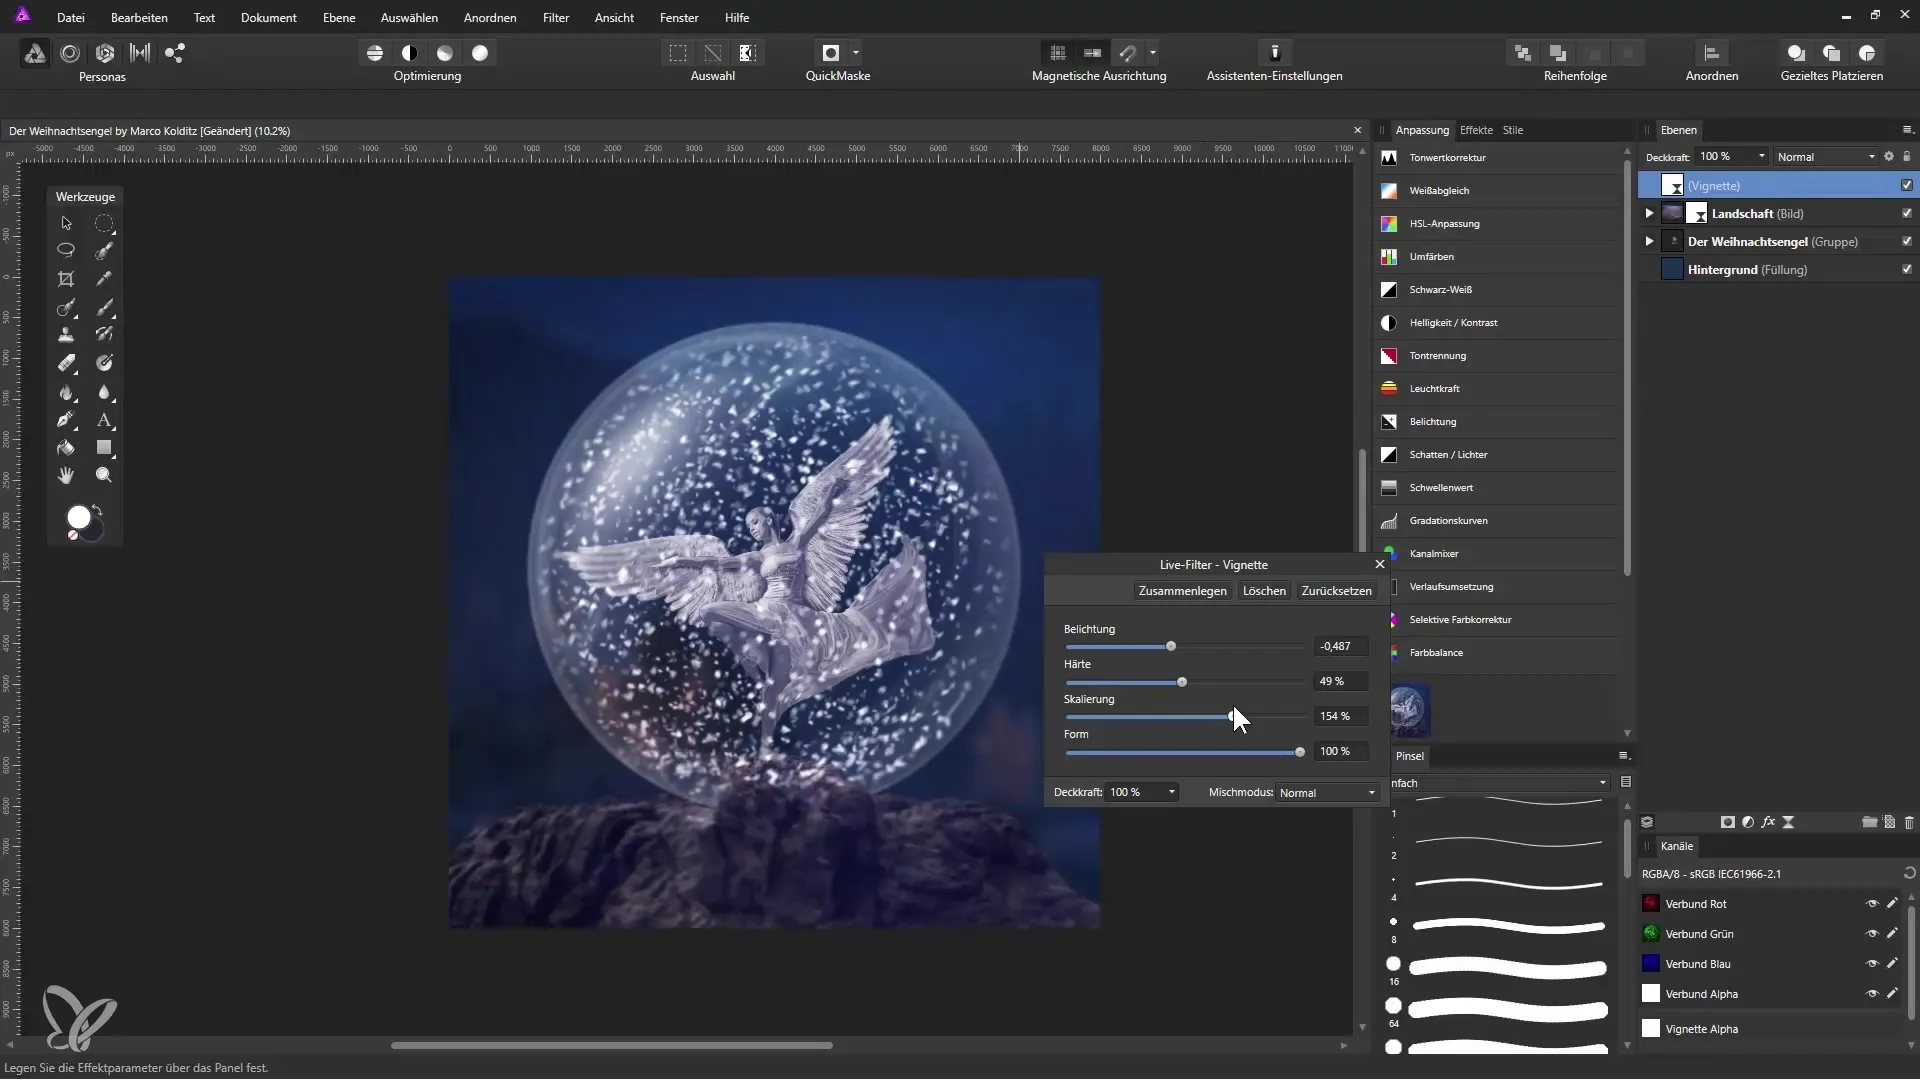
A vignette gives your image the final touch. Add a new live filter layer "Vignette" at the top. Adjust the size and hardness so that it gives the image a nice dark border while keeping the central figure bright.
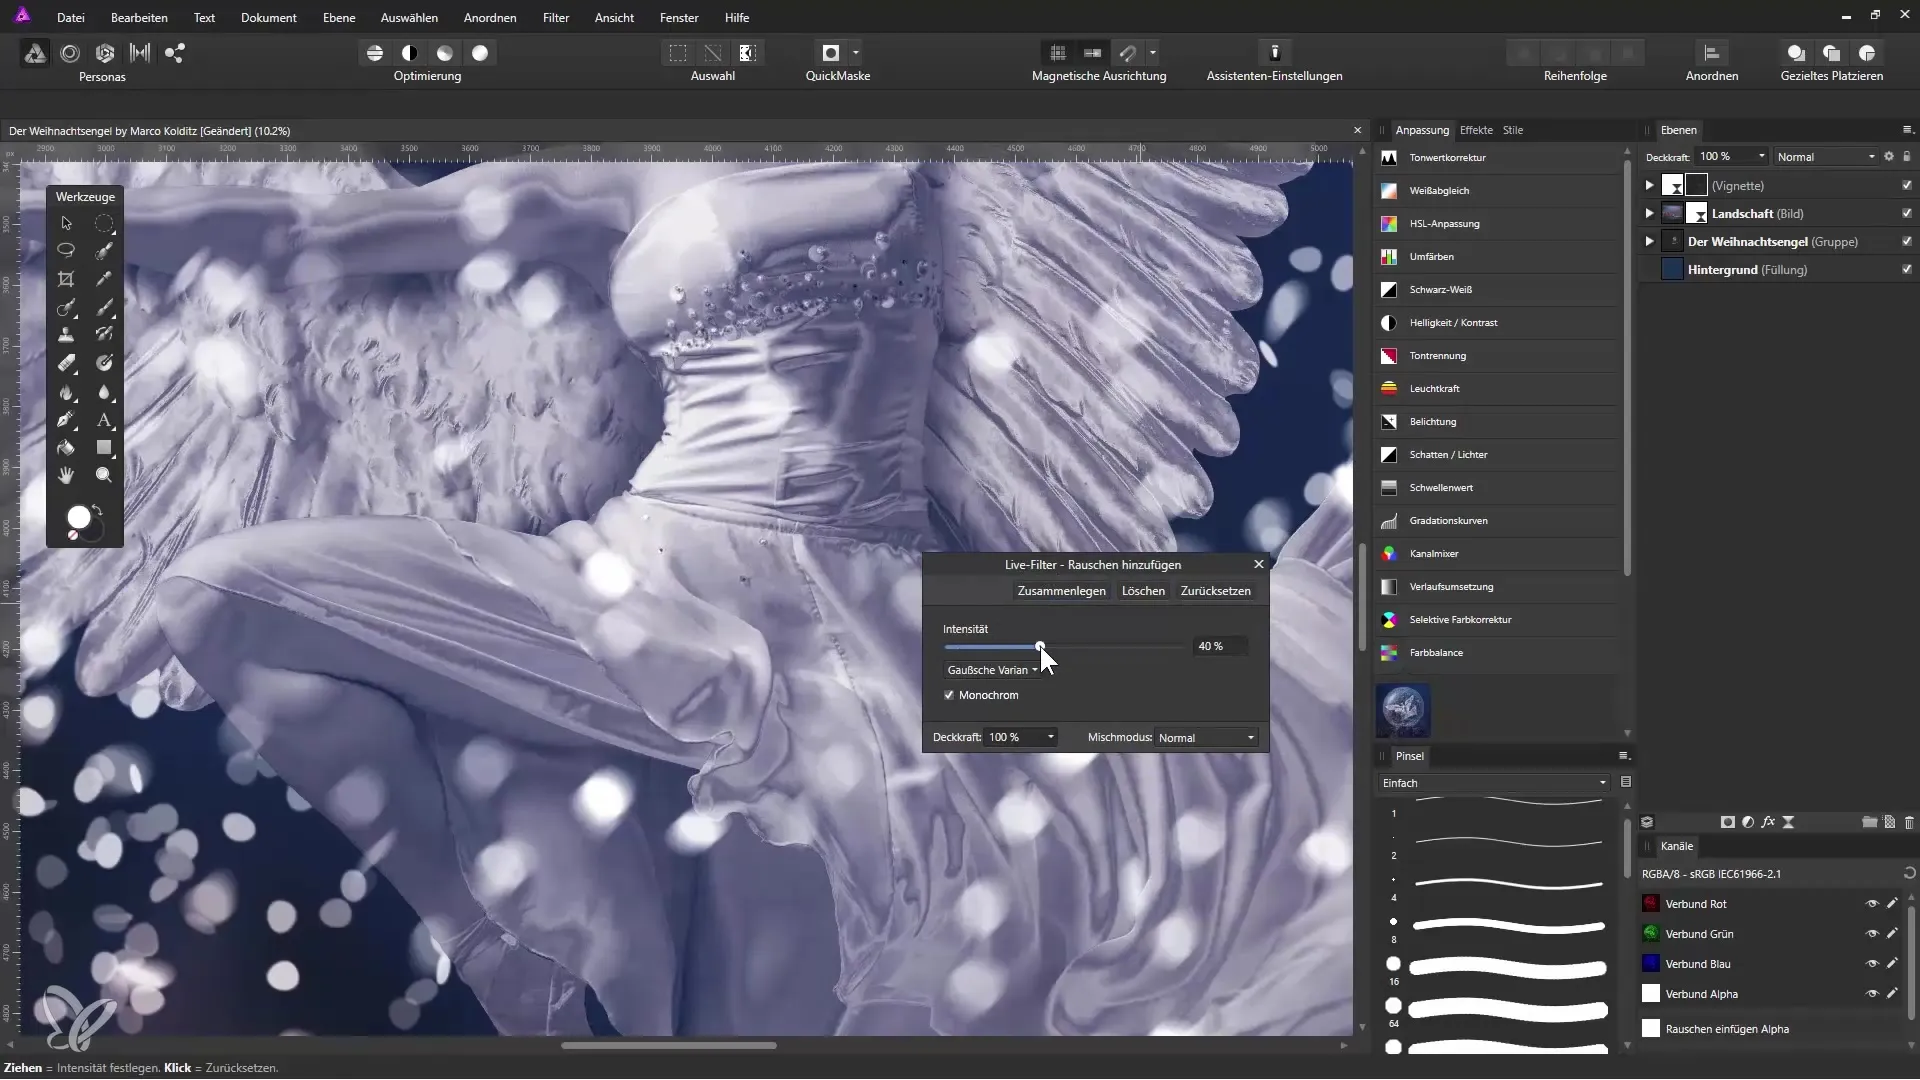
In addition to the vignette, I also recommend using noise to help the individual elements in the image blend better together. Add a new live filter layer for "Noise" and adjust the intensity. This texture can be crucial for making your image appear more vibrant.
With these adjustments, you are now ready to save your image final. Every detail you have added supports the Christmas spirit and ensures that your Christmas angel shines at the center of your artwork.
Summary – Effectively Complete Christmas Angel Compositing in Affinity Photo
You have now gone through all the essential steps to perfectly stage your Christmas angel in Affinity Photo. From color adjustments to blurs and vignettes, you now have the tools at hand to create impressive compositings.
Frequently Asked Questions
How do I add a background layer in Affinity Photo?Simply drag your background image into the document view and position it above other layers.
What are the benefits of live filter layers?They allow you to apply effects such as blur or color adjustments non-destructively, so you can change them at any time.
How can I organize the layers I have already edited?You can group layers through the layers palette to gain more clarity.
Can I change the adjustments later?Yes, by using live filters and adjustments, your image editing remains flexible and changeable.
How important is a vignette for my image?A vignette can help draw focus to the central figure and give the image more depth.
