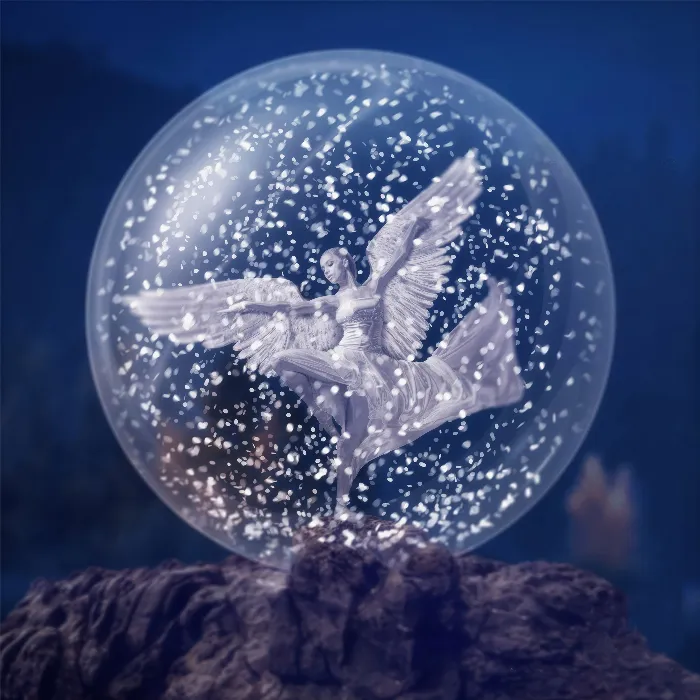
Snow globes have a magical allure and add a romantic touch to any winter landscape. In this guide, you will learn how to create a beautiful glass snow globe using Affinity Photo. Step by step, I will show you how to prepare the necessary elements and effectively incorporate the globe into your design. Let’s dive right into the creative work!
Key Insights
- Lens flares can be effectively created with Photoshop to achieve realistic effects in Affinity Photo.
- The transformation and adjustment of layers are crucial for an appealing glass effect.
- Masking systems in Affinity Photo help to place objects precisely and minimize distractions.
Step-by-Step Guide
Preparing the Lens Flares
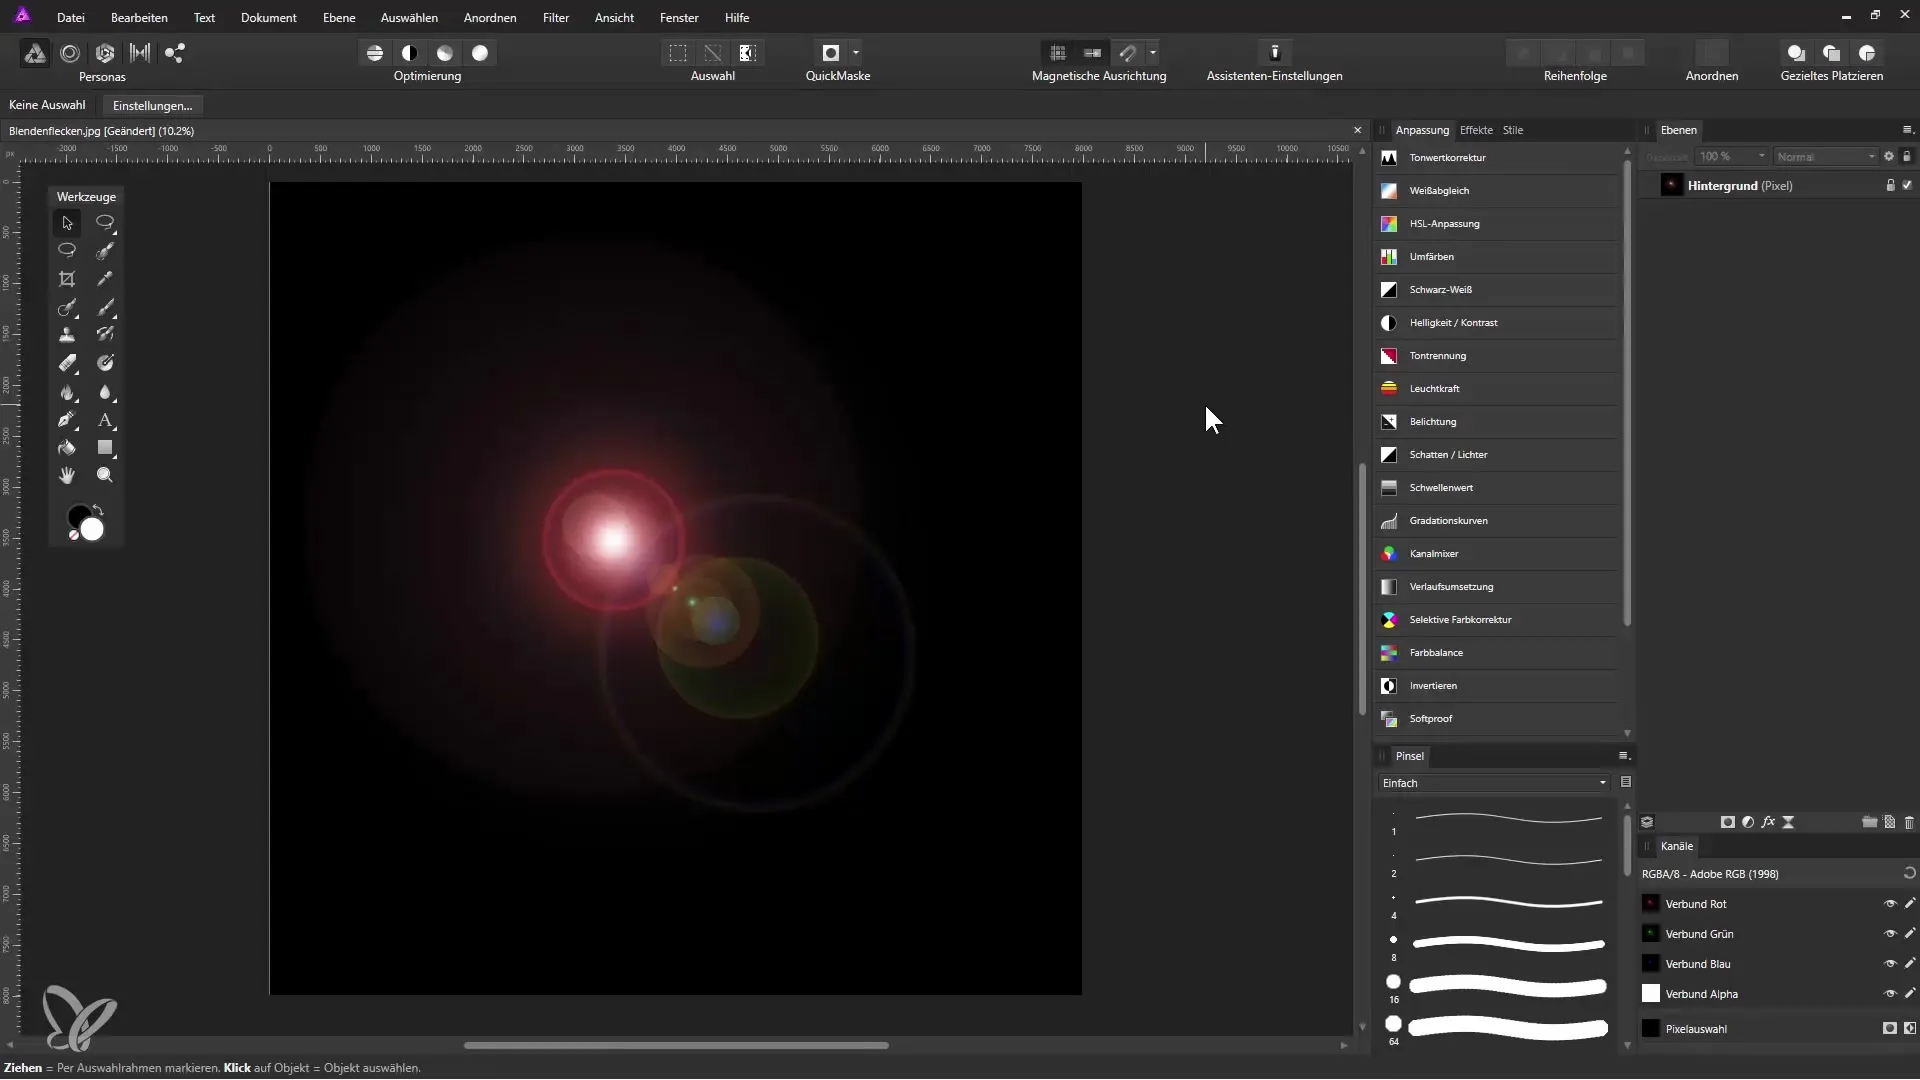
To create your snow globe, start by importing an image of lens flares. Lens flares are not a standard feature of Affinity Photo, but you can generate them using Photoshop. I have already provided the image, so you can get started right away.
Creating the Globe
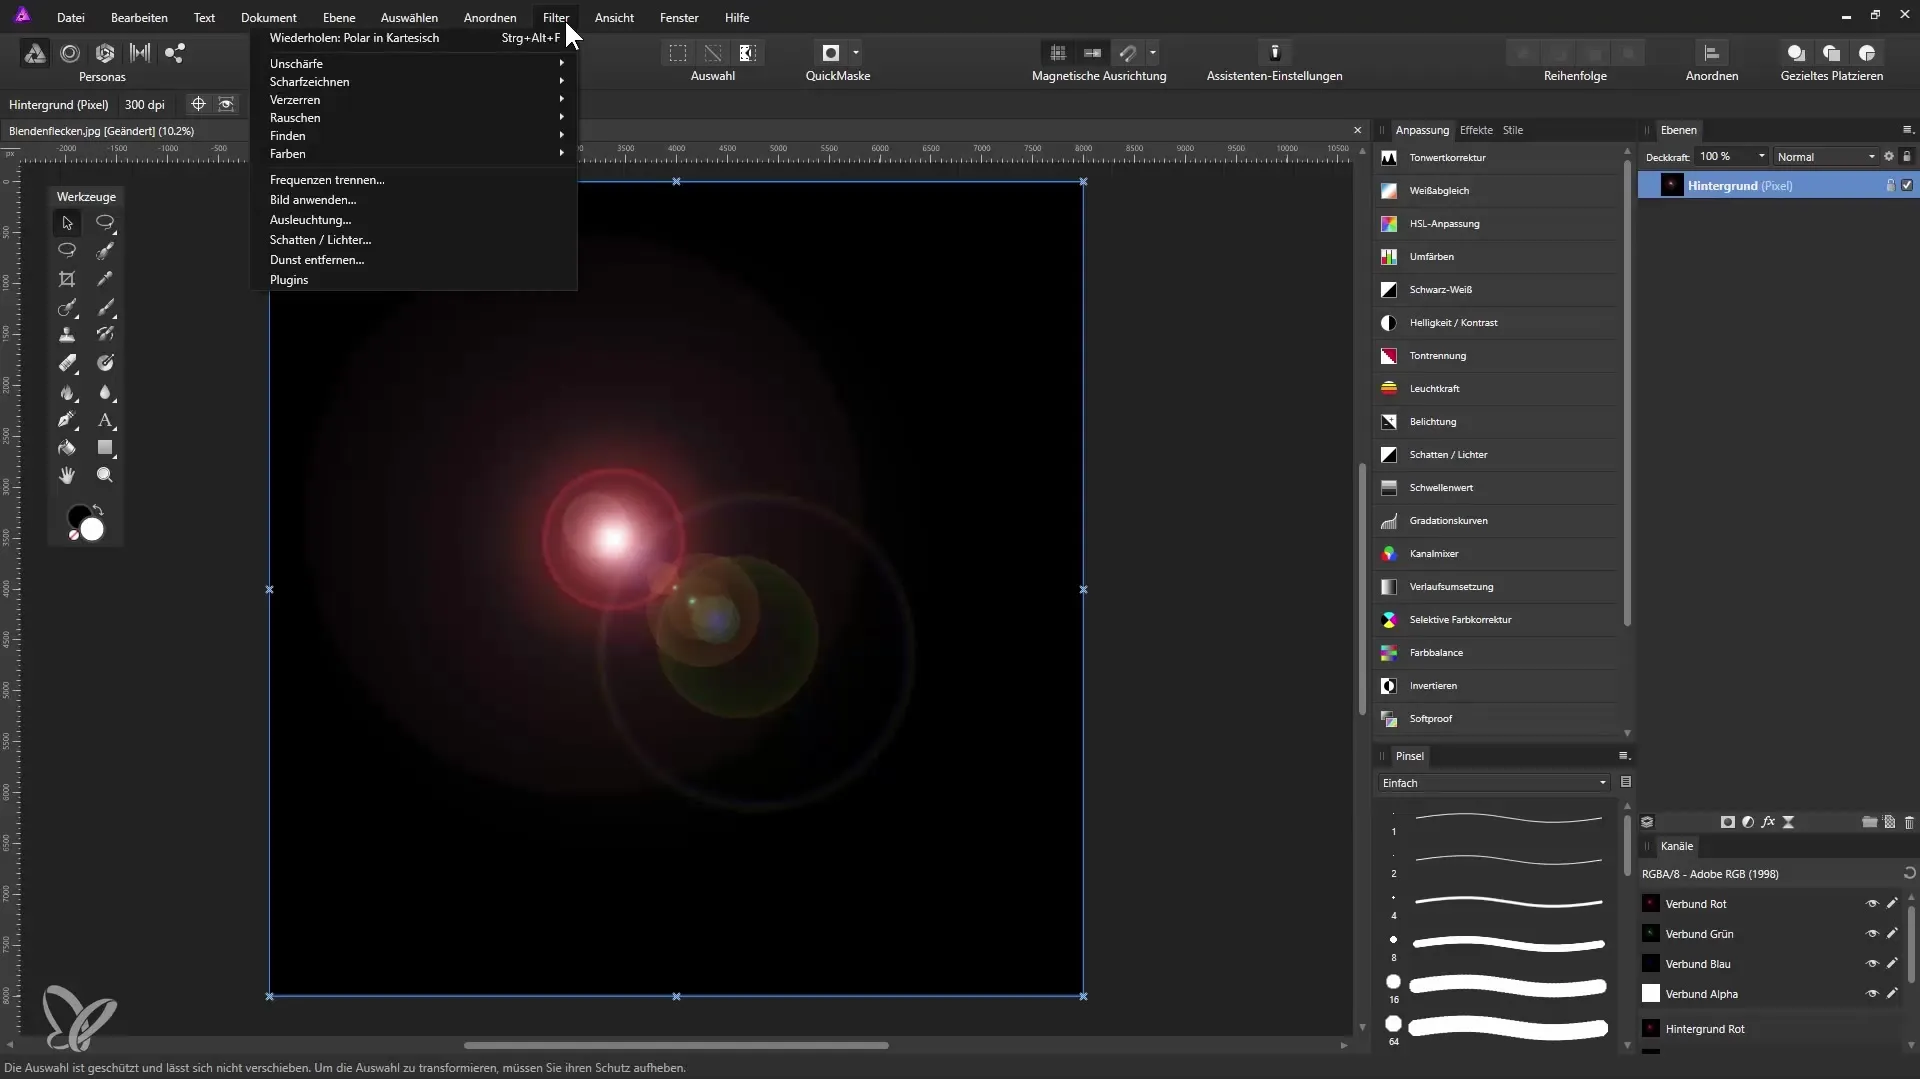
Place the image with the lens flares in the background of your workspace. Now we will apply a special filter. Go to “Filter,” then “Distort,” and select “Polar to Cartesian.” This step already creates an interesting shape.
Mirroring and Adjusting
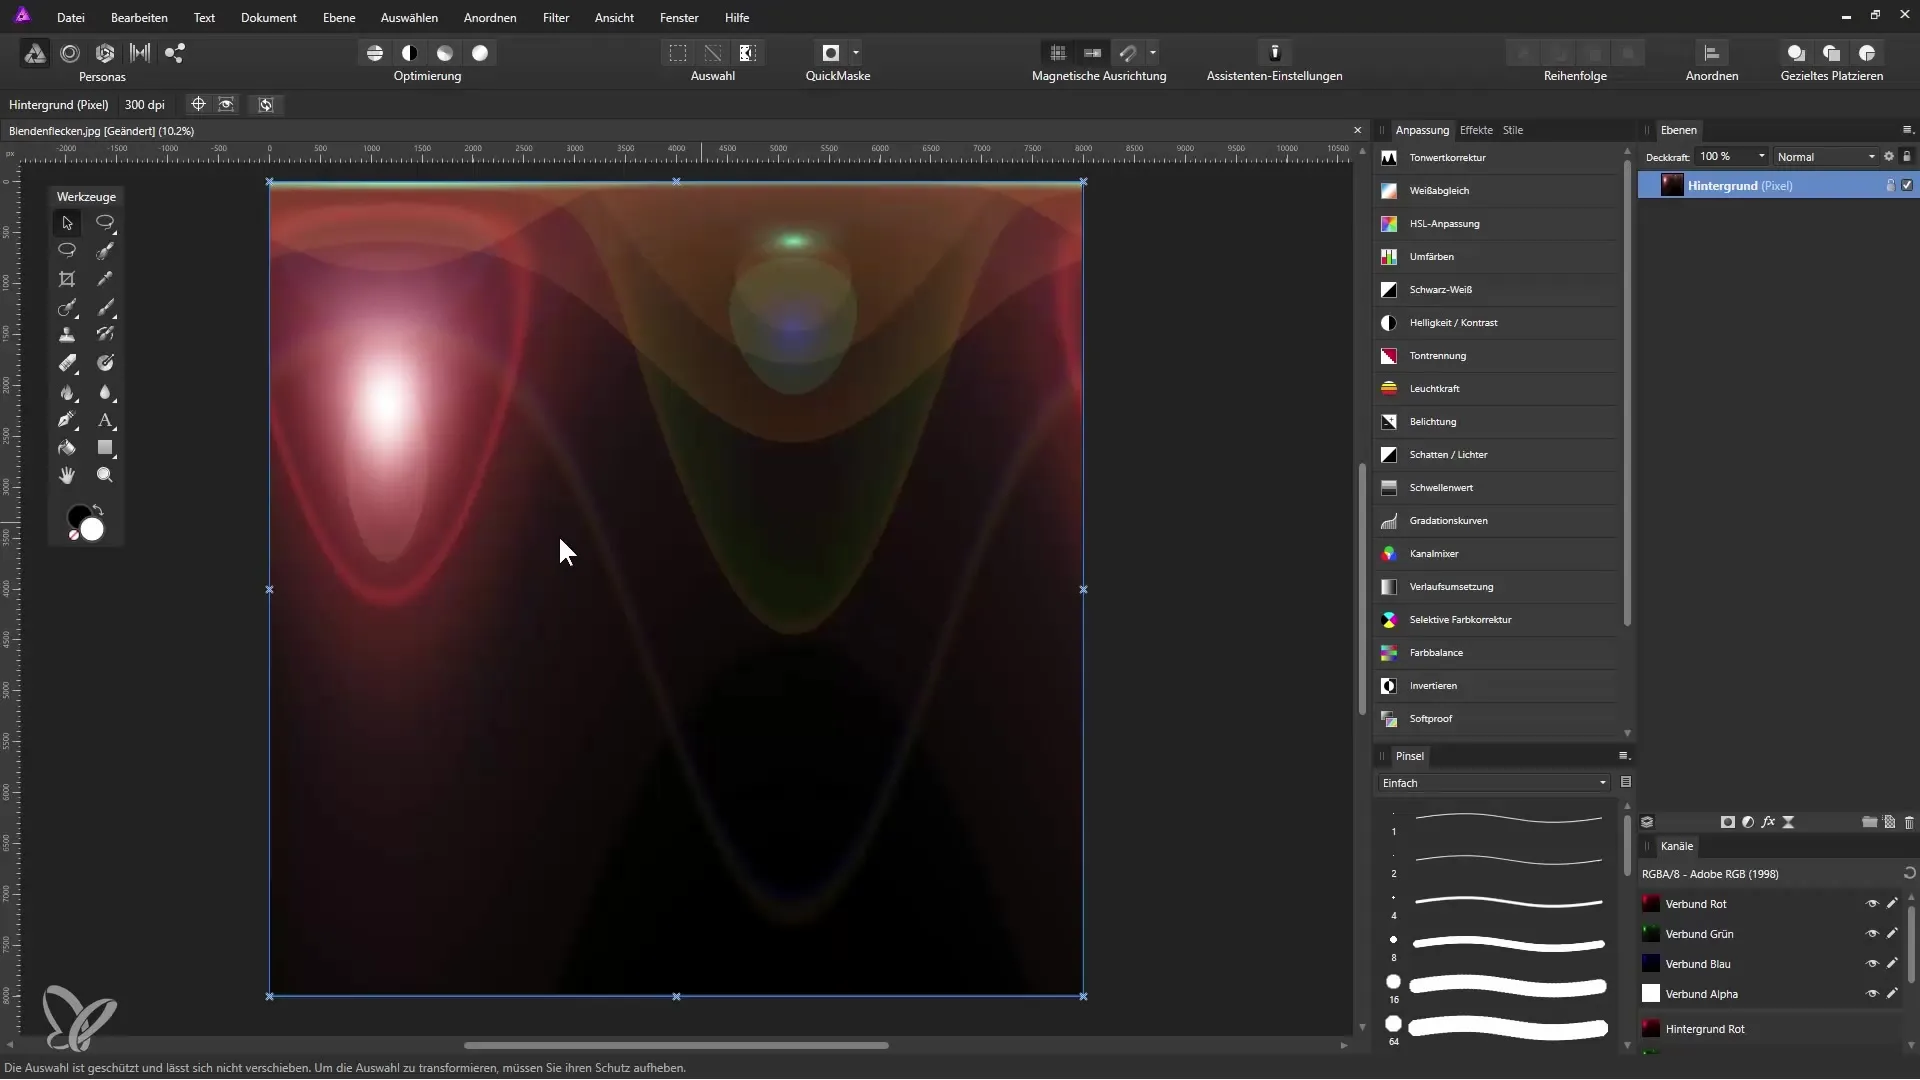
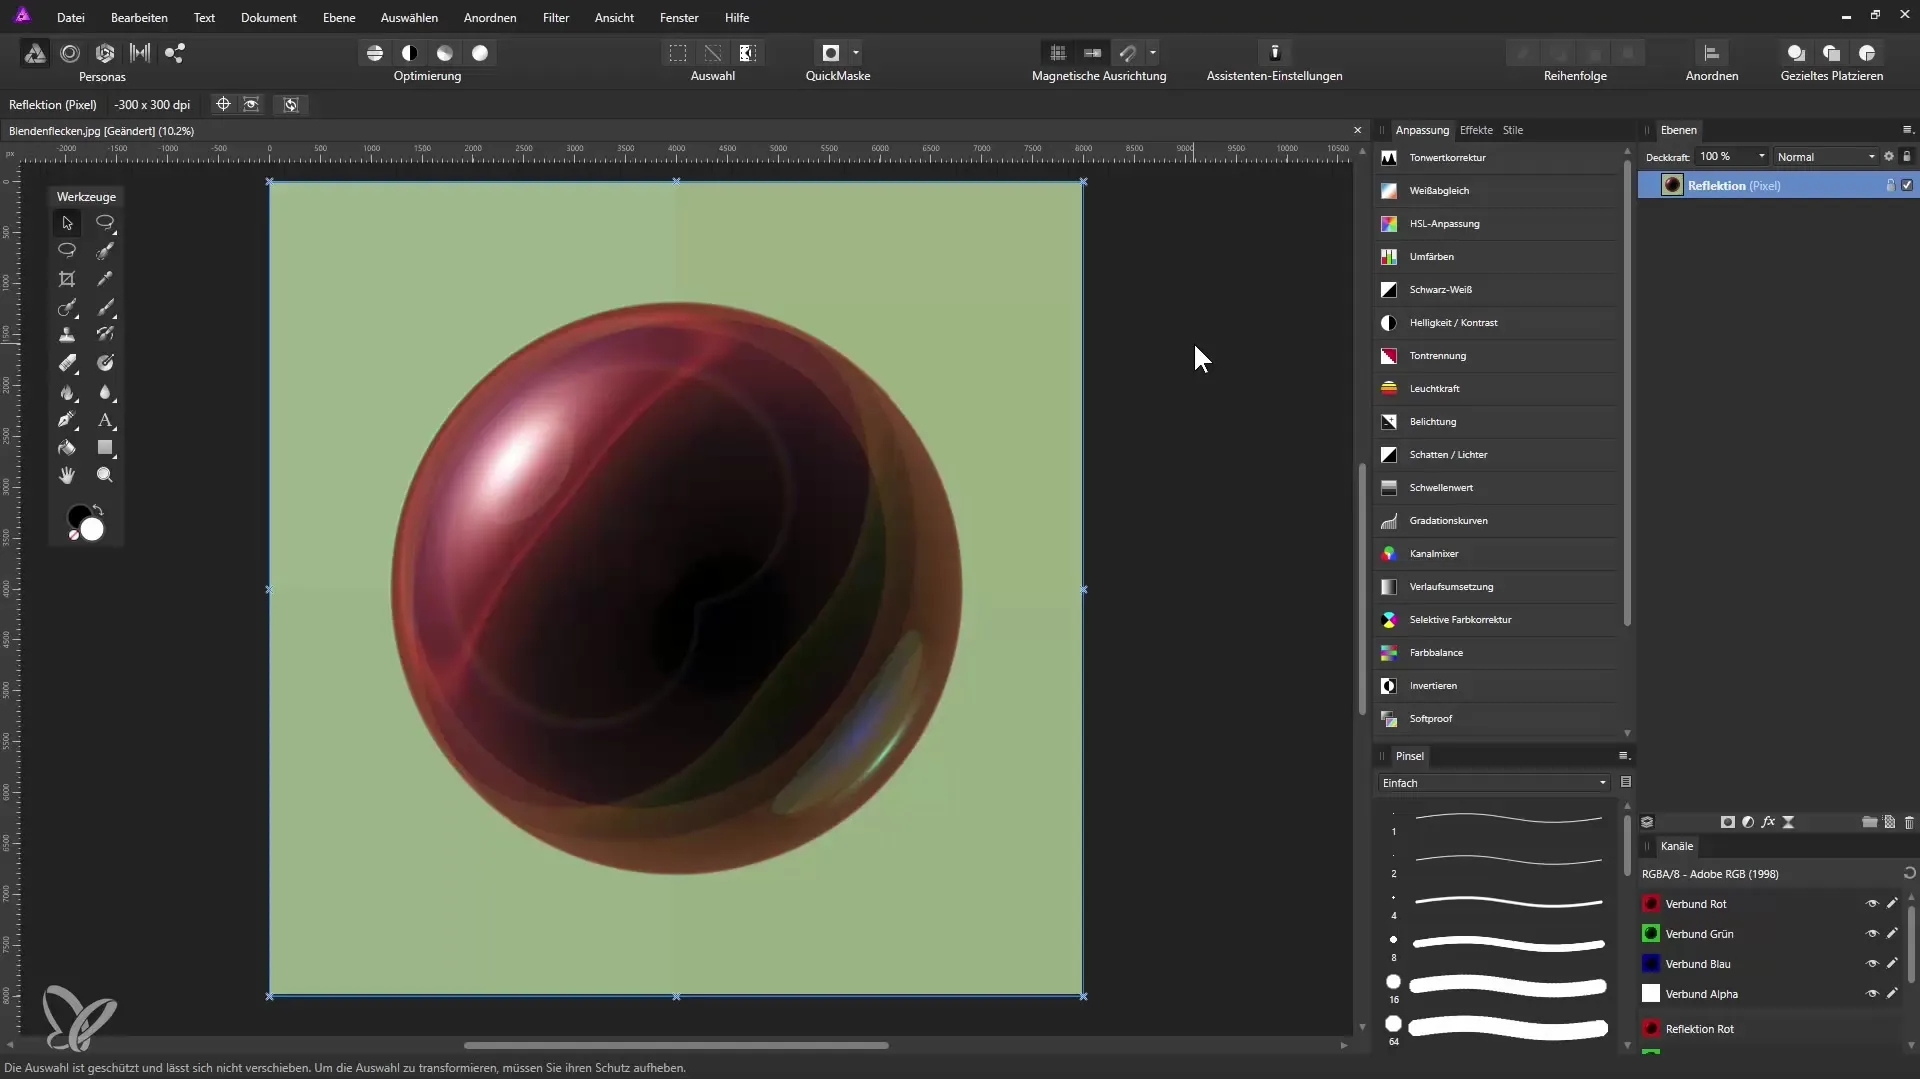
To enhance the result, mirror the image horizontally. Right-click on the active layer and select “Transform” and then “Flip Vertical.” Now we need to apply the filter again, but this time select “Cartesian to Polar.” This will create the typical glass globe effect.
Renaming and Black-and-White Adjustment
To make your layer clearer, rename it to “Reflection.” Since we want to achieve a clear, glassy appearance, create a black-and-white adjustment and apply it only to the reflection layer. With the adjustments, you should play with the contrast values to optimize both dark and light areas so the image looks more vibrant.
Creating the Selection
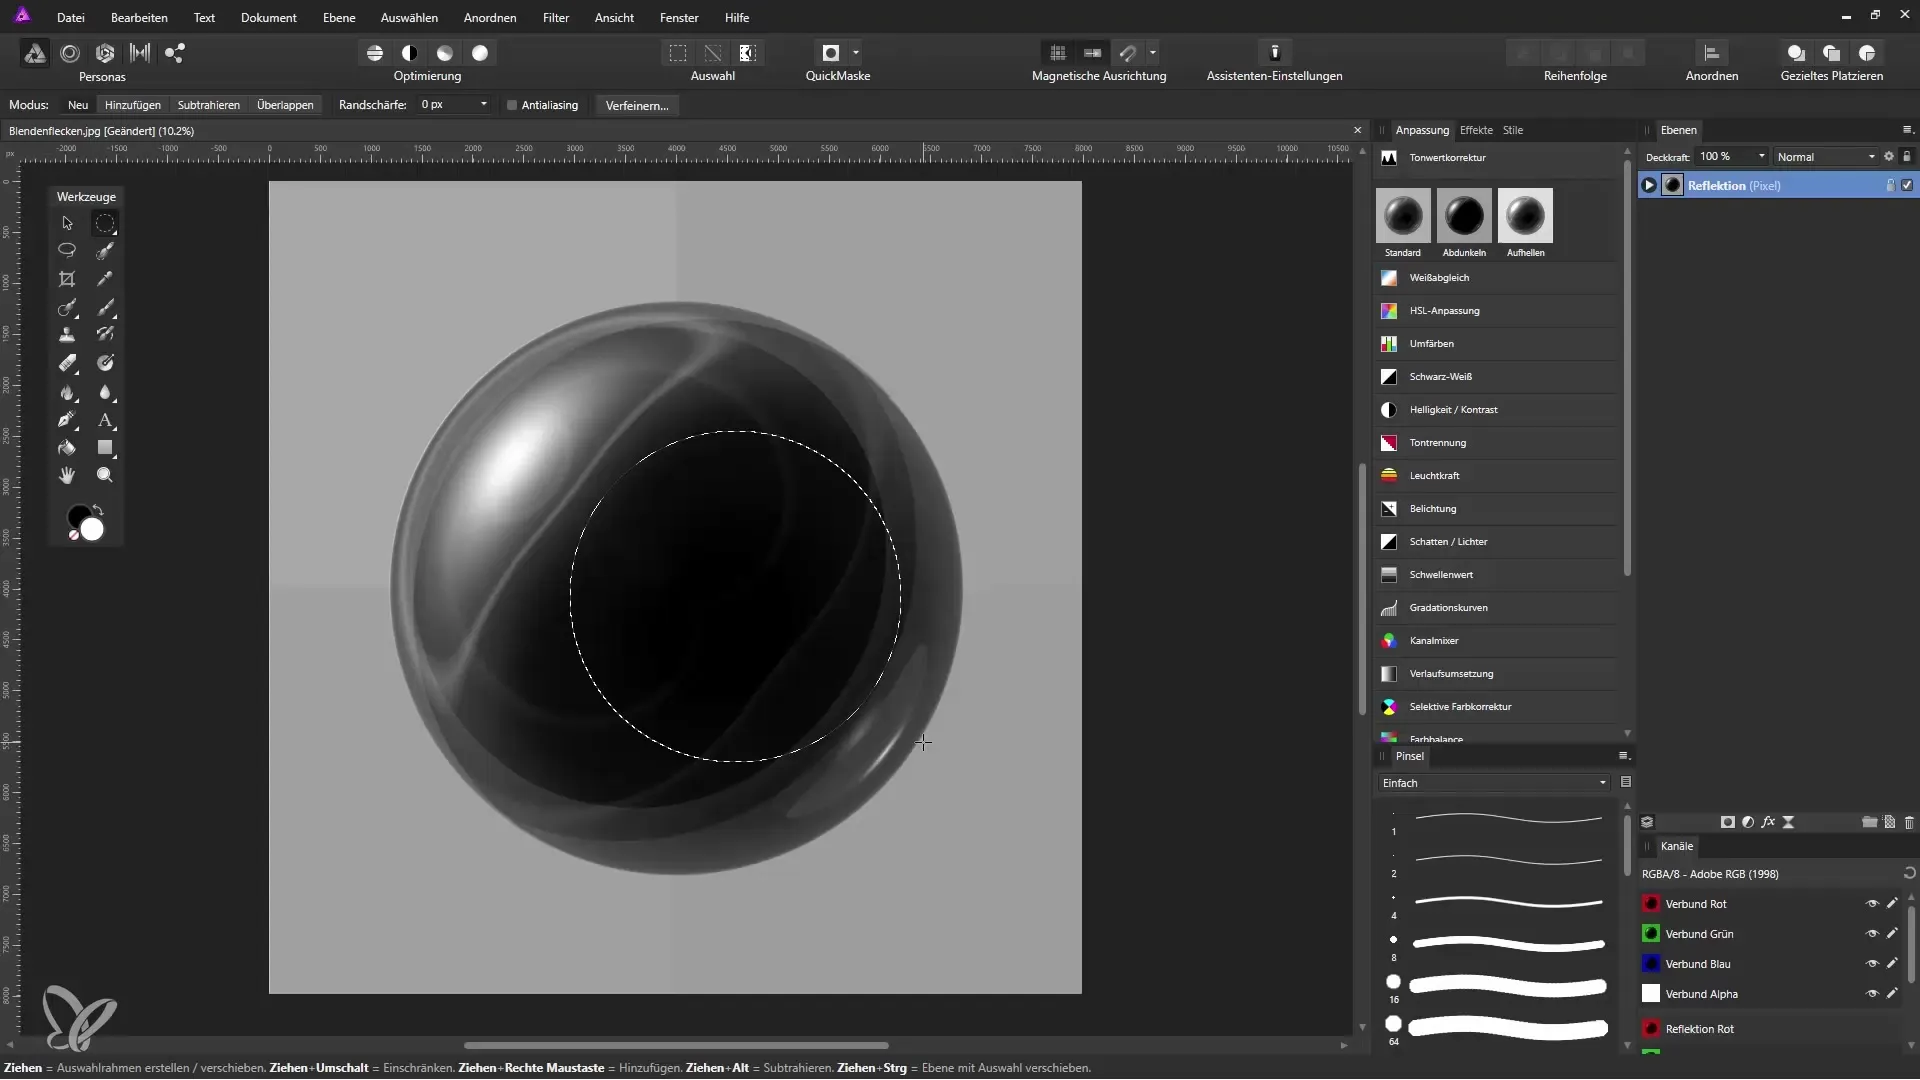
The background must be removed to isolate the globe. Select the “Elliptical Selection Tool.” Hold the Shift key while drawing a selection to ensure the shape becomes perfectly round. To position the selection, use guidelines which you activate via “View” and “Show Rulers.”
Completing the Mask Editing
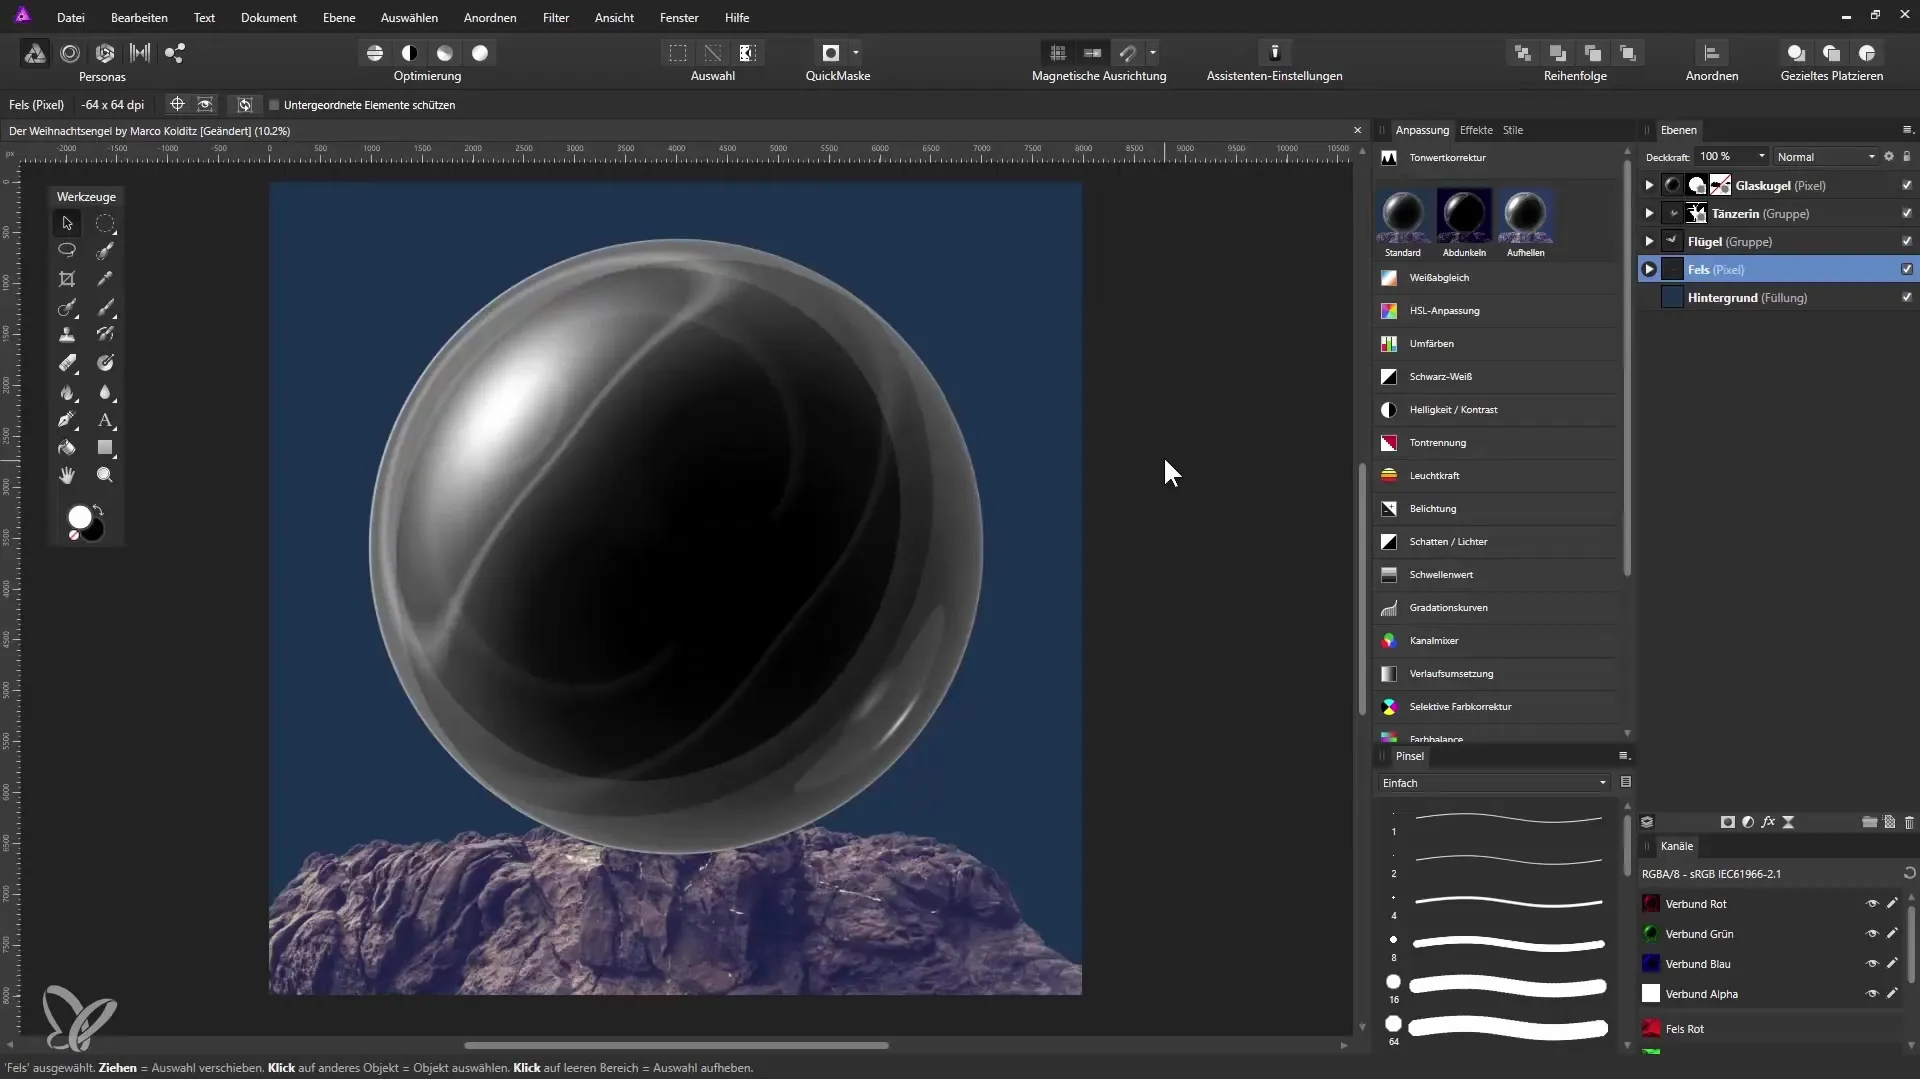
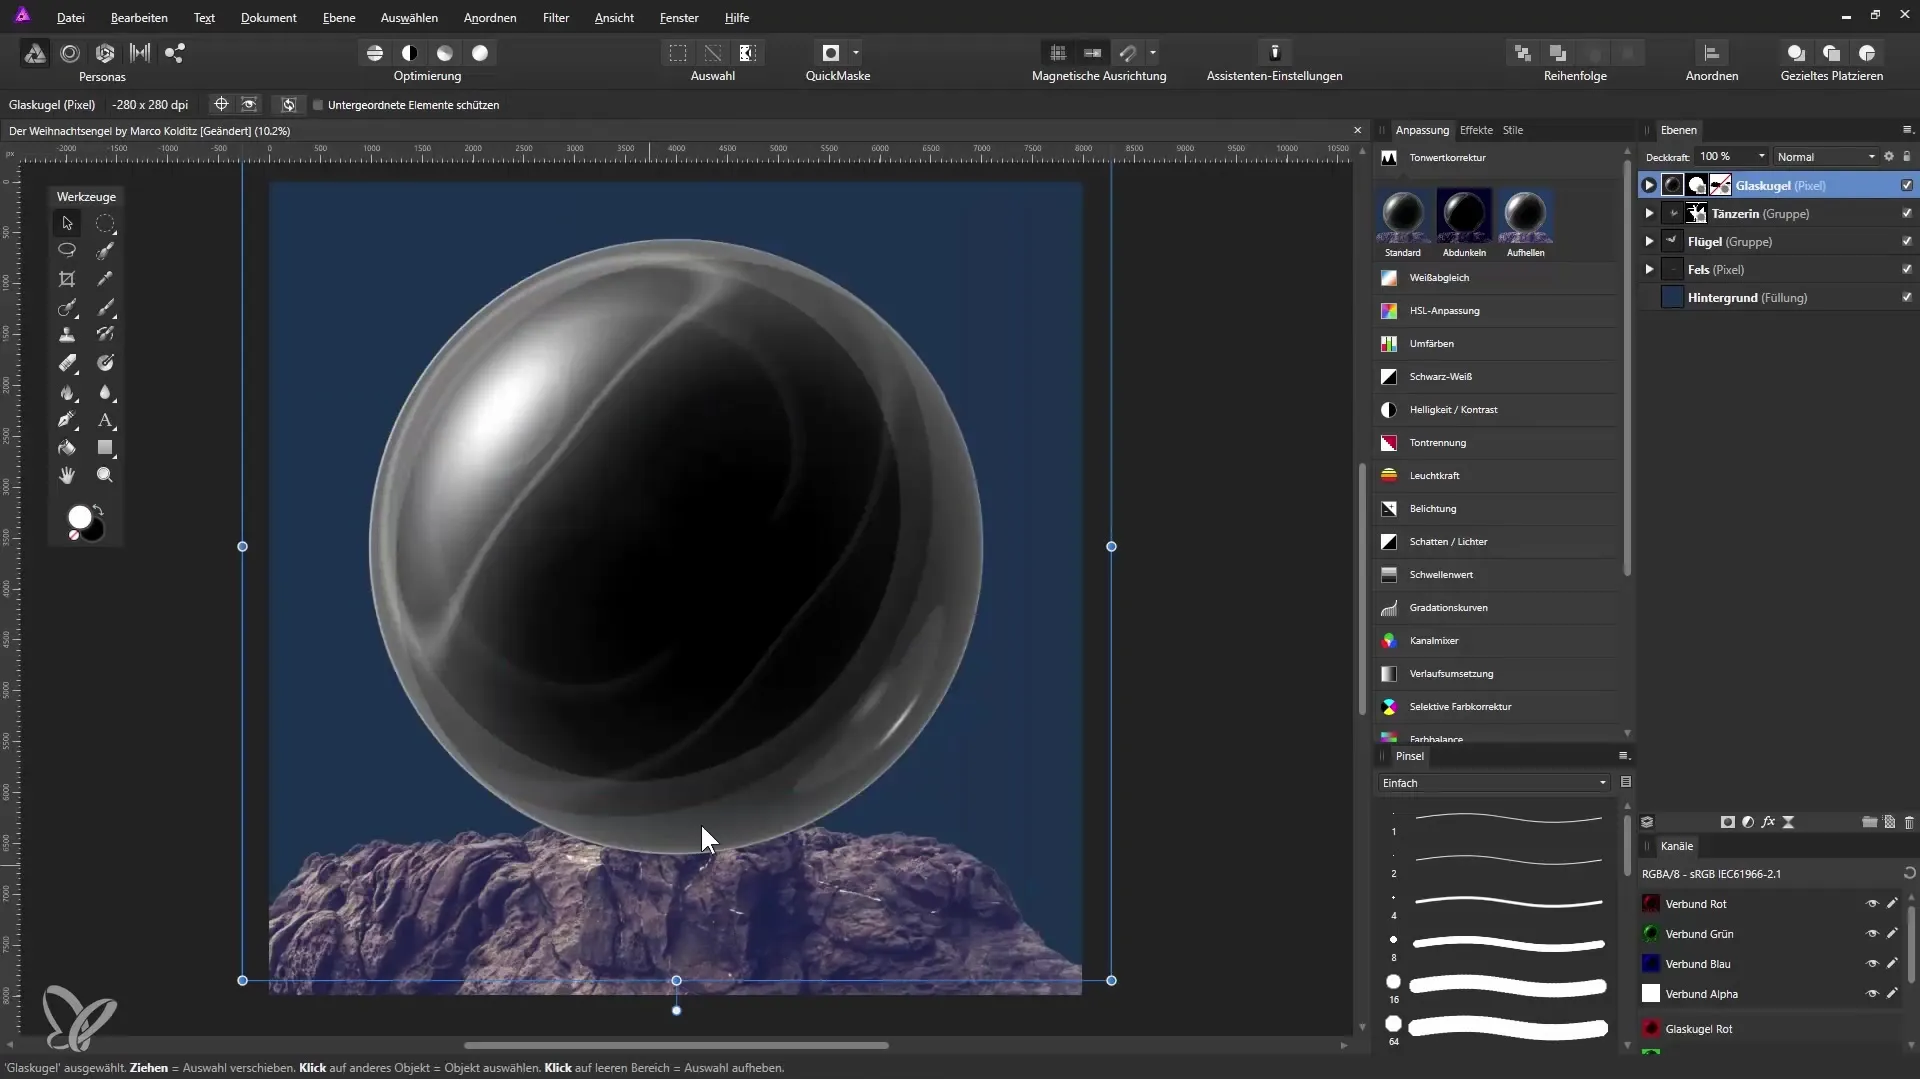
Once you have created the selection, click on the mask icon to create the mask. You can deselect the selection using the shortcut Ctrl + D, and now your globe is visible.
Placing the Christmas Angel
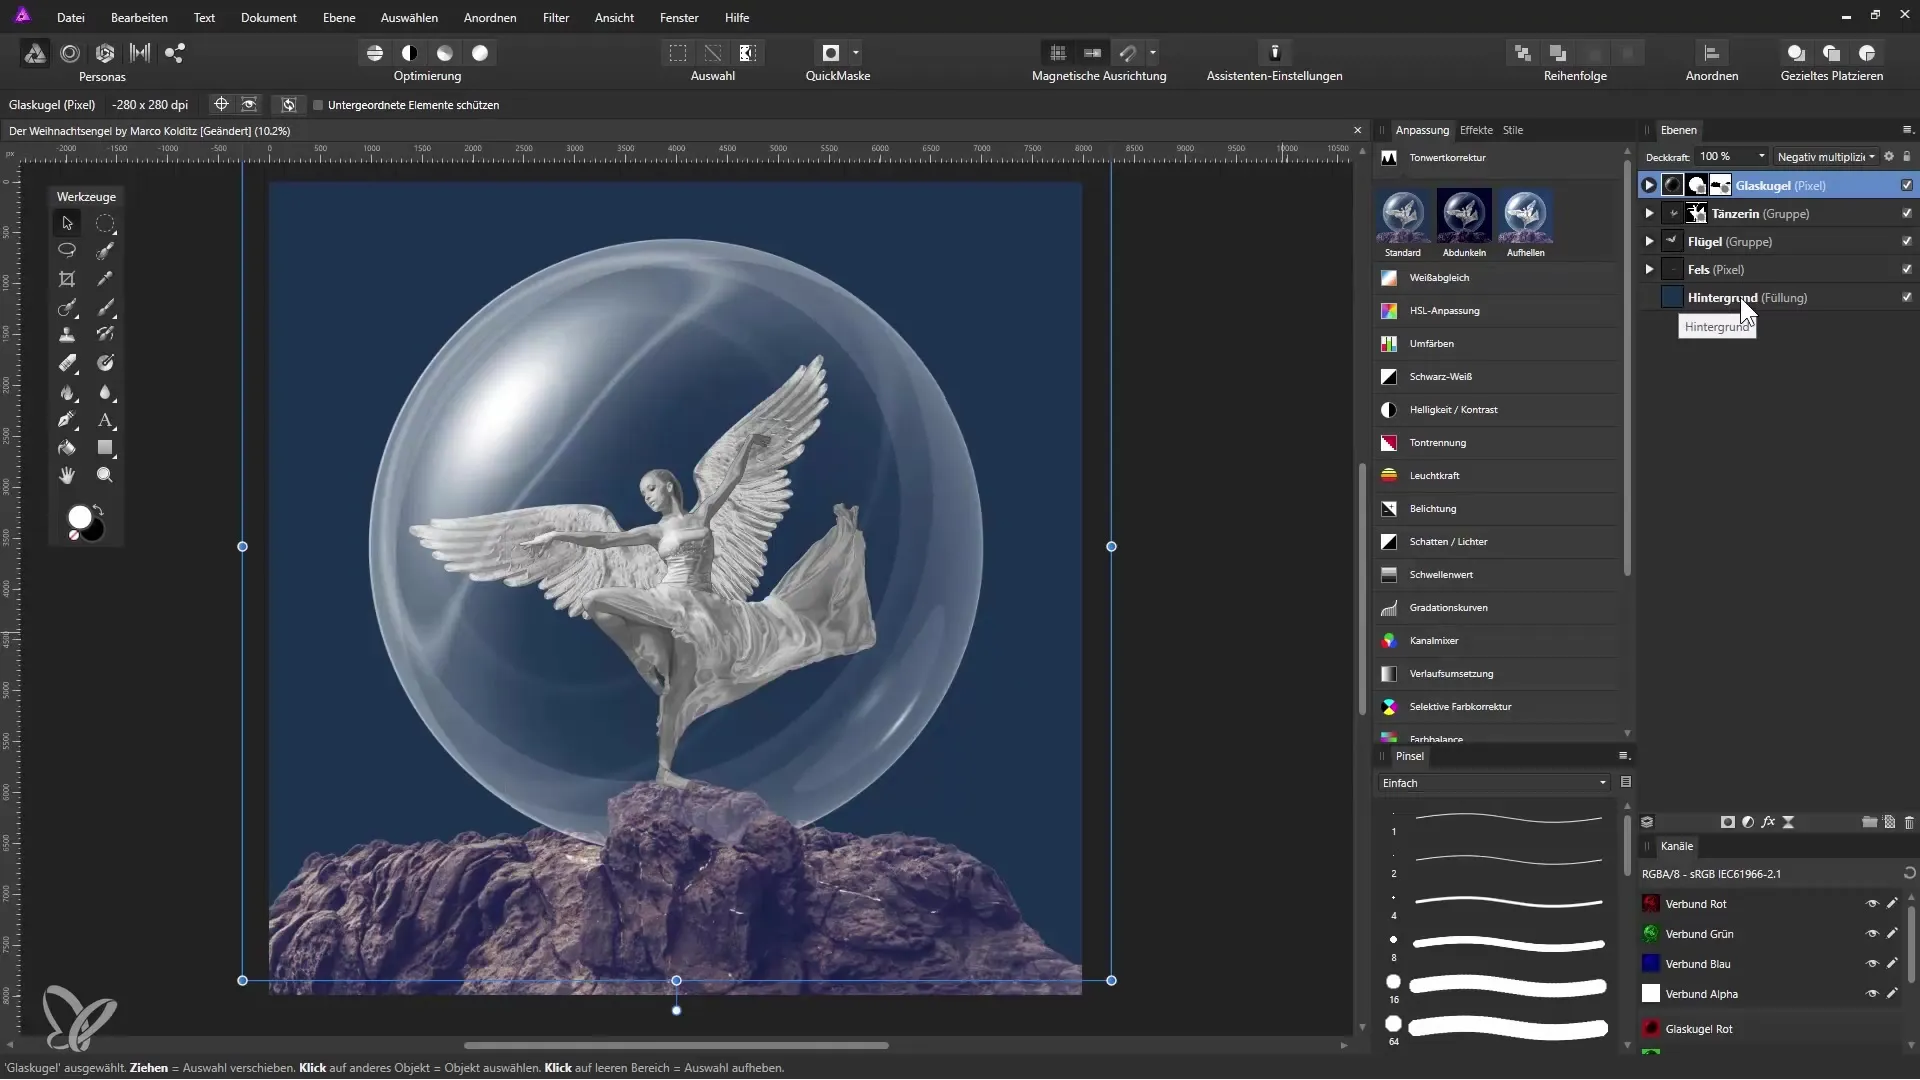
Now you can place your Christmas angel into the globe. It is important to organize layers so that the angel is visible behind the globe while the foreground is worked out from the mask.
Using Masks for Details
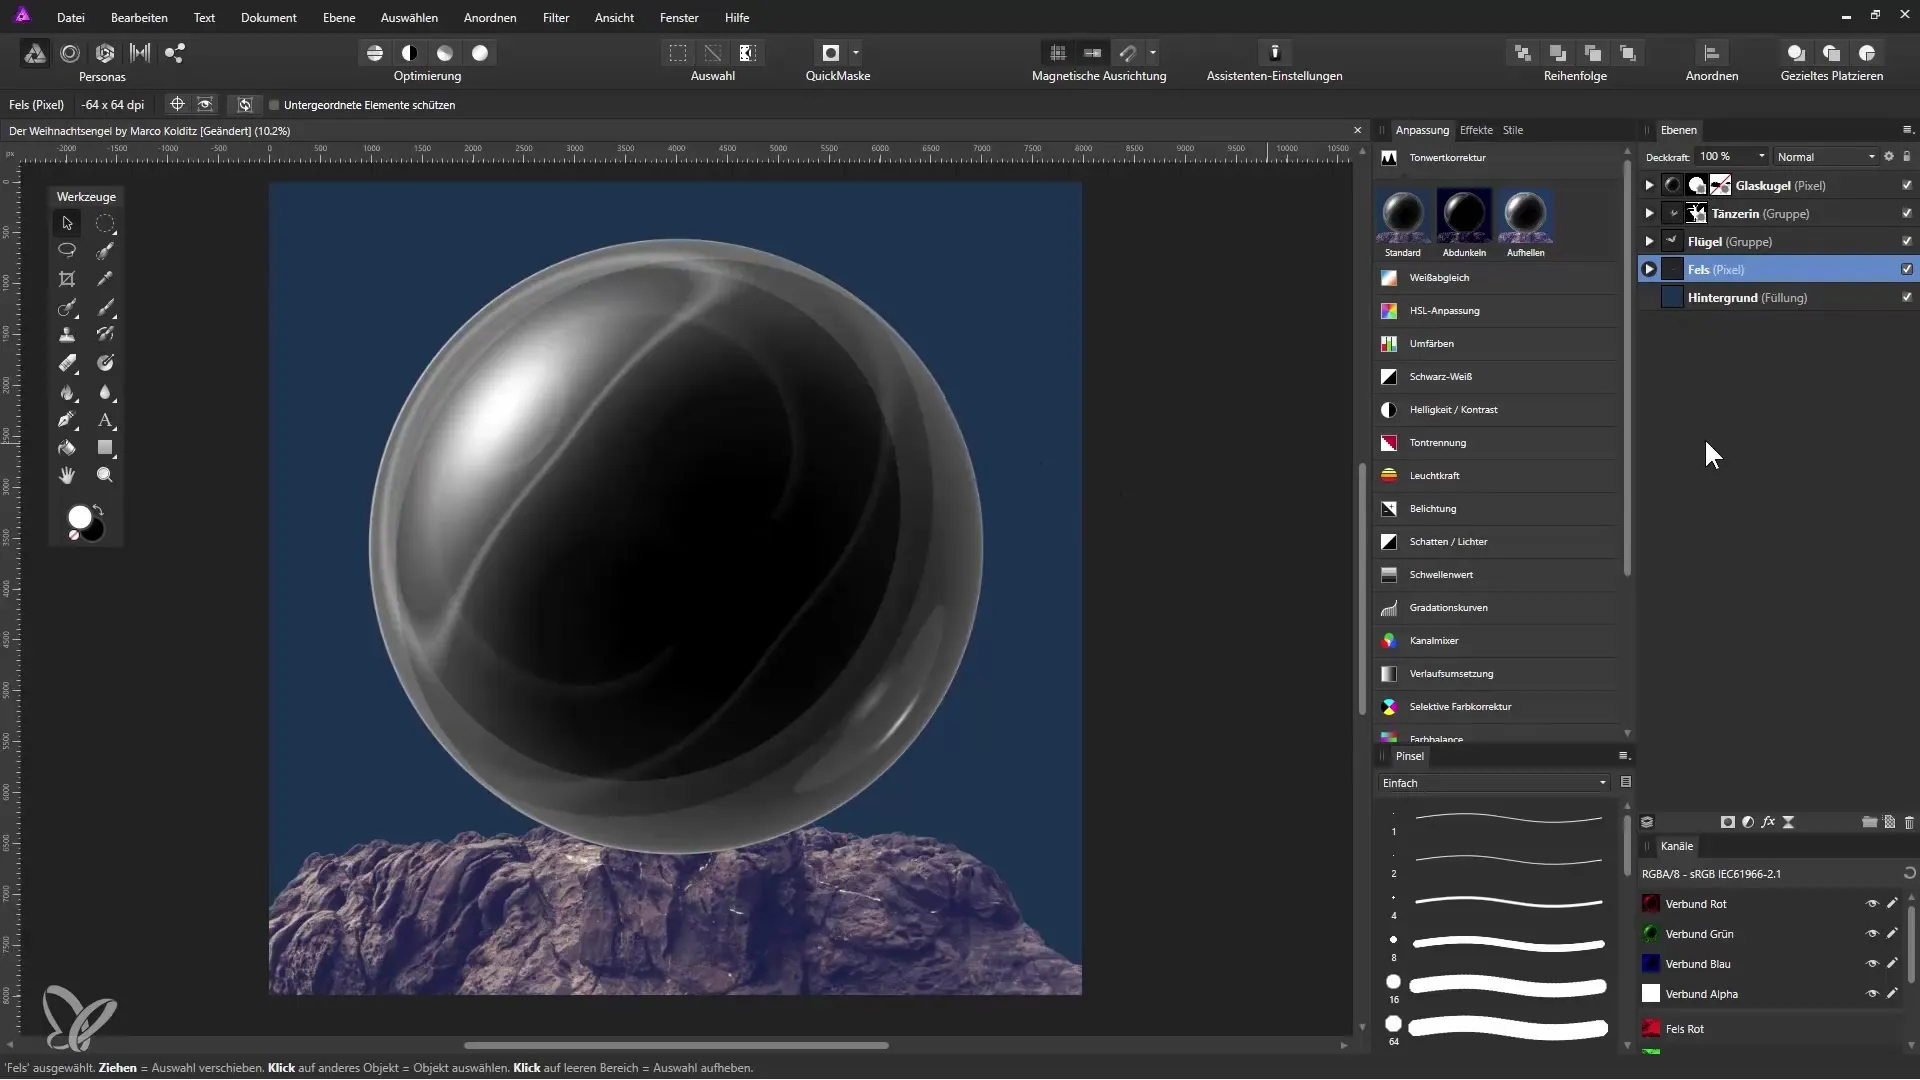
If you want to make part of the rock visible in front of the globe, create a second mask. Set the active mask to represent the desired area. To activate it, hold down the Shift key and click on it.
Applying the Glass Effect
Apply a layer mode to the glass globe layer. Set it to “Negative Multiply” to enhance the glass effect. The result will be visible by overlaying it with a fill layer in blue that you created via “Layer” > “New Fill Layer.”
Summary - Create a Glass Snow Globe with Affinity Photo
Through the steps in this guide, you have learned how a snow globe is created in Affinity Photo. You have created lens flares, transformed them into a globe, and made important adjustments for the glass effect. The masking system in Affinity Photo allows you to unleash your creativity and design precise objects.
Frequently Asked Questions
How do I create lens flares in Affinity Photo?Lens flares can be created in Photoshop and then imported into Affinity Photo, as there is no native function for this.
Can I move objects during the selection?This is not possible in Affinity Photo. However, you can use guidelines to mark the position.
How can I change the opacity of a layer?To change the opacity of a layer, click on the layers palette, and adjust the opacity slider.
