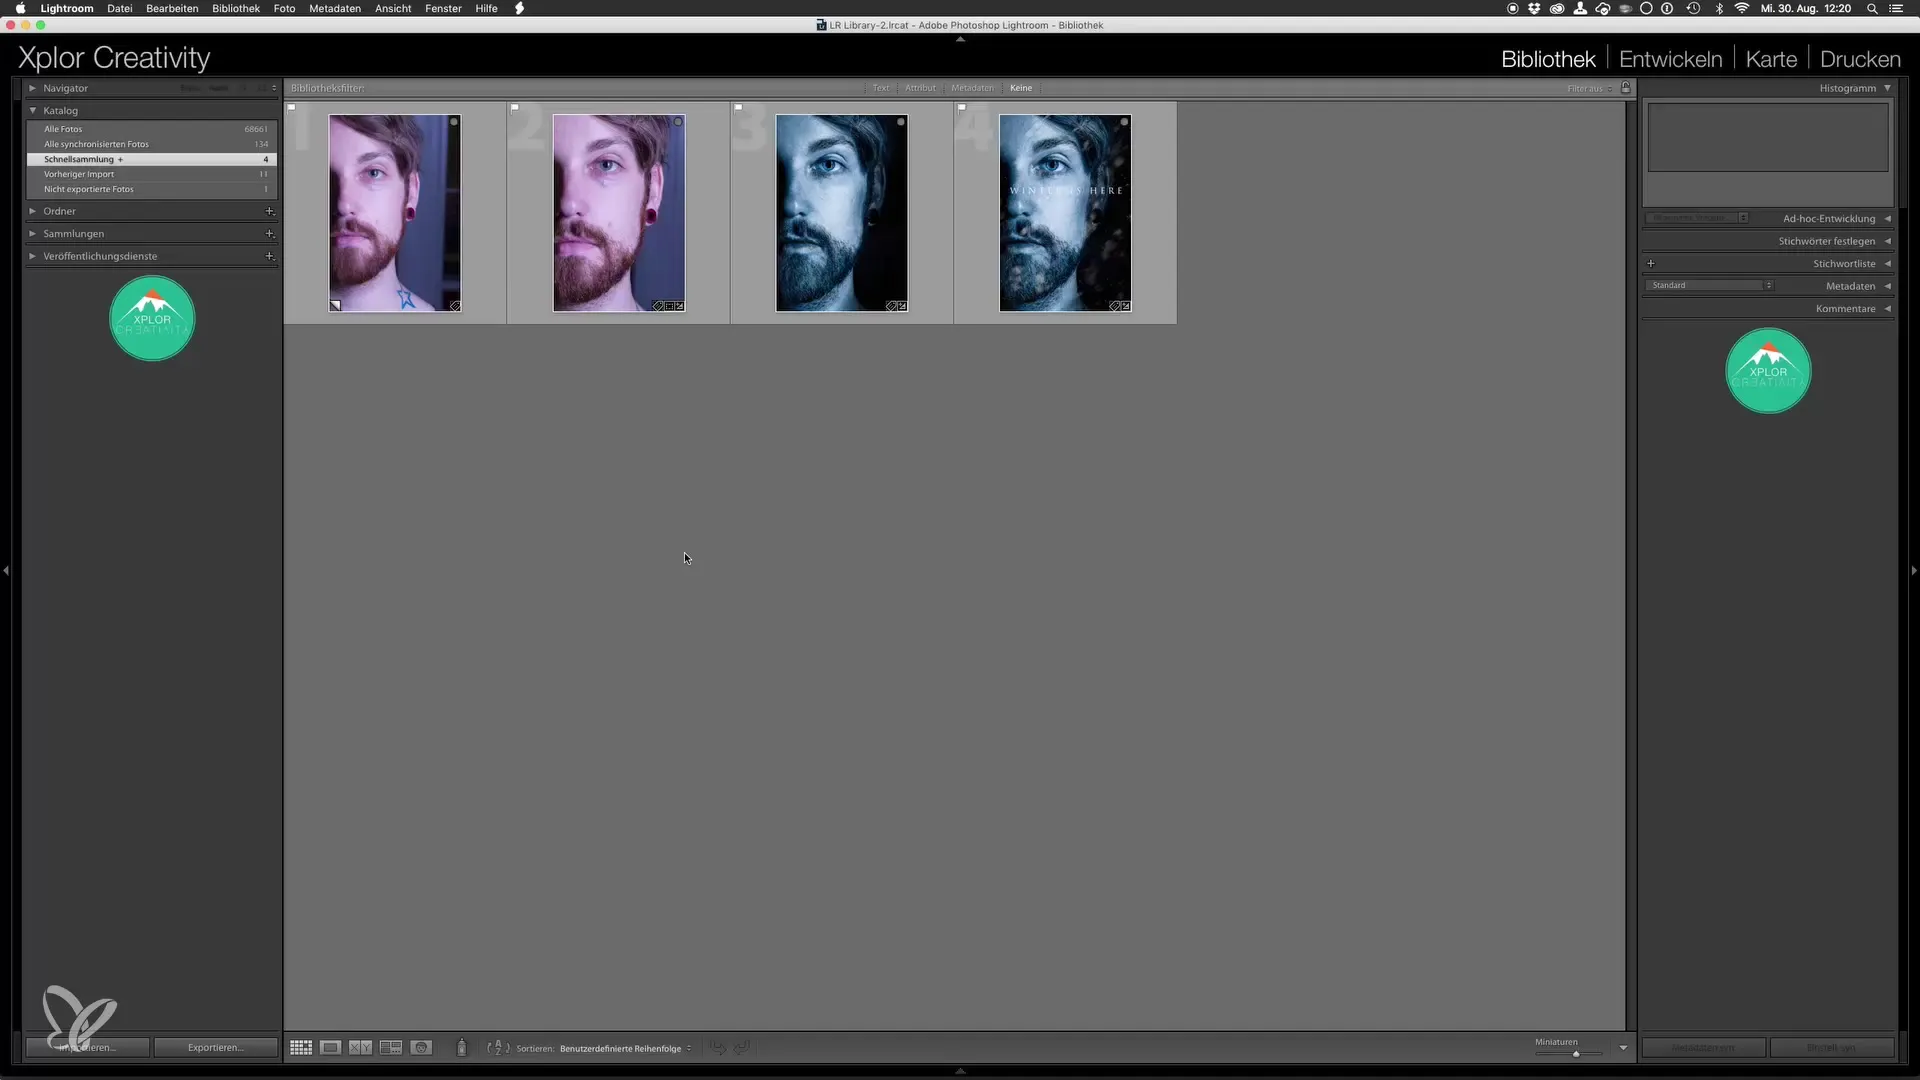
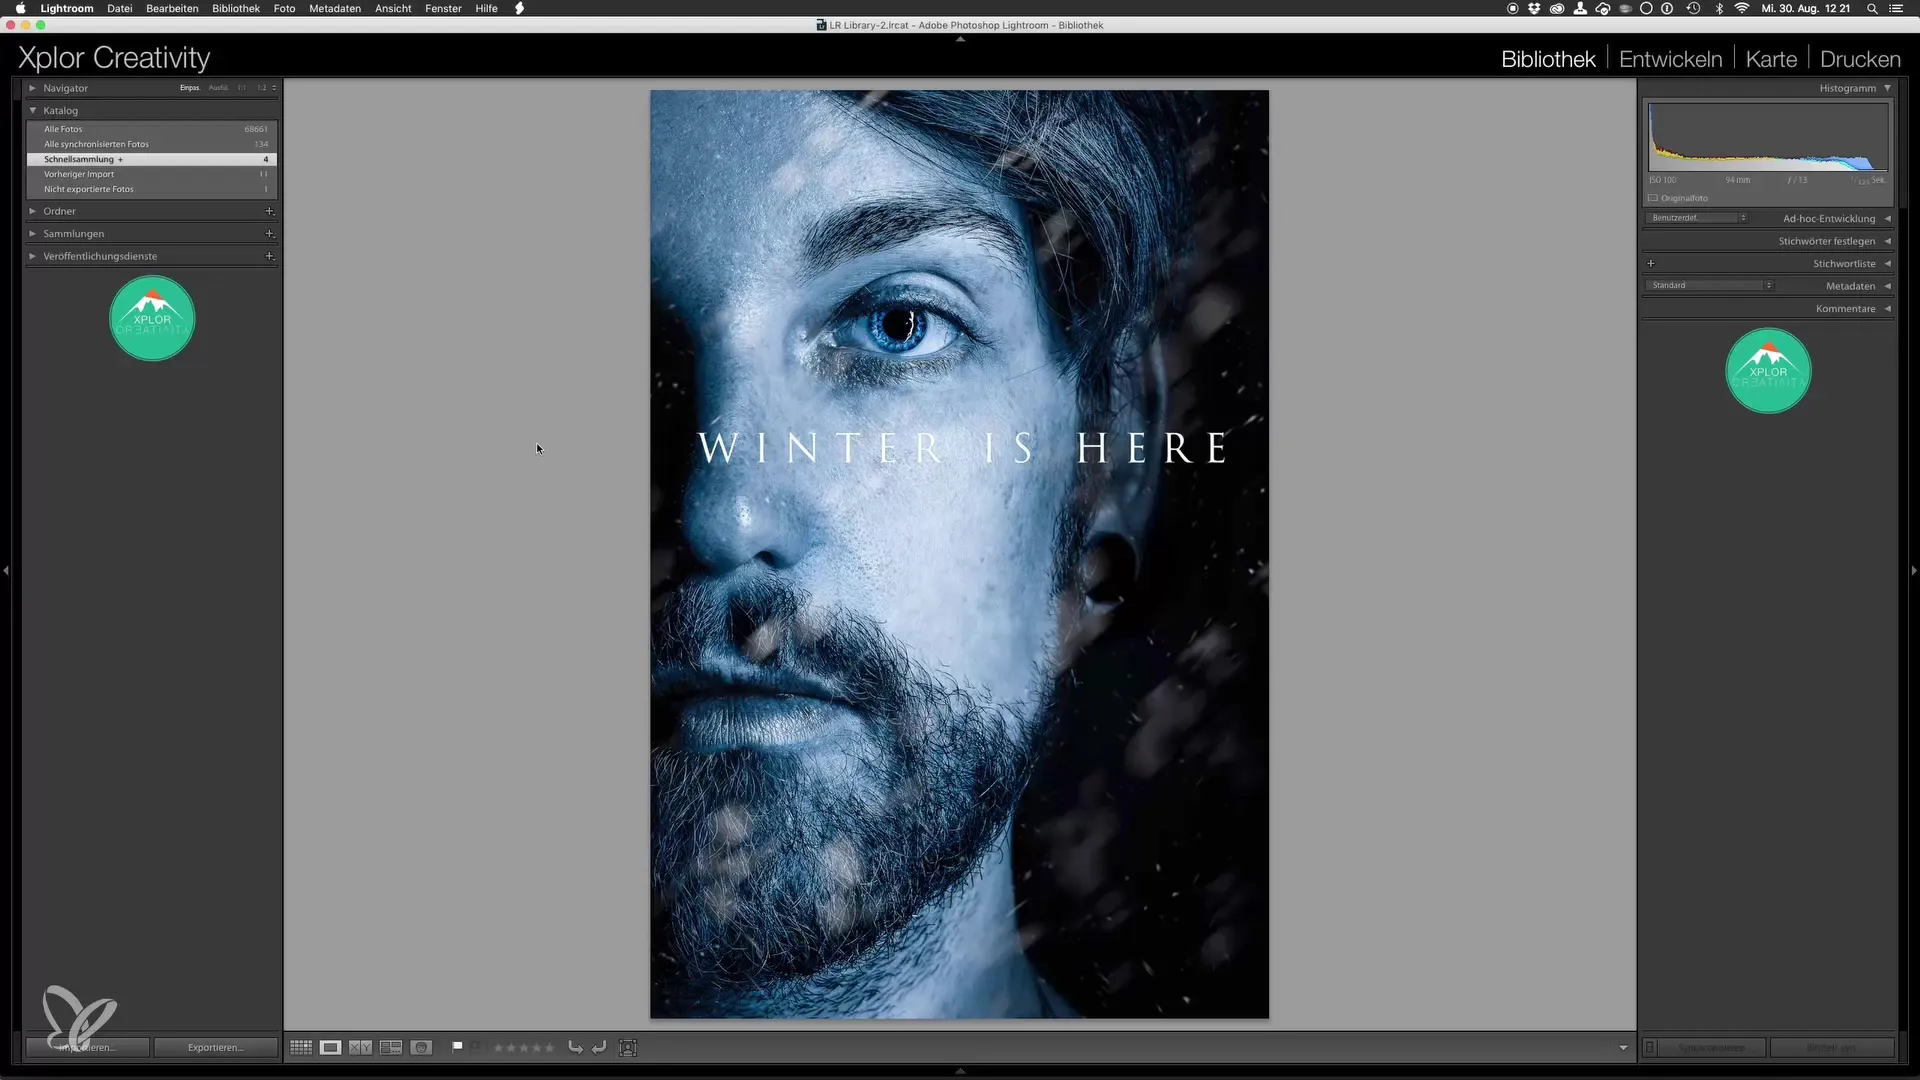
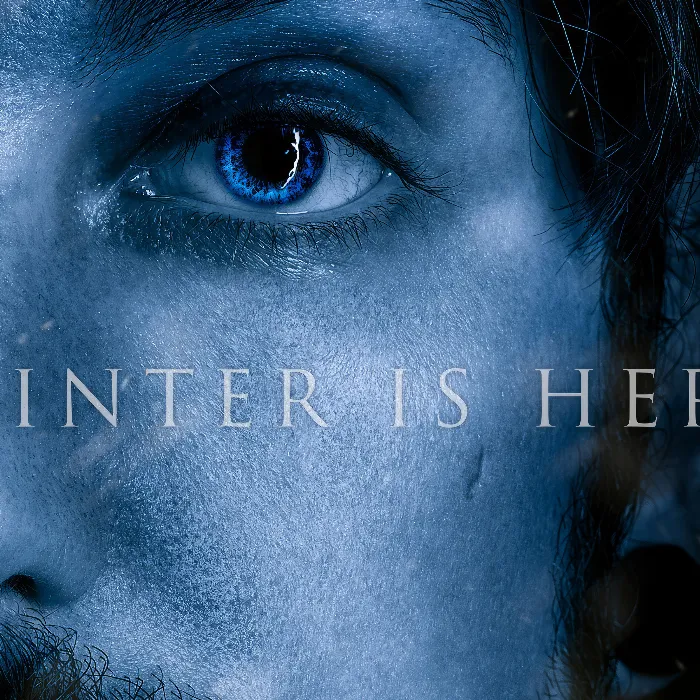
Welcome to a creative adventure where you will learn to recreate the iconic portrait style of the Game of Thrones posters. In this tutorial, I will take you on a journey as we transform your original photo into a stunning Game of Thrones piece. You will not only get to know the necessary steps, but also receive valuable tips on lighting, camera settings, and image editing in Photoshop.
Key Takeaways
- One-sided lighting is crucial for the look.
- Using specific camera settings maximizes image quality.
- Editing in Lightroom and Photoshop is key to achieving the desired style.
Step-by-Step Guide
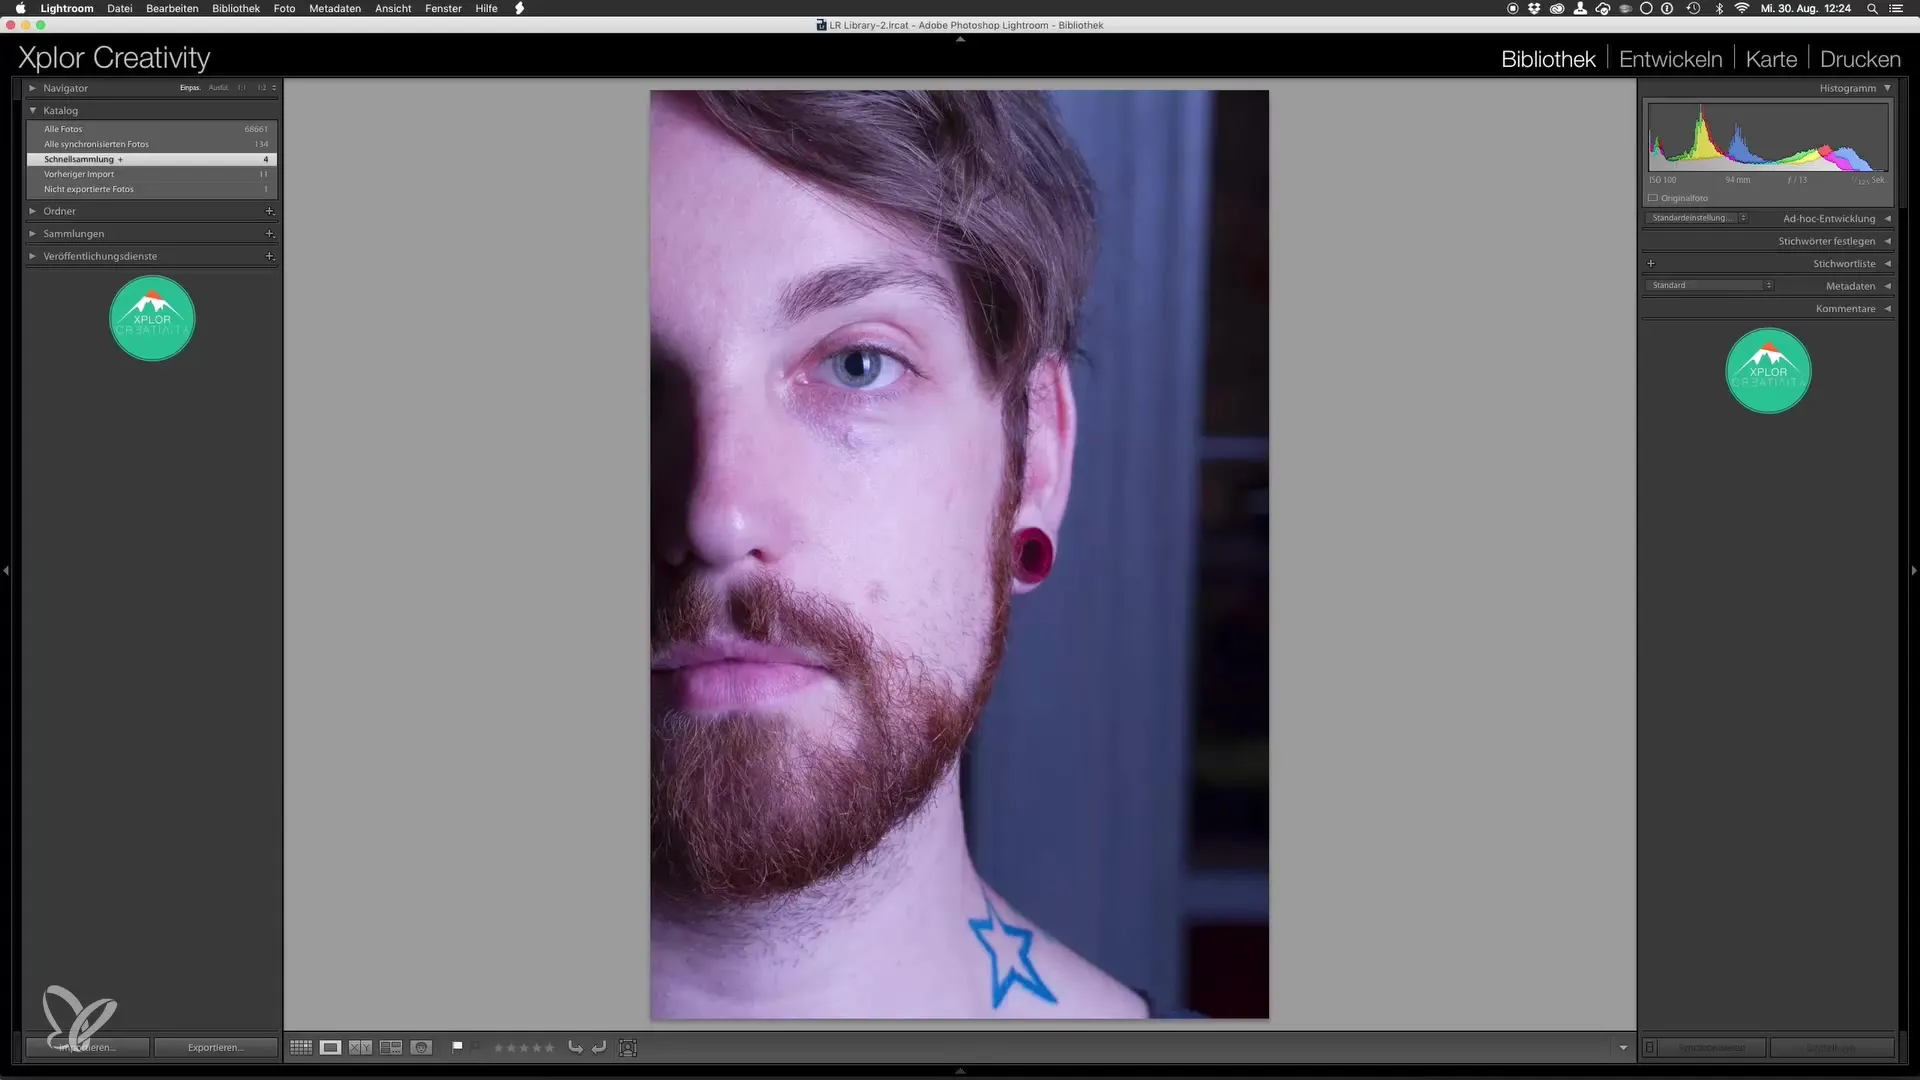
First, we start by setting up the prerequisites for your portrait. Lighting is one of the most crucial factors. Ideally, the lighting should be one-sided to achieve the dramatic effect that you see in the official movie posters.

For lighting setup, I recommend using a striplight softbox. This type of softbox allows you to position the light source at a 45° angle, illuminating one side of the face while keeping the other side in shadow. This enhances the dramatic effect and gives your image the depth it needs.

The portrait you use for this project should be well-prepared. Make sure the background lighting is not too bright since you will hide it in post-processing later anyway. Stay relatively far from the background to achieve a nice blur.

The camera settings are also important. For the shoot, you should choose an ISO of 100. Ideally, aperture values between f/11 and f/16 should be used to ensure sufficient sharpness in the image. Make sure the shutter speed is not too long - ideally about 1/125 seconds. This ensures that the image remains sharp due to the flash.
Remember to leave space above the eyebrows. This allows you to crop the image accurately later. During the shoot, also make sure that the tip of the nose and the ears are not completely sharp, to maintain a natural look.
To achieve the original bluish color tone, you can set the white balance in the camera to the coolest setting. This will give you a sense of how the final result might look. Although you can adjust this setting later in Photoshop, the initial impression is important.
After taking your portrait, it’s time for the first basic editing in Lightroom. Here, a base adjustment of the image is made. These steps involve simple adjustments like exposure, contrast, and color saturation that will help you prepare the image for further editing.
Once these basic edits are complete, you can continue editing the image in Photoshop to create the desired Game of Thrones look. Here, we add special textures and modify colors to give it the final touch.
Summary – Popular Movie Posters and Cinema Effects in the Style of Game of Thrones
In this guide, you have learned the key techniques to recreate the Game of Thrones portrait style. From important lighting setups to ideal camera settings and basic editing steps in Lightroom and Photoshop – now you are ready to create your own impressive artwork.
Frequently Asked Questions
What kind of lighting setup is best for the Game of Thrones style?One-sided lighting with a striplight softbox is recommended to achieve the dramatic effect.
What camera settings should I use?ISO 100, aperture between f/11 and f/16, shutter speed of about 1/125 seconds.
Why is white balance important?A cool white balance gives you a first impression of the final look and helps in later post-processing.
Is it necessary to use a striplight softbox?It is not strictly necessary, but it is highly recommended to achieve the desired light reflection.
How can I influence the background in editing?You can completely hide or weaken the background in Photoshop to focus on your portrait.

