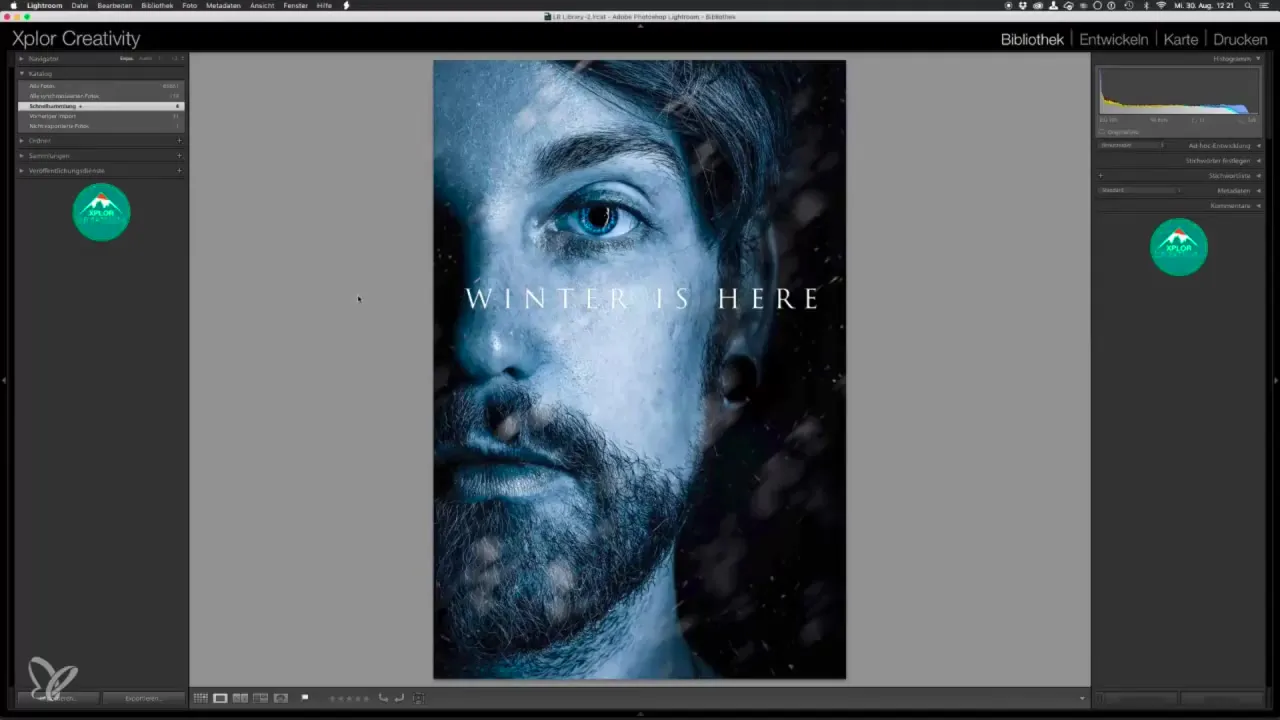
Do you want to learn how to create an impressive portrait in the style of “Game of Thrones”? This tutorial will show you step by step how to achieve impressive results with Photoshop and Lightroom. As a professional photographer in the fields of architecture, food, and animal photography, I have learned many techniques that I will incorporate into this video training. Let’s dive into the world of “Game of Thrones” together and enhance your photo editing skills.
Main insights
- You will learn how to transform a portrait into the dramatic style of “Game of Thrones”.
- You will receive high-quality textures for your projects, including a snow overlay and a special texture for eye reflections.
- The training is hands-on and guides you through all the necessary steps to create an impressive poster.
Step-by-Step Guide
To create a portrait in the Game of Thrones style, here are the steps that will lead you to a finished image. You can find each image you need to follow the instructions in the video.
Step 1: Selecting the Portrait
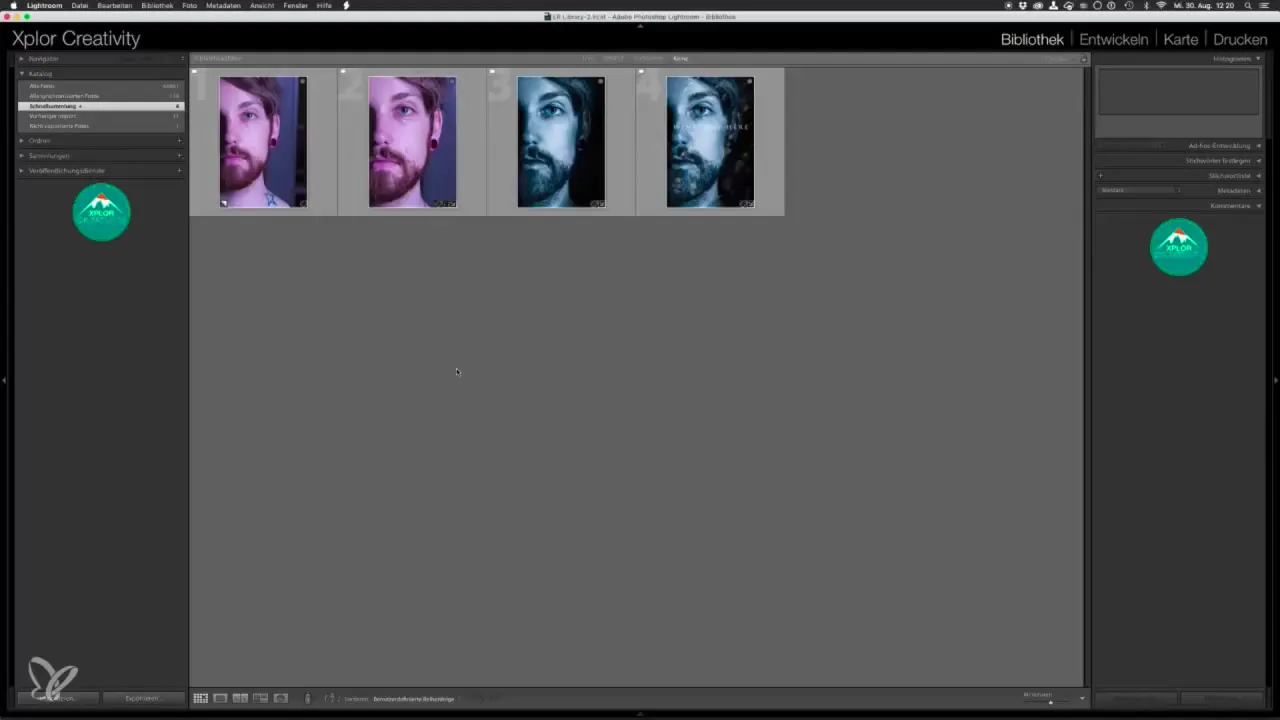
First, choose a suitable portrait image that you want to edit. Make sure that the lighting and the expression of the model fit well together to achieve the dramatic effect of the Game of Thrones style.

Step 2: Preparing in Photoshop
Import your selected portrait into Photoshop. Here you need to ensure that the image size and resolution are appropriate to integrate the desired textures and effects. Go to the image settings and adjust the size if necessary.
Step 3: Creating the Dramatic Look
To achieve the typical dramatic look, apply various editing techniques. This includes adjusting contrast and brightness to enhance the character of the portrait. Experiment with the right values that suit your image.
Step 4: Adding the Snow Overlay
With the provided texture for the snow overlay, you add a new dimension to your image. Place the texture over your portrait and apply the appropriate layer styles to ensure a harmonious integration.
Step 5: Fine-tuning the Eye Reflection
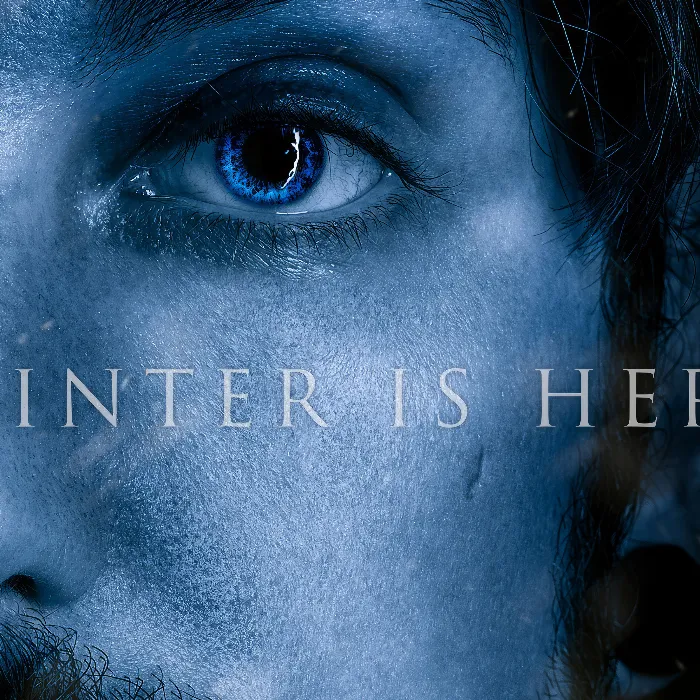
For the eye reflection, use the special texture I provide for you. Ensure that the eyes appear lively and that the reflections fit the overall mood of the image.

Step 6: Final Fine-tuning
Now it’s time for the final adjustments. Check whether all elements work harmoniously together and make fine adjustments to the color tones and sharpness if necessary. Be careful not to lose any details.
Step 7: Exporting the Final Product
When you are satisfied with the final result, export the image in the desired quality. Be sure to optimize the image for various purposes – whether for social media or print.
Summary - Creating a Poster in the Style of Game of Thrones – A Photoshop and Lightroom Tutorial
In this Tutorial, you have learned the steps to create an impressive portrait in the Game of Thrones style. From selecting the portrait to adding textures and final fine-tuning, you have learned valuable techniques and can work creatively in the future.
Frequently Asked Questions
How much time is needed for this tutorial?Depending on your prior knowledge and attention to detail, you can complete the project in about 1 - 2 hours.
Can I use my own textures?Yes, you can use your own textures at any time to integrate your personal style.
Where can I find the provided textures?The textures will be made available in the supplementary materials list in the video tutorial.
What programs do I need for this tutorial?You will need Adobe Photoshop and Lightroom to apply the techniques smoothly.

