Do you want to edit your photos to take on the impressive style of movie posters similar to “Game of Thrones”? With Adobe Lightroom, you can lay the groundwork for this by making some basic adjustments. This guide will take you step by step through the effective editing of your images, so you can optimally prepare them for the subsequent retouching in Photoshop. Let's get started!
Main Takeaways
- Activate lens correction to minimize distortions and vignetting.
- The crop plays a crucial role in image composition.
- Increase clarity to highlight details and pay attention to skin blemishes.
- Use basic sharpening to facilitate editing.
- Open the image in Photoshop as a Smart Object to be able to undo adjustments later.
Step-by-Step Guide
1. Activate Lens Correction
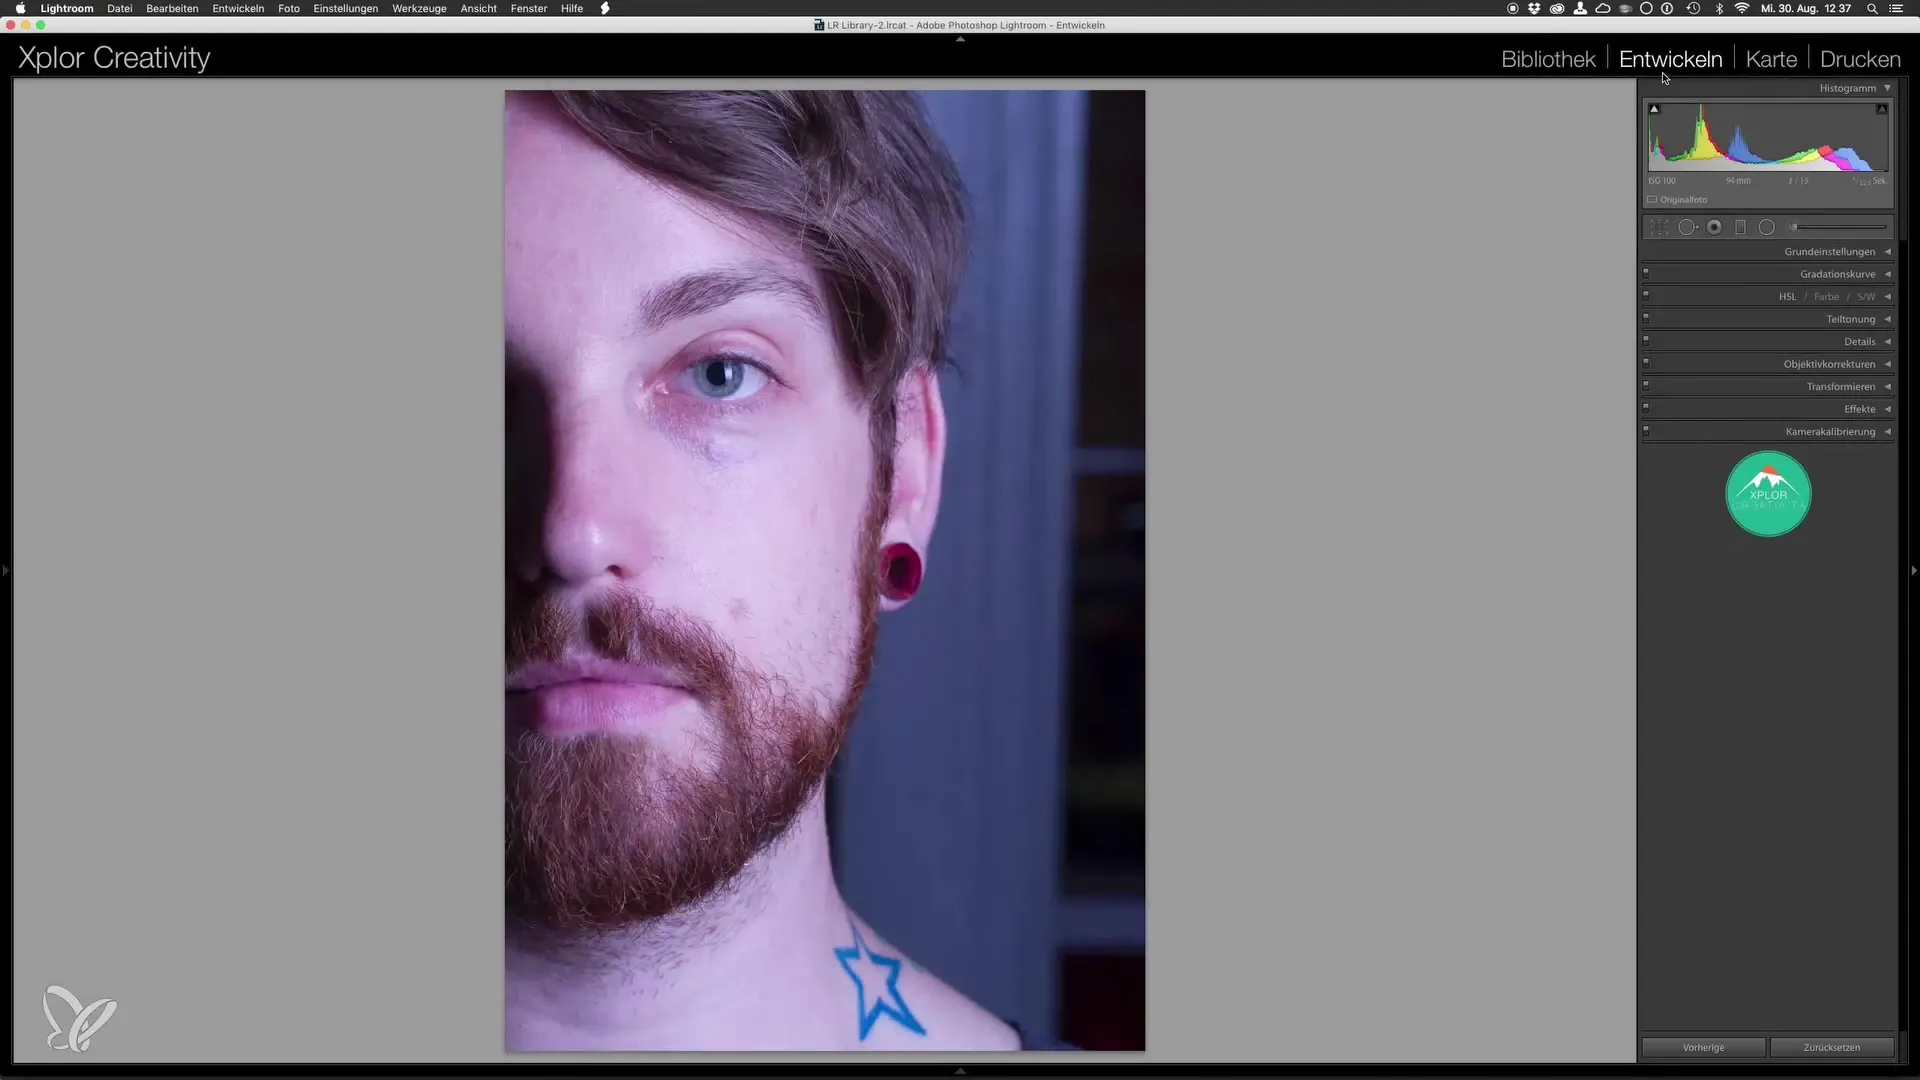
You are now in the Develop module of Lightroom. Your first step should be to activate lens corrections. To do this, go to the appropriate settings and check the boxes for lens correction. Lightroom will automatically recognize which lens you used and will correct any distortions as well as vignetting. With this first correction, you create a neutral image that forms the basis for your further edits.
2. Set the Final Crop
Your next step is to determine the final crop. Be sure to leave a little more space while photographing so you can adjust the crop flexibly later. In this step, select the appropriate aspect ratio, for example, 2:3. Then rotate the image, if necessary, to correct straight lines, like the nose. A well-proportioned crop ensures that the image looks harmonious – also in reference to typical movie posters.
3. Adjust Basic Settings
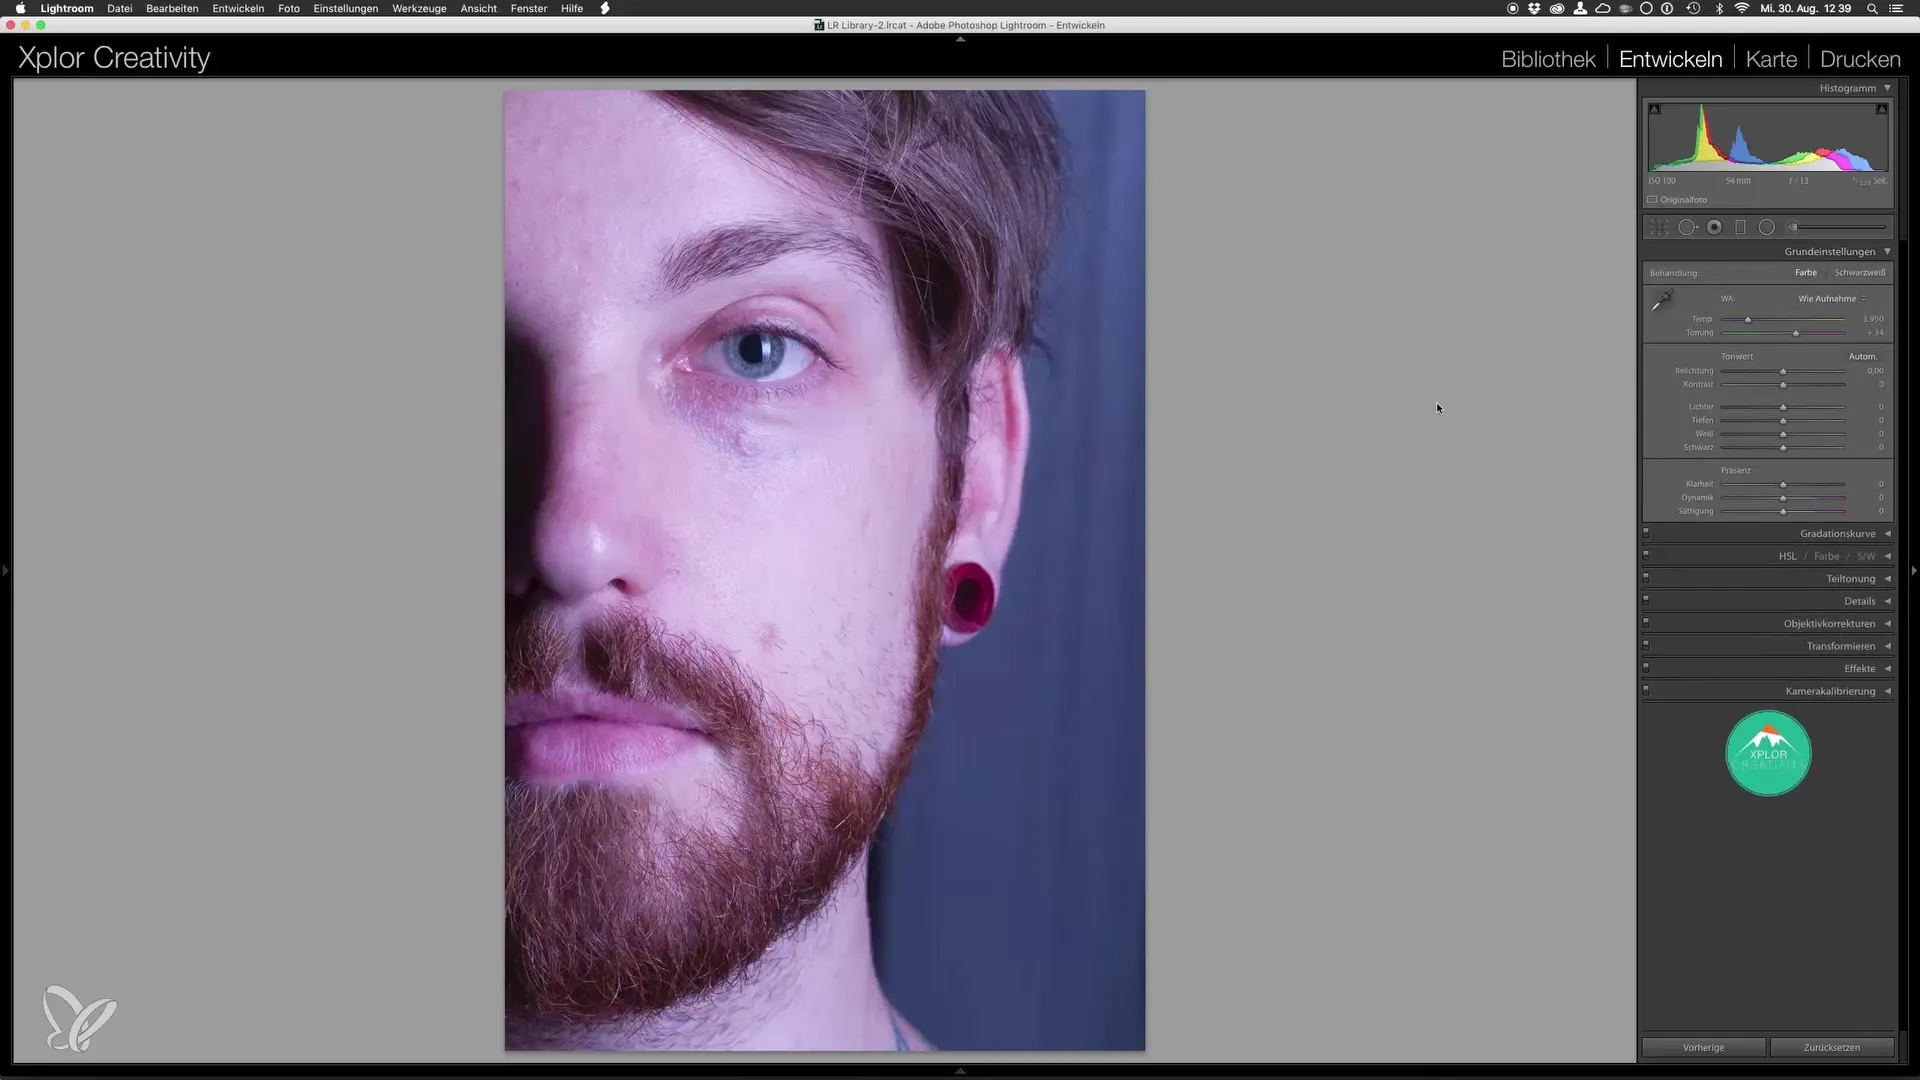
Now it's time to make basic adjustments. Start by increasing the clarity. A value between 30 and 35 is a good starting point. This will enhance the details in your image, especially skin blemishes, which is important for cleaning up the skin later in Photoshop. Make sure to slightly lift the shadows to emphasize the contrasts. You can also adjust the temperature here: lower it to give the image a cooler, bluish look. This will help you later with more color corrections.
4. Make Color Corrections
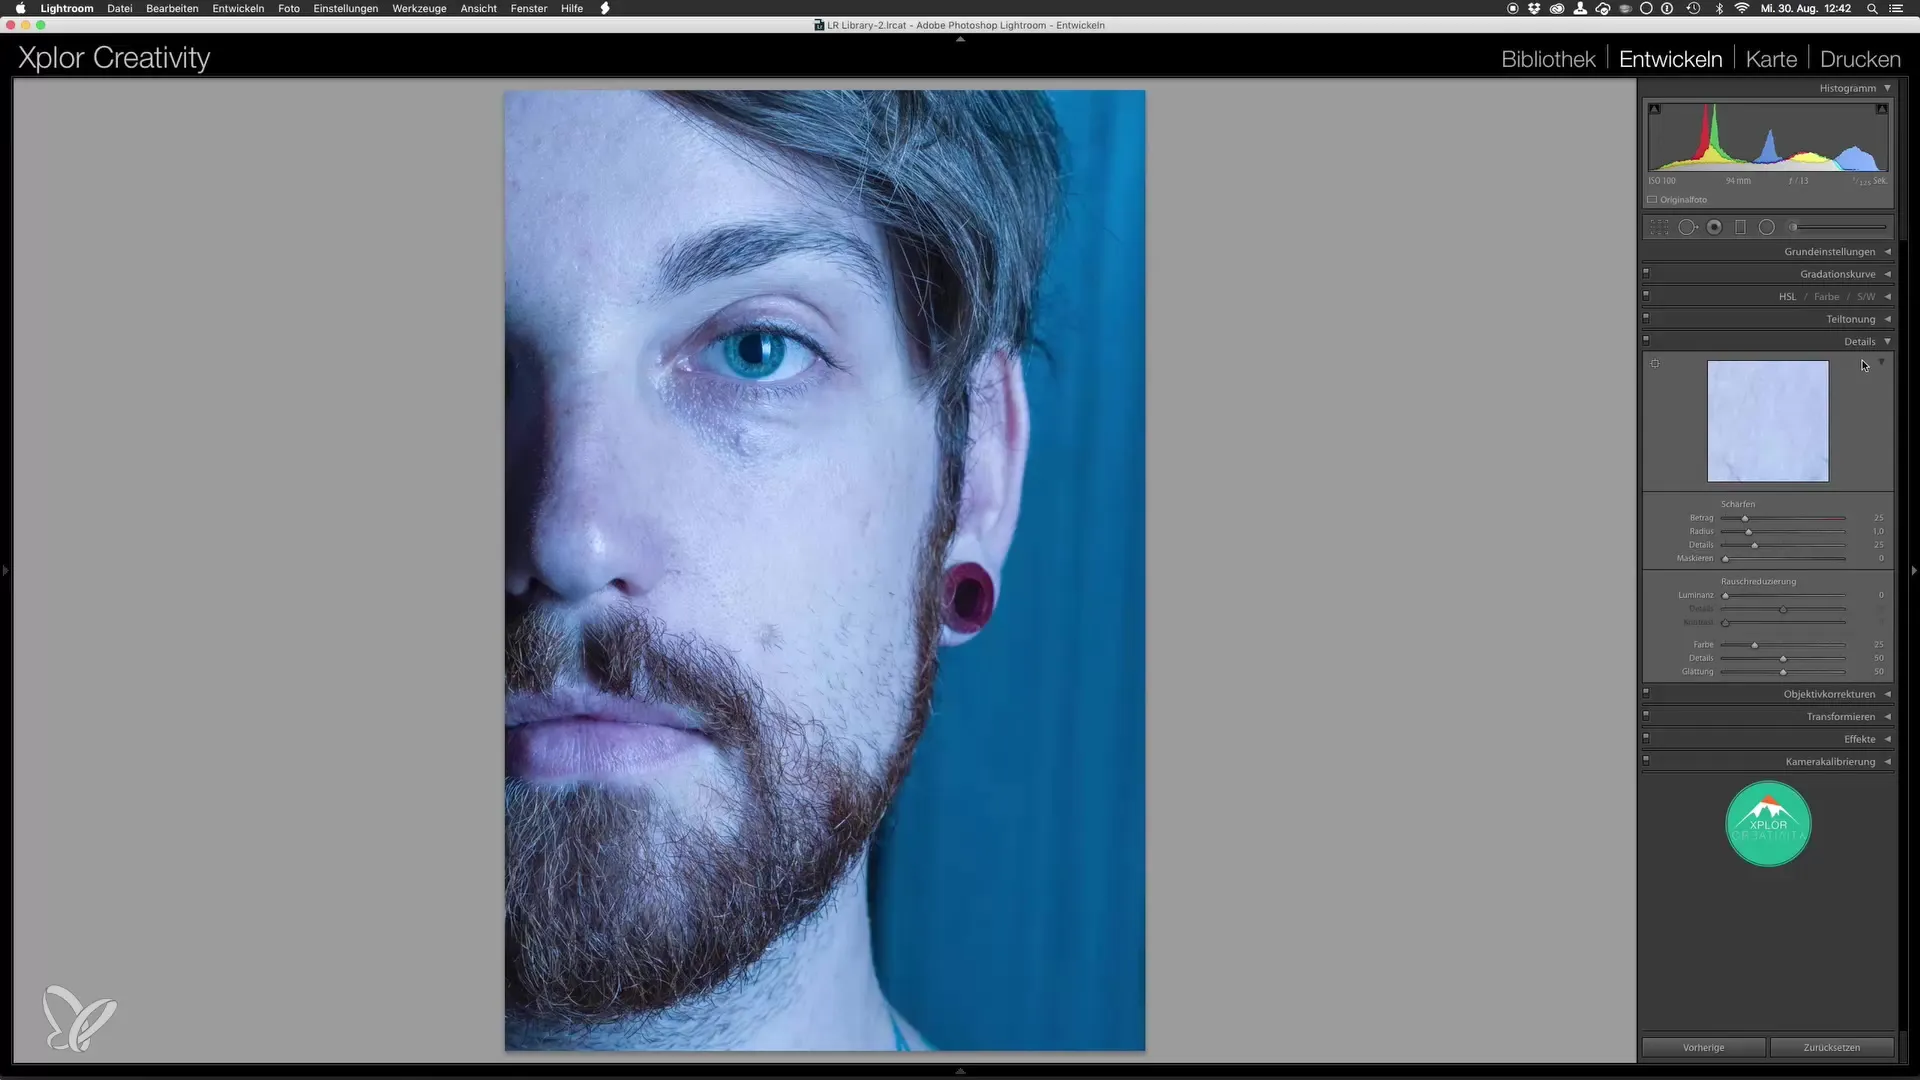
To achieve the desired color nuances, proceed to the Hue menu. Here, you can pull the magenta tone towards green to neutralize the blue-shadowed tones. Then you can darken the blue a bit more. Note that these color corrections play an important role in achieving the desired look reminiscent of “Game of Thrones.”
5. Add Sharpness
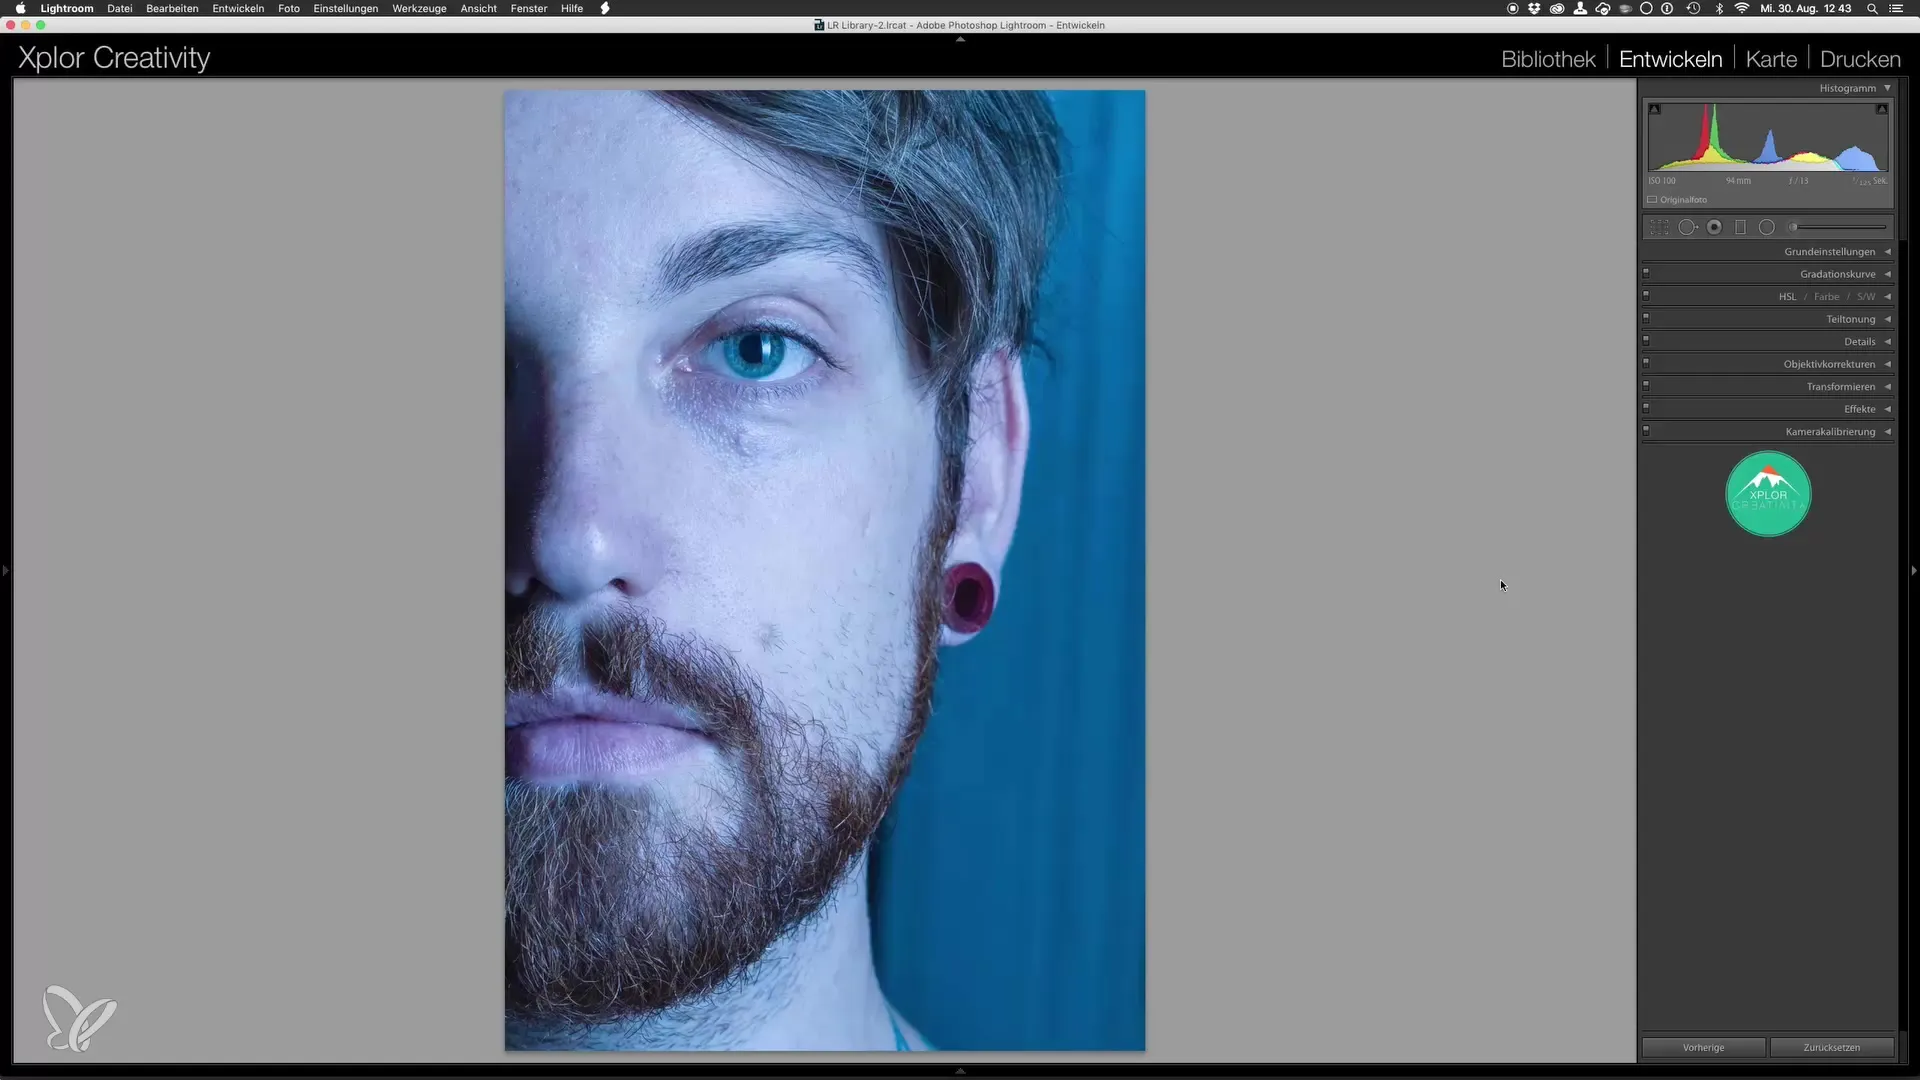
To conclude the basic editing, you should add basic sharpness to the image. Set the amount to 50 and the masking slider also to 50. With this setting, only the essential areas are brought into focus while uniform areas in the background remain untouched. Hold down the ALT key and drag the masking slider to visualize the sharpened and unsharpened areas. This will give you an image that appears clear and sharp, and is ideally prepared for further editing in Photoshop.
6. Transfer to Photoshop
Once you have completed your basic editing in Lightroom, it's time to open the image in Photoshop. Go back to the Library module, right-click on the edited image, and select “Edit in” and then “Open in Photoshop as a Smart Object.” This method allows you to undo all adjustments in Lightroom later if needed and offers more flexibility during editing in Photoshop.
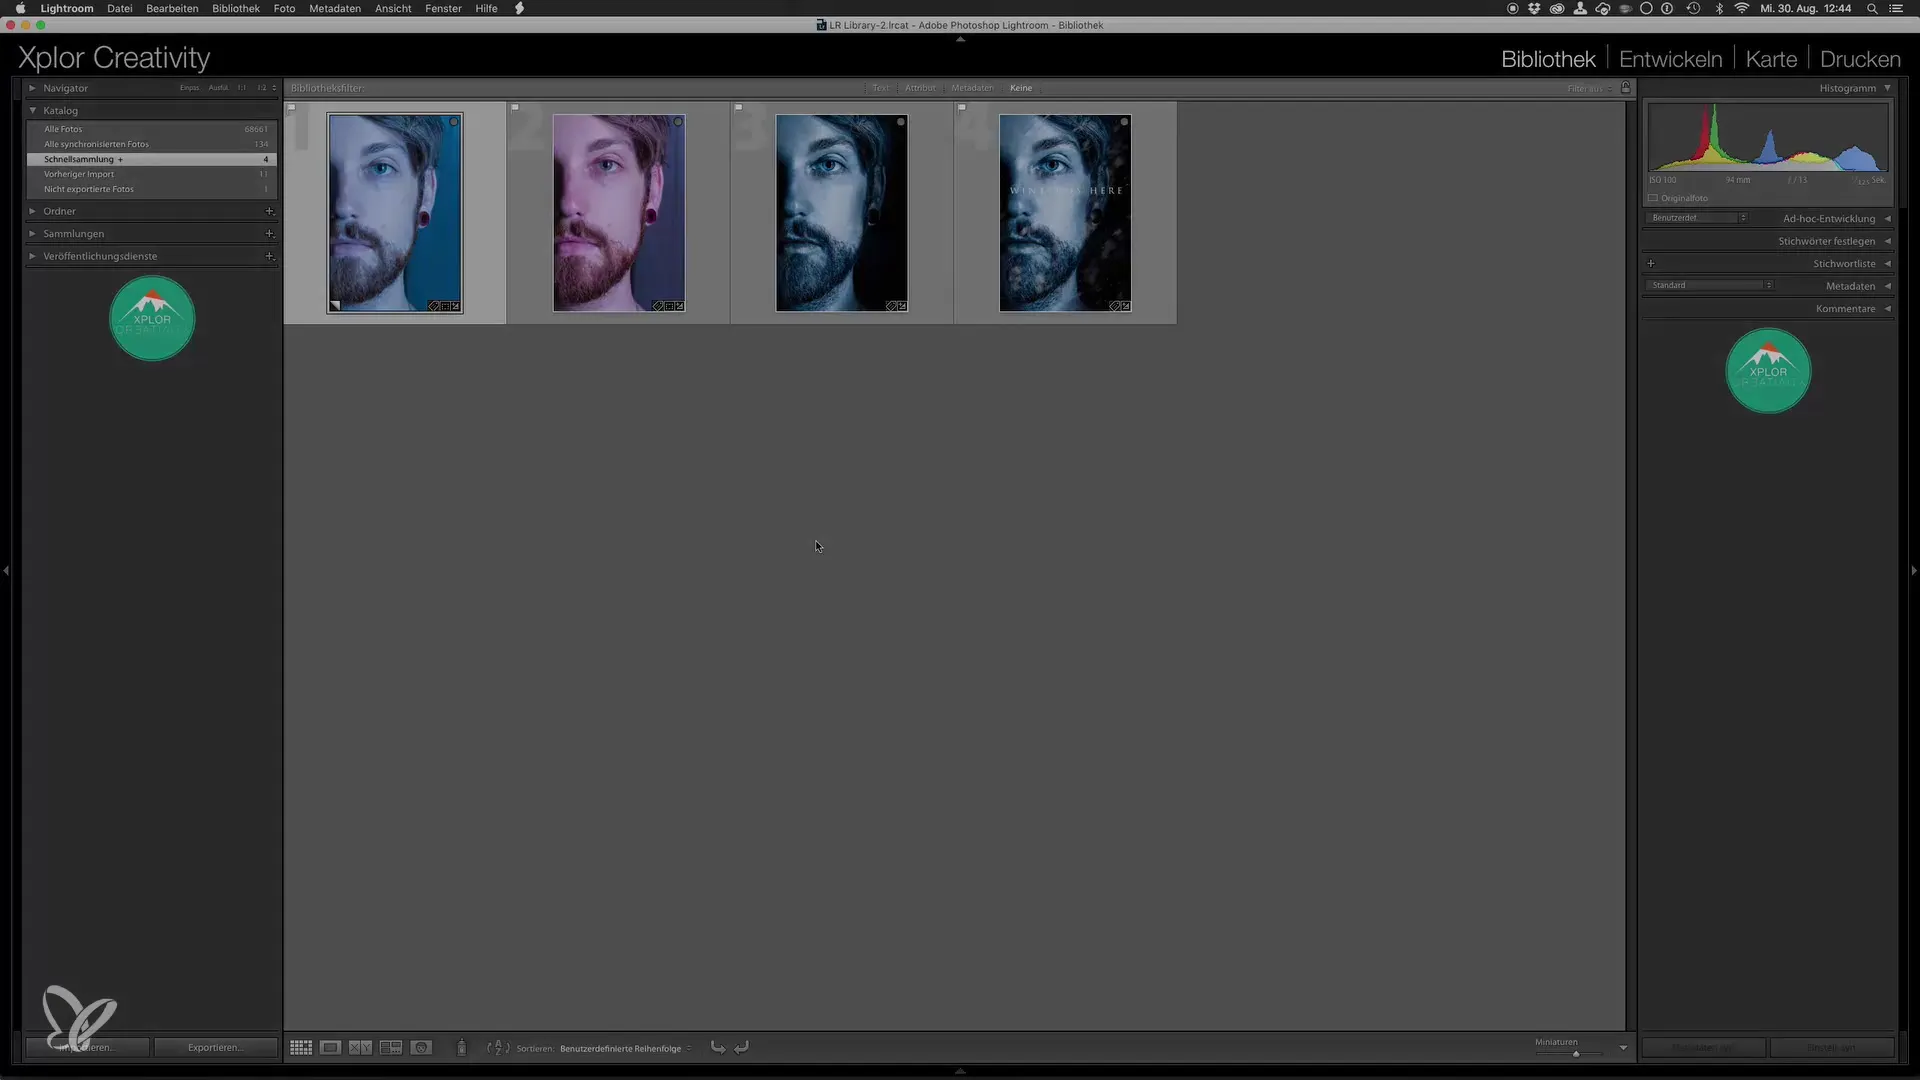
Summary – Popular Movie Posters and Cinematic Effects in the Style of Game of Thrones: Basic Editing in Lightroom
In this guide, you have learned how to prepare your photos in Adobe Lightroom to achieve the fascinating style of movie posters. You now know how to reduce distortions, set the crop, make color corrections if necessary, and optimally prepare the image for editing in Photoshop.
Frequently Asked Questions
How do I activate lens correction in Lightroom?Navigate to the lens settings in the Develop module and check the boxes for lens correction.
Why is the crop important?A well-chosen crop enhances the image composition and corresponds to the typical style of movie posters.
How high should I set the clarity?A starting value of 30 to 35 is ideal for emphasizing details.
What is the purpose of the masking slider for sharpening?The masking slider prevents uniform areas from being sharpened, leading to a naturally looking image.
Why should I open in Photoshop as a Smart Object?This method allows you to undo settings in Lightroom later without overwriting the original file.


