Whether you are just starting with version control or want to deepen your knowledge, the terminal on macOS is a powerful tool to use Git effectively. In this guide, you will learn how to open the terminal, understand the basics of the command line, and navigate through your file system to work with Git. Let’s get started!
Key Insights
- The terminal is an application on macOS located in the utilities.
- You can easily drag and drop directories into the terminal.
- With the commands pwd, cd, and ls, you navigate through your directories and view their contents.
- Git works best through the command line, especially for projects like Xcode.
Open Terminal
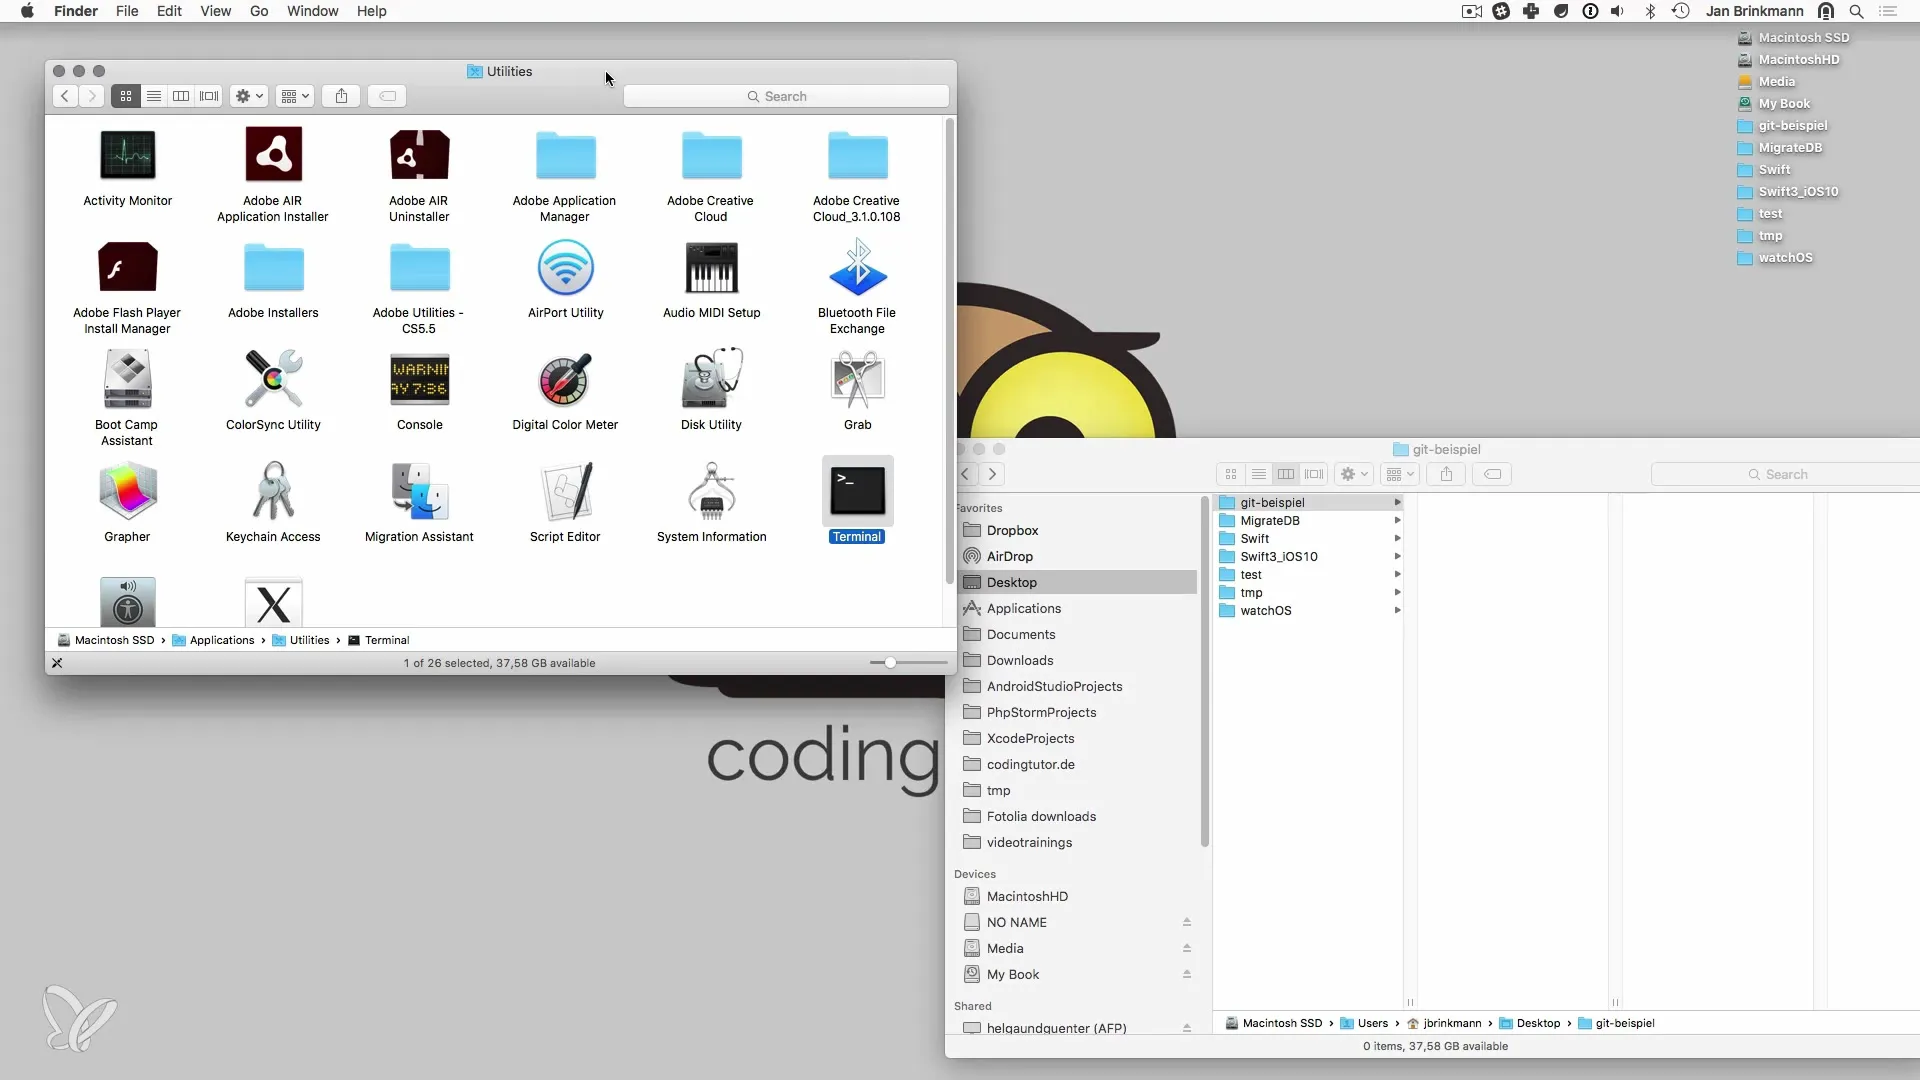
To open the terminal on macOS, go to the "Applications" directory and then to the "Utilities" subfolder. There you will find the terminal. A double-click on it opens the program.

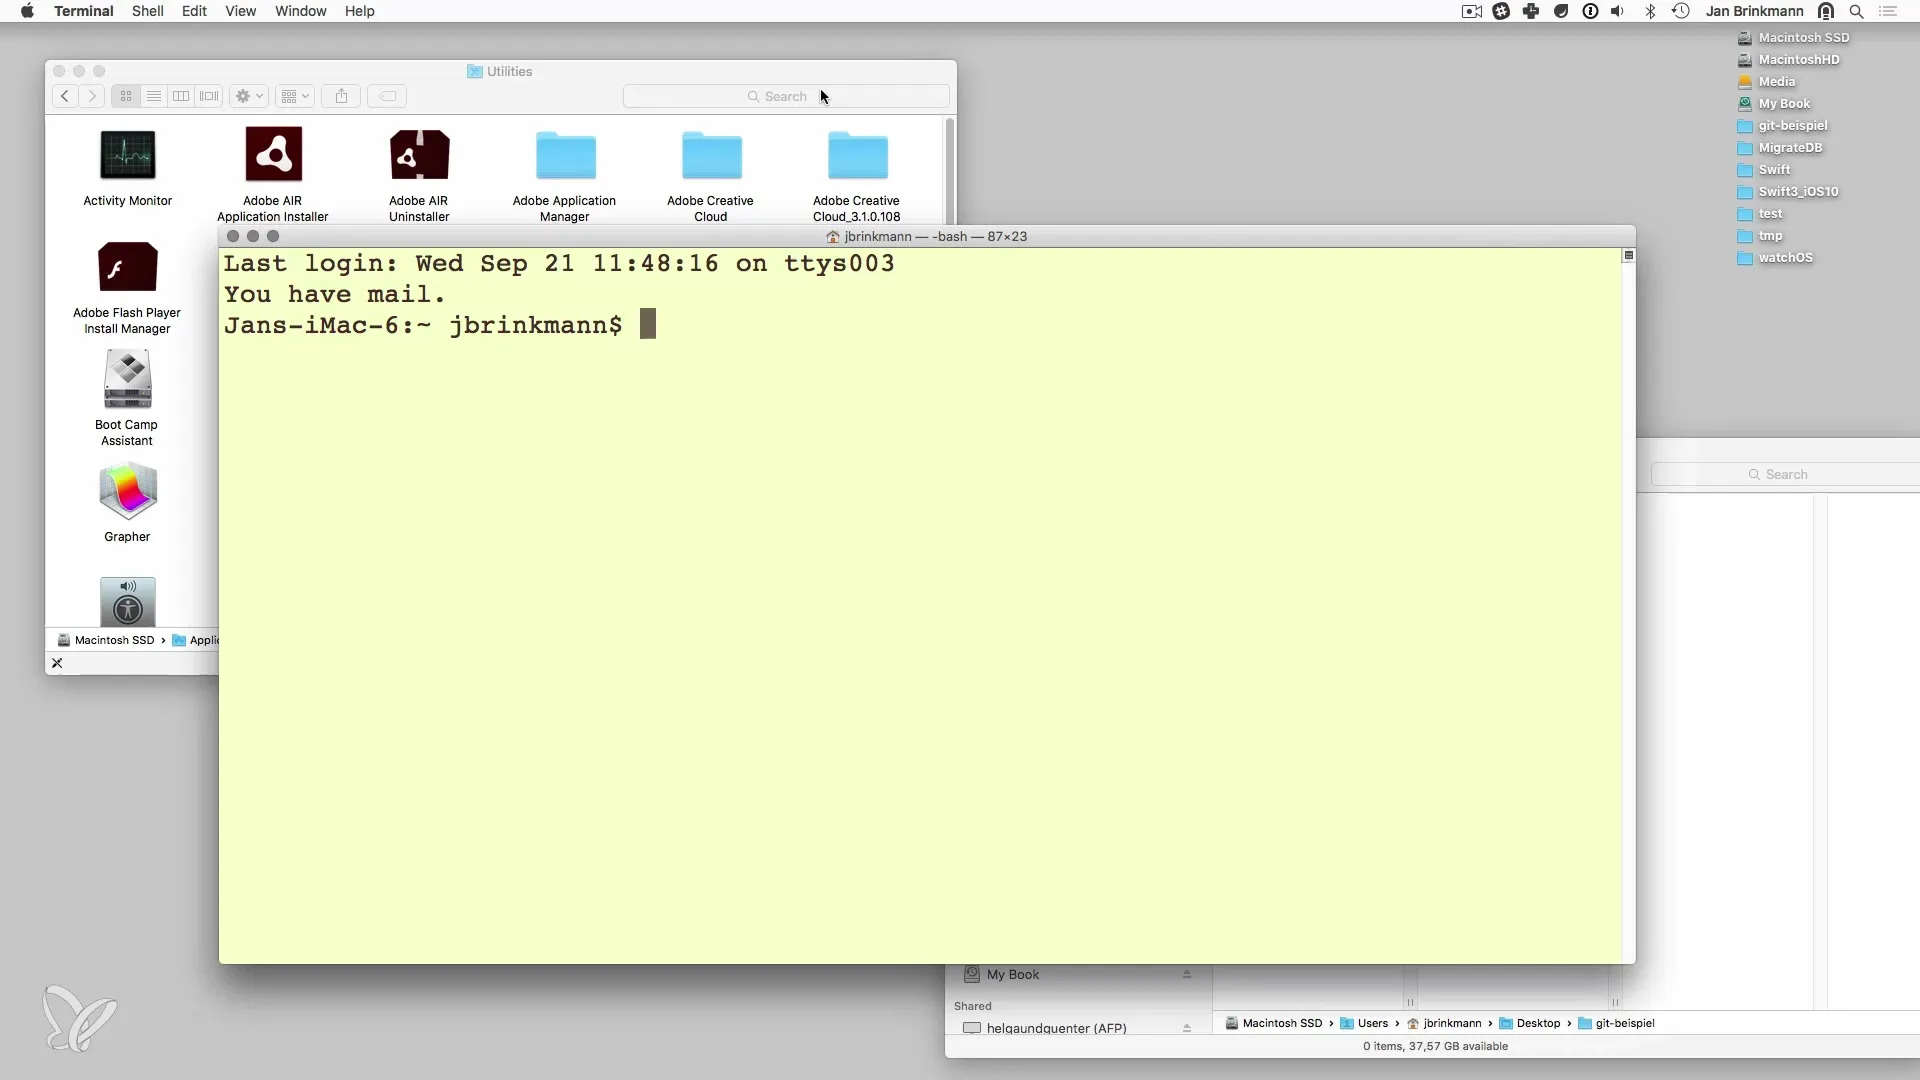
Once the terminal is open, you will see the command prompt where you can type commands. It is advisable to adjust the font size to your needs so that all content in the video is easily readable.
Open Directory with Drag-and-Drop
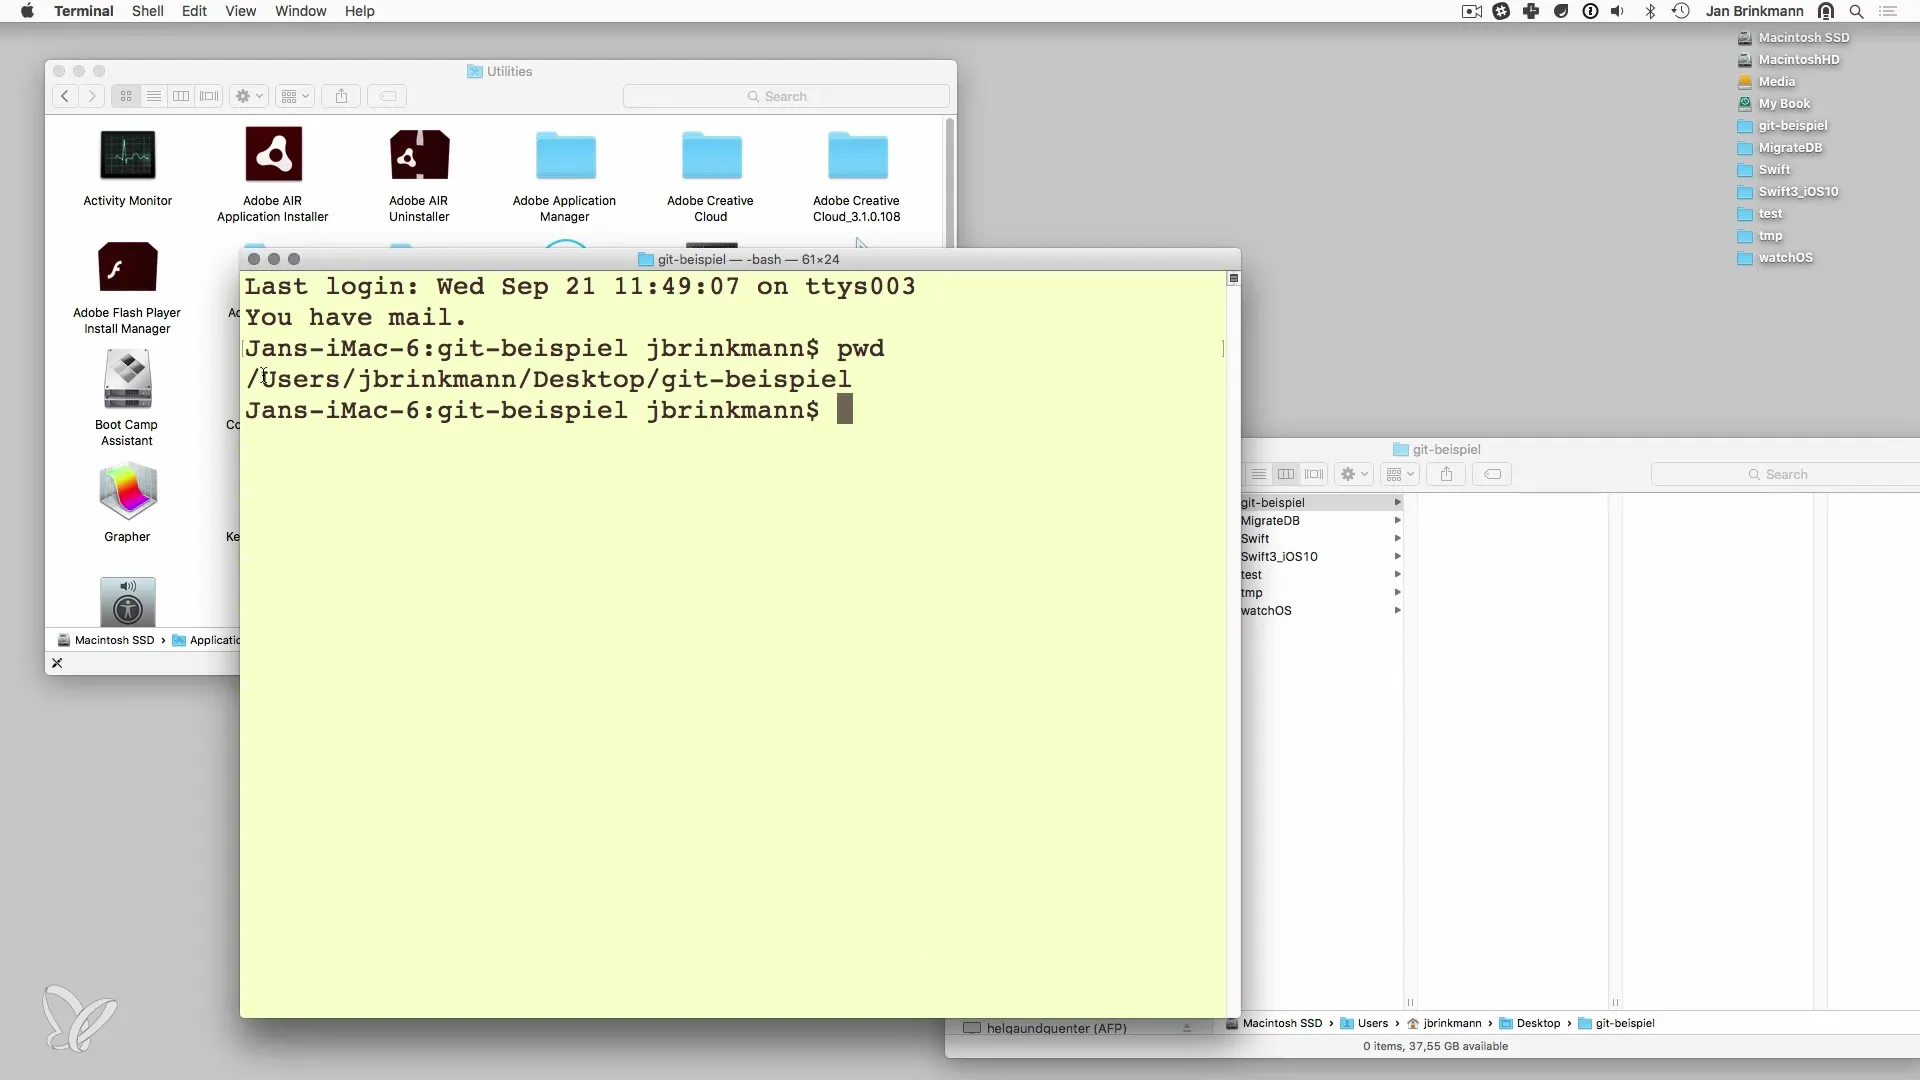
A handy trick to quickly access a specific project directory is to use drag-and-drop. If you have a directory in Finder, simply drag it into the open terminal. This automatically inserts the path, and you can start working with it immediately.

Check Working Directory
To ensure you are working in the correct directory, you can use the command pwd, which stands for "print working directory." This command shows you the exact location where you are.

Navigating Directories
If you are in your home directory, you can easily navigate to other folders. For example, using the command cd followed by the directory name. To go to the Desktop folder, simply type cd Desktop. Then you can list the contents of the current directory using the command ls.
If you want to move back to your working directory, use cd followed by the name of the directory again.
Create Xcode Project
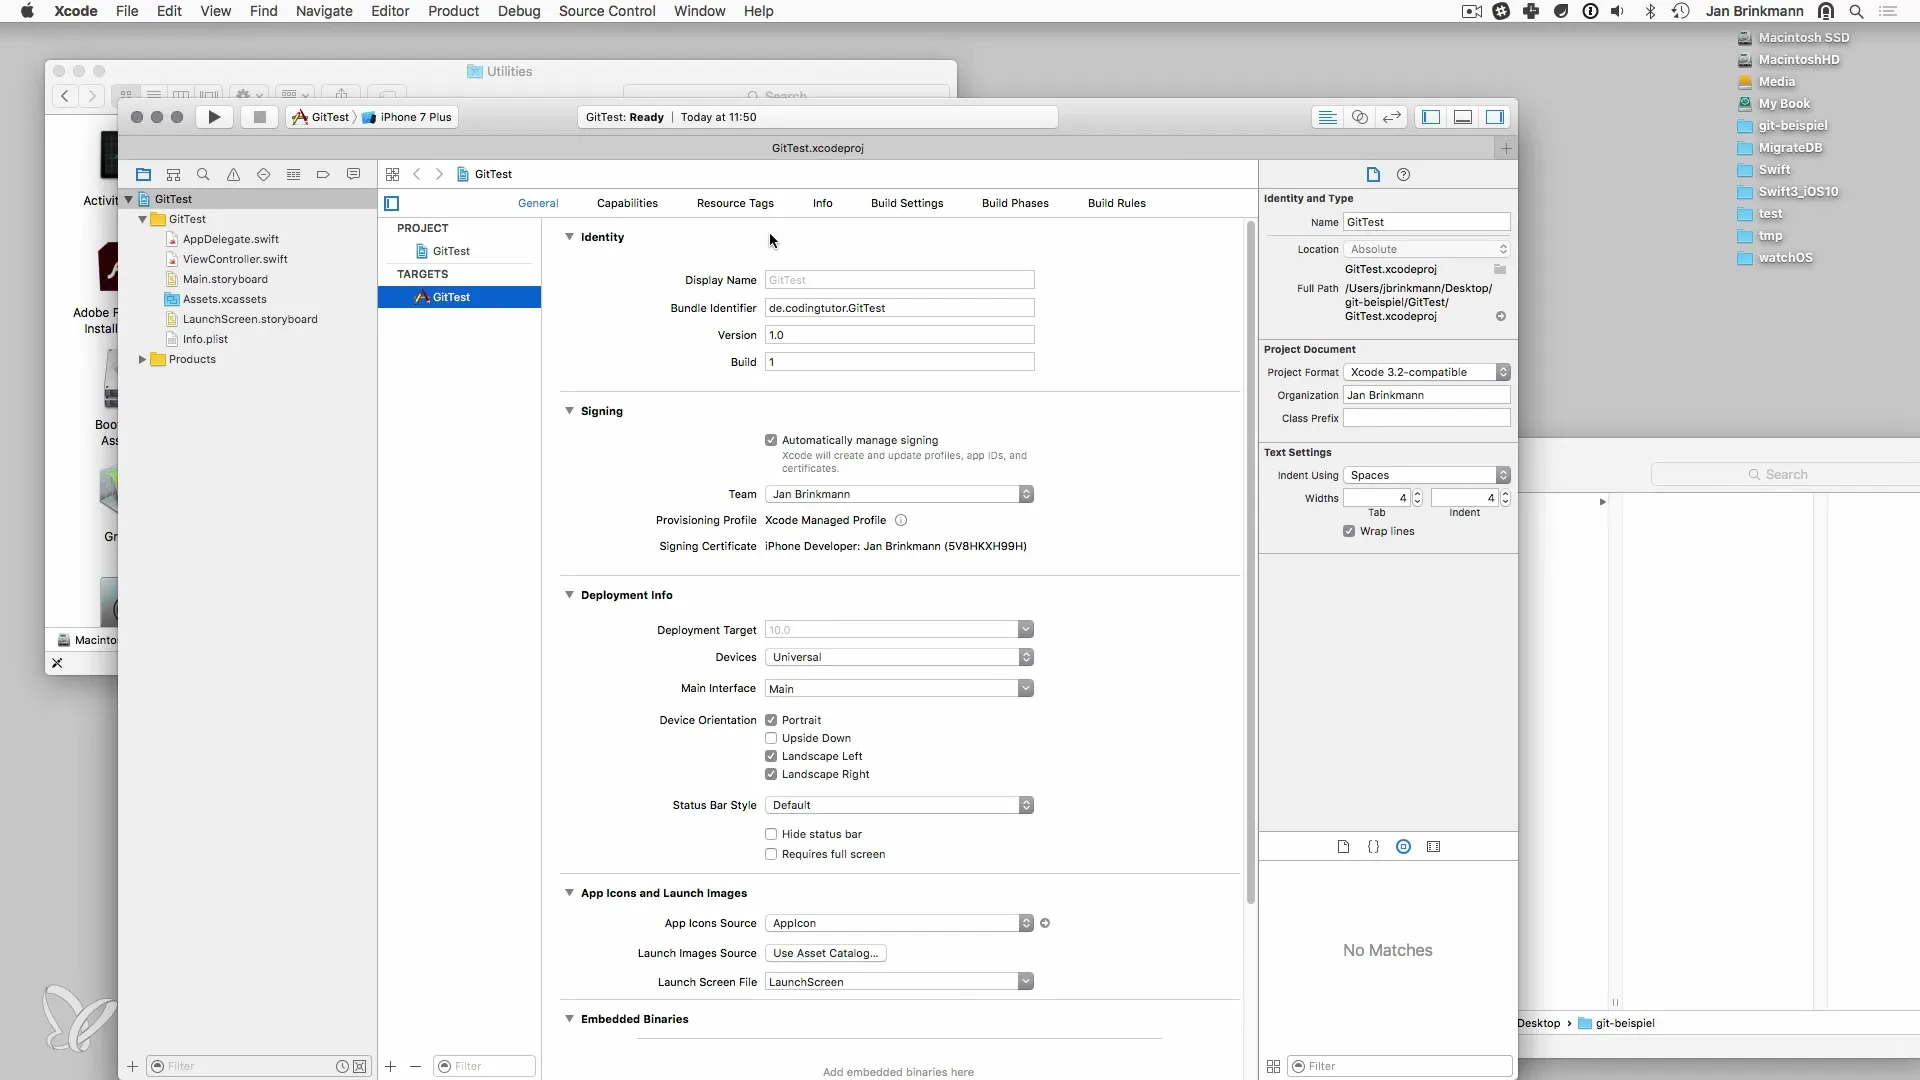
To start a new Xcode project, open Xcode and choose "New Xcode Project." Select a simple "Single View Application" and name your project accordingly, for example, "GitTest." Then click on "Create."

Your project will now be saved in the previously chosen directory, and you can see it in both Finder and Terminal.
Working with Git in the Terminal
Now that your project is set up, you have the option to use Git to manage your files. You can add files to the repository, modify or delete existing files.
It is important to master the basic Git commands like git init, git add, and git commit. These commands are essential for tracking changes in your project and performing version control.
Summary – Git and the Command Line on macOS
In this guide, you have learned how to open the terminal on macOS and apply basic navigation commands. You can create projects in Xcode and take advantage of Git in the terminal. With these skills, you are well-equipped to manage your projects efficiently.
Frequently Asked Questions
Why should I use the command line?The command line gives you more control and options for managing projects than graphical user interfaces.
Where can I find the terminal on macOS?The terminal is located under "Applications" → "Utilities" on your Mac.
How do I use drag-and-drop in the terminal?Simply drag a directory from Finder into the terminal to automatically insert the path.
What basic commands should I know for Git?The main commands are git init, git add, git commit, and git status.


