Effective version management is essential for software development. Git is one of the most well-known systems to handle this task. In this guide, you will learn how to track changes in your files and commit them to the Git repository. Committing means permanently saving the changes and creating a snapshot of the current state of your project. Detailed steps will help you understand and implement these procedures efficiently.
Key Insights
- Committing is the process of transferring changes to a Git repository.
- Files can exist in different states: working directory, staging area, and repository.
- A comment on a commit is important to document the state of the project.
Step-by-Step Guide
First, you need to ensure that all changes to your files are recorded and that you are ready to transfer them to the repository.
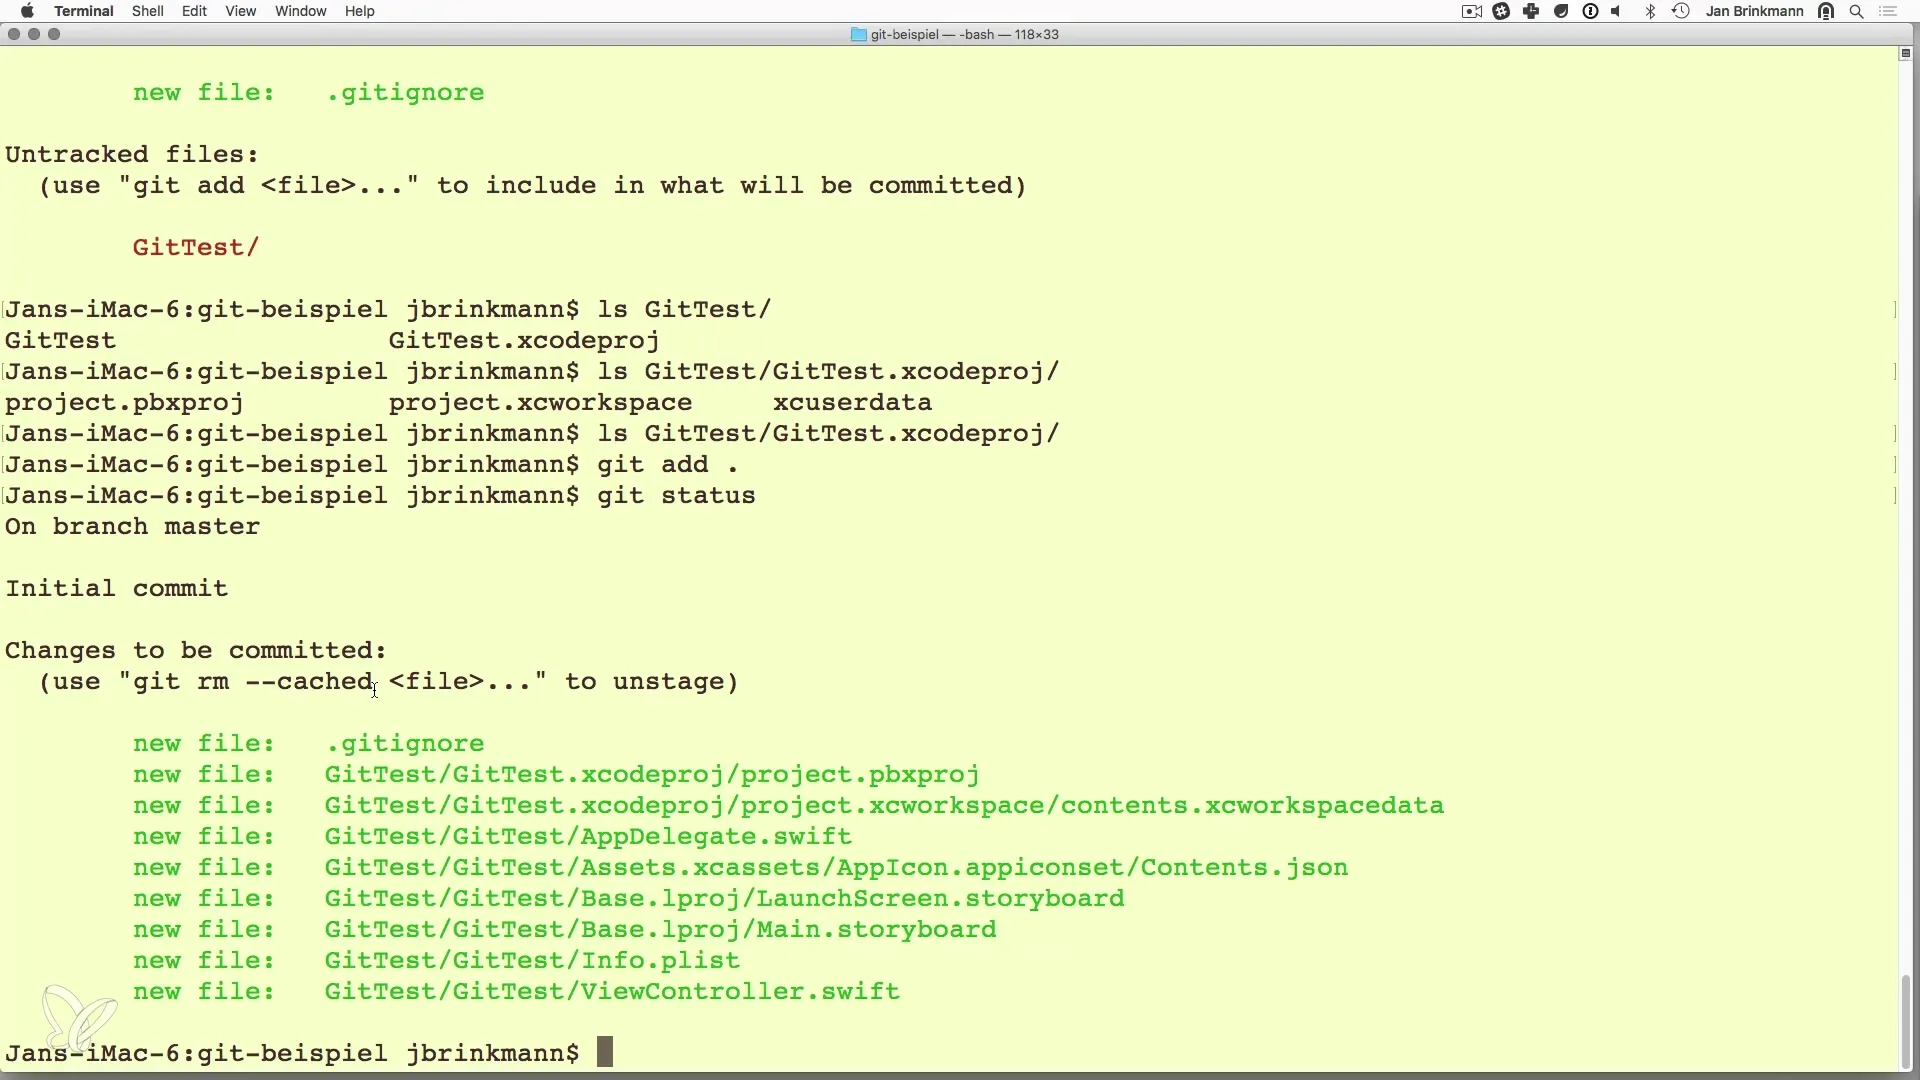
Preparing To ensure that all data is present, check whether the required files have been added correctly. Use the command git status to check the current state of your repository. Here you will see which files have been modified, which are in the staging area, and which have not yet been added.

Understanding File Status In the repo, there are three main states:
- Working Directory: This is where you actively work on your files.
- Staging Area: Here you collect changes that you want to commit.
- Repository: This is where your commits are stored. To understand the transition of files to the staging area, use the command git add
.
Reviewing Changes in the Staging Area After you have added the desired changes to the staging area, you can check the status again. Use the command git status to ensure that all changes are visible there.
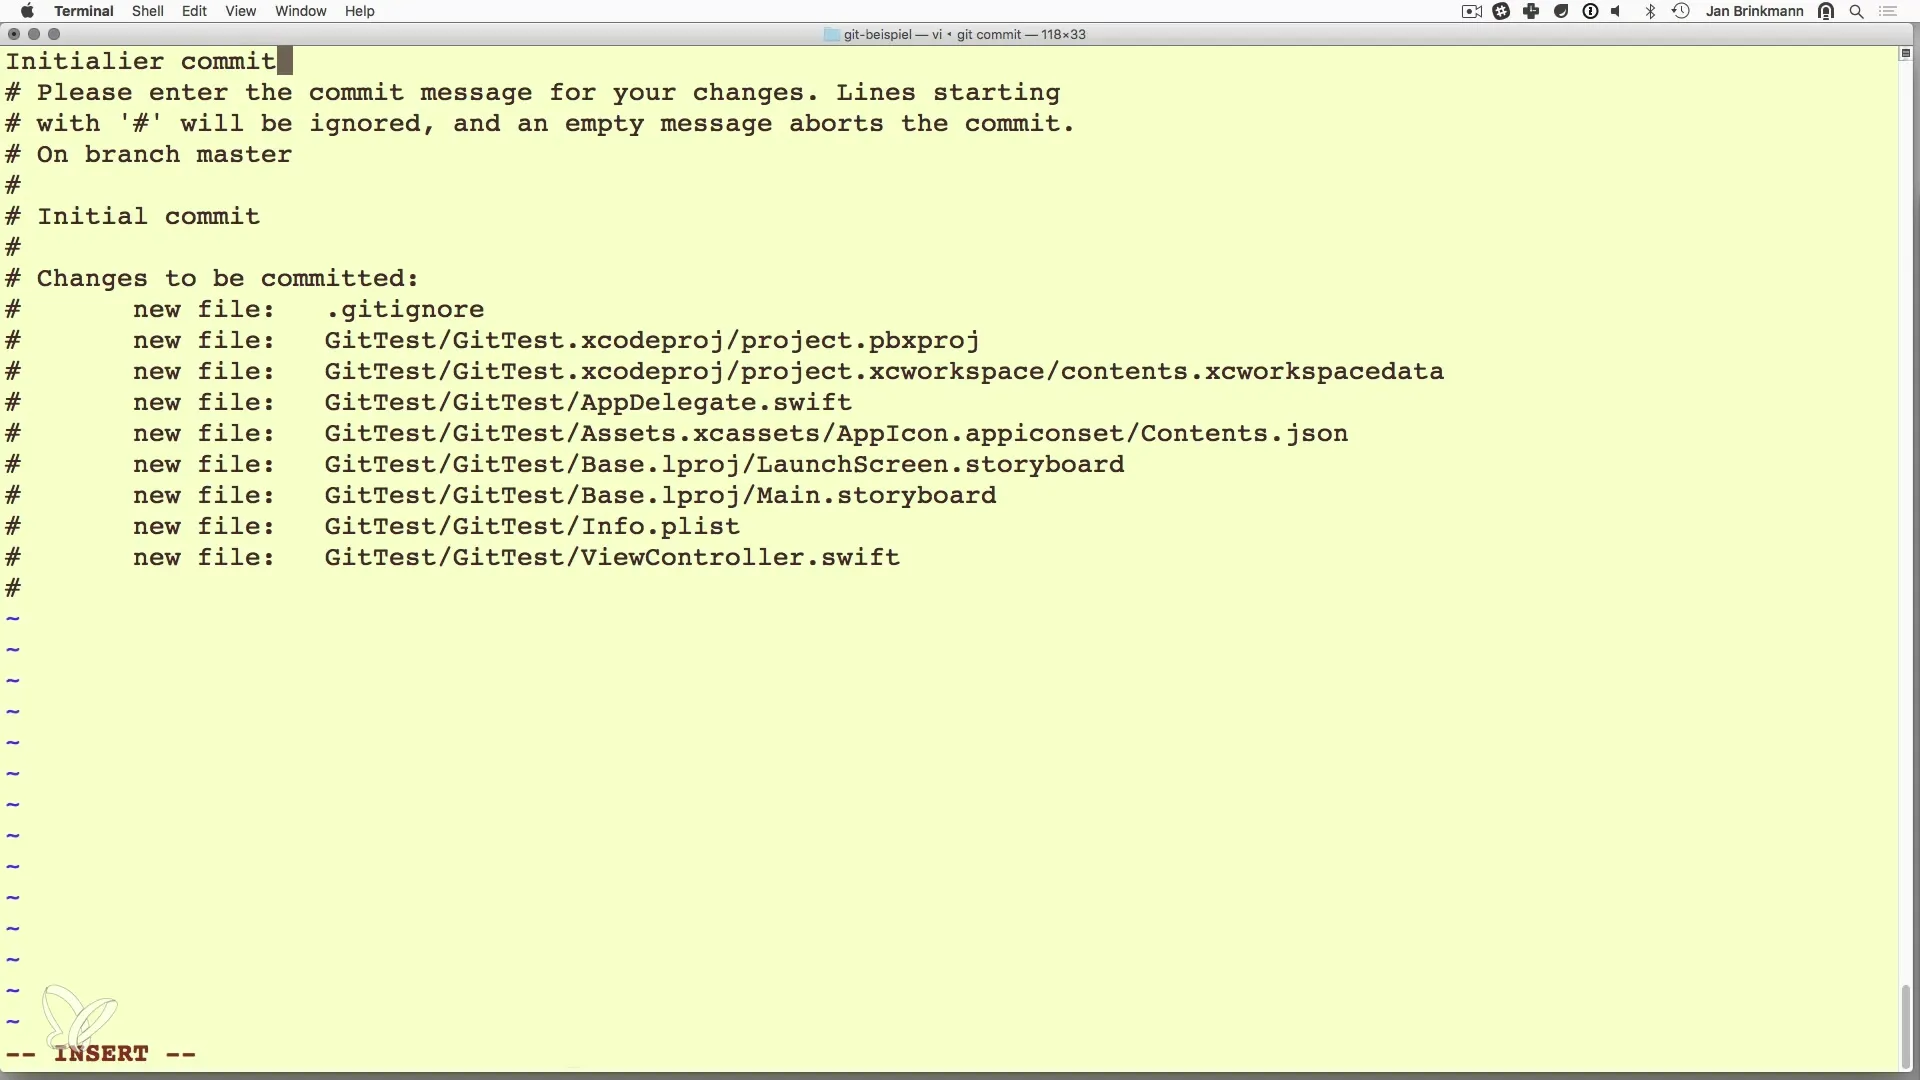
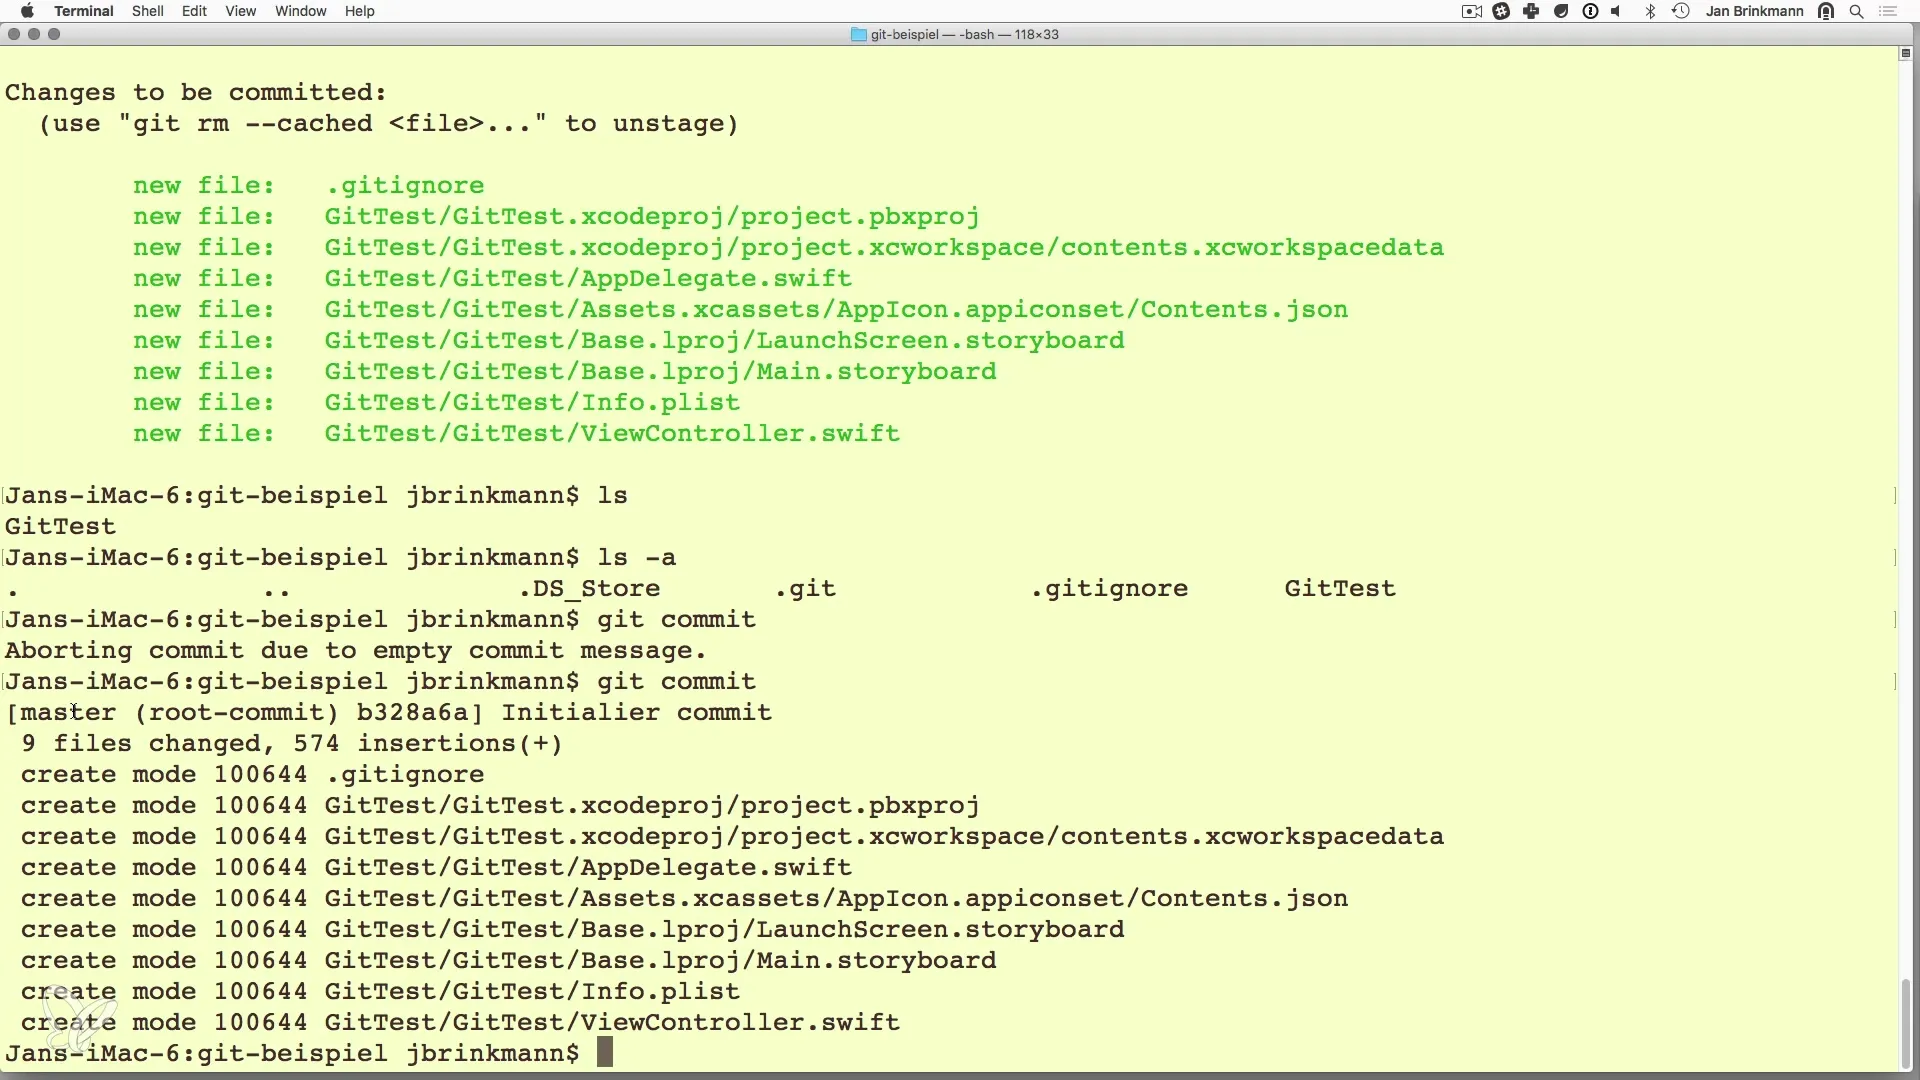
Executing the Commit Command To actually record your changes, you need to use the command git commit. If you only type git commit, it requires a commit message. This message should document the state of your project. An example of a message might be "Initial commit" if you are committing for the first time.
Adding a Commit Message While you are in the commit message area, press i to enter the insert mode of the editor (e.g., Vi or Vim). Here you can describe your file. Formulate a clear and concise description of what the changes include.

Saving and Exiting the Editor To save your inputs and exit the editor, press Esc, then type:wq and confirm. This will save the commit message and complete the commit.

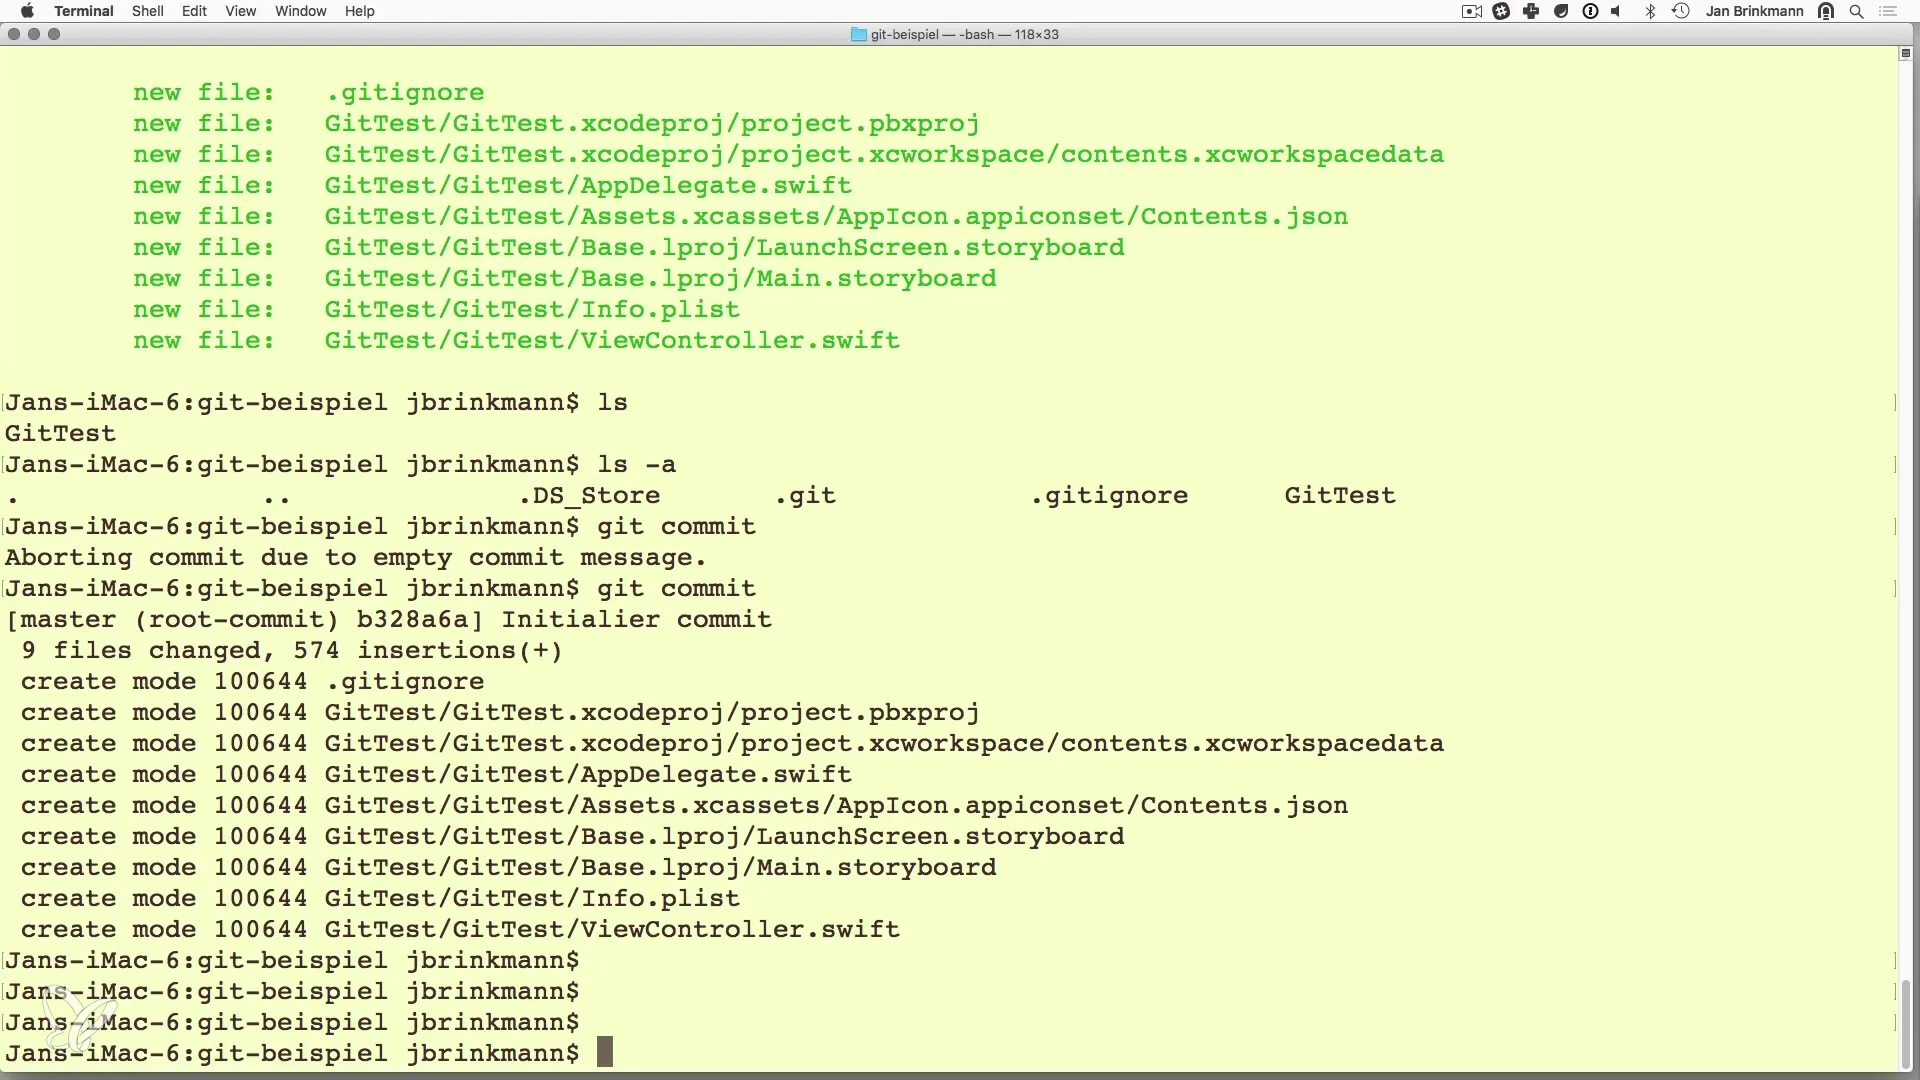
Confirmation of the Commit After a successful commit, you will see a confirmation message showing that your changes have been transferred to the repository. You will also receive a commit ID that represents the exact version and documents the history of your project.
Viewing Commit Status To view all previous commits, you can use git log. Here you will get an overview of all changes made during the development process.
Committing Further Changes If you make further changes to files, simply repeat the steps of adding to the staging area and committing. This is a continuous process as you work on your project.

Summary – Managing Version Control with Git – Effectively Committing Changes
In this guide, you have learned how to effectively commit changes using Git and GitHub. You now know how to check the status of your files, transfer changes to the staging area, and provide meaningful messages for your commits. These steps are crucial for clean and traceable version management.
Frequently Asked Questions
How can I check which files have been changed?Use the command git status to check the current state of the files in your repository.
What should I write in the commit message?In the commit message, you should include a clear description of the changes made.
How can I revert a commit?You can revert a commit using the command git revert.
Can I commit multiple files at the same time?Yes, you can add multiple files and then commit them with a single commit command.
How do I find a specific commit ID?Use git log to get a list of all commits along with their IDs.


