Excel is an essential tool for data processing and analysis. When you work with this program, it is important to know the user interface so that you can work efficiently. In this guide, we will walk you through the different parts of the Excel interface step by step, so you are well prepared for your future projects and lessons.
Key Insights
- The Excel user interface includes the Quick Access Toolbar, the Ribbon, and the Status Bar.
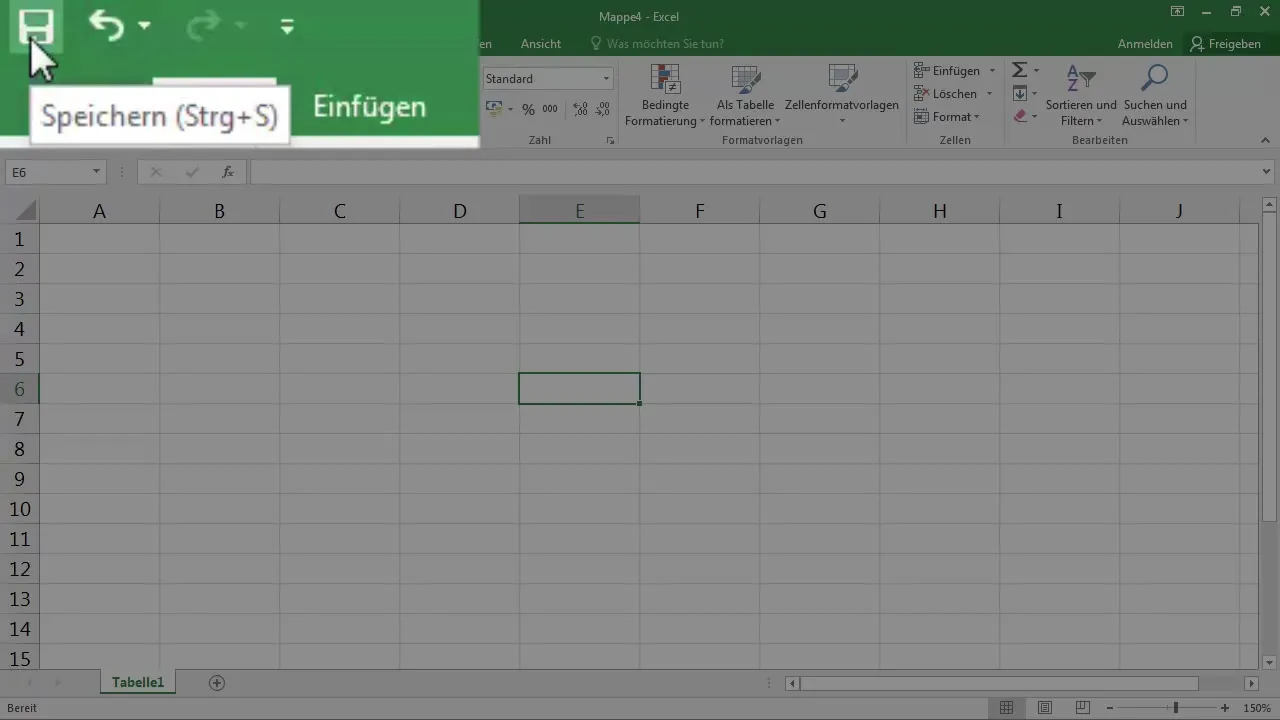
- You will find important functions such as Save and Undo in the Quick Access Toolbar.
- The tabs in the Ribbon offer different options depending on the selected tab.
Step-by-Step Guide
1. Starting Excel and Recognizing the Interface
When you start Excel, you will see various options on your screen. Click on "New" to create a blank document.
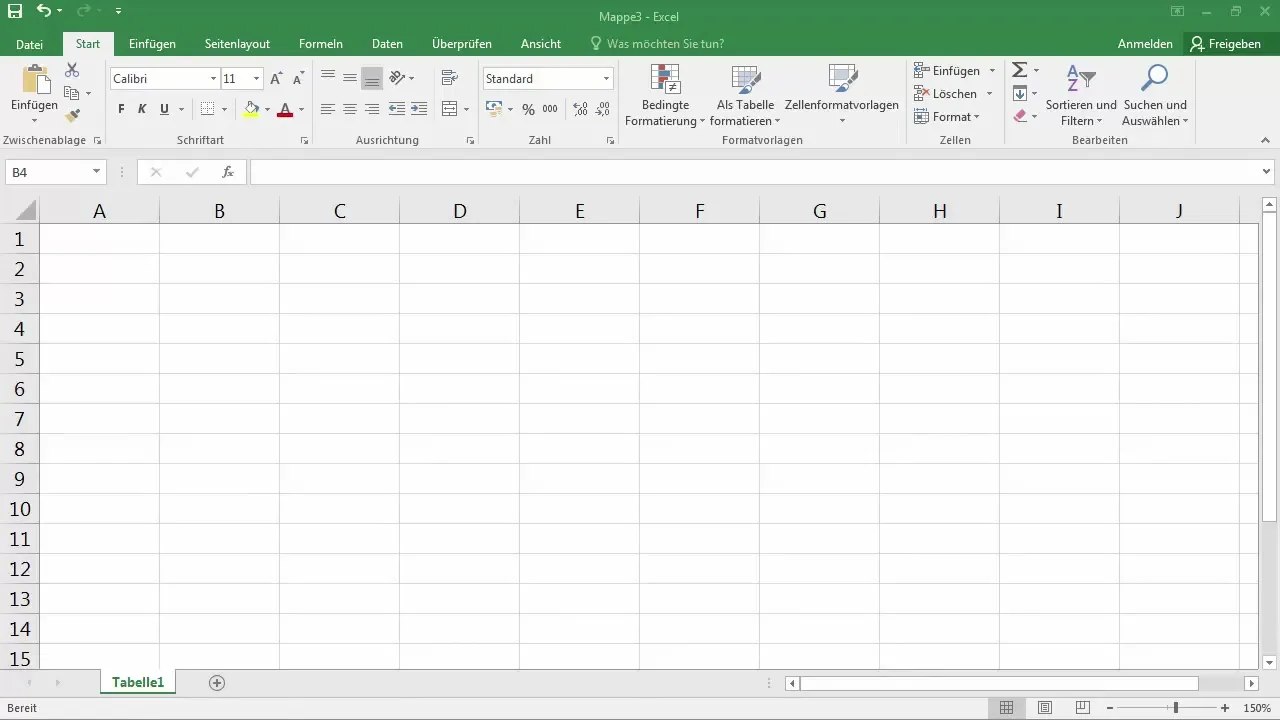
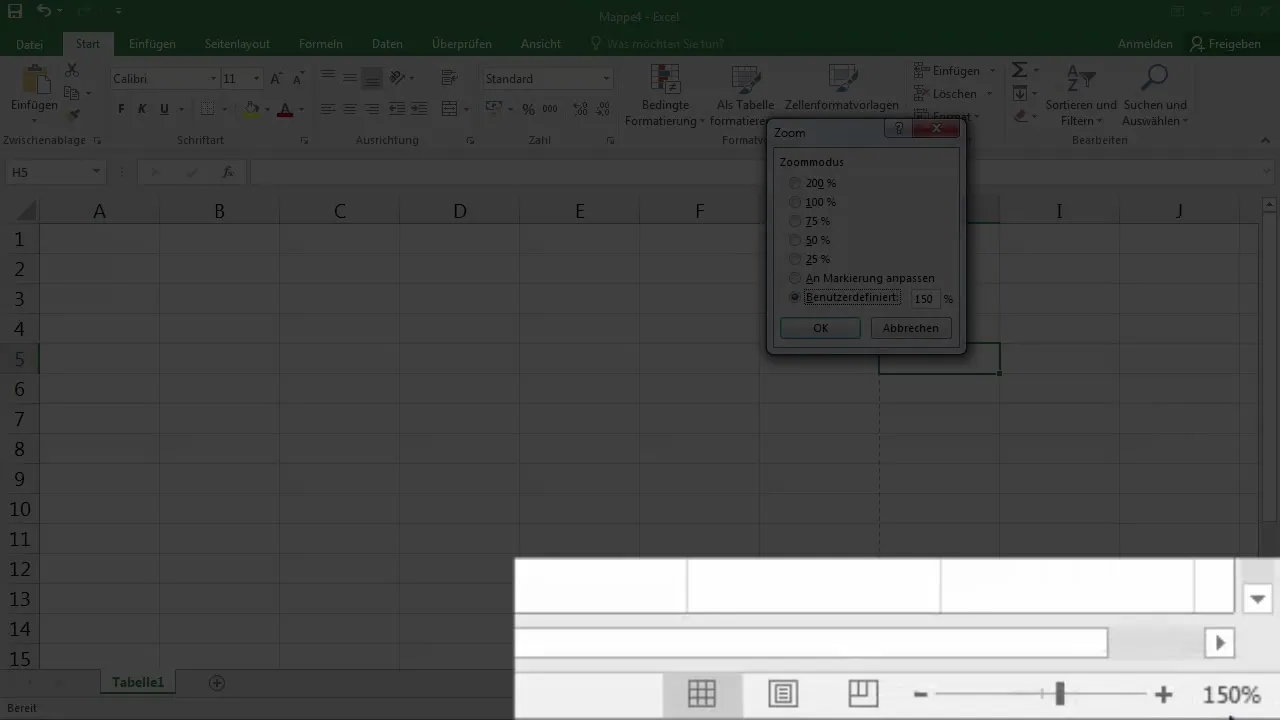
Now you have your blank workbook in front of you, ready to start working. In the bottom right corner of the screen, you will find the zoom settings that allow you to zoom in or out of the workbook.
2. Using the Quick Access Toolbar
The Quick Access Toolbar is located in the upper left corner and gives you access to important functions like Save and Undo. If you click on the floppy disk icon, you save your document. If you want to undo something, you can either click the corresponding button in the toolbar or use the keyboard shortcut Ctrl + Z.
3. Overview of the Title Bar and Sign-In Features
At the top center of the Excel interface is the title bar, which displays the current filename. Here you will also find options to sign in to Office 365 and share documents.
4. Understanding the Ribbon
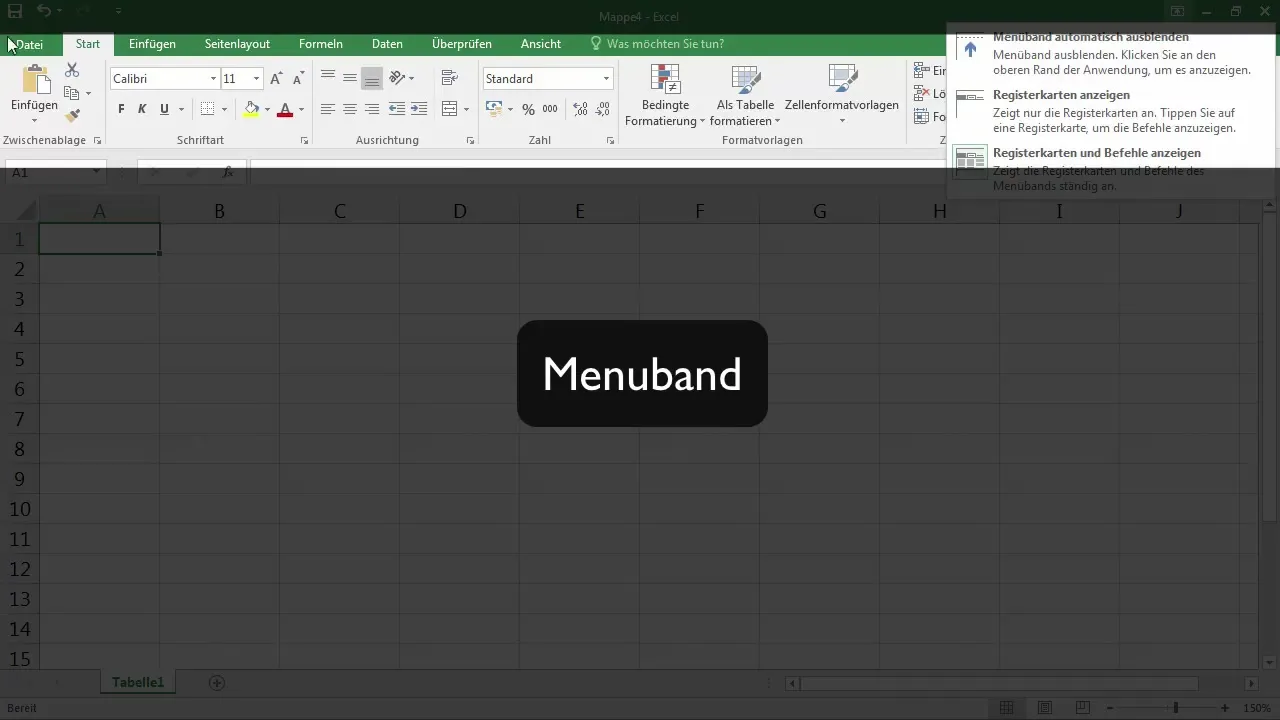
The Ribbon contains various tabs like "File," "Home," and "Insert." When you click on one of these tabs, the content changes and various options are displayed that you can use for your project. You can also hide the Ribbon if needed to create more space.
5. Utilizing the Tabs in the Ribbon
Depending on the selected tab in the Ribbon, different groups of functions are available to you. For example, in the "Home" group, you will find options for font, alignment, and cell formatting. These groups make it easier for you to work with different elements in your workbook.
6. Worksheet Names and Status Bar
At the bottom of the Excel interface, you can see the names of the worksheets. Here you can also create new sheets. The Status Bar at the very bottom informs you about the current status of Excel, such as whether a save or calculation process is running.
7. View Modes and Zoom Slider
In the bottom right of the Excel application, you will find the view settings. You can switch between Normal view, Page Layout, and Page Break Preview. The Zoom slider is also located here, which allows you to adjust the zoom factor of your workbook.
8. Edit Bar and Formula Functions
In the central area of the application, you will see the Edit Bar, which shows you what is in the currently active cell. Here you can enter data and insert formulas. The Ribbon also provides various functions under the "Formulas" tab that can help you work more efficiently.
Summary – Excel Basics – Introduction to the User Interface for Beginners
The Excel user interface is structured and allows you efficient processing of your data. From the Quick Access Toolbar to the Ribbon to the Status Bar, all functions are clearly arranged. With a better understanding of these elements, you can significantly simplify your work in Excel.
Frequently Asked Questions
How do I start Excel and create a new document?You start Excel and click on "New" to create a blank document.
Where can I find the zoom settings in Excel?The zoom settings can be found in the bottom right corner of the Excel interface.
What is the Quick Access Toolbar?The Quick Access Toolbar is the area in the upper left corner that provides important functions like Save and Undo.
How do I hide the Ribbon?You can hide the Ribbon by clicking the corresponding button at the top, and reveal it again by clicking it once more.
What is the purpose of the Status Bar?The Status Bar informs you about actions such as saving or calculations being performed in Excel.
