Printing from Excel can be a challenge, especially when it comes to ensuring that your tables look the way you want them to. Often, the problem lies in the contents not being arranged correctly on the paper or certain elements being cut off. In this guide, I will show you the key steps and tricks on how to print effectively with Excel and avoid common mistakes. Ready? Let's get started!
Key Insights
- Check the page settings before printing.
- Use the print preview to optimize the layout.
- Pay attention to scaling and margins to achieve an optimal printing result.
Step-by-Step Guide
To print your Excel table optimally, follow these steps:
Open Print Options
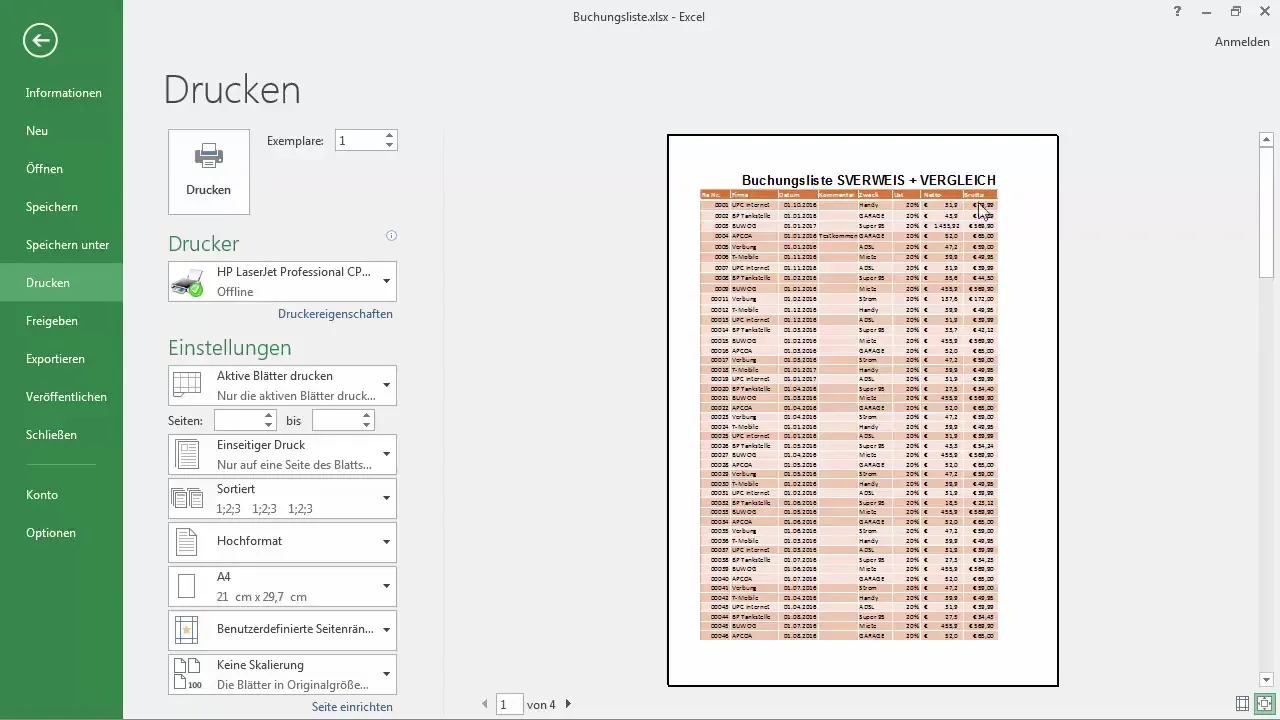
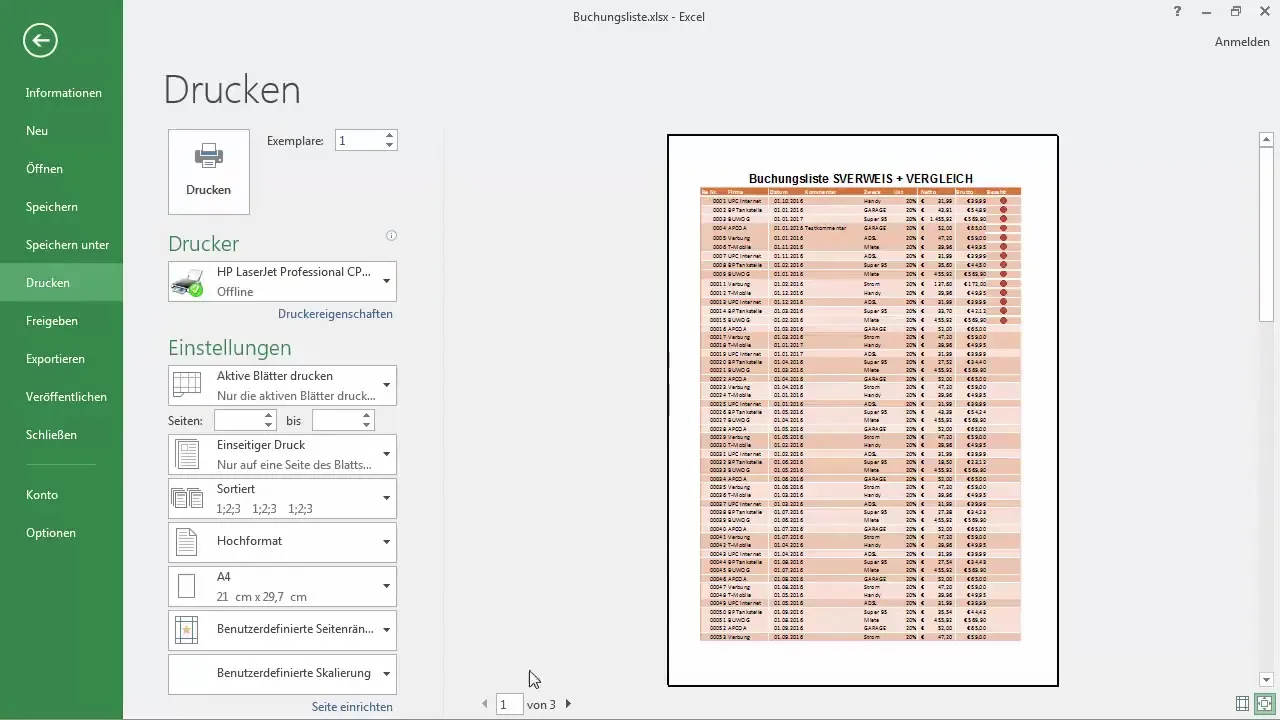
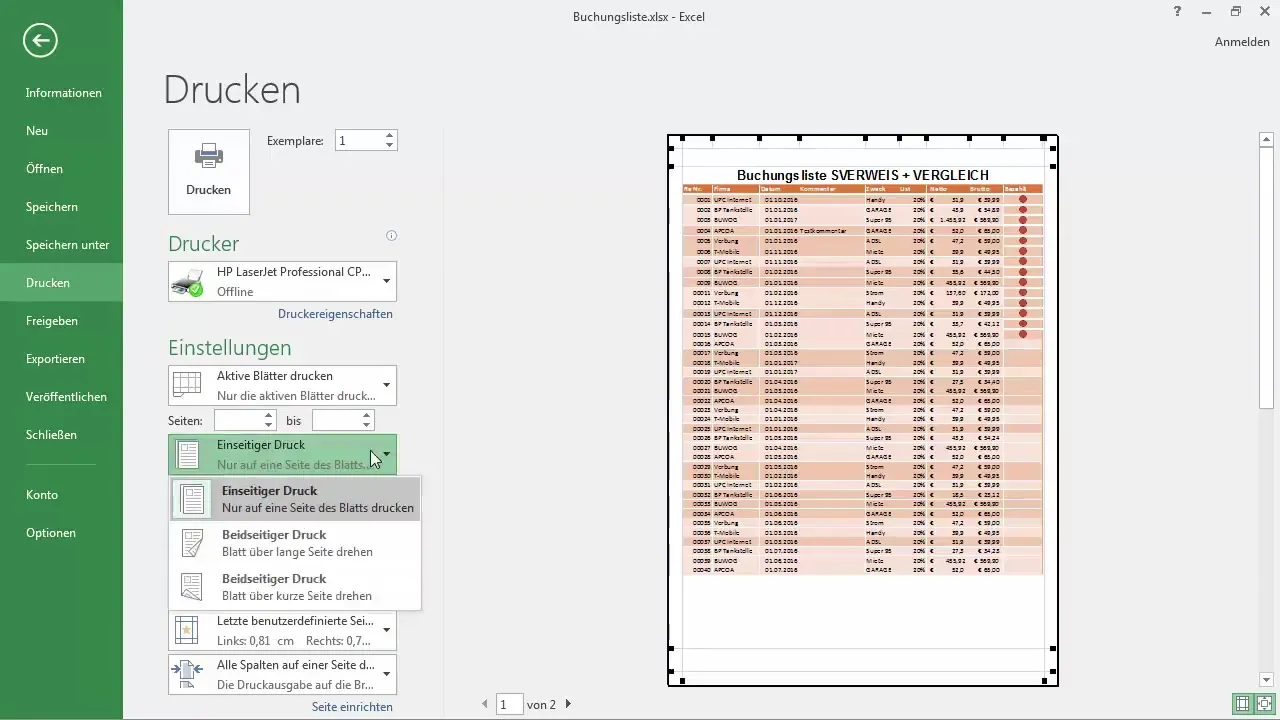
First, you need to access the print options in Excel. Go to File and select Print. In the first view, you will get a preview of your document. Here you will notice that the table may not be optimally positioned.
Check Page Format
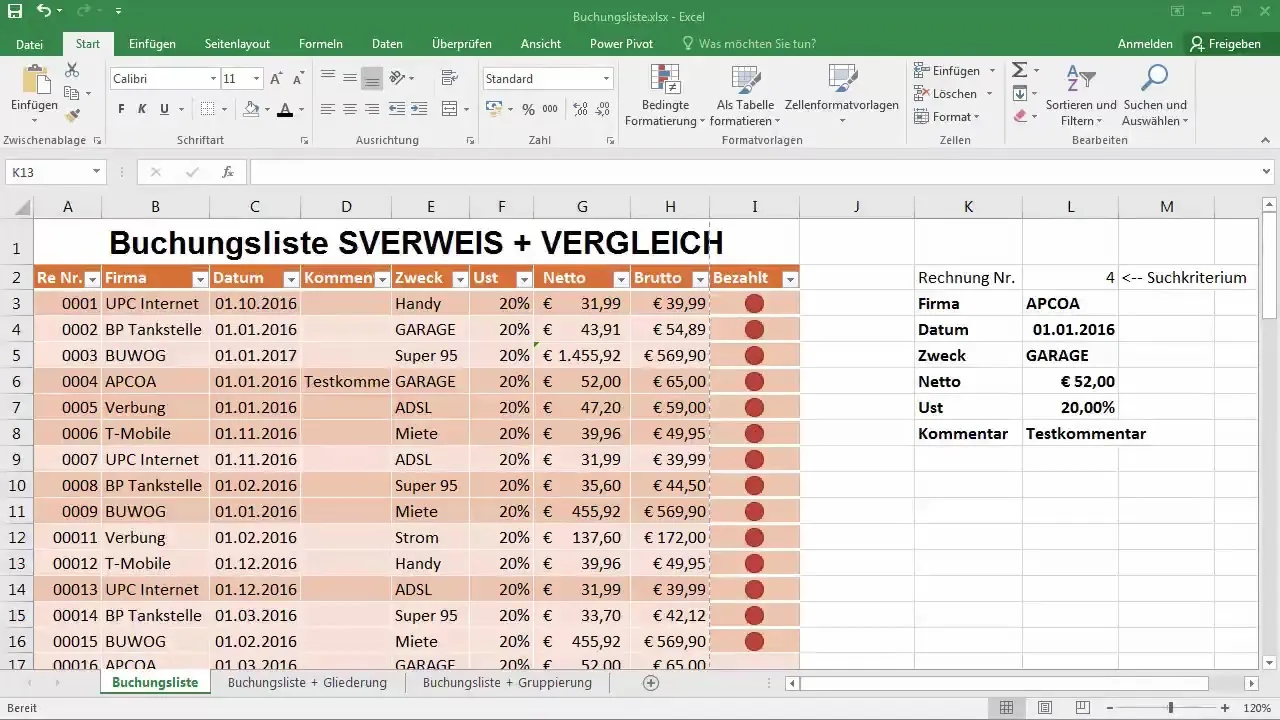
In the print preview, you will often find that areas of the booking list are cut off the page or do not appear well arranged. Check whether the format should be set to portrait or landscape. Perhaps the booking list or a specific column needs more space.
Adjust Paper Format
If you need enough space, it may be helpful to change the paper format. Make sure you can switch to a larger paper size like A3. If you do not have an A3 printer, stick with A4, which is usually the standard.
Adjust Elements
Now, let's focus on adjusting the table elements so that they fit on the A4 sheet. This can be done by shrinking or removing unnecessary columns or rows. Consider whether there are fields you want to hide or delete.
Set Column Width
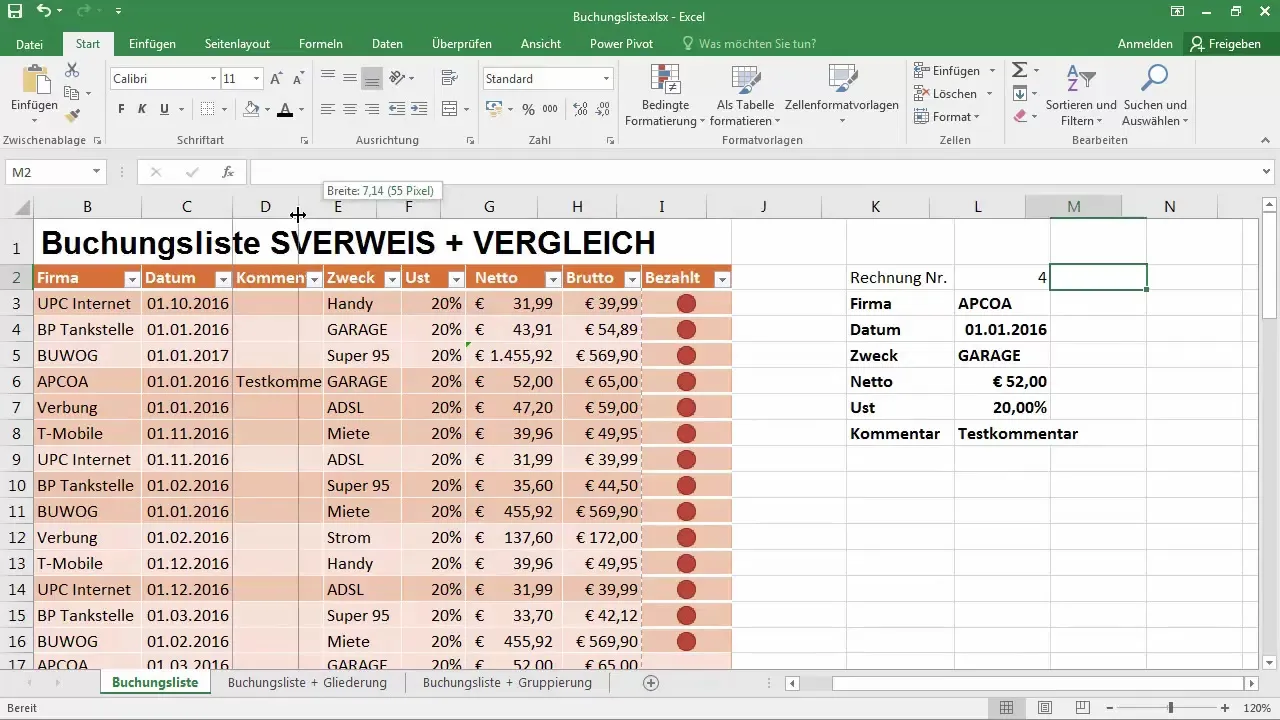
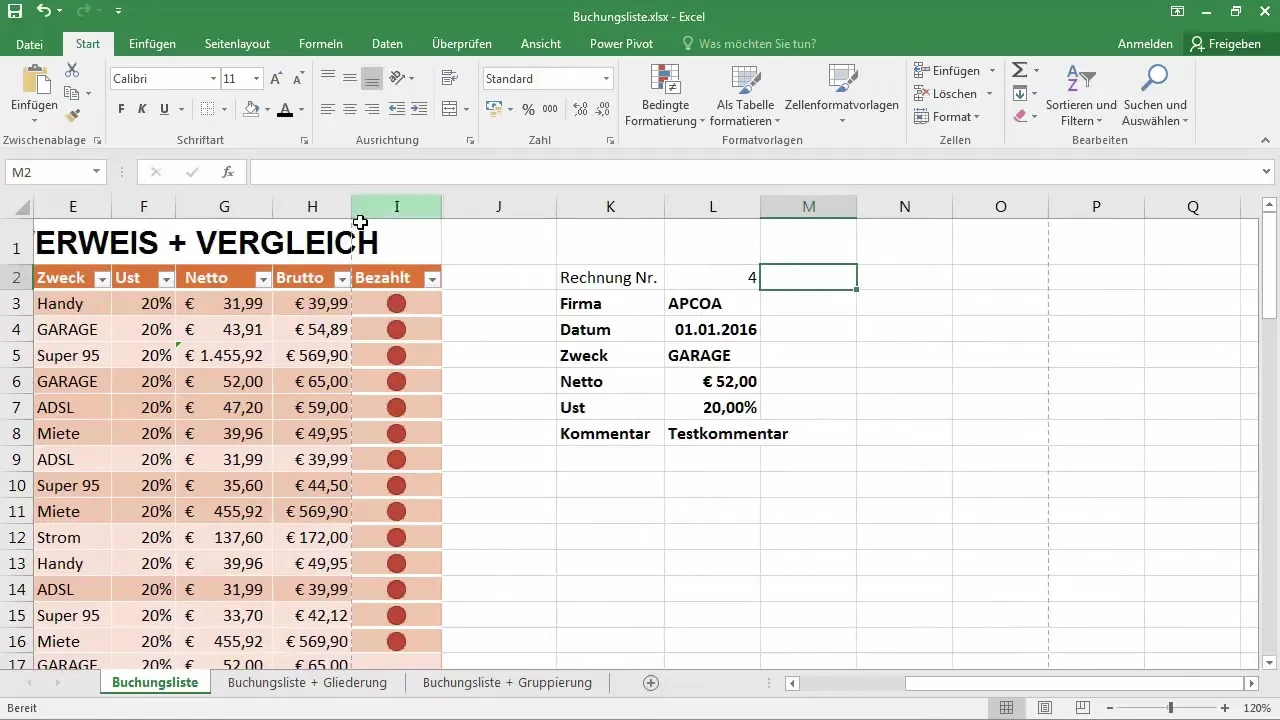
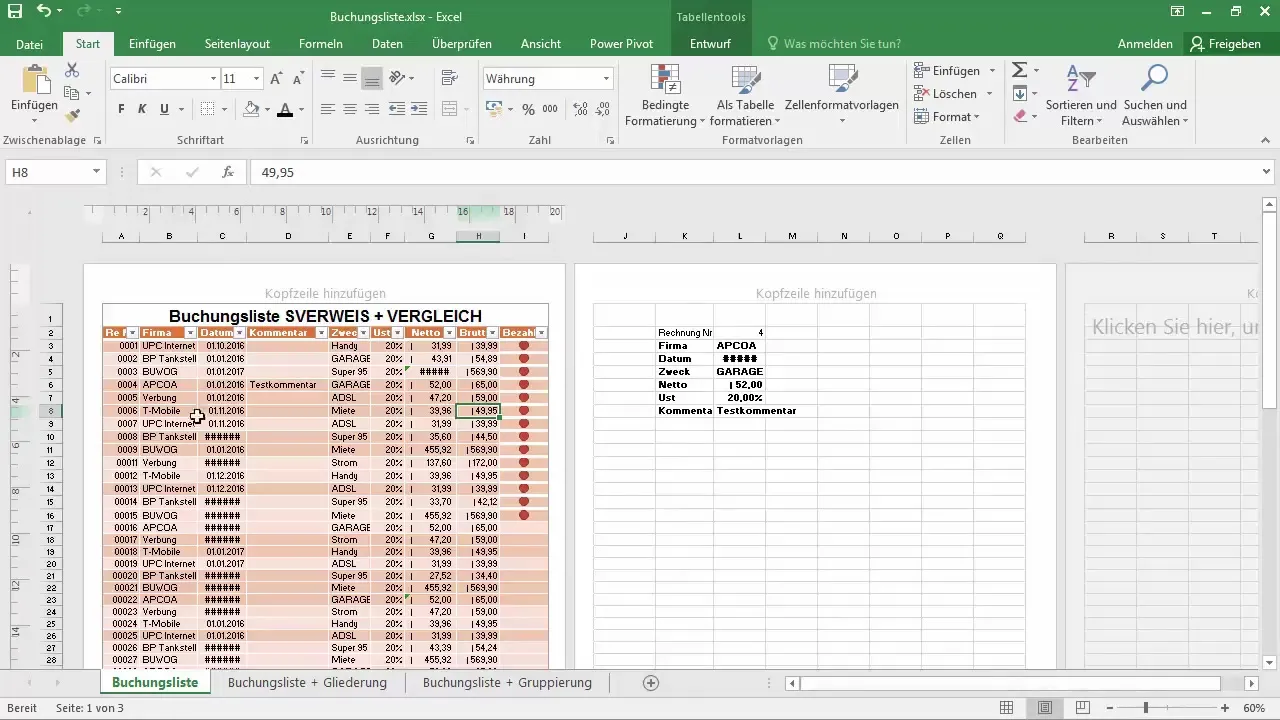
One way to save space is to adjust the column width. Drag the edges of the columns until they fit optimally on the A4 page. Based on the dotted lines, you can see where the paper ends and ensure that your table looks good on the page.
Use Print Preview
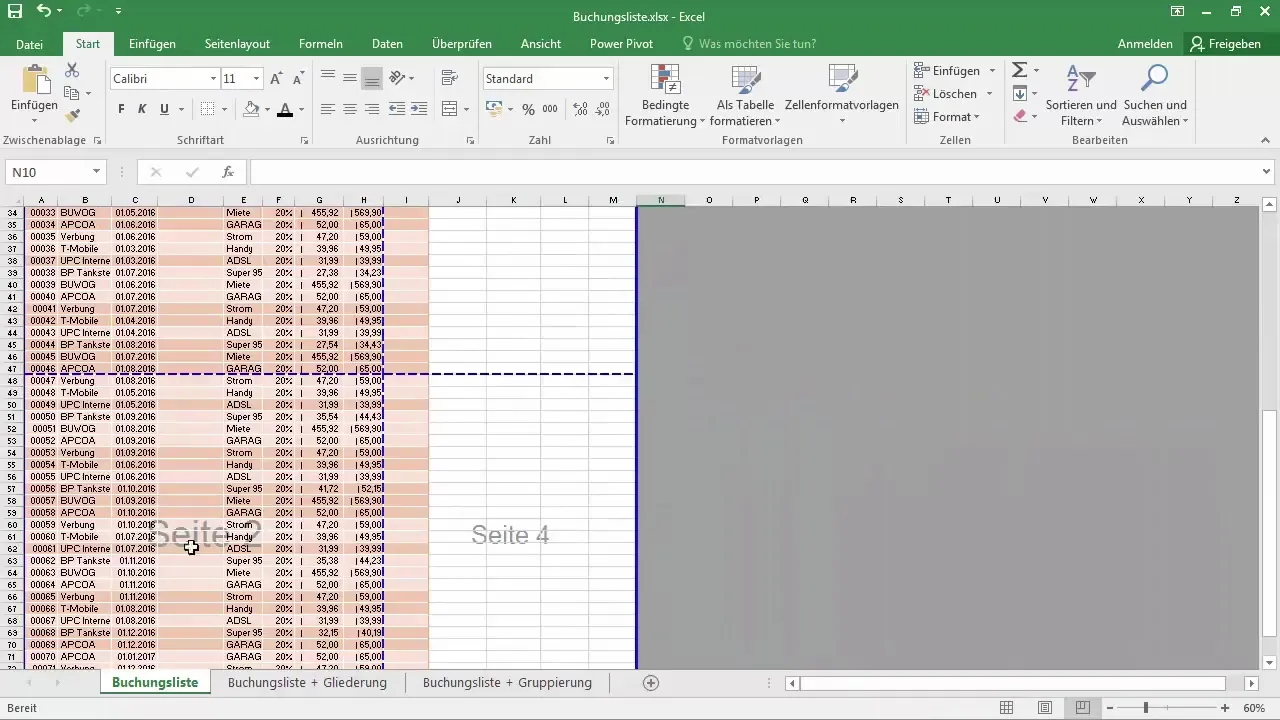
To optimize the arrangement of your table, activate the print preview. This shows you where the page breaks are set and makes it easier to move the layout elements. You can adjust the blue lines that indicate the page break to keep more content on one page.
Adjust Scaling
Another step to optimize your print output is scaling. Go back to the print options and try different scaling options to ensure that all content is easily readable and nothing predefined falls out of the layout.
Check Margins
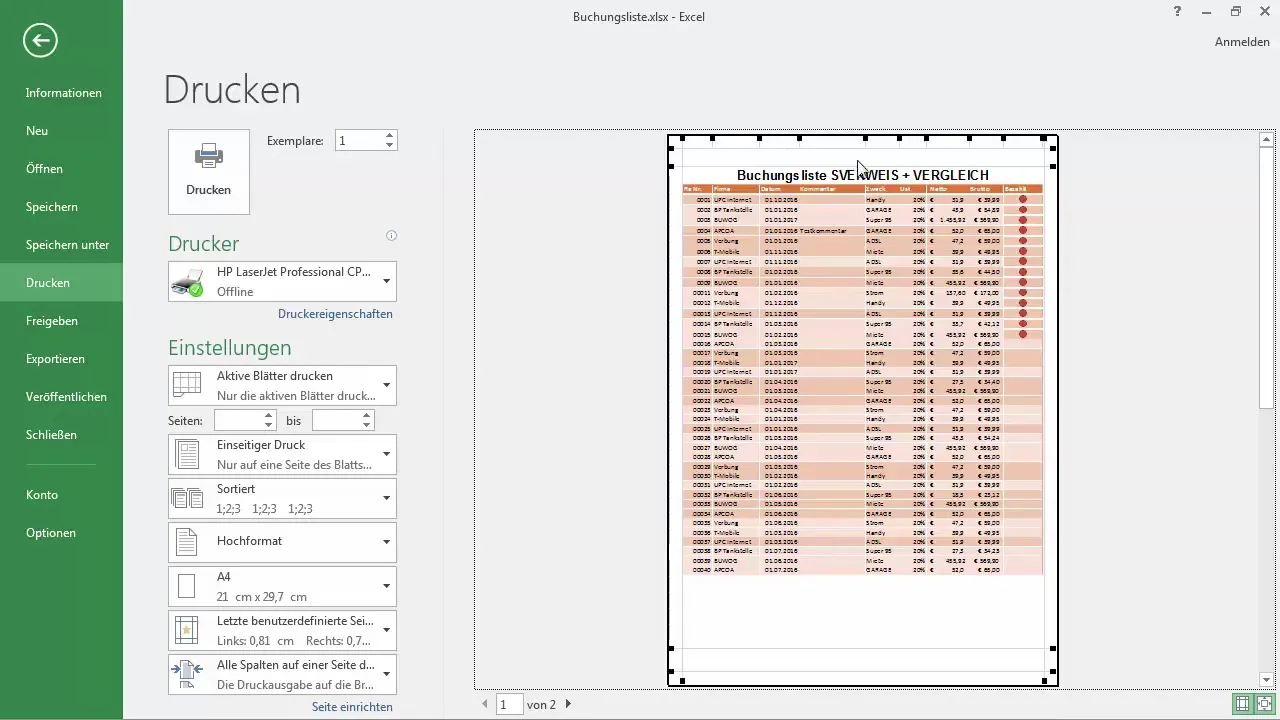
Check if the margins are set correctly. Go to the optional view for margins and adjust them if necessary to allow more space for printing. Make sure no content is lost in the margin areas.
Add Header and Footer
If you want, you can also add headers and footers to your table. These are important if you want to include additional information such as the creation date or the title of the table. Make sure these elements do not take up too much space.
Complete Print Job
If you are satisfied with your layout and are sure everything looks good, you can submit the print job. Double-check the printer settings to ensure that you have selected the correct options for single-sided or double-sided printing.
Frequently Asked Questions
What should I do if parts of my Excel table are cut off when printing?Check the margin settings and use the print preview to manually adjust the breaks.
How can I adjust the scaling when printing?In the print settings, you can set the scaling to "Fit Sheet on One Page" or another suitable option.
Could missing headers and footers cause information to be lost?Yes, without headers and footers, important information, such as the title or date, may be missing when printing.
How can I prevent Excel from printing my table too small?Ensure that you select the correct print settings for scaling and paper size to maintain readability.
Is there a way to test the printing process?Yes, before printing, you can open a print preview and take a close look at the layout.
