Portrait editing in Photoshop offers countless possibilities to make the skin appear younger and more attractive. In this tutorial, you will learn how to make the skin look softer with a simple method and then achieve a painterly oil look. This procedure is particularly useful if you want to implement the baby schema, which emphasizes childlike features while maintaining a certain naturalness.
Main findings
- With the right technique, you can soften the skin and achieve the desired aging effect.
- By working with layers and masks, you maintain control over your editing.
- The oil look gives the portrait an artistic touch that enhances the overall image.
Step-by-Step Guide
Step 1: Create a New Layer
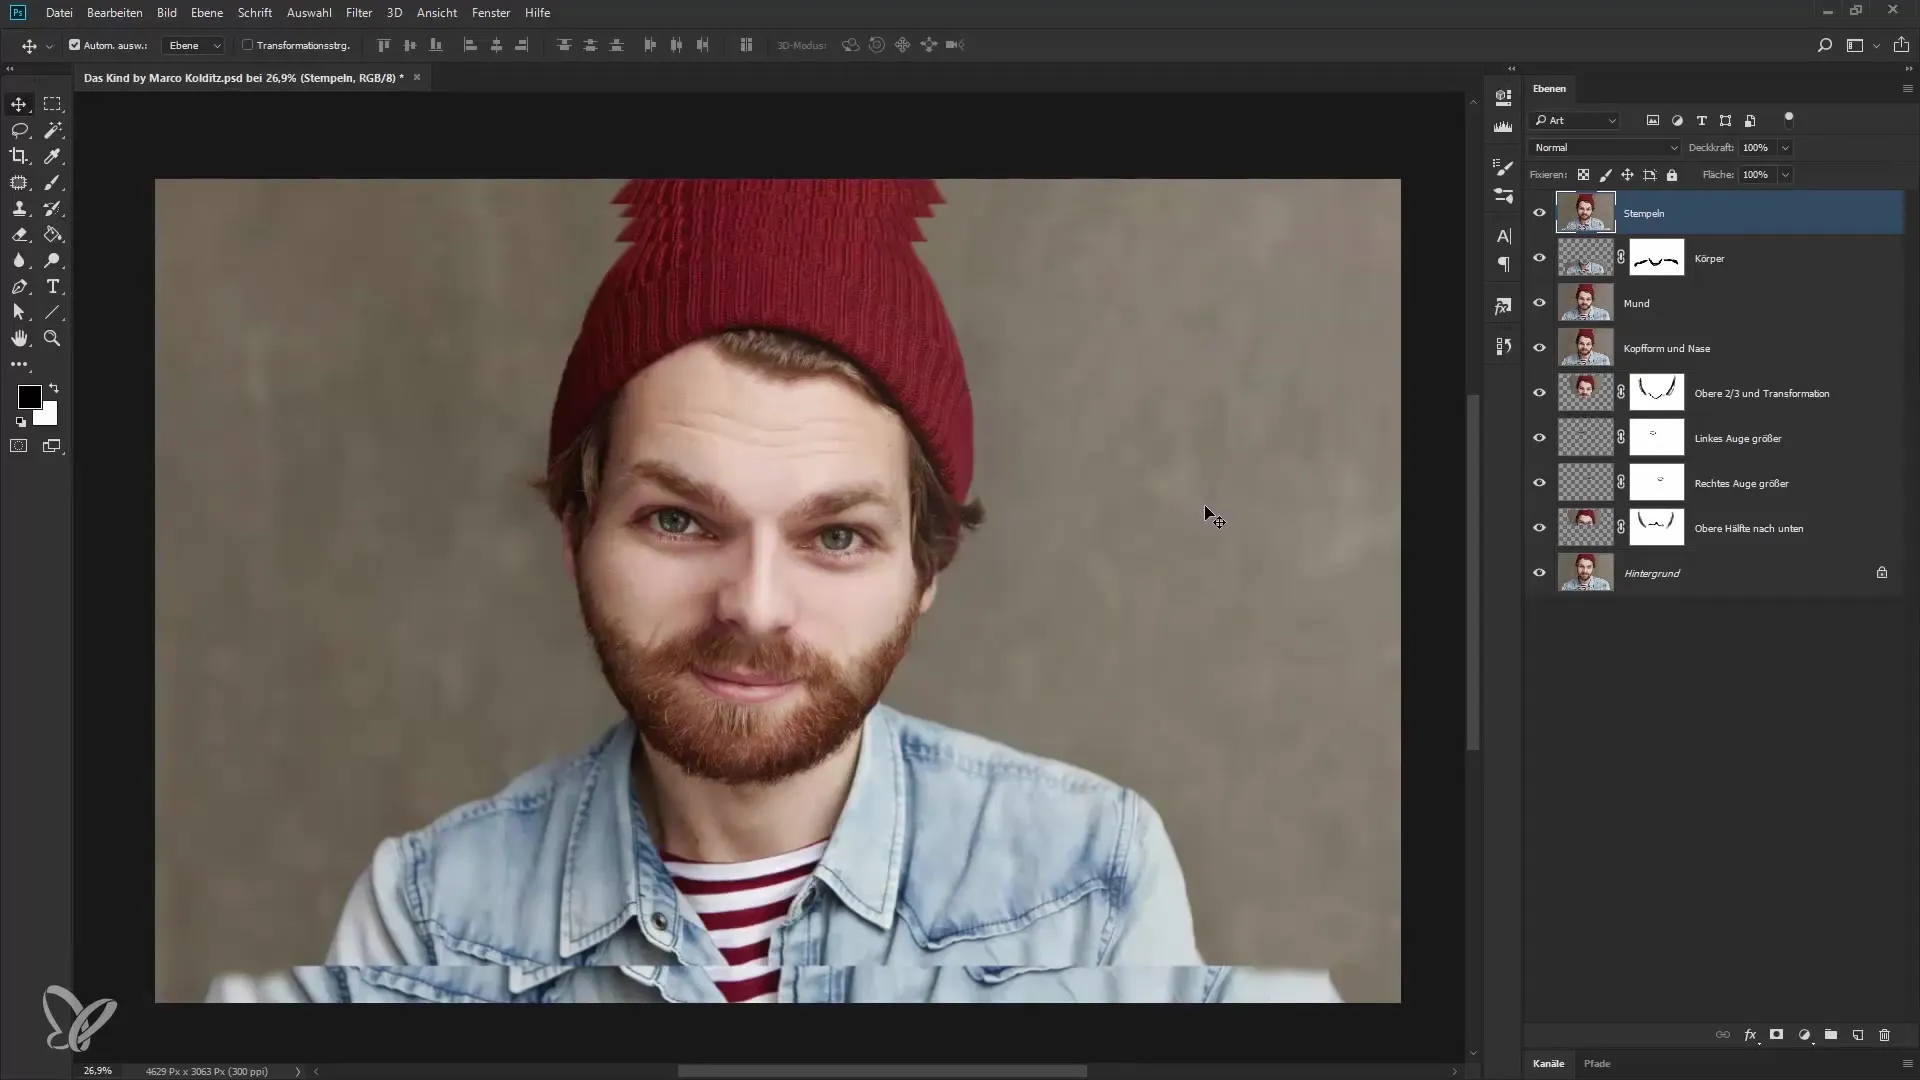
Open your image in Photoshop and create a new layer to soften the skin. Press Control + Shift + Alt + E to create a new summary layer. Name this layer “Soften Skin”.
Step 2: Apply Blur Filter
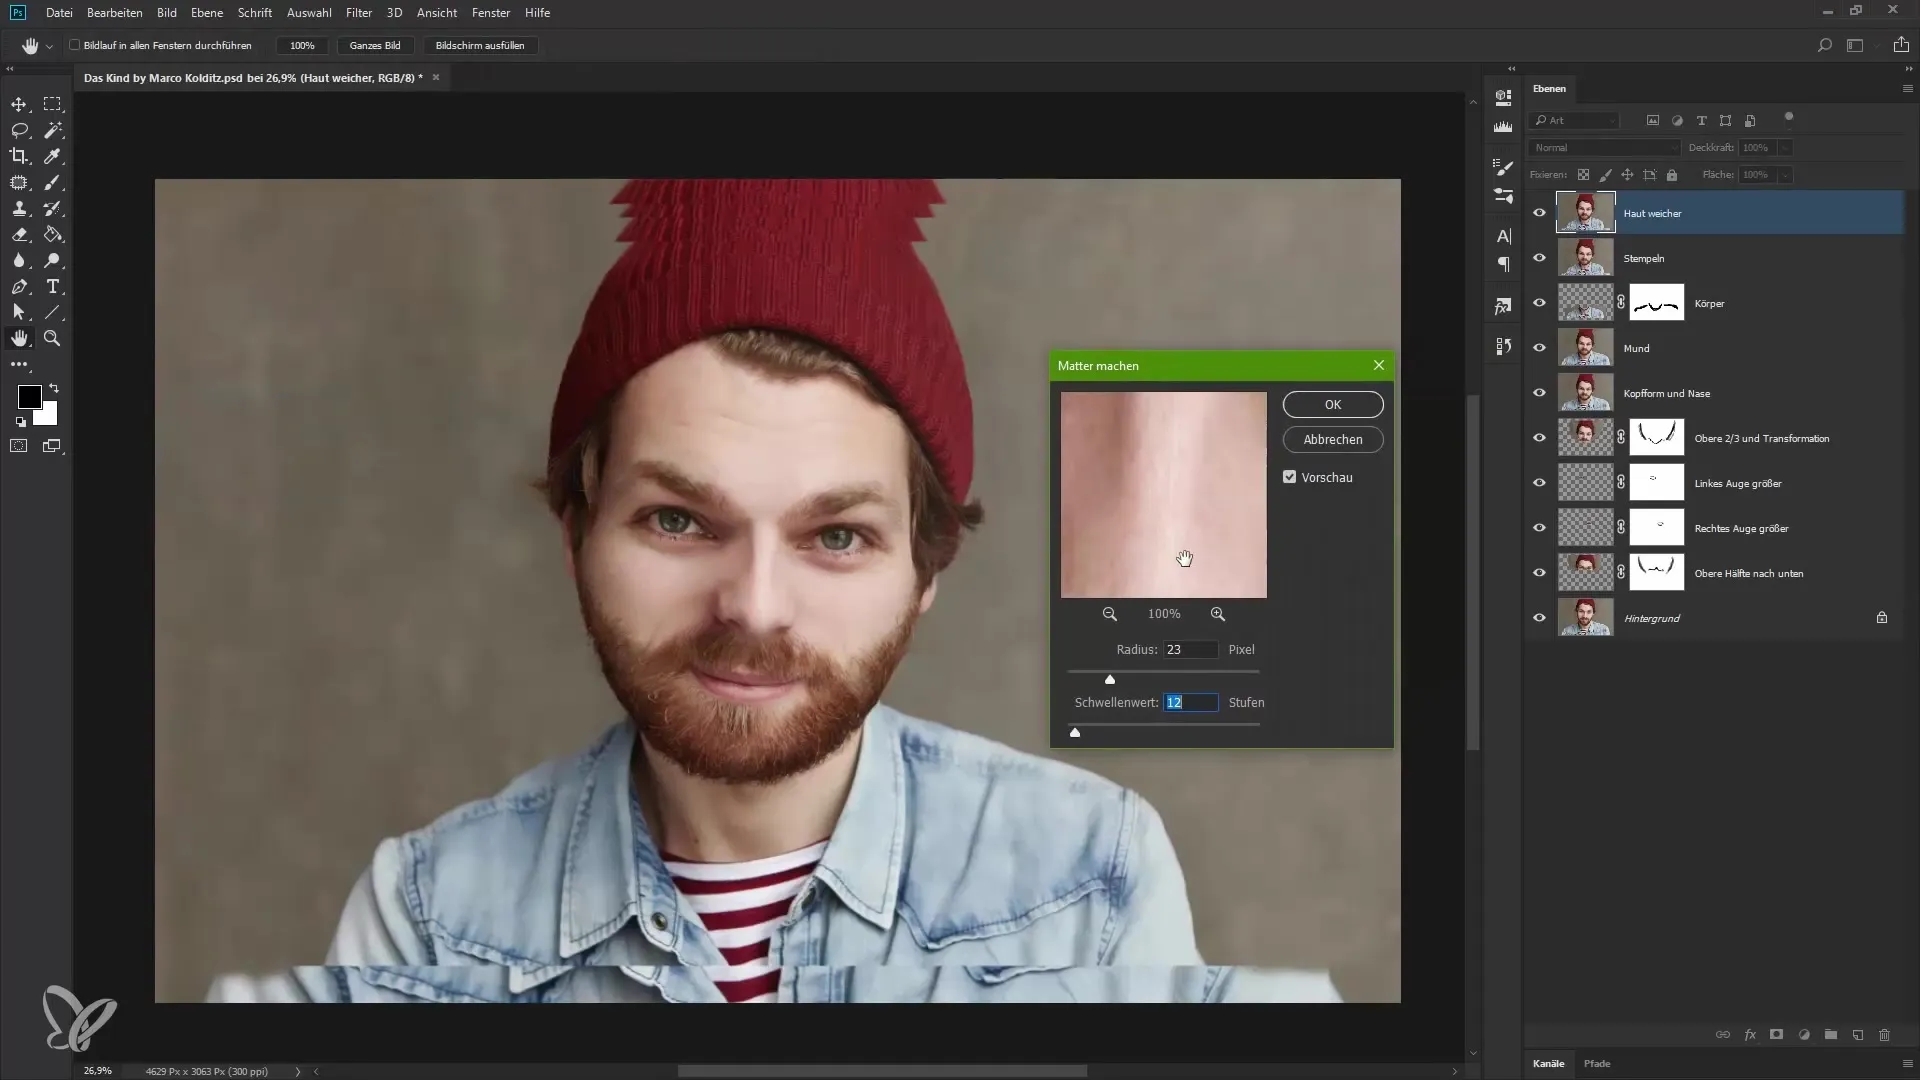
Now apply the blur filter. Go to Filter > Blur Filter and then select Gaussian Blur. A dialog box will open where you can adjust the settings for the filter. A radius of about 23 pixels and a threshold of 12 levels are often a good starting point, but feel free to experiment with the values.
Step 3: Create a Mask
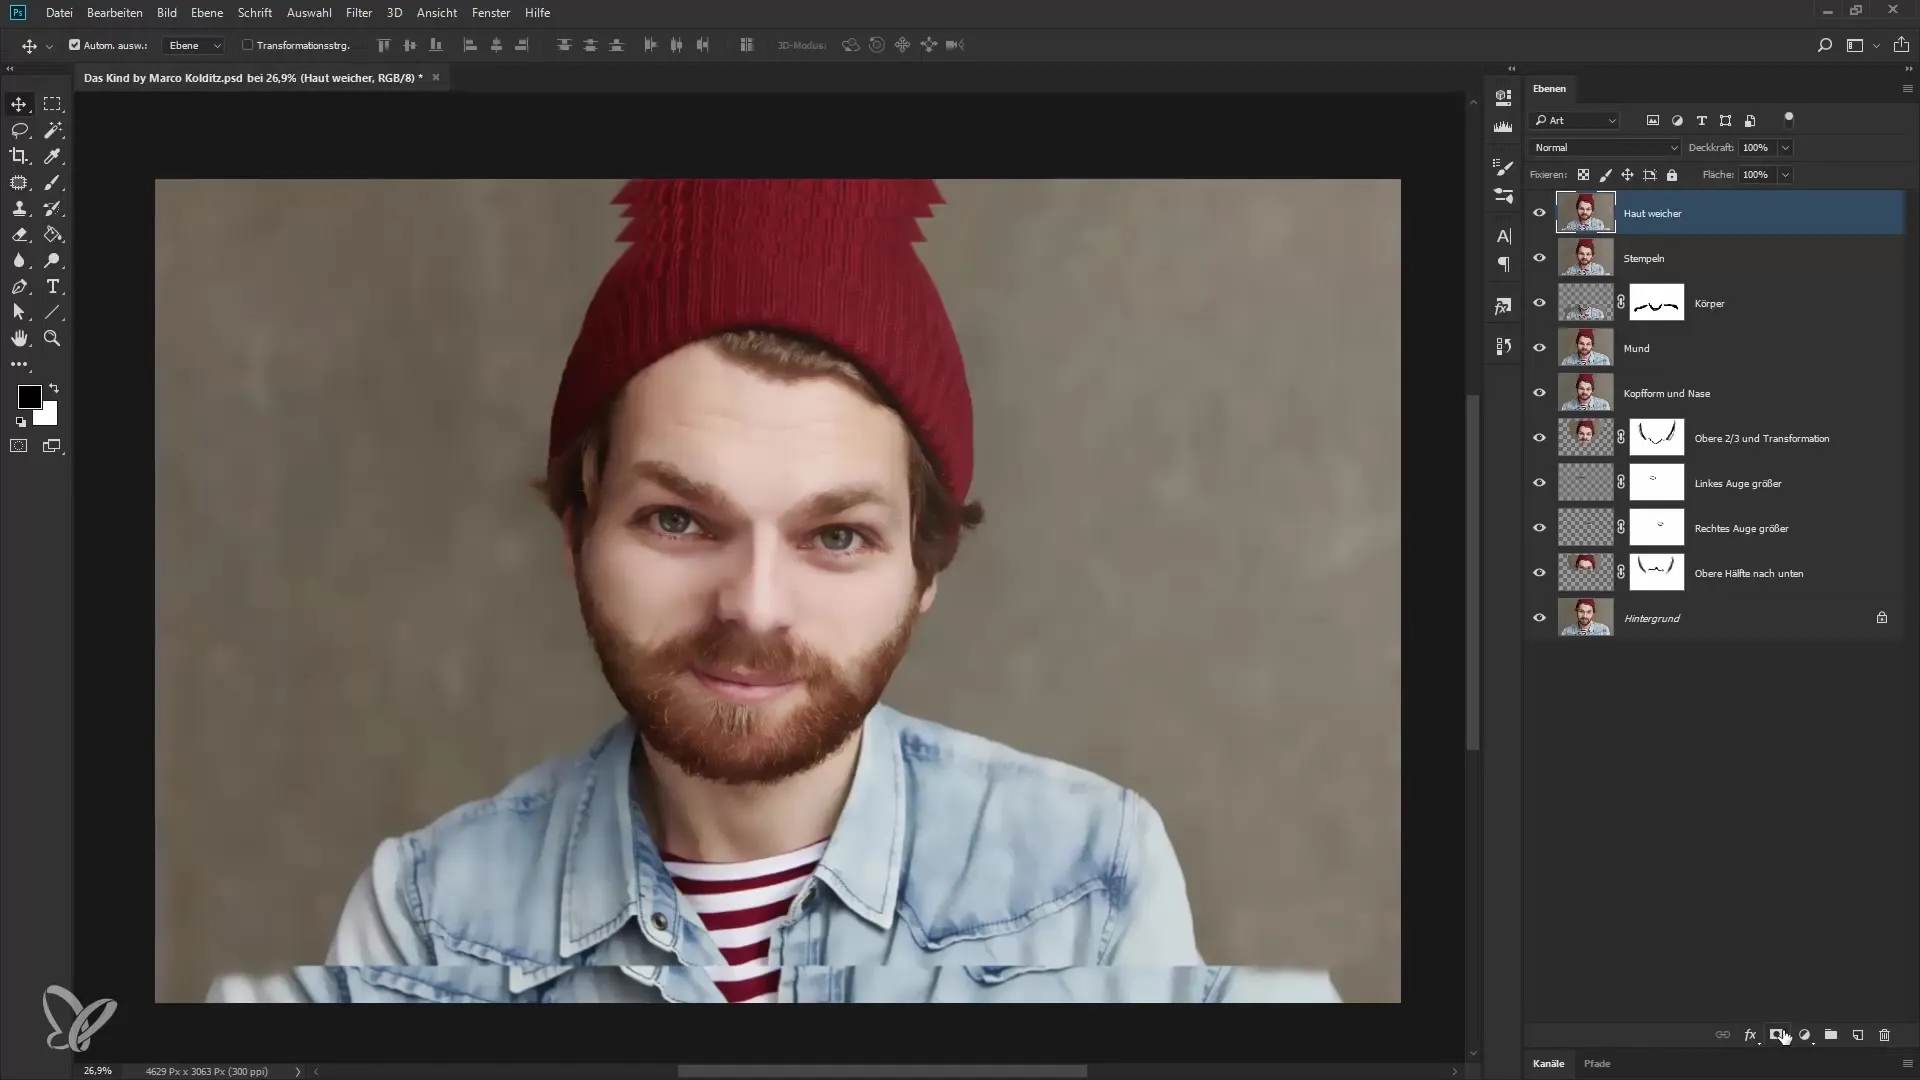
To apply the blur only to the skin, you need to create a mask for the layer. Hold down the Alt key and click on the mask icon. This will make the layer visible in a black mask mode that temporarily hides the blur.
Step 4: Select Brush Tool
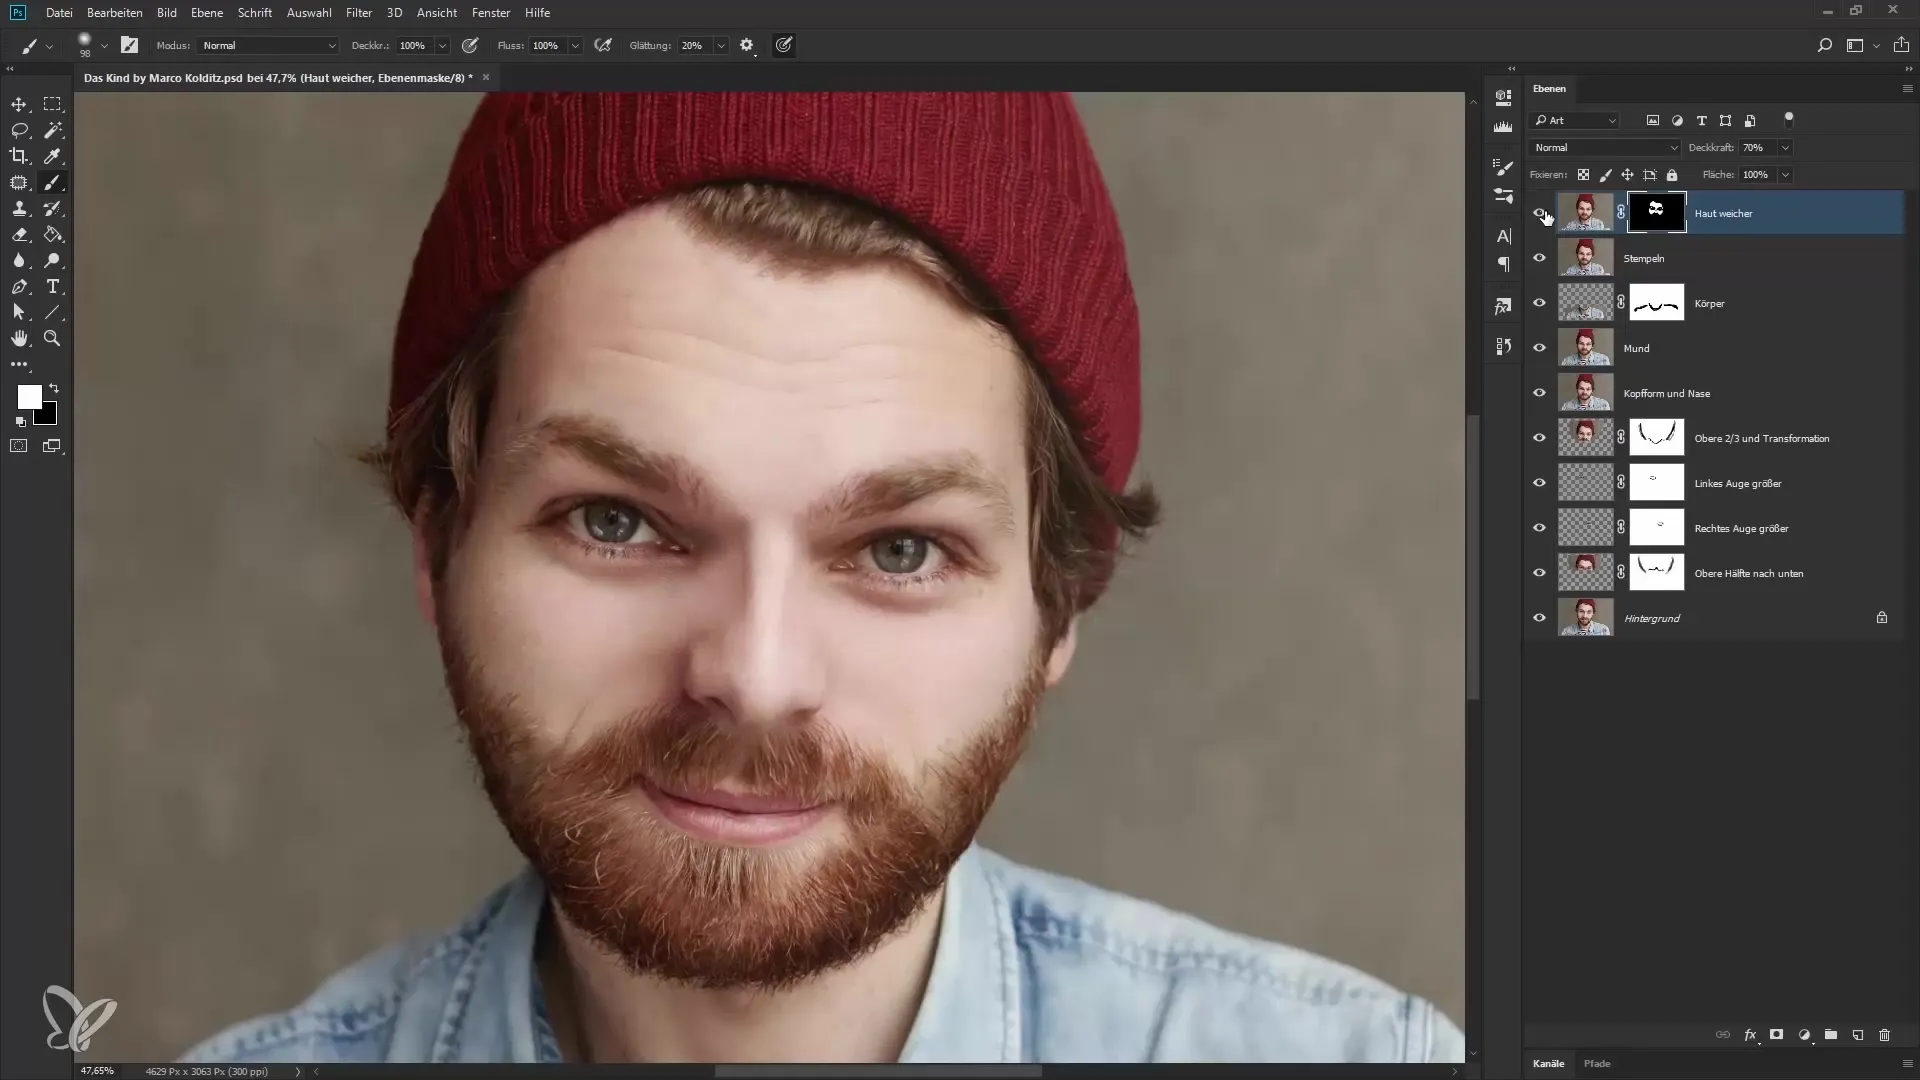
Select the brush tool and set the opacity to 100%. With white foreground color, you can now paint over the areas of the skin that you want to soften. Be careful not to paint in areas like hair or eyebrows. You can also paint over wrinkles to soften their appearance slightly.

Step 5: Adjust Opacity
Once you are satisfied with the softening, adjust the opacity of the layer to refine the result. A value between 60% and 70% often provides a natural effect. You can also adjust the brush opacity depending on how strong you want the softening to be.
Step 6: Create Oil Look
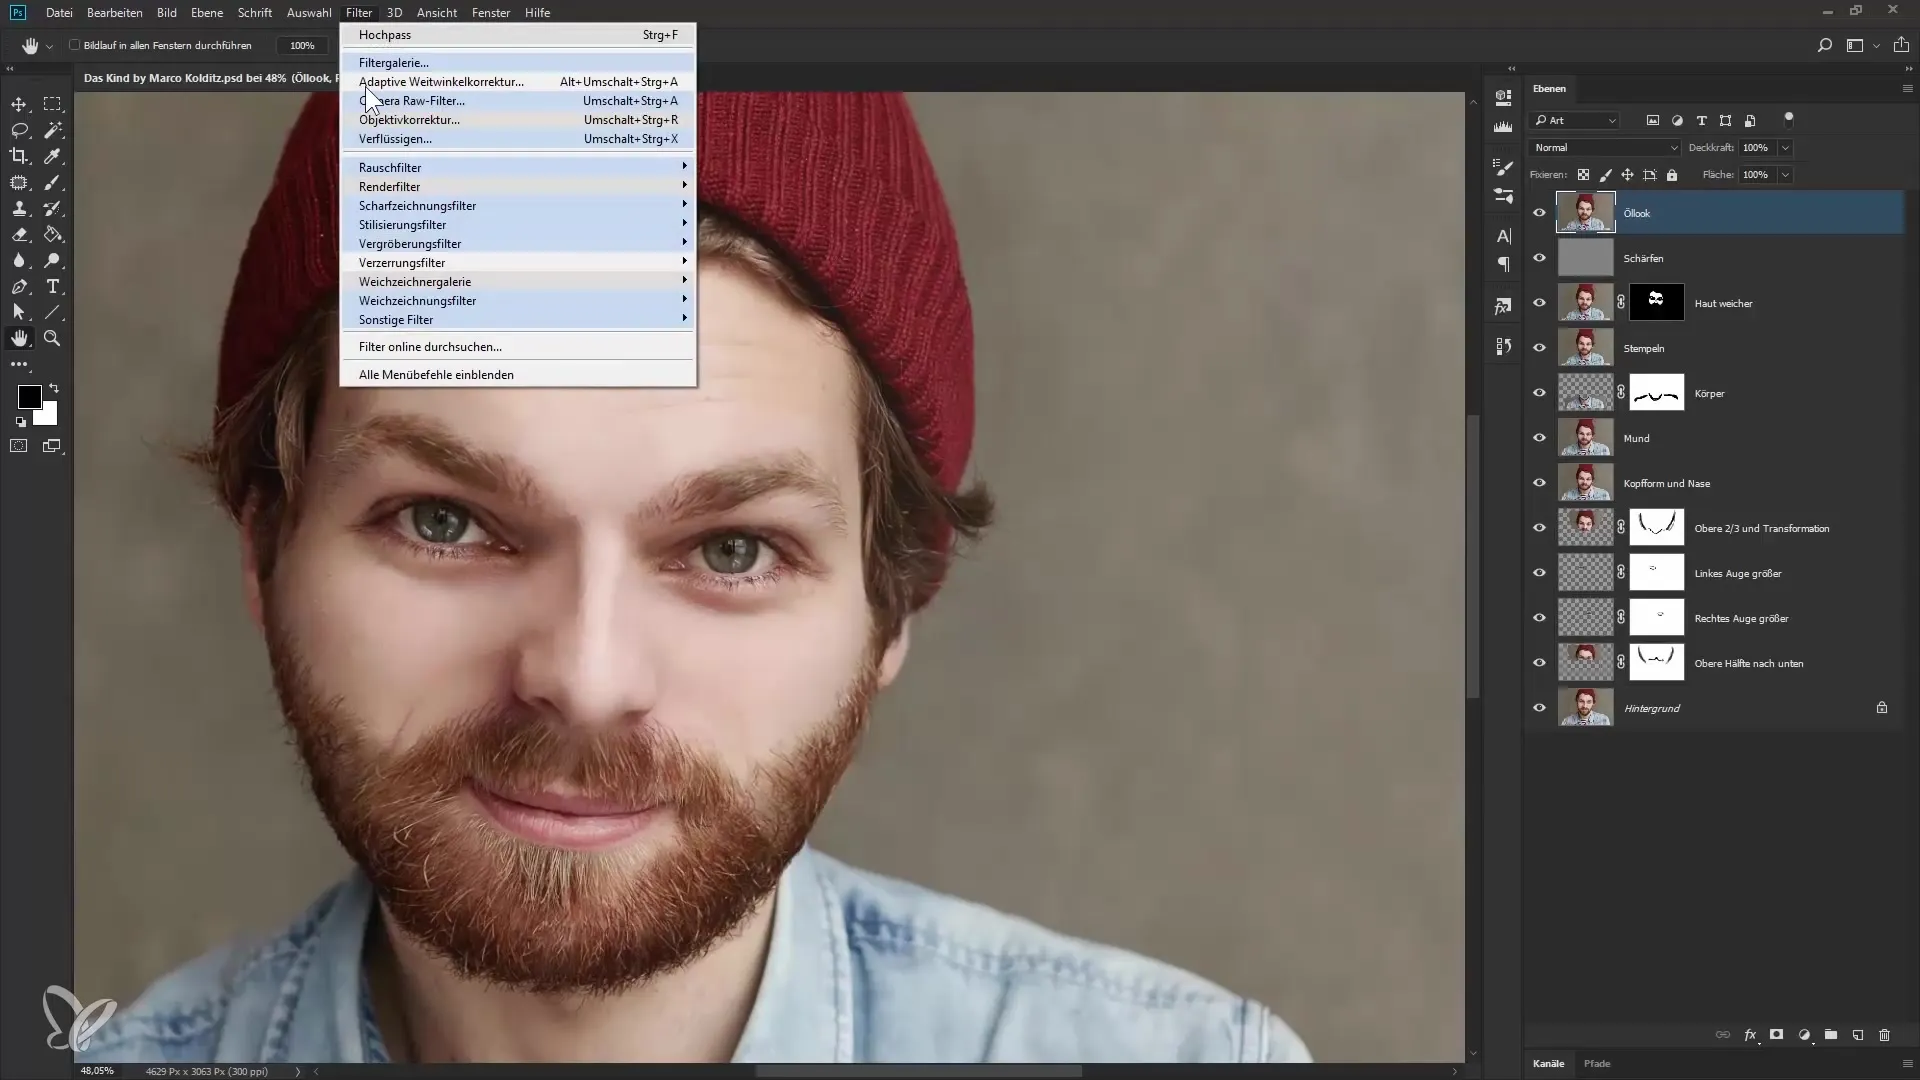
To achieve a painterly effect, create a new summary layer again using Control + Shift + Alt + E. Name this layer “Oil Look”. Then under Filter > Stylize, select the “Oil Paint” filter. Here you can experiment with the sliders for style and details.
Step 7: Fine-tune the Oil Look
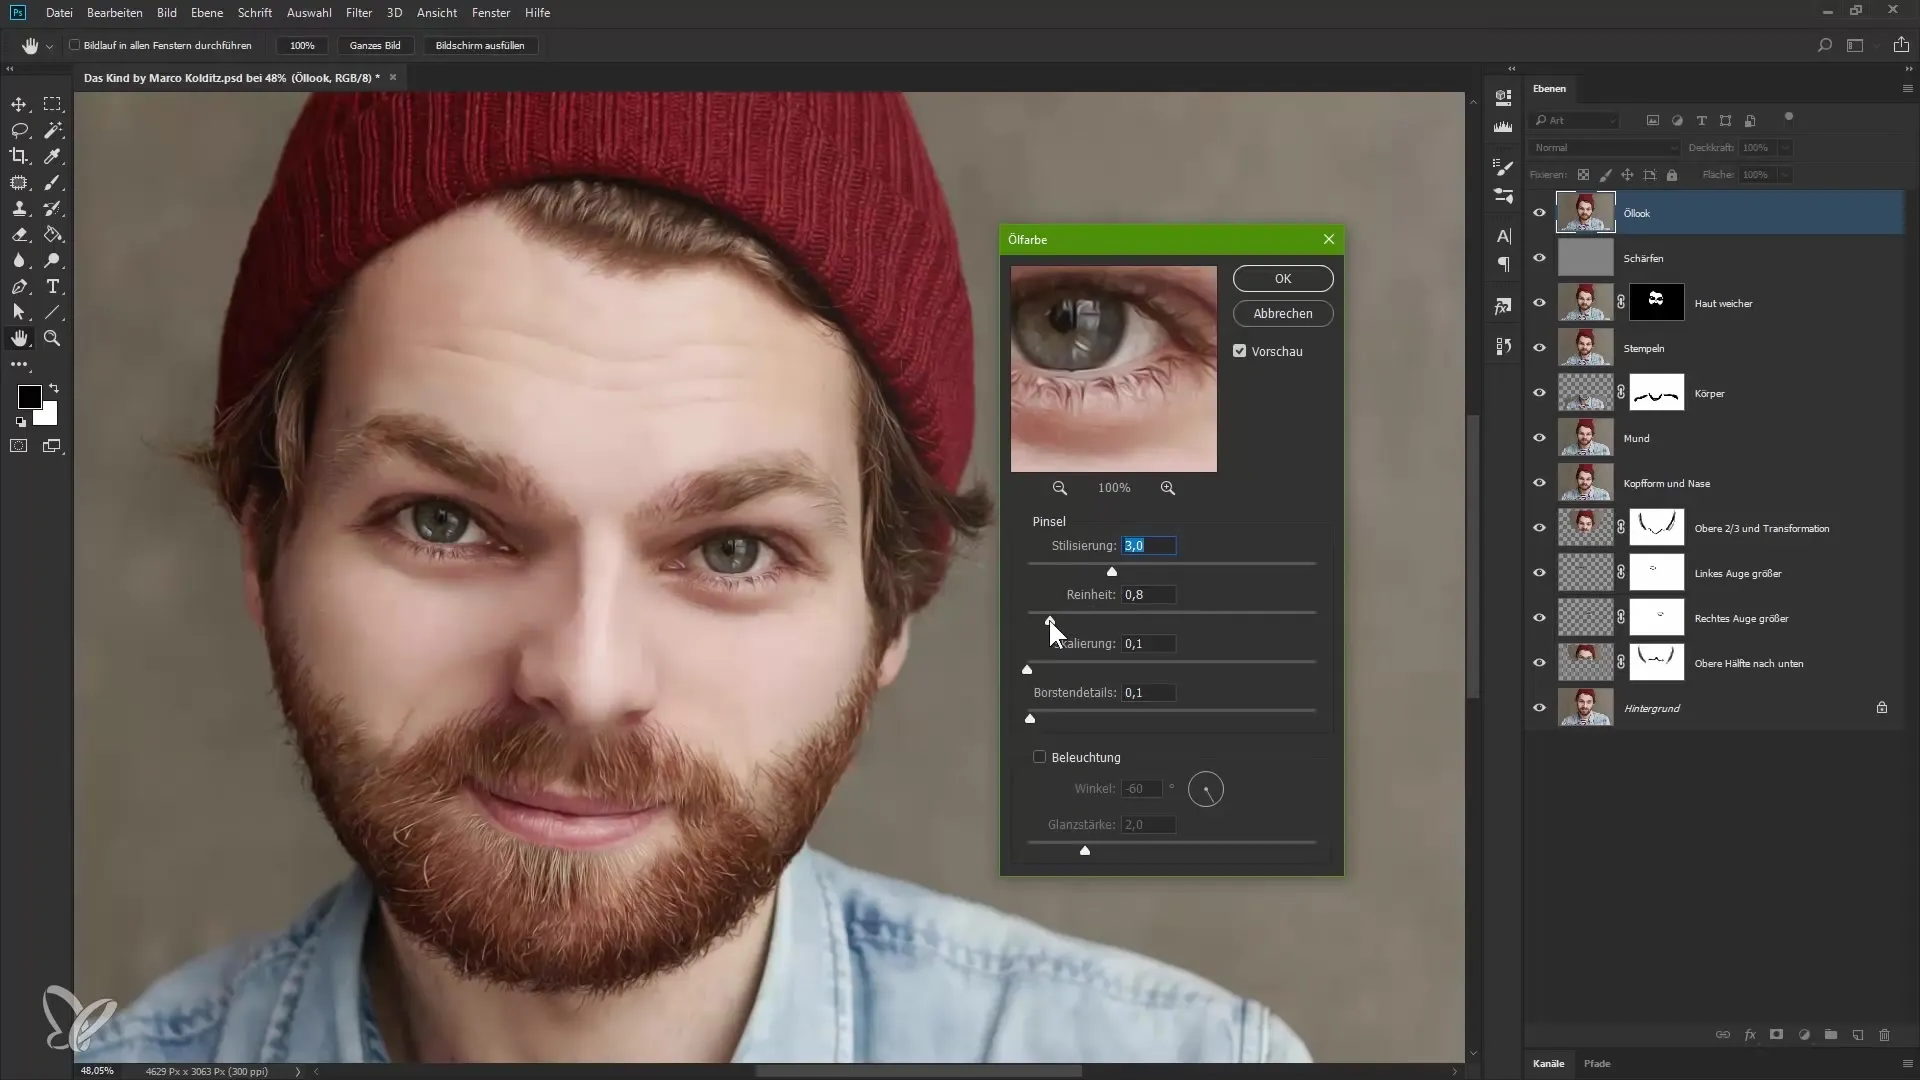
Disable the lighting settings to make the sliders for scale and best detail irrelevant. Increase the stylization to about 3 to achieve the desired painterly effect. Notice how Photoshop enhances the outlines and transforms the overall image into a painted look.
Step 8: Adjust Opacity
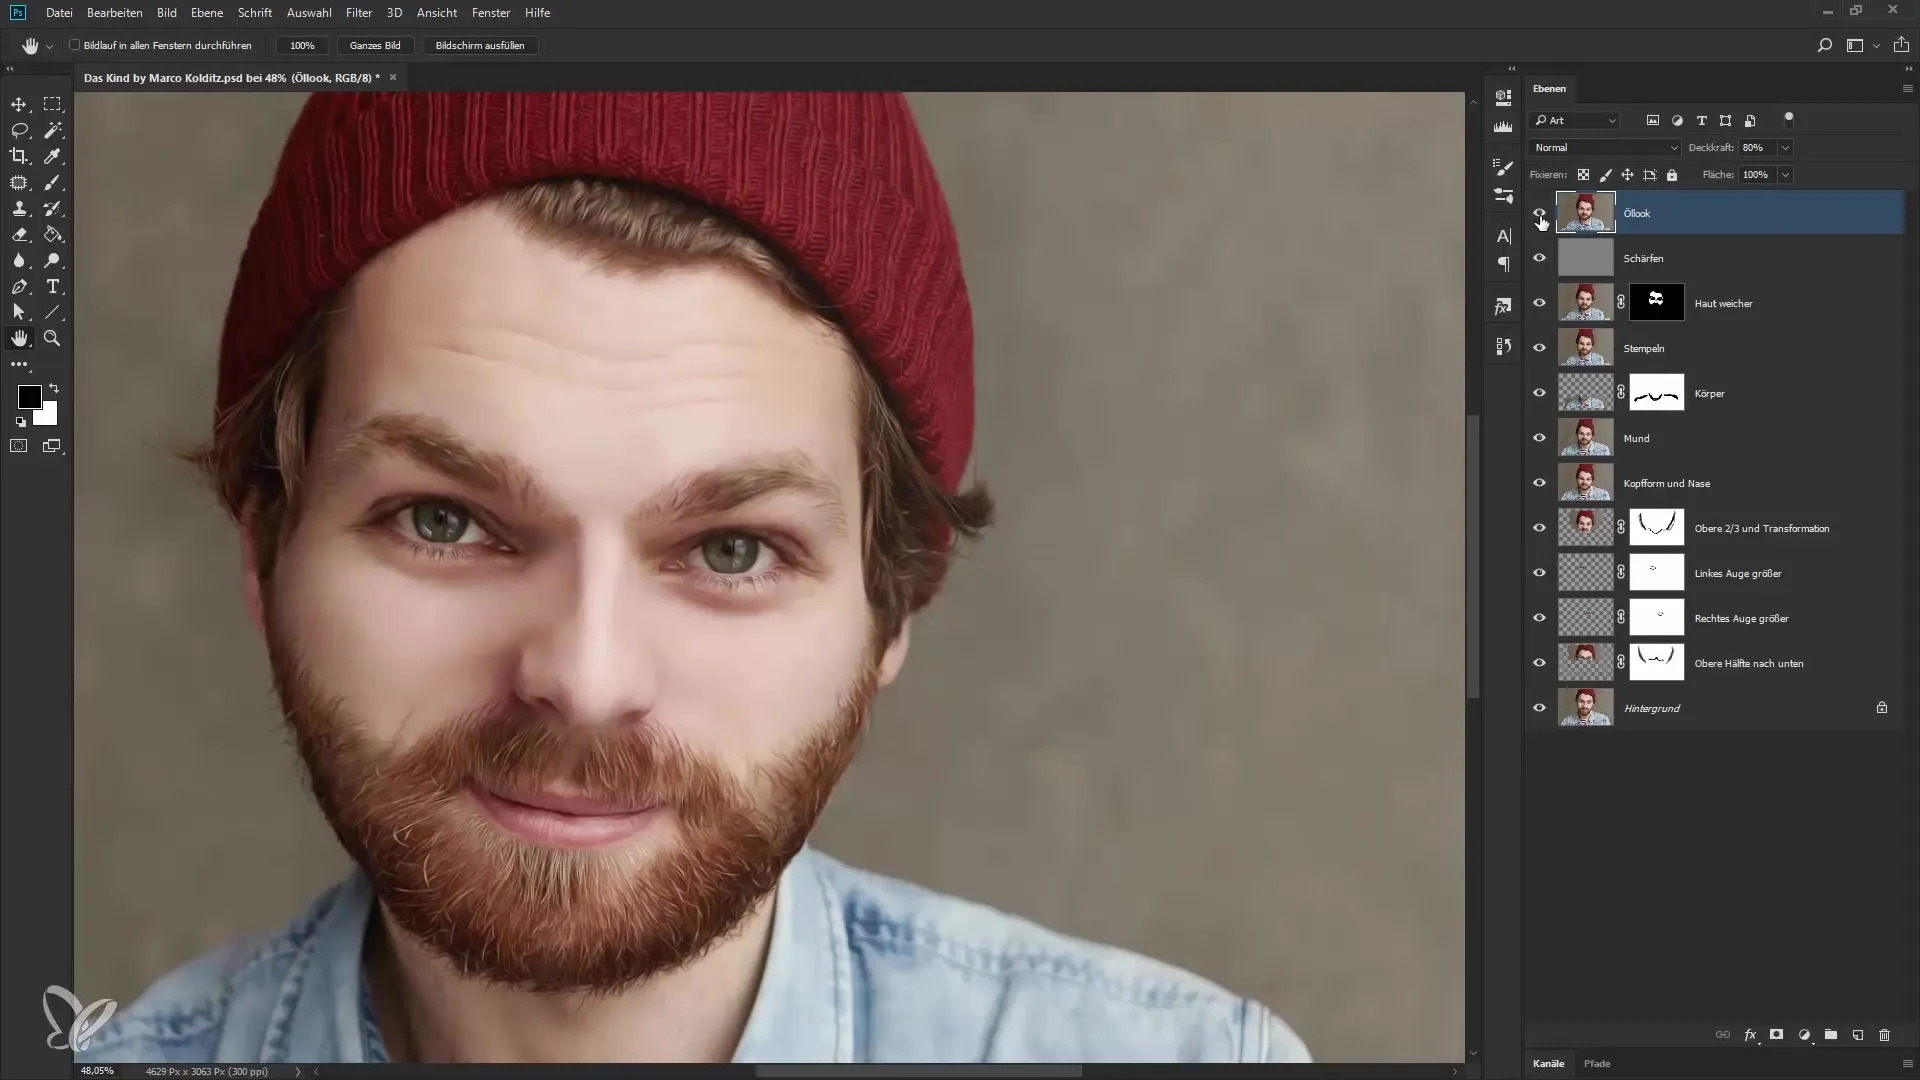
Finally, reduce the opacity of this new layer to around 80% to soften the final result and better blend it with the underlying layer. This gives the image a harmonious, painterly look that enhances the portrait.
Summary – Skin Softening and Painterly Oil Look in Photoshop
In this guide, you learned how to refine and harmonize a model's skin through an effective softening technique. With additional filters and adjustments, you can create an appealing oil look that adds an artistic touch to the image.
Frequently Asked Questions
How do I apply the blur filter?Go to Filter, select Blur Filter, and then Gaussian Blur.
What if the skin looks too soft after editing?Adjust the opacity of the softened layer until you are satisfied with the result.
How do I create a mask in Photoshop?Hold down the Alt key and click on the mask icon in the layers palette.
What is the difference between normal and oil paint editing?The oil paint filter enhances outlines and gives the image a painterly, artistic effect.
How can I apply the softening only to specific areas?Create a mask on the softened layer and paint with white over the desired areas of skin.

