To give a portrayed image more depth and dimension, manipulating light and shadow is essential. In this comprehensive guide, I will show you how to specifically increase contrasts using Photoshop and effectively implement the Baby Schema. I will provide you with a step-by-step guide on how to work with light and shadow without making the results appear unnatural.
Main Insights
- Using separate layers for light and shadow improves editing flexibility.
- The layer mode "soft light" is optimal for increasing contrast.
- Soft brush strokes with reduced hardness and opacity are crucial for achieving realistic effects.
- The play with light and shadow should always be done cautiously to obtain a harmonious overall image.
Step-by-Step Guide
To paint with light and shadow and increase the contrast of your portrait, follow this structured guideline.
First, open your image in Photoshop. To specifically increase contrast, you should create a new layer. To do this, hold down the Alt key and click on the icon for a new layer. You will be prompted to name it. Simply name this layer "Contrast" and set the layer mode to "soft light." To create a neutral starting point, fill the new layer with a medium gray. Now you see that initially, nothing changes in the image itself, but that’s okay. The new gray layer will be displayed transparently in "soft light" mode.
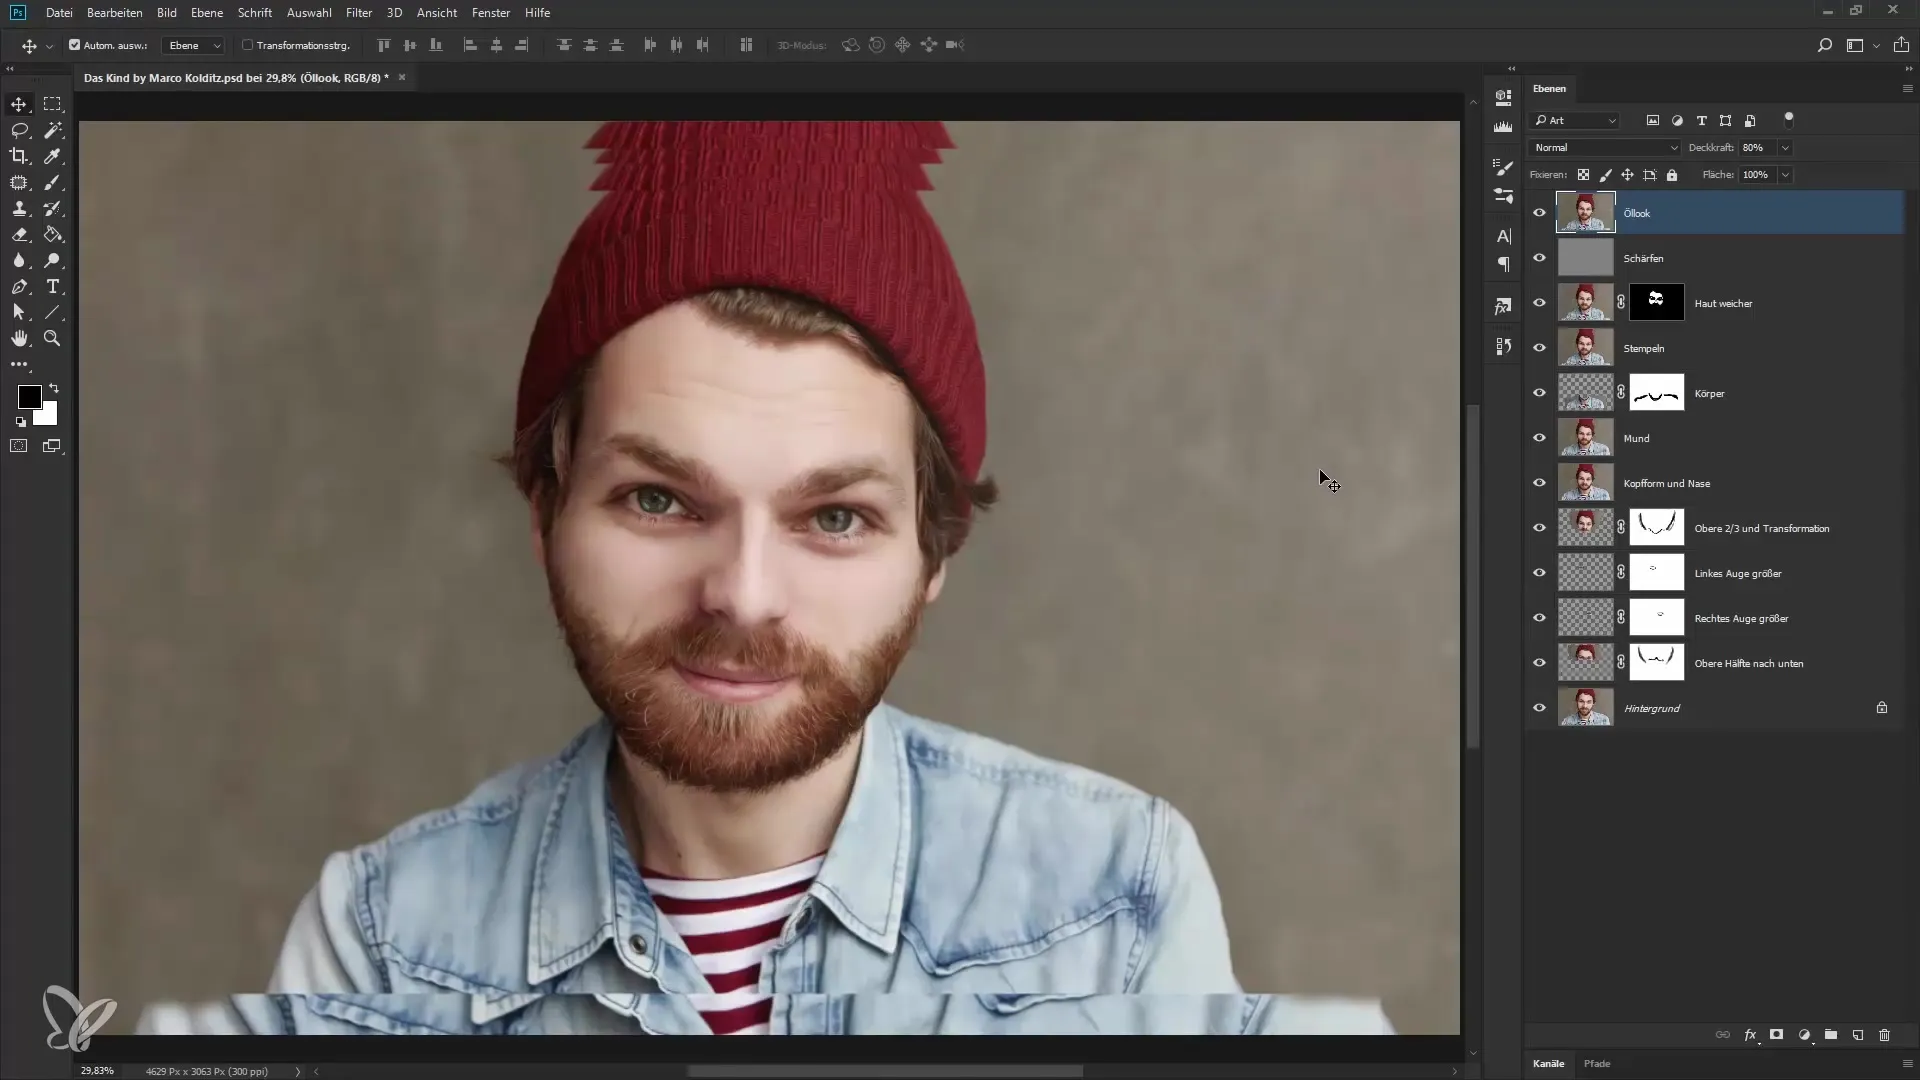
With the brush tool, you are now ready to work with colors. Choose white to lighten areas. You can significantly reduce the brush hardness and set the opacity to about 20%. Experiment a bit to develop your feel for painting. Start by painting over the bridge of the nose, enhancing the existing highlights. It’s important to work carefully, so you don’t apply too much at once. If you feel you are applying too strongly, reduce the opacity and paint again.
Make sure to regularly check the effect. Take your time to see how the changes work. Keep in mind that you can undo these adjustments if you are dissatisfied. Ensure that you respect the contours of the facial features and only lighten already bright areas.
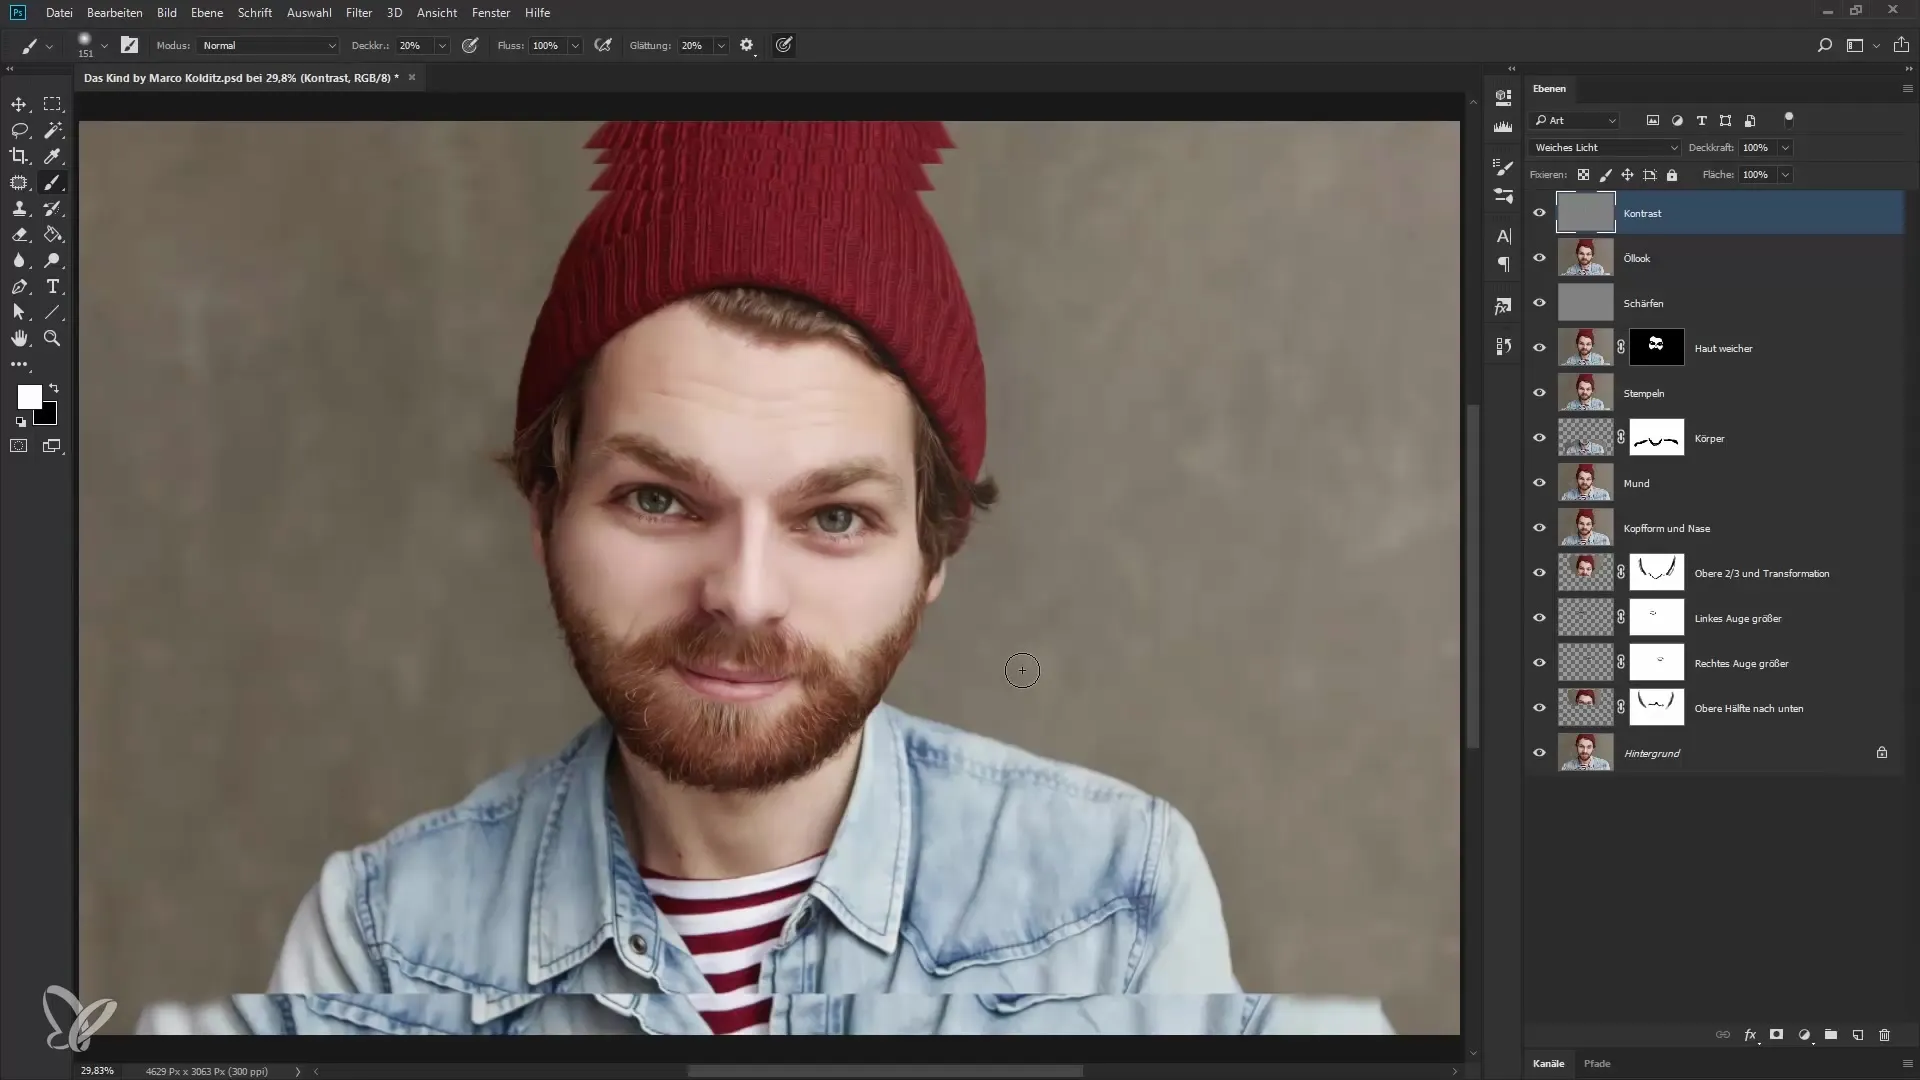
The play with light and shadow requires patience. For example, you can make the cheeks appear lighter by working again with white. Don’t forget to regularly switch between black and white to find the desired balance. When you choose a lighter color, the corresponding areas get lightened, and bright spots can be particularly emphasized. Repeat this process for other areas like hair or lips to achieve a radiant effect.
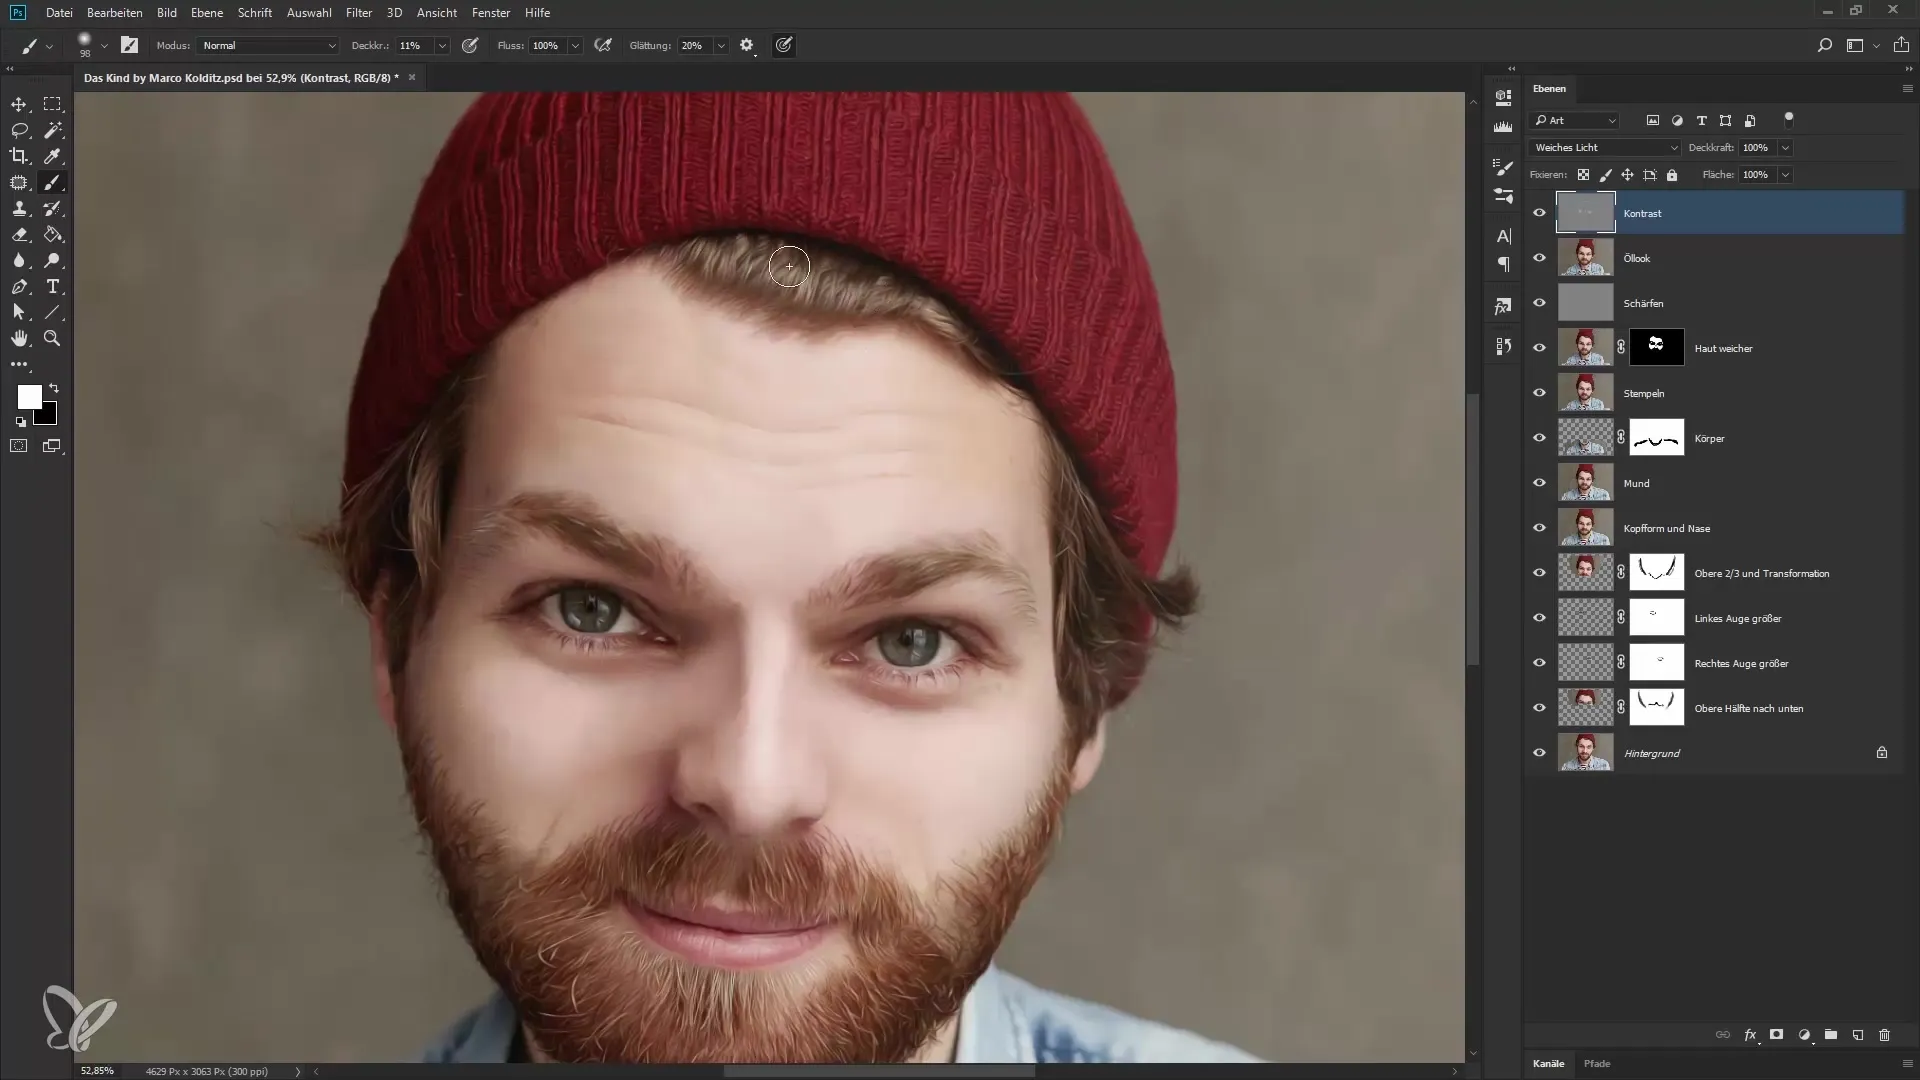
Once you finish with the light areas, it's time to work on the shadows. Press the "X" key to switch to black. Now you can selectively apply shadows, for example, at the edges of the cap or around the neck. The shadows should emphasize the depth of the face and make the image appear more three-dimensional. Be careful not to overdo it, especially with contours like eyebrows or hairlines.
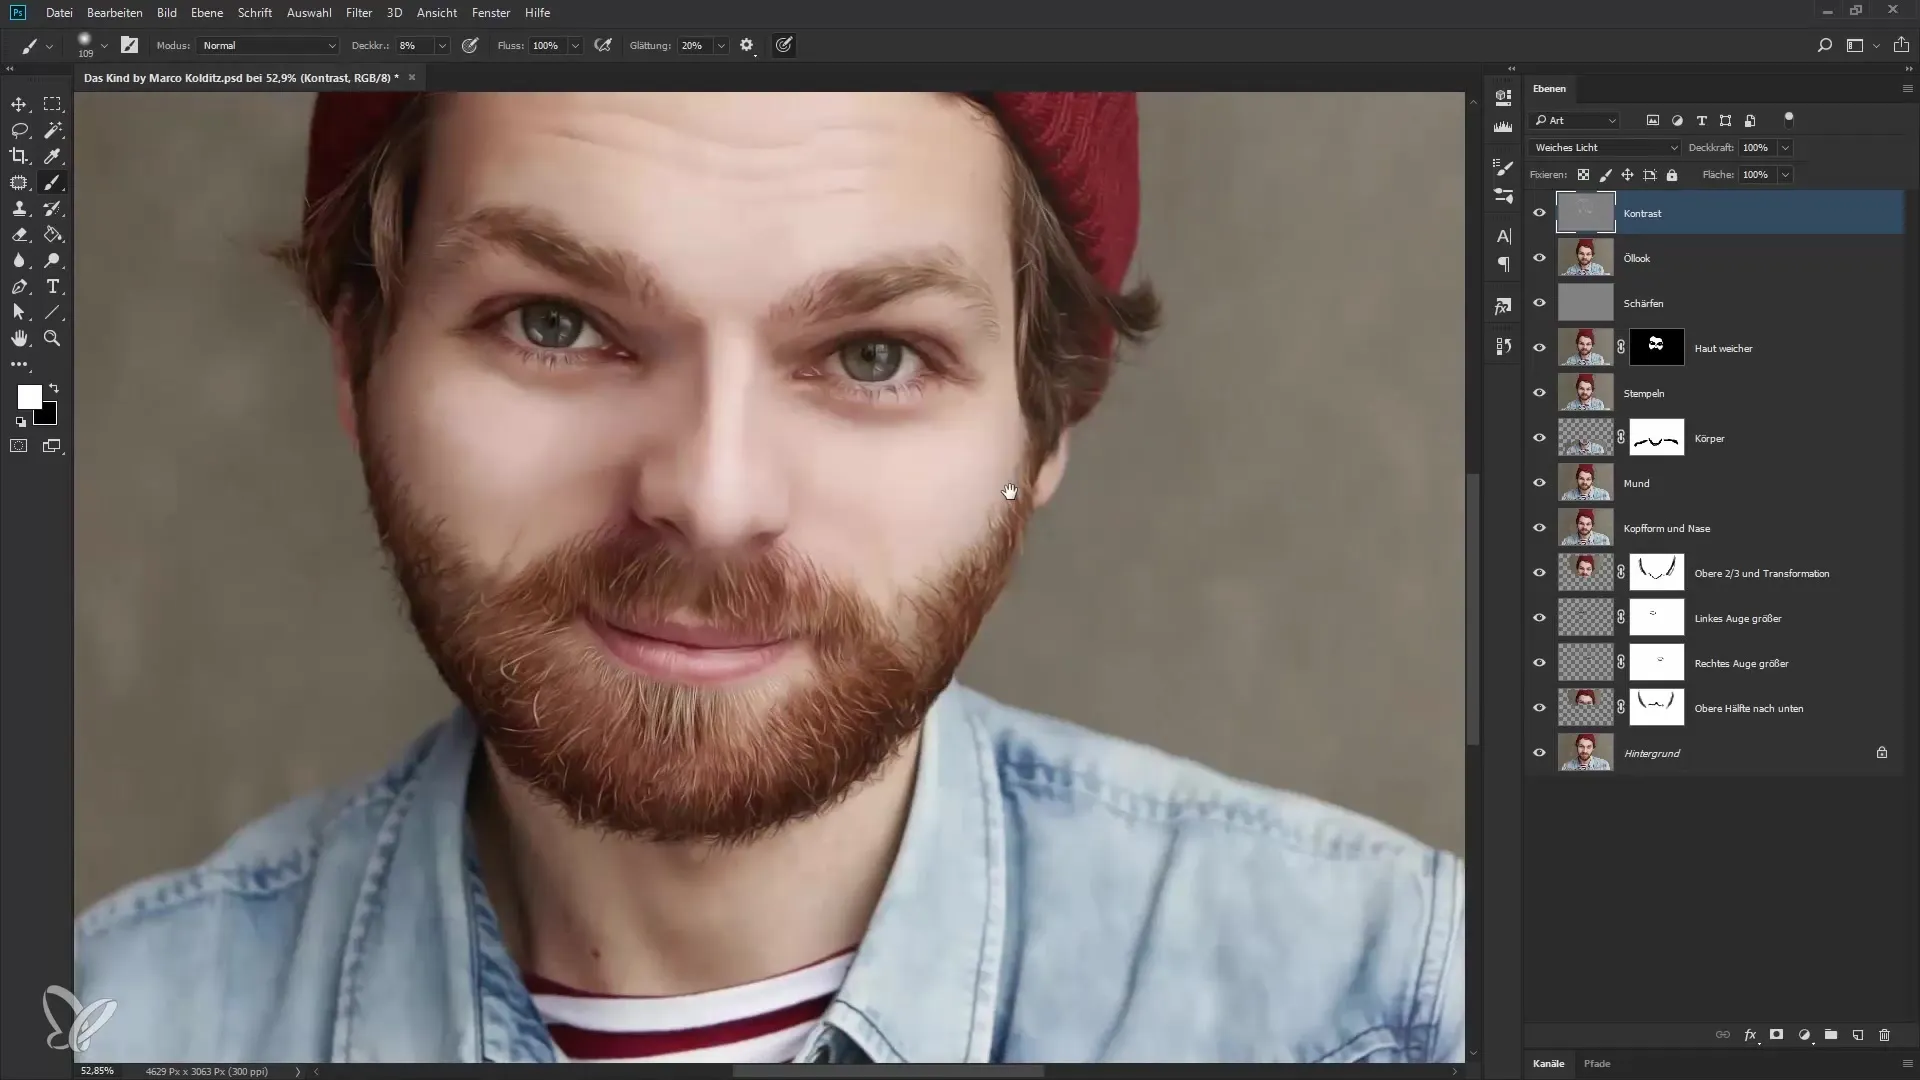
Elegantly handling shadows helps to achieve the Baby Schema. The overall image should appear even more exciting and contrasting with the addition of shadows. Take your time and experiment while working on the lips or other markings on the face. The key is to develop a feel for the arrangement of light and shadow.
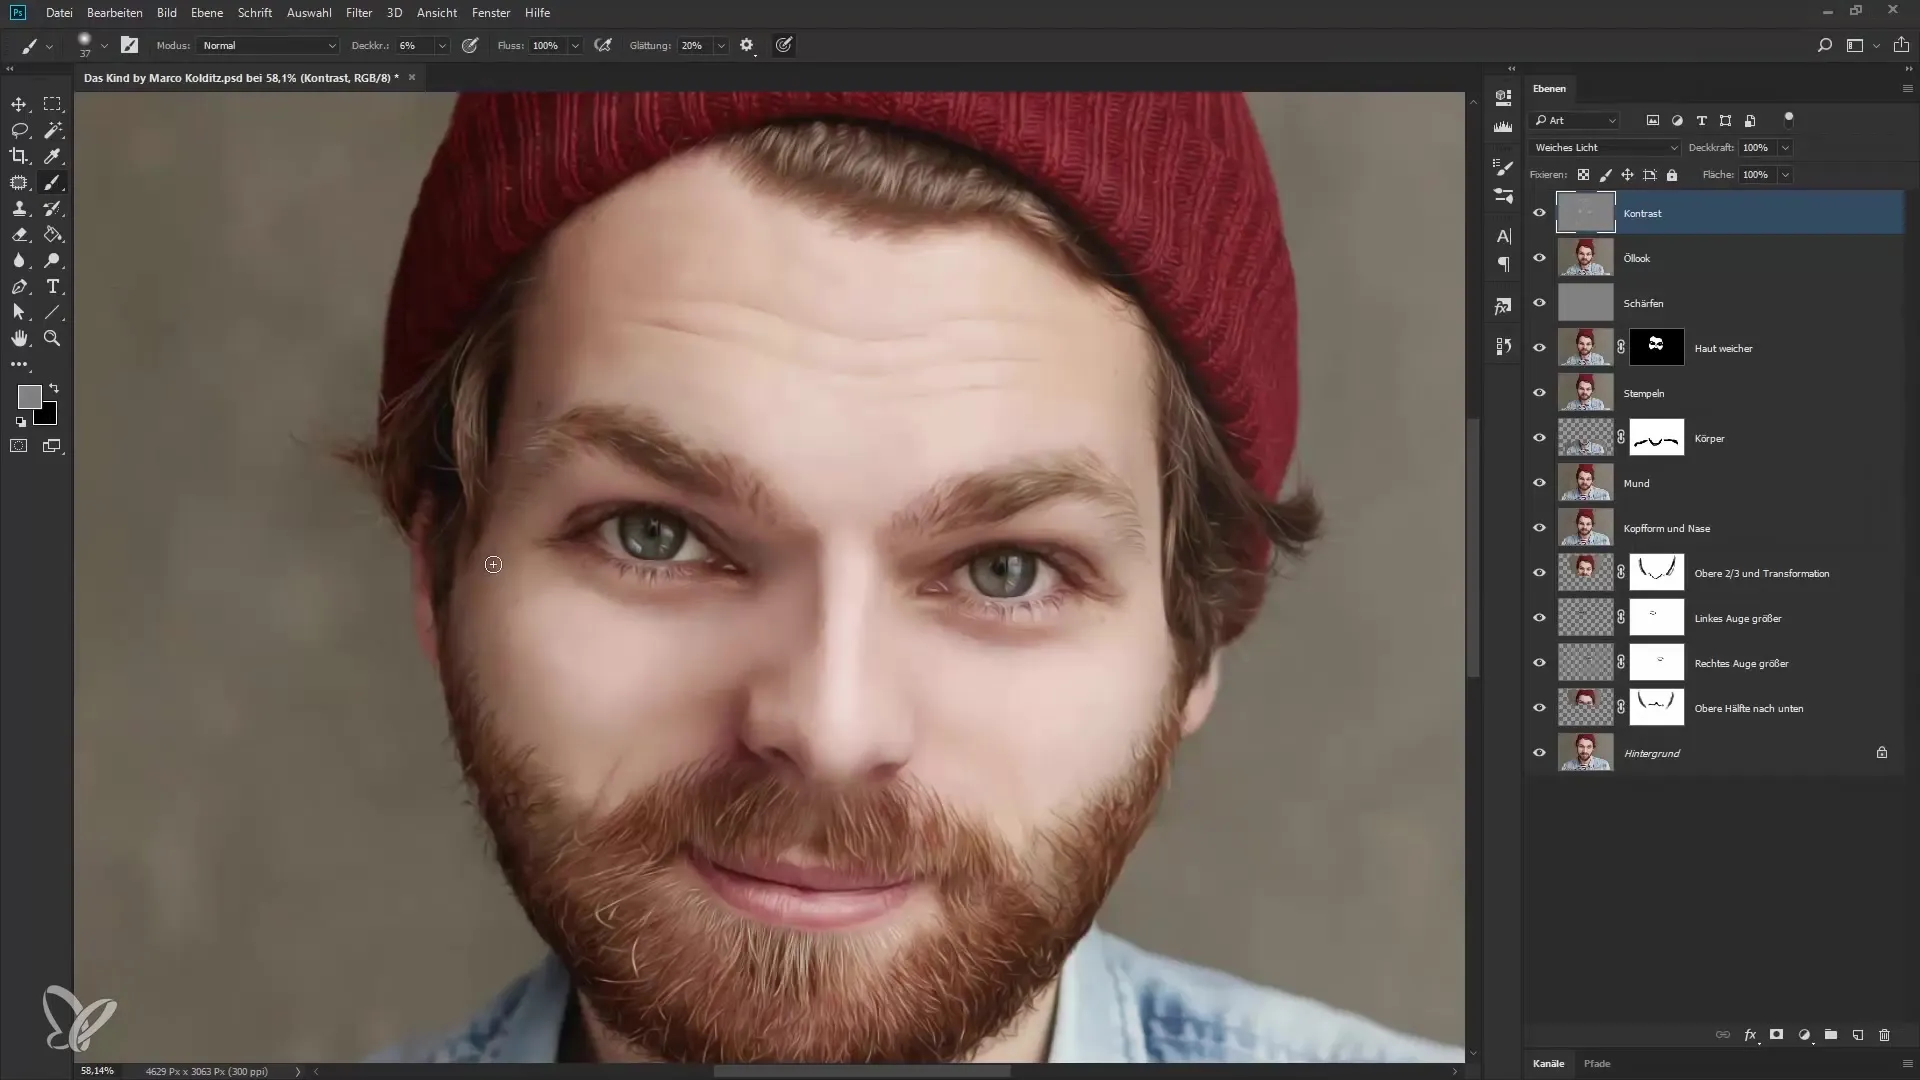
When you have completed the entire editing process, you can view the layer mask for better overview. This will give you a good impression of where you've placed shadows and light in the image. Keep in mind that the overall impression remains harmonious, and the proportions of the face are not lost.
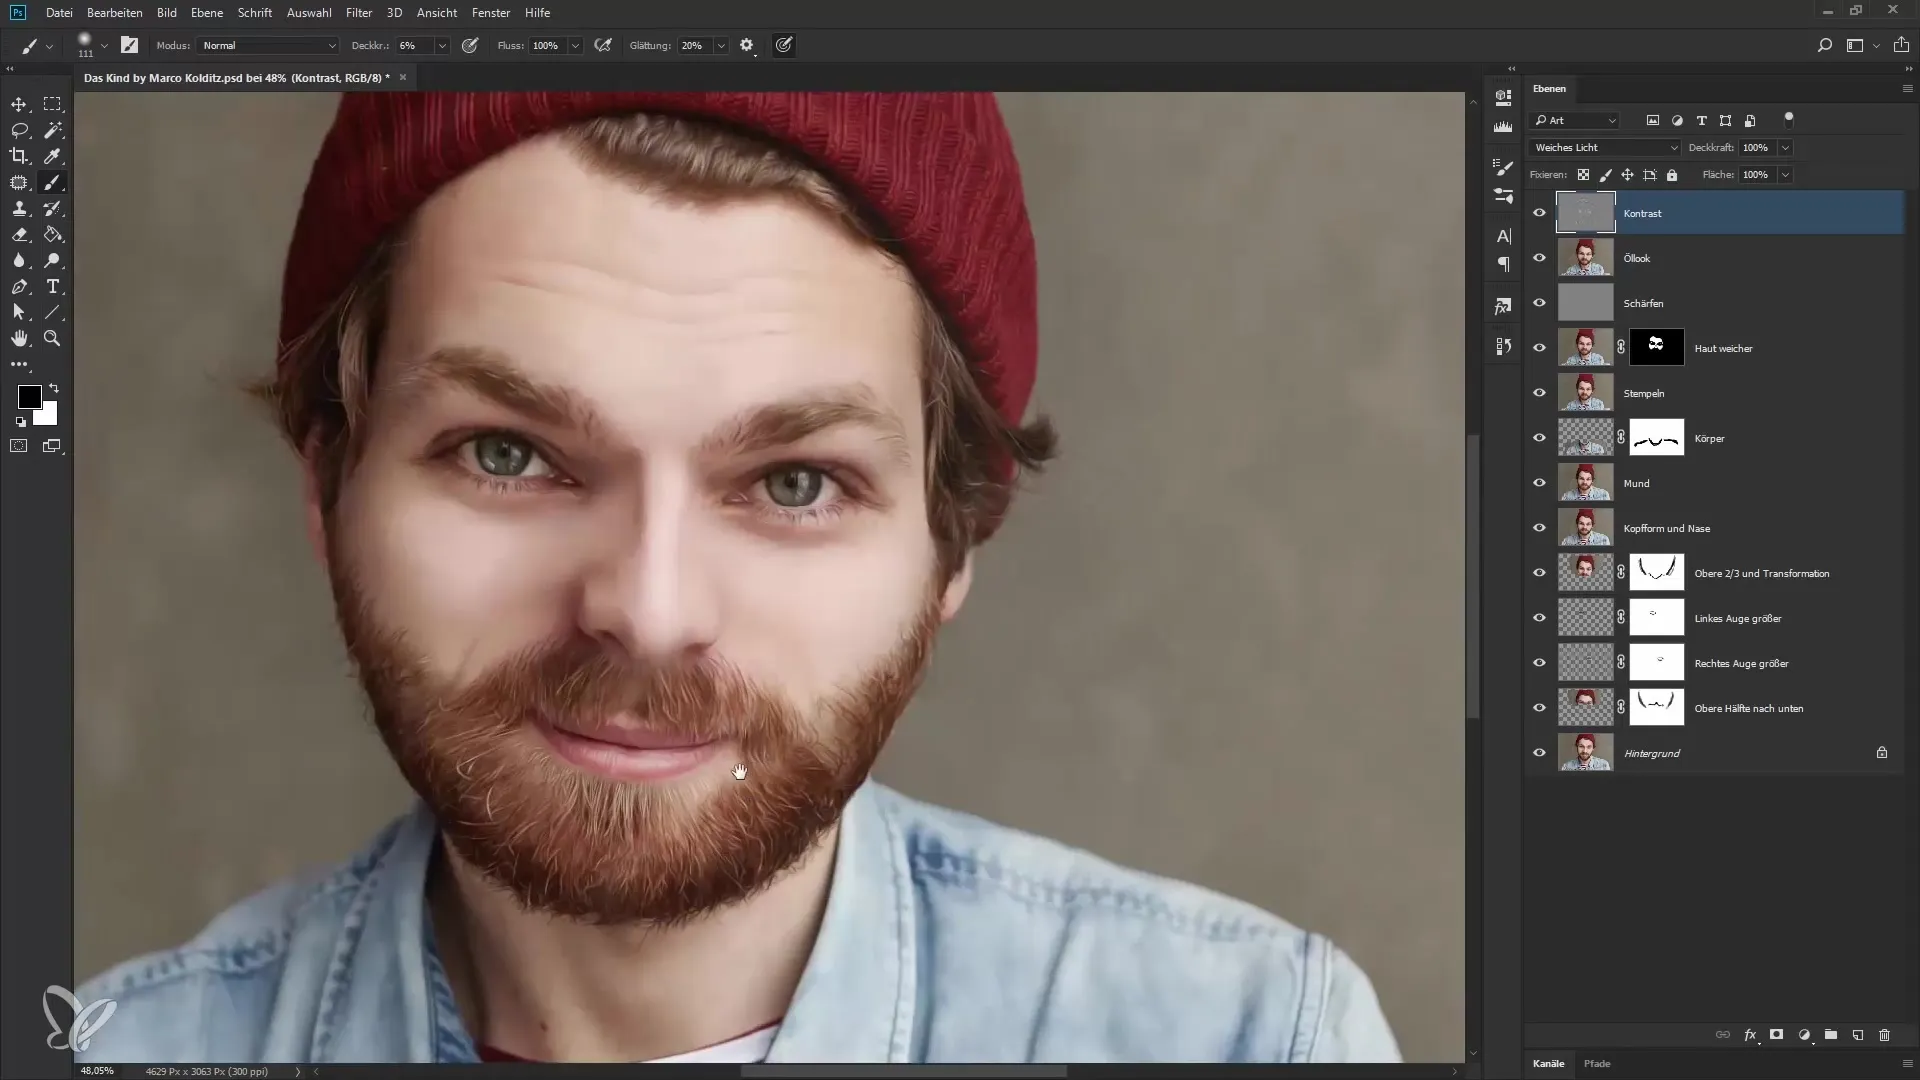
Summary – Portrait in Baby Schema: Effectively Increase Contrasts
In this guide, you learned how to effectively increase contrast in your portrait using light and shadow. By working with separate layers and the targeted use of light-dark effects, your image gains more depth and appears more appealing. It is worthwhile to experiment with the different techniques and to be patient throughout the process.
Frequently Asked Questions
How can I adjust the opacity of the brush?You can adjust the brush opacity in the upper menu in the brush area.
What does the "soft light" mode do?The "soft light" mode allows for smooth transitions between the image and the new layer without creating hard edges.
How can I undo adjustments?You can undo by pressing "Ctrl + Z" or by selecting the undo option in the edit menu.
Why is using a medium gray important?The medium gray serves as a neutral point to easily make later adjustments while maintaining control over brightness.
How do I prevent unnatural overexposure?Make sure to paint gently with the brush and regularly reduce the opacity, especially in bright areas.


