The finishing touches of an image often determine the overall impression. In this tutorial, I'll show you how to elevate your portrait in the cuteness effect to the next level with seven targeted steps. From adjusting the crop to the final editing with noise – you'll learn how to give your work the perfect rounding.
Main insights
- Use the cropping tool to crop the image optimally.
- A manual vignette can give the image more depth.
- Adding noise harmoniously connects the edited and untouched areas.
Step-by-step guide
First, we'll take care of cropping the image. You'll use the cropping tool in Photoshop. Select the tool by clicking on the corresponding icon. A frame will appear that you can adjust. Set the top anchor to the desired edge of the image. Do the same for the bottom edge. This way, you can crop the image according to your preferences.
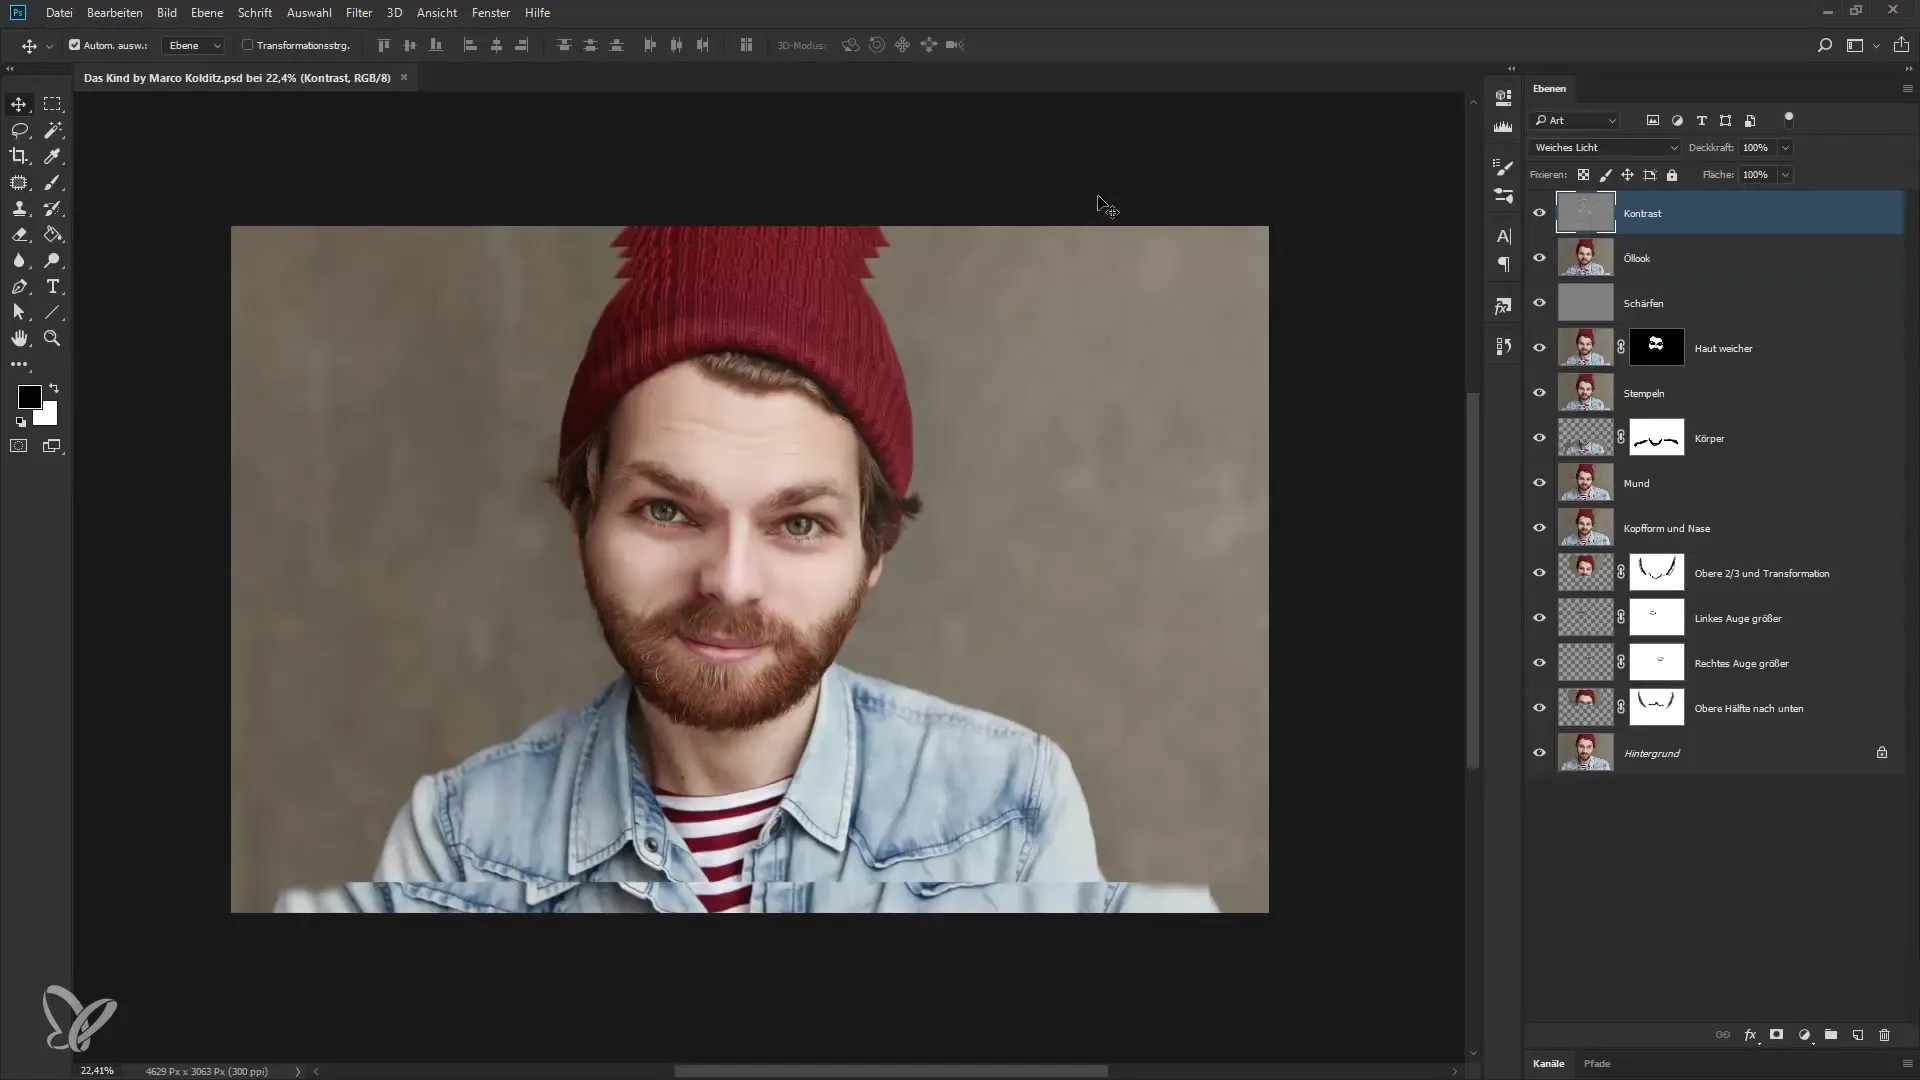
Decide whether you want to crop the image in a square format or according to other proportions. To change the shape, select a ratio in the cropping tool. I prefer to cut manually to achieve the optimal composition. “I like it this way,” I tell myself while adjusting the edges. A double-click confirms the crop.
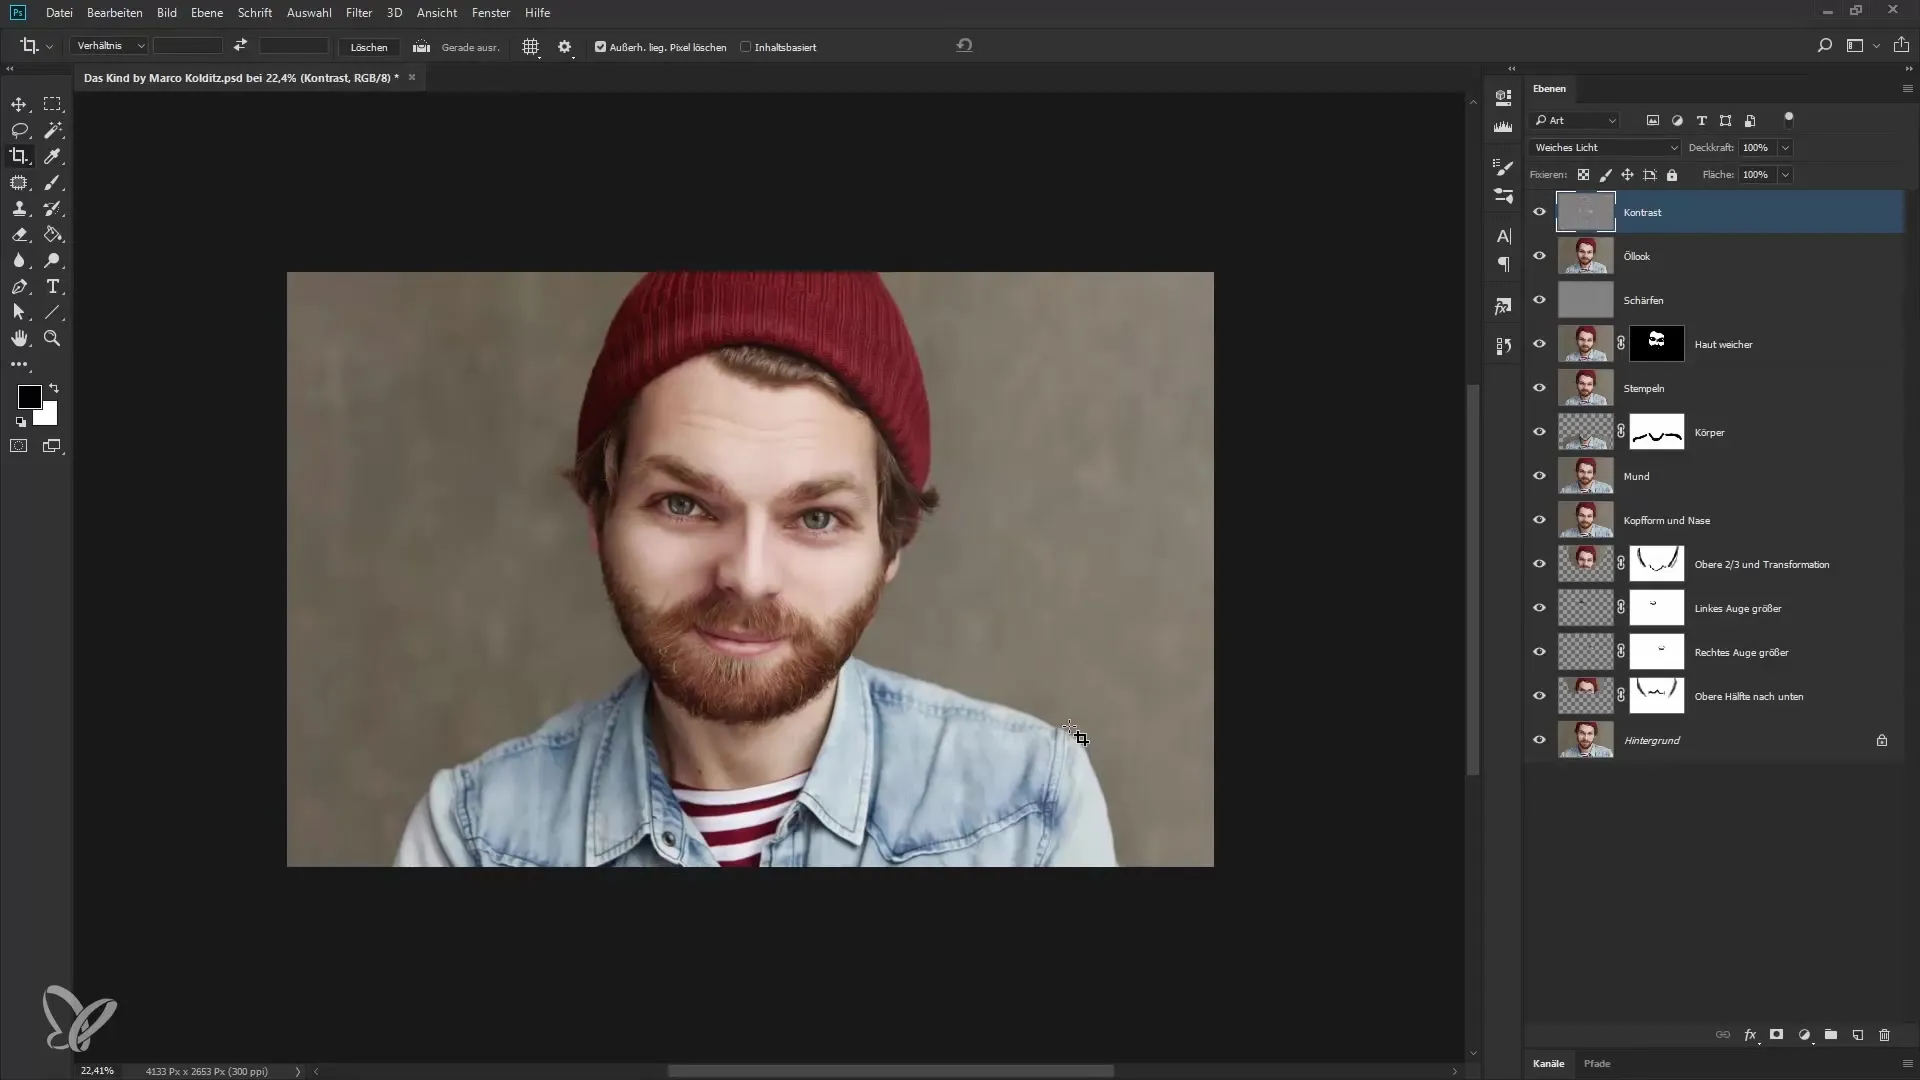
A vignette is the next step in stylistically rounding off the image. Create a new empty layer and name it "Vignette" for example. Here comes the creative part: You can paint the vignette into the image with a soft brush. Set the opacity to 100% to achieve a strong effect. Be careful not to apply too much; I provide a rough model at first.
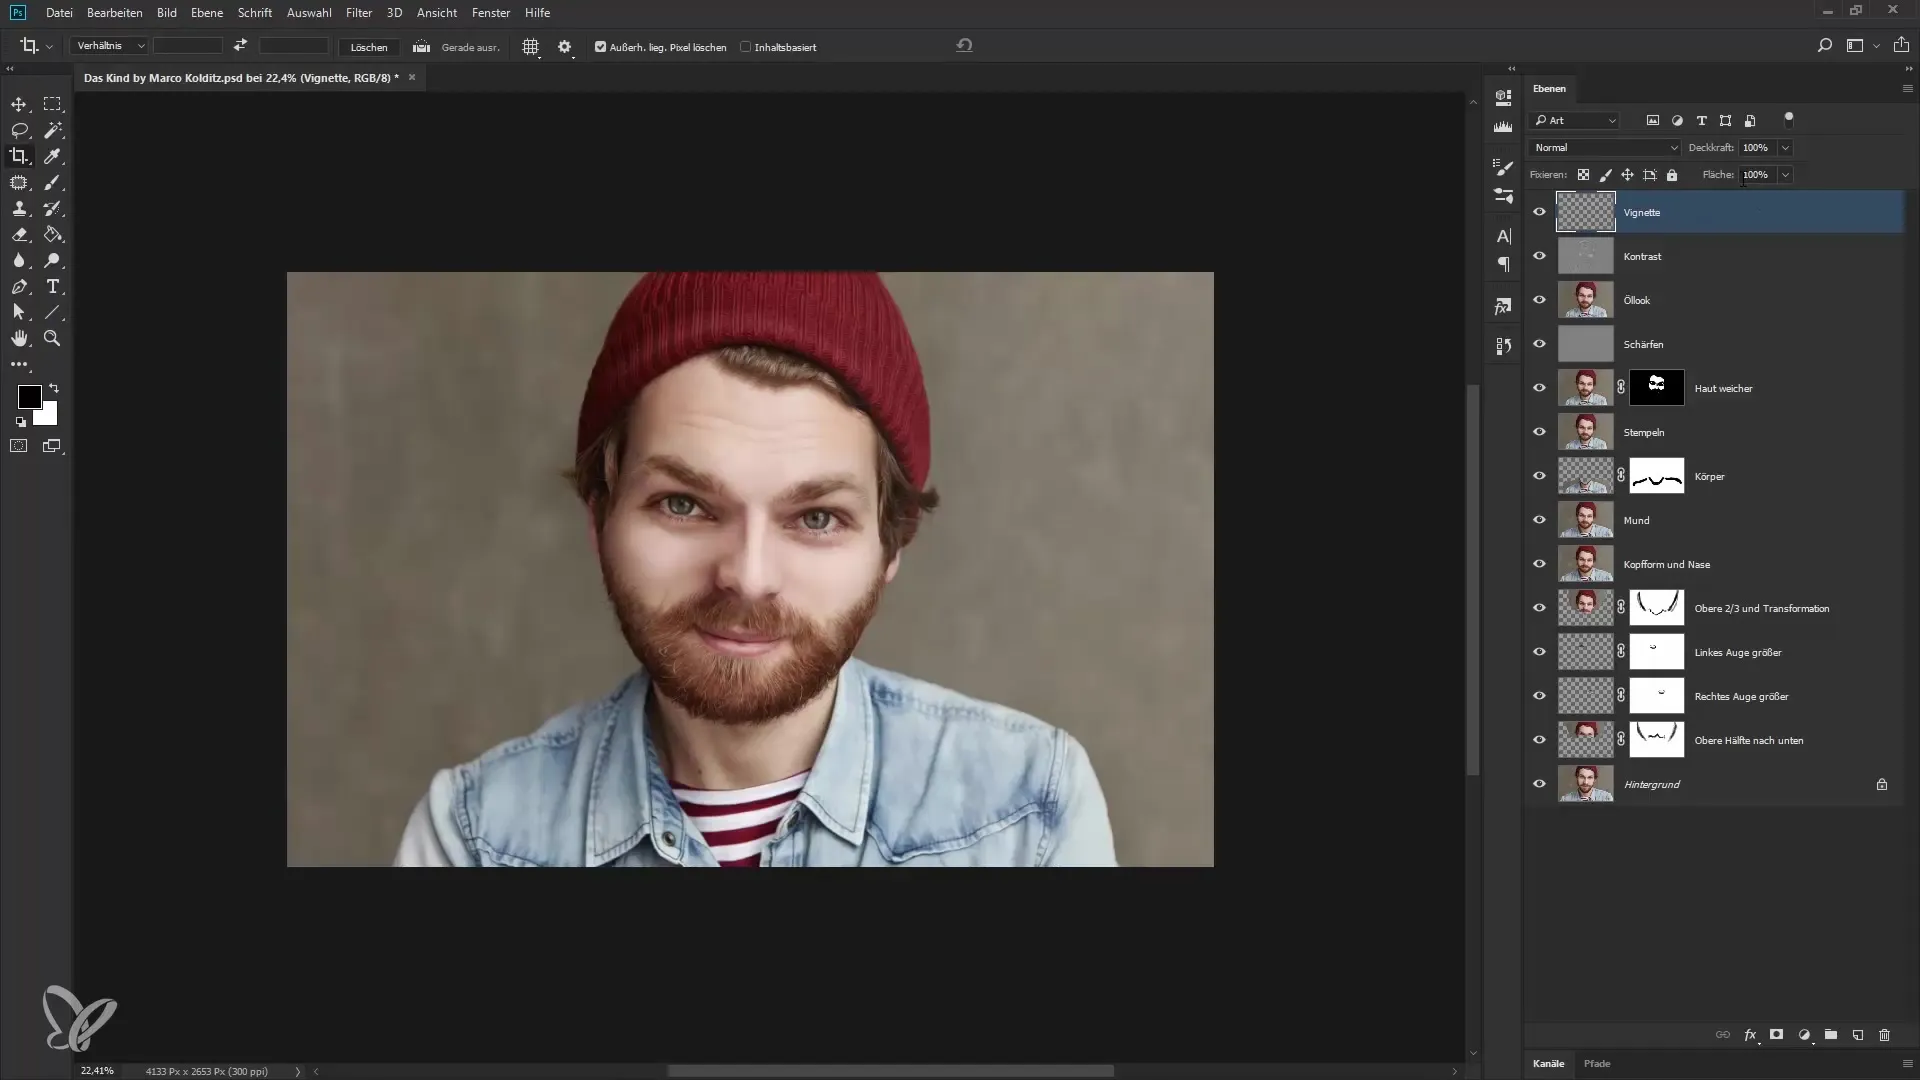
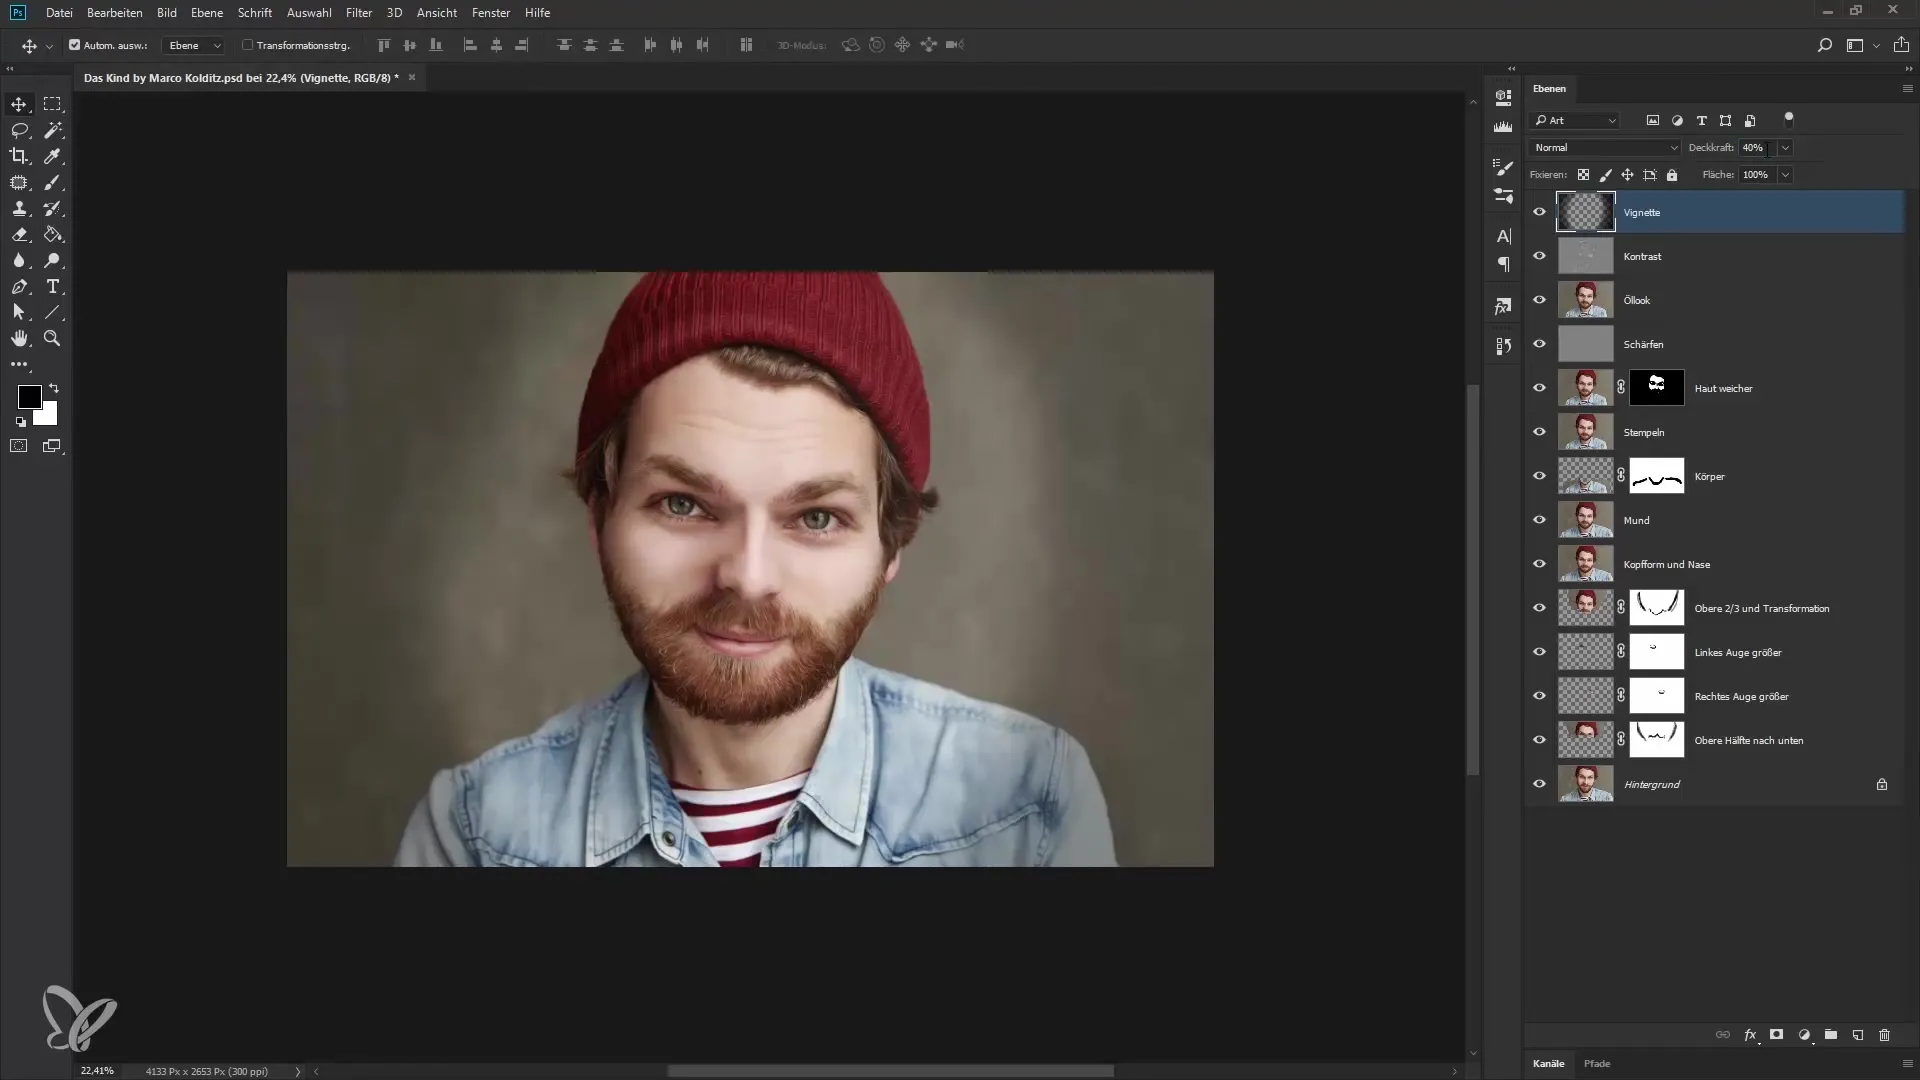
If the vignette appears too strong, use the eraser tool to remove some areas. You can also reduce the opacity of the layer. For example, to 30 or 40% for a subtler look. With this method, you can adjust the intensity of the vignette to your liking.
To give the final touch, add subtle noise. This makes the edited and untouched areas look more harmonious. To do this, create a new layer again and name it “Noise”. Set the layer mode to “soft light” and fill the layer with a medium gray.
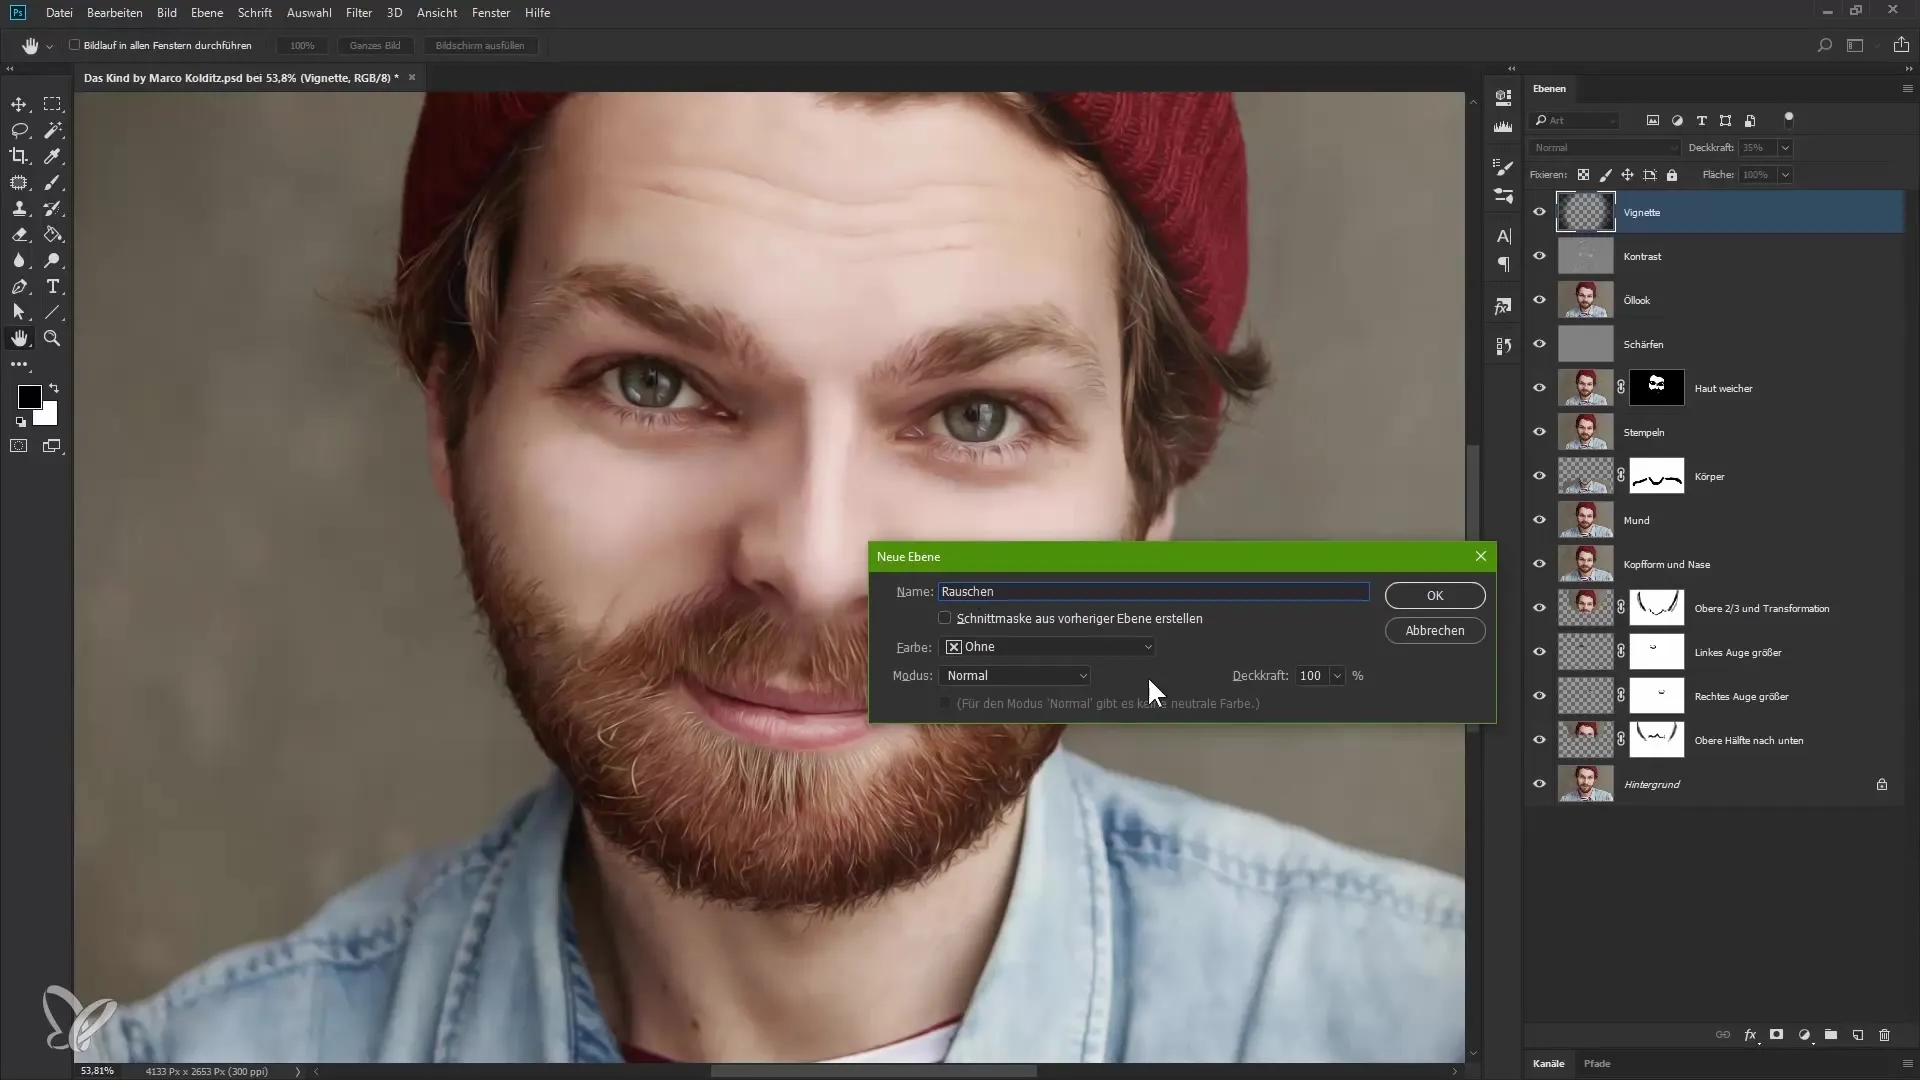
Select the noise filter. Go to Filter > Noise Filter > Add Noise. A Gaussian normal distribution is often the best choice. Choose the option for monochromatic noise. Set the noise strength to about 12 for a balanced effect. Confirm your selection and reduce the opacity to about 80%.
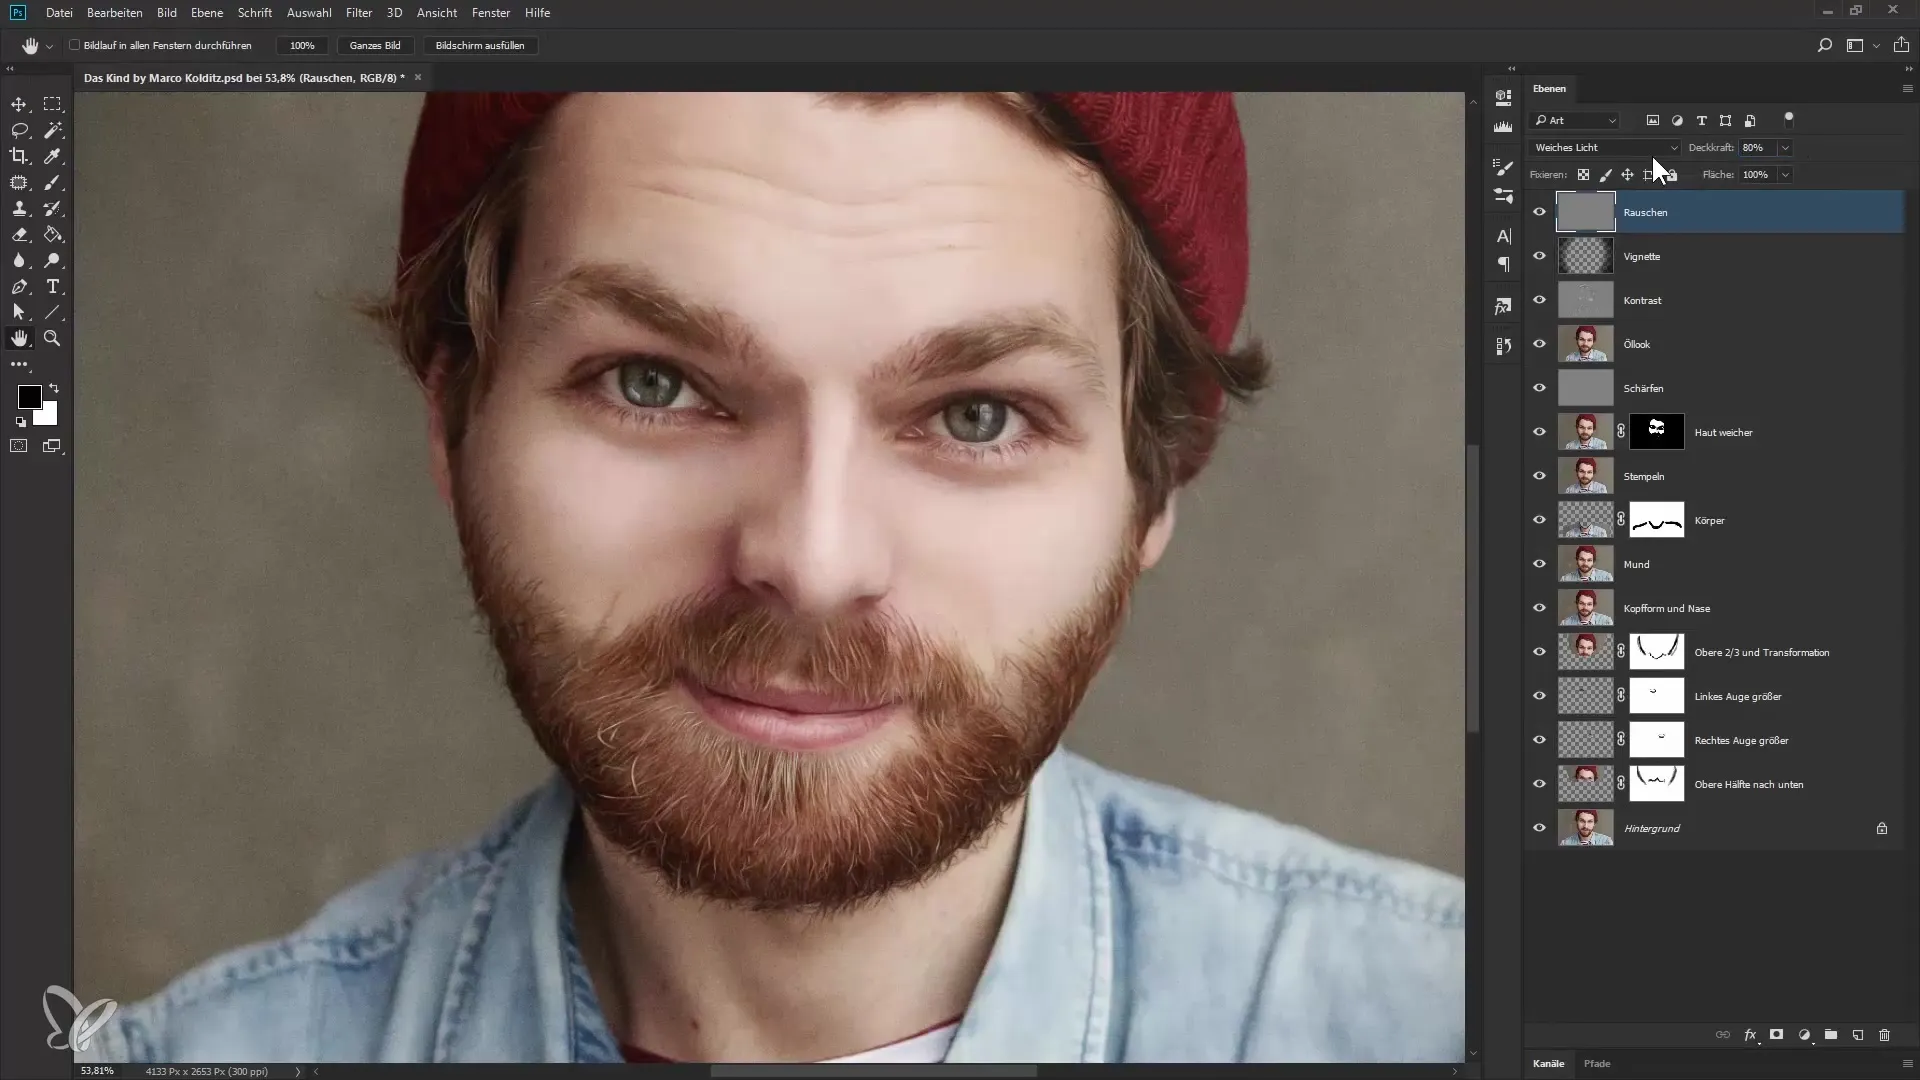
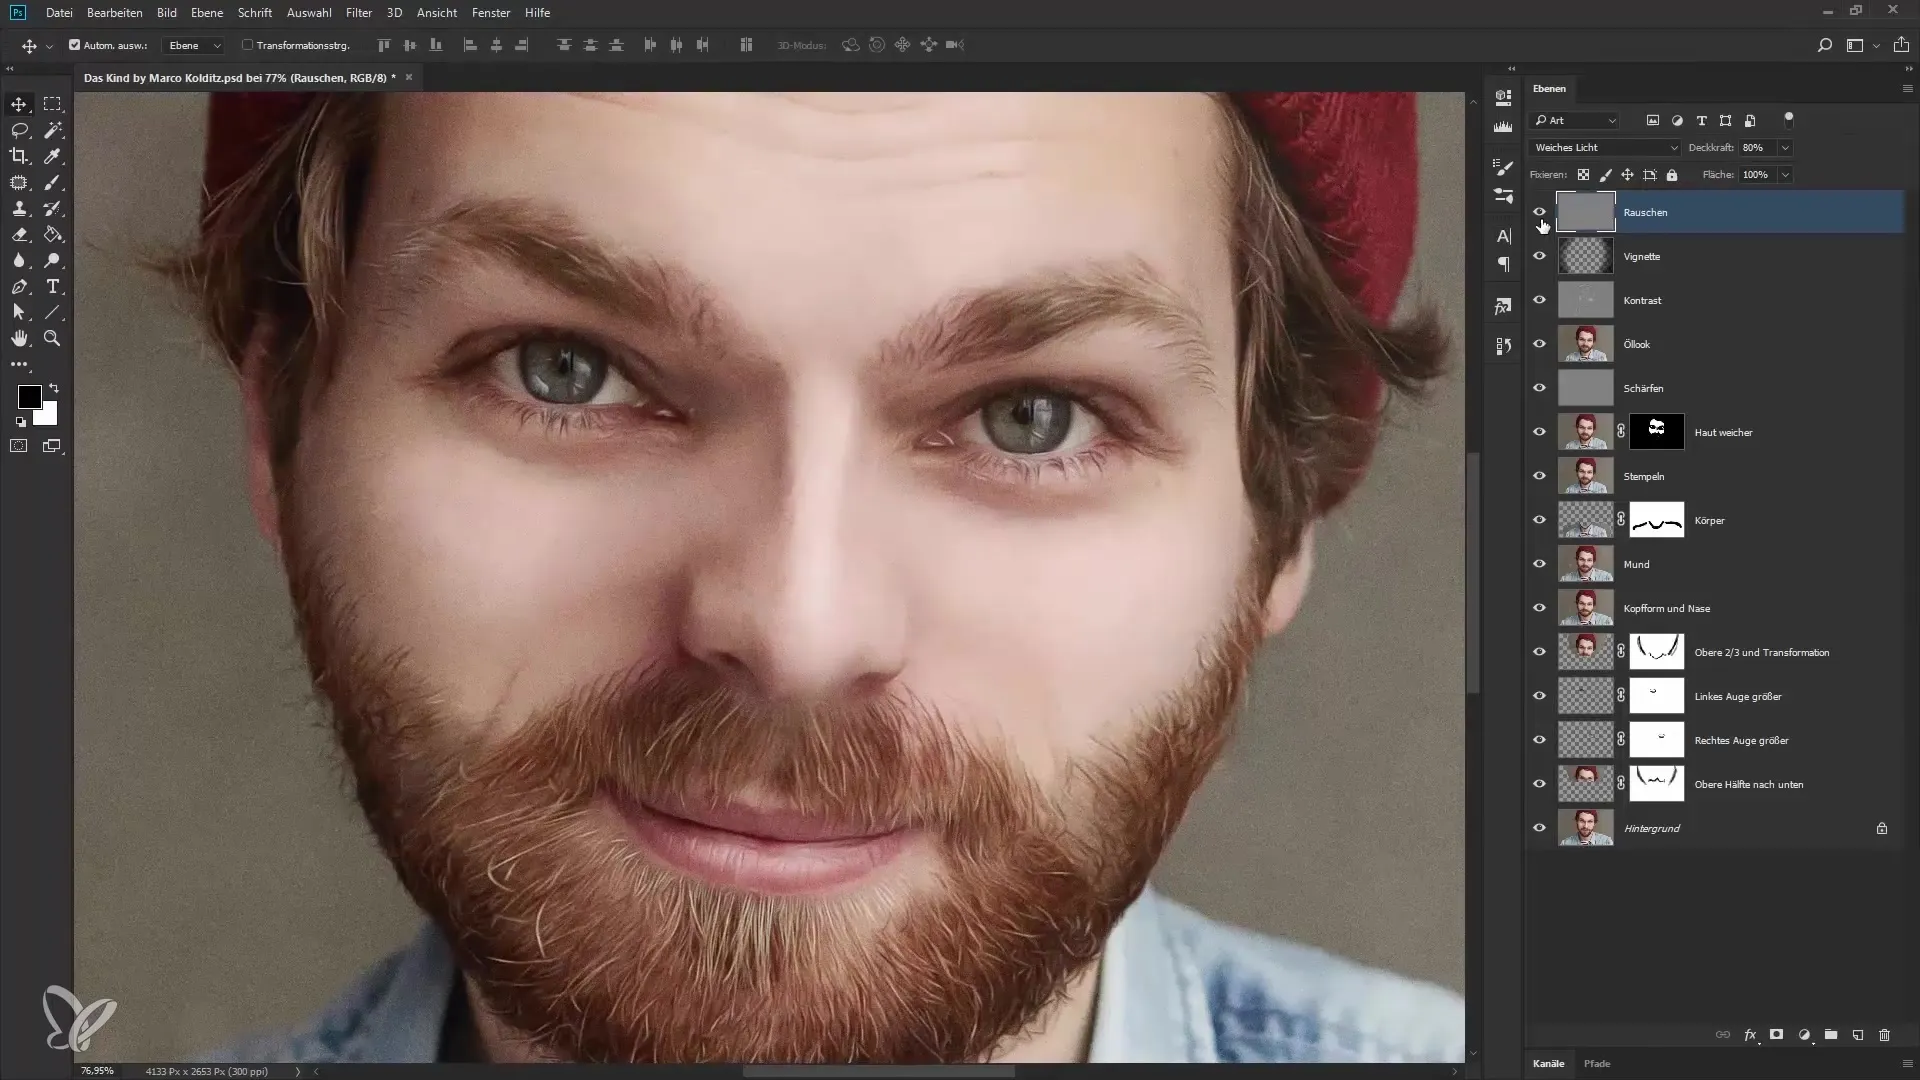
If you look at the image closely now, you will see that the noise improves the effect of the image. It looks livelier and qualitatively surpasses the smooth appearance that one sometimes sees in edited images. “I like it this way,” I hear you say.
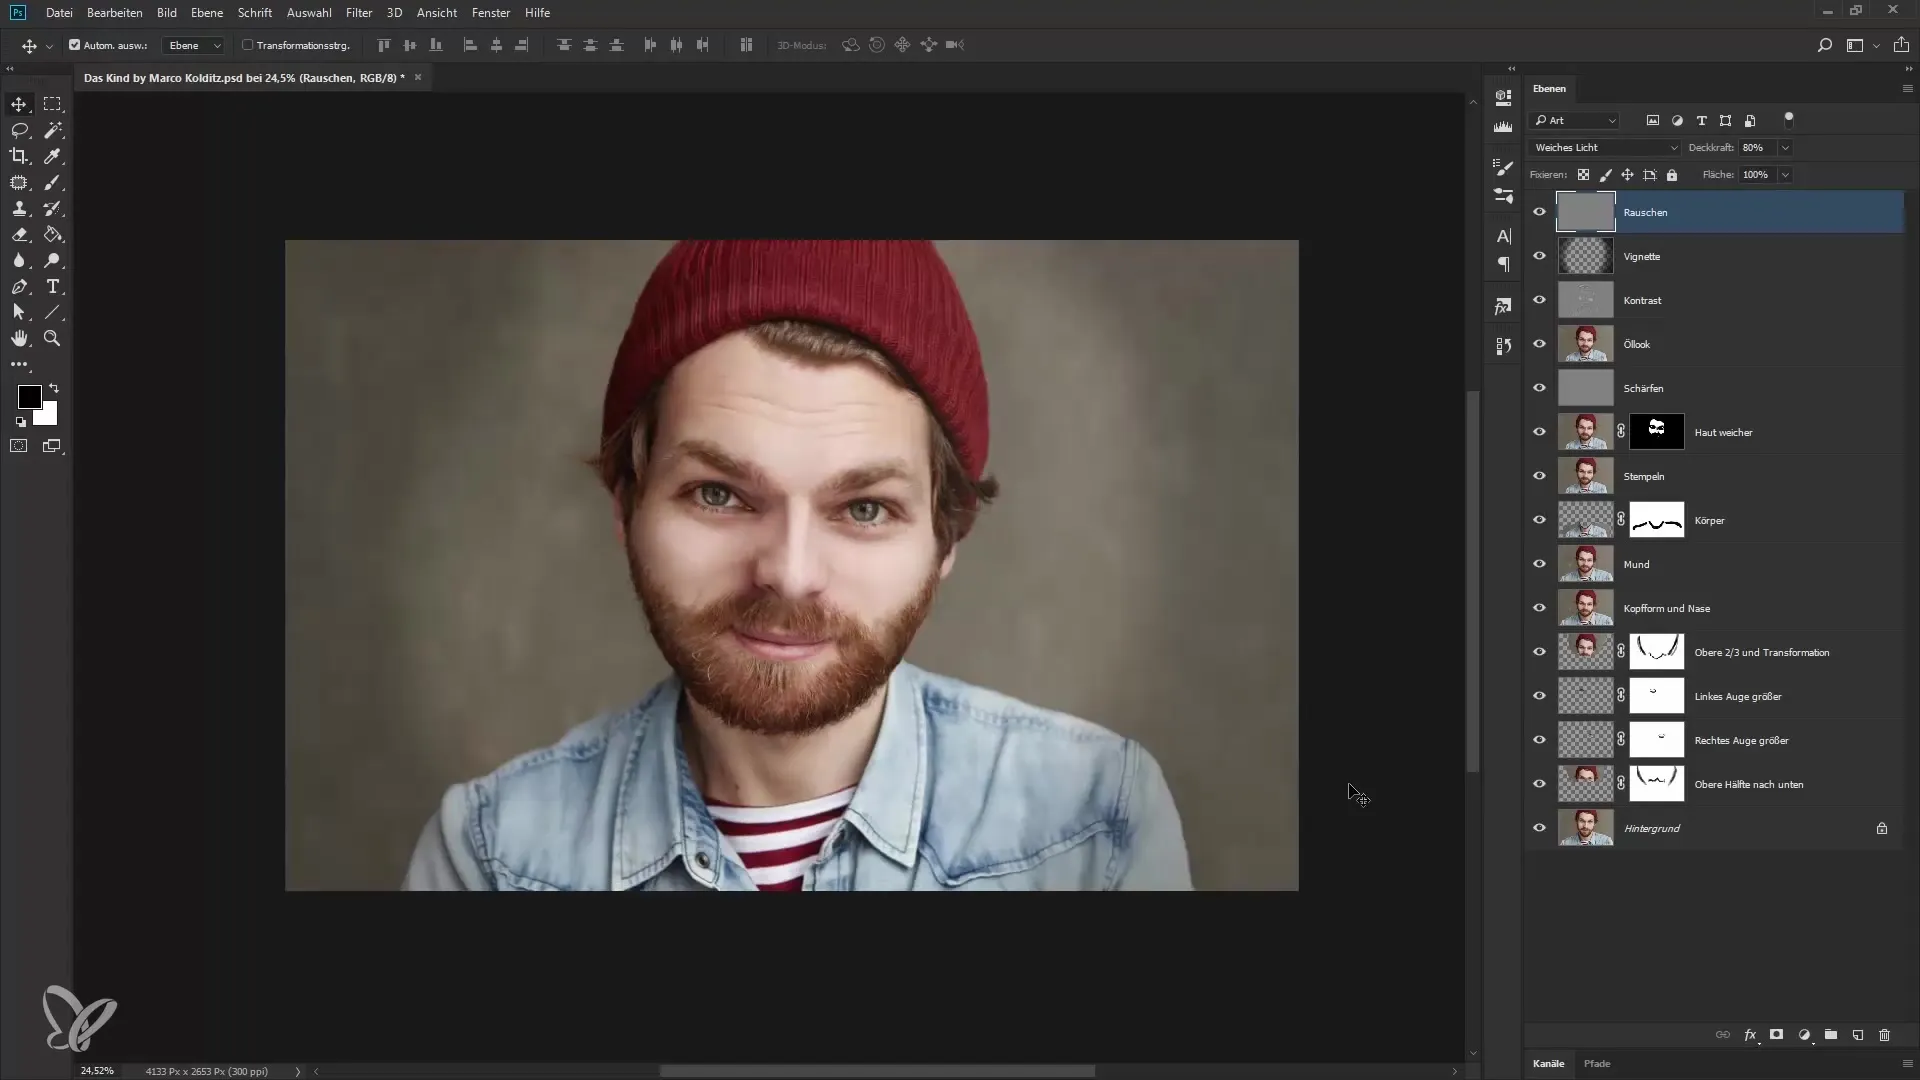
In the end, you should be proud of the final result. And this is how your edited image looks compared to the original. It's amazing how much careful post-processing can achieve. Let the image resonate with you and enjoy the result of your work!
Summary – Portrait in the cuteness effect: 7 final steps to perfection
The final steps to editing your portrait are crucial. Through targeted cropping, a manual vignette, and adding noise, you give your image the finishing touch. The combination of these techniques leads to a harmonious and appealing result.
Frequently Asked Questions
How is the image cropped in Photoshop?Use the cropping tool to adjust the edges of the image.
How do I add a vignette?Create a new layer, paint with a brush, and adjust the opacity.
What effect does noise have in the image?Noise connects edited and untouched areas and gives the image more depth.
How can I reduce the intensity of the vignette?Use the eraser tool or reduce the opacity of the vignette layer.
Why is monochromatic noise important?It ensures a harmonious integration of the edited image areas.


