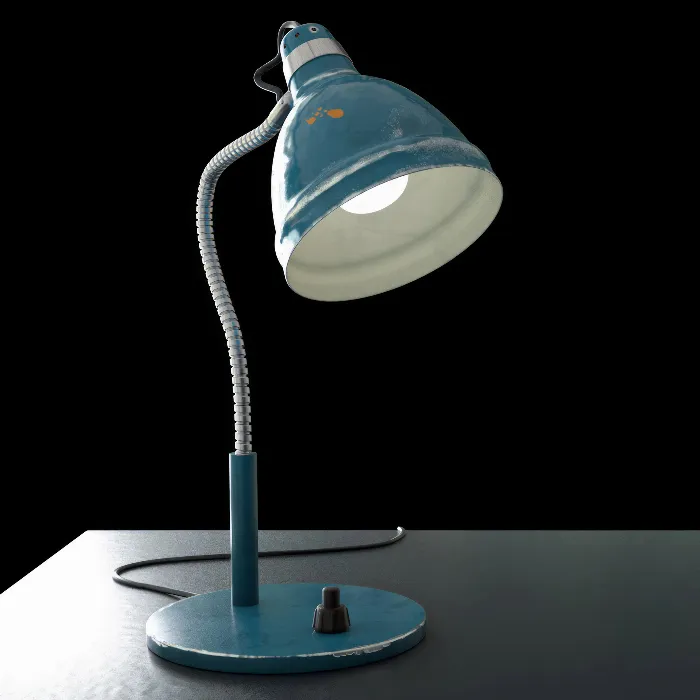
Creating splash of colorsin BodyPaint3Dcan be a crucial step in giving your projects a personal touch. Here you will learn how to use color splashes effectivelyand what steps are necessary to avoid making mistakes when switching between materials. You will see that it’s not just about functionality, but also about understanding the underlying principles that help you achieve a better result.
Key Insights
- Working with channels and layers is crucial for precise painting.
- Be cautious when switching between materials and colors to avoid unwanted changes.
- This is where using the eraser comes into play to efficiently correct mistakes.
Step-by-Step Guide
To createa color splash in BodyPaint 3D and switch materials, follow these steps.
Step 1: Preparing the Workspace
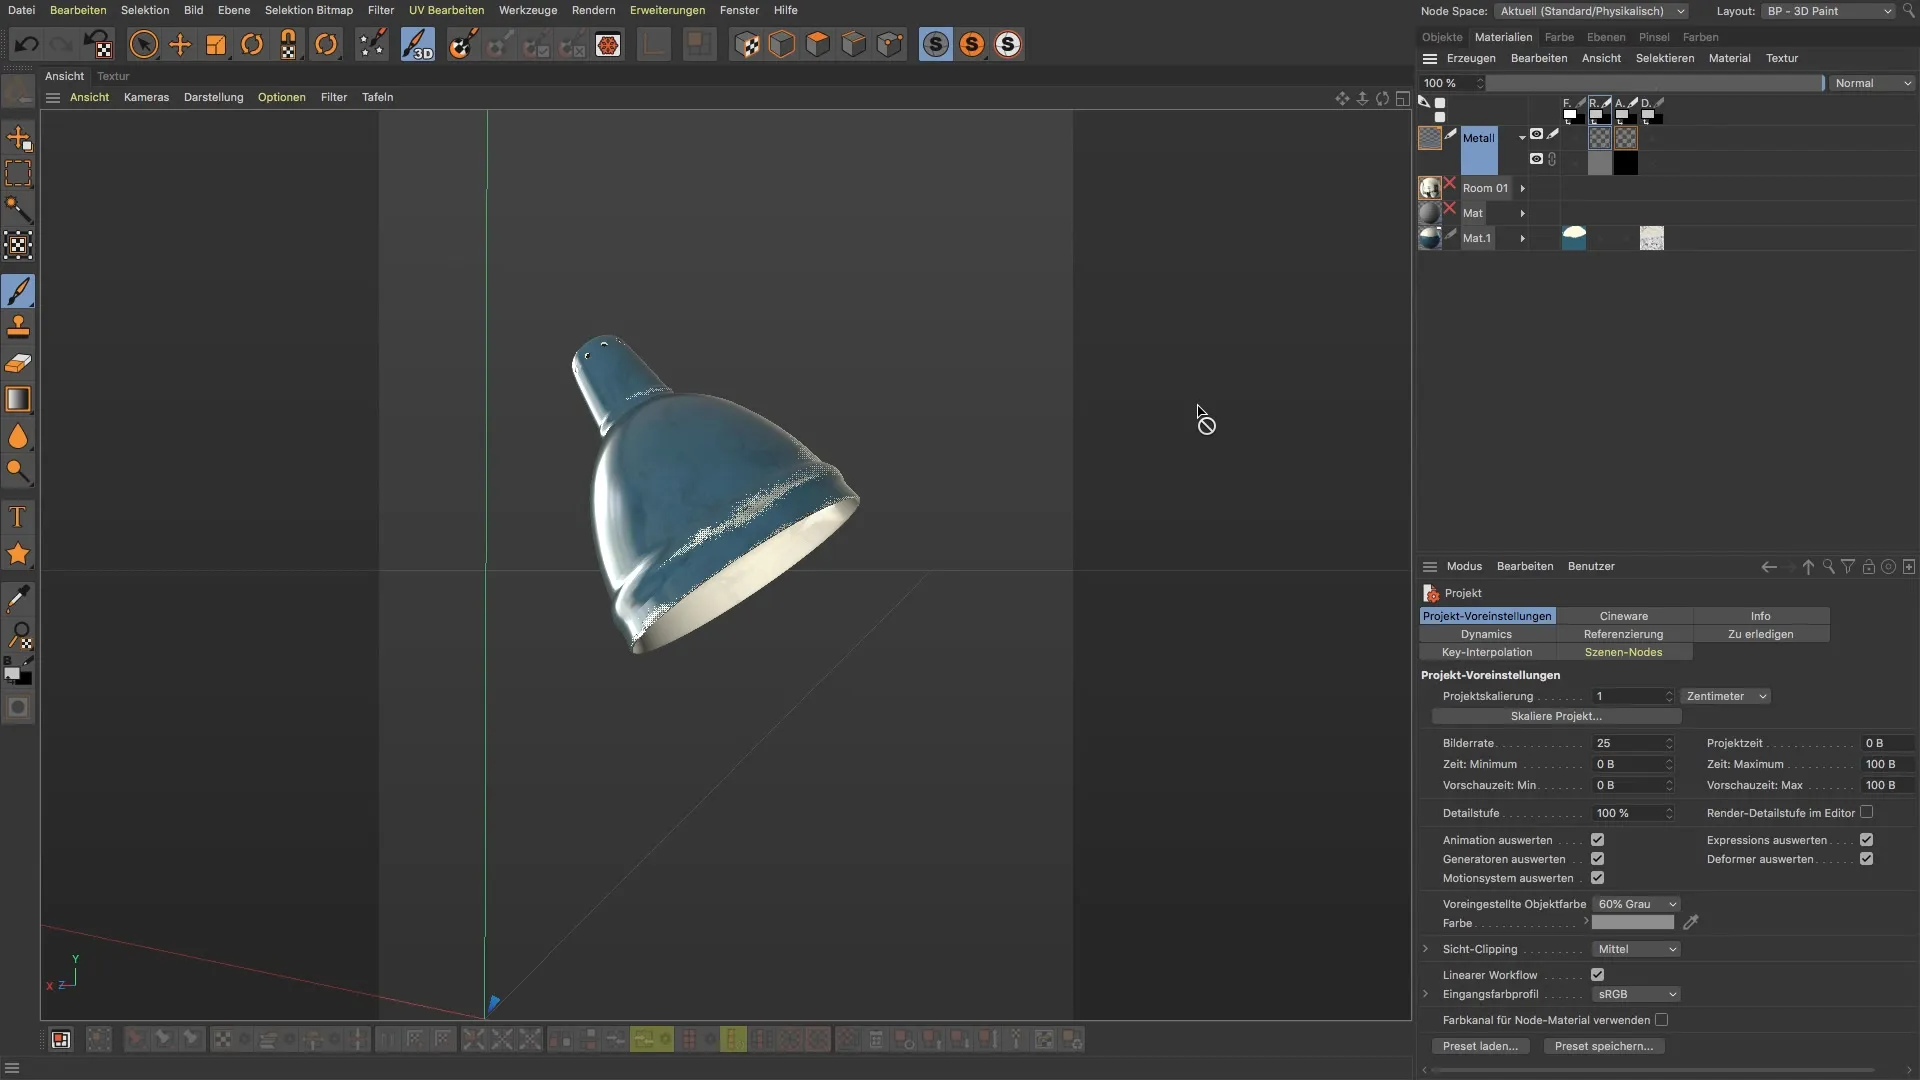
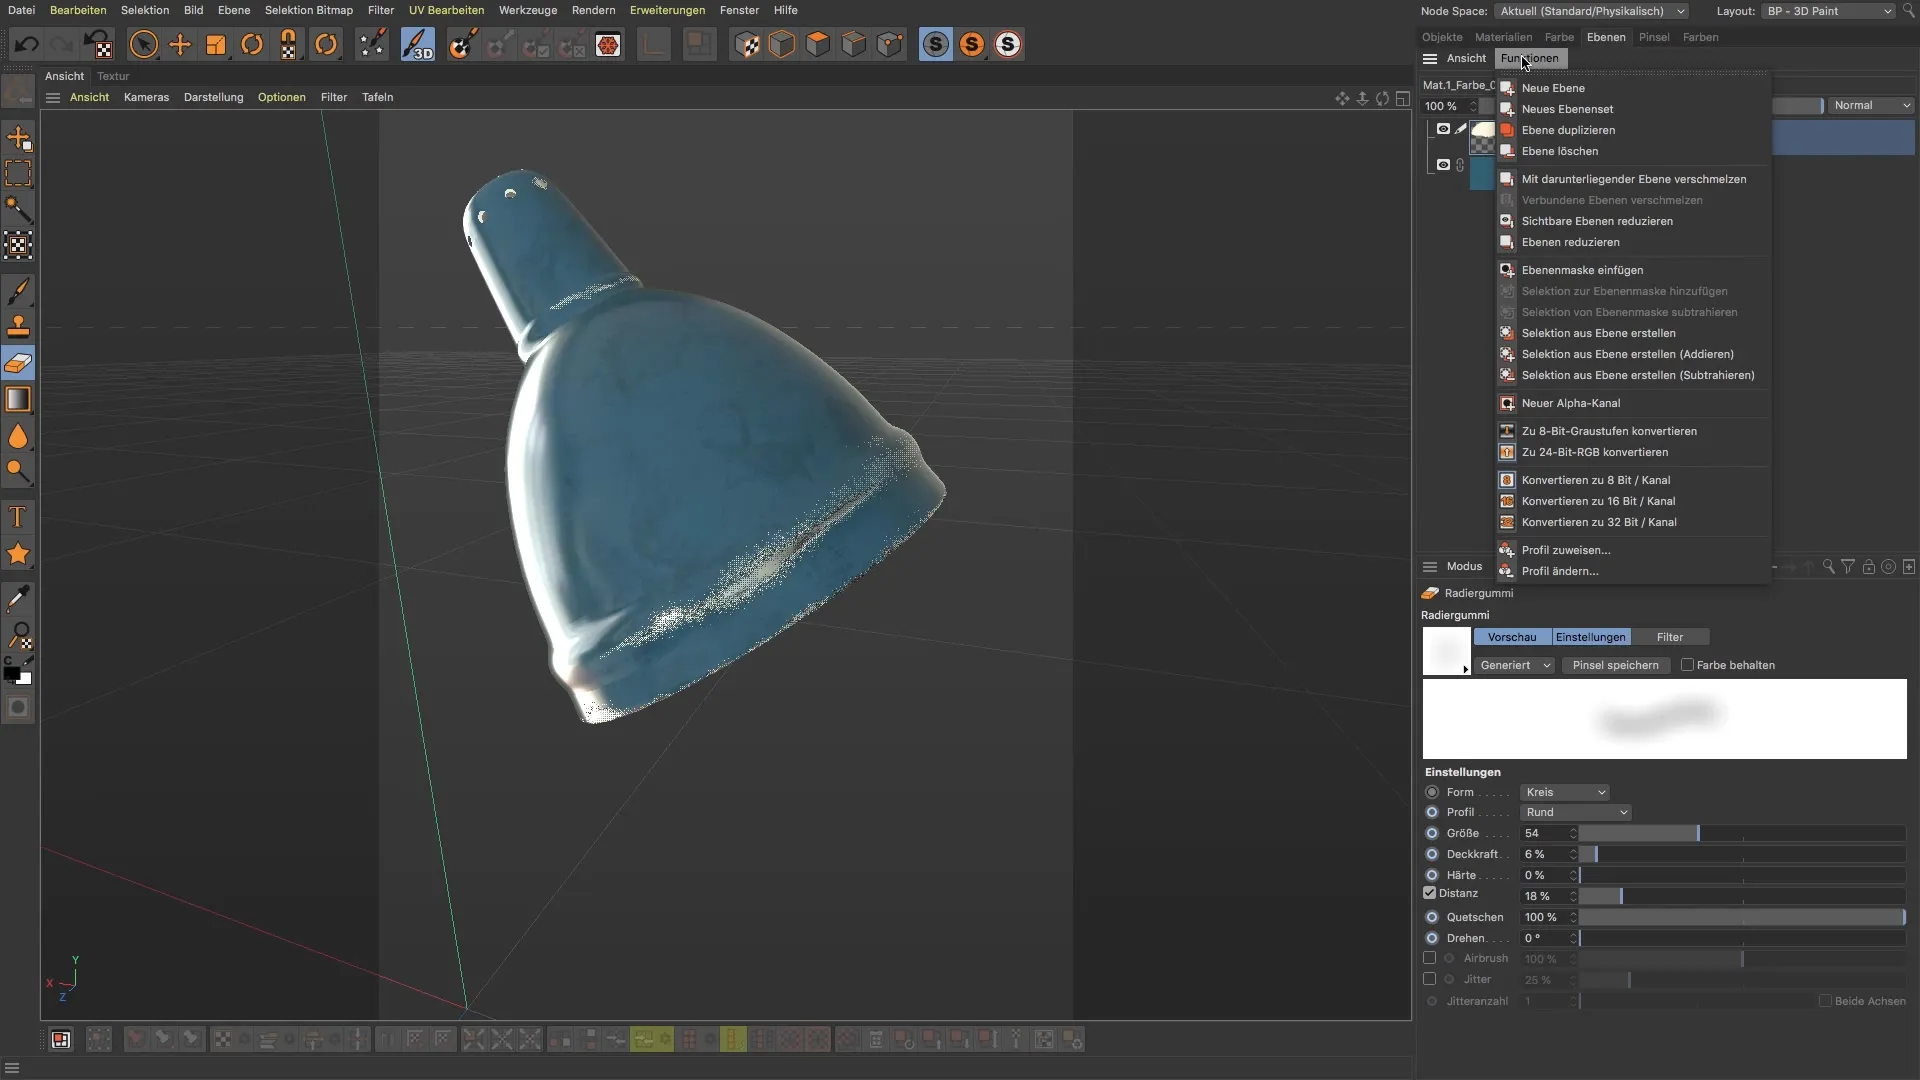
Start by checking your current settings and the view of the project area. Make sure you have the necessary tools at hand. If you find that you have painted too much on the canvas, you can decide to clean those areas.
Step 2: Using the Eraser
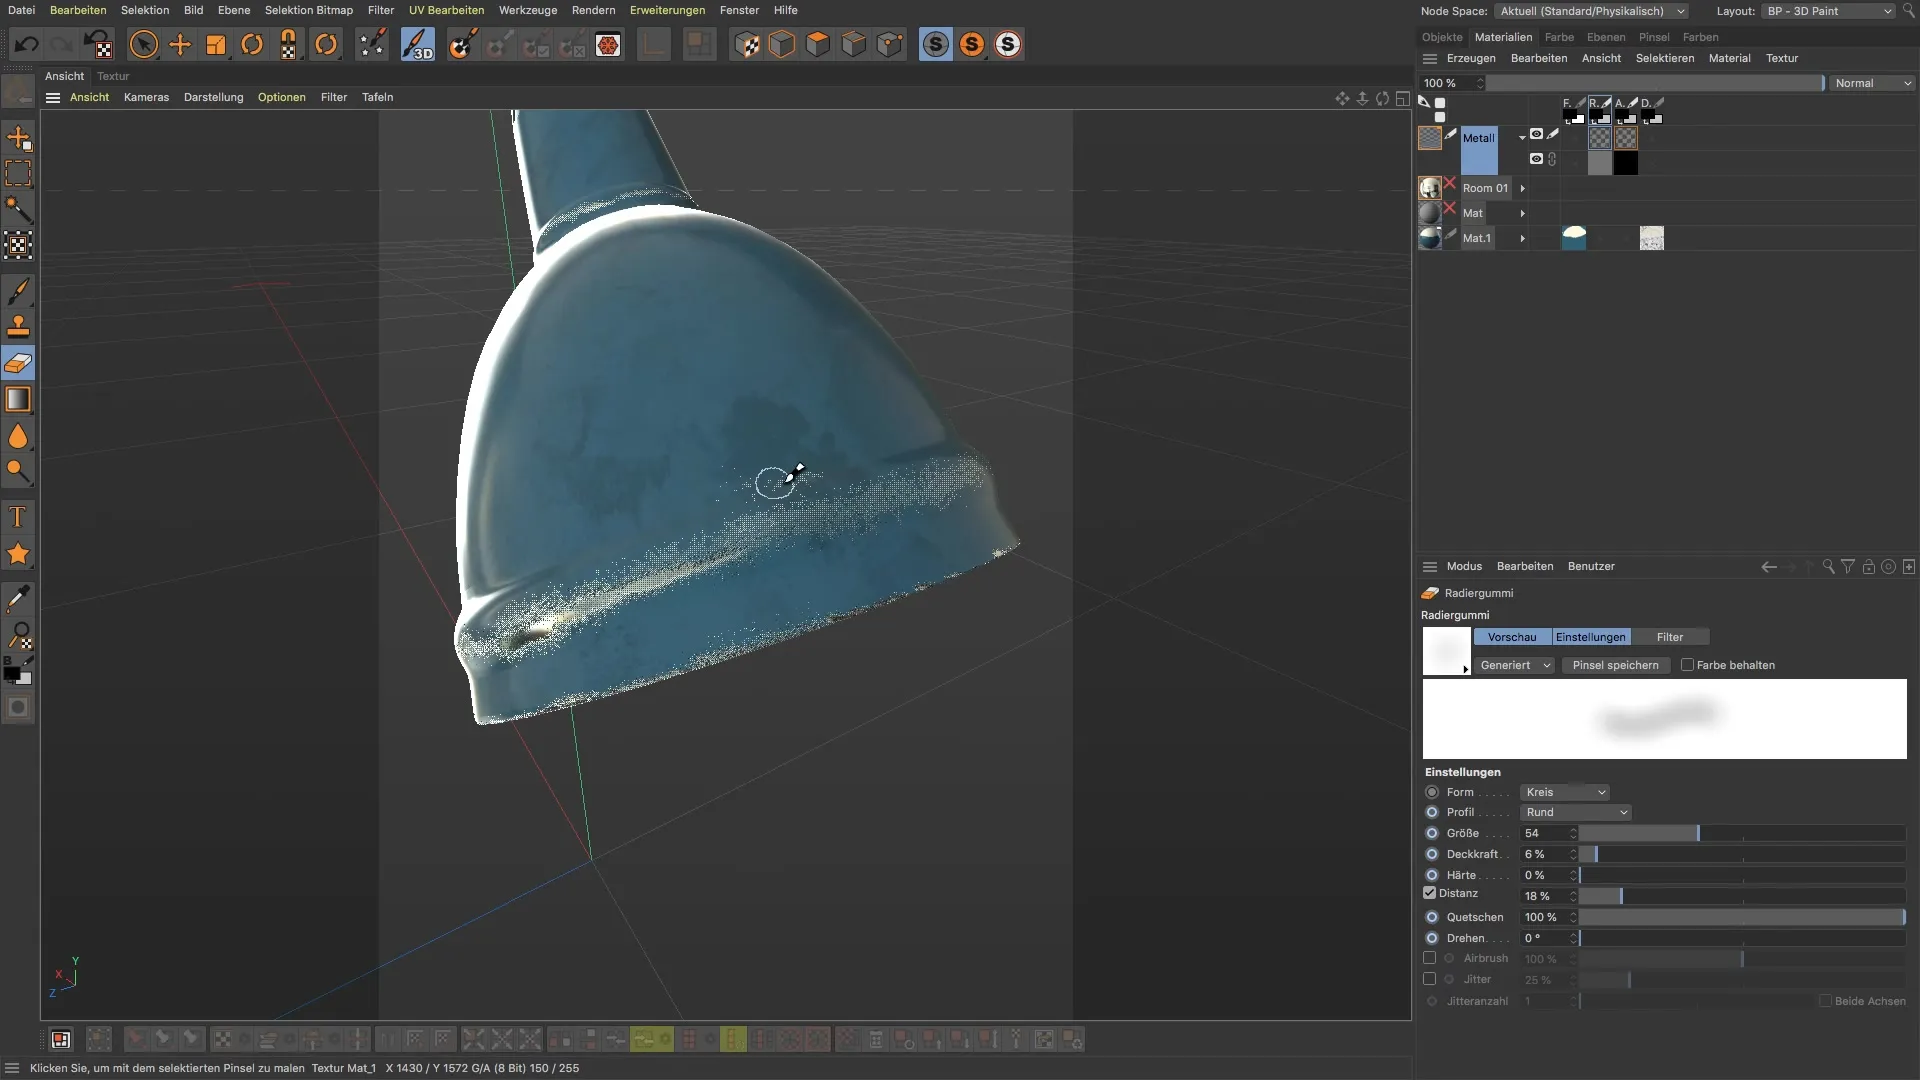
To erase undesired color data, select the eraser. Set the size of the eraser and adjust the opacity to gradually clean up specific areas. Start working in the relevant channels, such as the alpha or relief channel, to return to your original state.
Step 3: Create a New Layer
Now you need a new layer for your color splash. This is important to separate the new color fill from the existing data meaningfully. Click on “Layers” and select “New Layer”. Give the layer a clear name so you can keep track while working.
Step 4: Activate the Color Channel
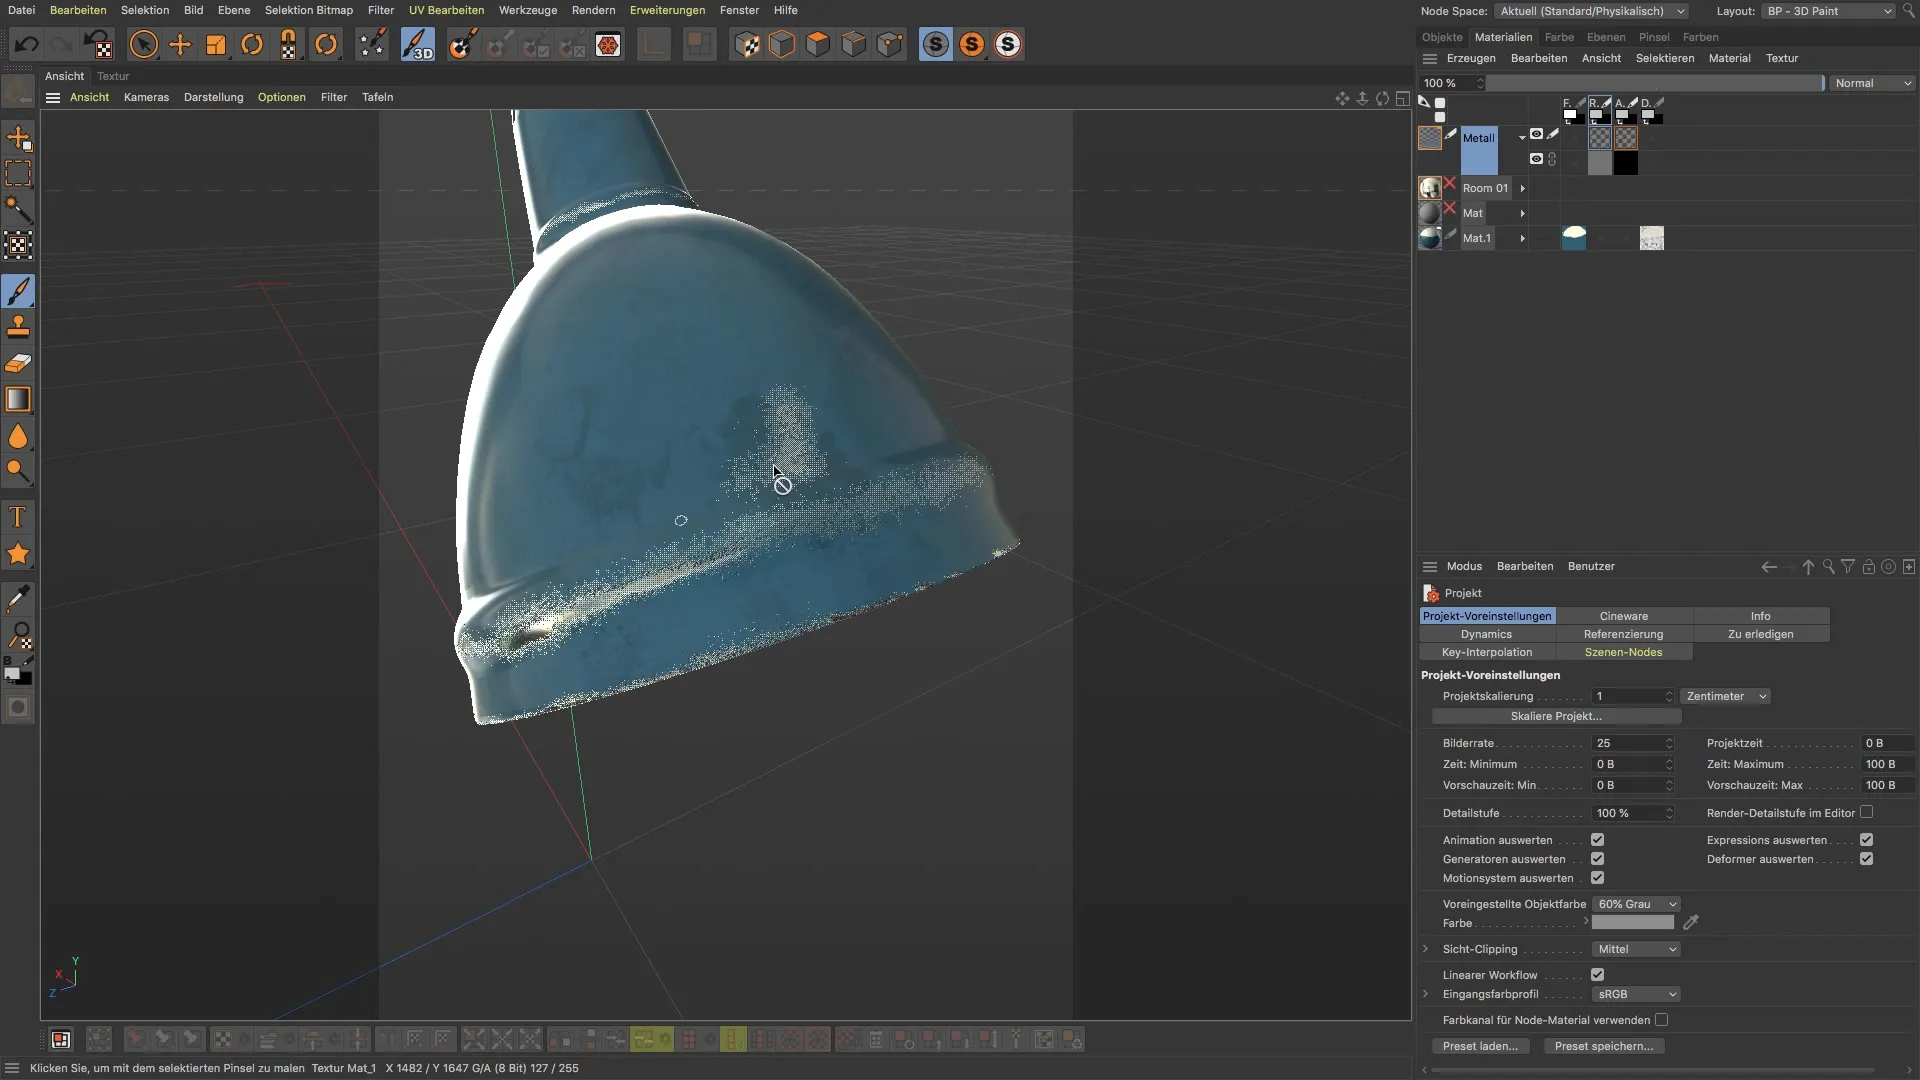
Before you start painting, you must ensure that the correct color channel is activated. Click on the color channel and check if the color is displayed. Otherwise, you can return to the previous layer you created to meaningfully adjust your colors.
Step 5: Select a Brush
Now it's time to select the brush you want. Go to the presets and choose your preferred brush from the “Artist Brushes”. Once selected, you can adjust the size to create the ideal color splash.
Step 6: Choose a Color
Before you start painting, make sure to select the right color from the color picker. If you want to use a shade like orange, ensure you adjust the brightness accordingly to achieve the desired effect.
Step 7: Apply the Color Splash
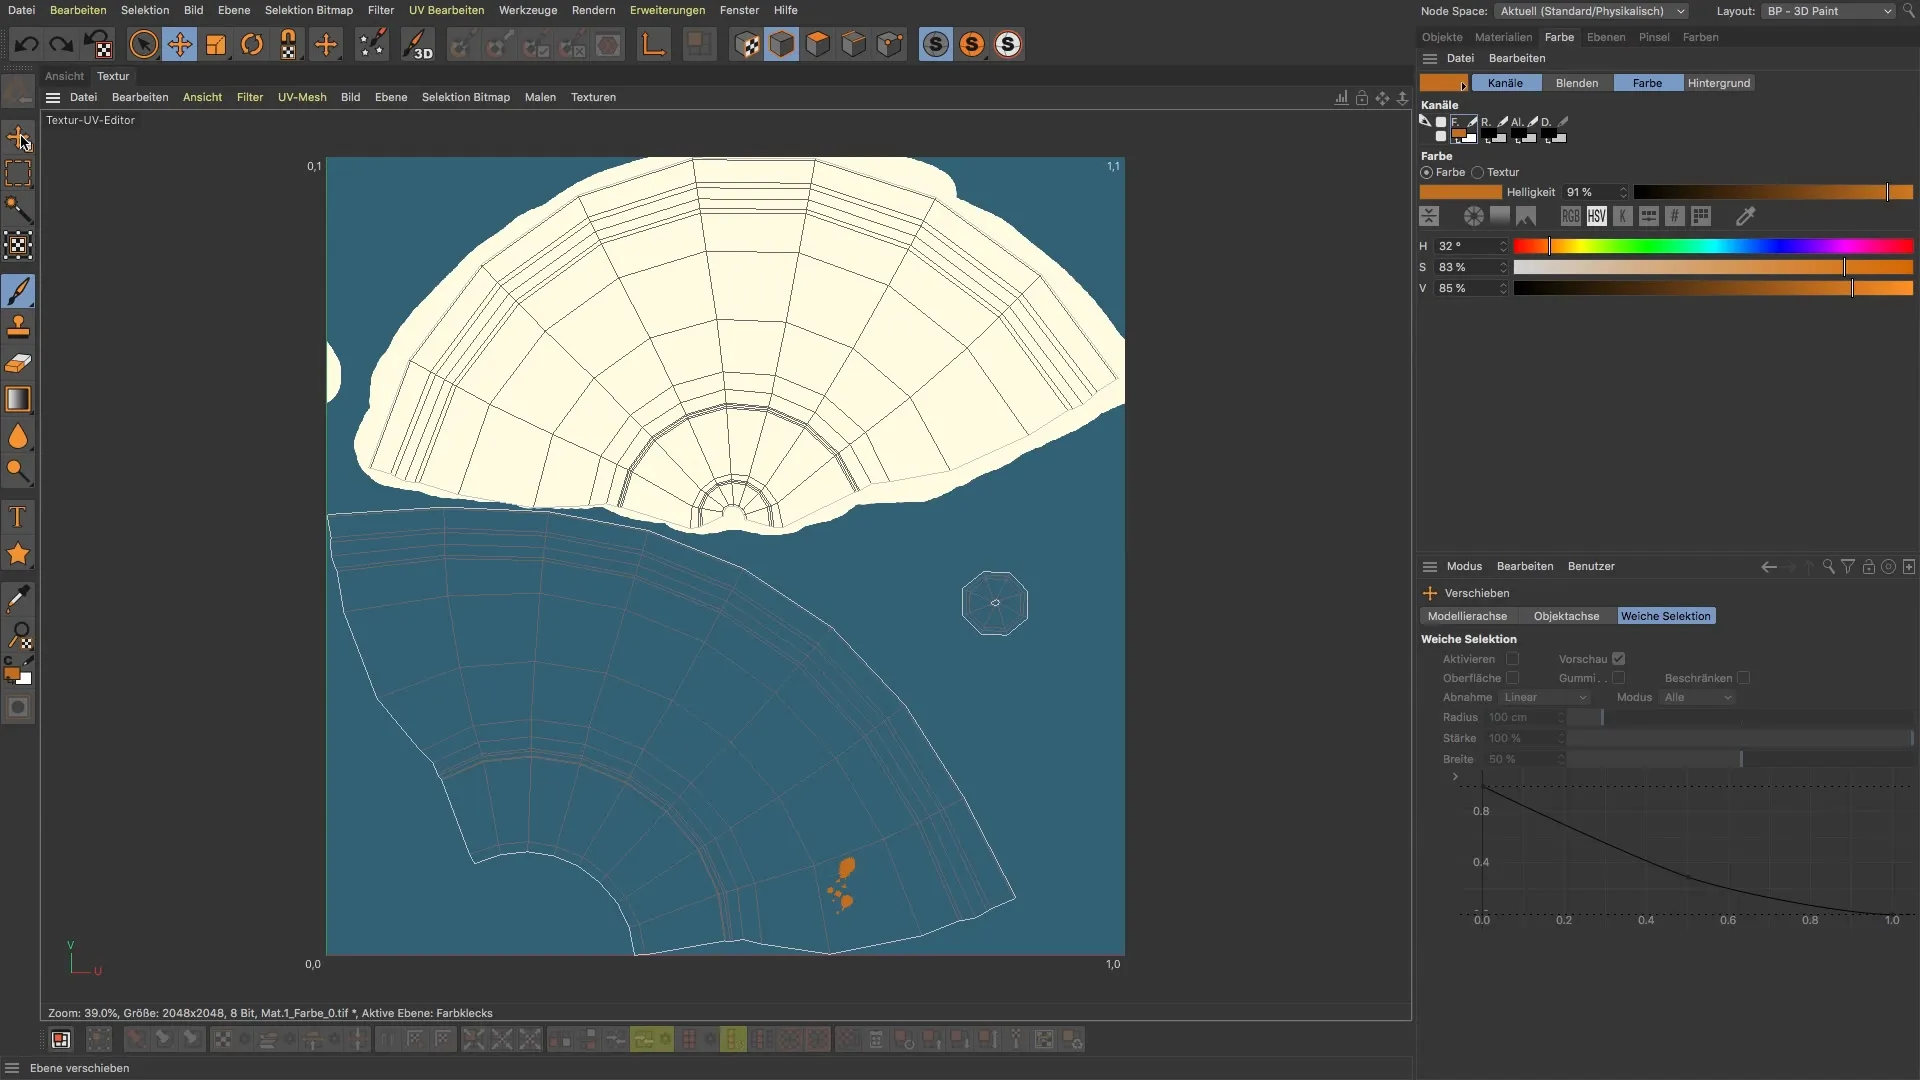
Now you can start applying the color to your newly created layer. Position the brush and create your color splash by moving the mouse across the workspace. Don't hesitate to place or move the color splash in different spots while you see the effect.
Step 8: Adjustments and Checks
After you've placed your color splash, you can adjust or move it as needed. Use the move tool to edit your splash at your convenience. Be sure to check the preview in the view to ensure that everything looks as desired.
Step 9: Final Adjustments and Utilizing Materials
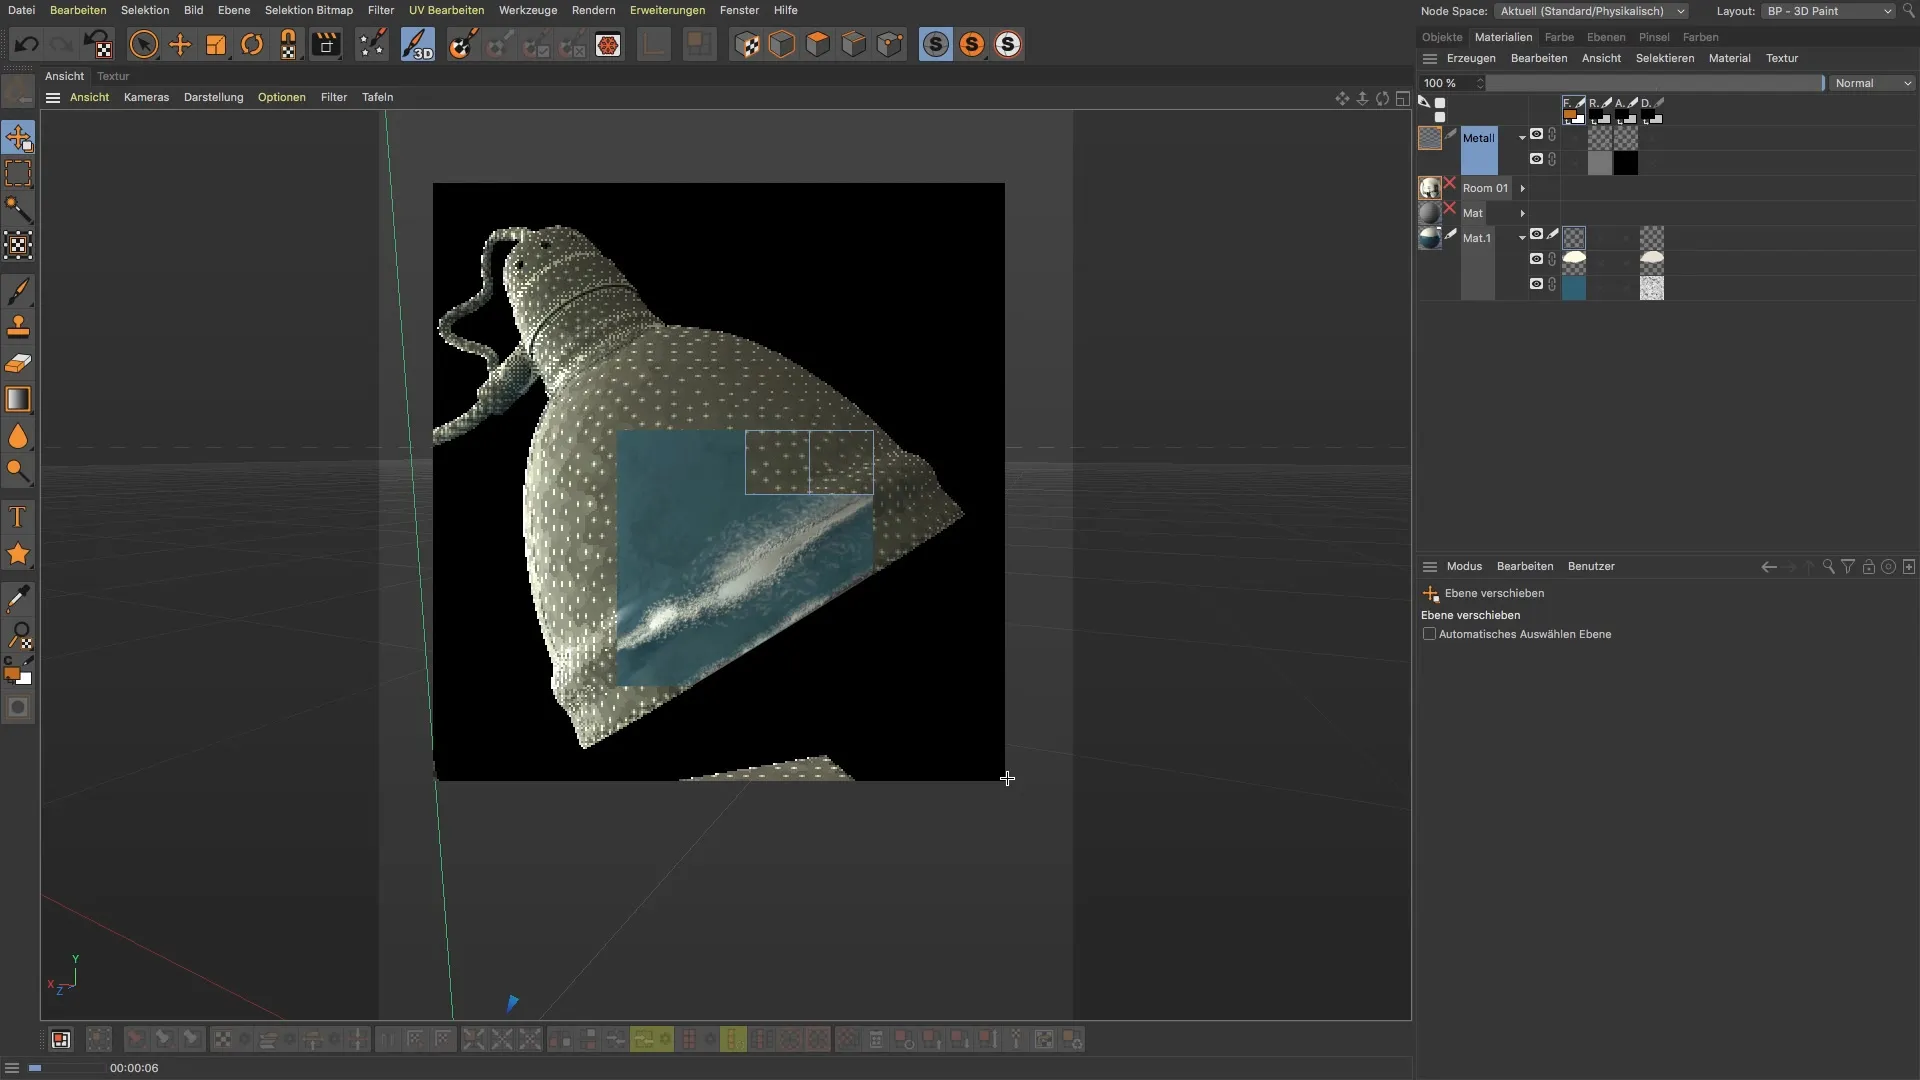
Finally, review the materials you have used and check if everything is to your satisfaction. If necessary, you can go back and make adjustments to achieve the desired result.
Summary – BodyPaint 3D: Creating Color Splashes and Managing Materials
Creating color splashes in BodyPaint 3D requires sensitivity and knowledge about the materials and channels. You have learned how to proceed efficiently, eliminate mistakes, and plan your color choices strategically. With these techniques, you will be able to achieve precise and creative effects in your projects.
FAQ
What are color splashes in BodyPaint 3D?Colors applied in a new layer of the color channel to create textures.
How do I switch between different materials?Activate the desired material and create a new layer before painting.
What do I do if I make a mistake while painting?Use the eraser to selectively remove parts of the color data.
How do I adjust the brush size?Select the brush and change the size in the brush settings.
Can I move color splashes?Yes, use the move tool to position or rotate your color splashes.
