The security of a network largely depends on the proper setup and management of certificates. OpenVPN is a powerful solution that is frequently used to create secure connections. In this guide, we focus on creating server certificates and the associated keys that are essential for authentication. Let’s take a look at how to successfully implement these steps.
Key Takeaways
- You will learn how to generate server certificates and keys for OpenVPN.
- Important files such as the Diffie-Hellman file and the TLS authentication file will be created.
- The importance of entering the correct password will be explained.
Step-by-Step Guide
Step 1: Preparations for Certificate Creation
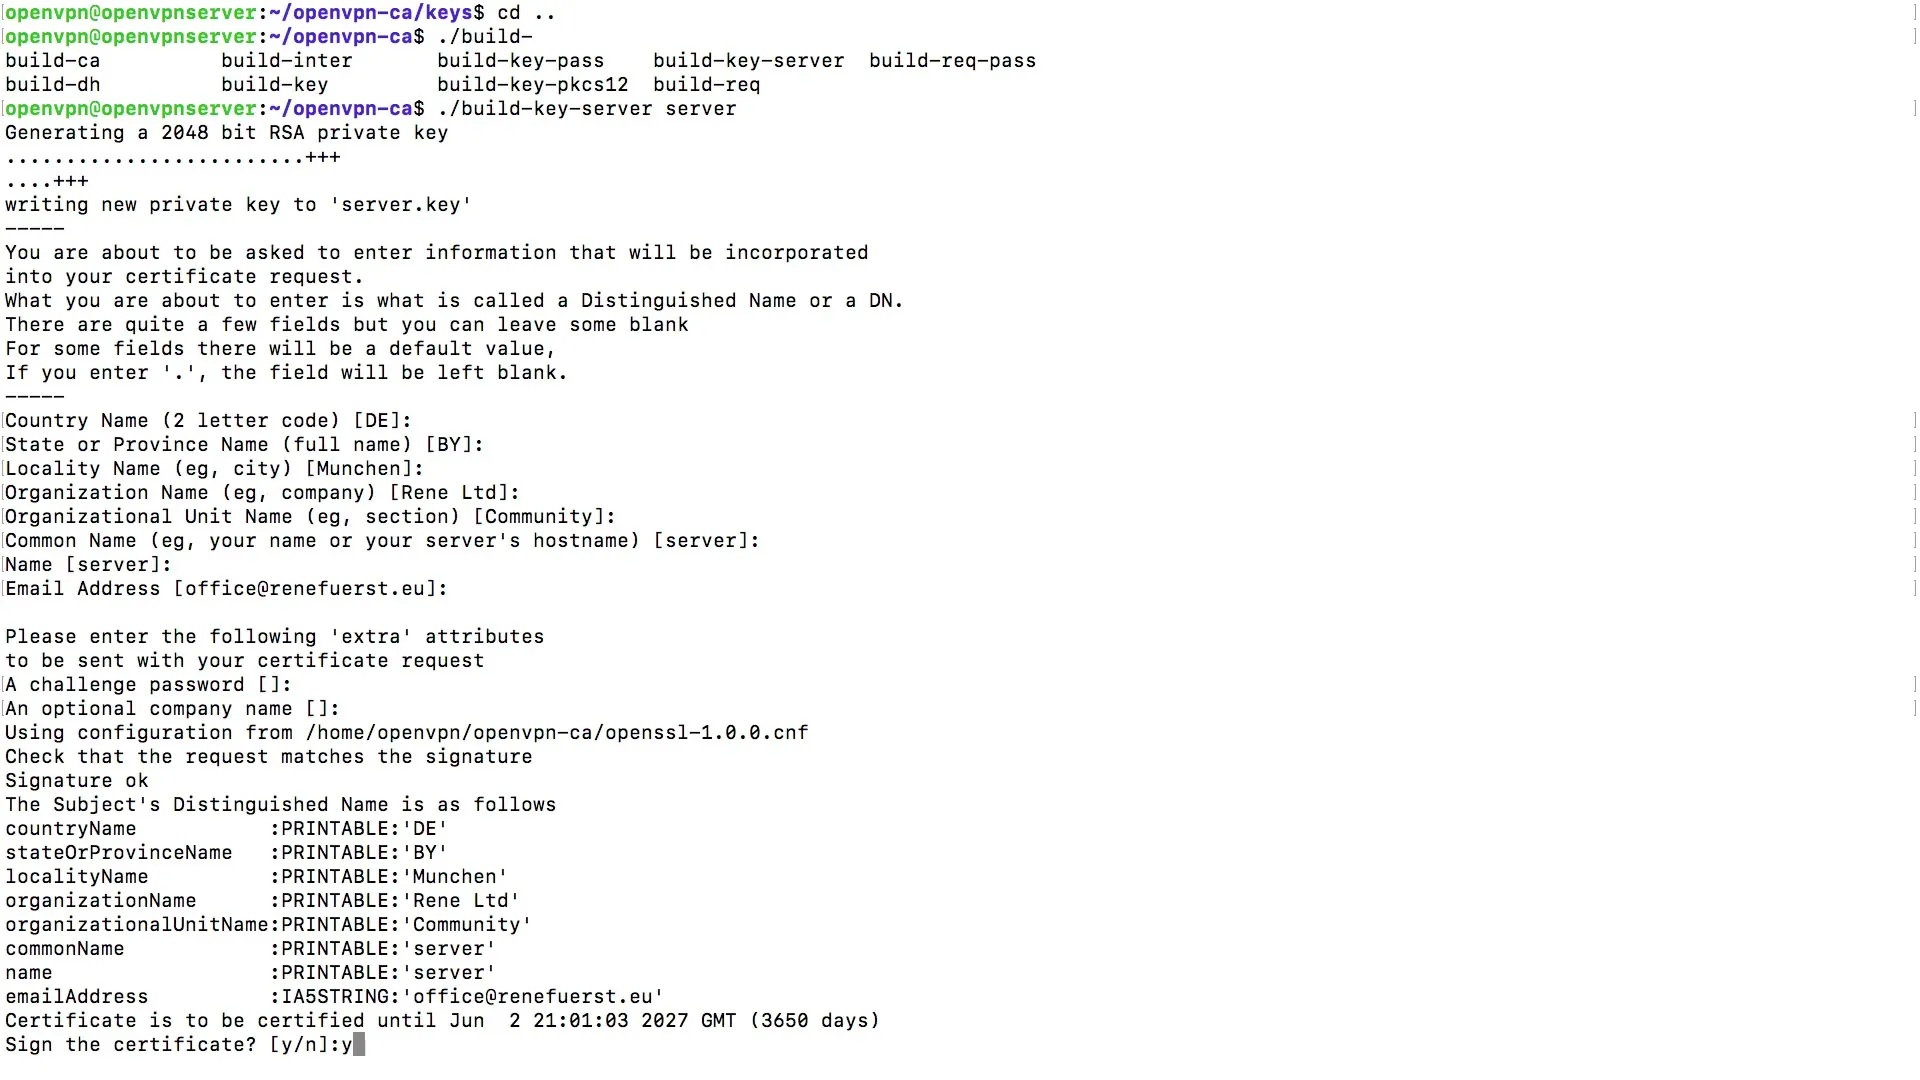
First, you need to ensure that you have the necessary tools ready for certificate creation. You can start by calling the server image to initiate the key generation. To do so, enter "image key server" in your console.

Step 2: Creating the Certificate Pair
It is time to create the certificate pair. To do this, click on "Server" as the name. This helps avoid confusion with other variables. Note that you will now be asked for the name, address, and password. You can leave the password field empty and just press Enter to prevent being prompted for a password on every connection.

Step 3: Confirmations
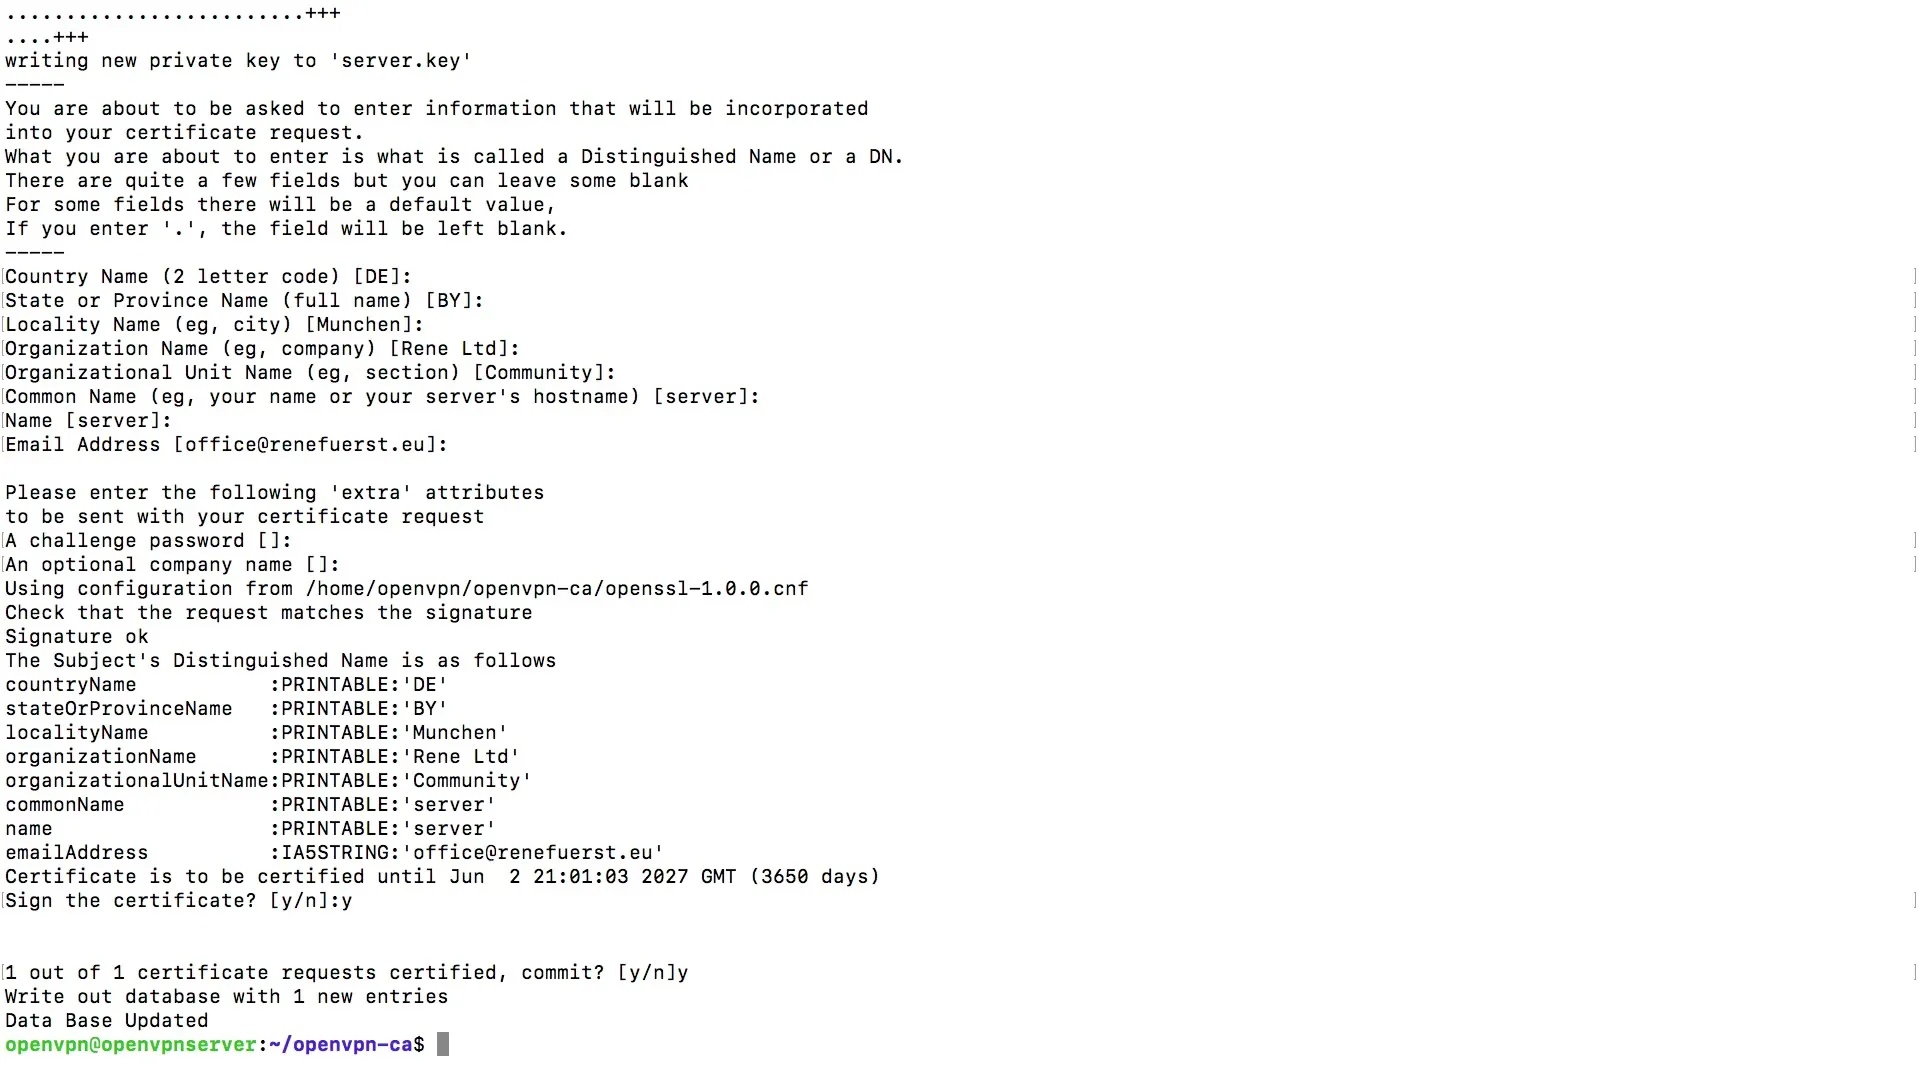
After entering the required data, you will be asked if you want to proceed with the operation. Here it is important to confirm with "Y" for yes. If your settings are in German, just enter "J". The certificate will now be automatically issued for a period of ten years.

Step 4: Completing the Creation of the Server Certificates
You will now be prompted again for confirmation. Confirm this one more time to complete the successful creation of the certificate. Once this is done, the database of the certificate authority will be updated, and your server certificates will thus be finalized.

Step 5: Creating the Diffie-Hellman File
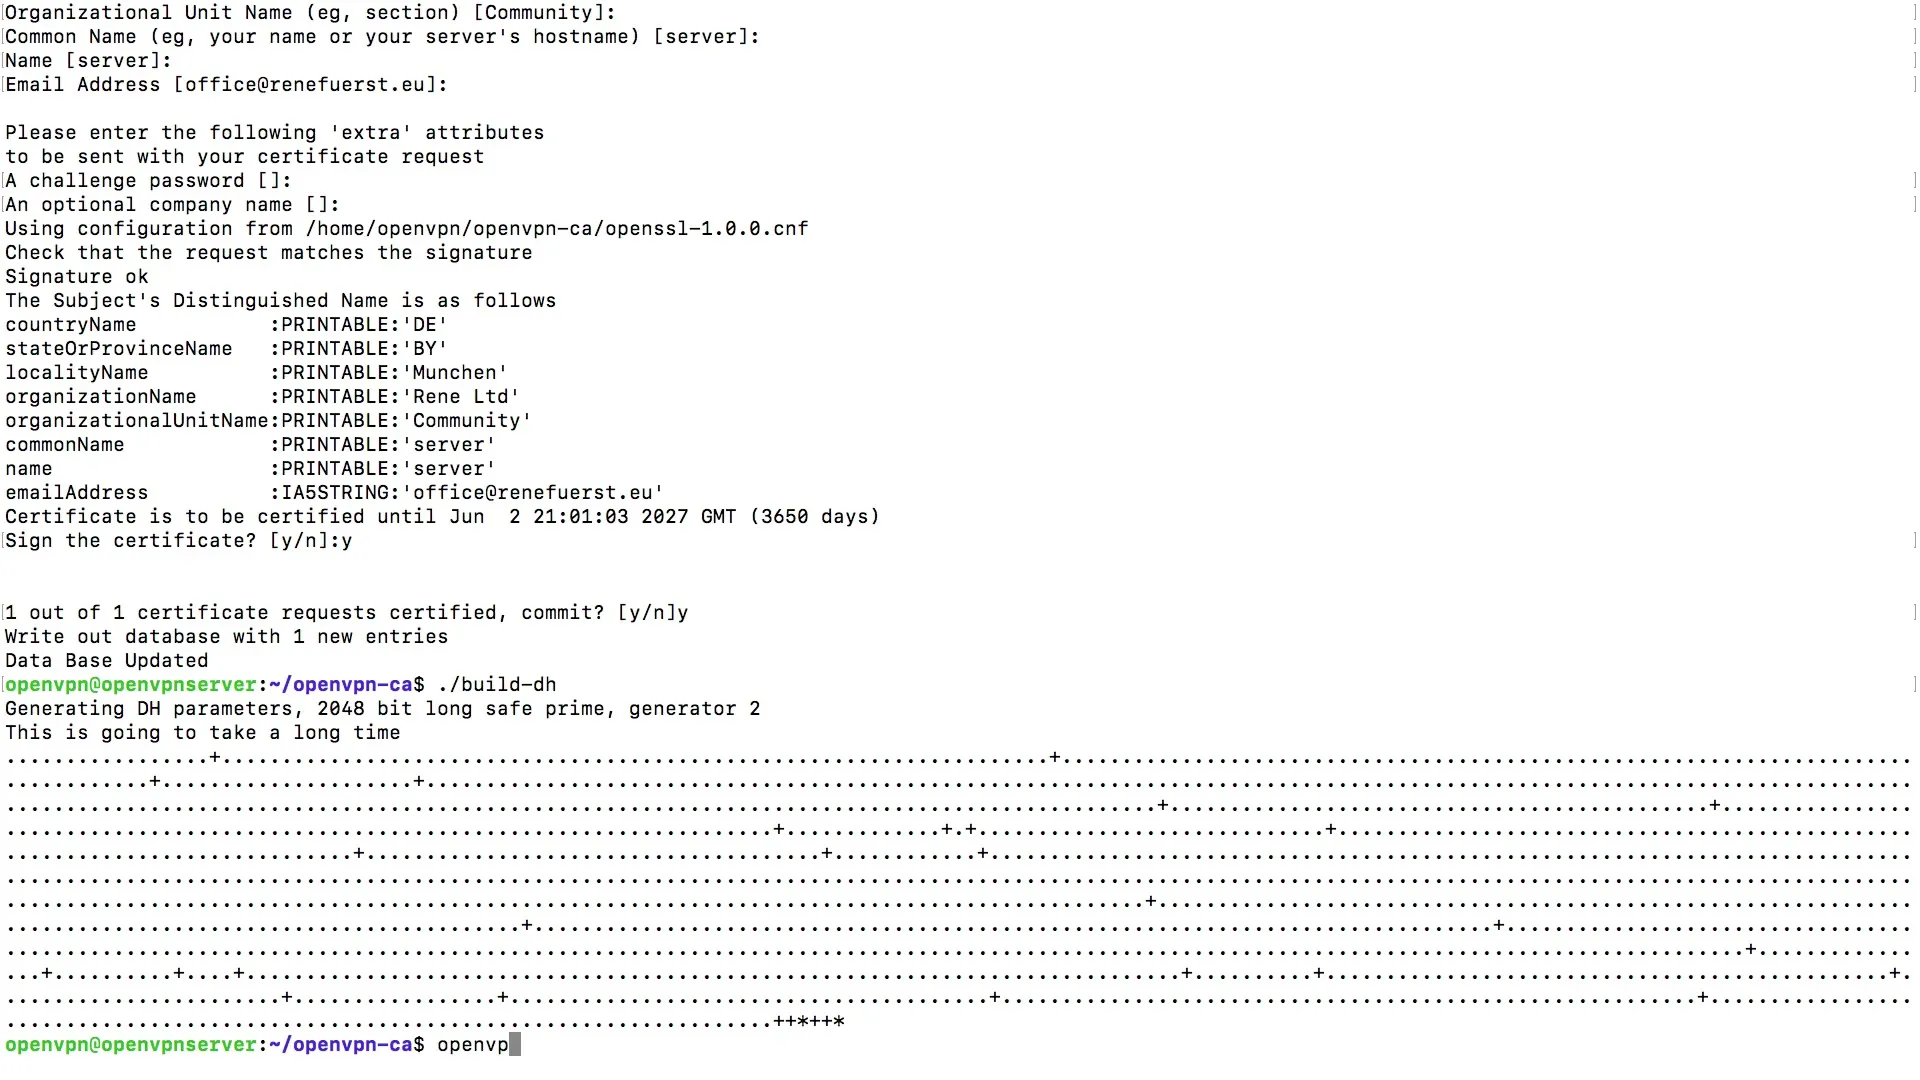
Now that the server certificates have been created, we need to create the file for the Diffie-Hellman key exchange. There is a special file for the Diffie-Hellman generation that we will now start. This process may take some time, so be patient. It can take up to a minute, depending on the performance of your server.
Step 6: Creating TLS Authentication File
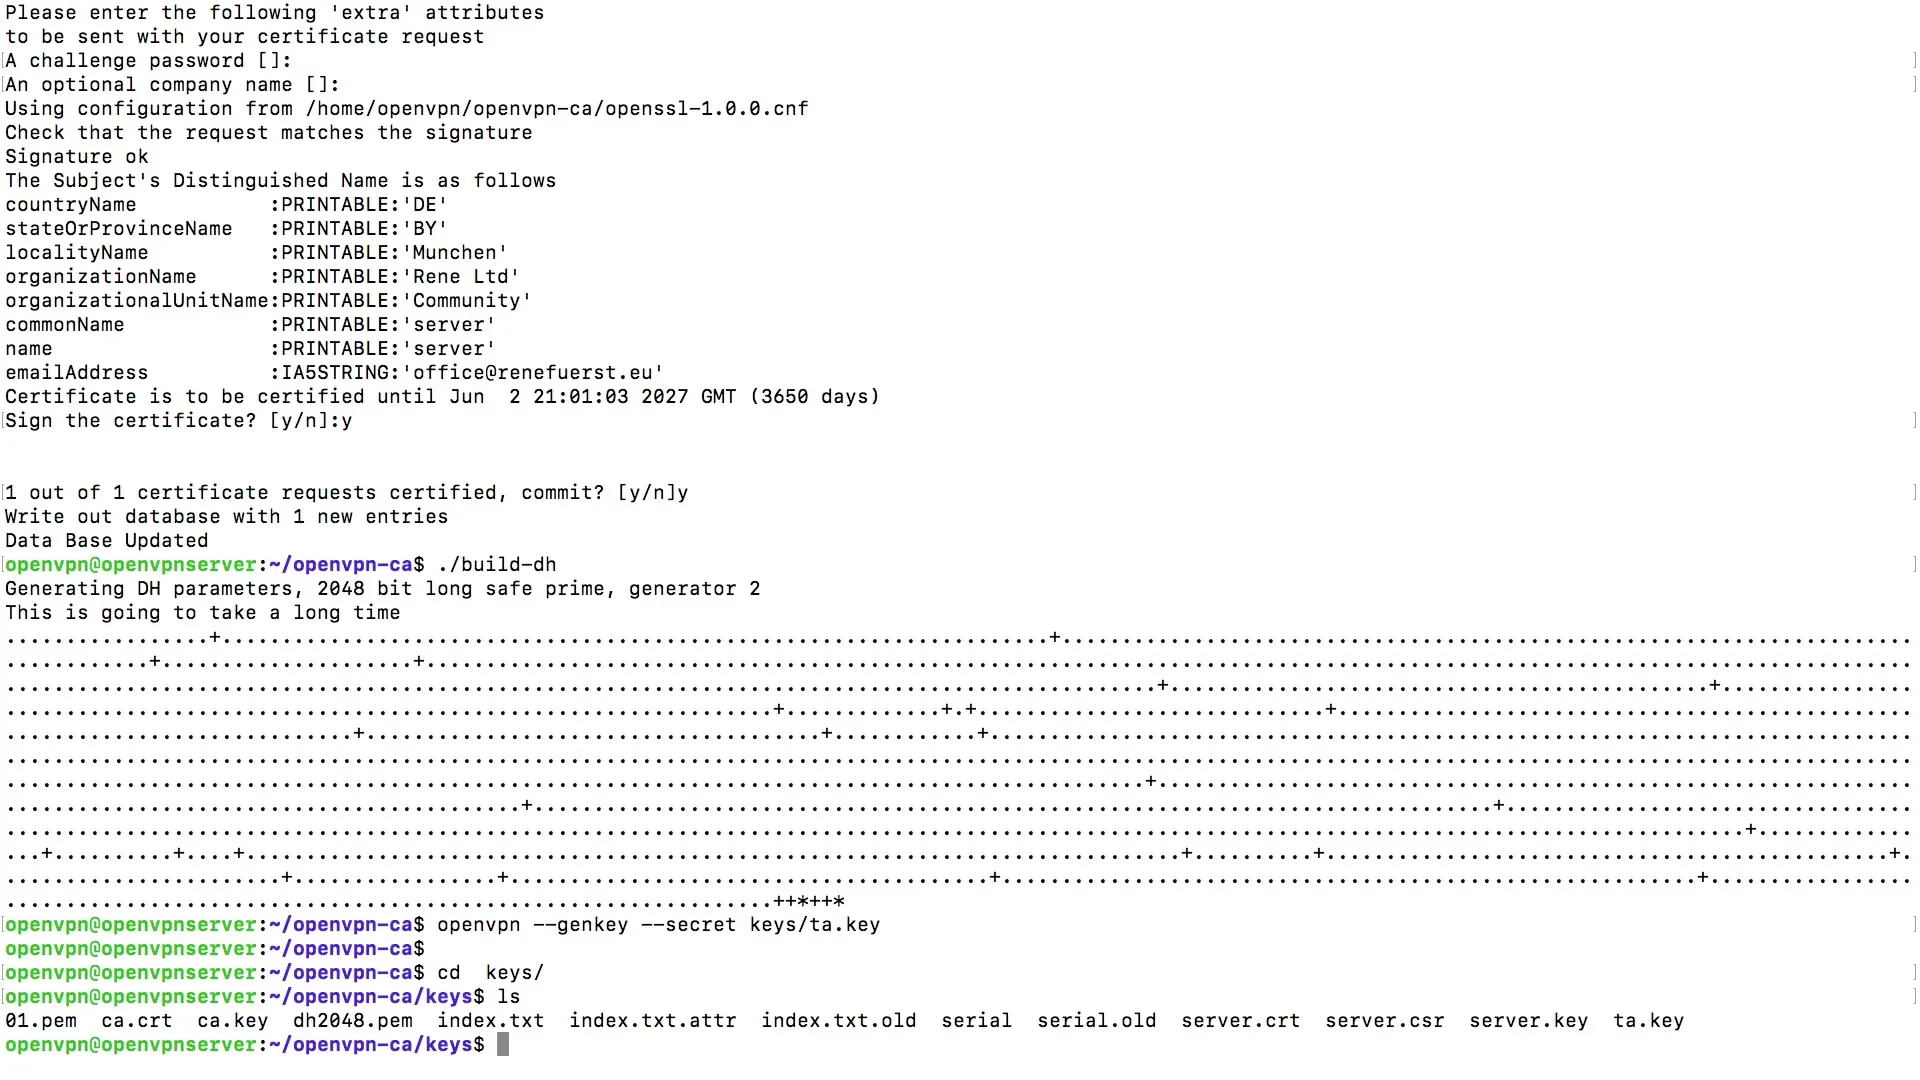
In the next step, we will create an additional file to verify the integrity for TLS. We can also generate this file via OpenVPN. Start OpenVPN and select the option to create a secret key. This will be saved as the file "ta.key" in the "keys" directory.

Step 7: Checking the Created Files
After you have created all the necessary files, let’s take a look at the files in the "keys" folder. Here you will see various files, including the Diffie-Hellman key, the TLS authentication file, as well as the server CSR and server key files. Ensure that all necessary files are present.

Summary – Creating Server Certificates with OpenVPN
You have now gone through all the steps necessary to create server certificates for OpenVPN. From the initial generation of the server keys to the requirements for the Diffie-Hellman file – this guide has provided you with a clear overview of how to work securely in the network.
Frequently Asked Questions
What is the purpose of server certificates?Server certificates enable secure authentication and encryption in the network.
How long are the certificates valid?The issued certificates have a validity of ten years.
How long does it take to create the Diffie-Hellman file?The creation can take anywhere from a few seconds to a minute, depending on your server.
Why should passwords be left empty?An empty password prevents you from being prompted for a password on every connection.


