With this guide, you will securely and effectively set up a connection to your OpenVPN server on a macOS system. These steps are easy to follow and provide you with the necessary information to use the OpenVPN client Tunnelblick.
Main Insights
- The OpenVPN client for macOS is called Tunnelblick and can be downloaded for free.
- The installation is quick and straightforward.
- To test the connection, you need to check your IP address and possibly verify DNS leaks.
Step 1: Download Tunnelblick
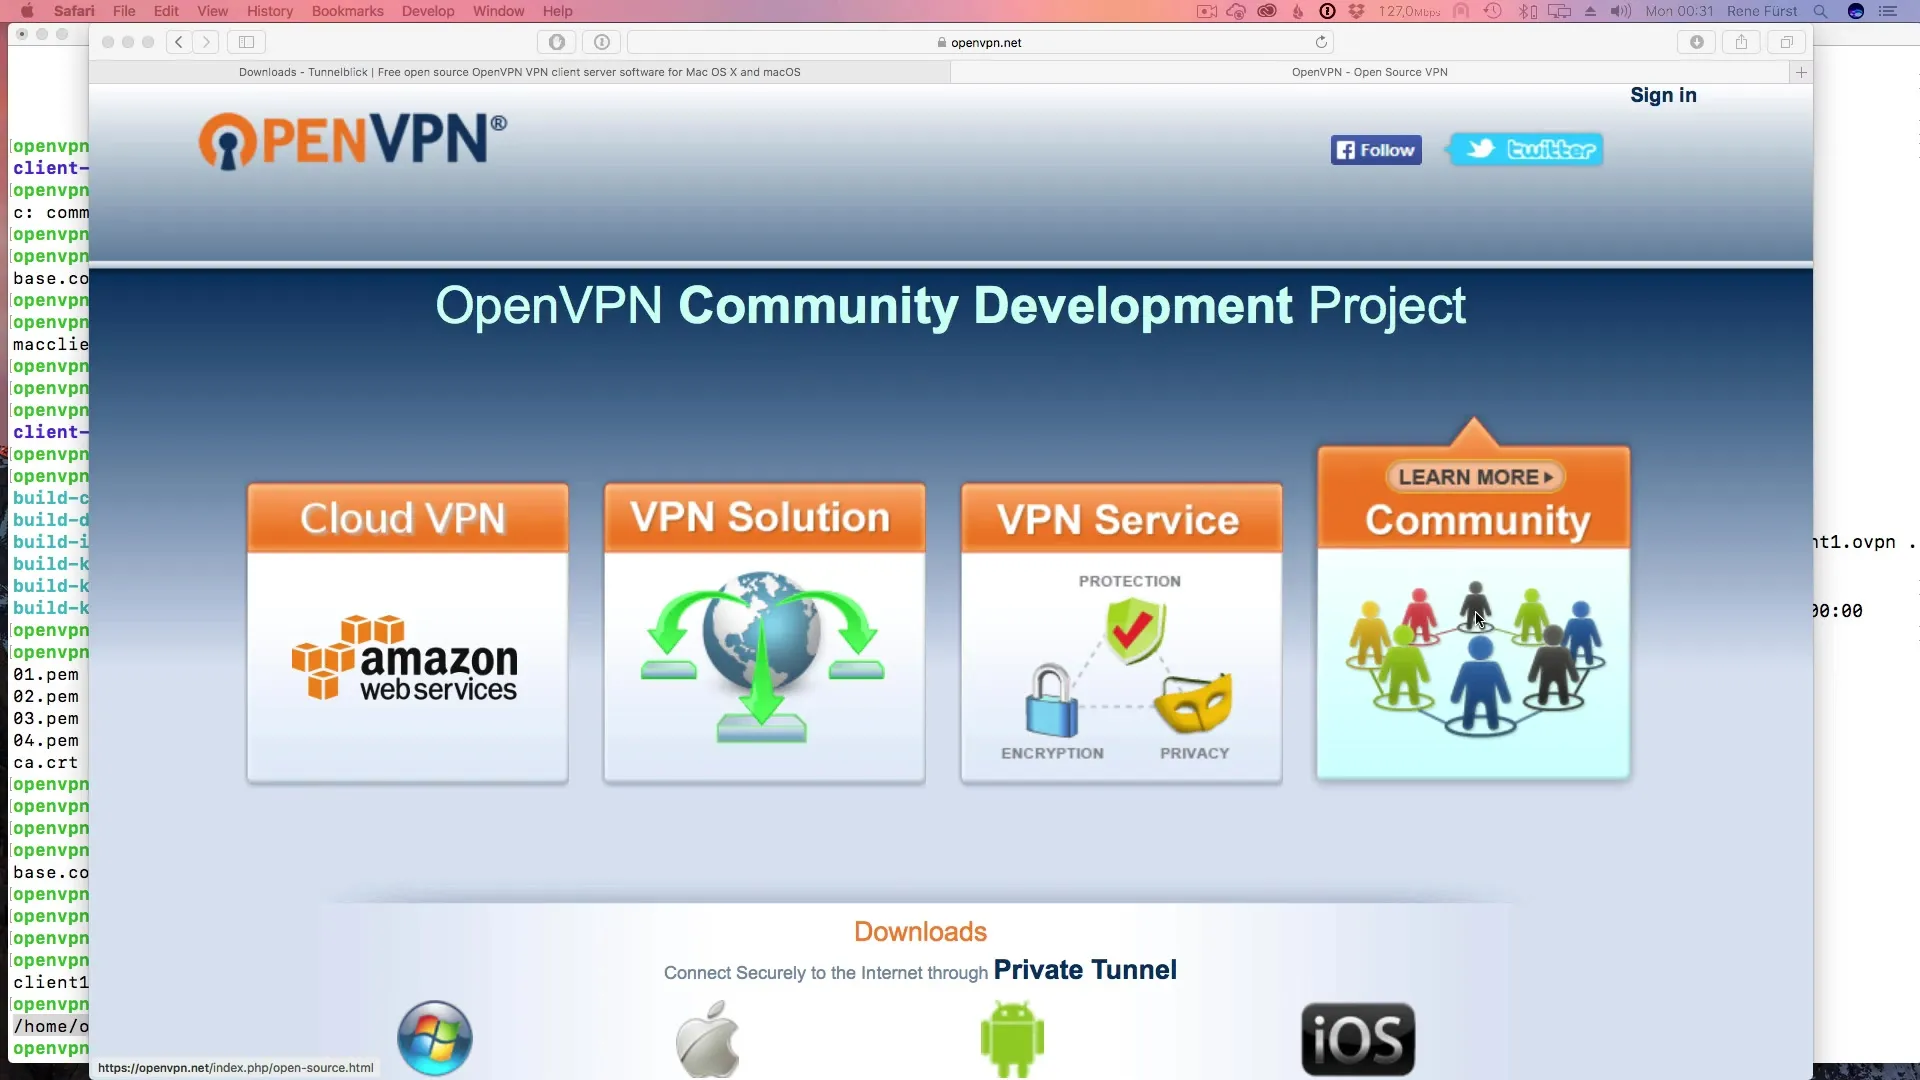
The first step is to download Tunnelblick. This software is specifically designed for macOS and can be downloaded from the official website. Visit tunnelblick.net for this.
Step 2: Install Tunnelblick
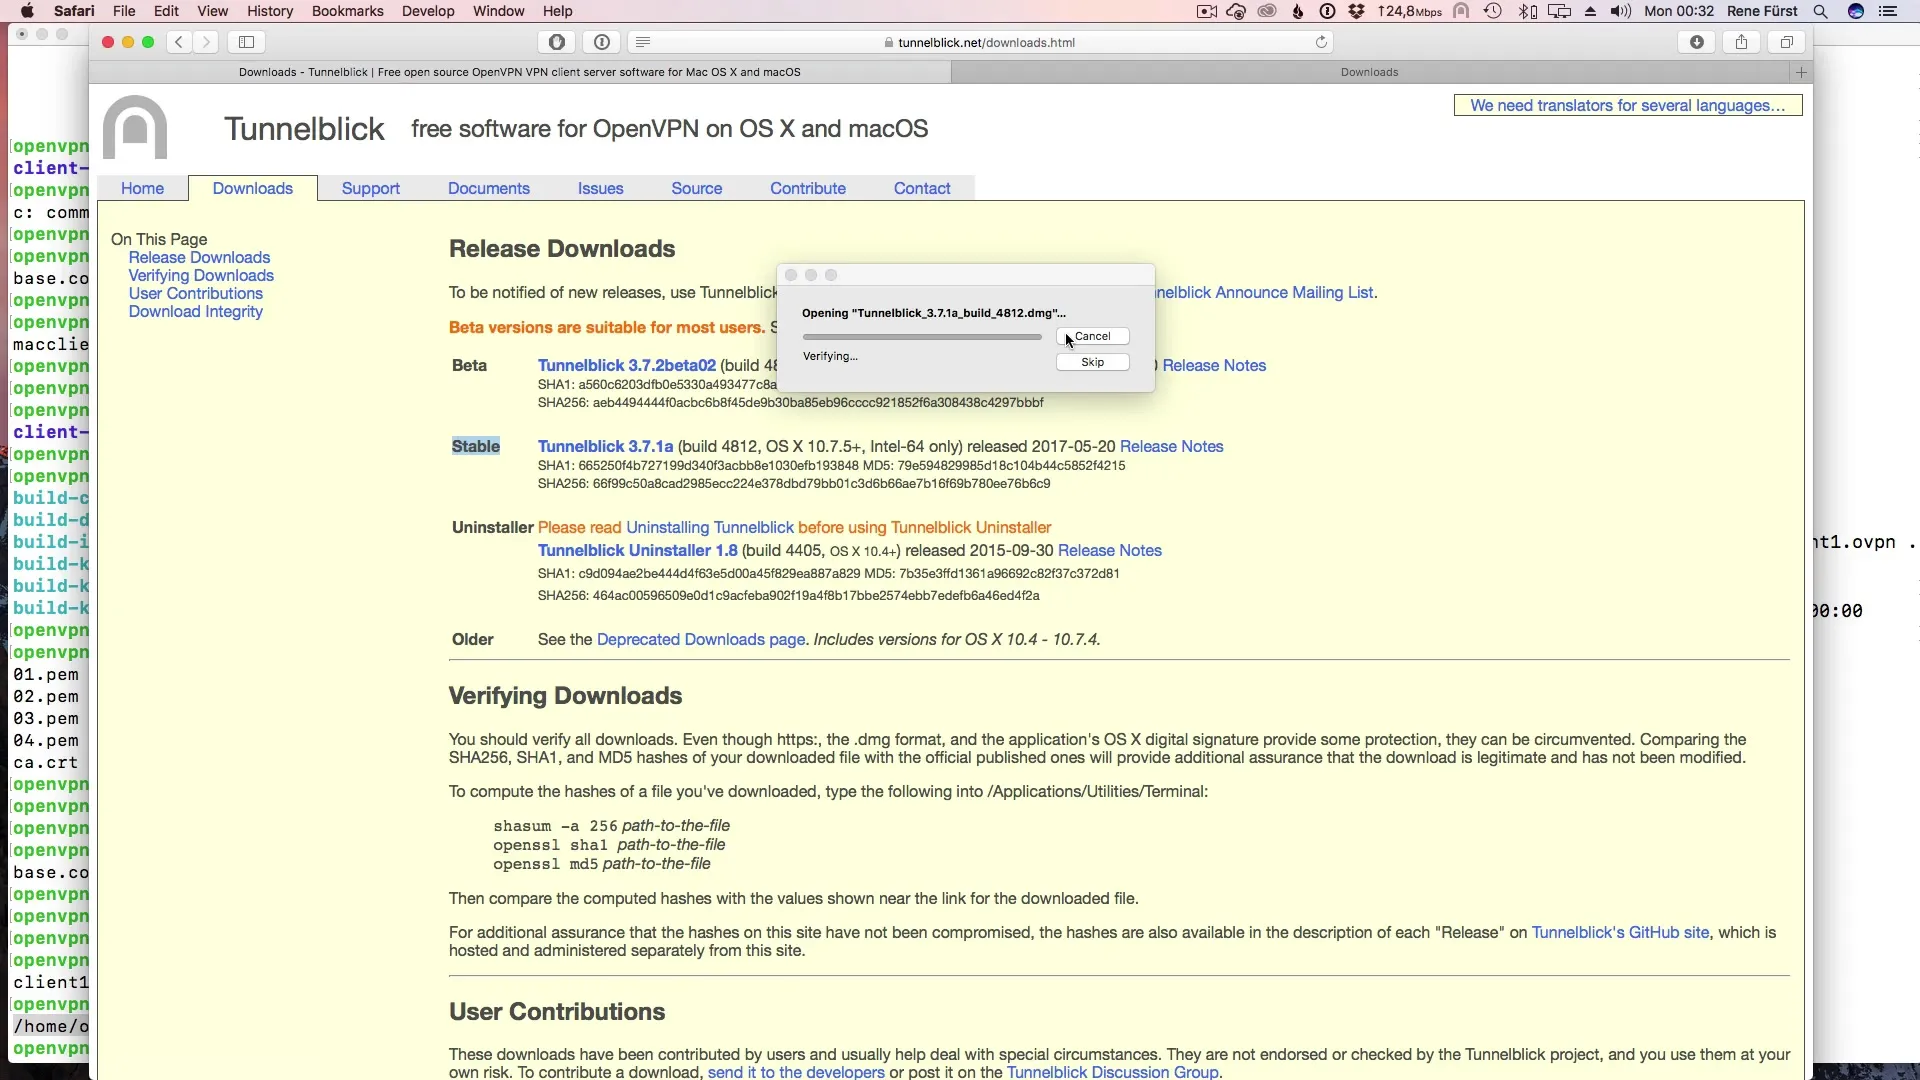
After downloading Tunnelblick, open the DMG file. In this window, you will see all the files necessary for installation. You can install Tunnelblick by simply double-clicking on the icon and granting user permission. Enter your password to complete the installation.
Step 3: Start Tunnelblick
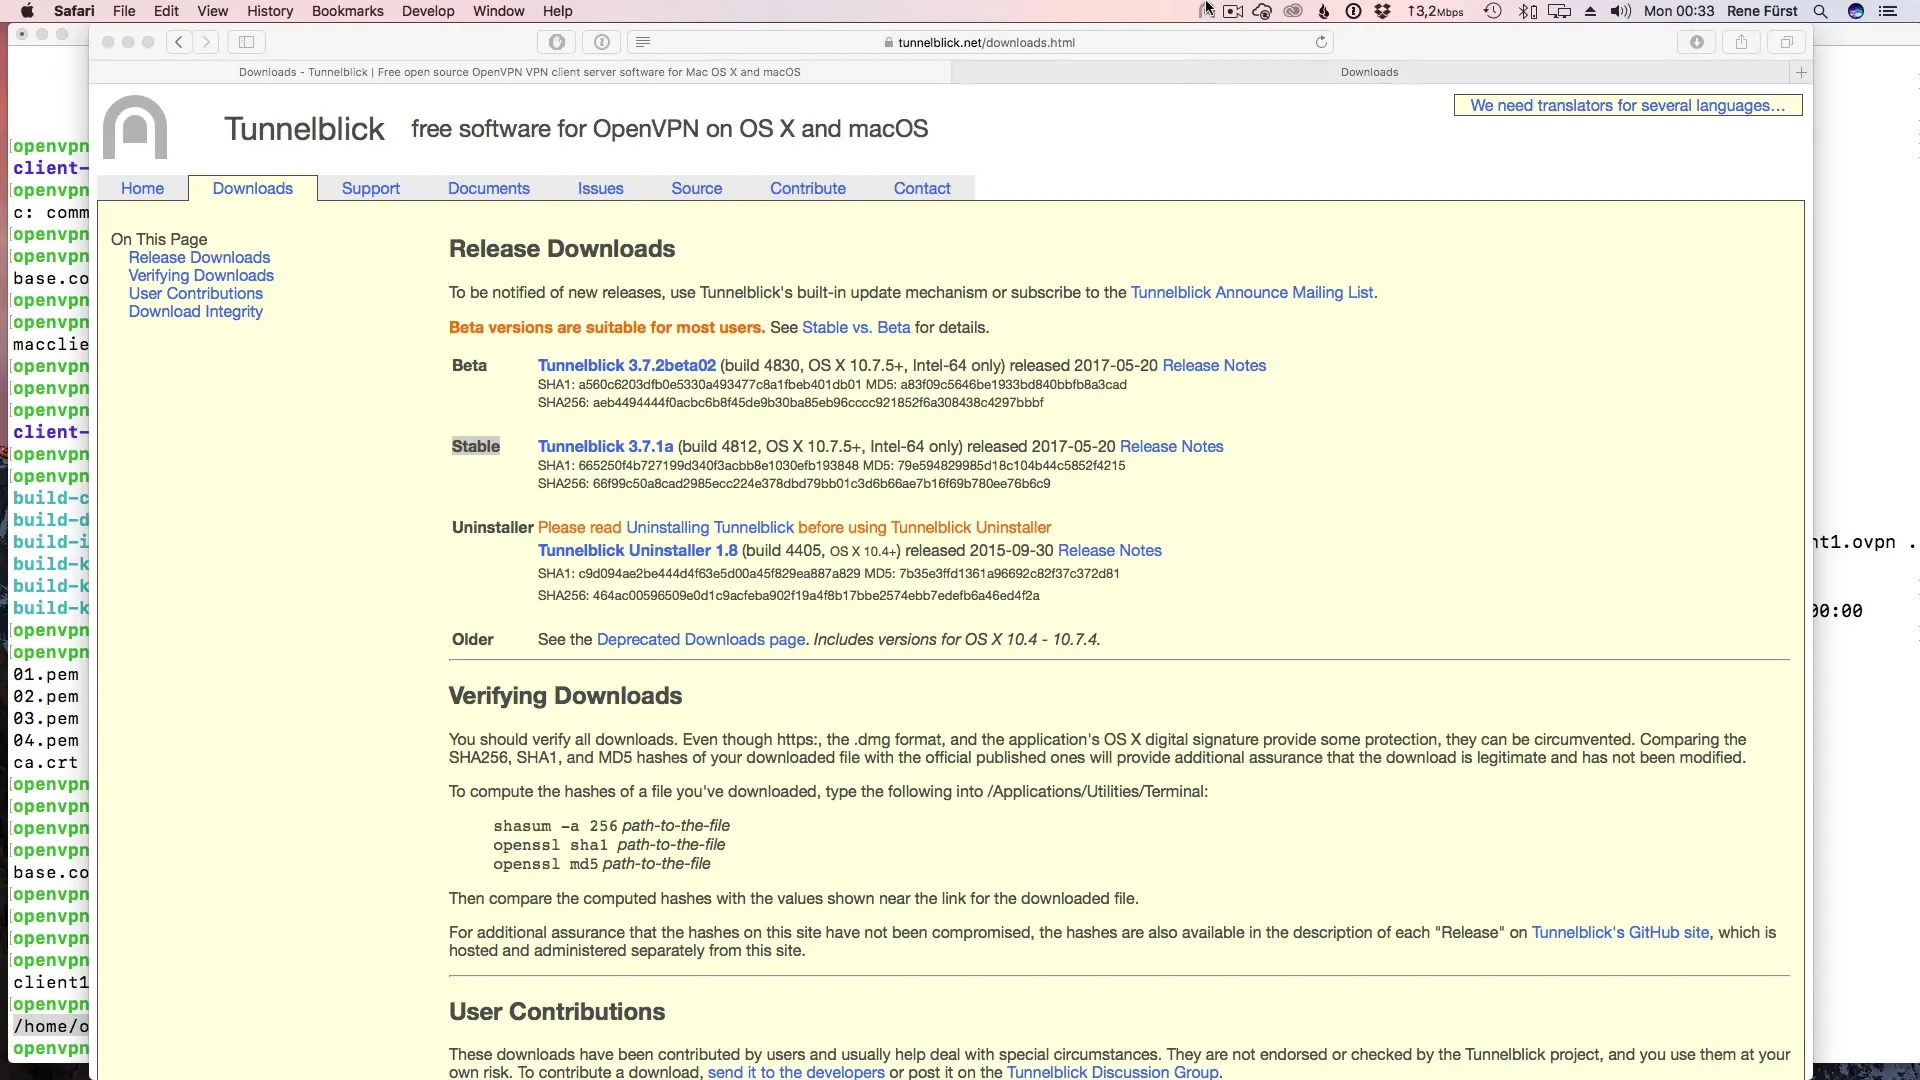
Once the installation is complete, you will find the Tunnelblick icon in the upper menu bar. Click on it to start Tunnelblick. Initially, you will be prompted to load a configuration file. You may have downloaded this file earlier.
Step 4: Add OVPN File
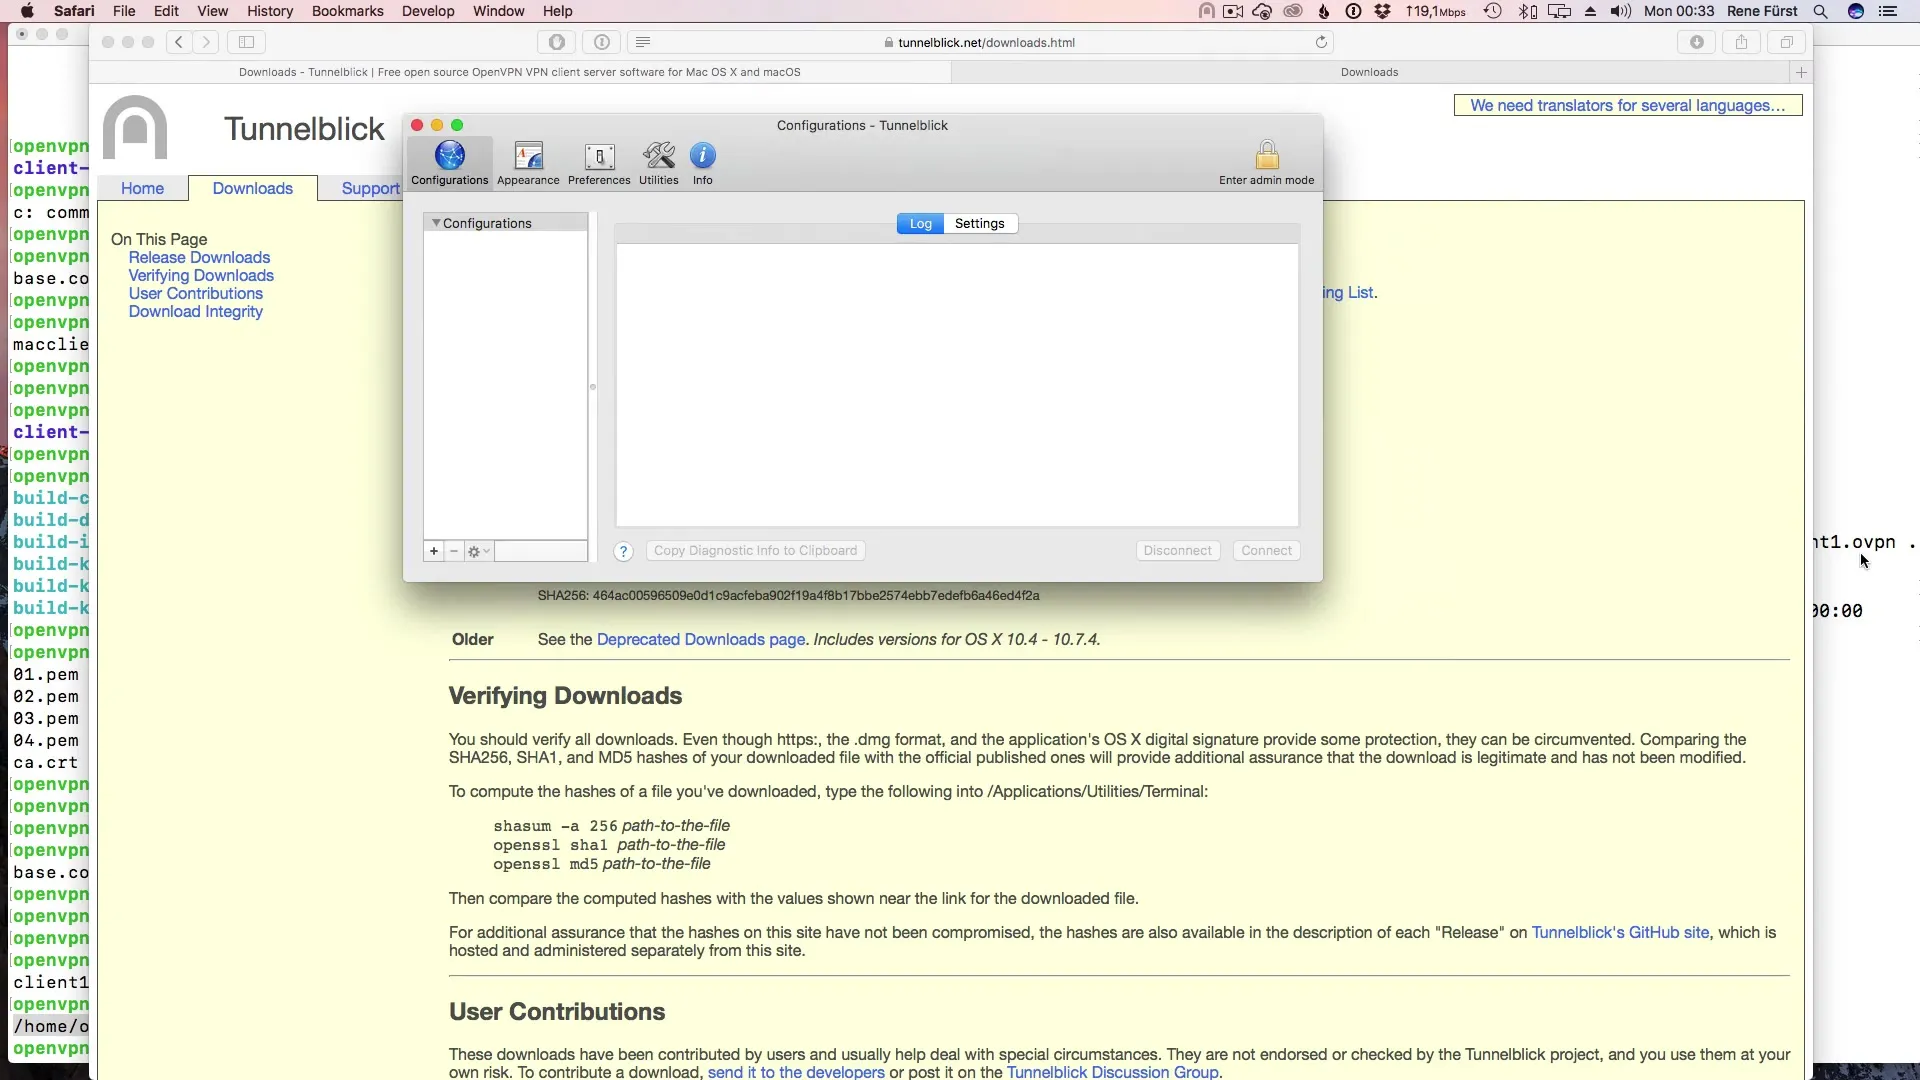
In the Tunnelblick menu, click on the plus symbol to add your configuration file. You can either drag and drop the.ovpn file into the window or select it via the file manager. Be sure to choose whether you want to add the file only for your user or for all users on your macOS system.
Step 5: Authorize Tunnelblick
After you have added the.ovpn file, Tunnelblick will ask questions about authorization. Since you probably have only one user on your system, you can simply accept this hurdle for your own user.
Screenshot_{Timestamp}
Step 6: Connect
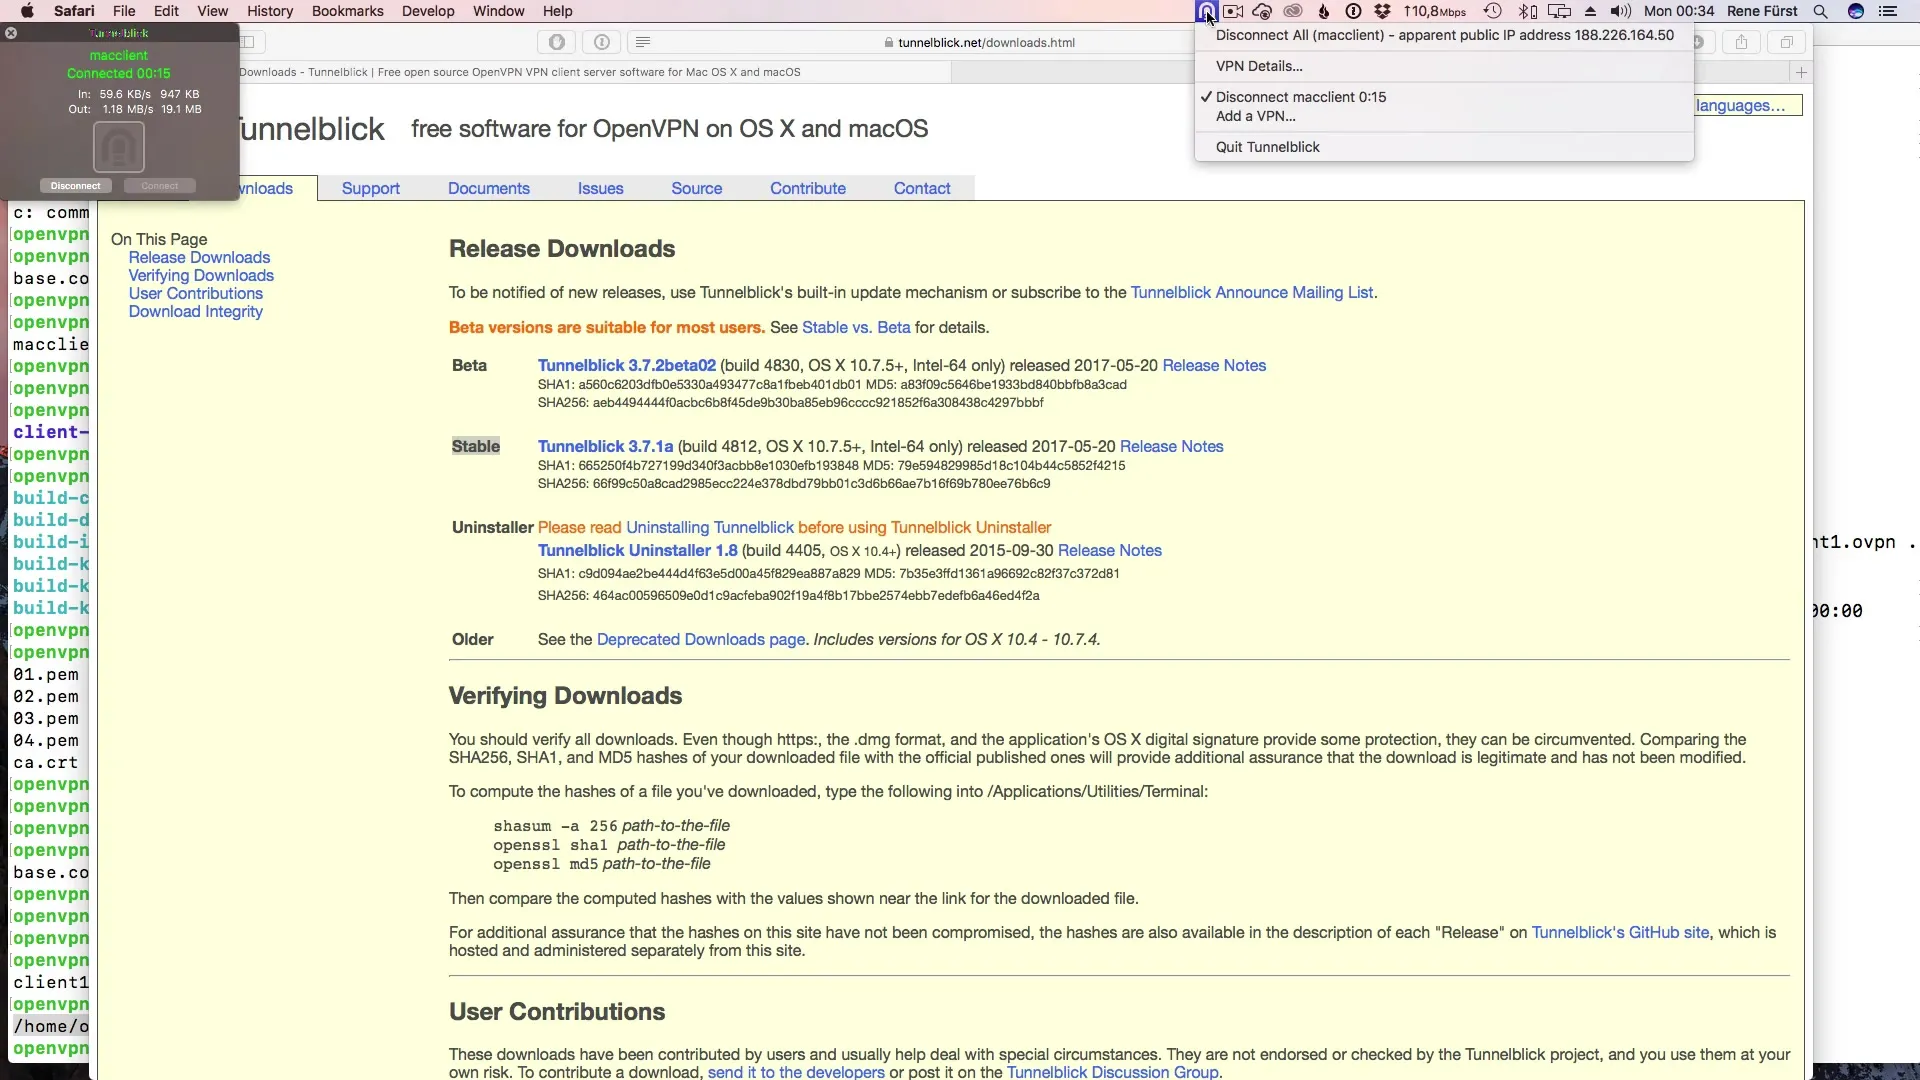
After authorization, you should have the option to connect. Click on the Tunnelblick icon and then on "Connect." This process usually takes only a short time and should proceed successfully.
Step 7: Check Connection Details
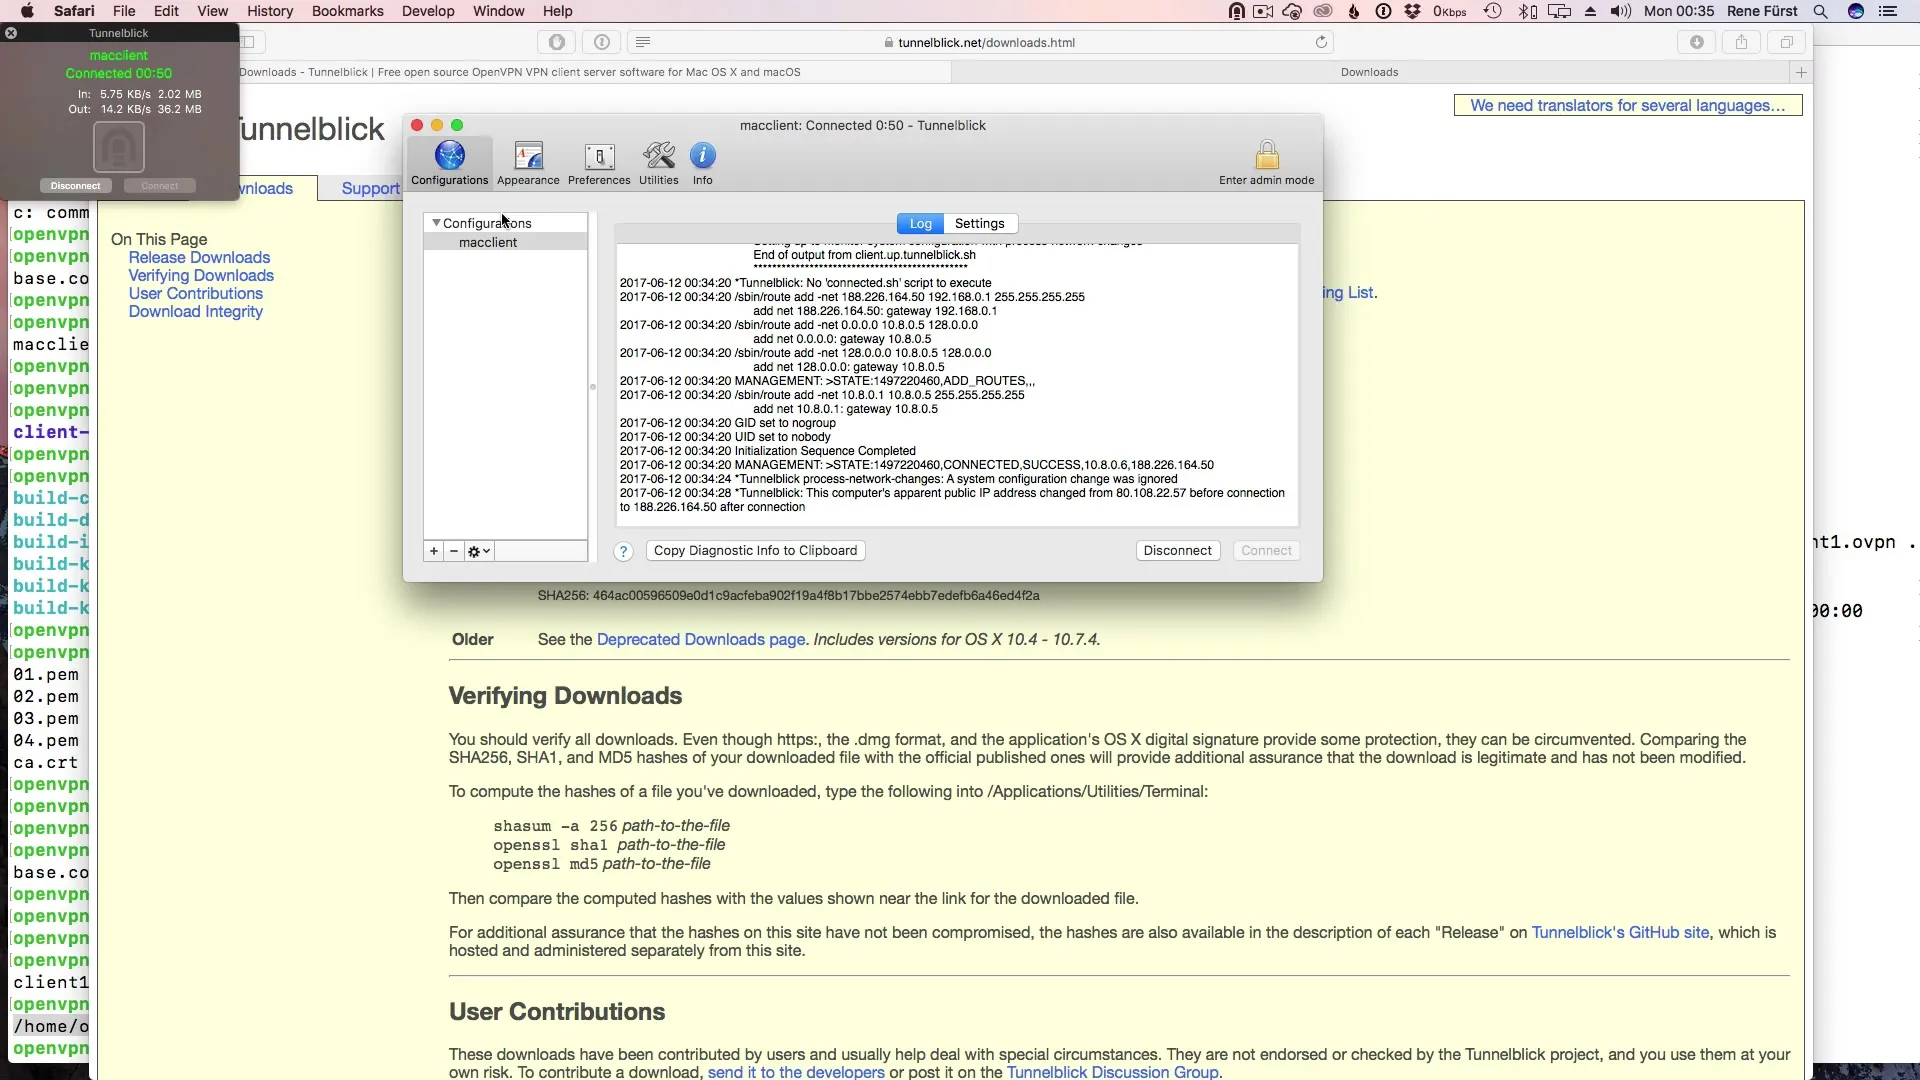
To ensure that everything is functioning correctly, you can view the connection details in Tunnelblick. Here it will show you whether you are successfully connected and which encryption protocols are being used.
Step 8: Check IP Address
To check if the connection is indeed functioning, you can visit a website like whatismyipaddress.com. It will display your current IP address. Make sure it matches the expected IP address of your OpenVPN server.
Step 9: Test for DNS Leaks
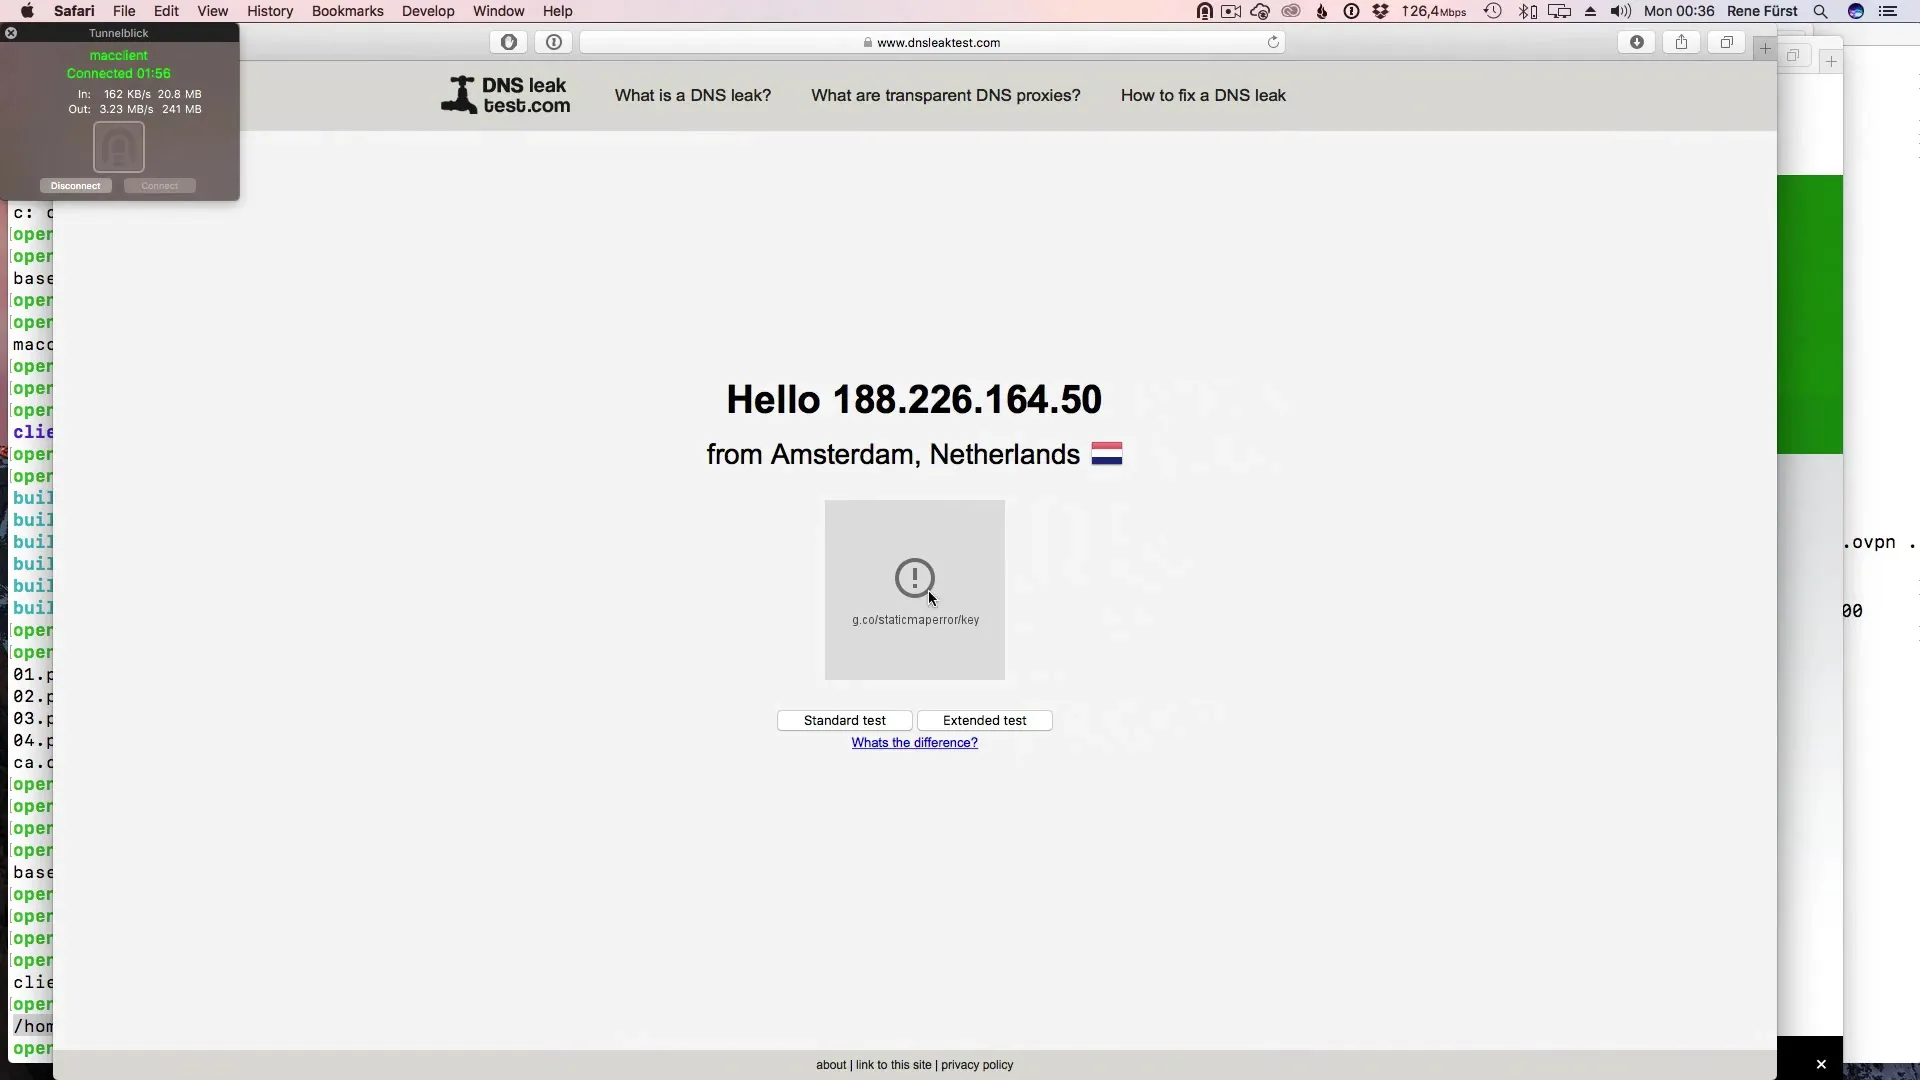
Another important test is to perform a DNS leak test. You can also do this on websites like dnsleaktest.com. Conduct a standard or extended test to ensure that your DNS requests are not being leaked to your ISP.
Summary – Setting up OpenVPN on macOS
In this guide, you learned how to install and configure the OpenVPN client Tunnelblick on your macOS system. You went through the steps of installation, authorization, and establishing a connection. You also performed important tests to ensure the security of your connection.
Frequently Asked Questions
How do I download Tunnelblick?Visit the website tunnelblick.net and download the latest stable version.
Is Tunnelblick free?Yes, Tunnelblick is open-source software and can be used for free.
How do I add an OVPN file to Tunnelblick?Click on the plus symbol and drag the OVPN file into the window or select it via the file manager.
What is the DNS leak test?This is a test to ensure that your DNS requests cannot be monitored by your Internet Service Provider.
How do I test if I am correctly connected?Visit a website like whatismyipaddress.com to check your current IP address.


